


Hi all and welcome back 🙂 I hope you had a fabulous Christmas and New Year, although it seems ages away already doesn’t it? Well I was a very spoilt girl for Christmas as my parents added to my Apple family by buying me an Apple Mac Book Air. Now as you all probably know it wasn’t that long ago that I bought myself a iMac. So why you might wonder do I need a Macbook as well. Well in all honesty it was so I could work when I was on the move. I will still be using my iMac ALOT! esp. for video editing, not that the MacBook won’t do the editing but the iMac’s screen is so much bigger that it makes that whole editing process so much easier!
But when I am not in my craft room and can’t get to my iMac and still want to work, or like now just feel like it would be nice to get out into the world – I am currently sitting in Costa Coffee writing this post, then with this mobile MacBook I can. Of course until recently it would have been more difficult even with the Macbook because it is only in the last couple of months that Apple have added the facility to put documents etc in the cloud the same way as you can photos. I like to write my posts offline then add them to my web once they are complete, so it now means you can work on something on this machine and it is all the same when I open it up on my iMac – how cool is that! I will post a photo on Instagram of my new toy as I have added a protective shell to it in Lolli Lulu Aqua Blue – quite similar to Tiffany blue in fact! Can’t think why that would be my favourite colour. lol!
If you have been on my Instagram then you would have seen the Christmas presents I made for my Mummi and Dad. I was really pleased with the end result, I have to say it was a close call for my Dad’s one in that I didn’t like how I finished it so had to unpick and get it professionally framed by a wonderful framing lady who did it for me on Christmas Eve! Now that is customer service 🙂
Anyway enough chatter let’s get to today’s cards. Today I have for you a couple of different cards with some sentiments of encouragement on. I thought that they somehow seemed an appropriate type of card this time of year when we’re all thinking perhaps of New Year resolutions etc. I have put a couple on here today because it may be that you have seen one or two already on other social media of mine such as Facebook etc but I just felt I wanted to put all of these cards together in one post for you so I hope you like. So now here are the photos of the different Encouragement Cards I made.
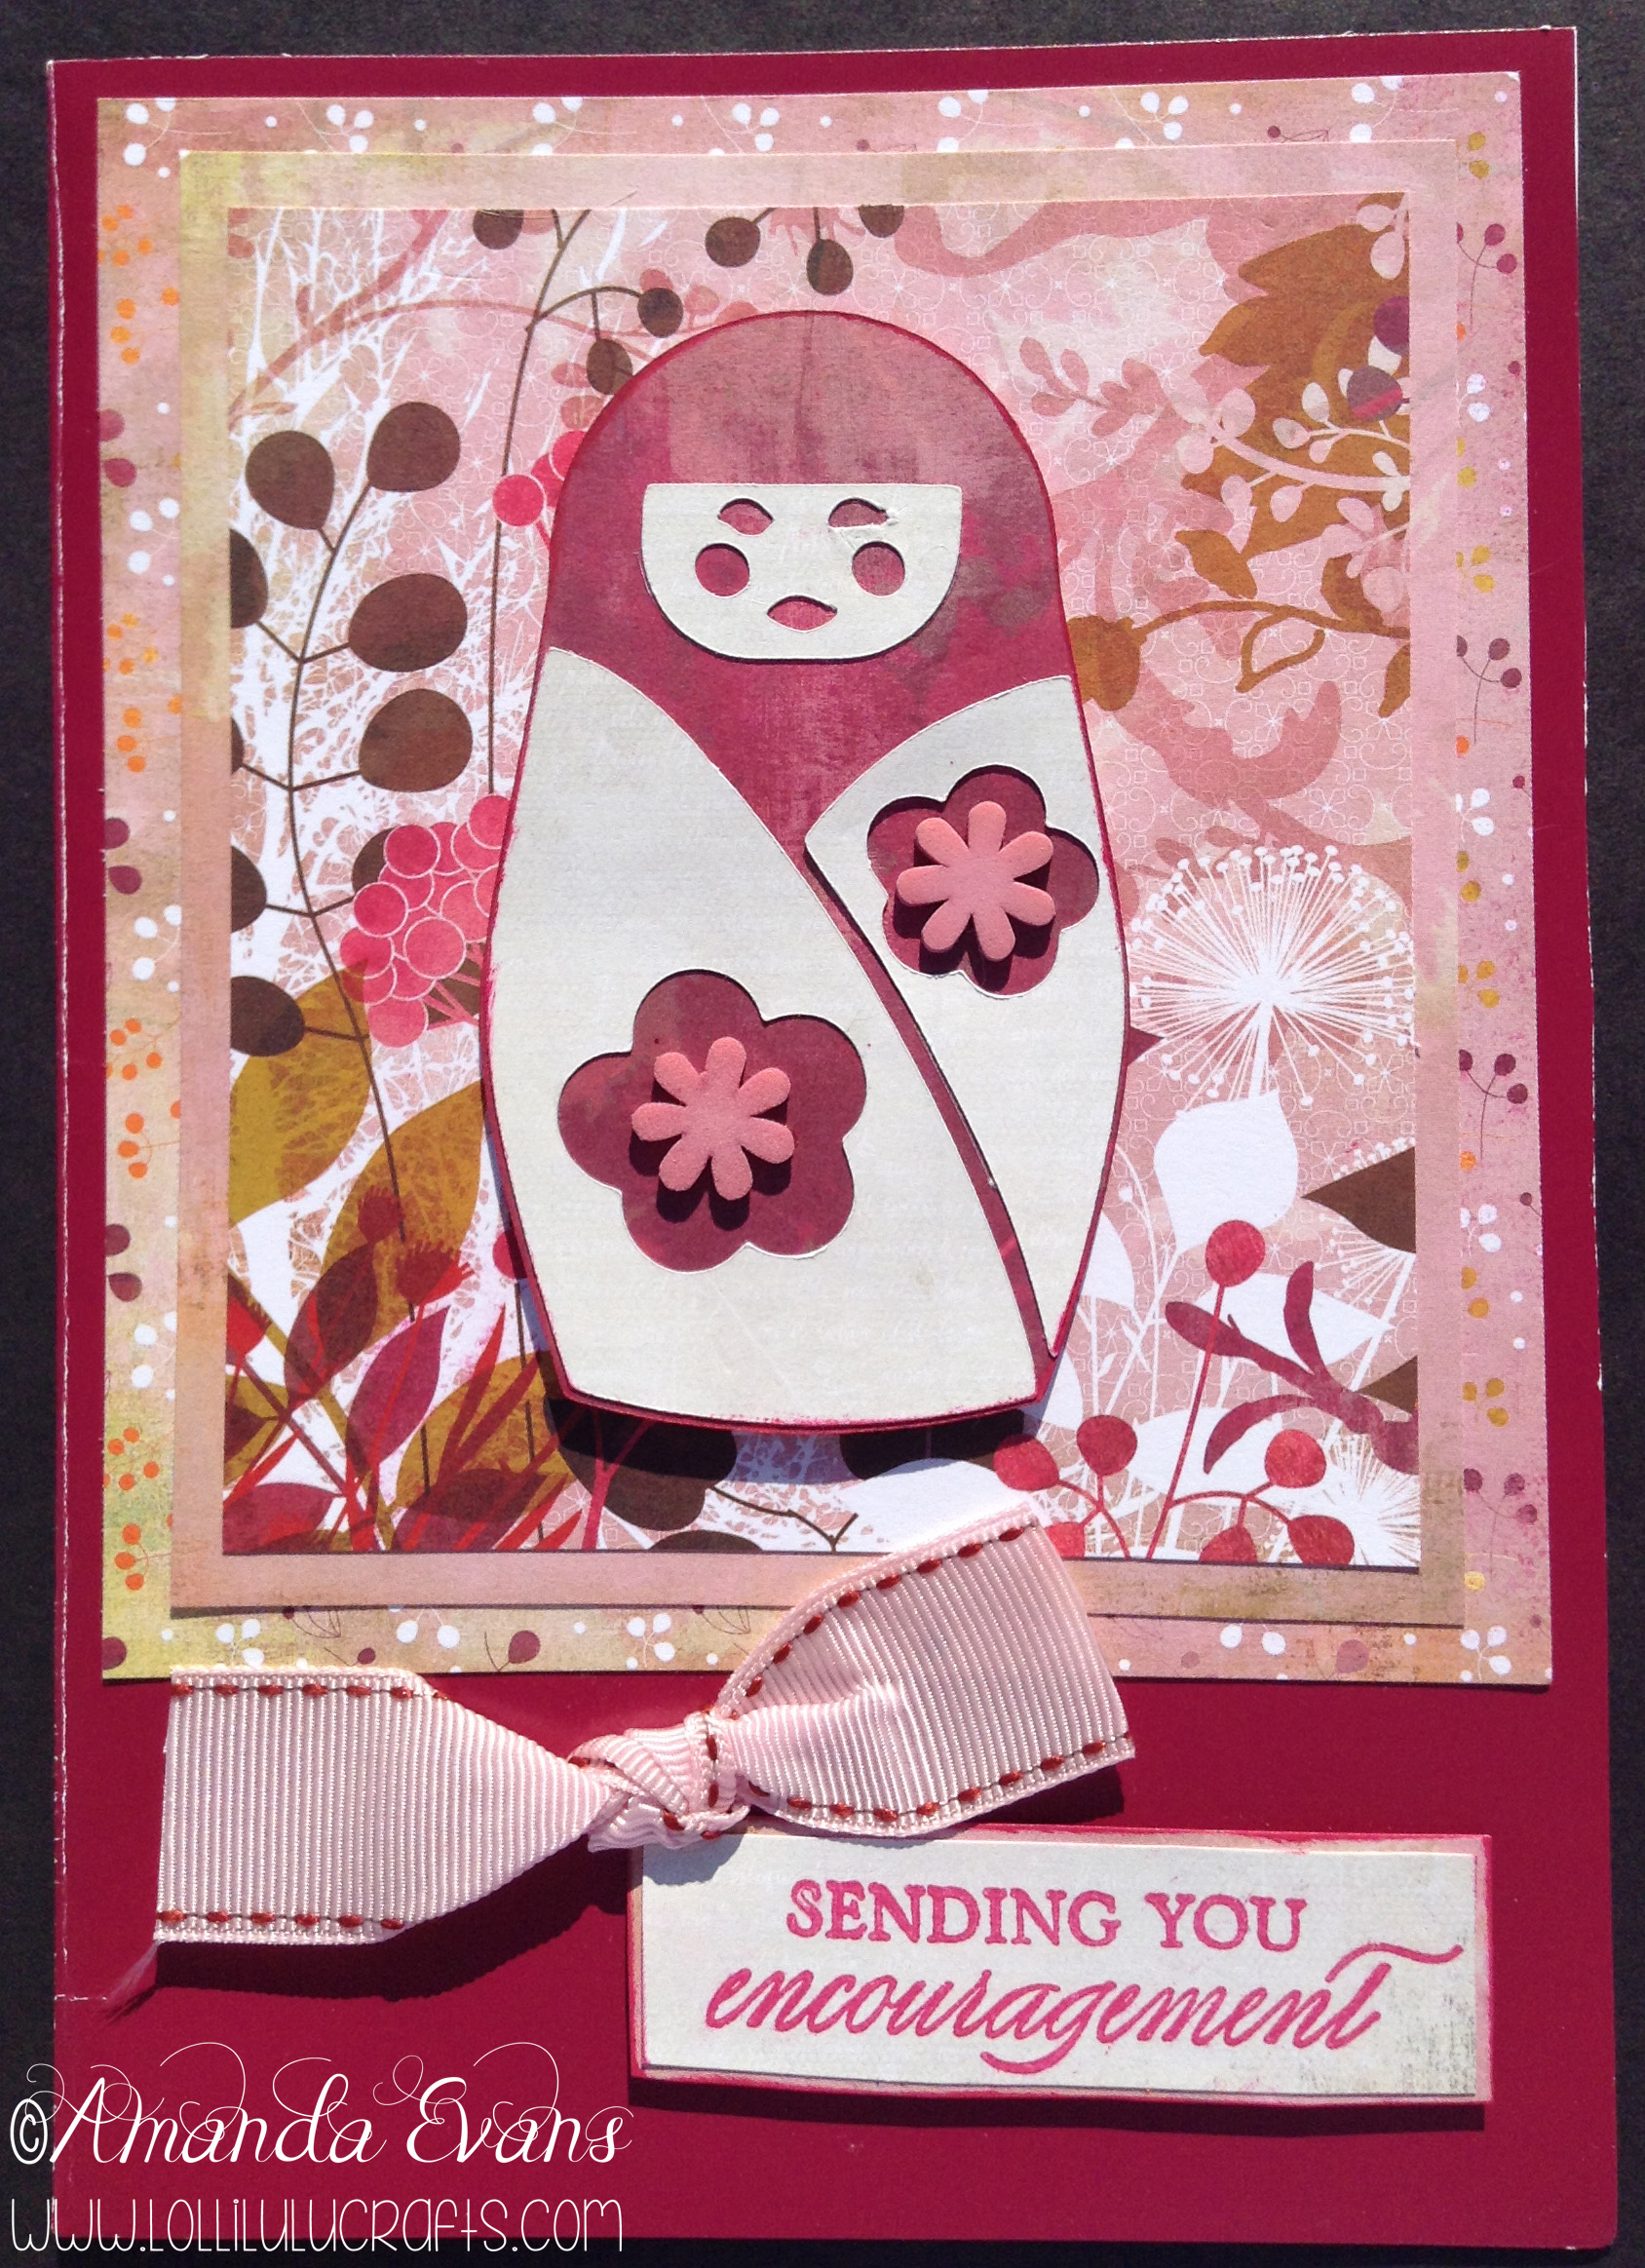
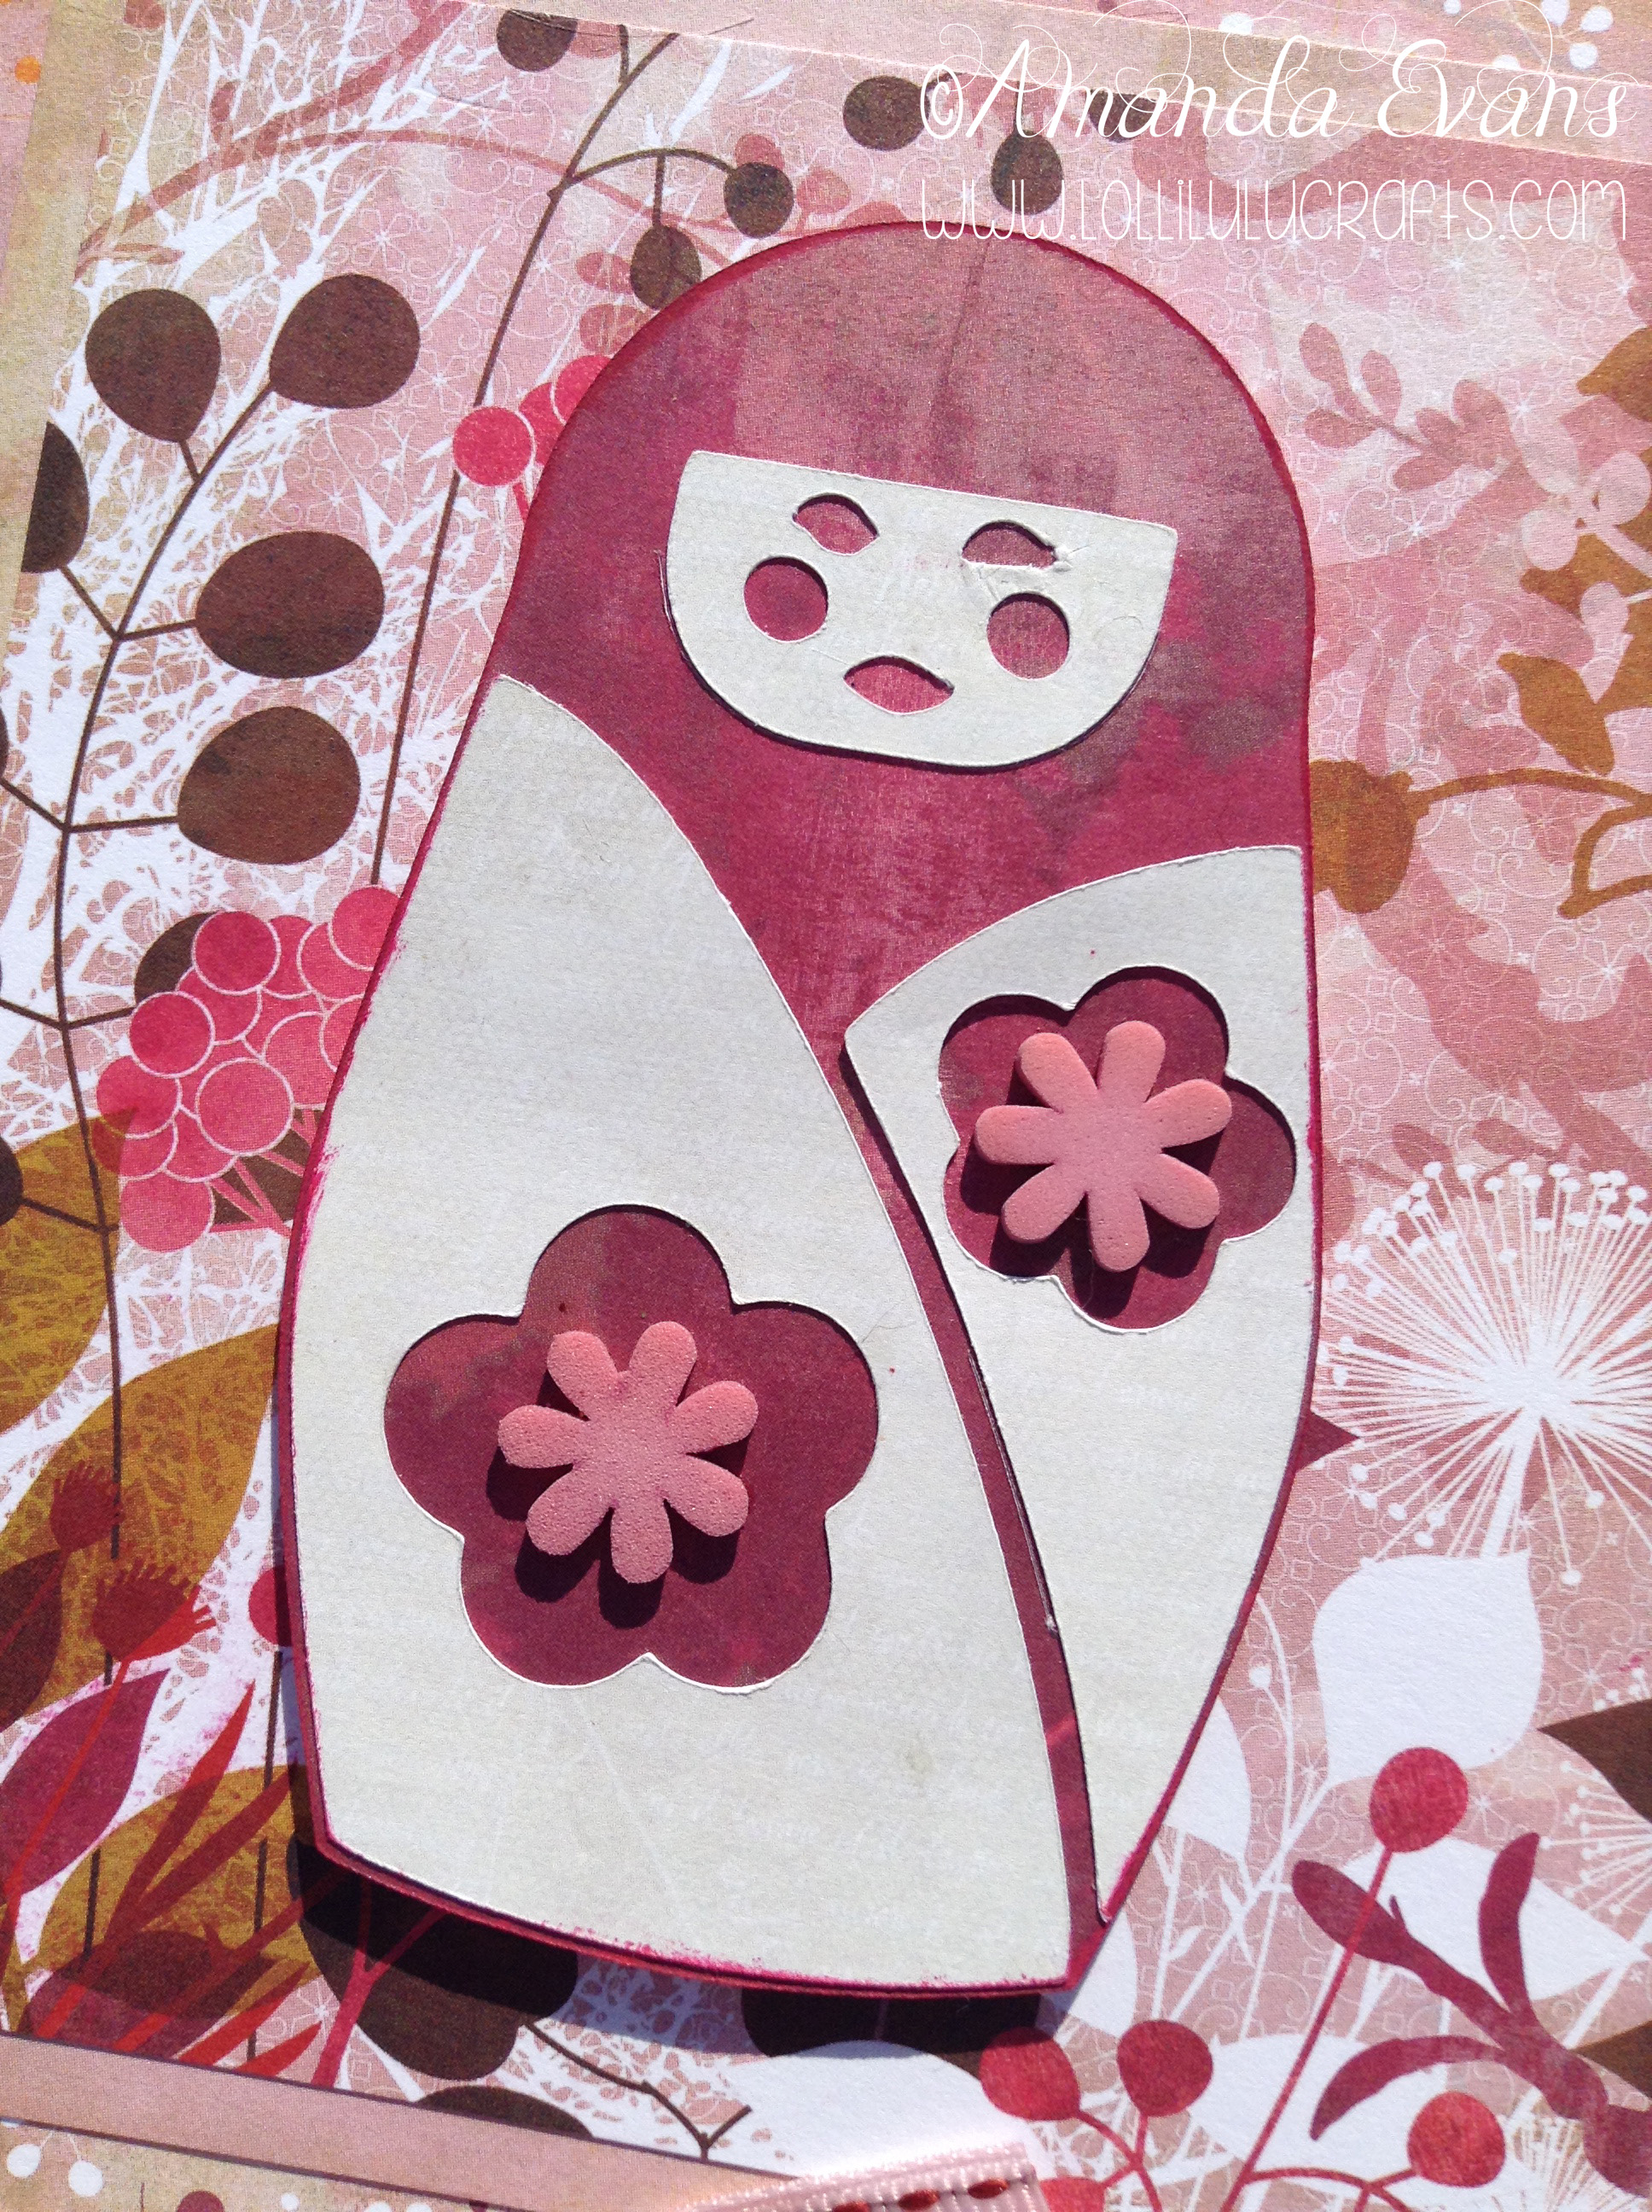
So the first one I have for you is a Cricut card made using the Pagoda Cartridge. This one was a card that I used for one of my #TBT videos and although you have seen it recently I didn’t think I could leave it out of this collection as it really did fit with the theme. As I said in that #TBT post this card was a real labour to make in the sense that this cartridge is, and in fact still is, a cartridge that I love but just don’t get inspired by! Go figure. Anyway a few years back I made myself make a card from it and I thought it turned out really nice. So if you want to go back and have a look at the post I won’t add it here but just click this link and it will take you back to the #TBT post some more of my chatter about the card itself – PAGODA CARD as well as the video – although I have added the video here for you just to make it easier.

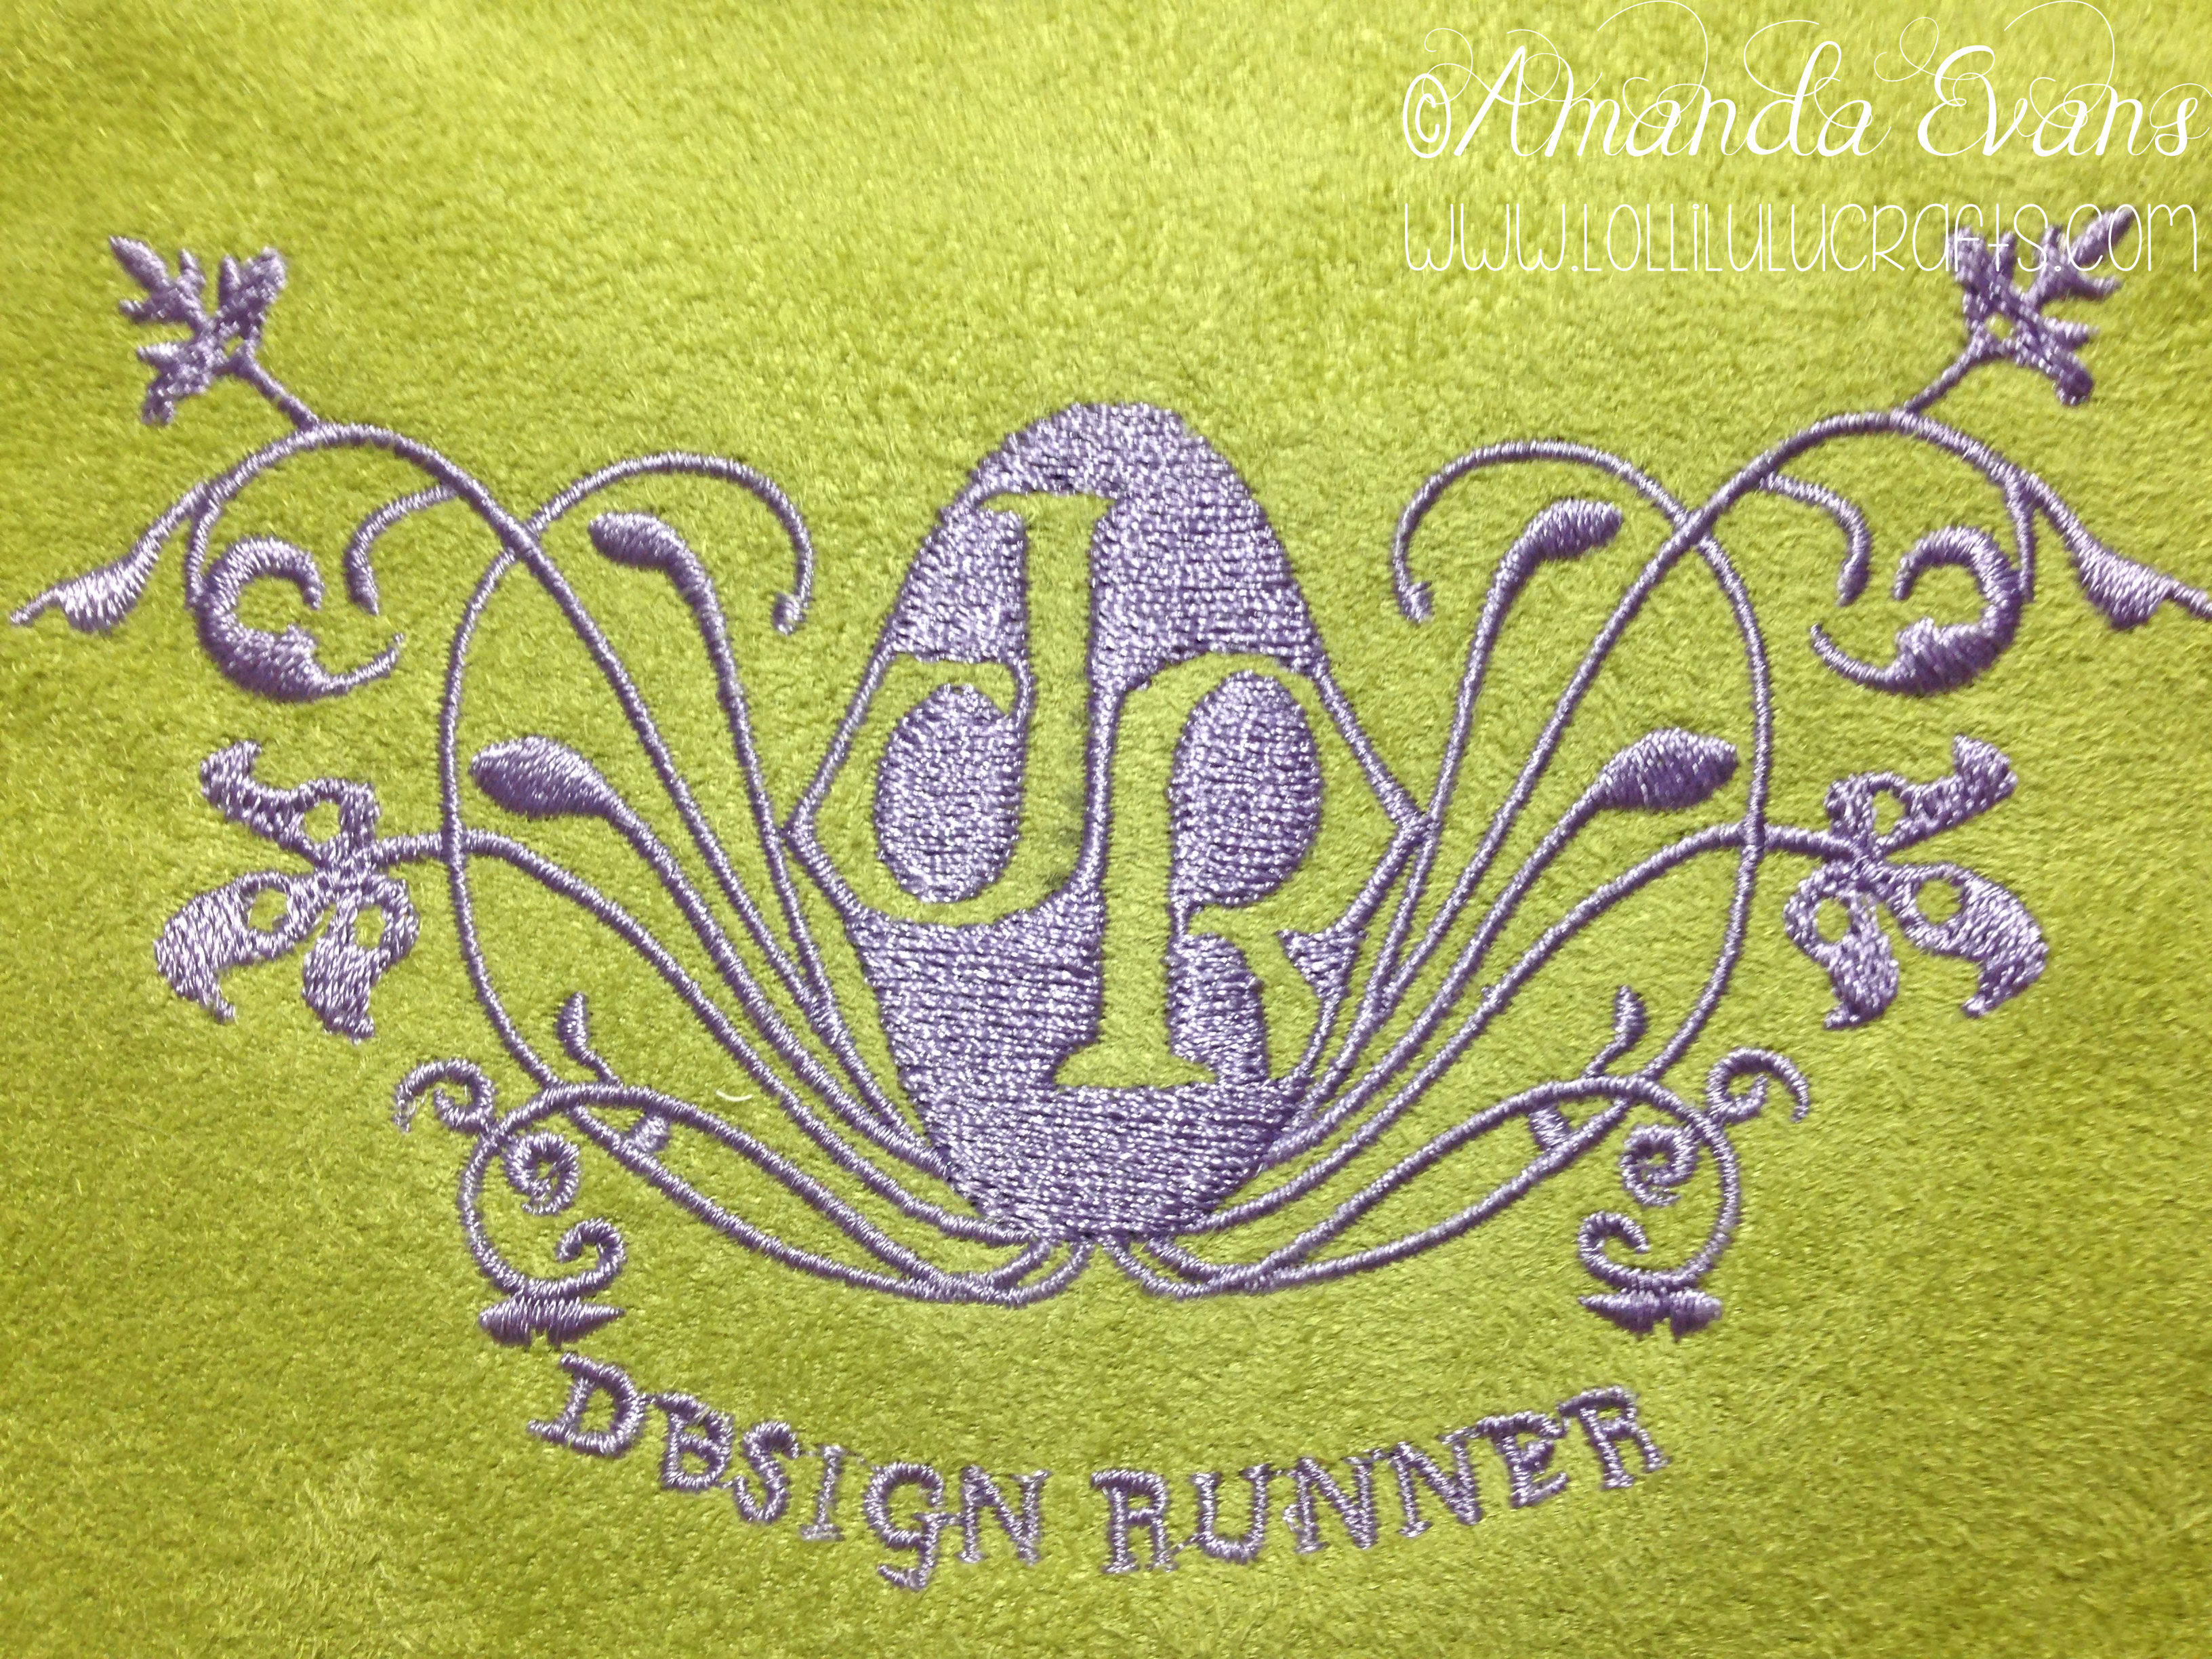
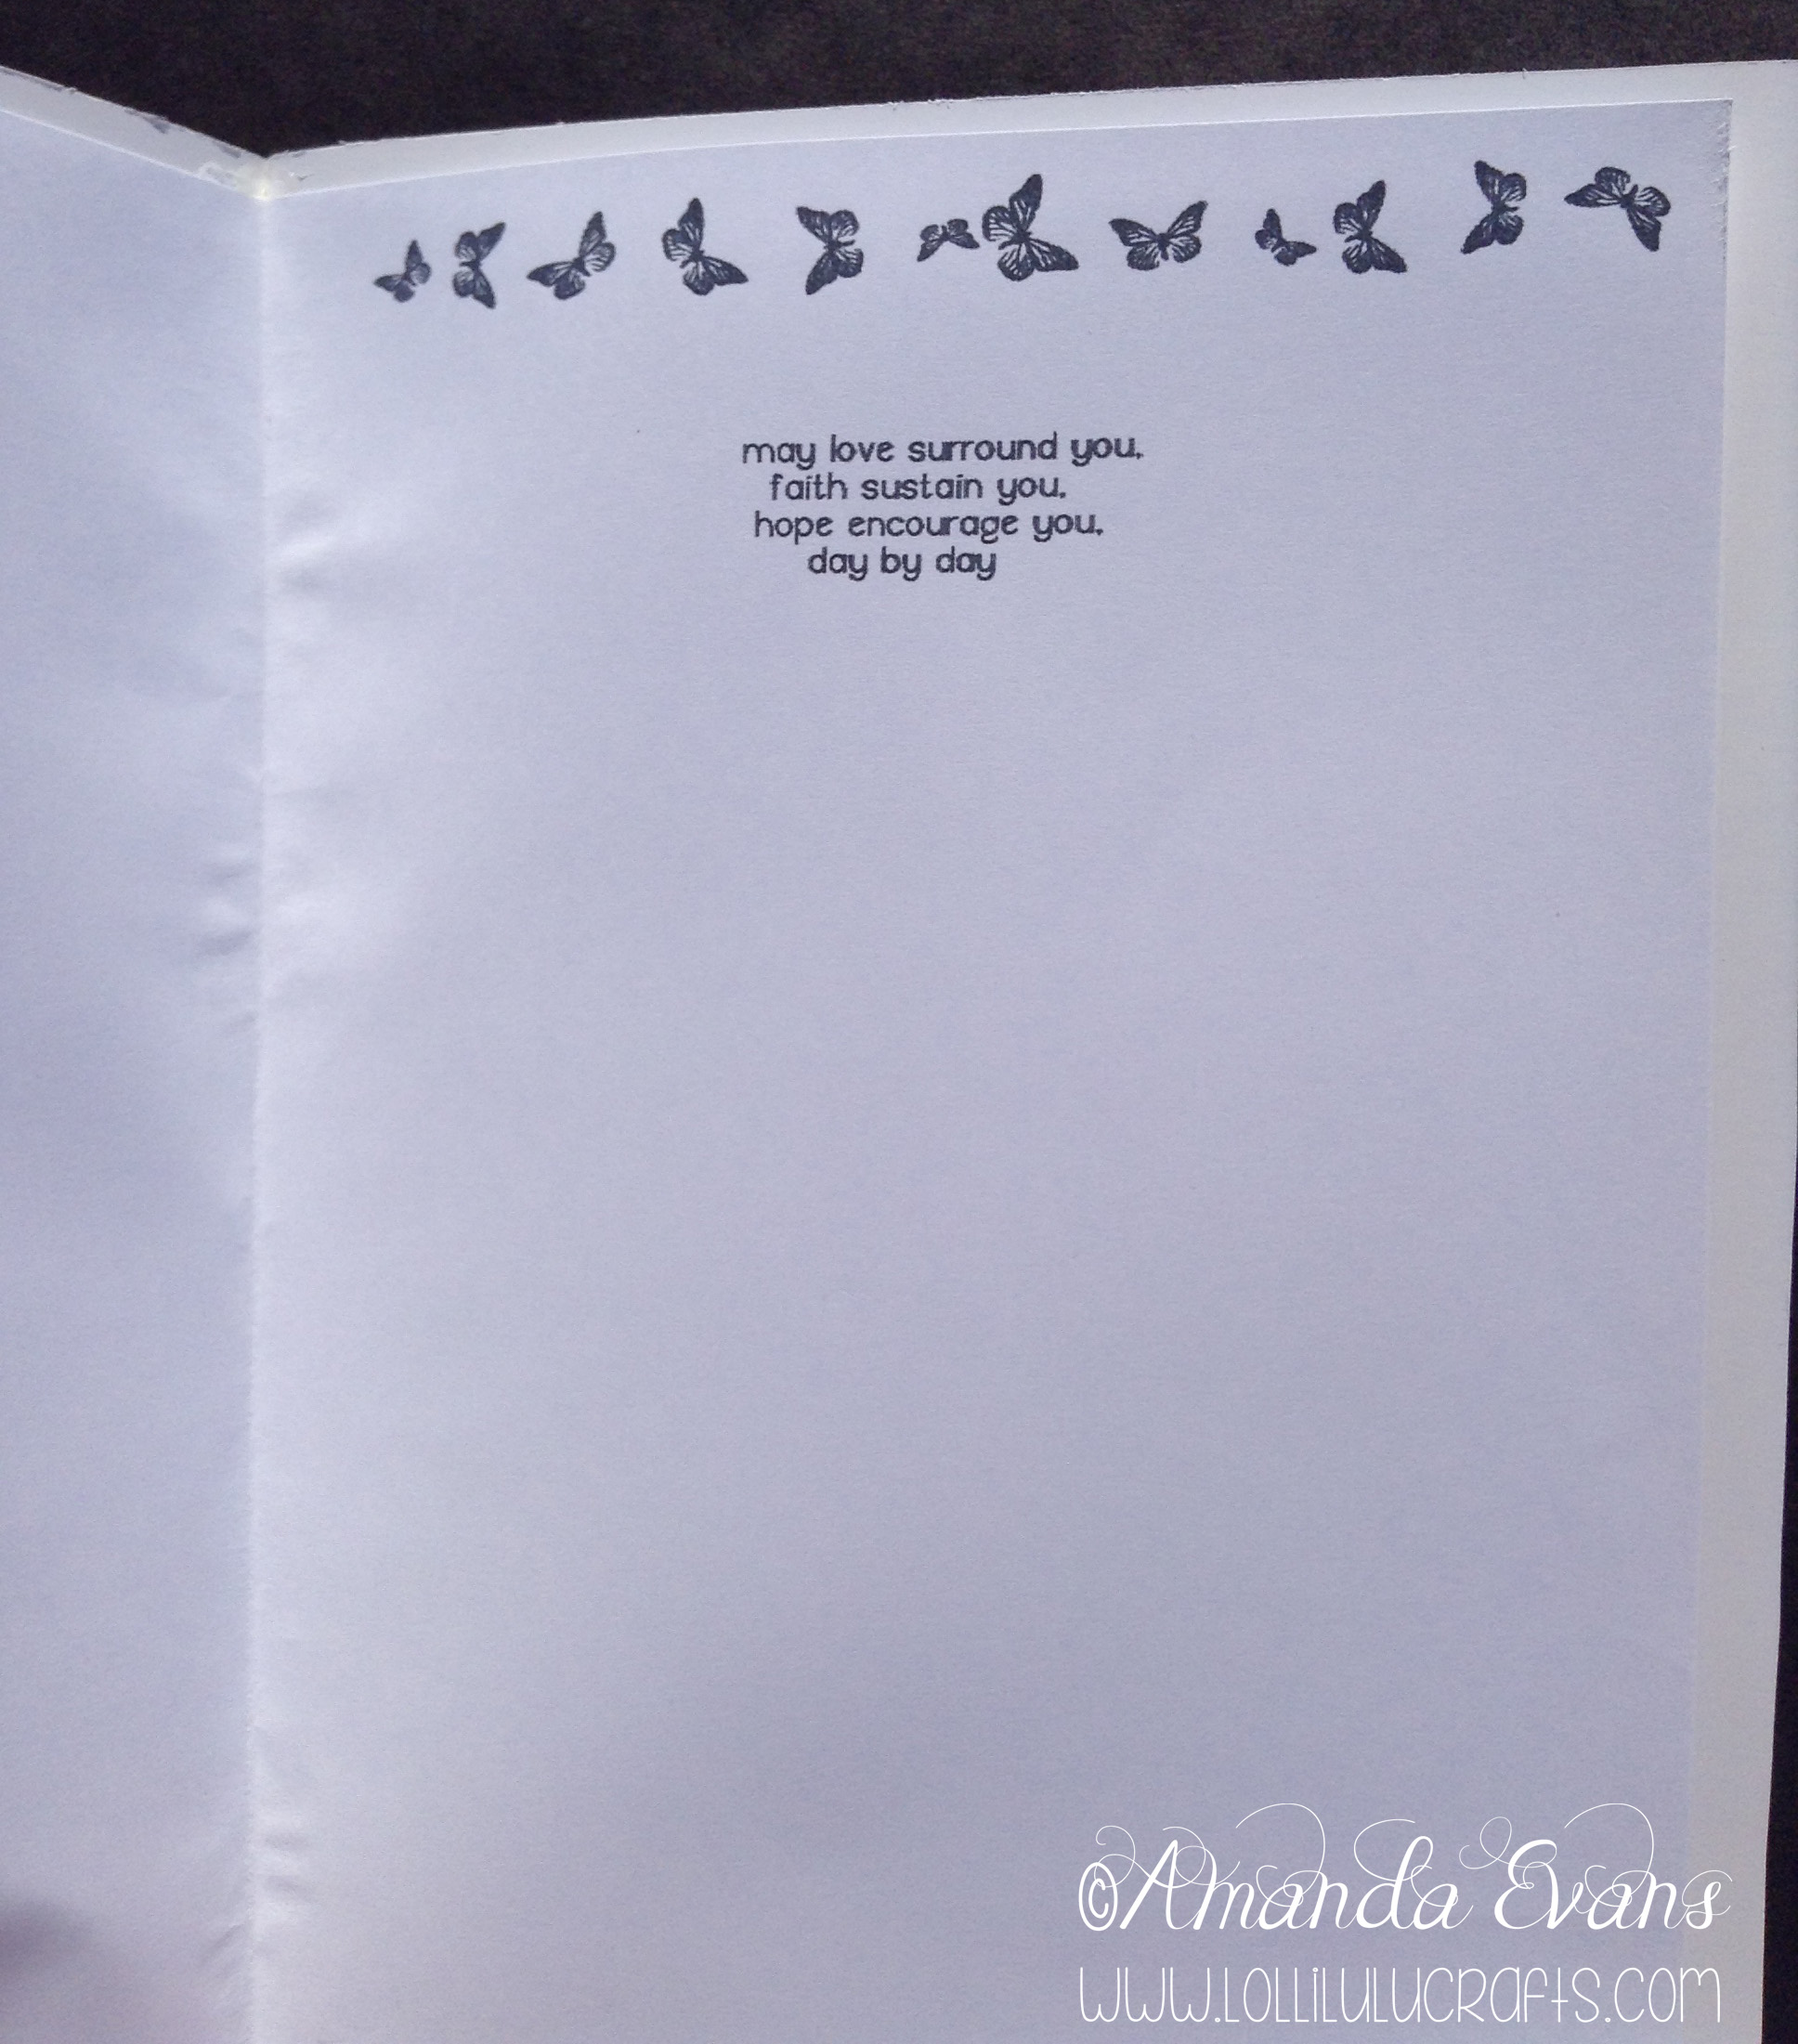
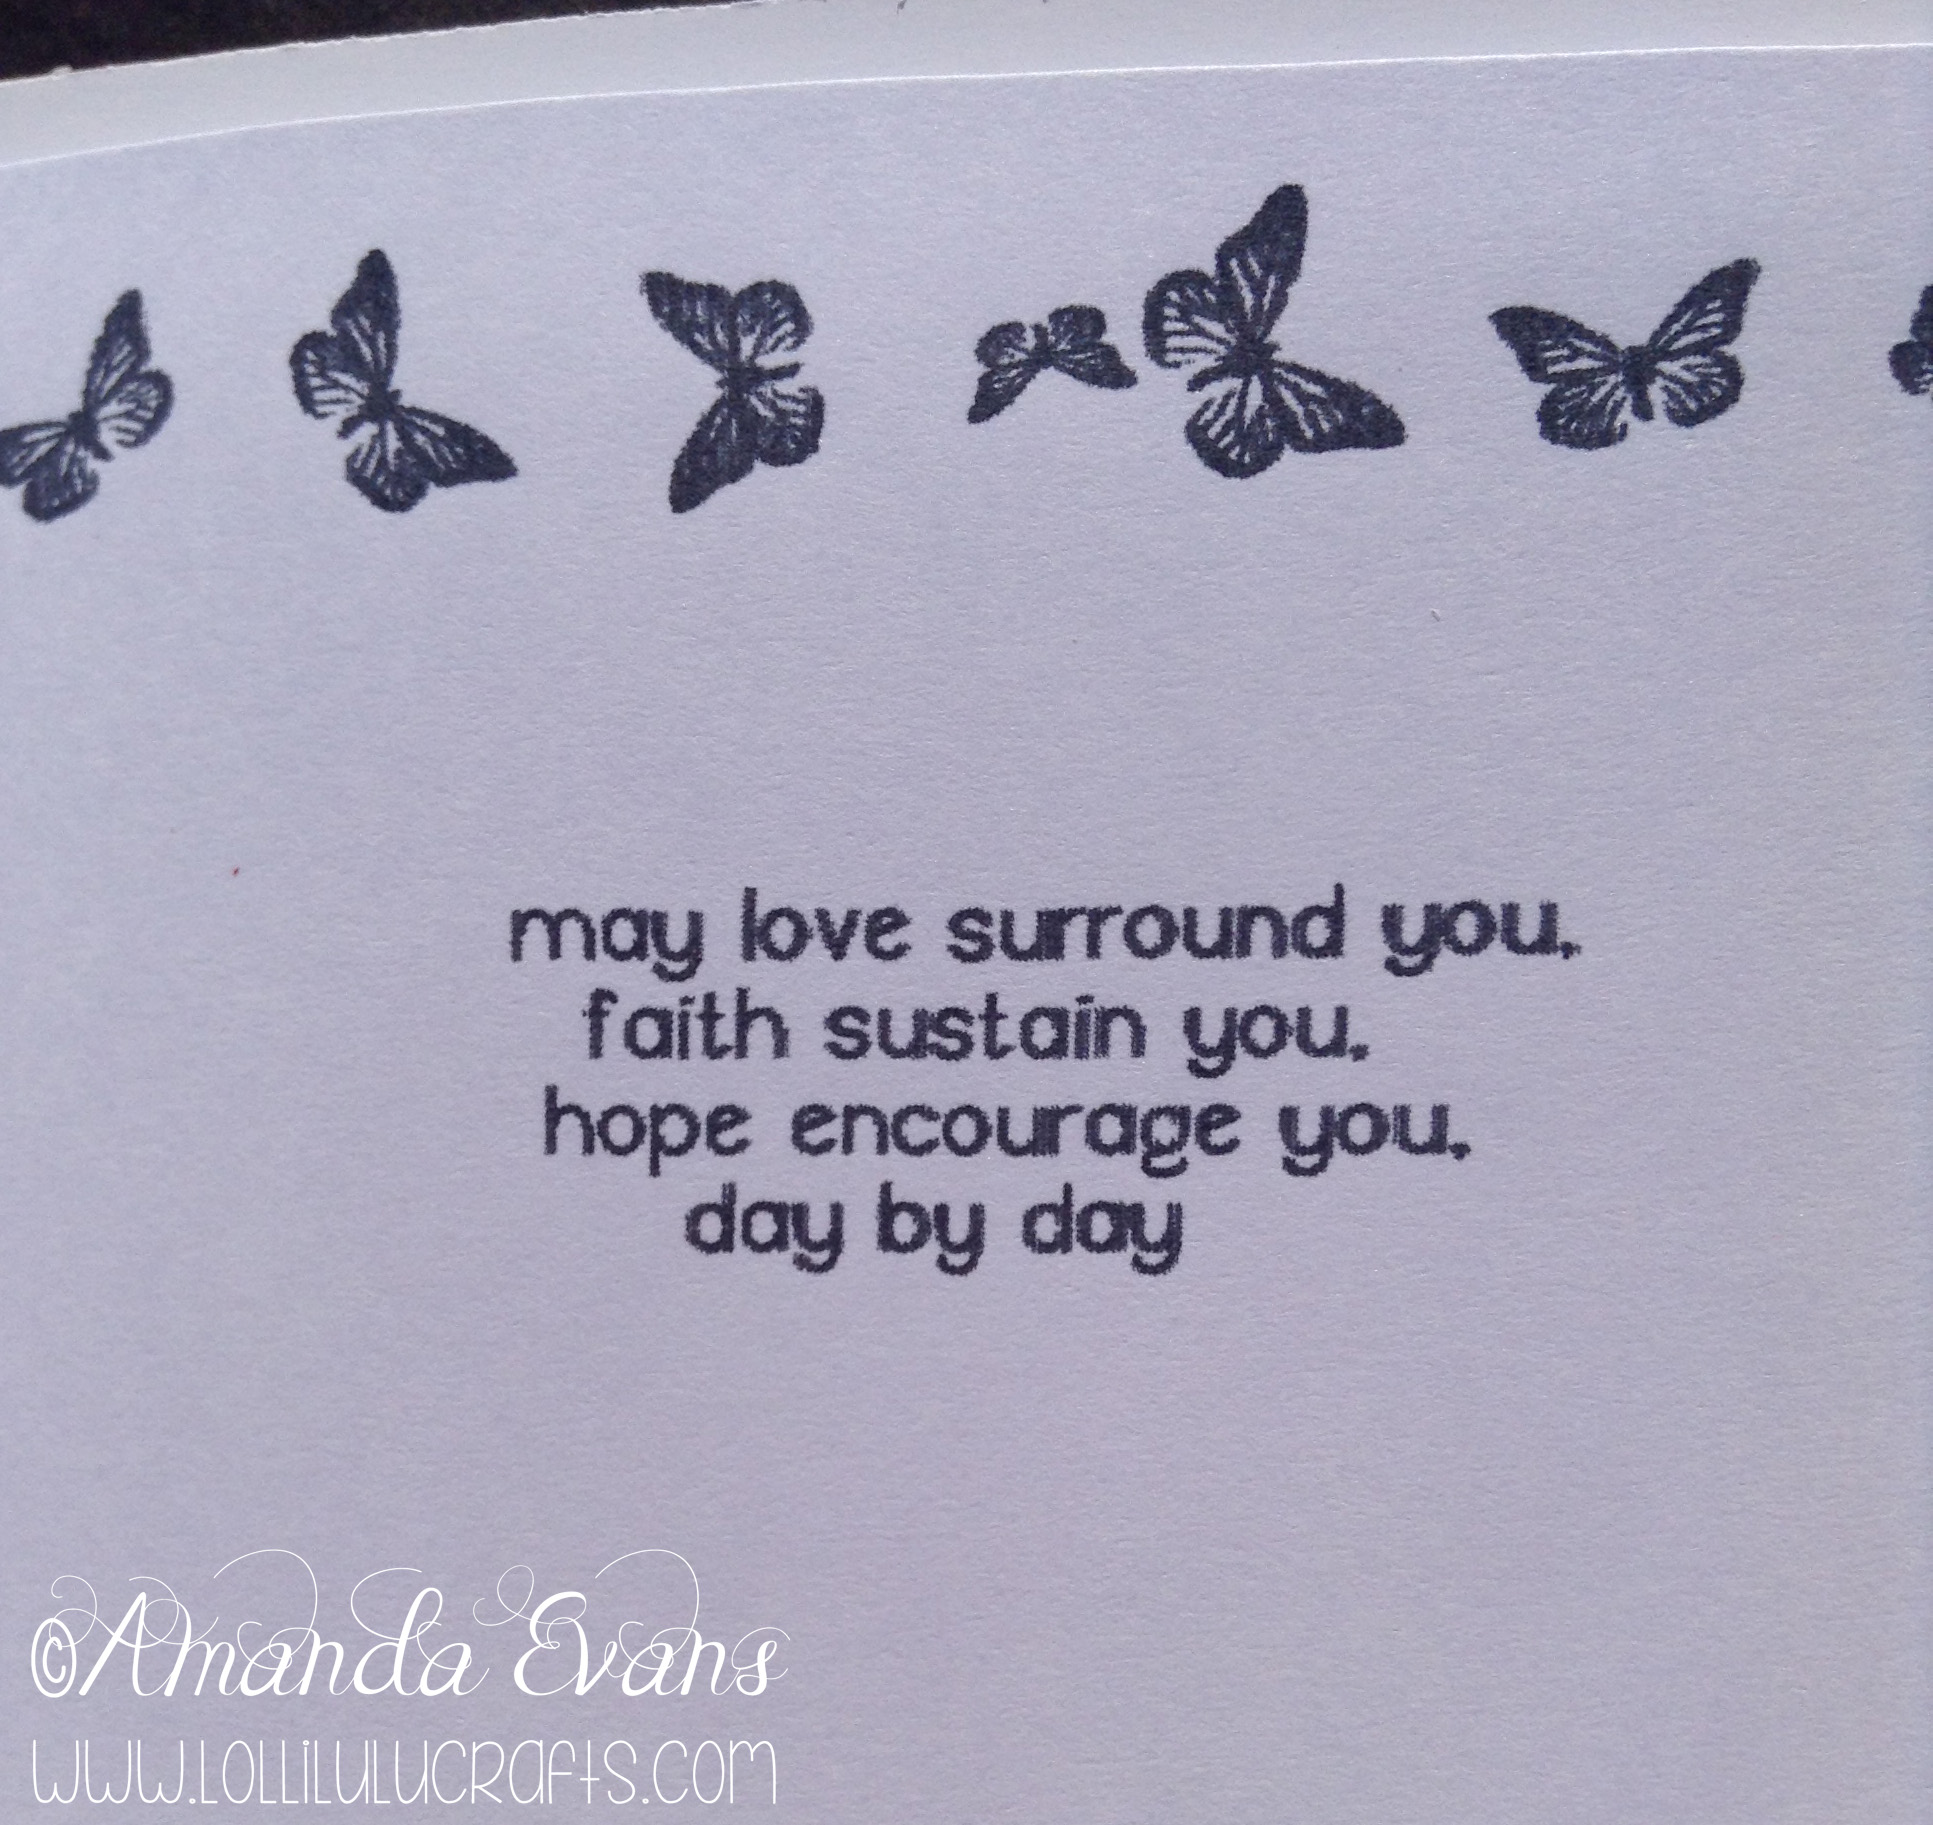
And then to finish off I used my Design Runner on a plan piece of white paper to create a fun and different insert. I always think an insert lifts a card to the next level. Also this being an Encouragement Card I felt there is something abut butterflies that seem to fit symbolically, the words I got from a quote book and you input them into the little ‘computer’ part of the Design Runner and then save to the little disc thing and then put that disc into the actual Design Runner and then you can print it out. Super Cool!
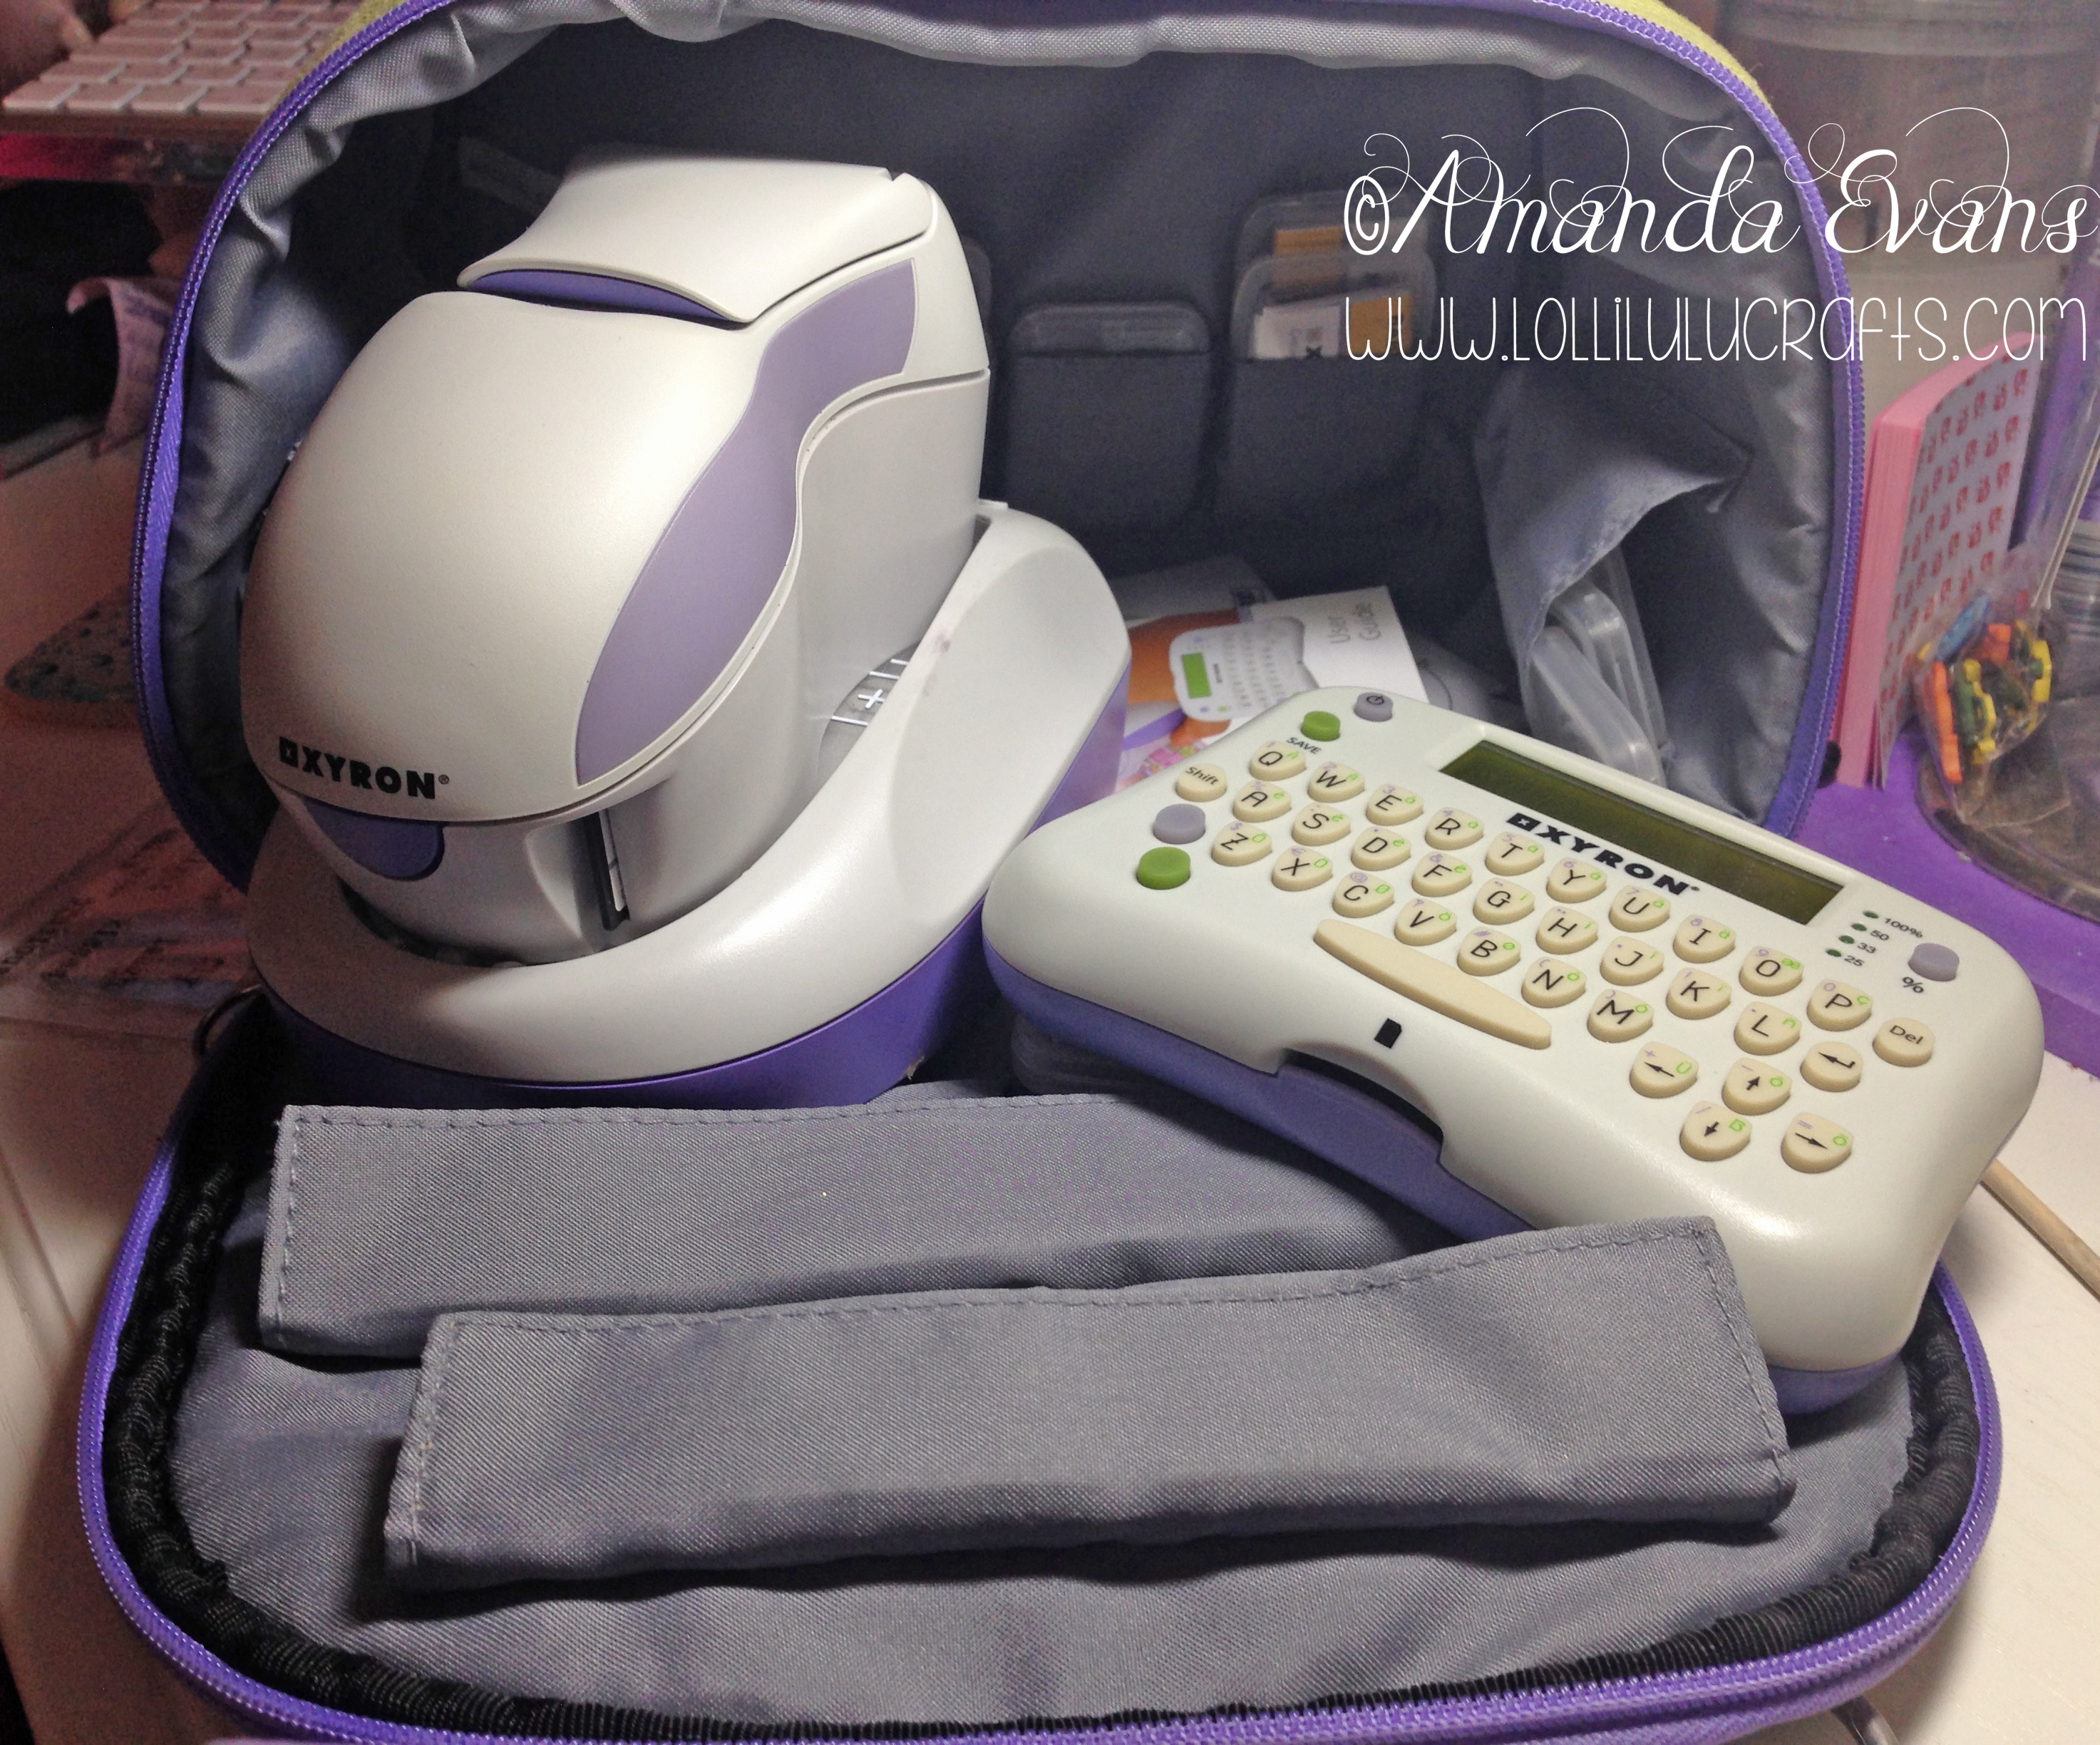
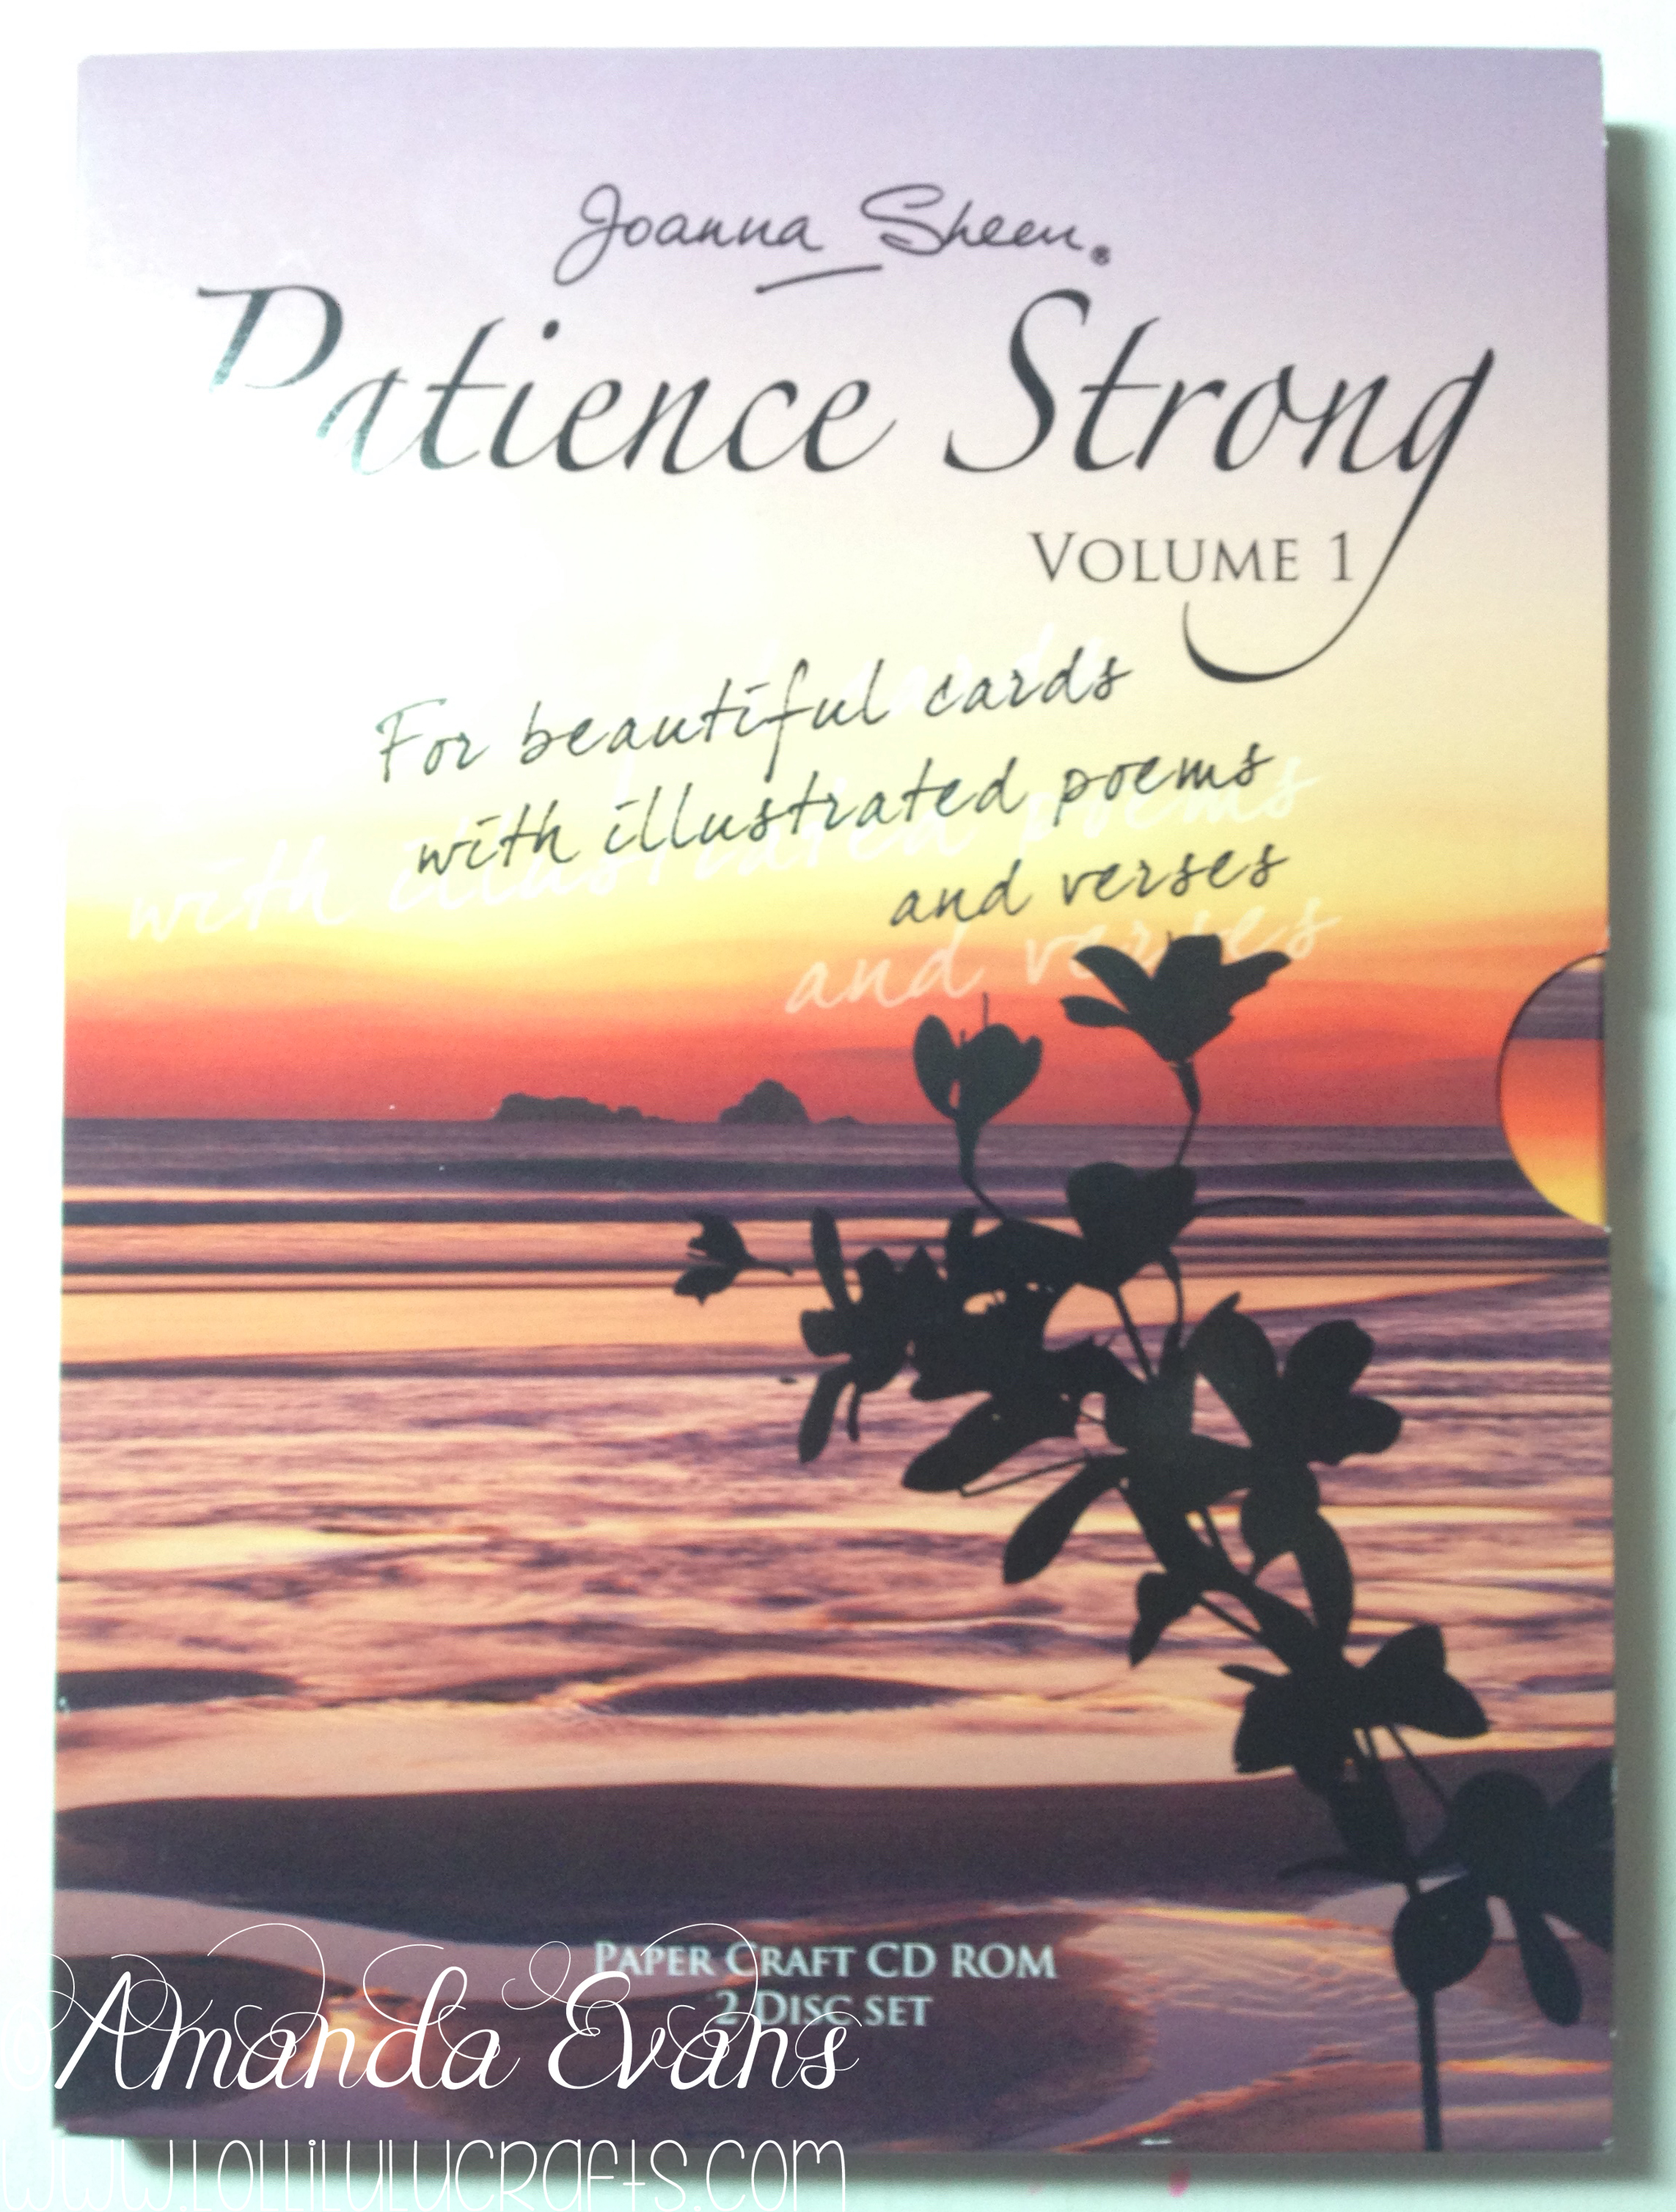
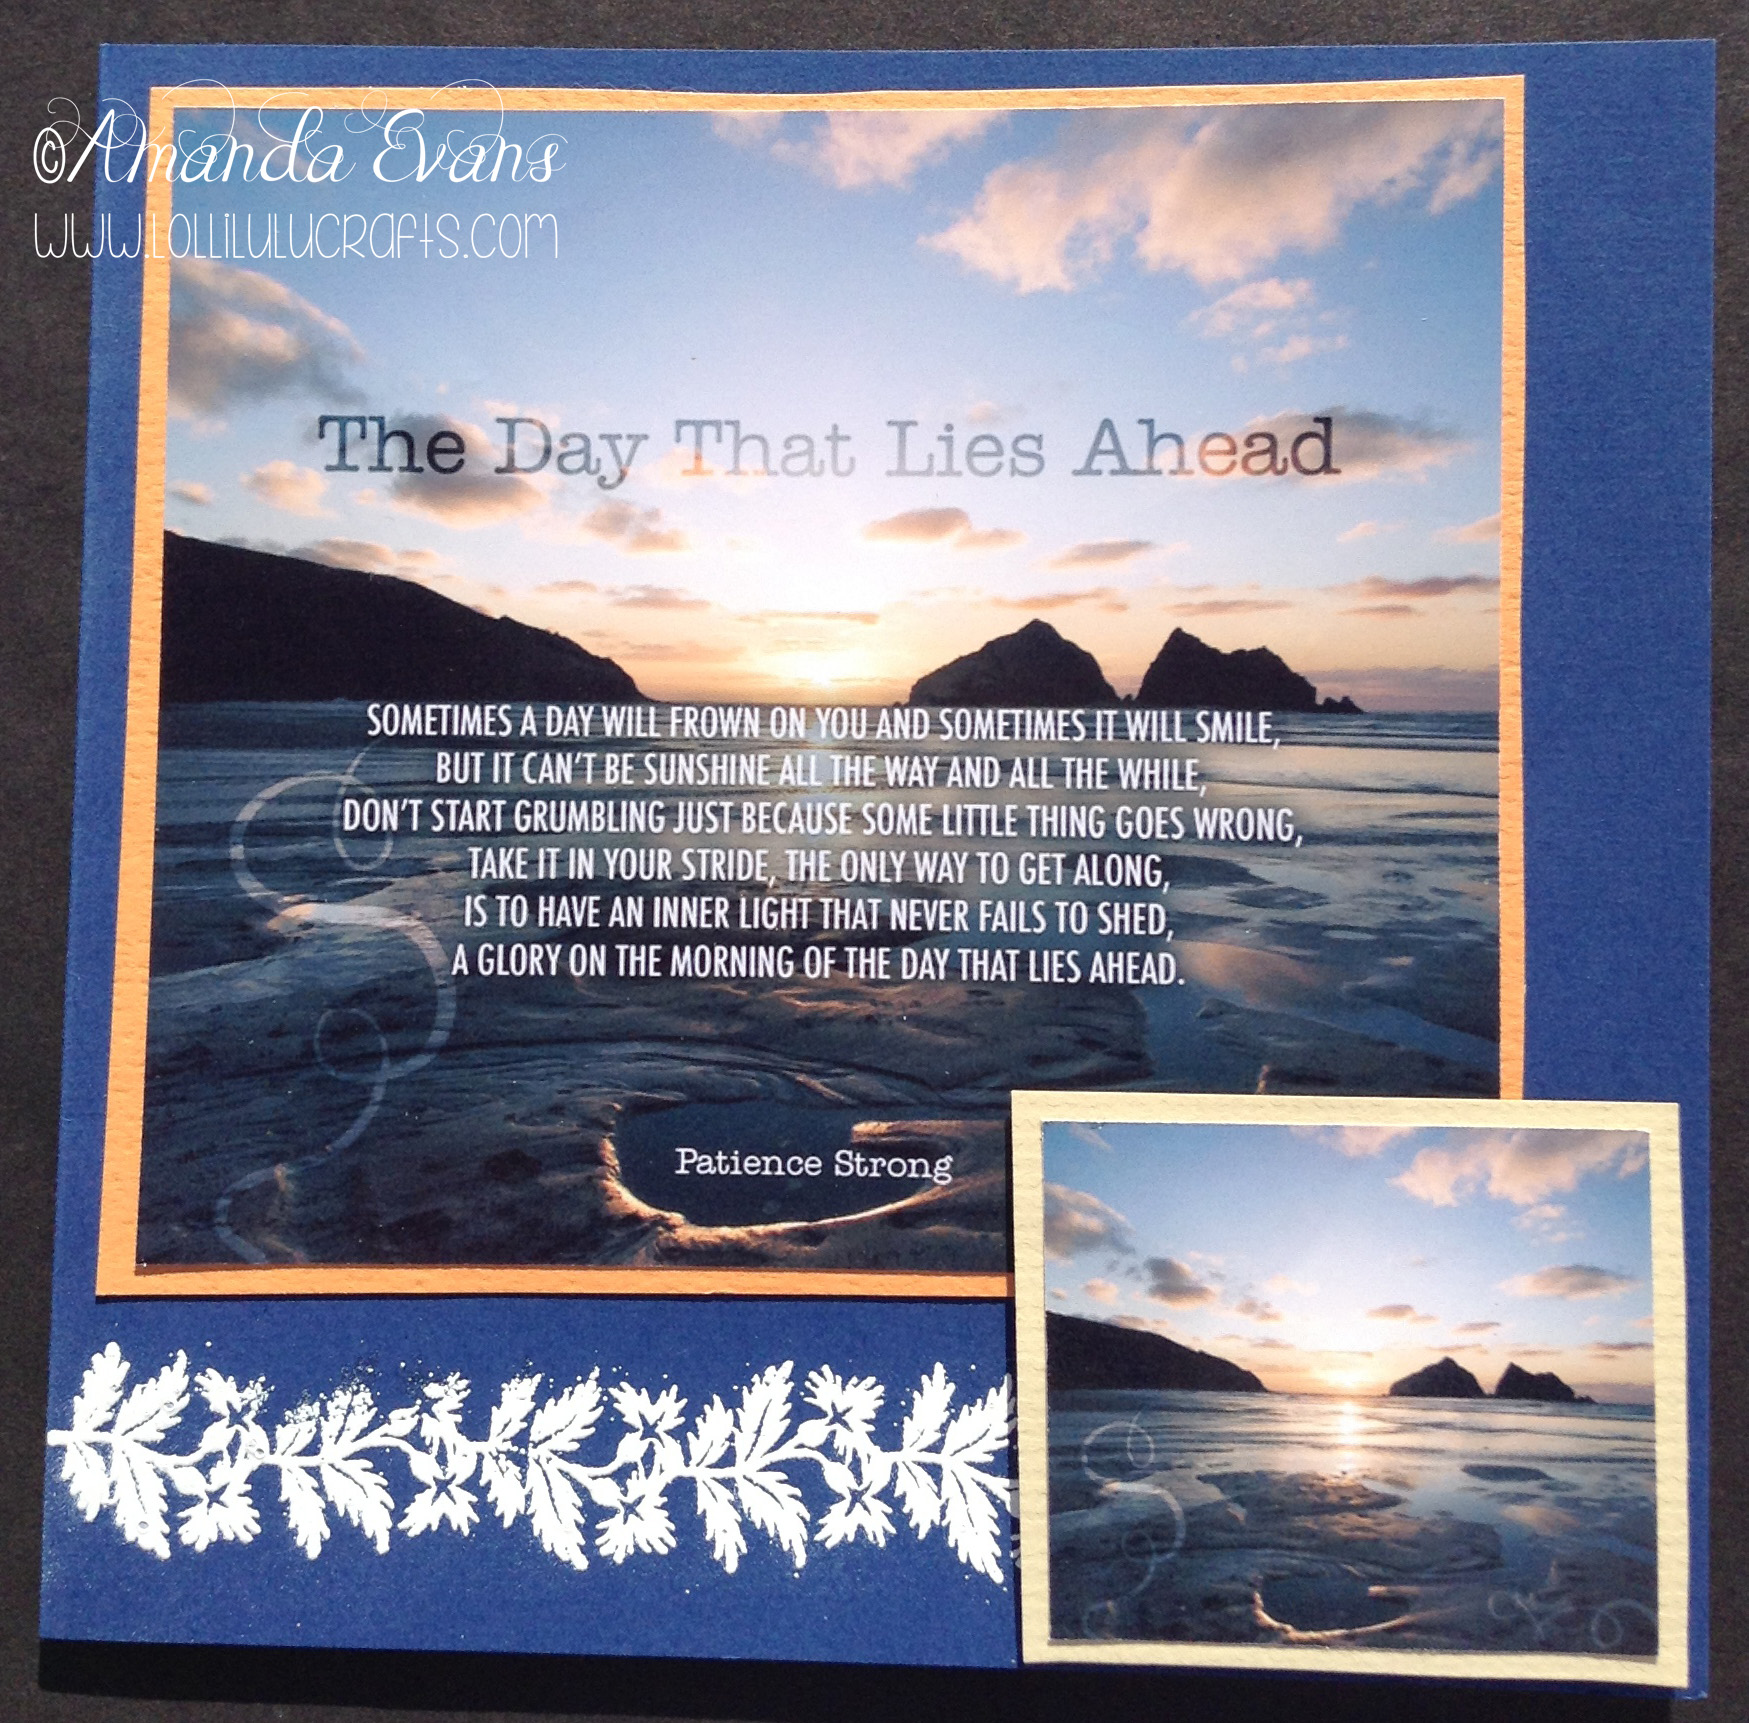
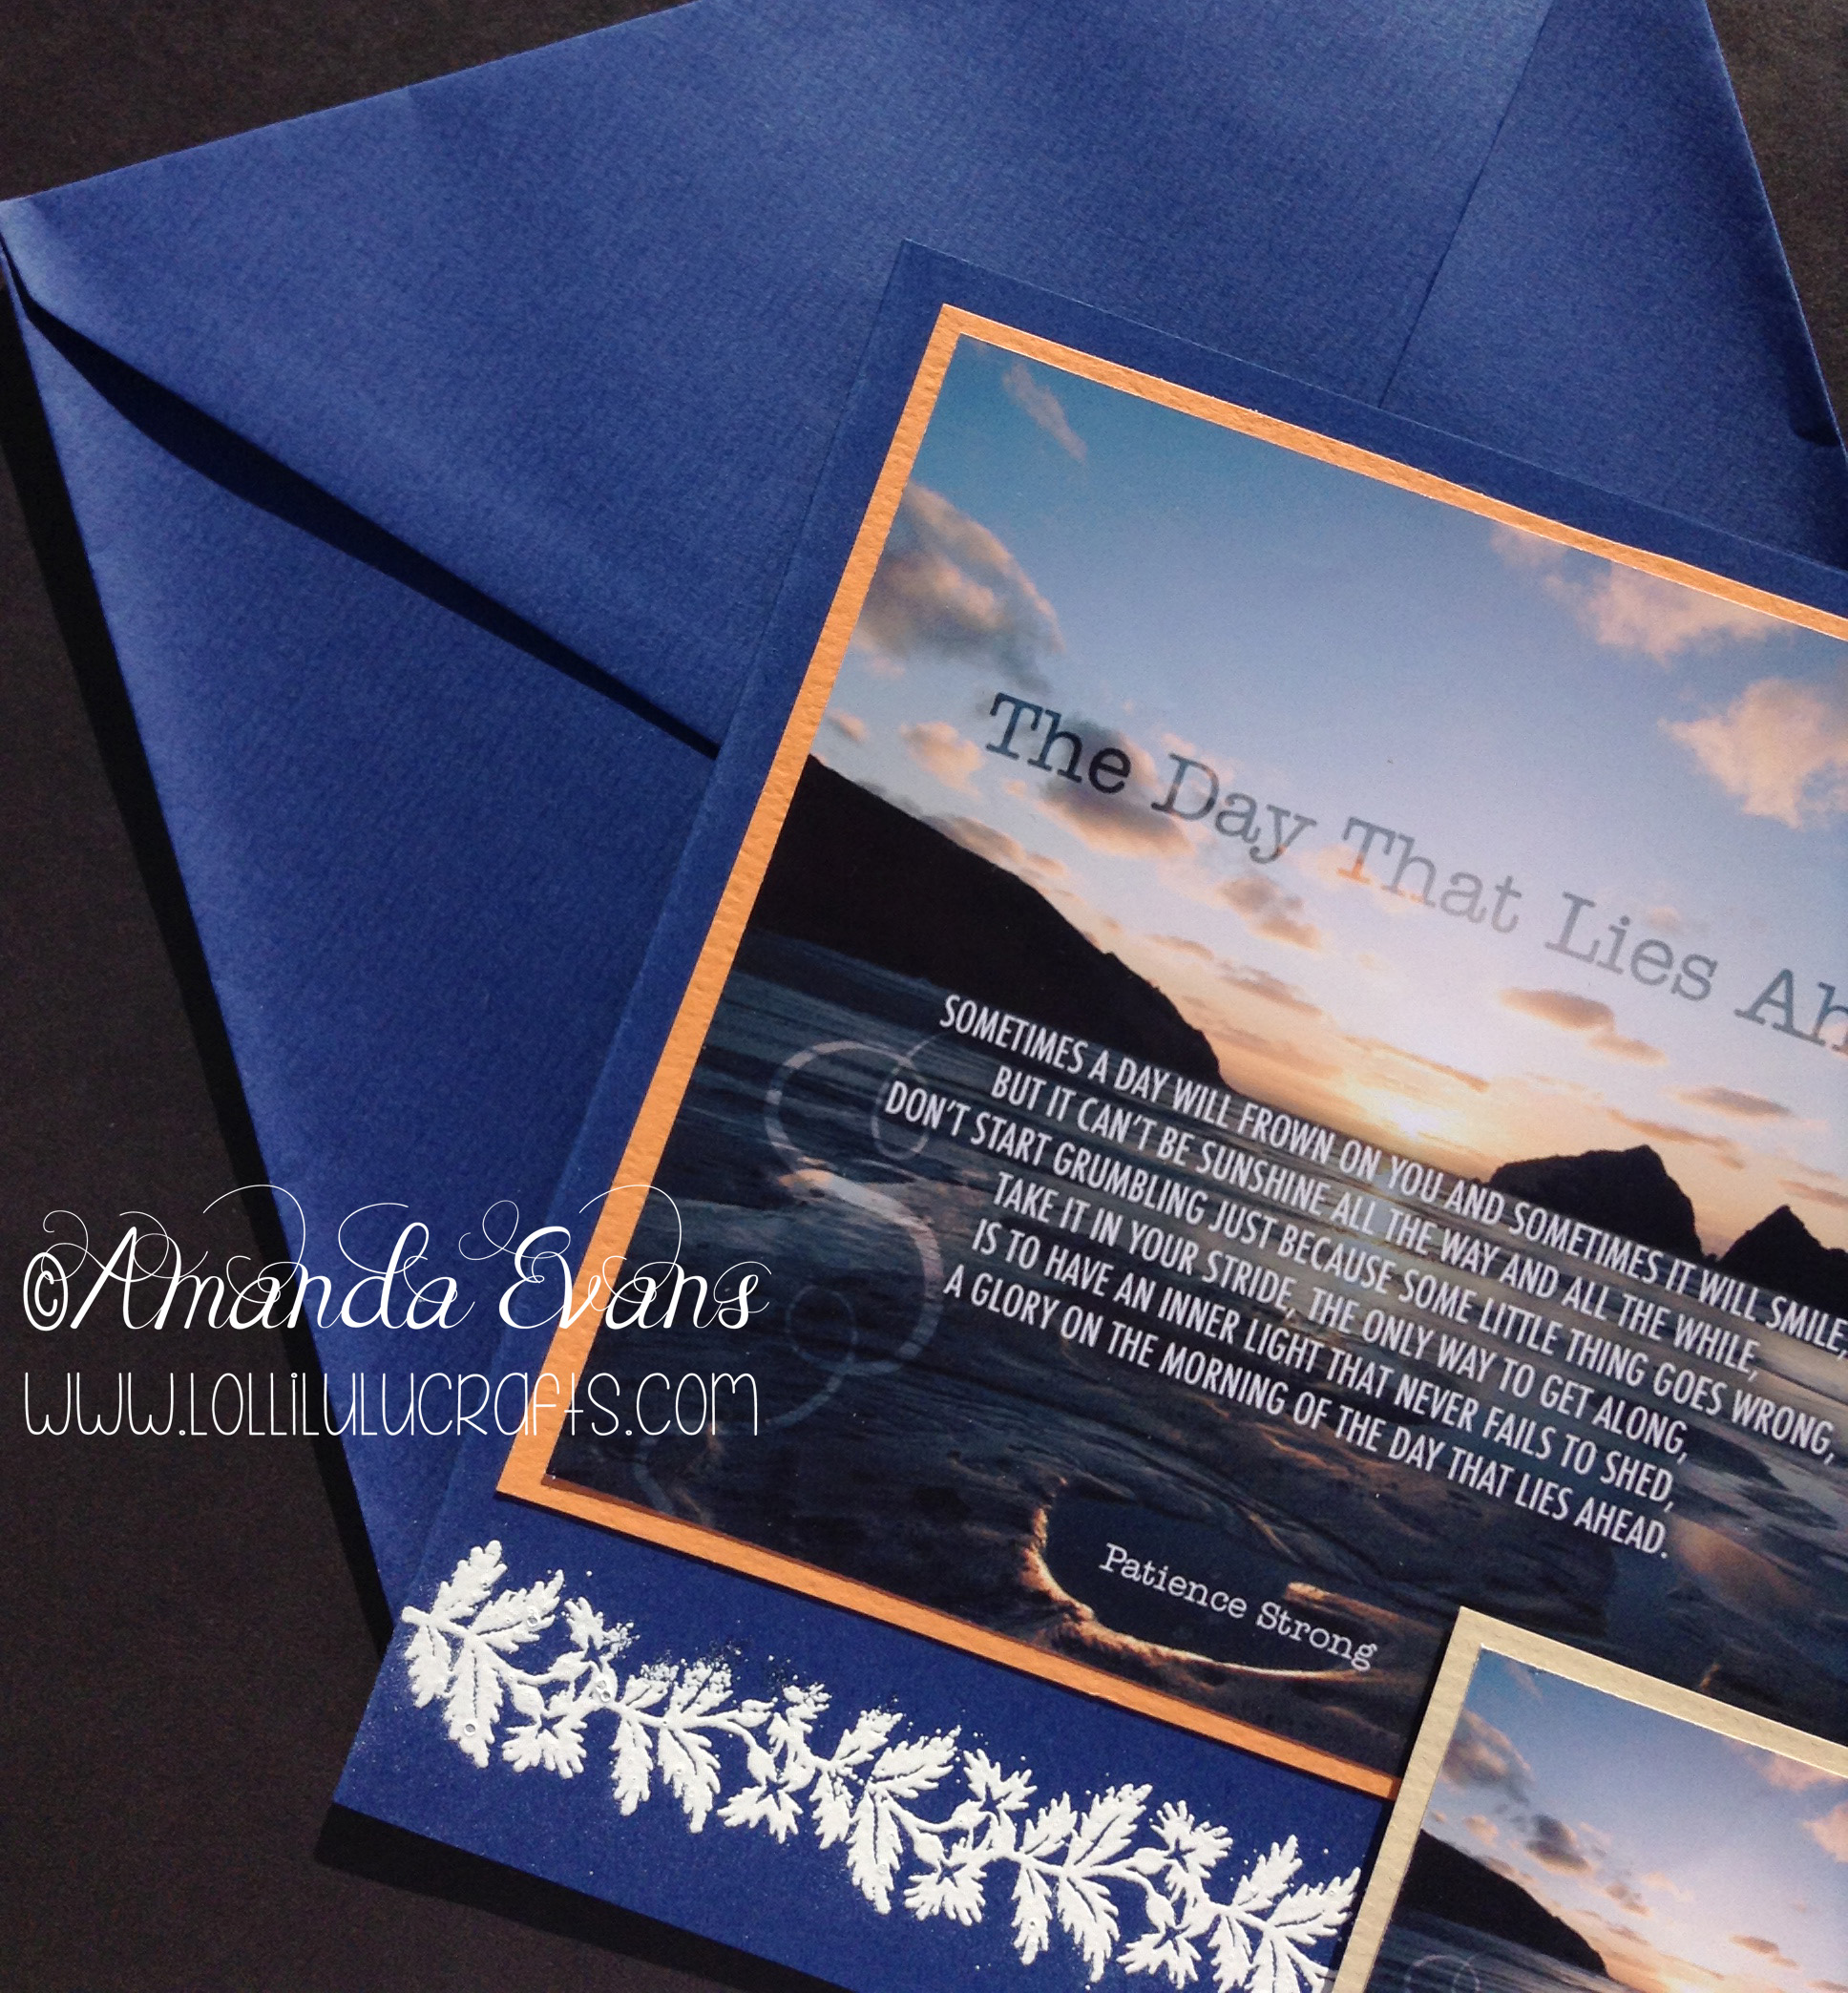
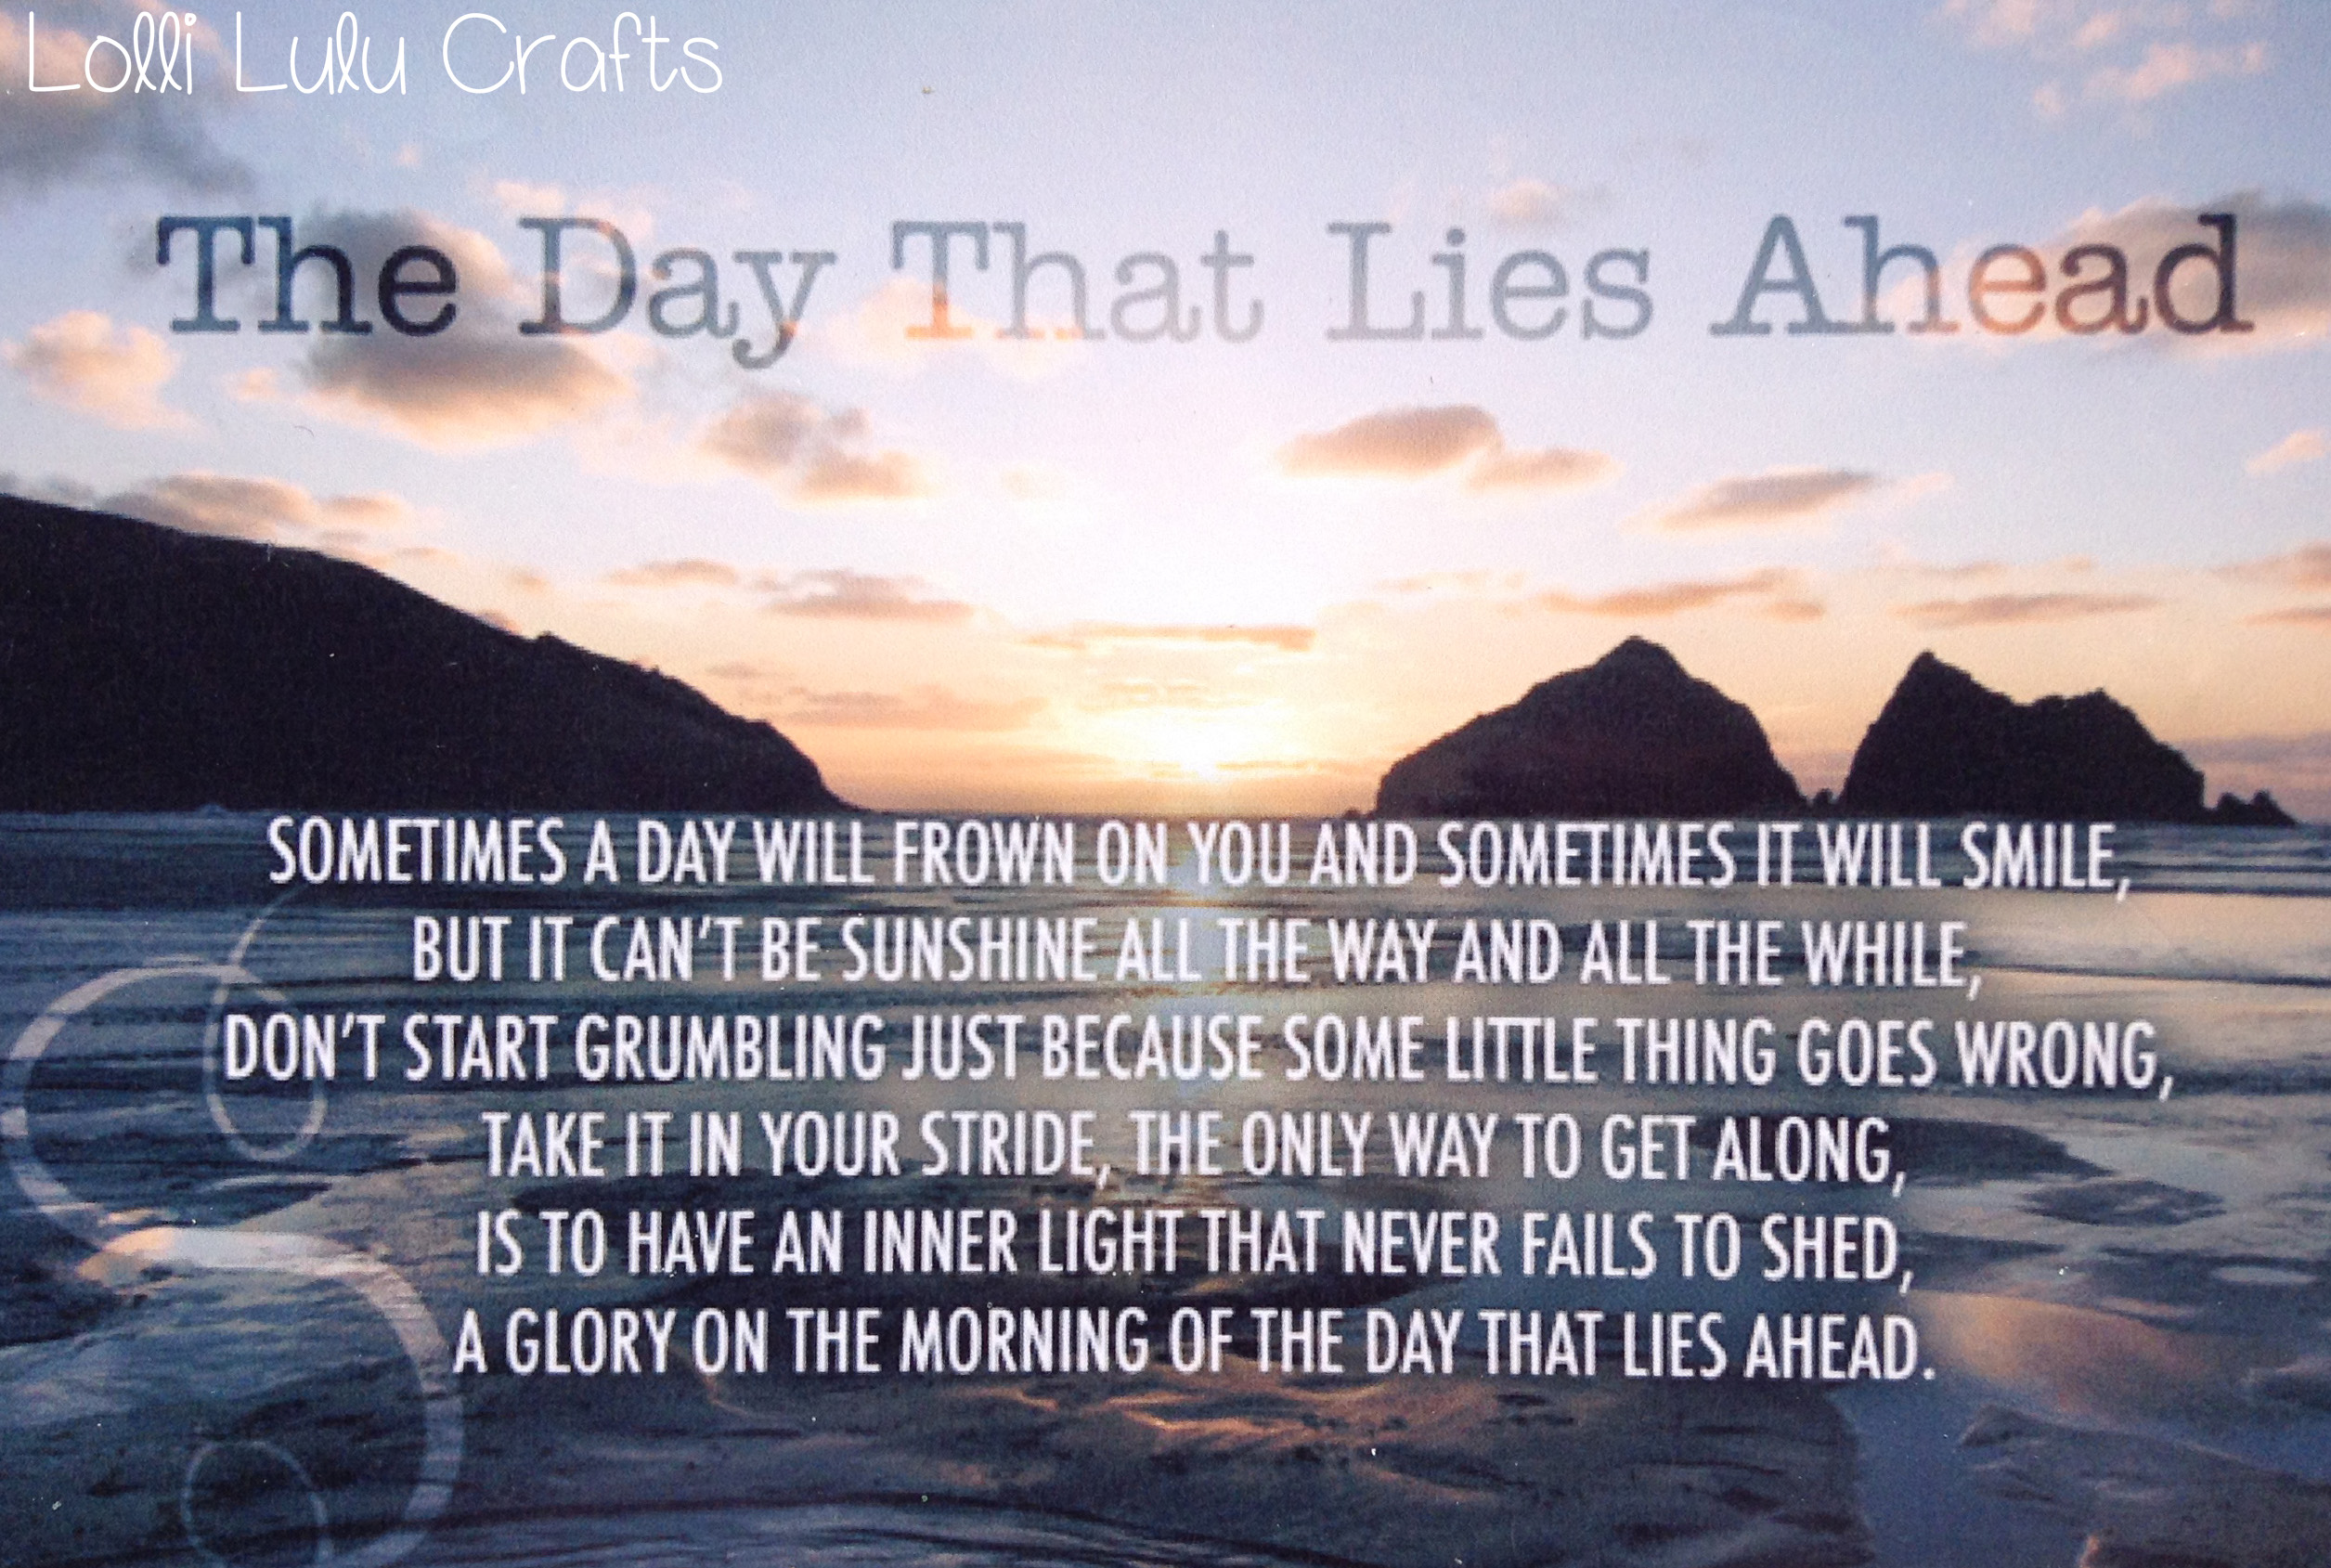
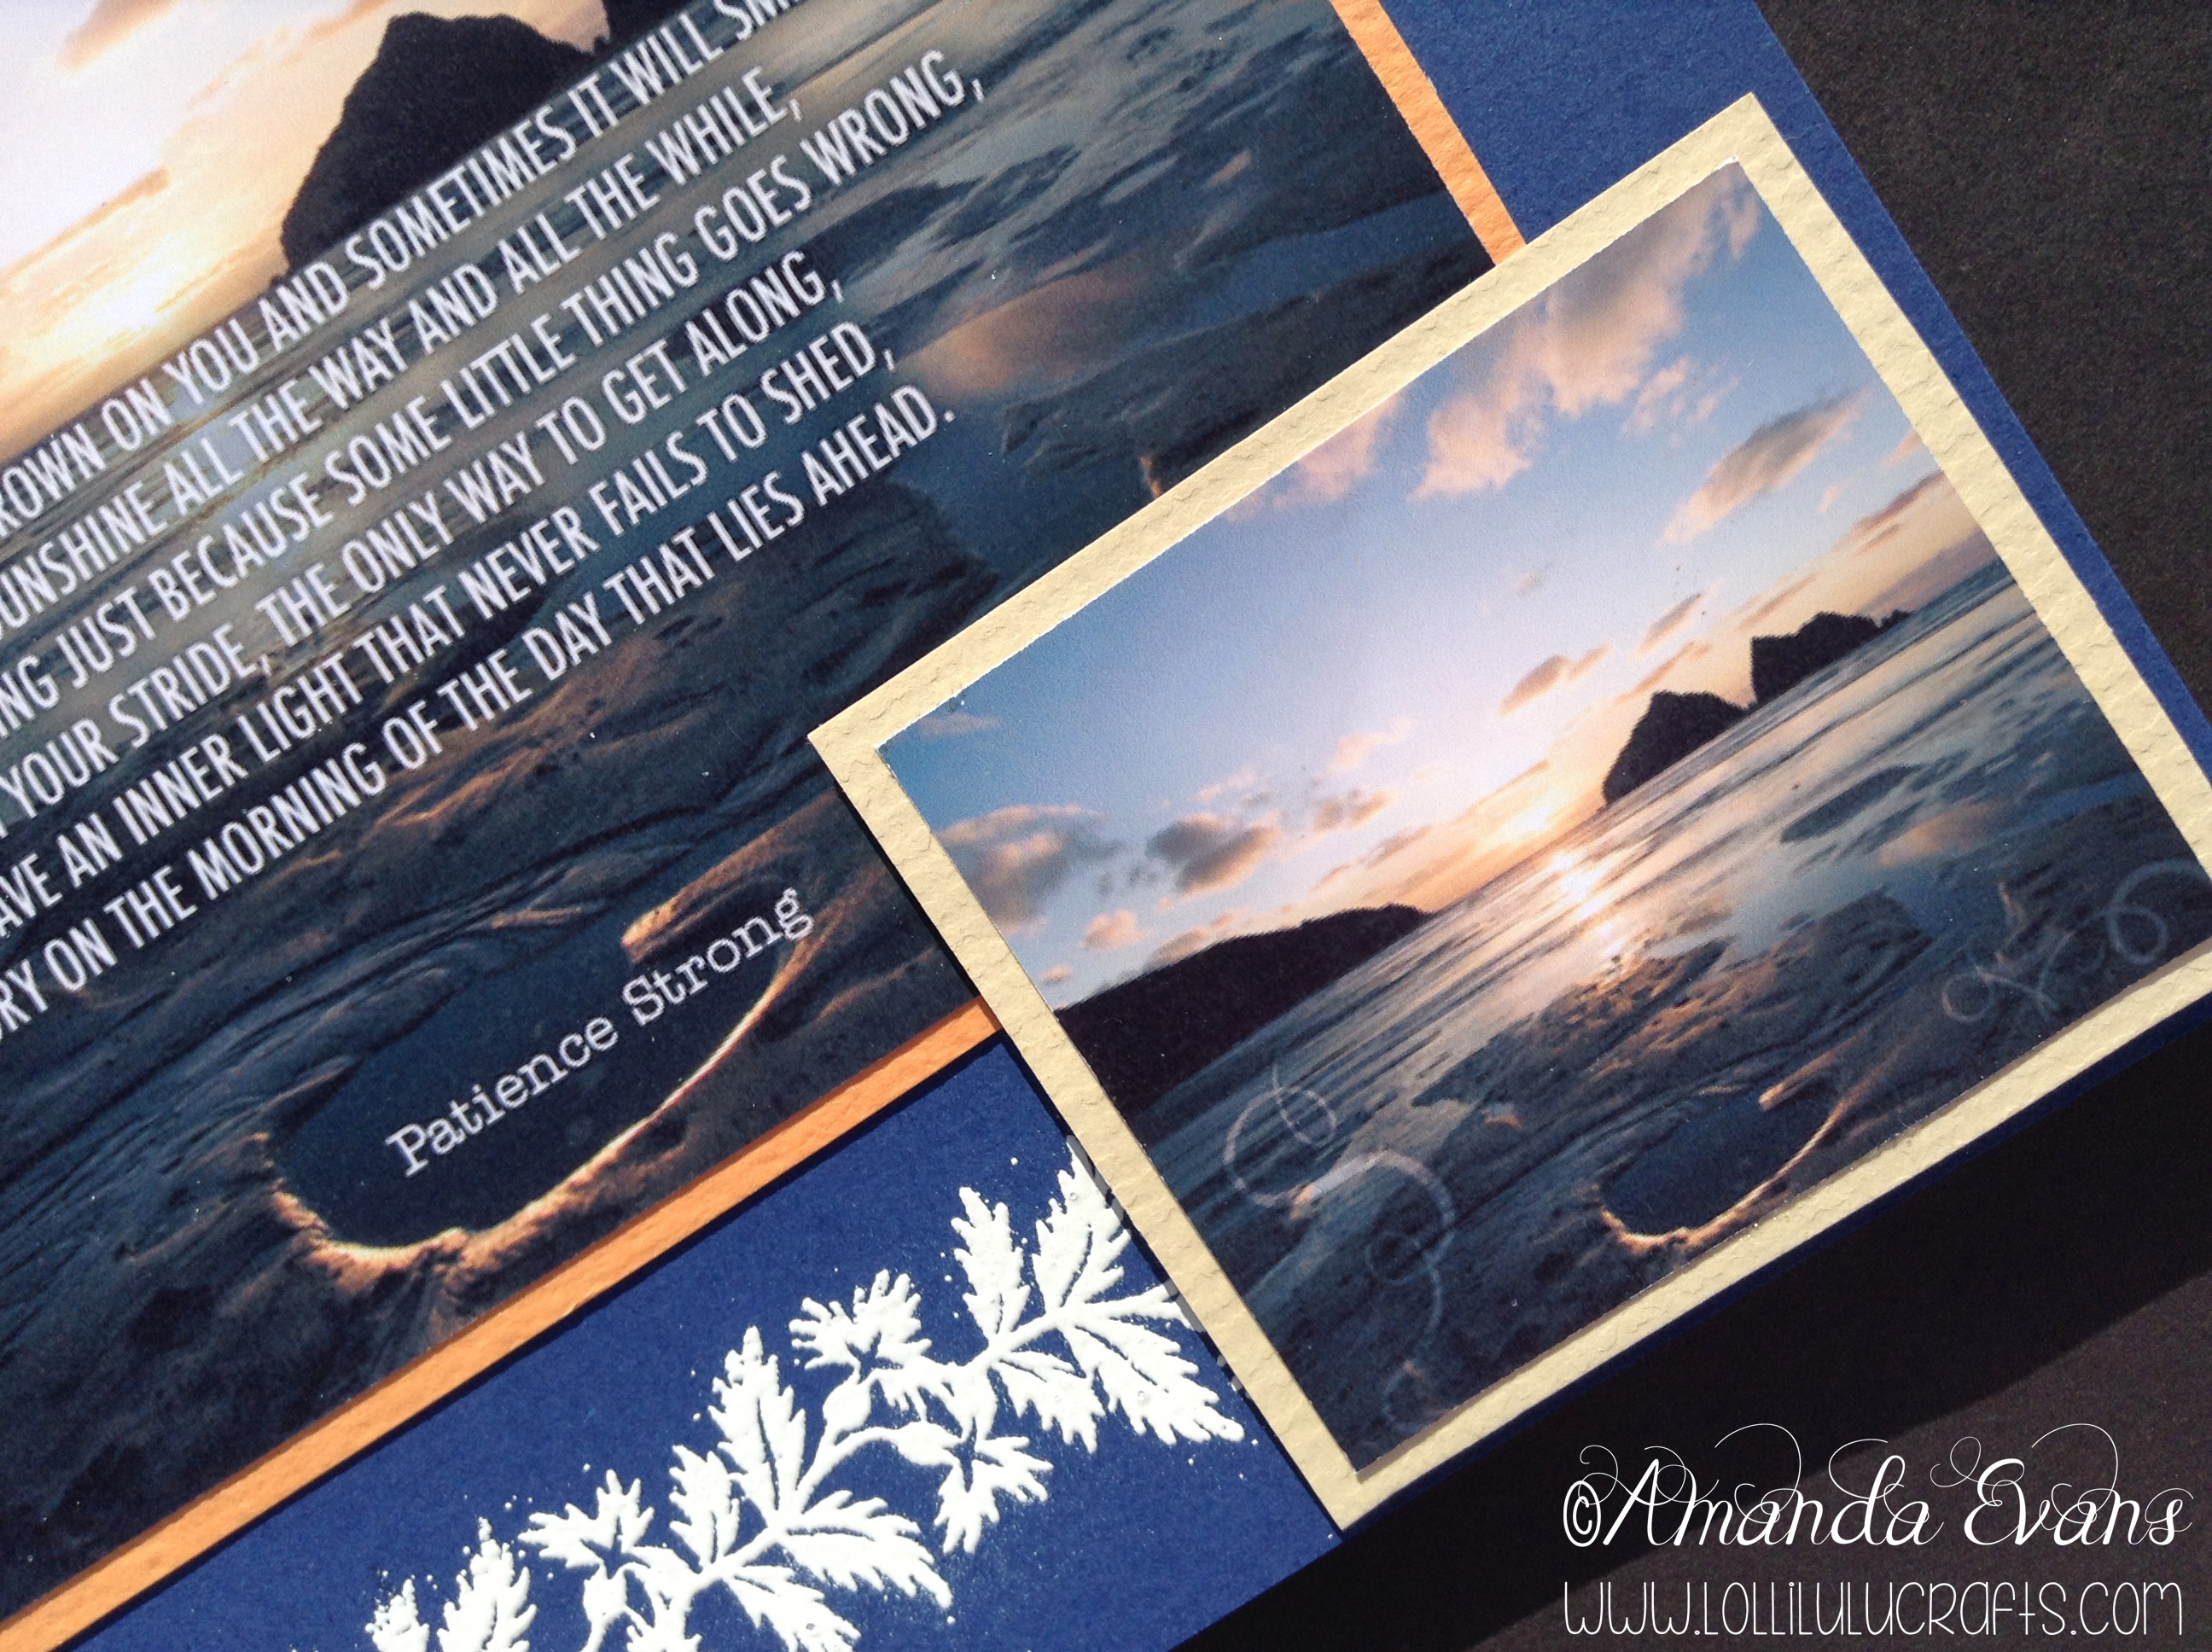
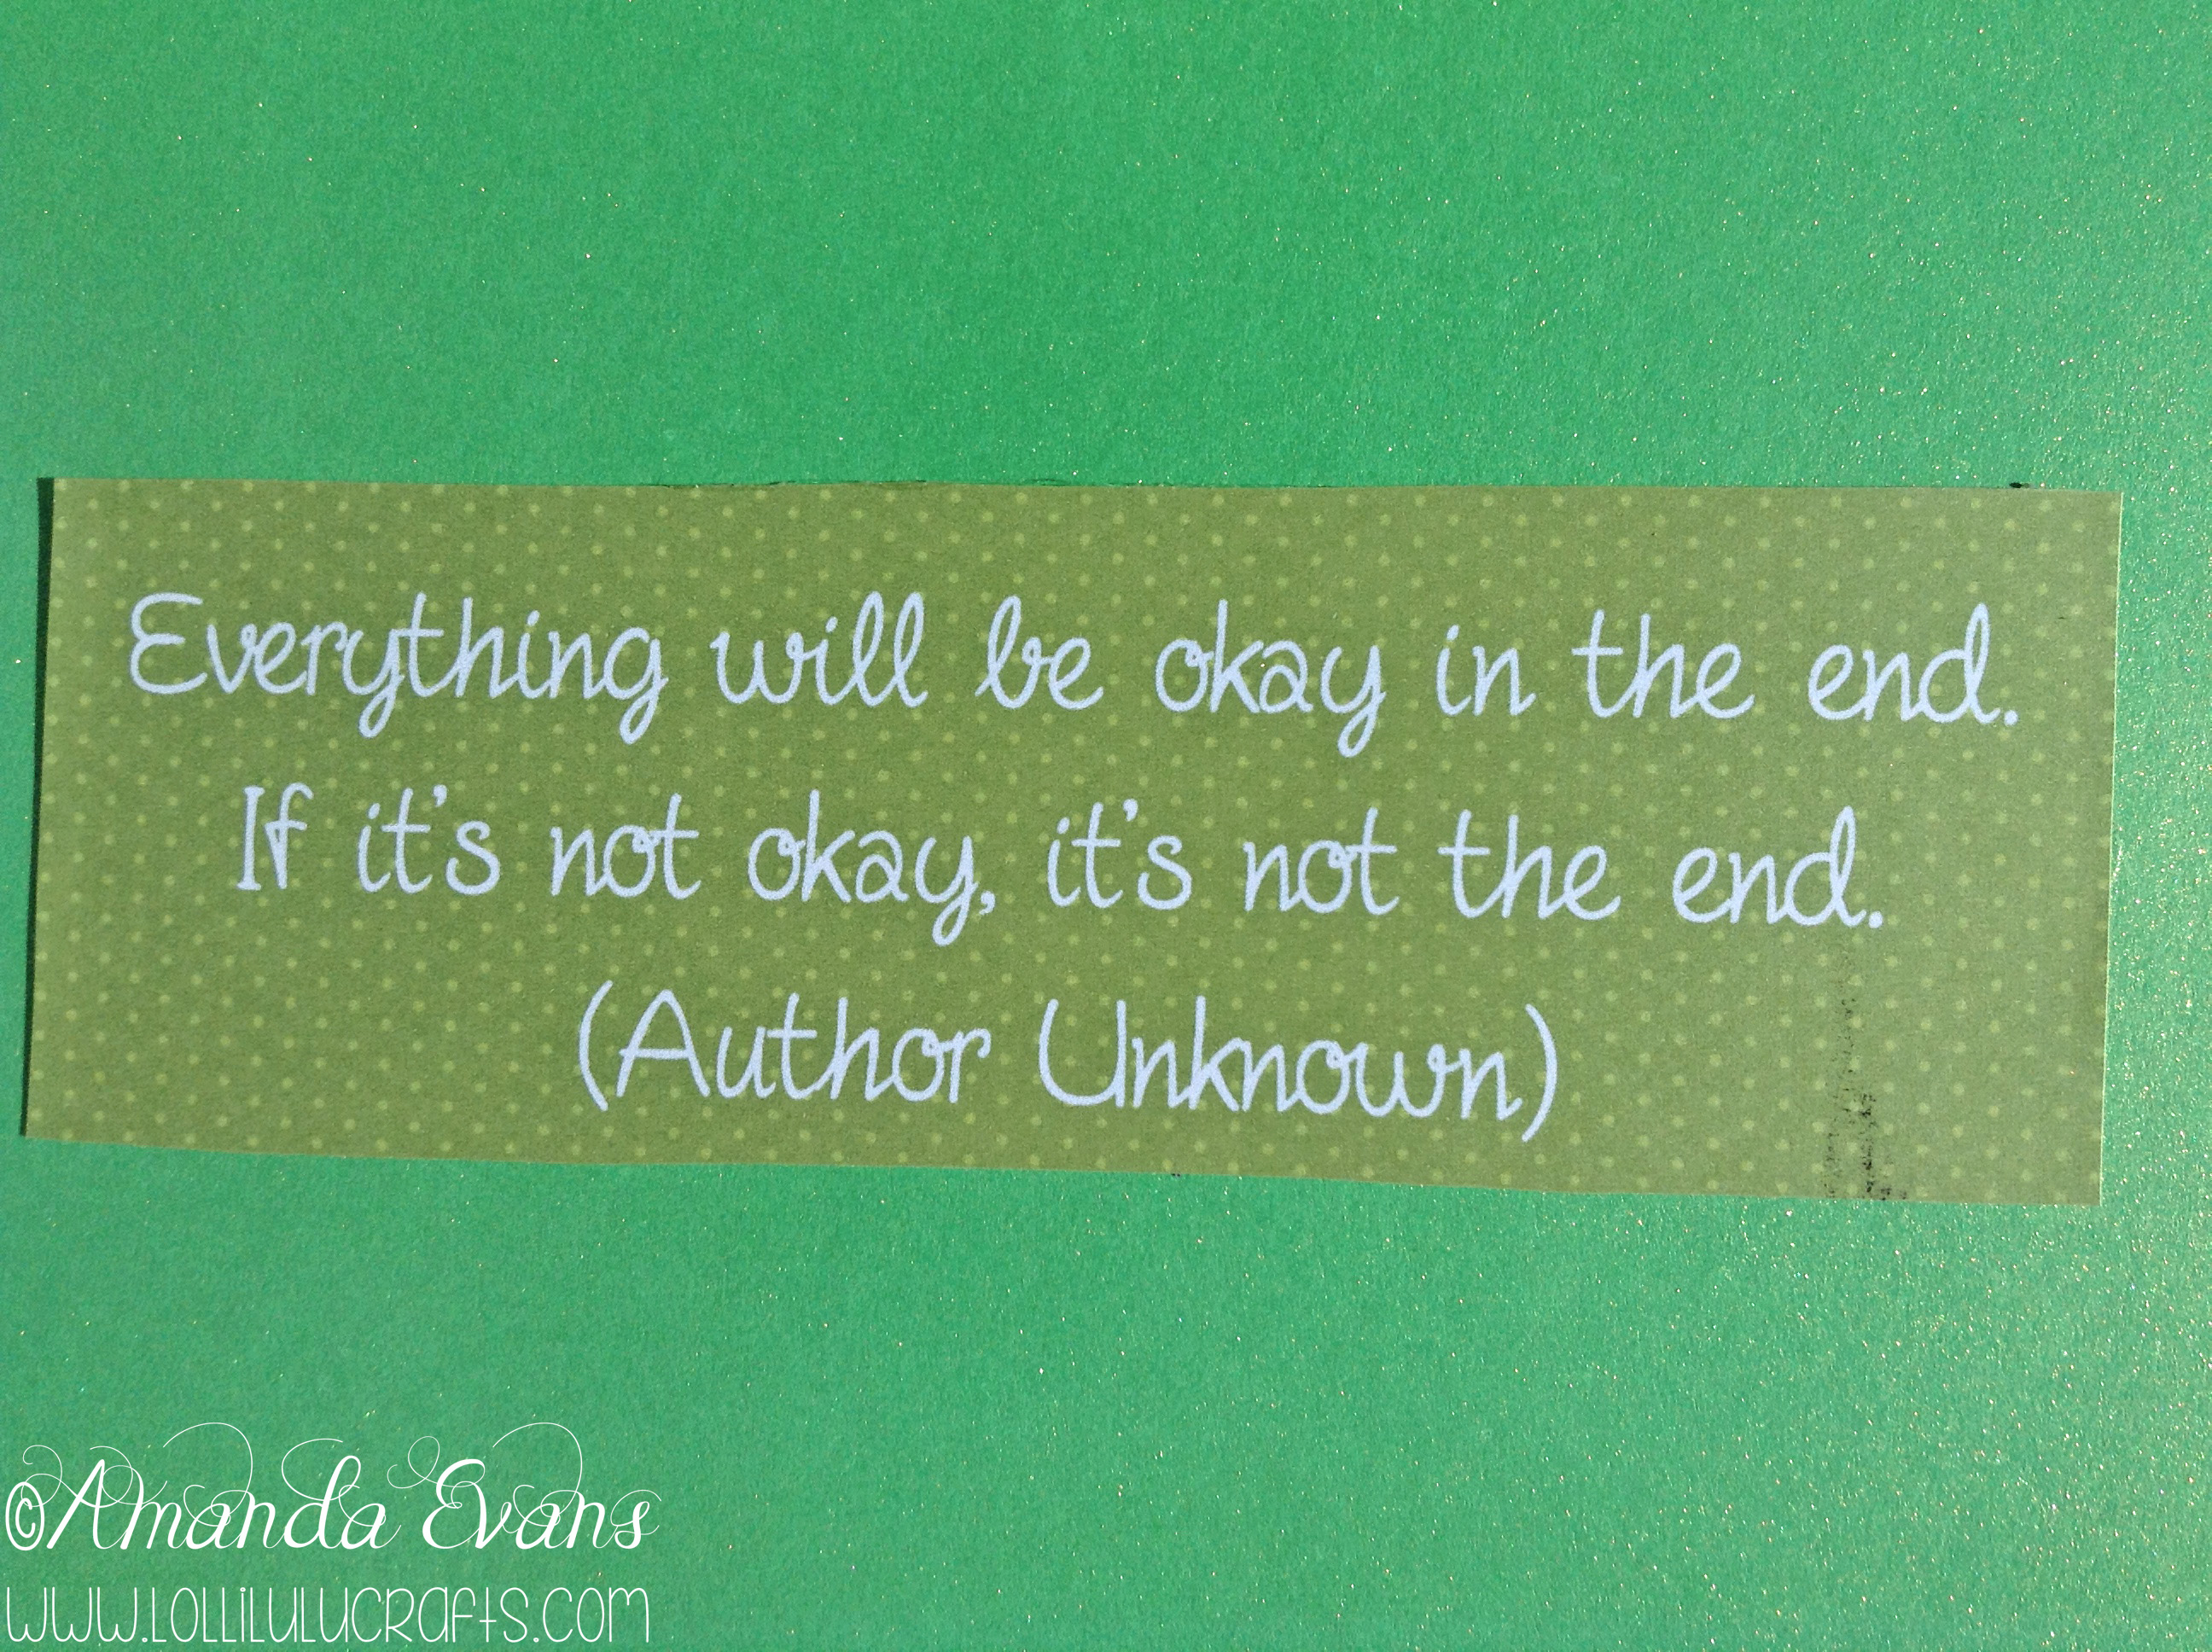
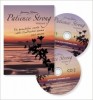
The next card I have for you is made using a quote image from the Joanna Sheen Patience Strong CD Rom. I love Joanna Sheen CDs and this one is very lovely with all the amazing quotes beautifully displayed. I also made use of my Xyron Design Runner, I am not sure they even make this any more as I suspect technology has moved on rather:
So basically I printed out the image, for this image I used lovely shiny photo paper, and added to a pre-scored card. The I felt it needed a little something extra so I added some embossing. I’m afraid I can’t remember where the border stamp came from, I did then add a sentiment in the corner, and then wondered what I was thinking as clearly didn’t need that with the quote right in the middle This turned out to be another one of those happy accidents as I then took one of the smaller images that was printed with the sheet I printed with the original image on. You print out a sheet that has a couple of the quote images on in different sized then a couple of little thumbnail images on. You can fiddle in photoshop or similar and just print the one image if you want. Anyway I took one of the thumbnail images and covered up my error and really liked the end result.

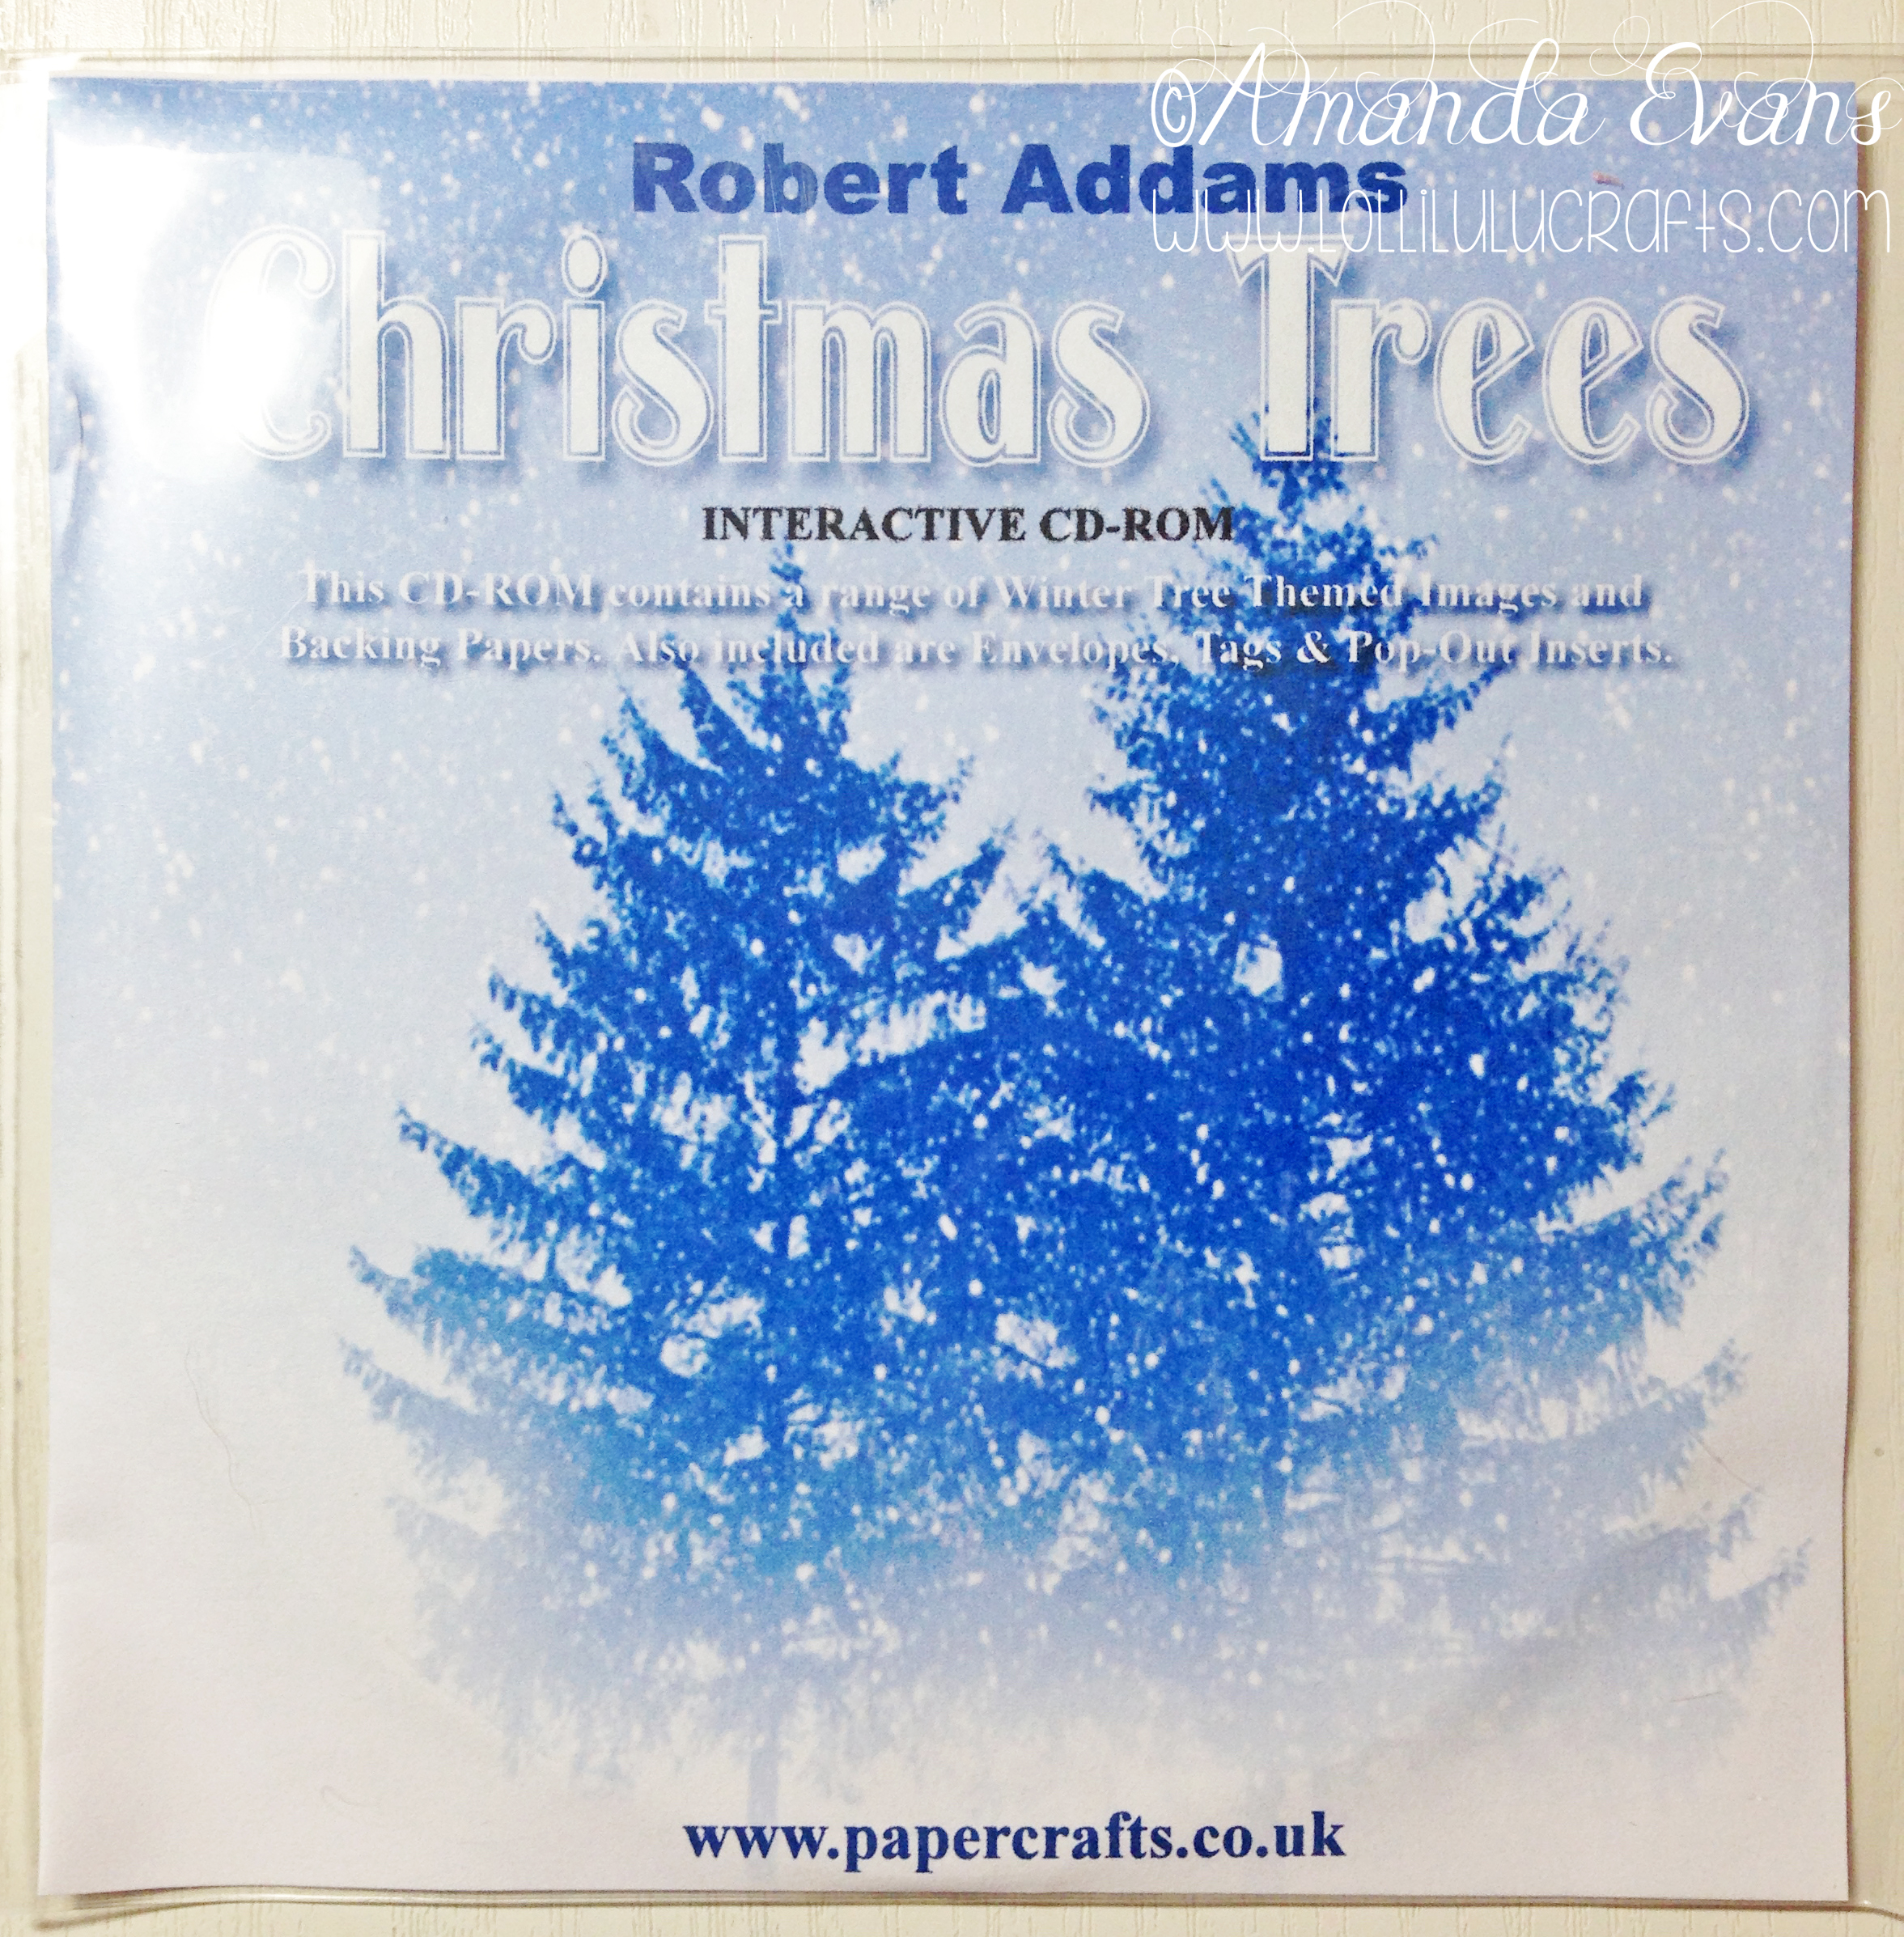
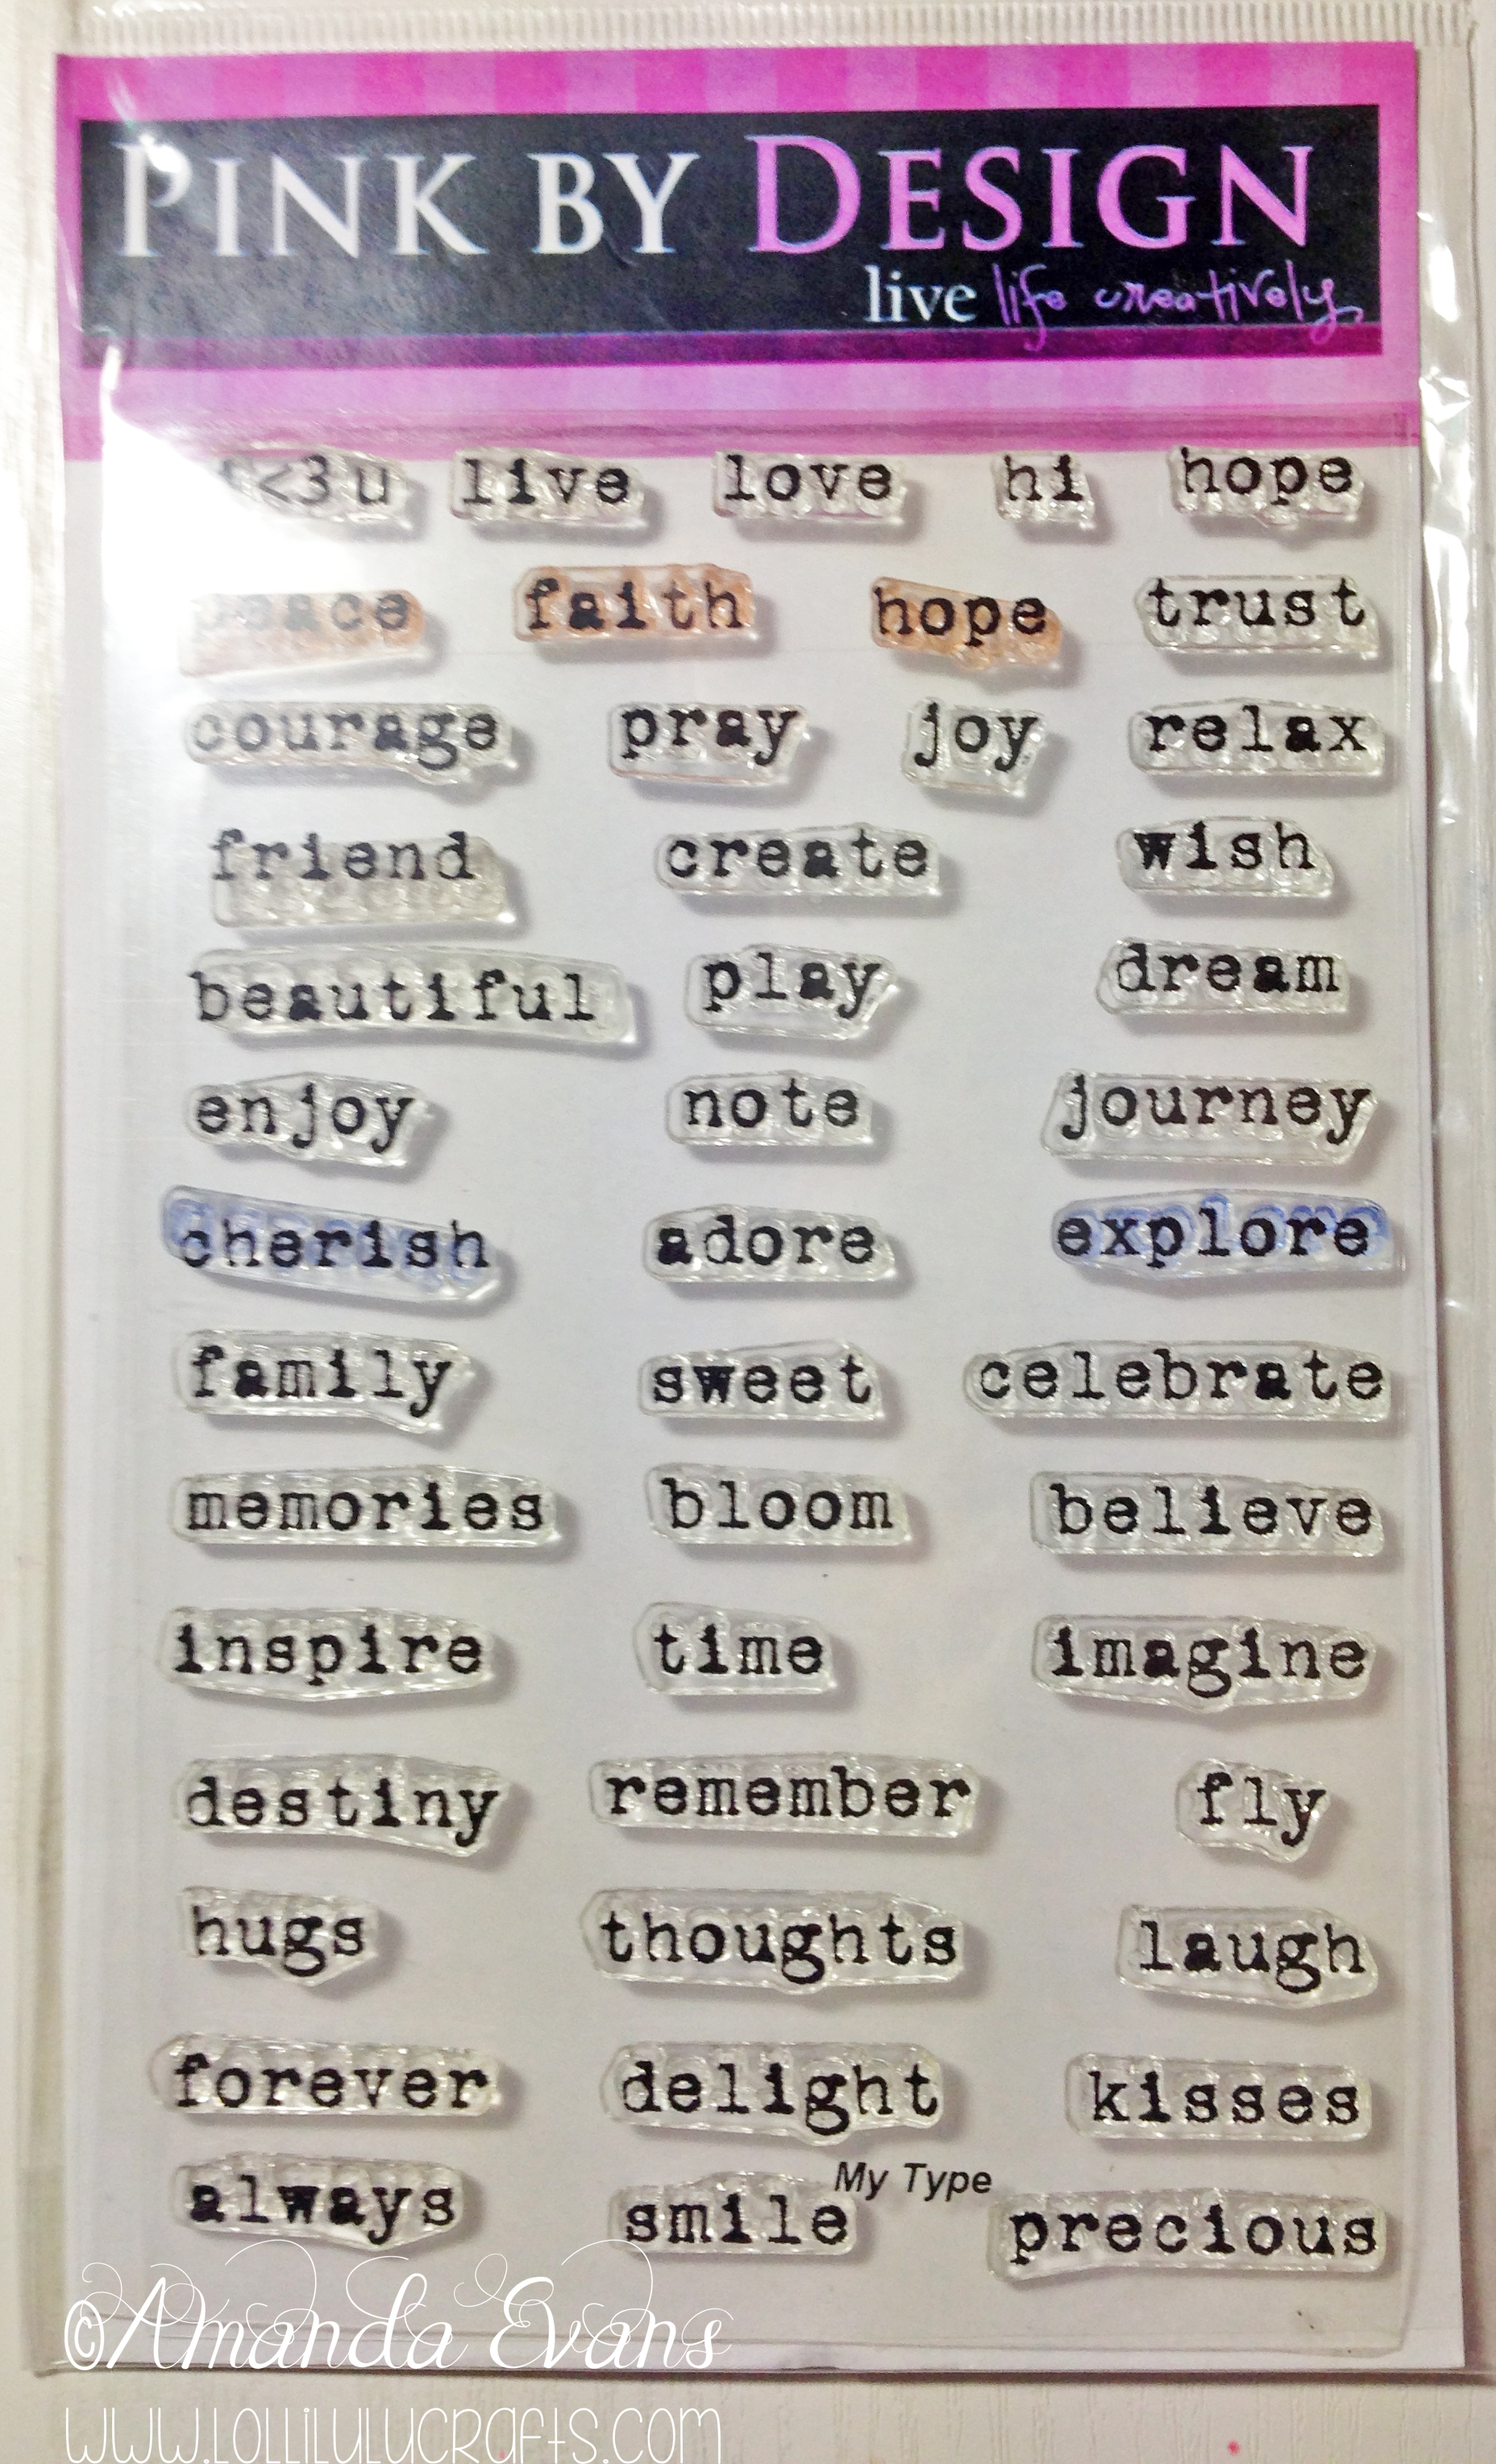
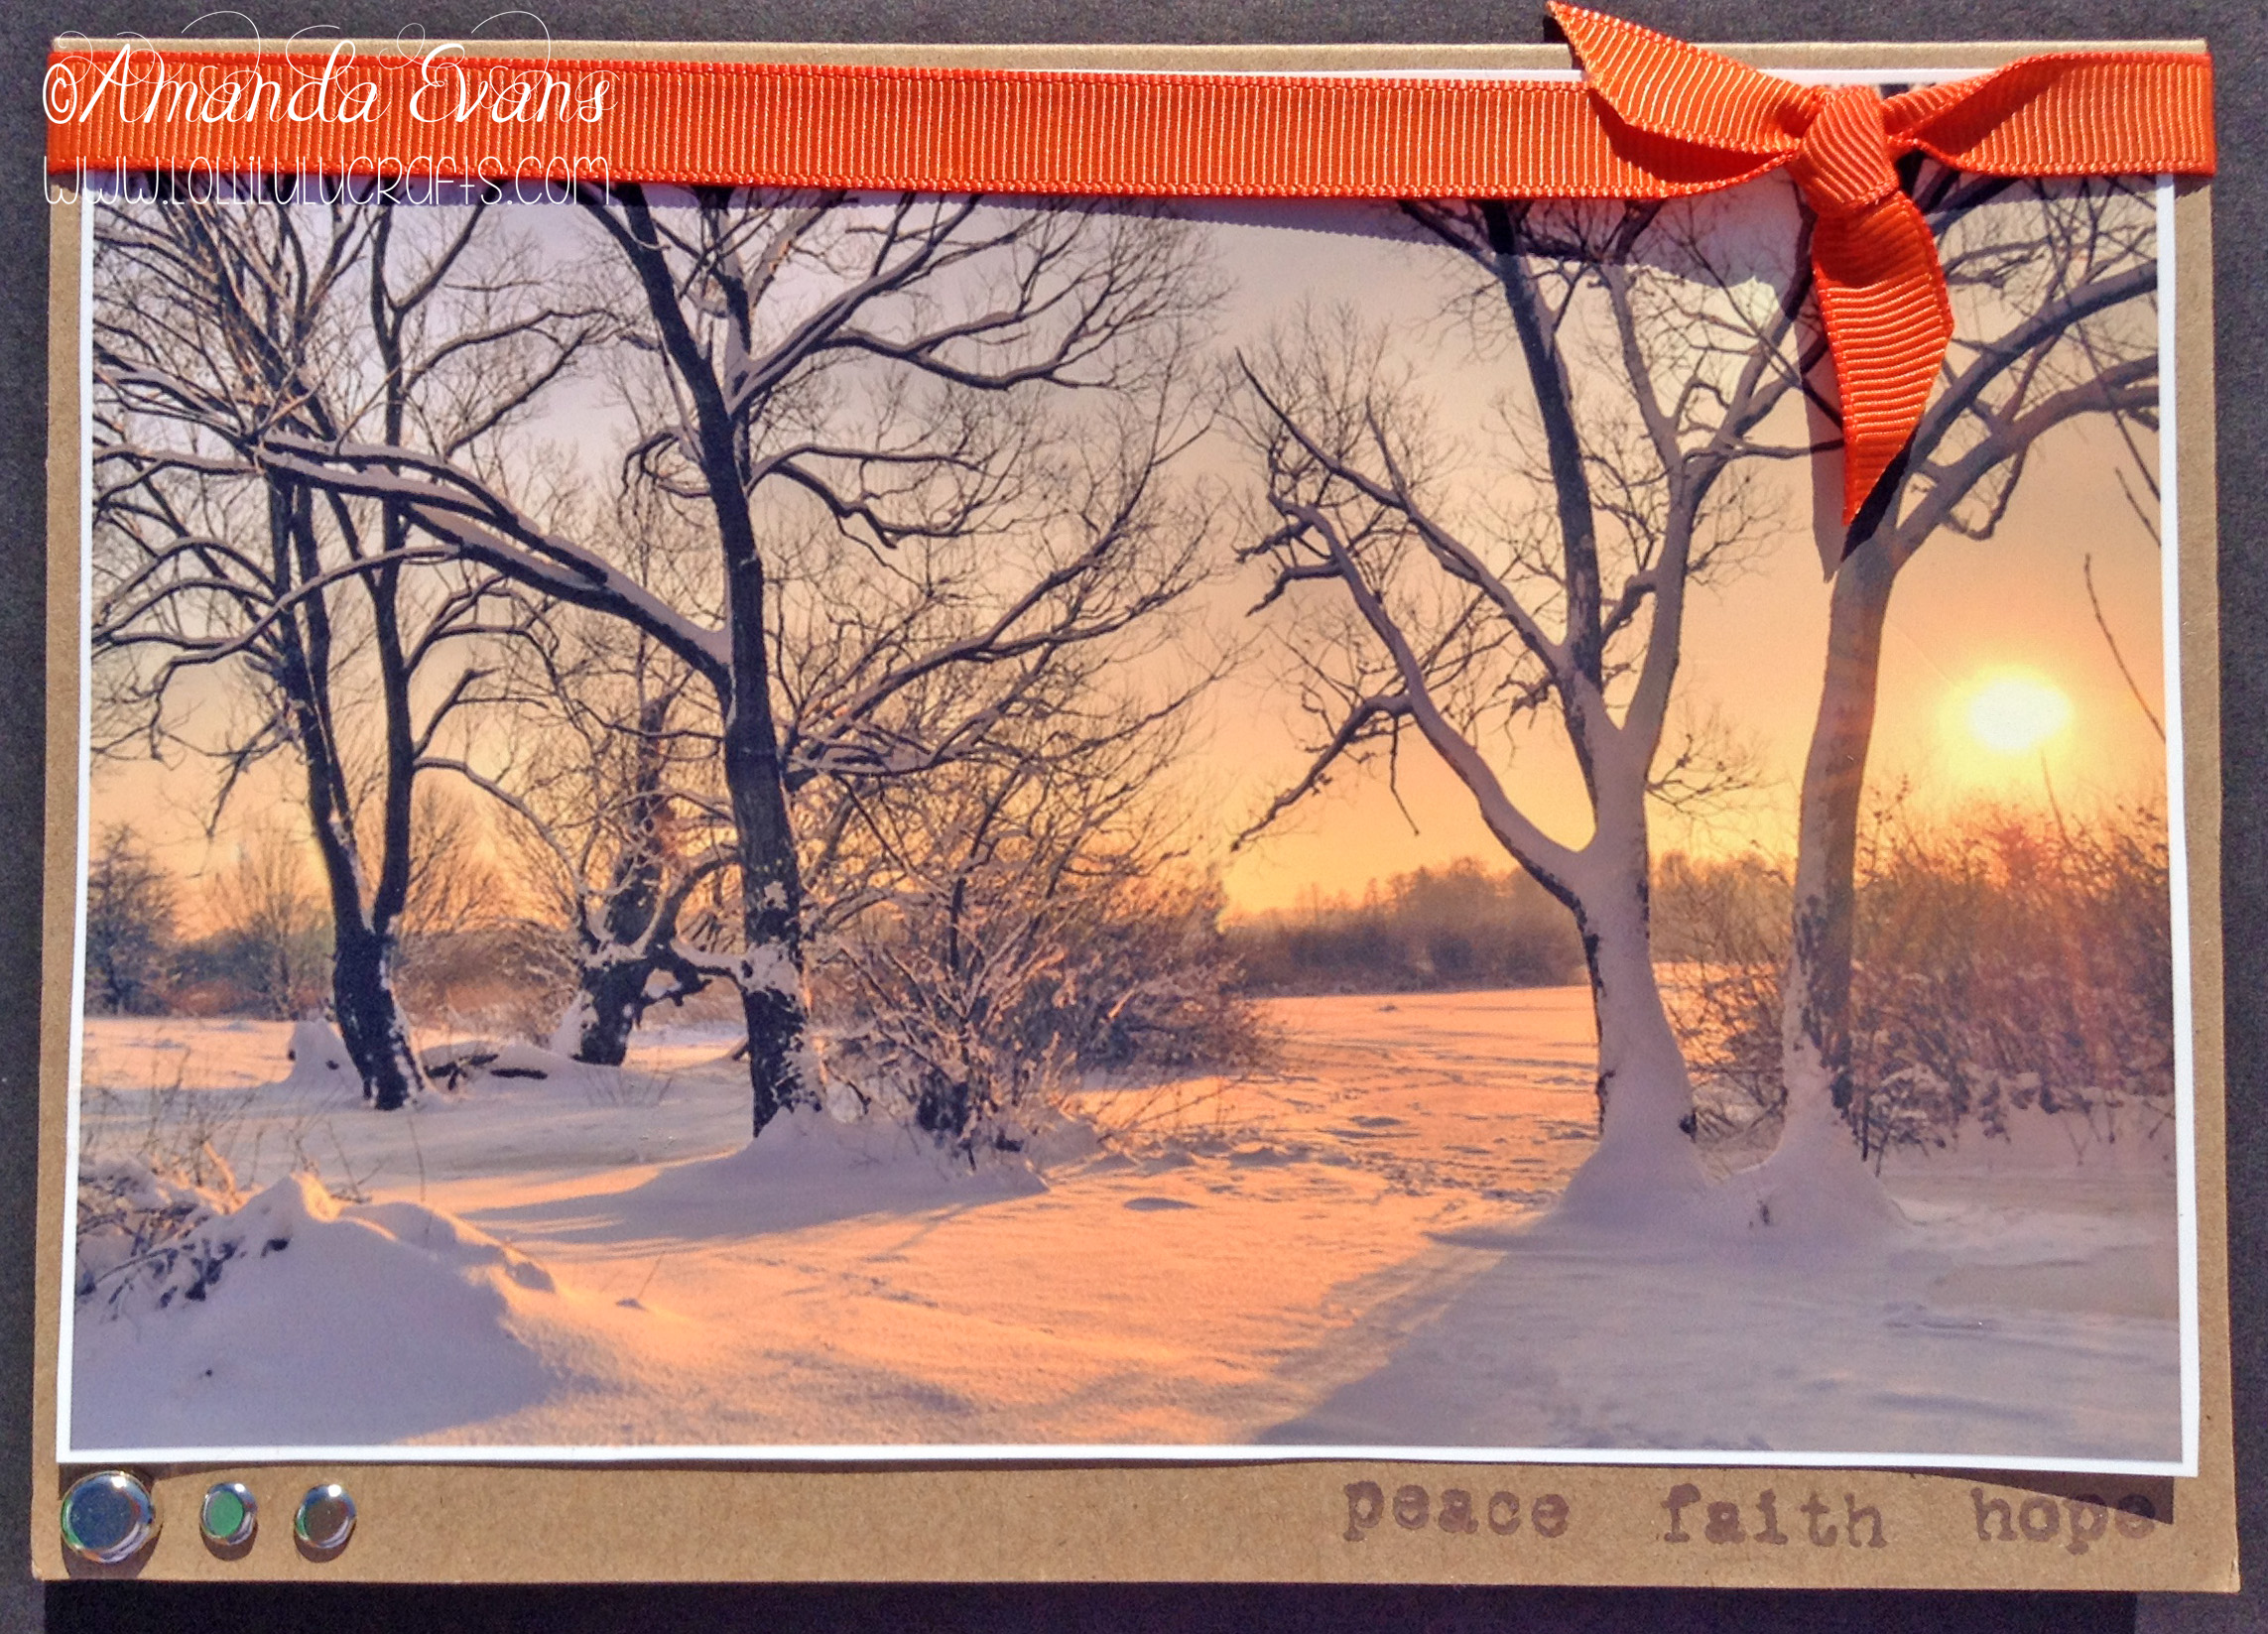
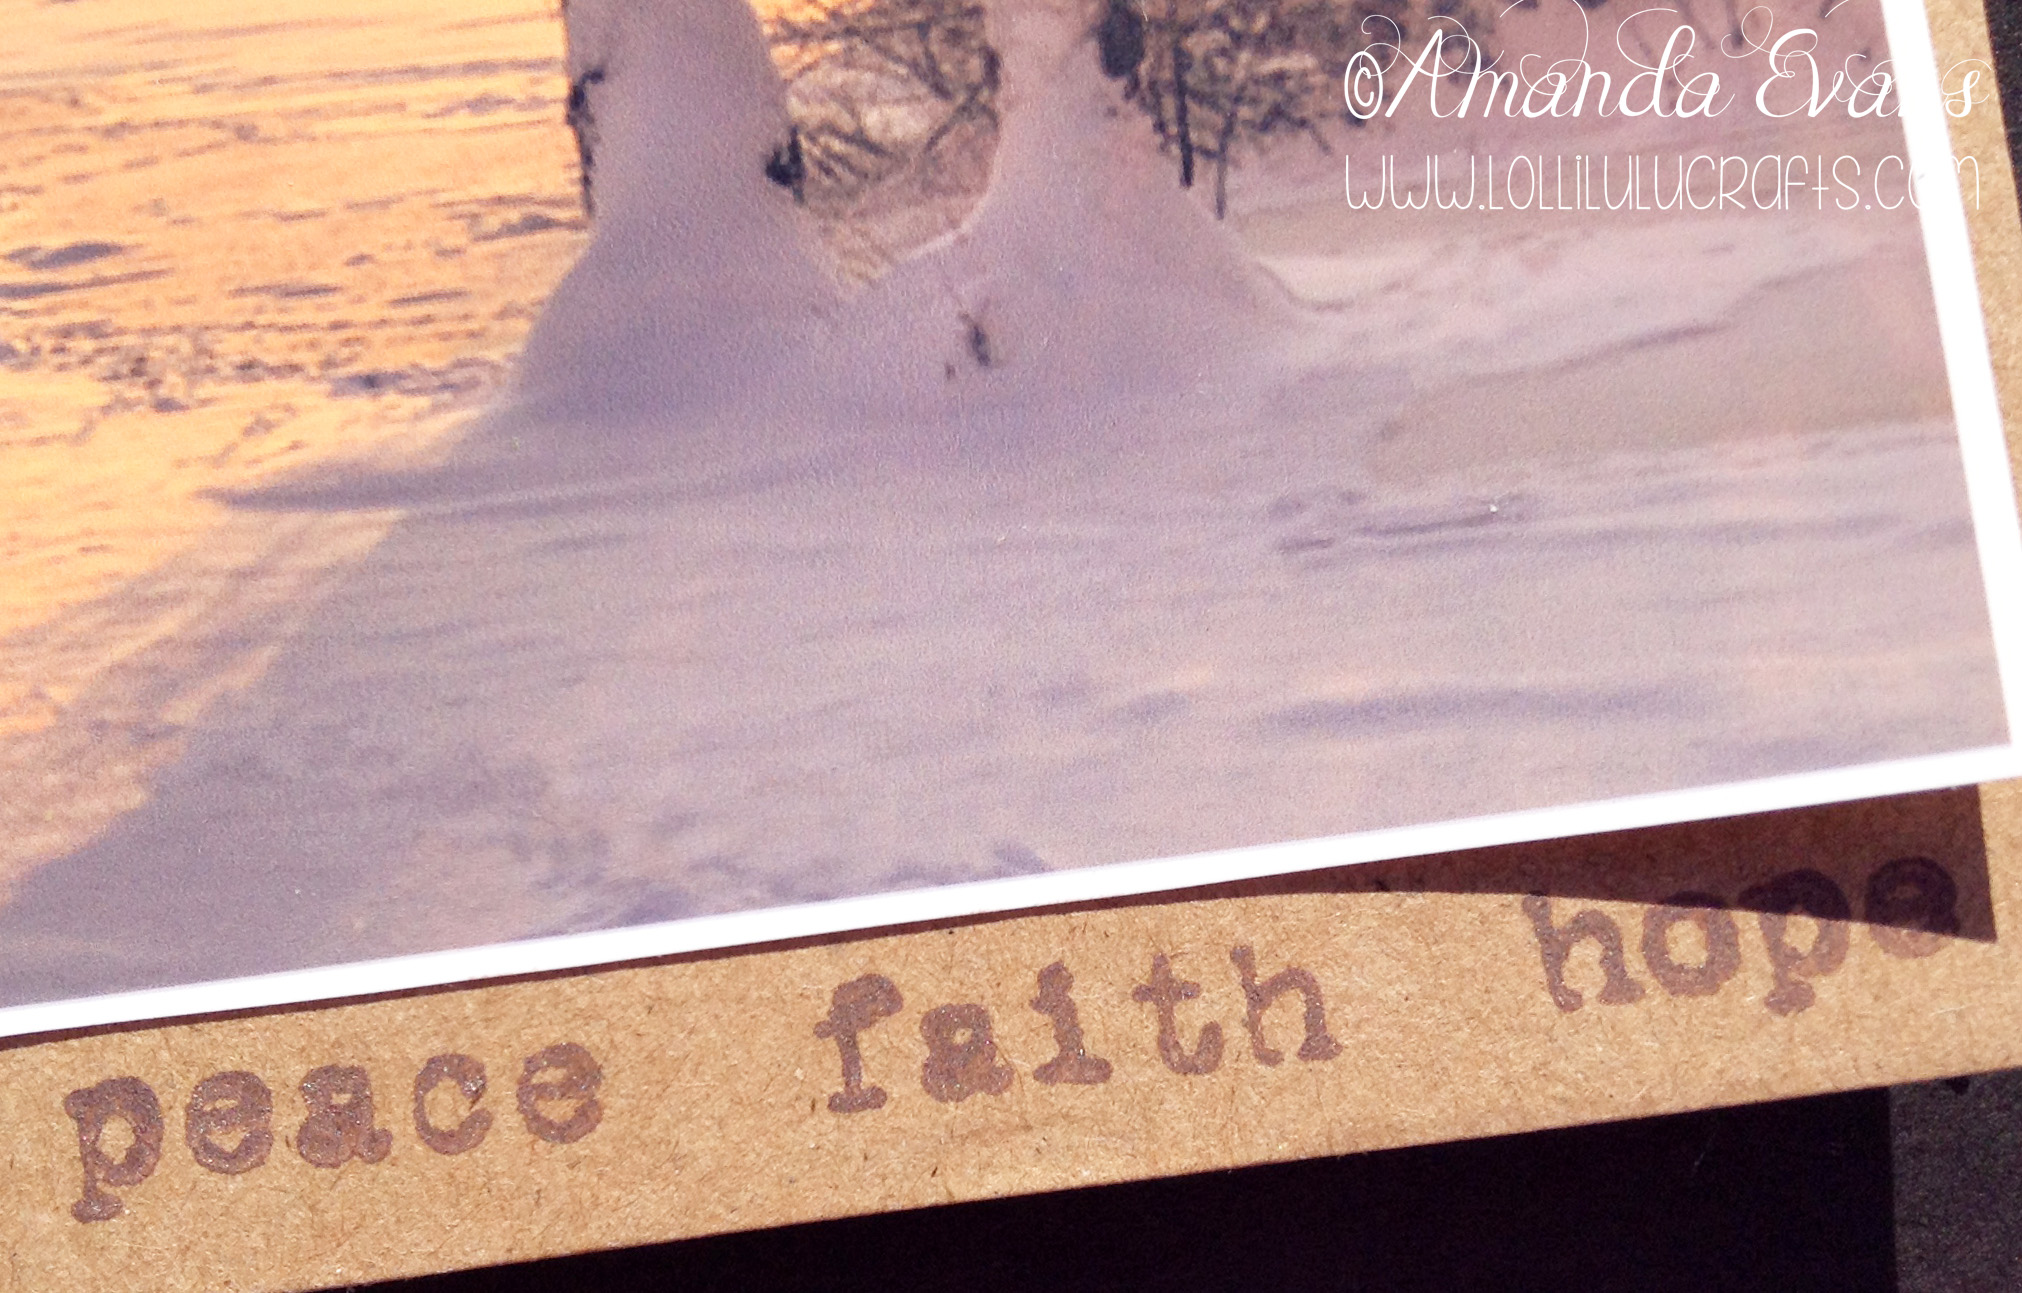
The next card that I made was again a simple card from a CD Rom this from the talented Rob Addams. Again I love his CDs and for the most part, as far as I know anyway, he does all his own photography, and this particular CD is one of my favs of his as it is all snowy scenes in particular snowy trees. I also used a really useful set of stamps from Pink by Design. I do love Sarah’s stamps and you stamp them straight out the pack which is always great. I can’t be bothered with all that prepping of stamps before you get to use them! lol!
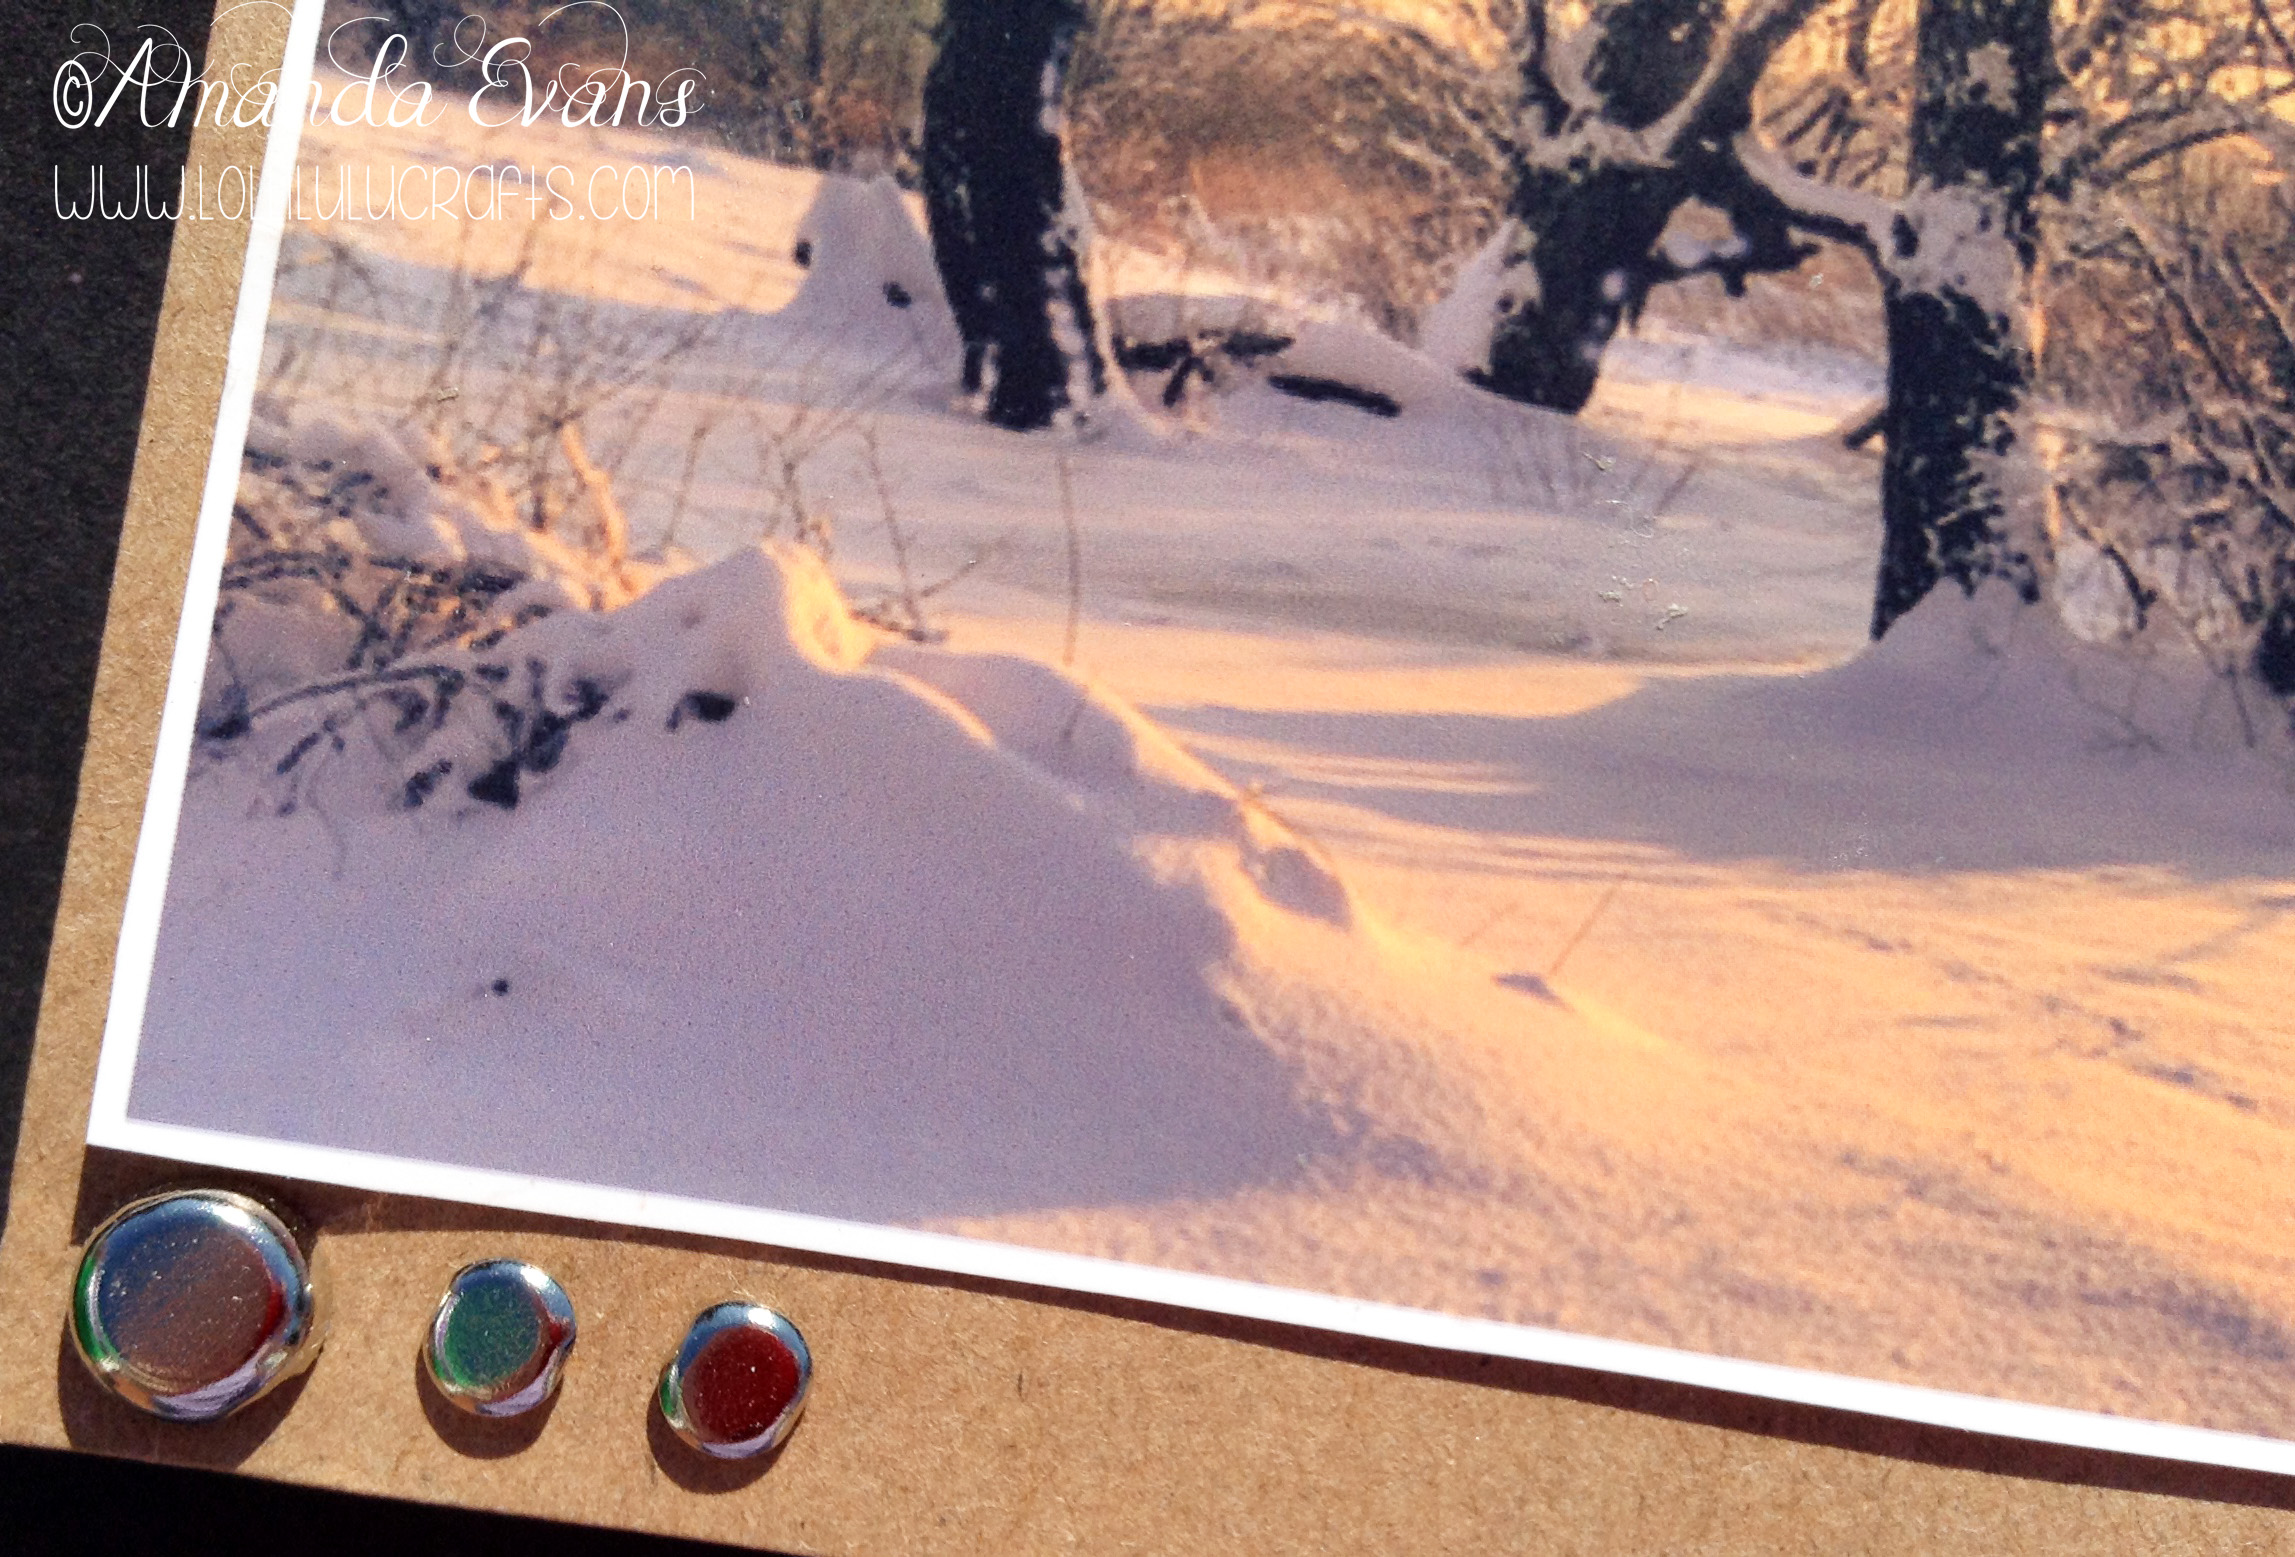
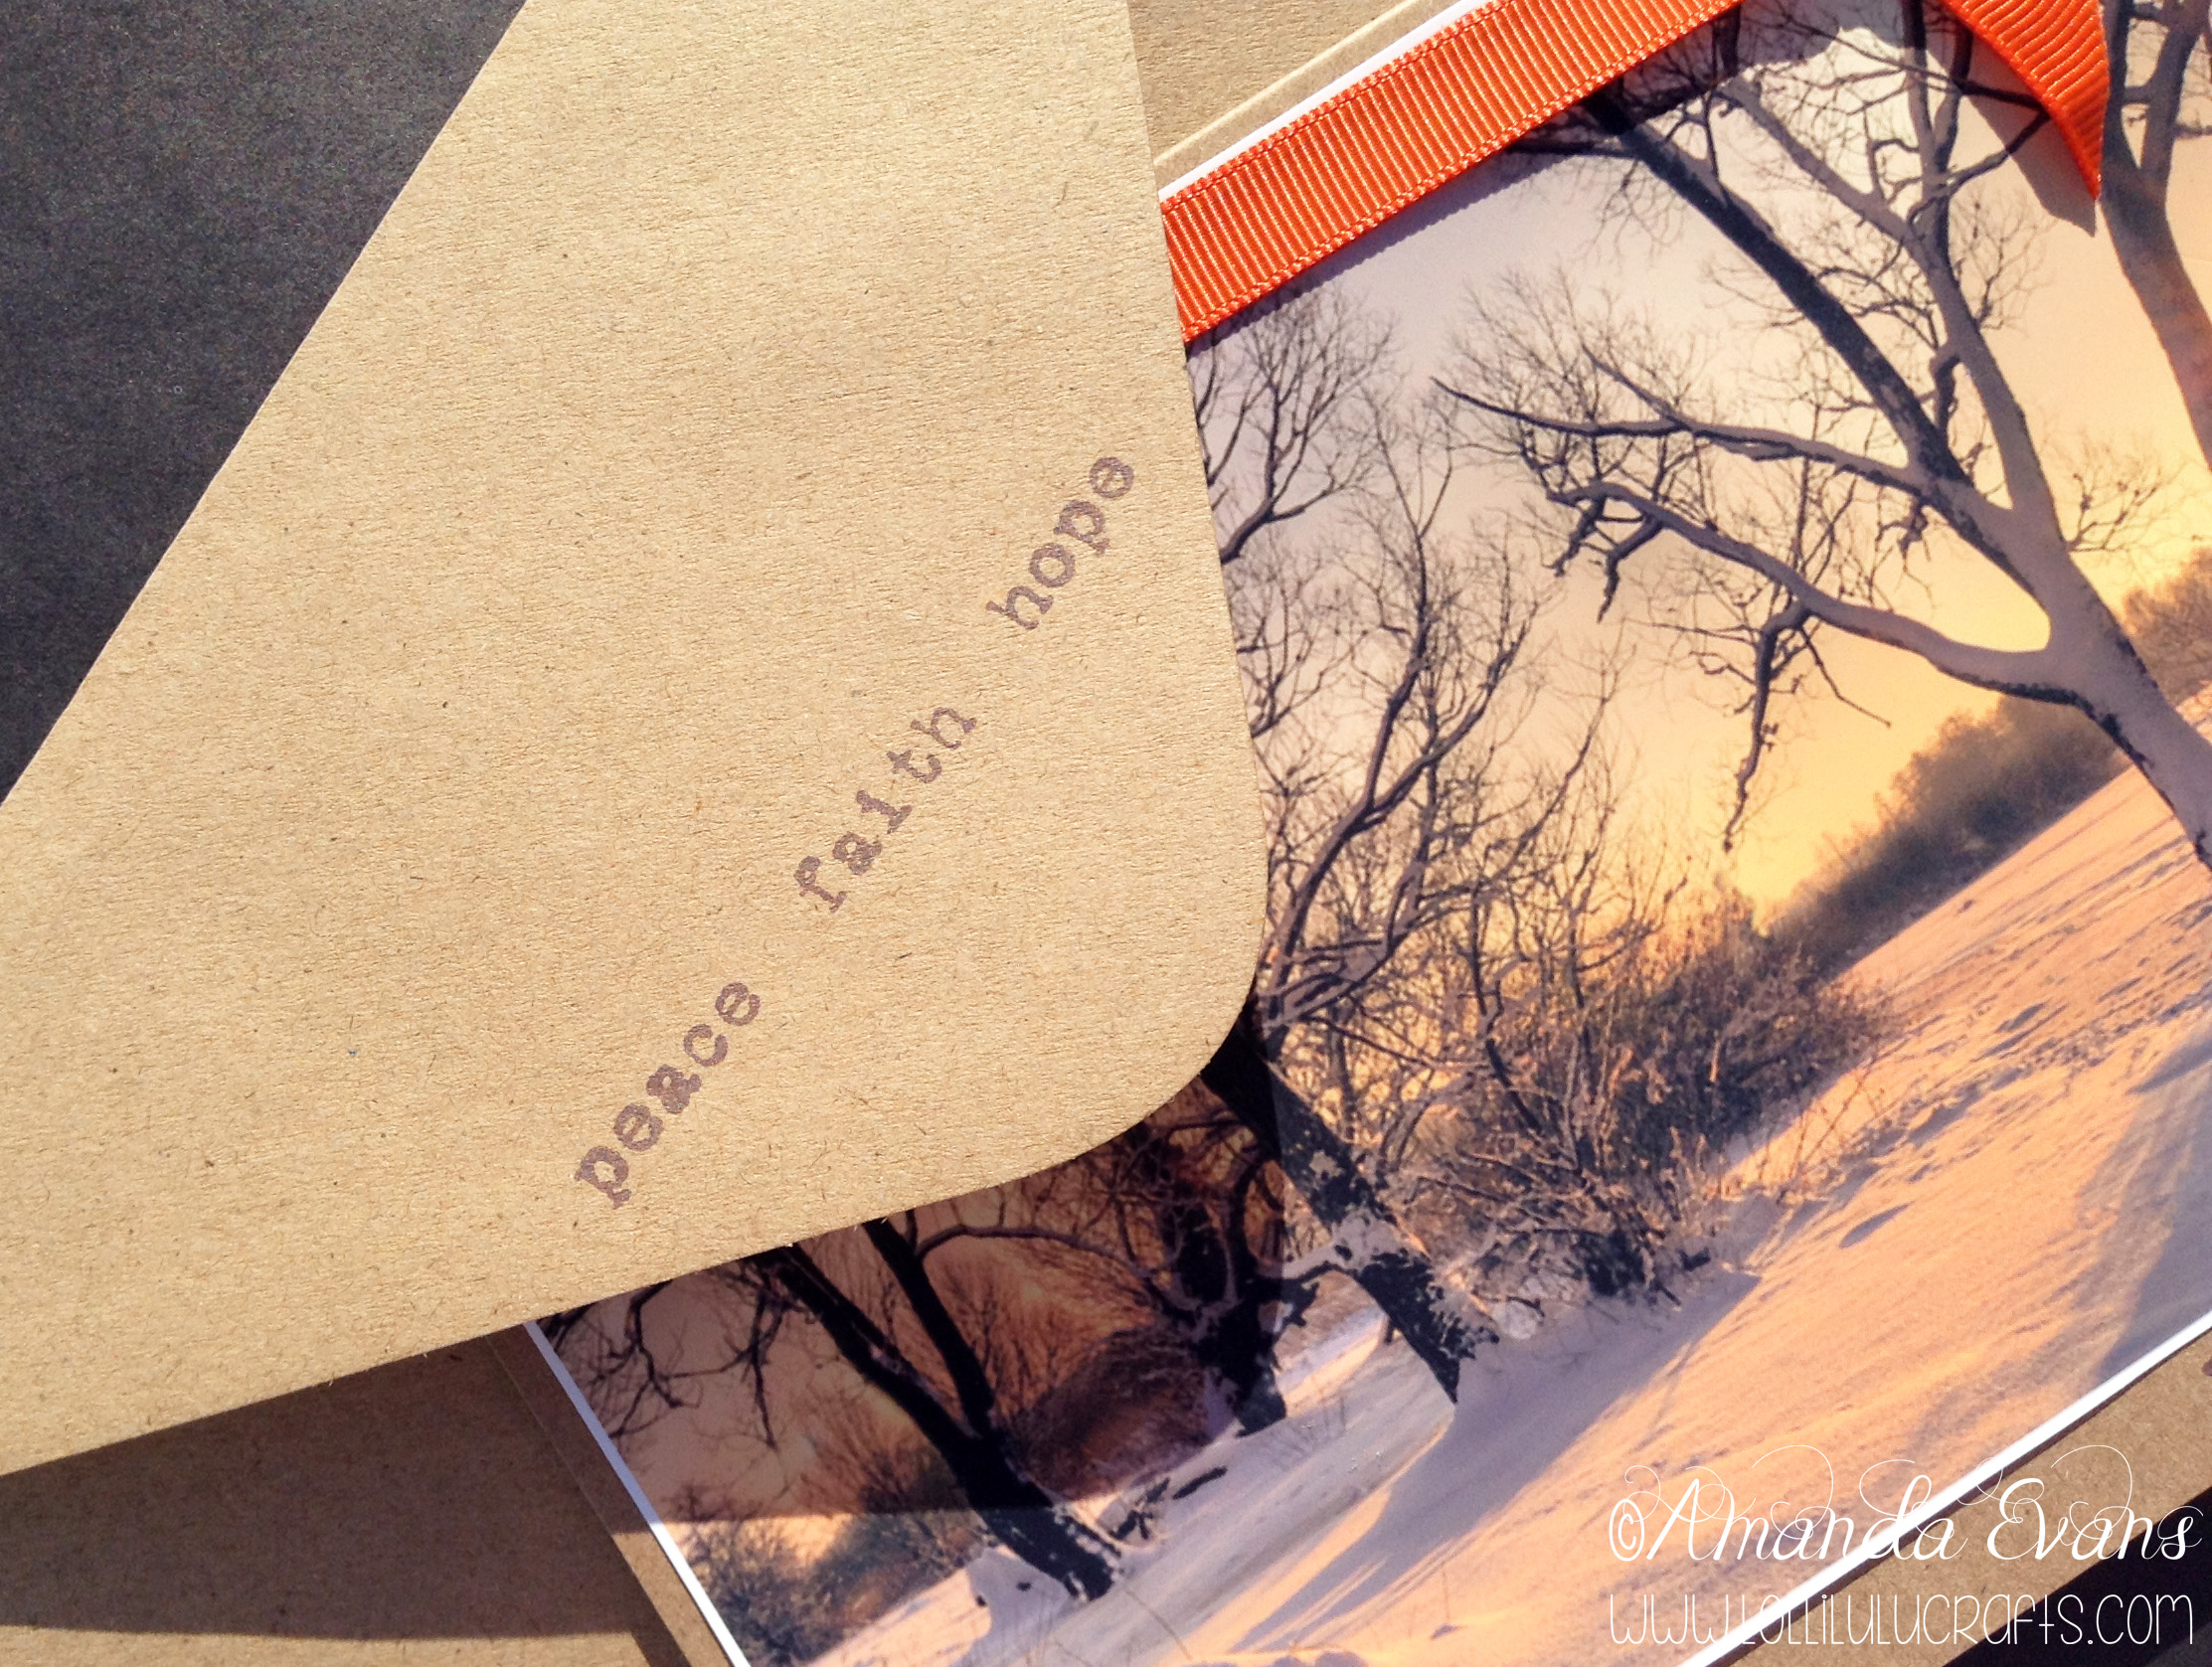
I wanted to the card to have a real back to nature feel since it was such a gorgeous picture of the landscape, so I used a pre-scored Kraft Card A6 which for me is quite small as I tend to use A5. If you want to know what these mean in actual sizes click this link HERE and this post will explain it all for you 🙂 Anyway again it was just a nice simple card to make, I printed out the image I wanted, again on the shiny photo paper and I cut around with a white border to create that old fashioned photo look, plus it gives it a bit of pop of the card base as the colours in the photo and the card were similar tonally so I think it needed that visual break. I then took three inspirational words from the stamp set and stamped those on the right hand side at the bottom. However I still felt it needed a little something more, firstly something like gems or pearls in the other bottom corner and secondly a ribbon. I decided instead of gems etc I would go a little more gender neutral and use silver brads I think if I had used gems it would have made the card definitely feminine whereas using the brads meant it would be suitable for a man or woman. Next and finally the ribbon. Again I had to think about not only the style of ribbon but the colour. I wanted it to obviously suit the card but I still wanted to keep it suitable for a male or female. I decided that the grosgrain ribbon was perfect and the orange seemed to go lovely with the photo, giving the card a bit of pop and also still making the whole thing male or female card. I hope you agree?

And finally just a bit of stamping on the envelope 🙂
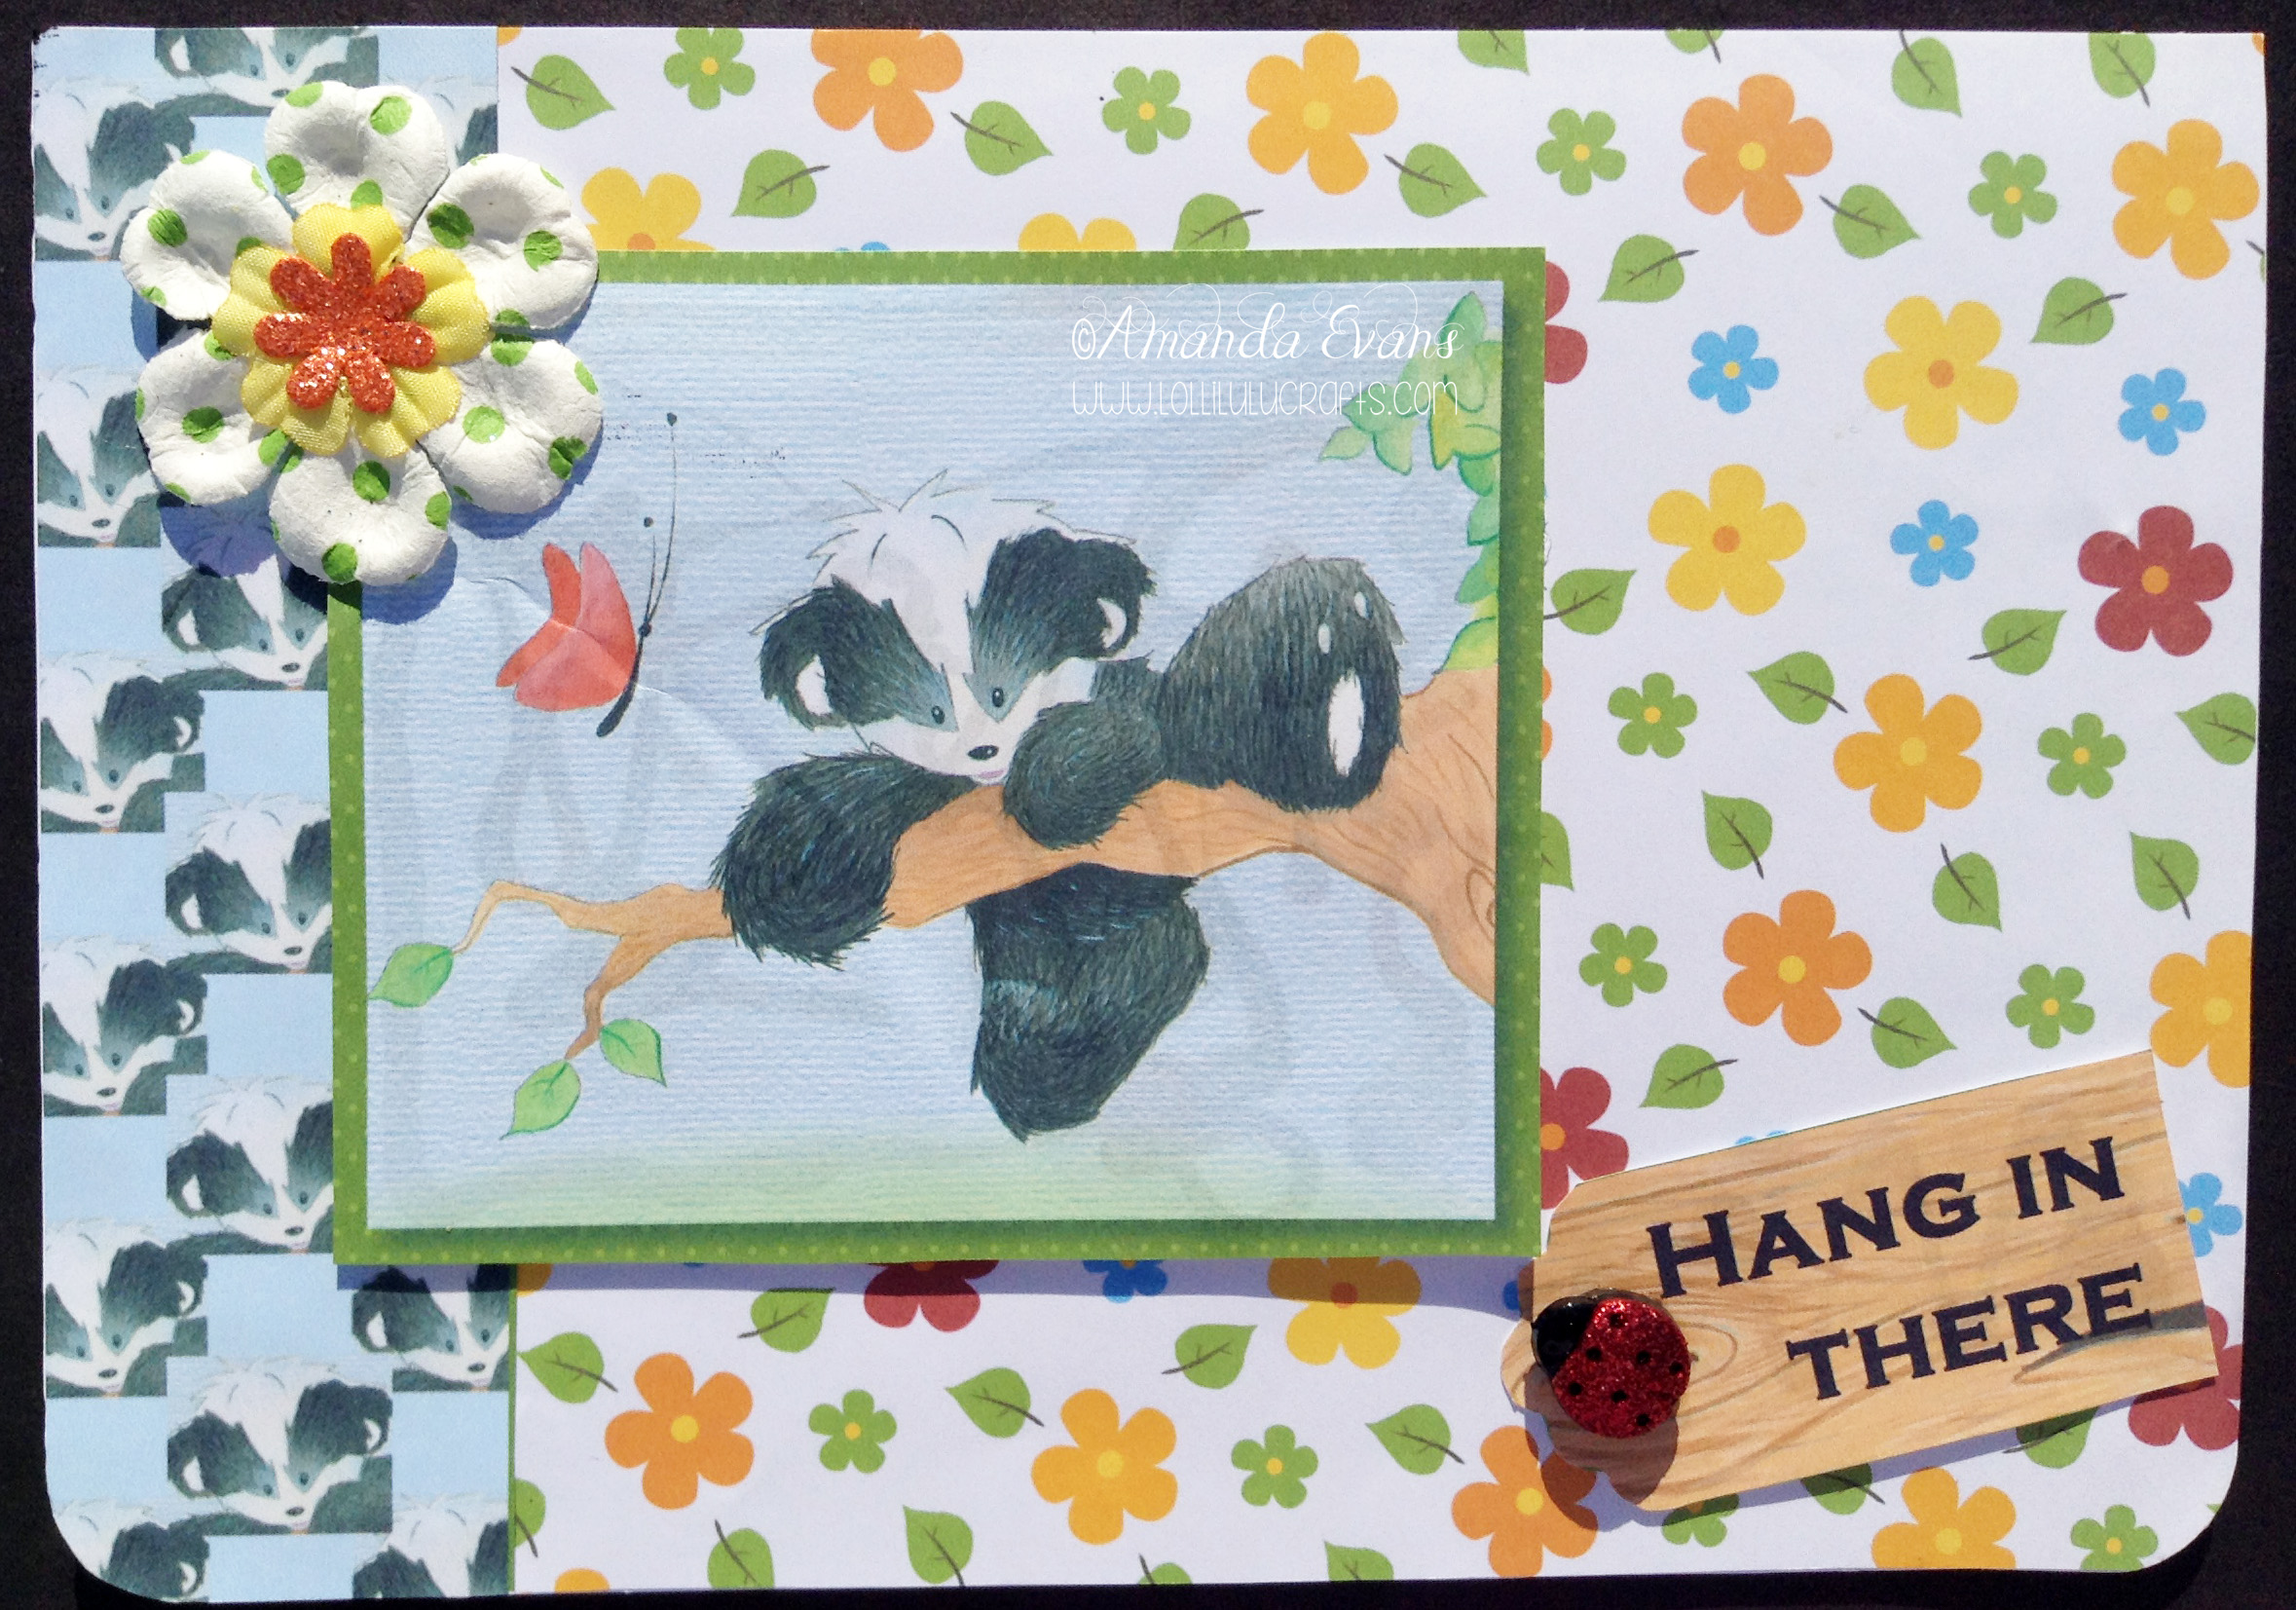
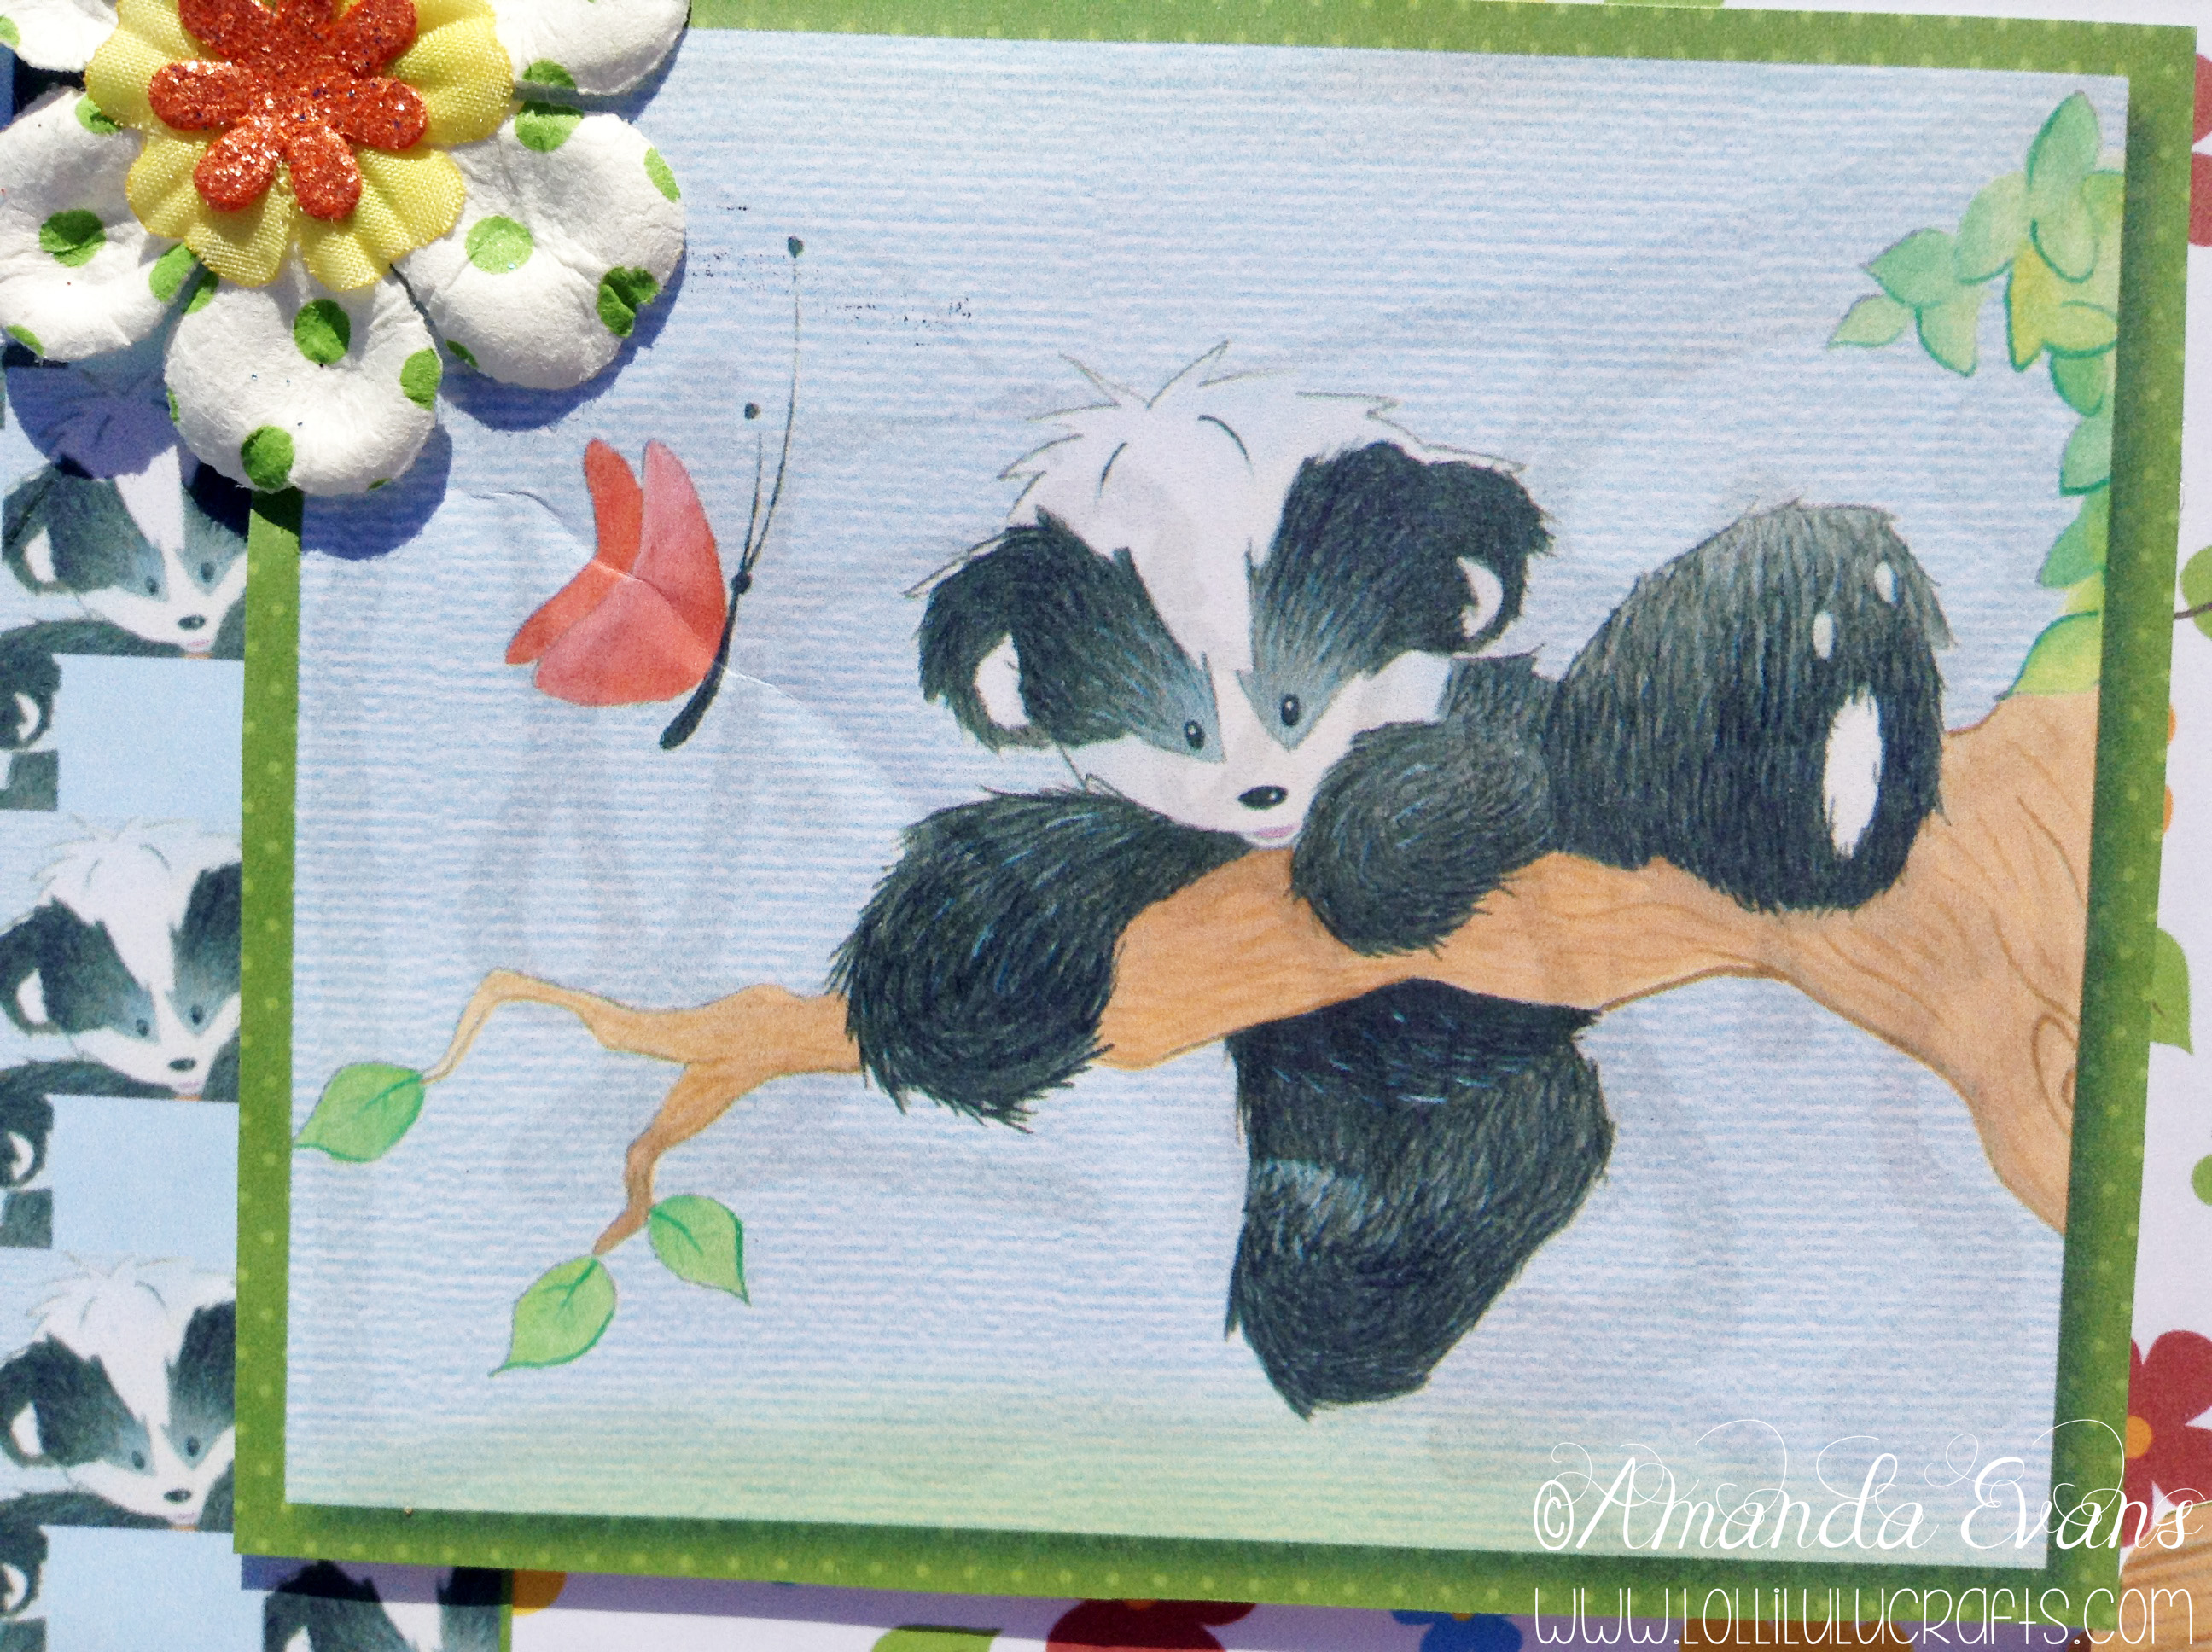
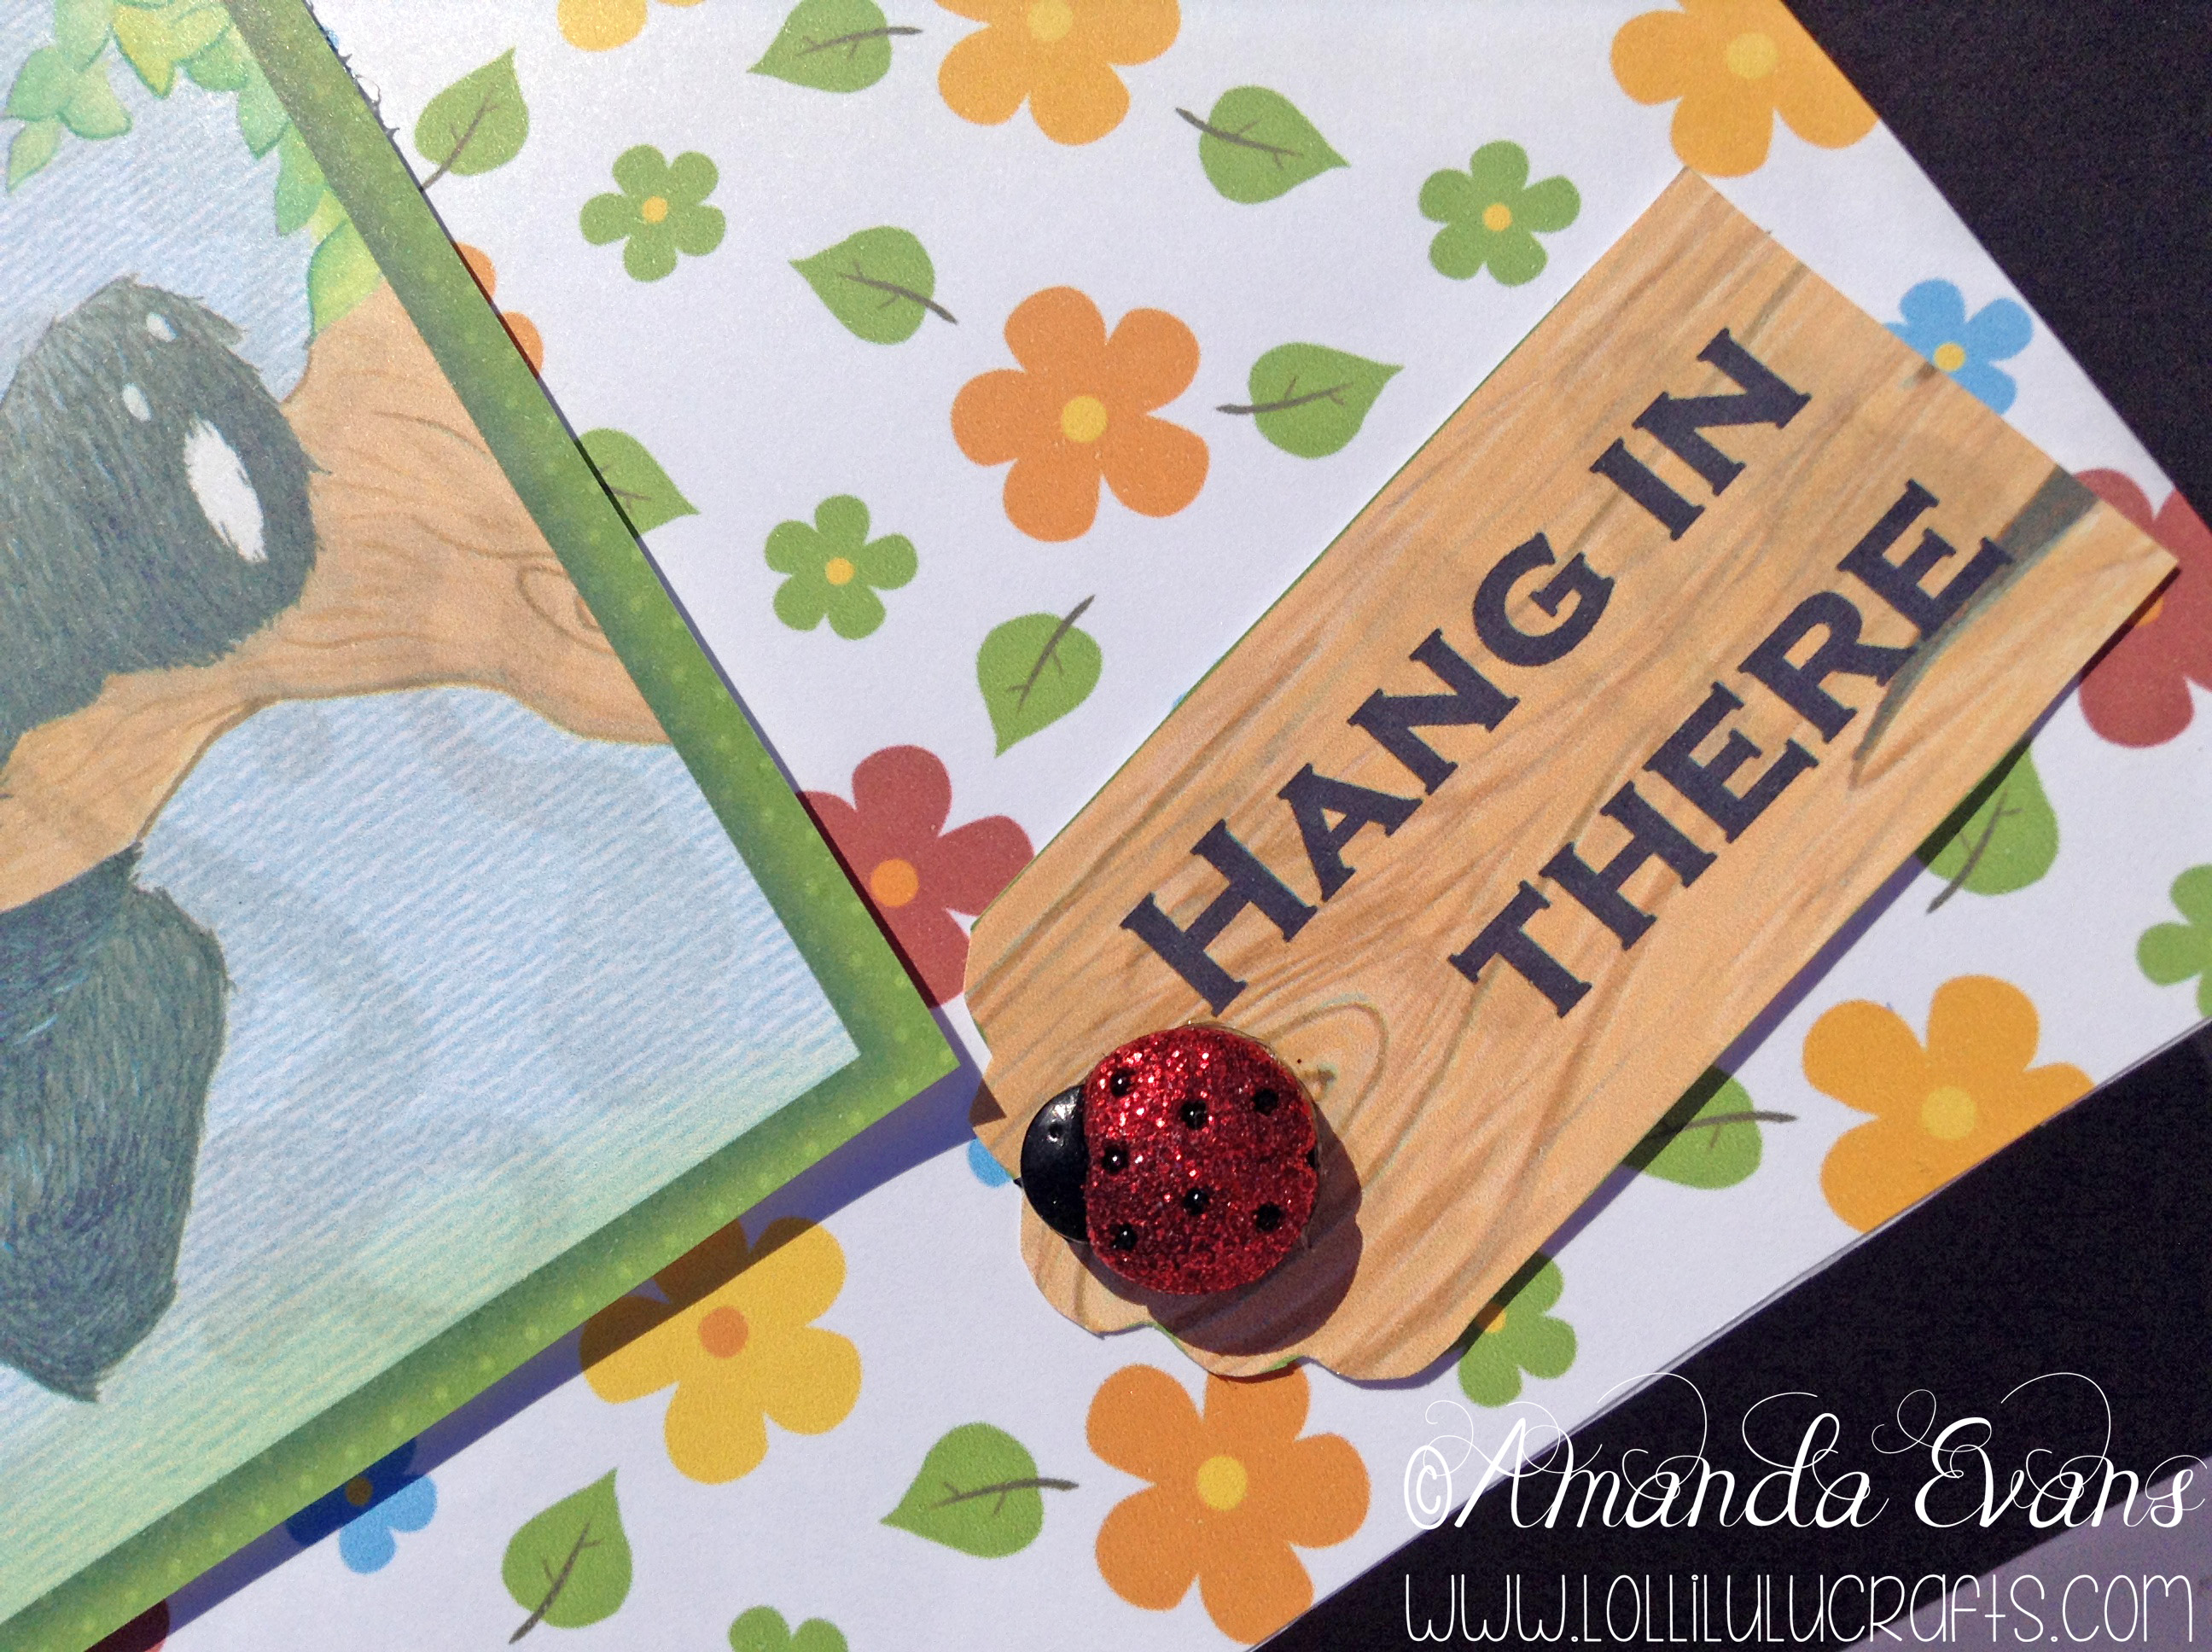
Then the last card is a little more fun and again a digital image that I printed out. Annoyingly I can’t remember where from 🙁 But he is super cute and perhaps a little more light hearted than the others. I have to say I adore the little ladybird – glittery too, can it get any better lol! However I think in hindsight I do not like the way I did the sentiment on the inside. This to me is an example of downgrading your card by doing things the quick and easy way. I should have printed a proper insert, or matted and layered to make it have a more professional finish. But it is what is and its too late now as it has sold – and I do reflect things like those sorts of things in my pricing and would always make sure the customer knows how it looks. I mean Im not saying to them look at this on the inside isn’t it rubbish! lol! but I just show them and then most times they don’t really think anything of it. What they notice is when it is better, they go wow or that looks amazing, etc Anyway here is the photos of our final Encouragement Card :-
Well thats it for today, quite a few cards for you, so I hope you enjoyed and I would love to hear your comments but for now hugs and have a great craft day,


Great projects Amanda! Your design runner looks quite interesting.I would love to hear more about it. It looks like quite a handy thing to have.
Looks like your are off to a great start in the New Year. I hope you have a wonderful year, Sue
Thanks hun I don’t think they make the design runner anymore – I guess its prob quite old technology now 🙂