Hiya, today I have a couple of romantic Anna Griffin cards for you. These are not your standard Anna cards because they were made before she started doing all these kits with step by step cards in, these are done using some of her folding and paper techniques to create something quite different and very beautiful.
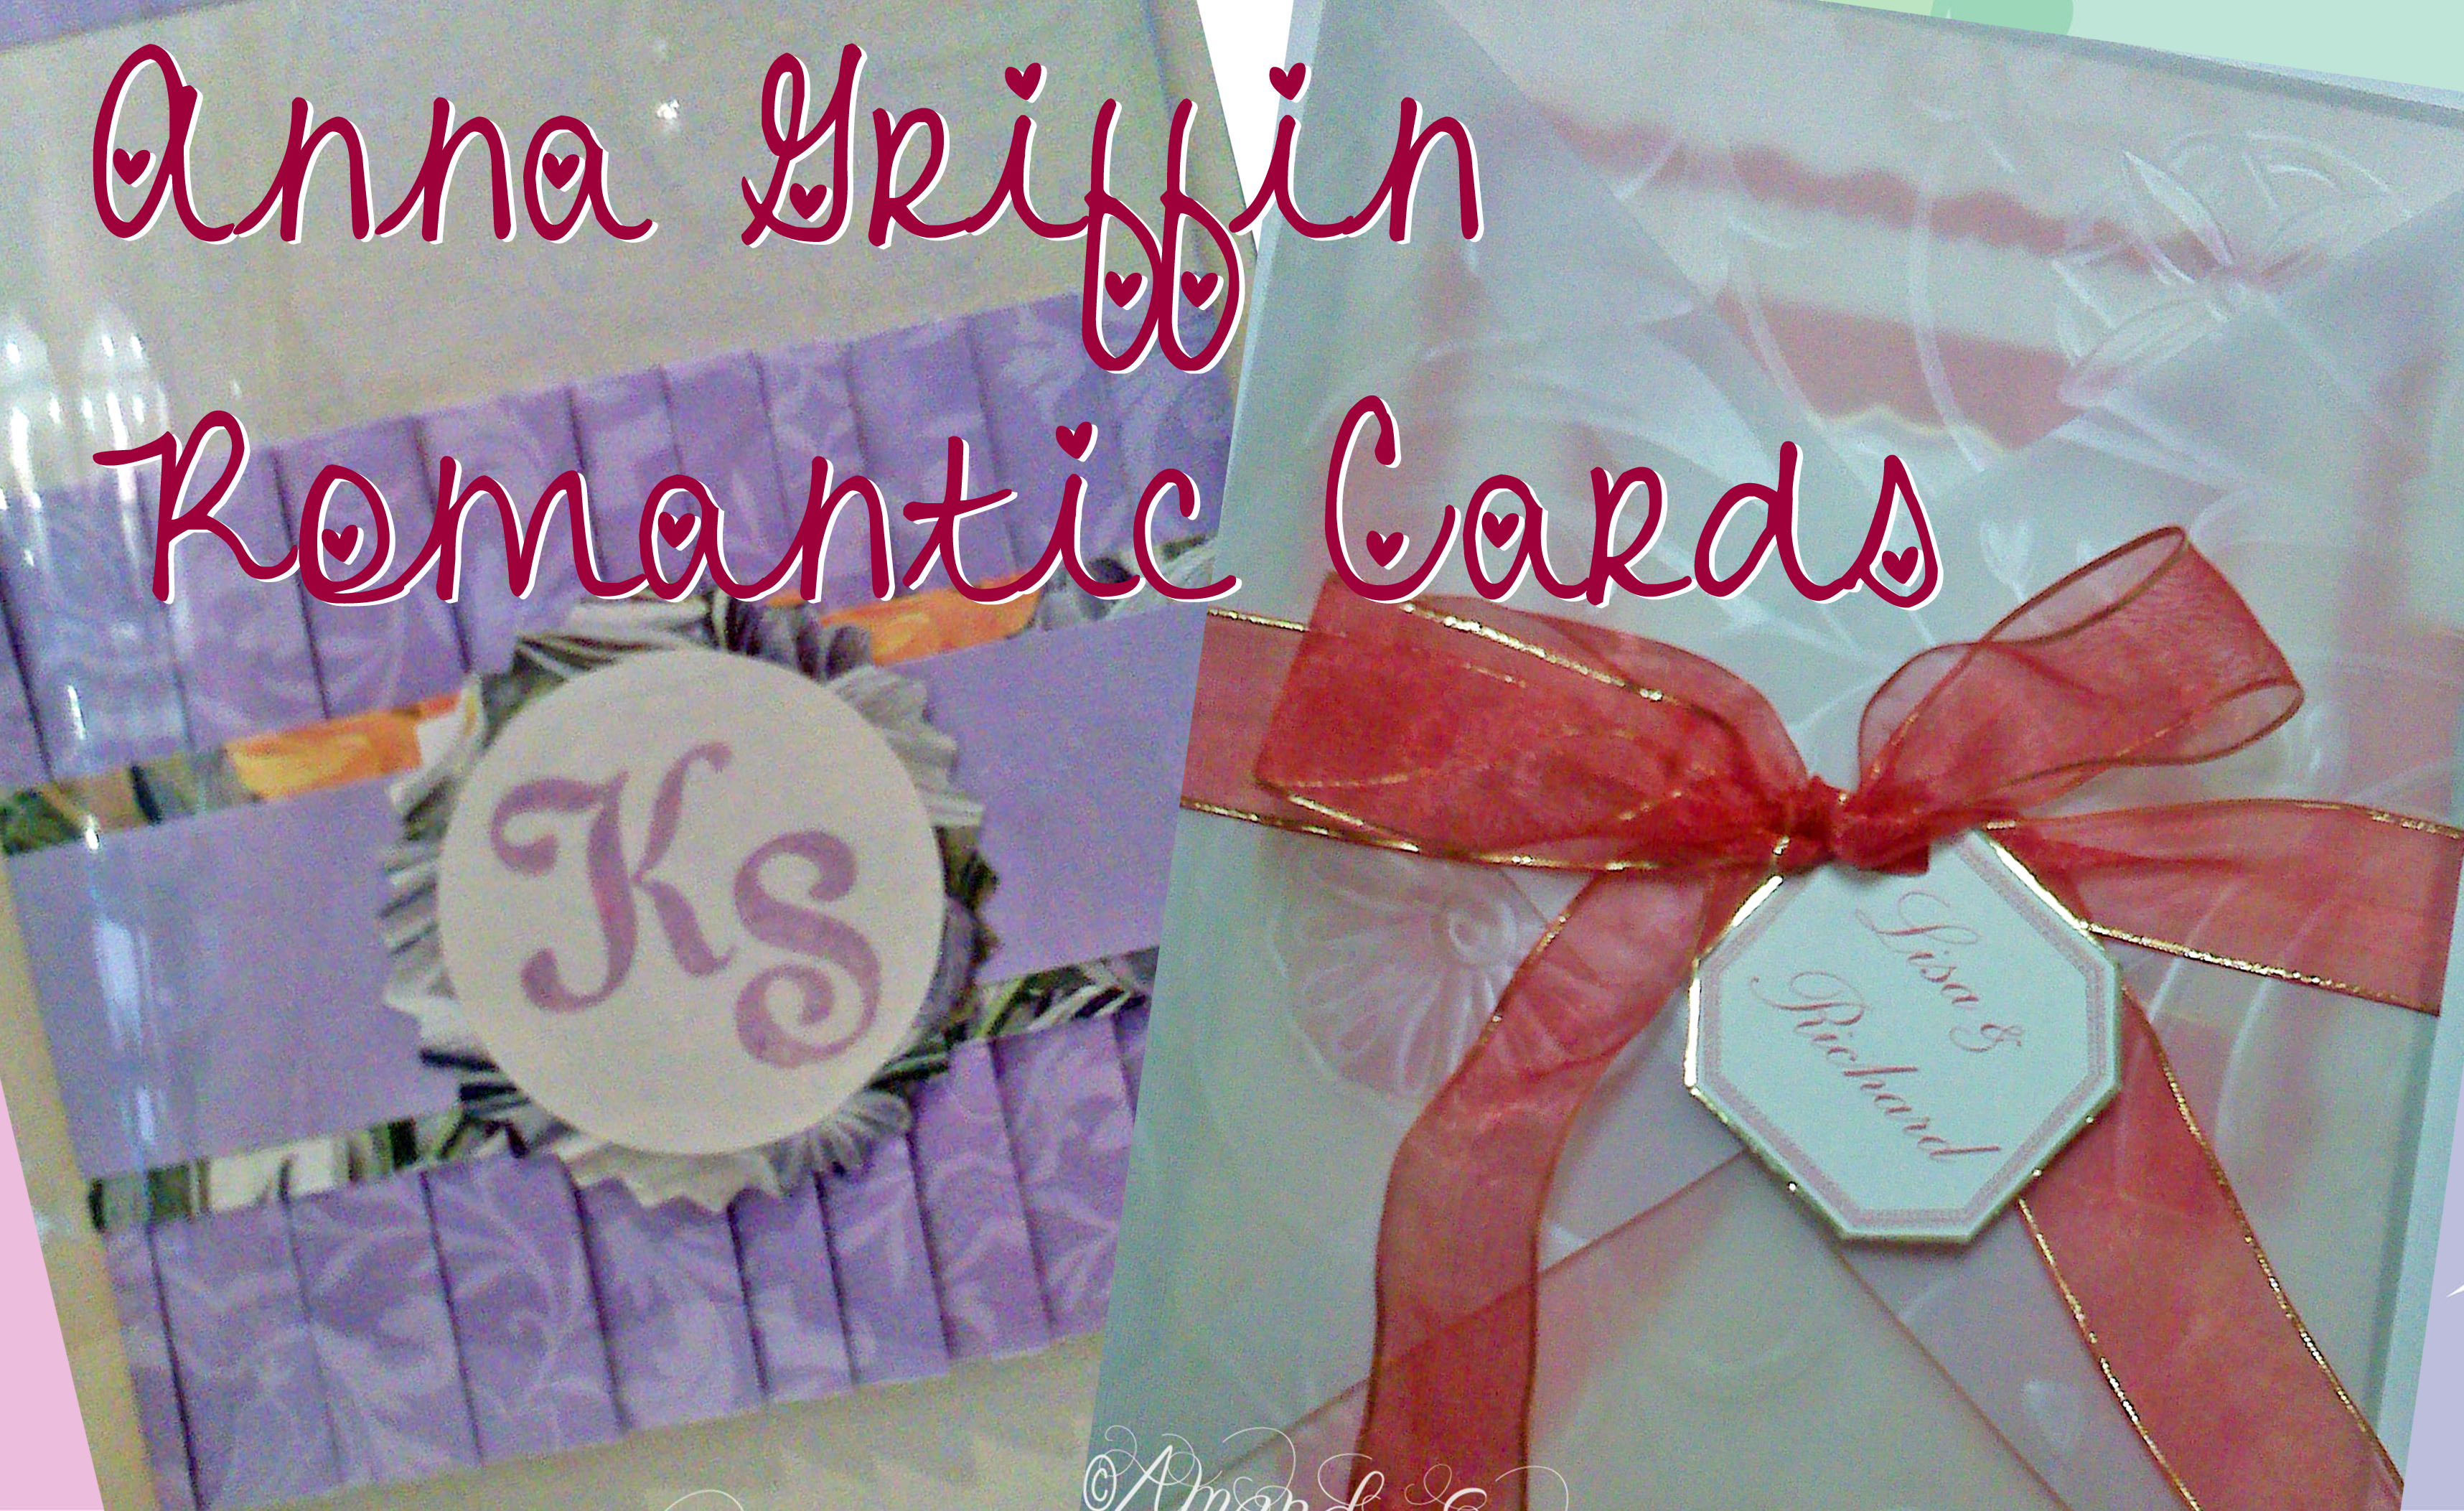
So the common theme of these cards is that they were all wedding cards and all had some form of wrap on them.
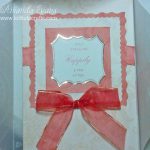
For the first card I made a 7″ x 5″ cream card base from some of Anna’s cream card stock which has a really lovely weight to it. Then I decorated the front with various mats and layers from her cream tone on damask patterned paper to a similar one in red tones. The red was used sparingly as an accent. I also added a little gold mirri board mat which complemented the ribbon beautifully as this was red with a thin trim of gold.
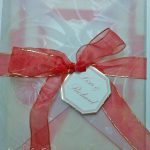
I then created a vellum unstuck envelope for want of a better description. Basically the vellum folded in one each side into a point like an envelope looks like before you stick it together. I left it unstuck and held it together with more of the same ribbon and a personalised tag. So very pretty. Click images to see in full 🙂
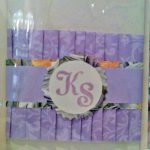
The second card was made using another 7″ x 5″ cream card base covered with the same tone on tone cream damask AG paper. It was a side opening card which I then simply accented with a thin strip top and bottom of the lavender damask paper. To finish the card I created a ‘belt’ to go around it by creating a concertina out of the lavender paper, then turning over to the back you hold the concertina together and put a long strip of sticky tape across it to hold the folds in place. I then took a plain unfolded floral patterned paper cut it to just a little longer than the circumference of the card, did the same with the lavender paper and matted the two together. Then I attached it to the concertina and then I stuck the ends of my belly band or belt together. You need to do this with it around the card to get the right tension, you need it tight enough to stay on, but loose enough that the recipient can slide it on and off easily. Finally I added the round logo piece over the join of the belly band to complete the look.
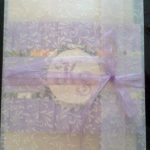
Next I created the envelope for this card, and since it also was for taking to the wedding by hand, I was able to create a vellum pocket envelope for it. Basically I took a rectangle of vellum that was an inch or so wider than the card – the 7″ side and then the length was just over 2 times the width so 2 times the 5″ plus some for over lapping. That amount is to your taste. The vellum I used was lightly patterned and was so pretty but it also meant that it helped hide any snail adhesive. So I sat the card roughly in the centre of the wrong side of the vellum and folded one side up over the front of the card and then did the same for the overside, once happy with the position and overlap I scored the top and bottom of the vellum and used snail on the bottom part of our envelope to create a pocket. This part must come quite far up the card so the card can’t fall out. I then folded the top down and wrapped some lavender organza ribbon around and tied a bow. I didn’t knot it or anything as you don’t want the bride to have to cut the ribbon she is likely to want to keep such a card and therefore will want to re-tie it. I think it turned out so elegant and I loved the paper folding. I hope you do too. Click images to see in full 🙂
So that is it for today, I hope you are enjoying taking a look at some of these older card photos I have found. I think it is fun to see things from years ago because it throws up techniques and styles that were fashionable then that you forget about. So hugs for now and have a great craft day,


This is beautiful! I would like to see a video of a card made like that! Awesome!
what a good idea, thank you 🙂 always after video ideas didn’t expect one from one of my old cards and yet your right coz I haven’t shown anything like this. I shall put this in my book x