


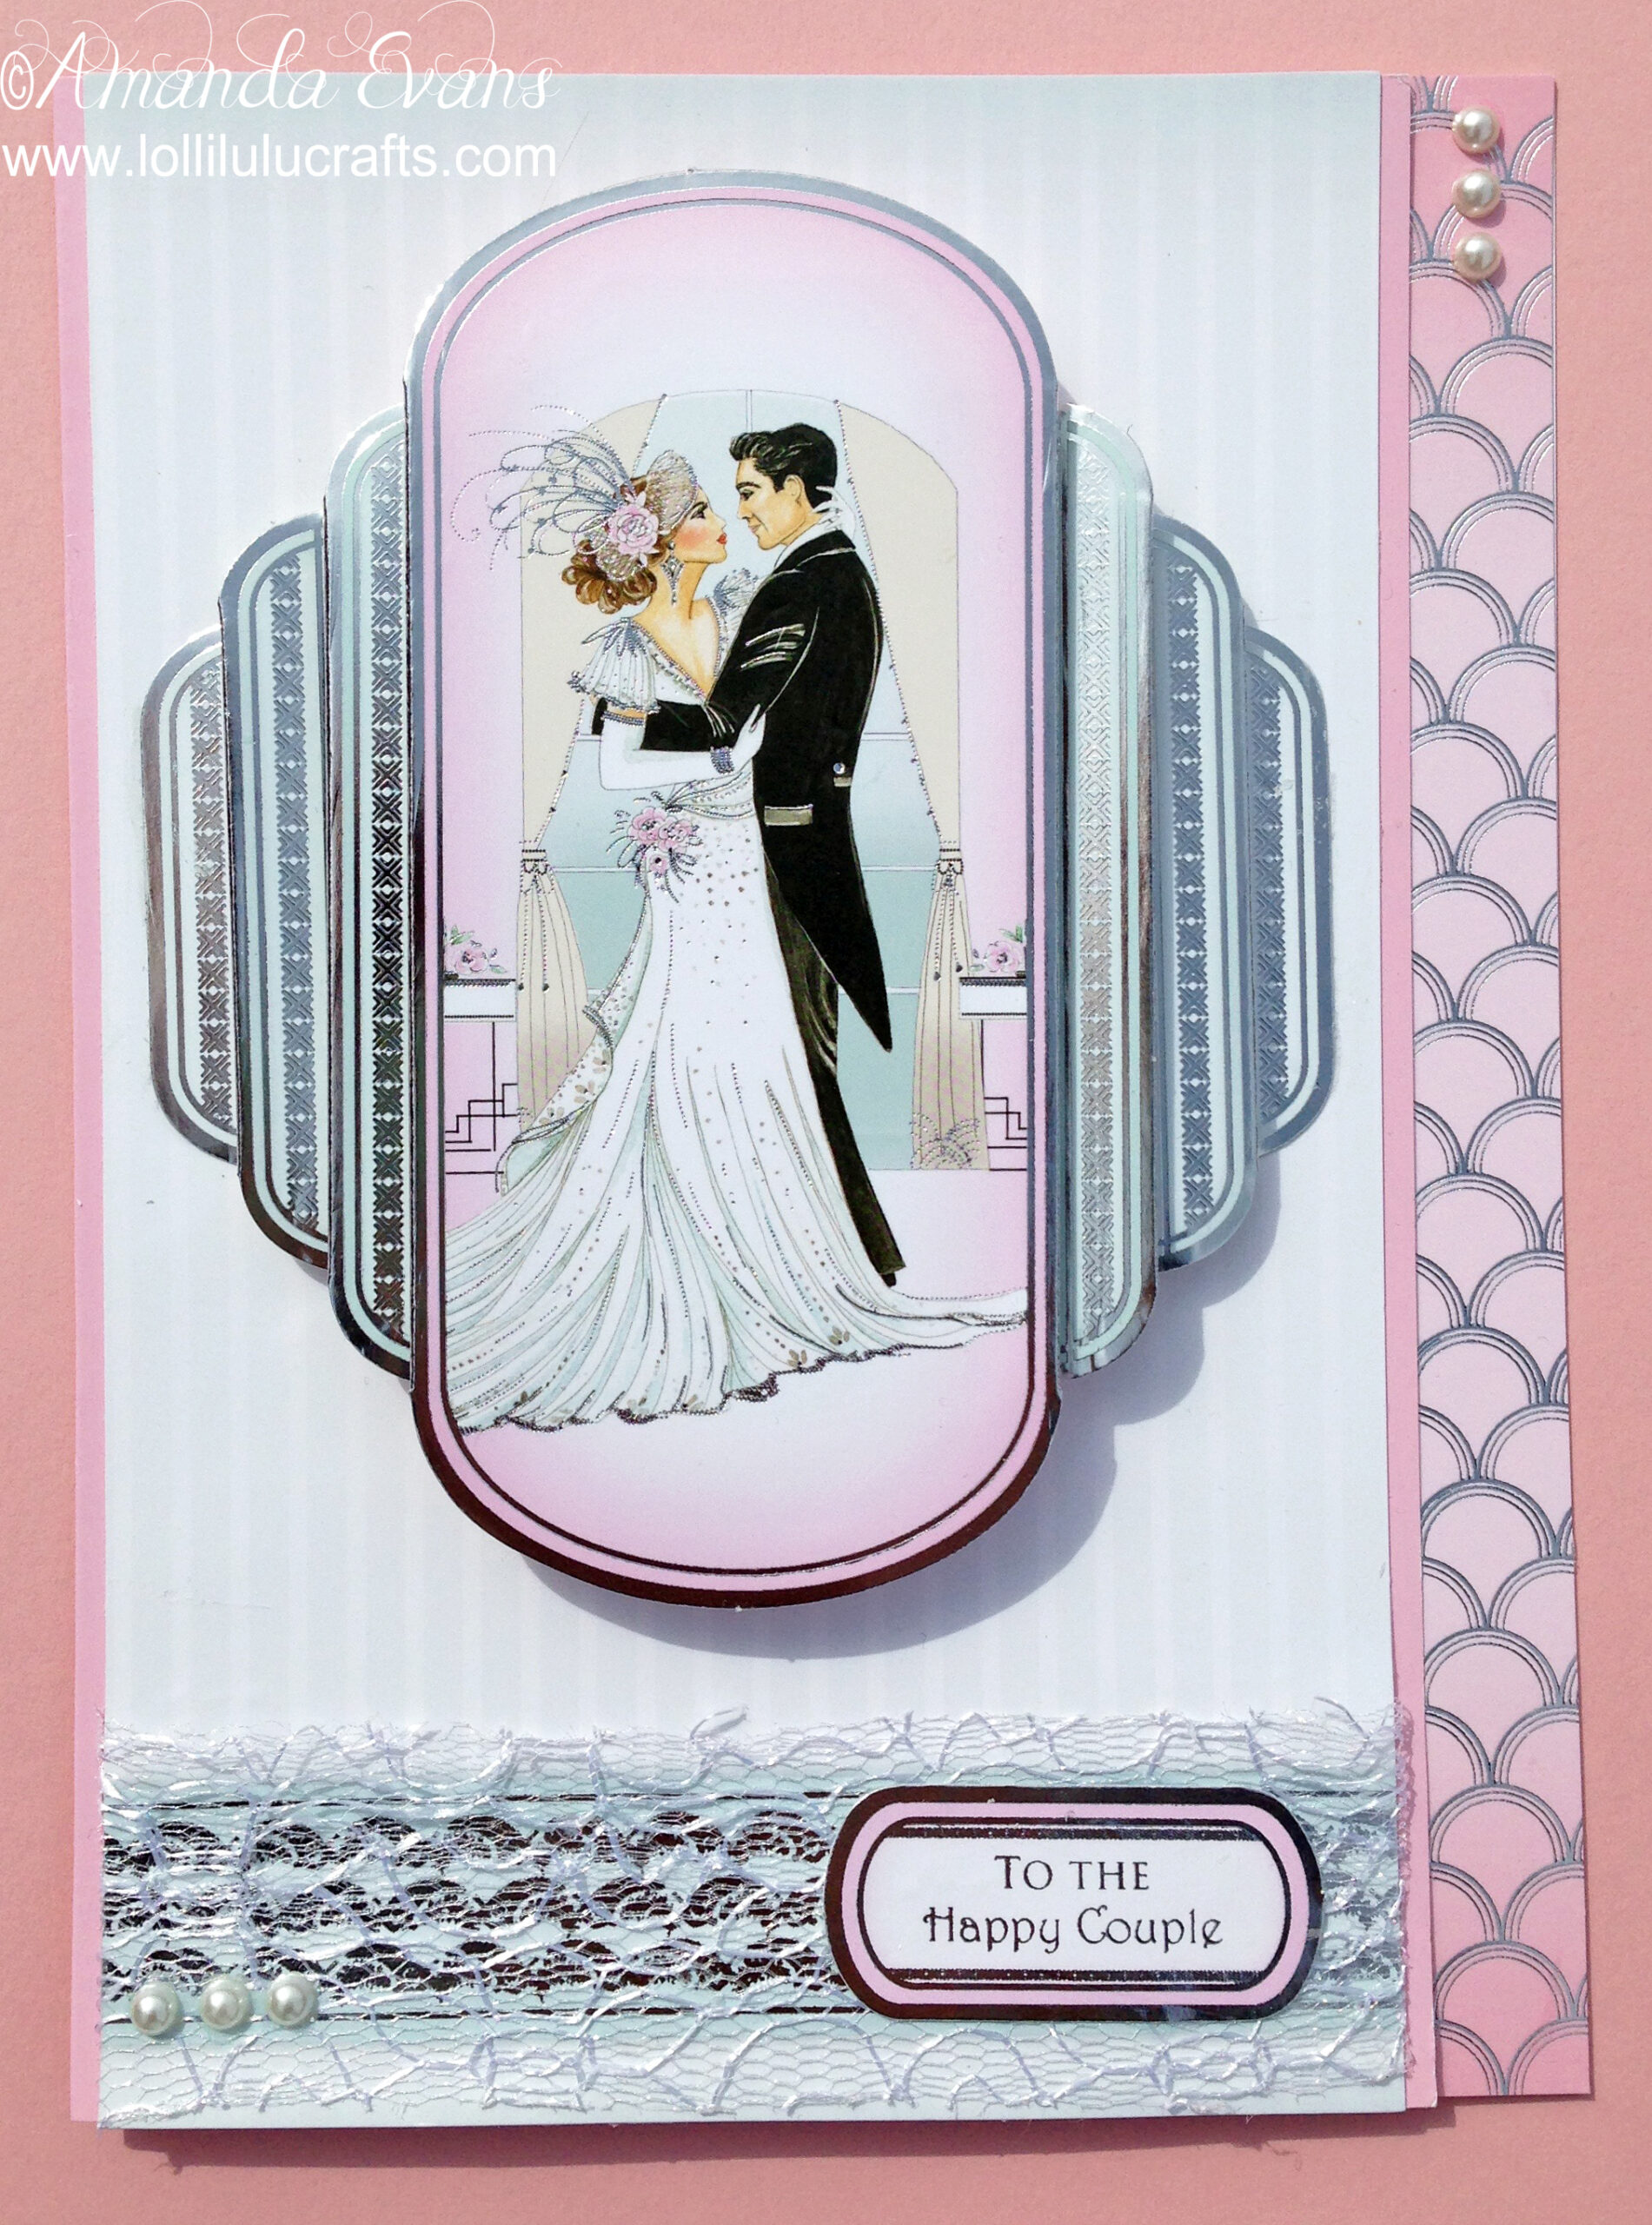
Hiya, Today I have a beautiful wedding card for you made using one of my favourite companies – Hunkydory. This card was made using elements from their Decadent Days & Glamorous Nights collection.
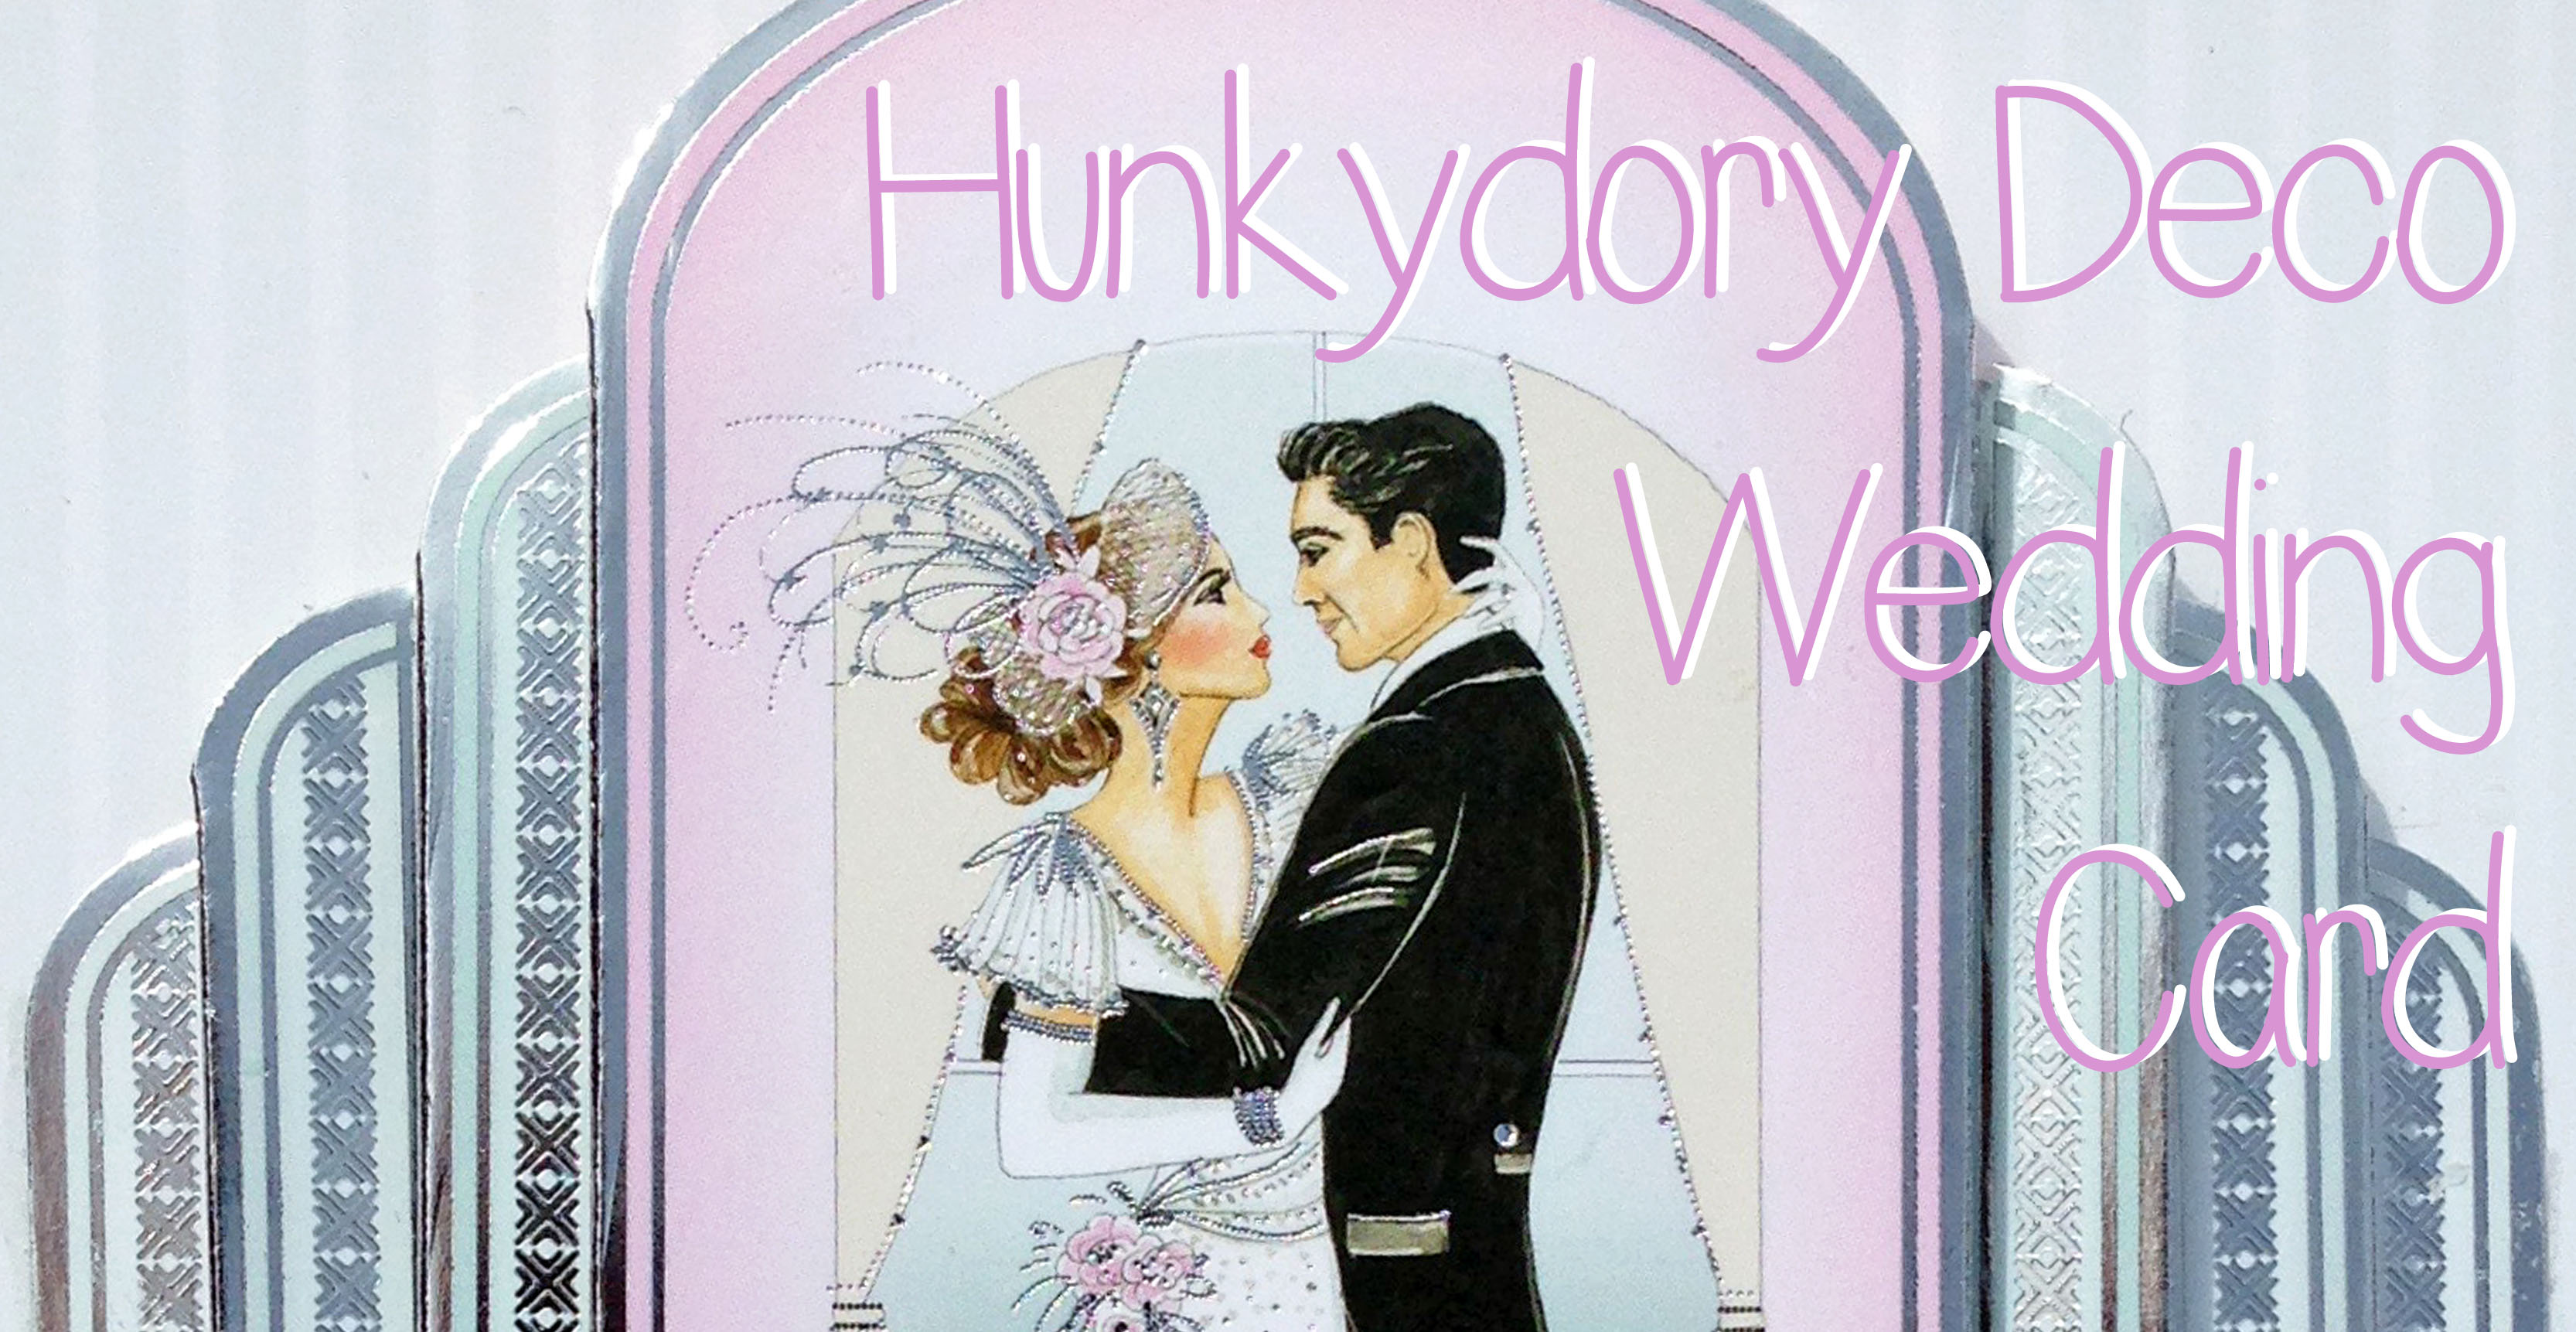
I had been hunting through my Hunkydory stash looking for something to make for this post when I came across their Decadent Days and Glamorous Nights Collection and was inspired with so many different card designs that it was hard to choose just this one. In fact I think I may even do a video post later on using this set, we shall have to see 🙂
So to the card, I chose a sheet of toppers for a wedding card, two sheets of pattern card stock from the kit and a plain coloured piece of adorable scoreable from my stash.
Firstly I took the plain adorable scoreable, which was pink, and scored it to create an A5 card. Unusually for me I put the colour on the outside of the card. Next, I cut about 1 inch off the side on the front to make the front slightly smaller than the back so we could see the inside back of the card from the front! LOL if that makes sense!
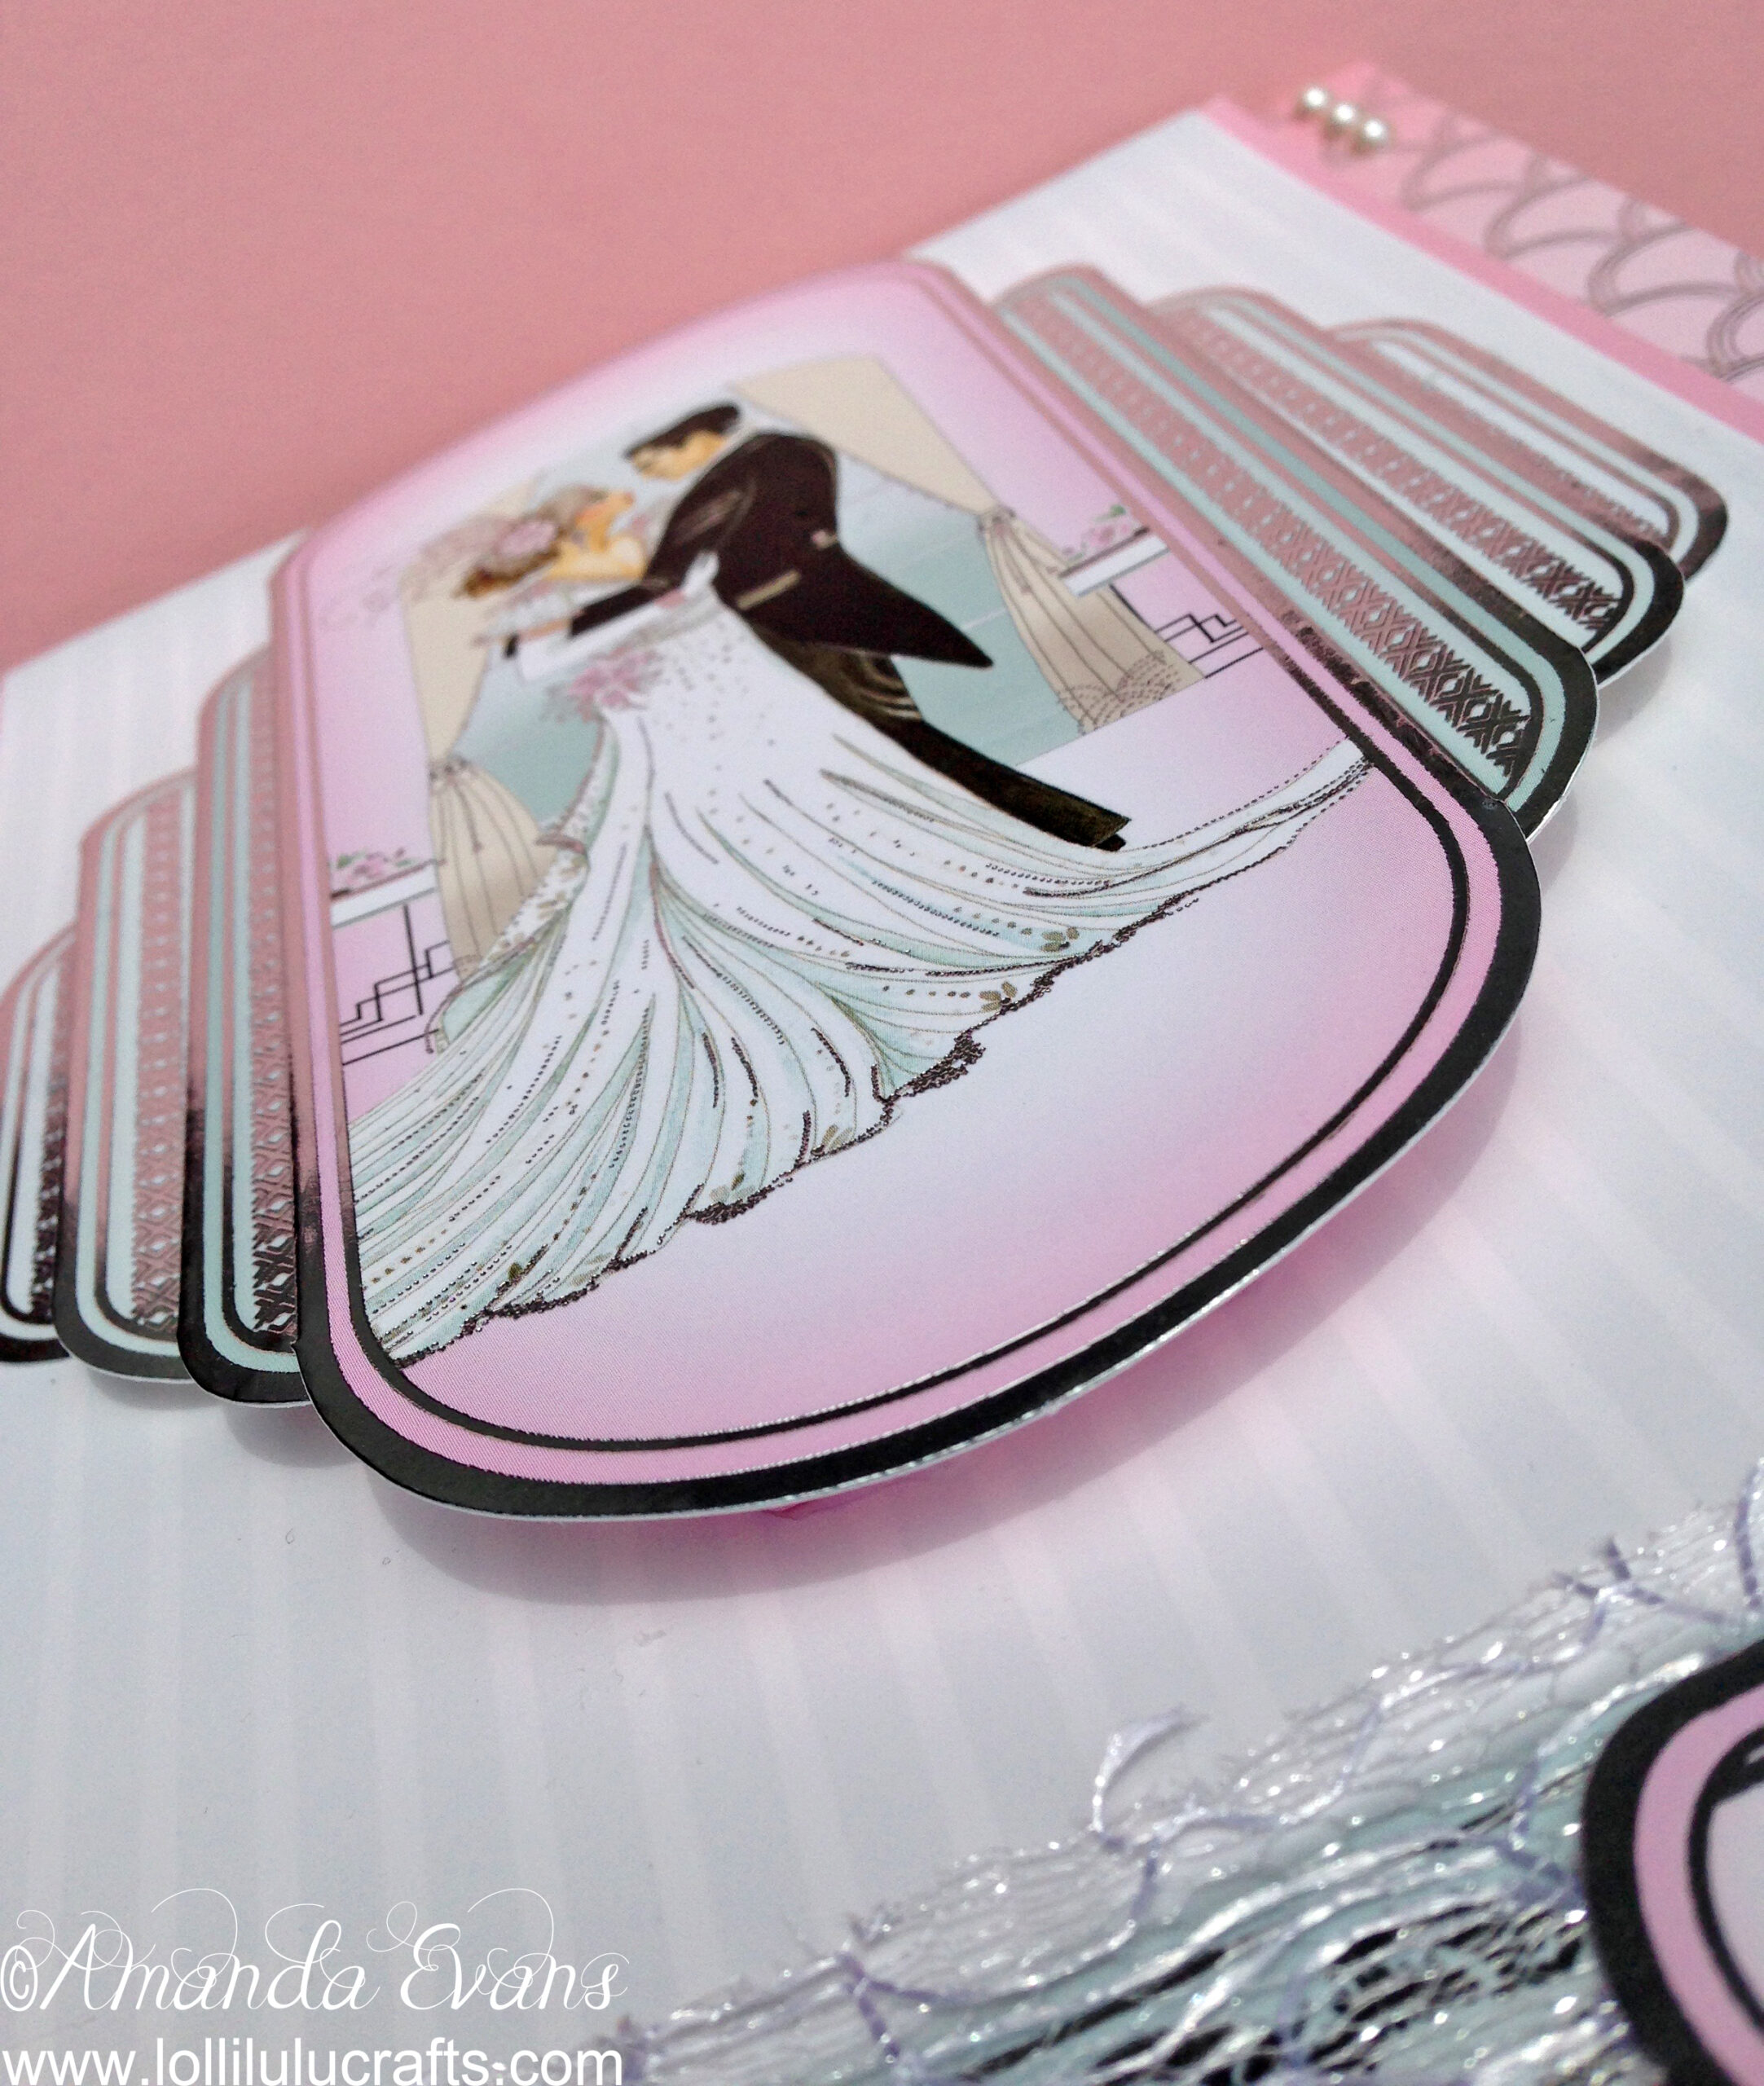
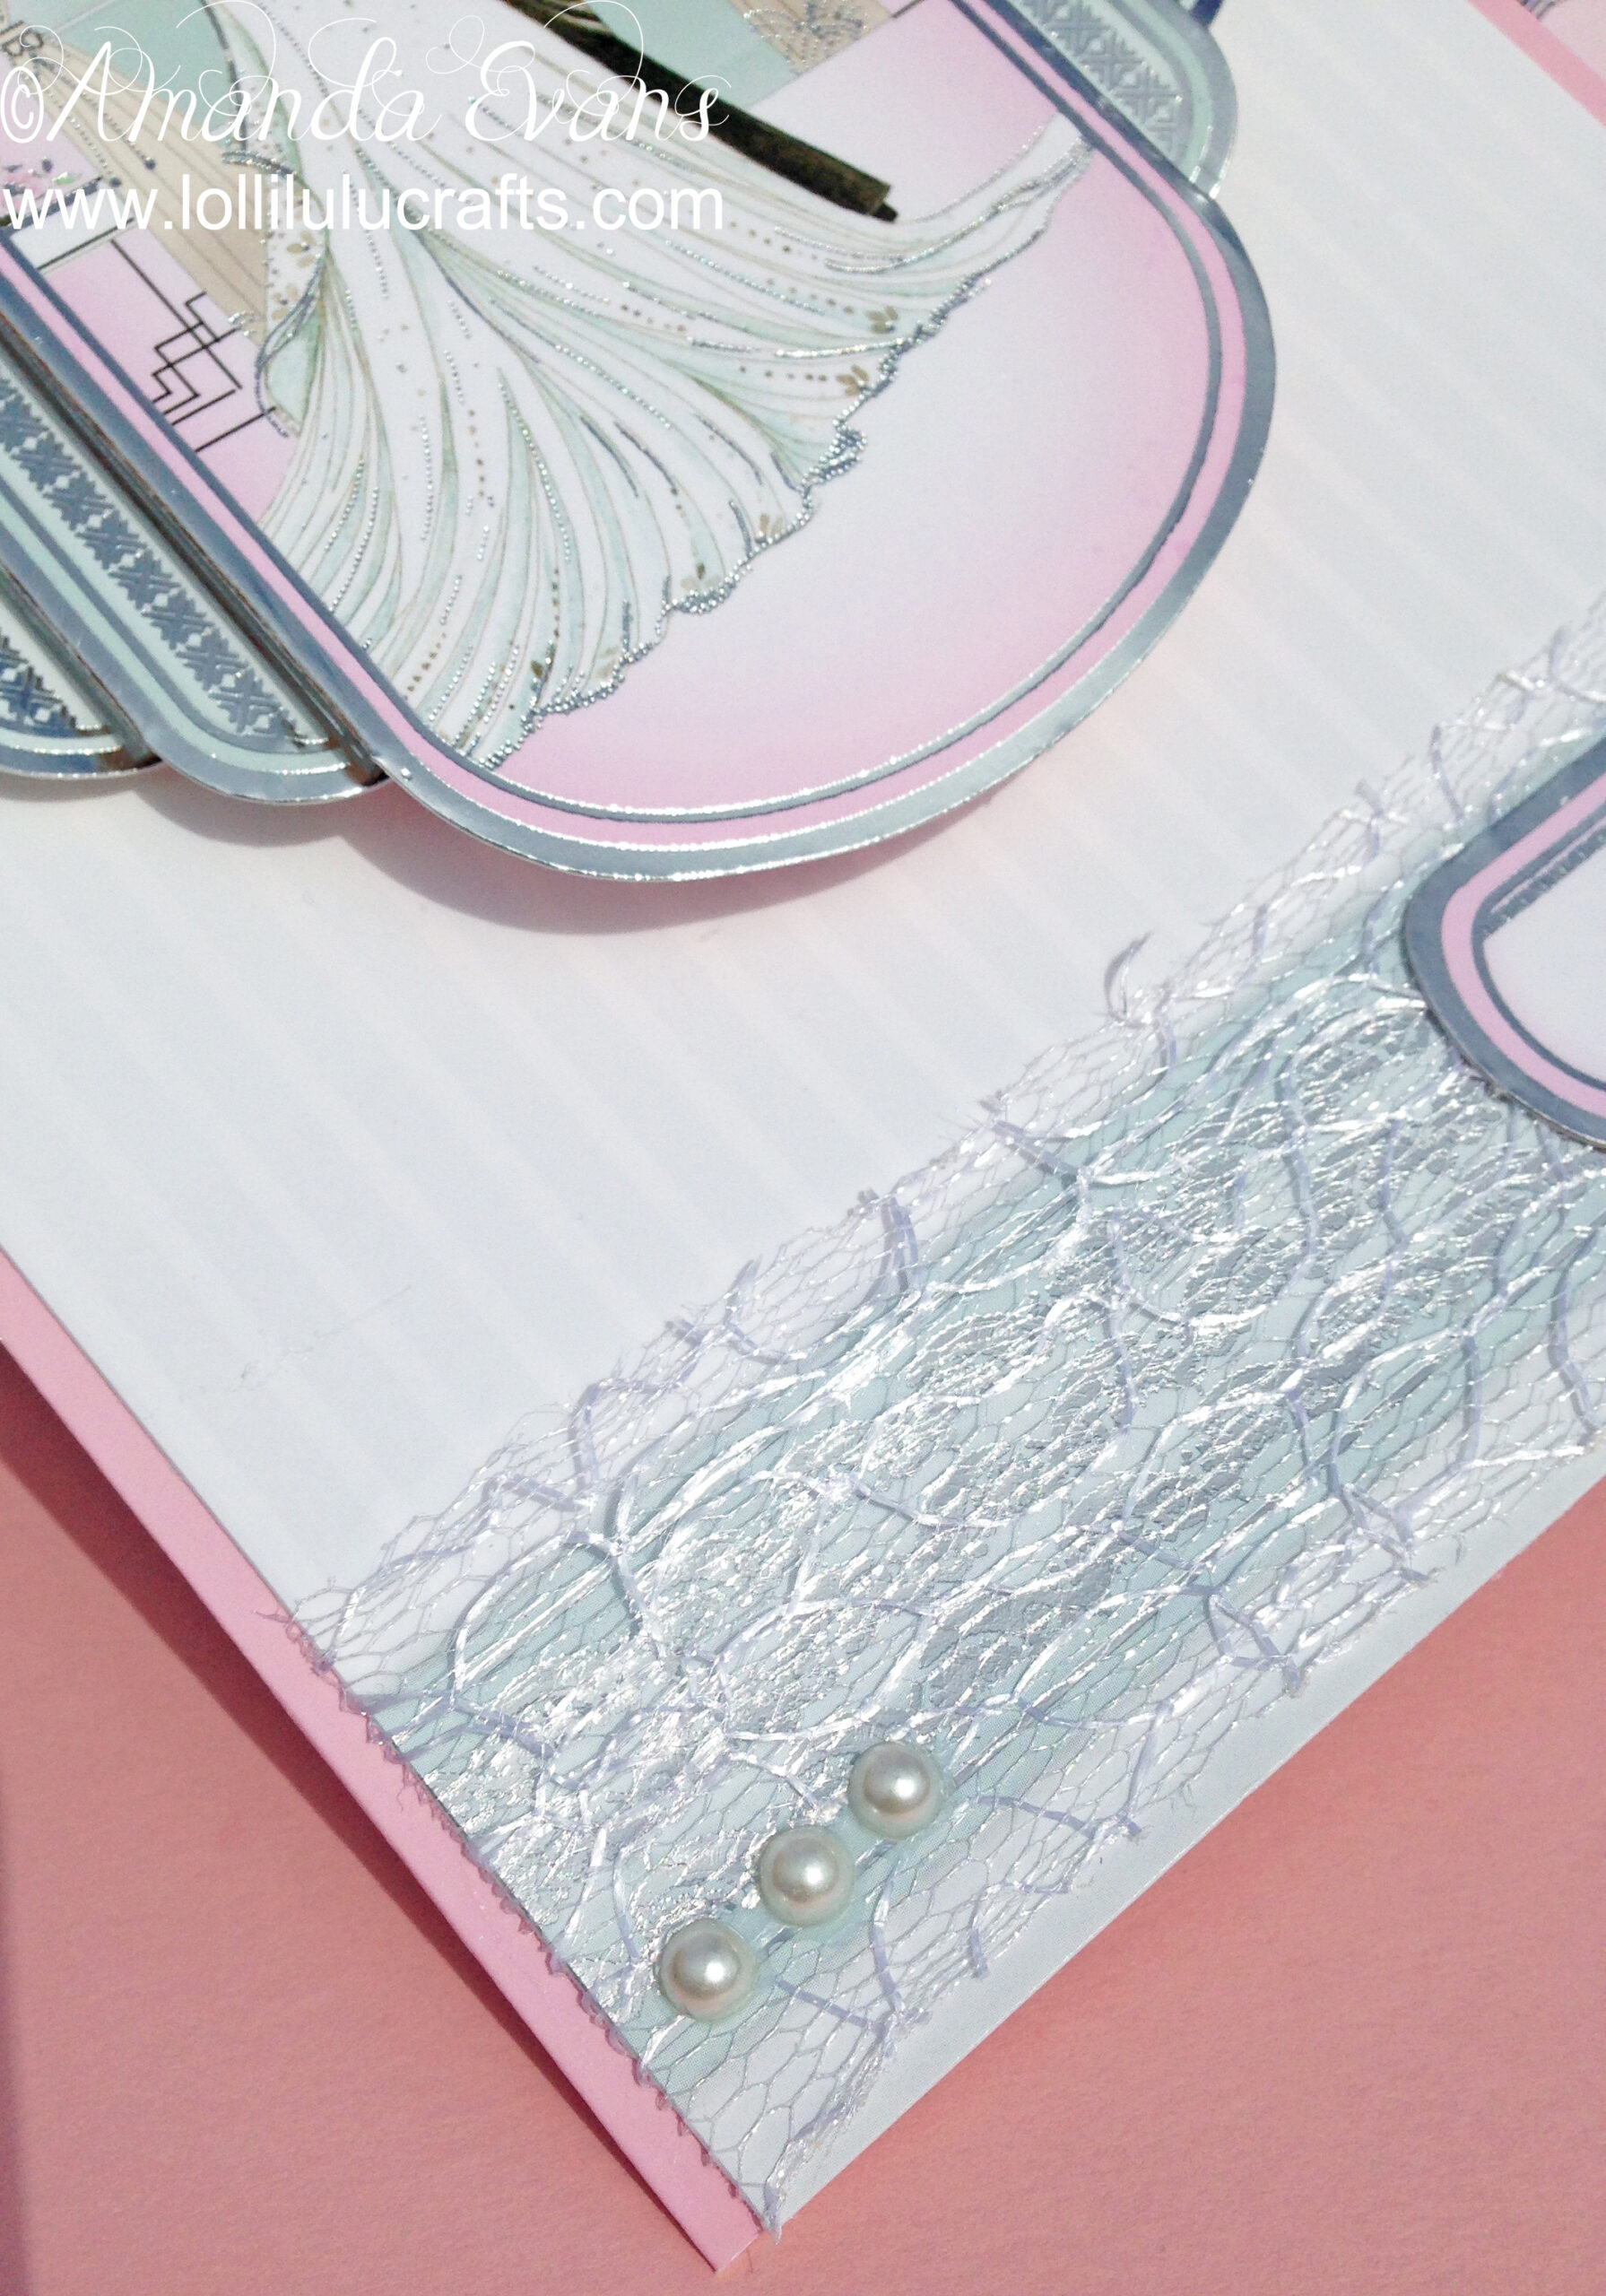
I then took the shell like foiled design pink card and cut a piece about 2 inches across and the same height as my card base and added it to the inside back of the card so that it showed through to the front of the card when it was closed. Next I took the design pattern card that matched the topper sheet, cut it to slightly less than half of the length from the end without the image, so that I ended up with the piece with the pattern and foiling only.
I then took that piece of card and added some lace trim around the bottom. Once that was stuck I then adhered the card to the front of my main card using cosmic shimmer glue as I wanted it to lay flat.
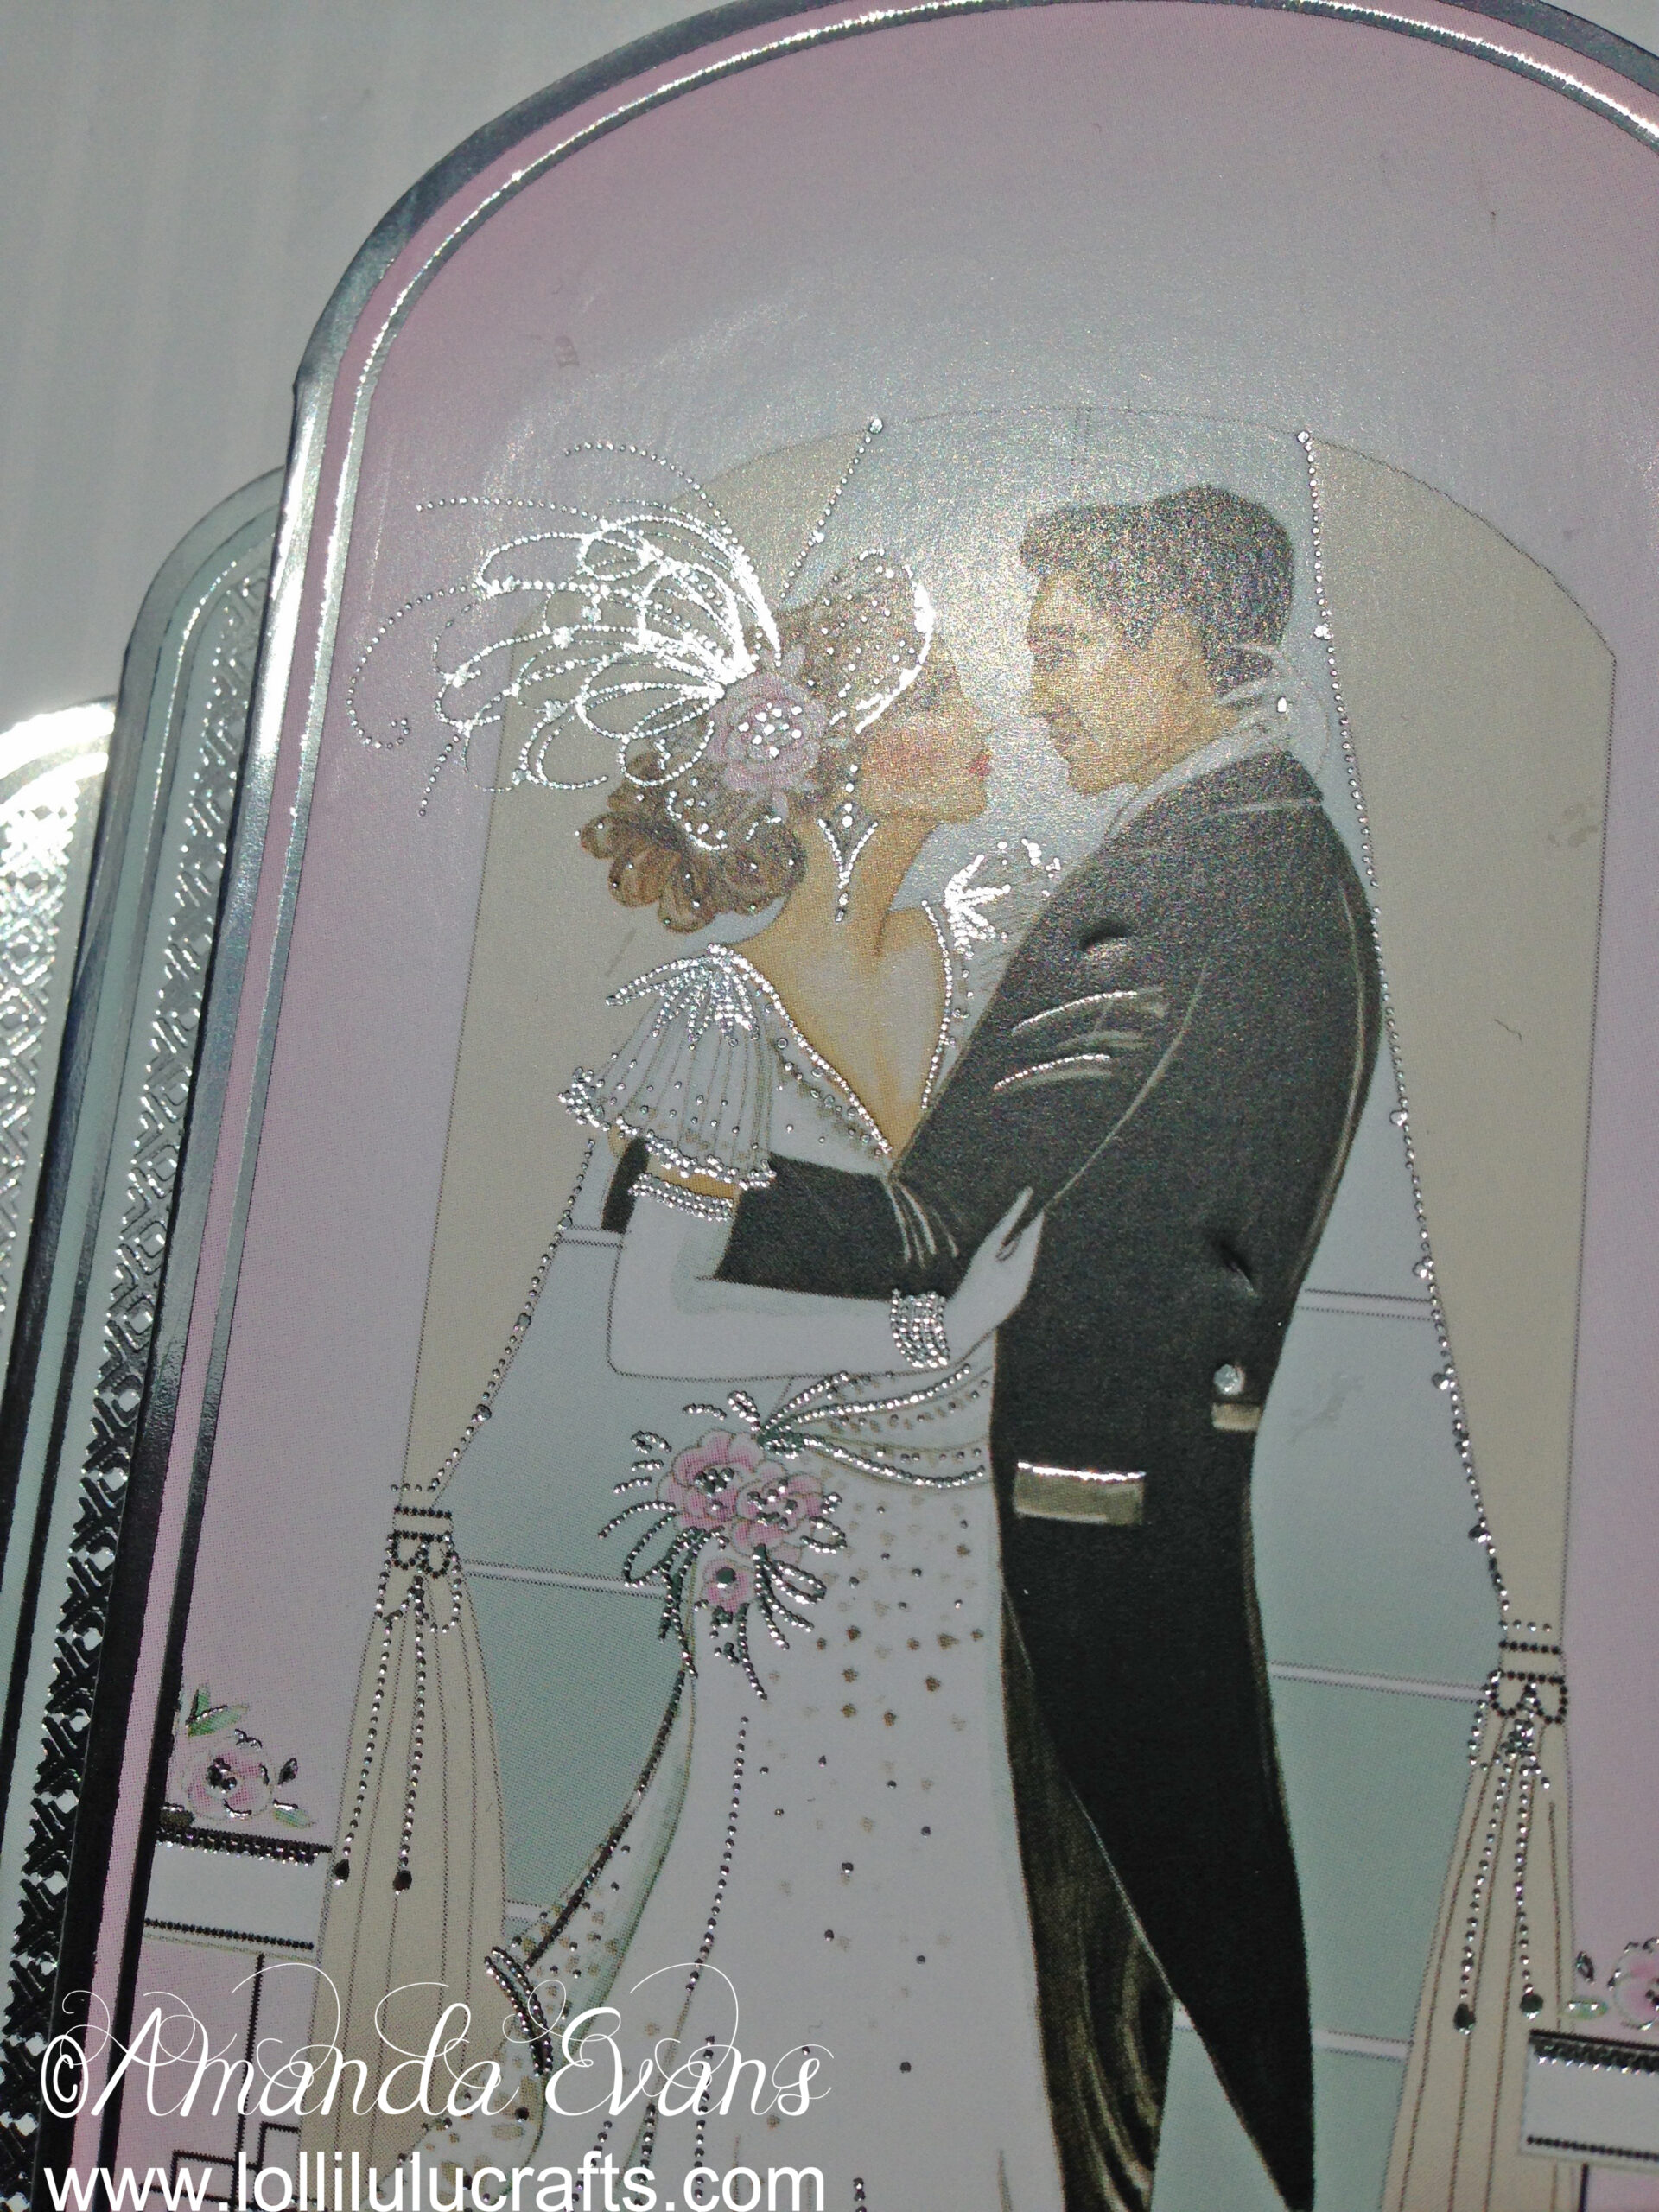
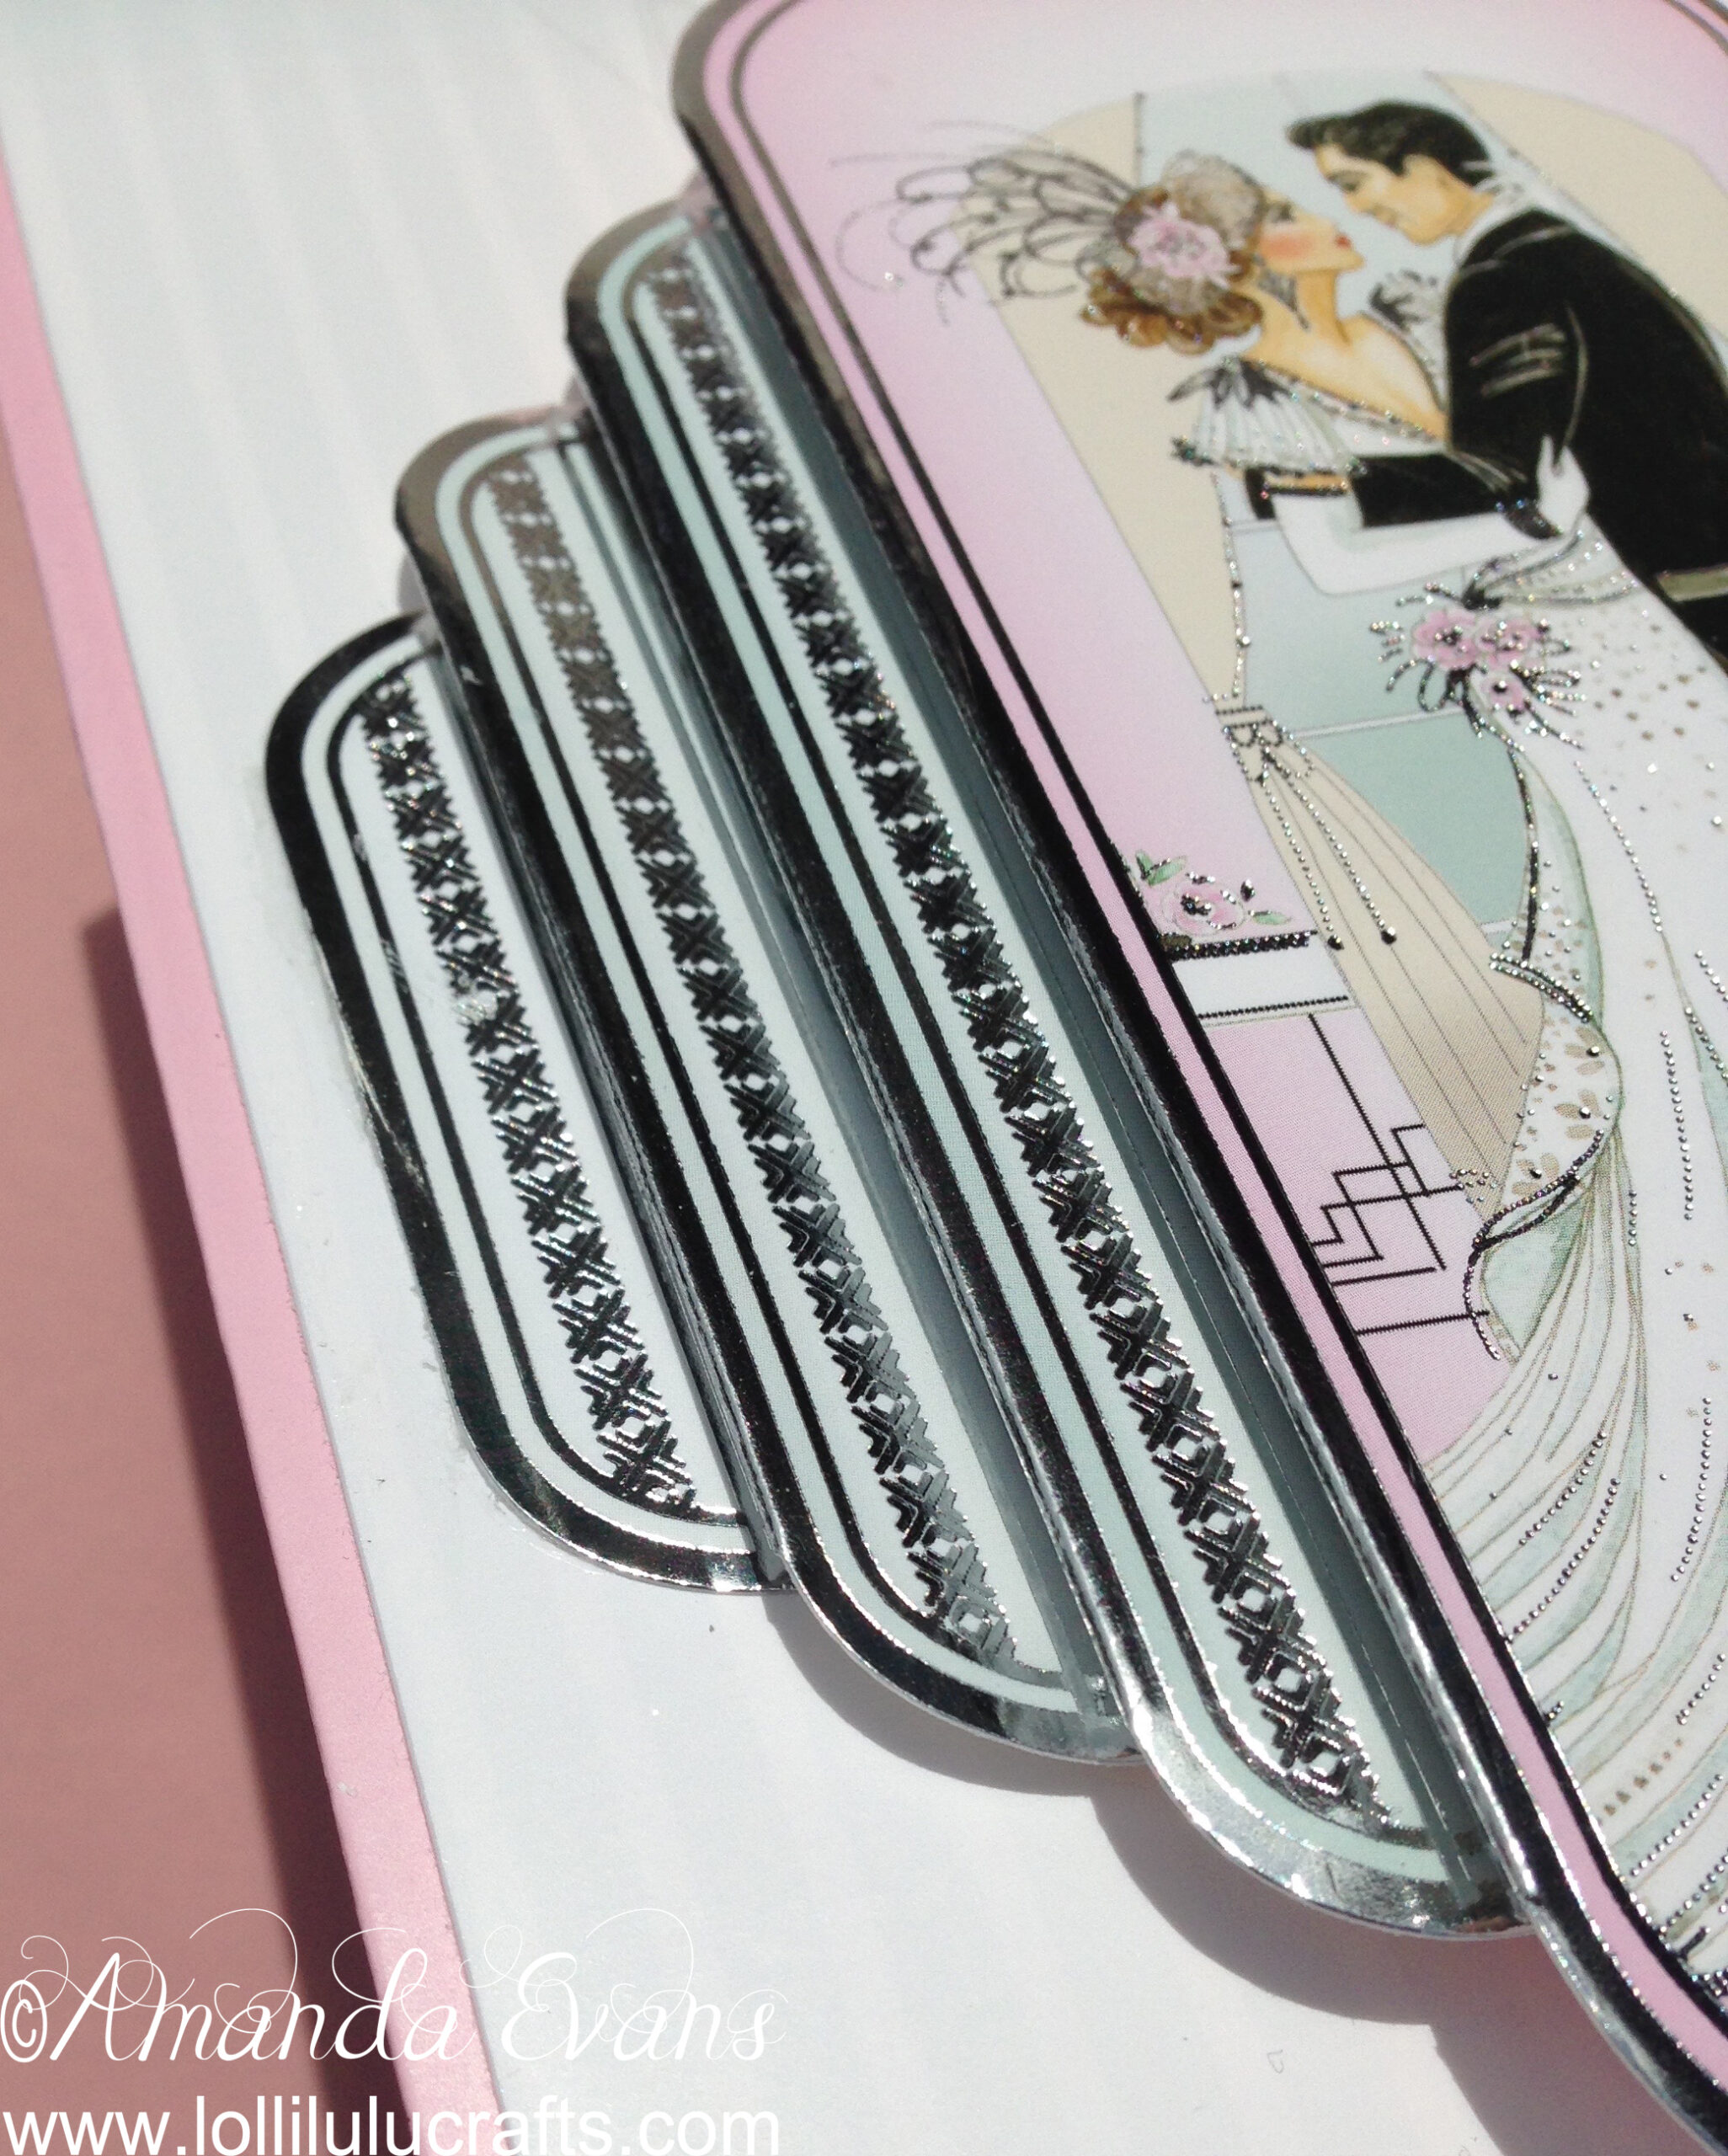
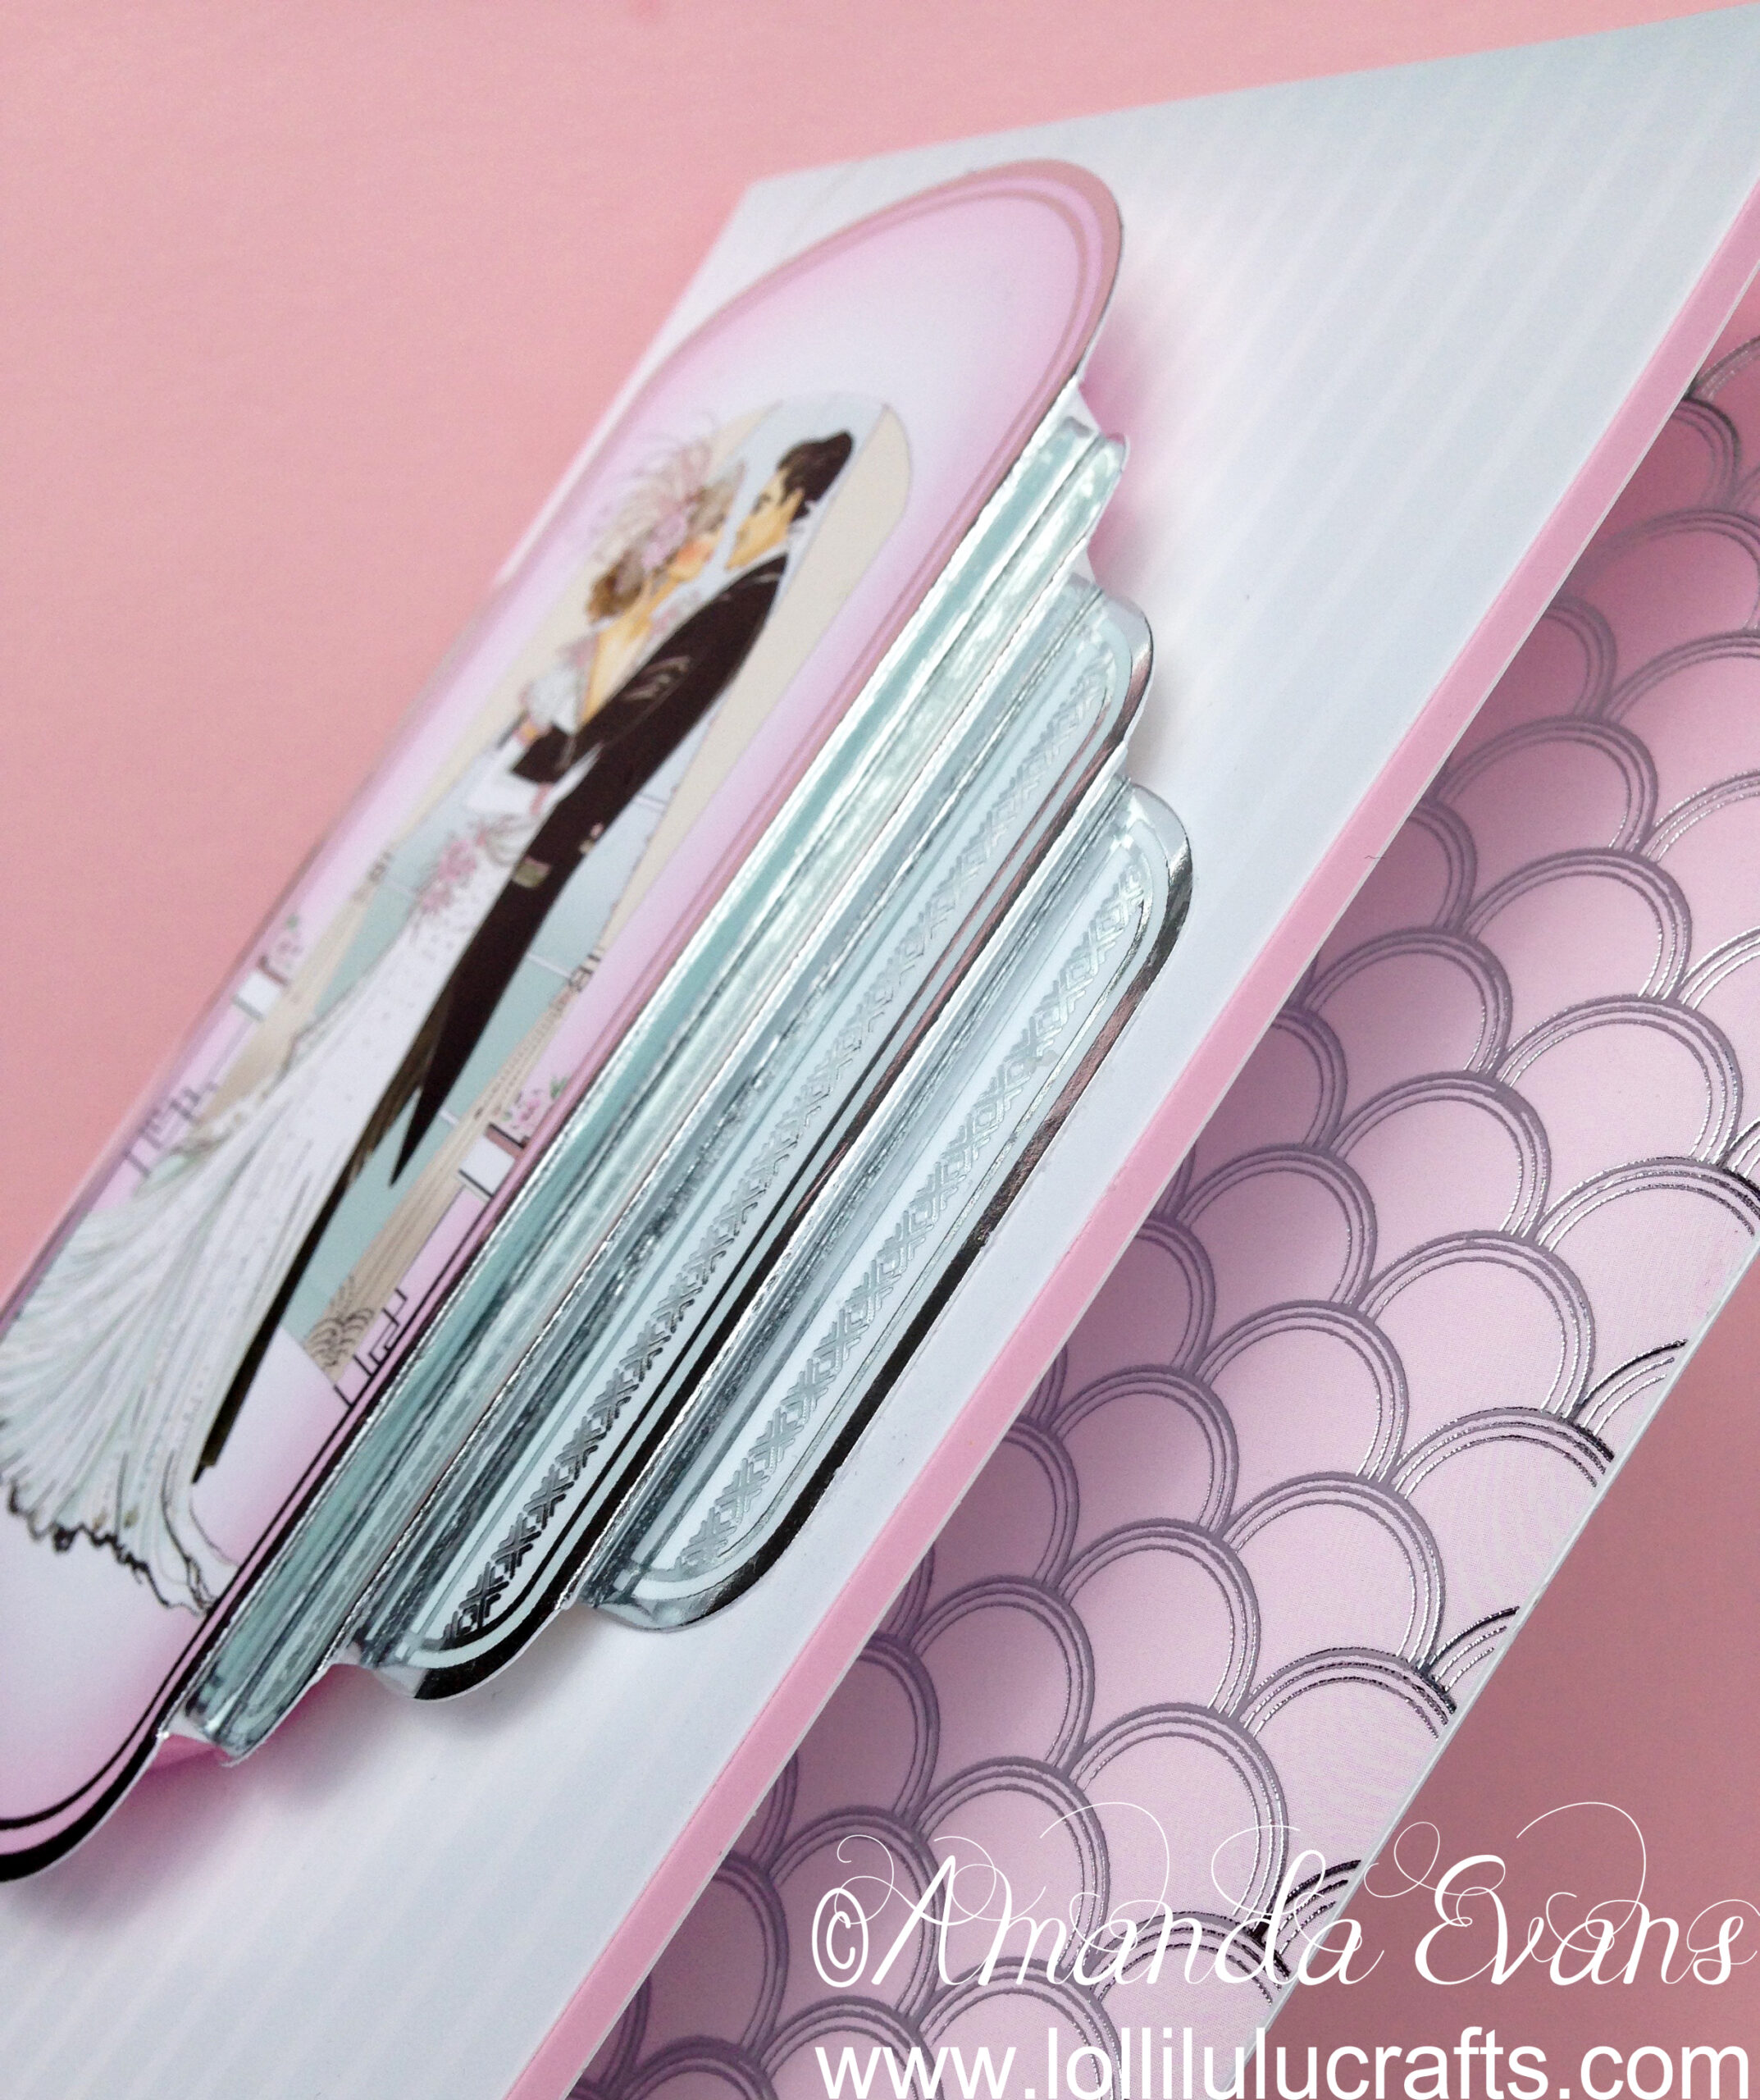
Next I took one of the toppers from the sheet and folded in the concertina fold on the two sides. The scorelines had already been added by Hunkydory so made it nice and easy. In order to ensure that this did not collapse once it was on the card I took some pink foam sheets and cut about four layers of it to fit under the centre image of the topper, glued them together and then glued them to the centre of my topper. Finally in order to add the topper to the card, I took some cosmic shimmer glue and put it over the pink foam and also on the two very edge pieces of my concertina sides. Holding my topper by these two sides I positioned the centre where I wanted it and then put down each of the sides so the concertina was folded but not squashed. I then held in place for a few moments while the glue went off.
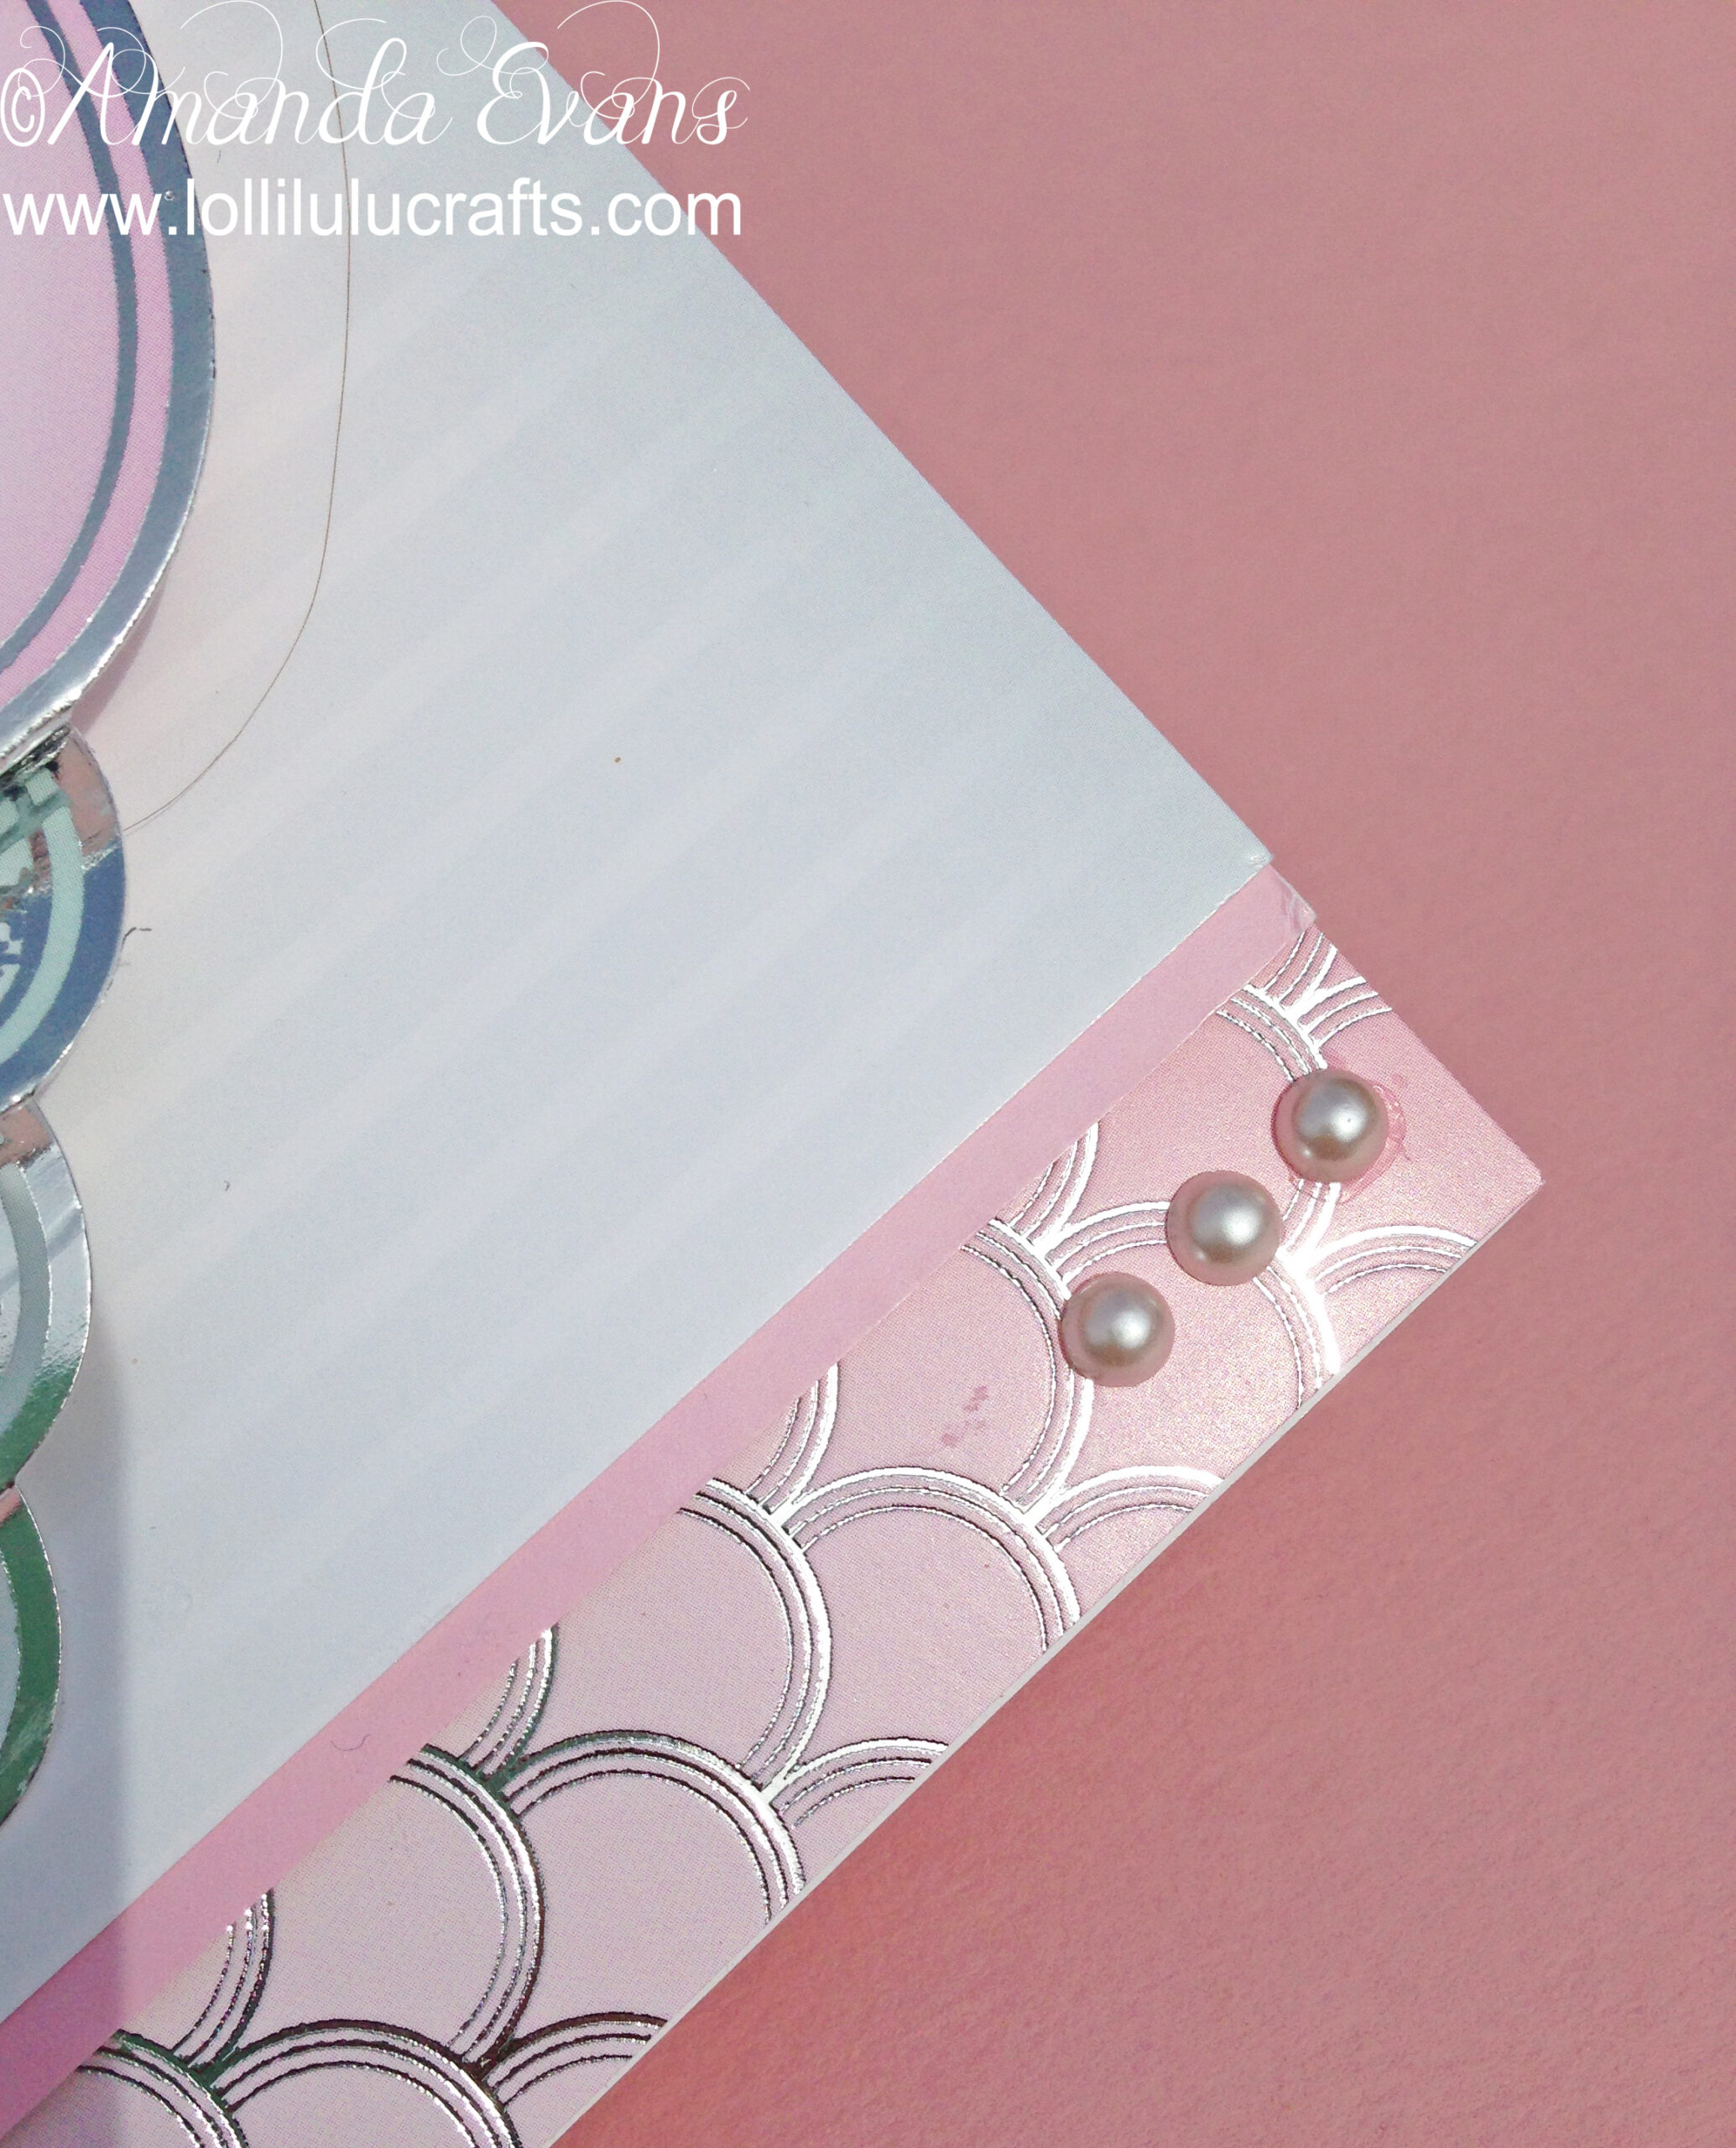
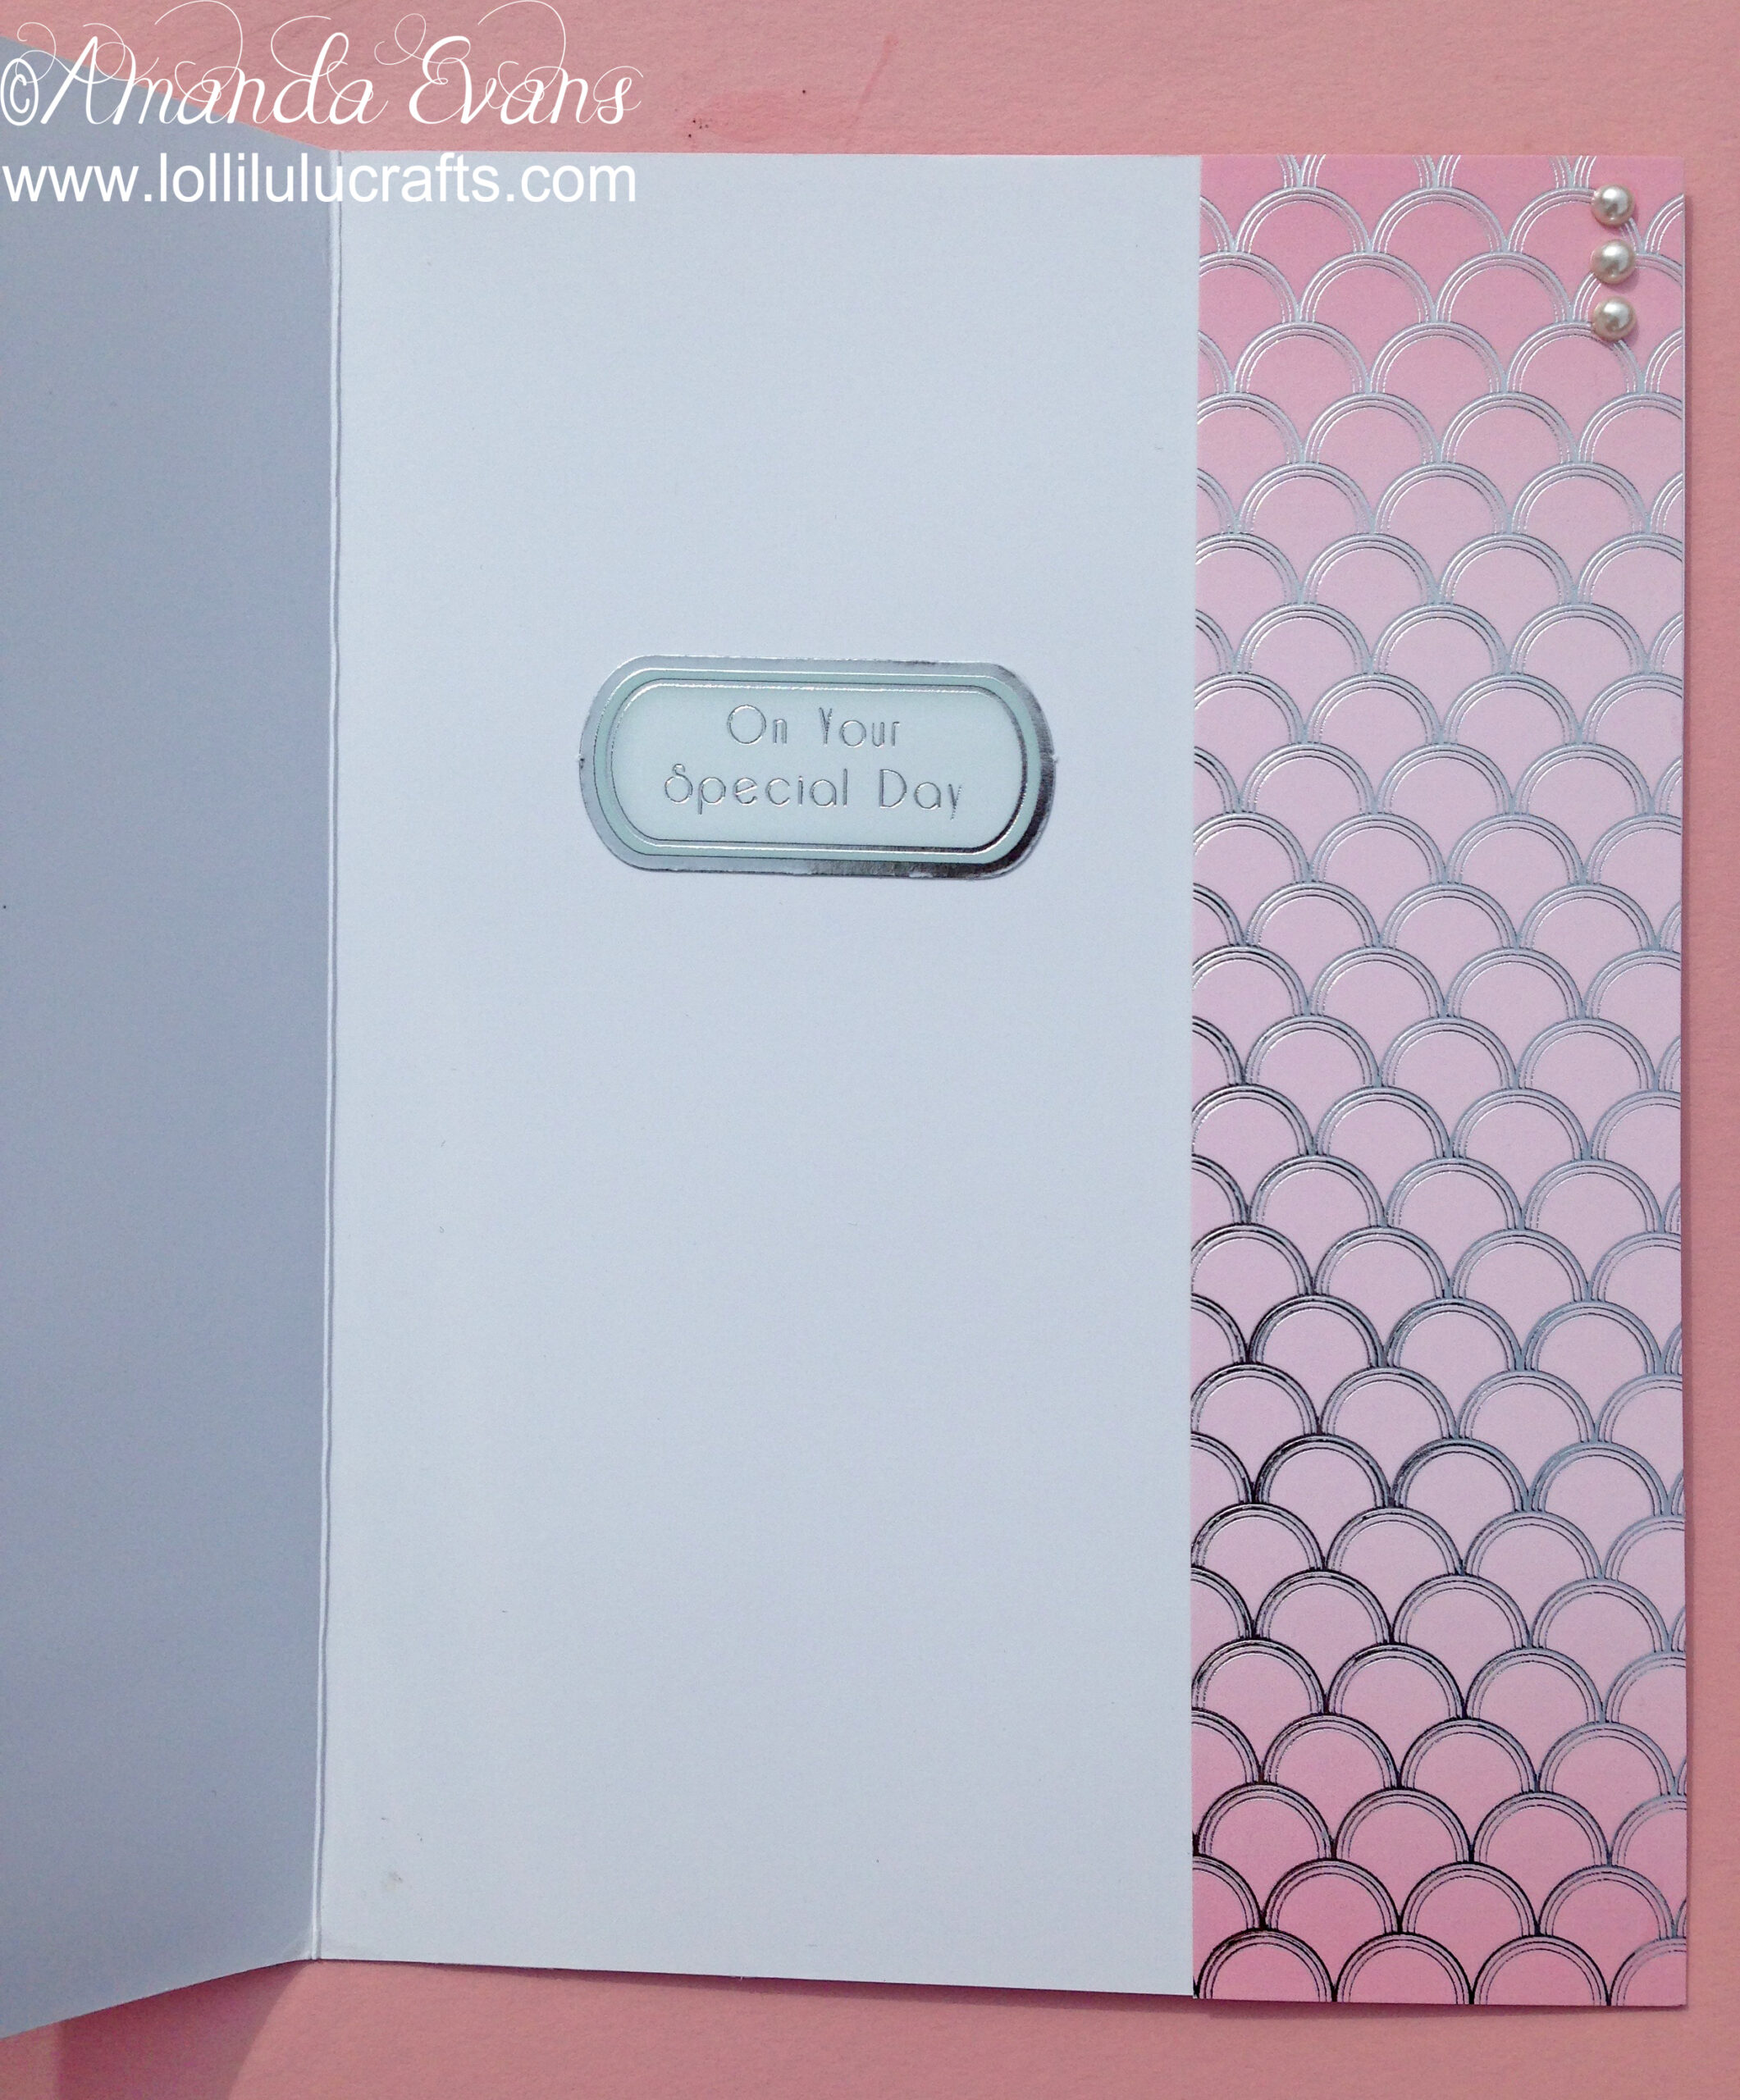
As a decorative touch I added three pearls in the top right corner on the back piece of the card and three pearls on my lace trim. Finally I added a sentiment to the lace trim and further sentiment on the inside of the card. But enough chatter, here are the photos of my Hunkydory Deco Wedding Card : –

So hope you enjoyed taking a look at this very pretty wedding card, well at least I hope you think it’s pretty too? But for now hugs and have a great craft day,


Another beautiful card. I love Hunkydory. I think the first videos I found of yours were House Mouse cards and a Hunkydory Christmas card. Still some of my favorite things.
Thank you sweet, I think Hunkydory are my favourite card brand now. A lot of diversity of design, good quality and a really good range of products. Have you ever actually tried any of their stuff? xx