


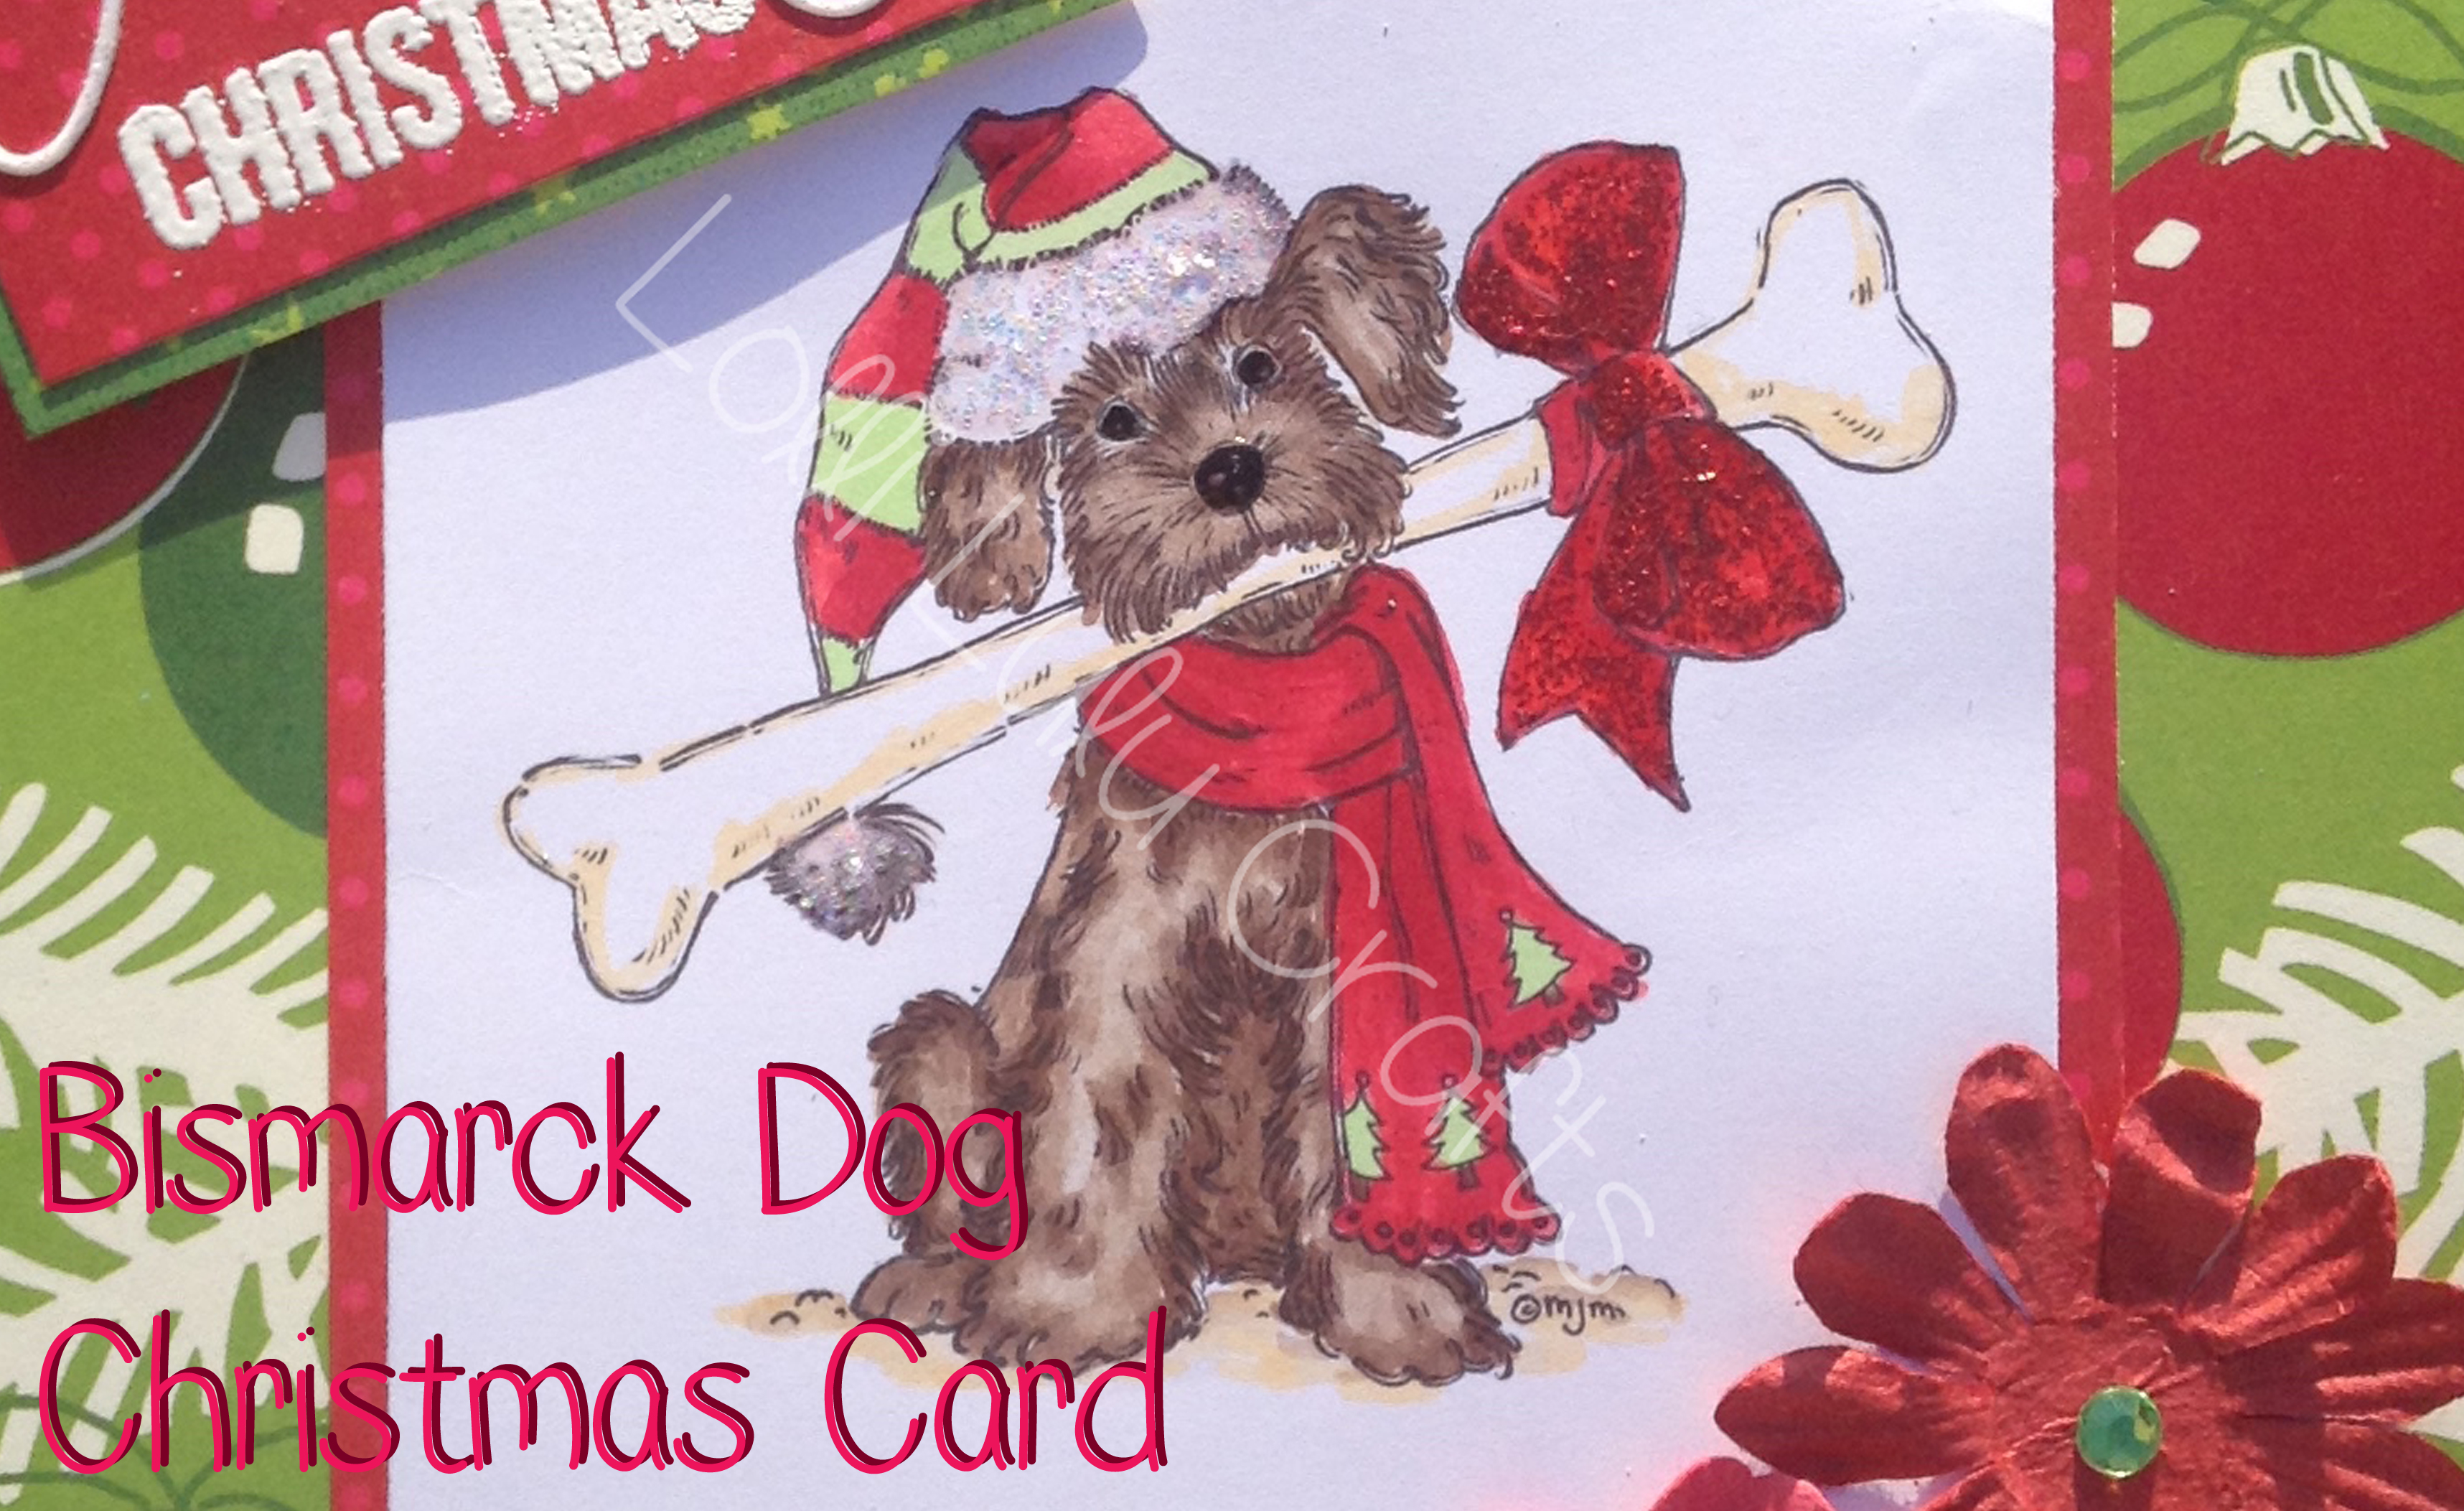
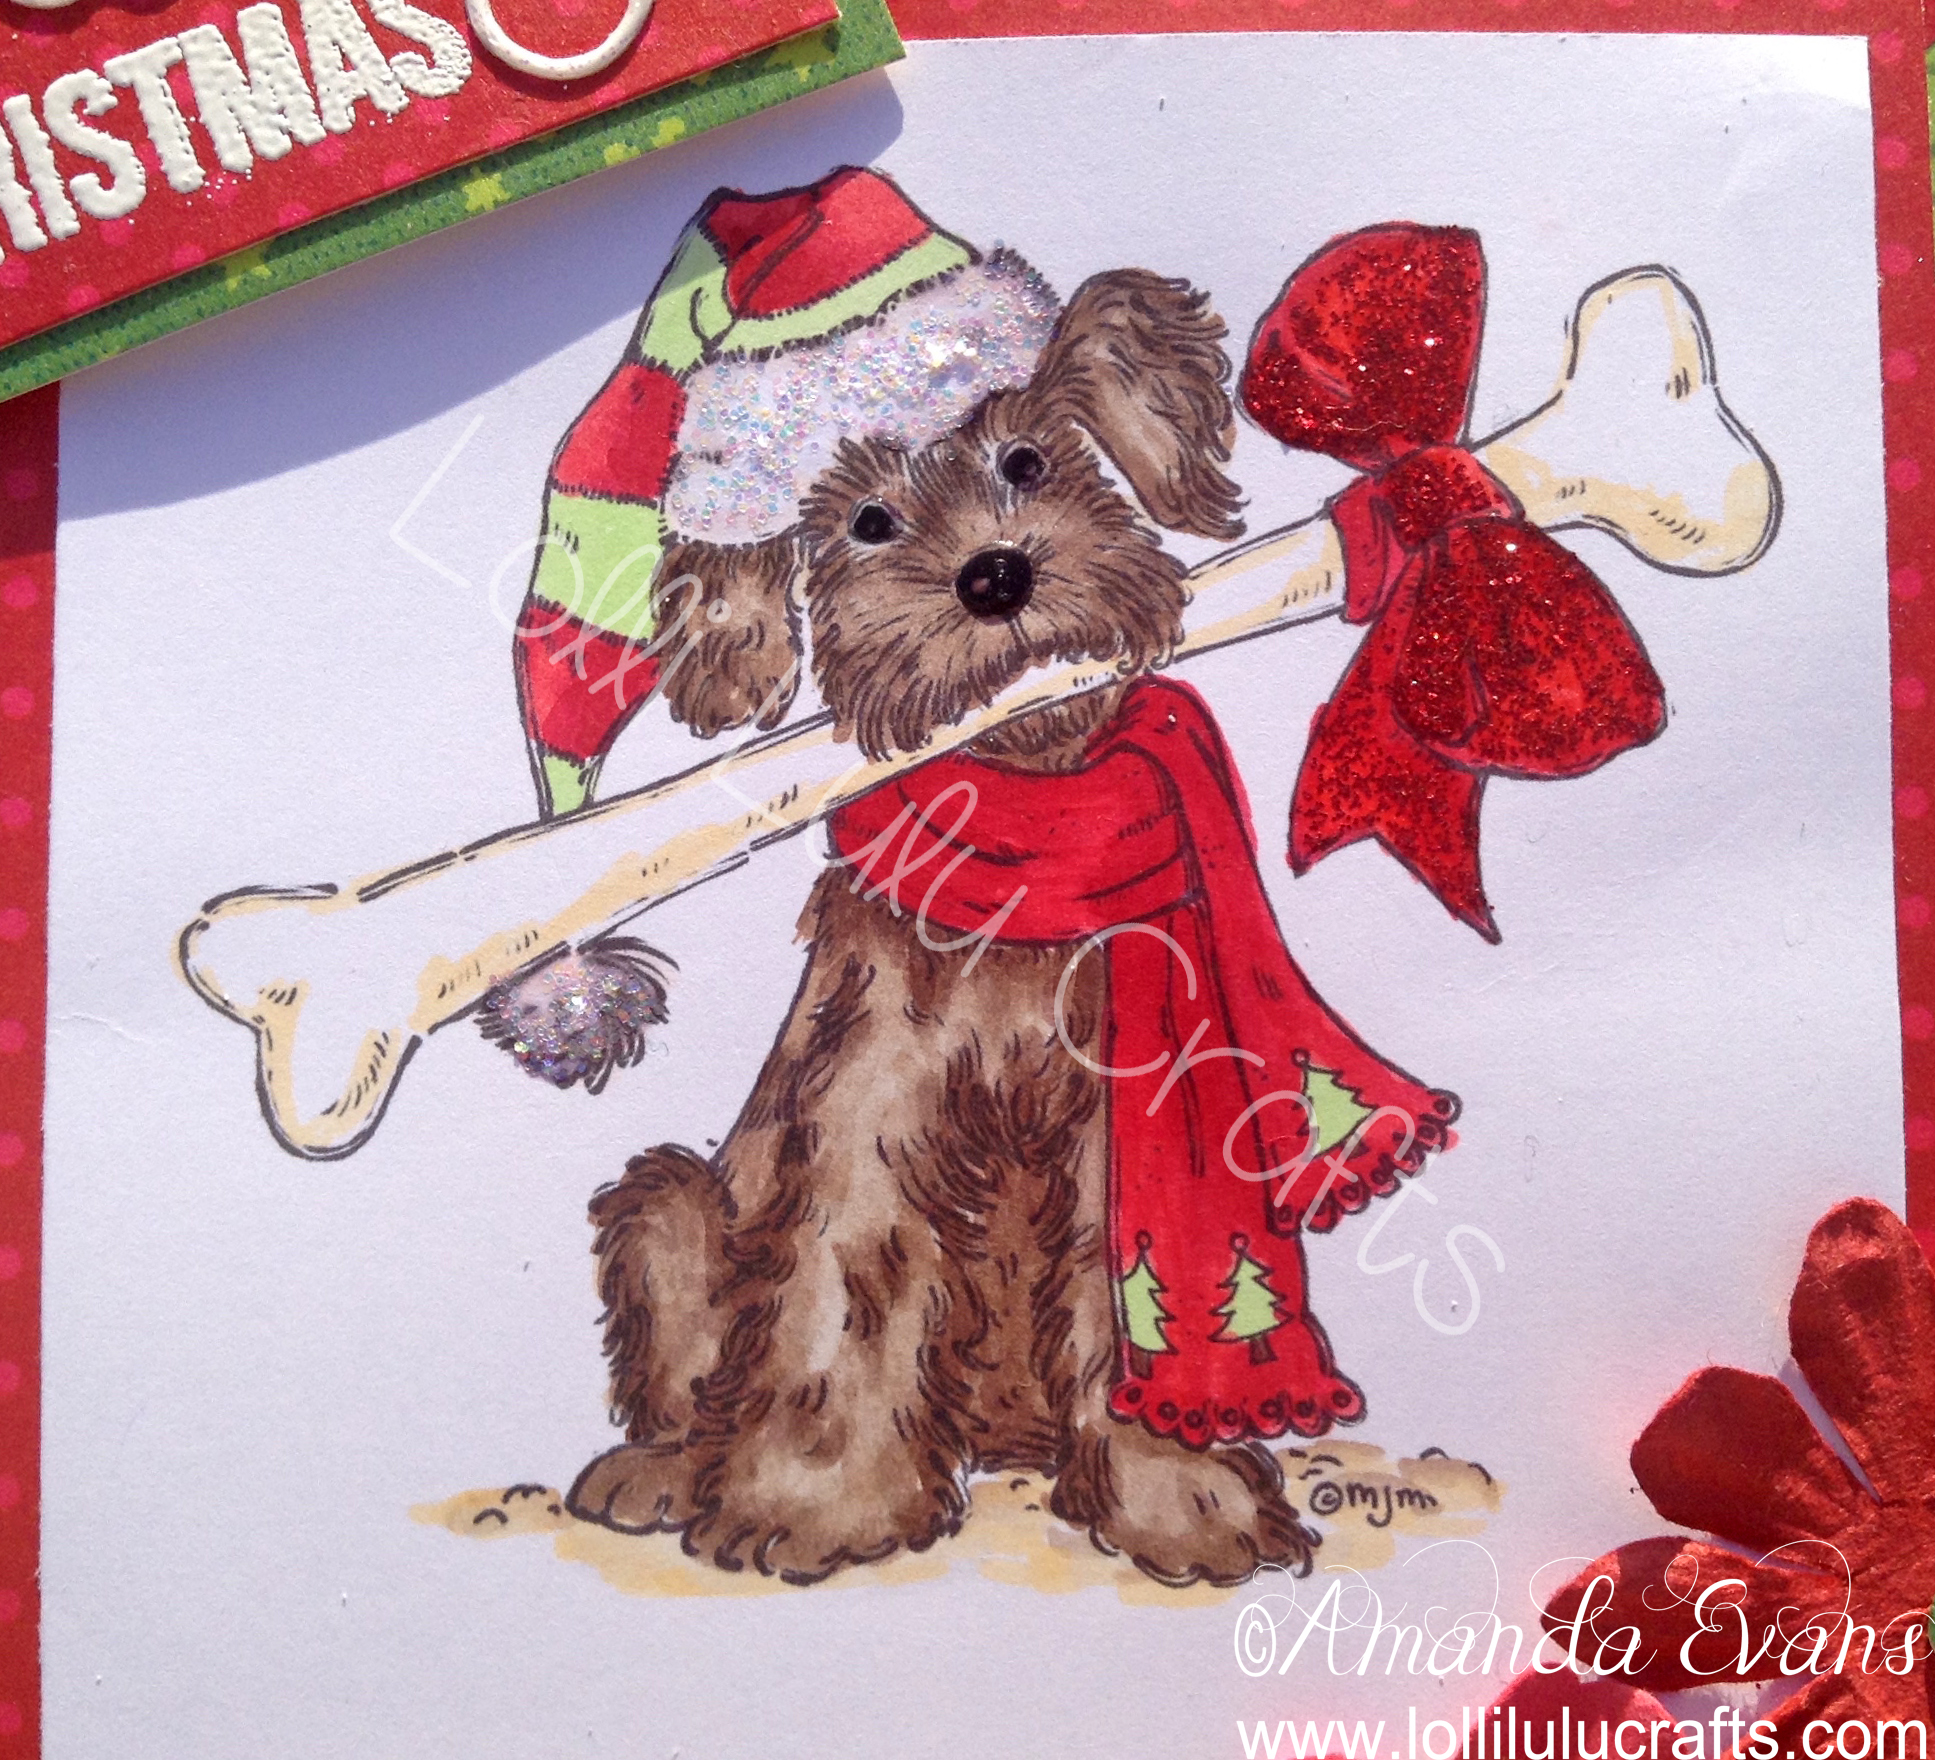
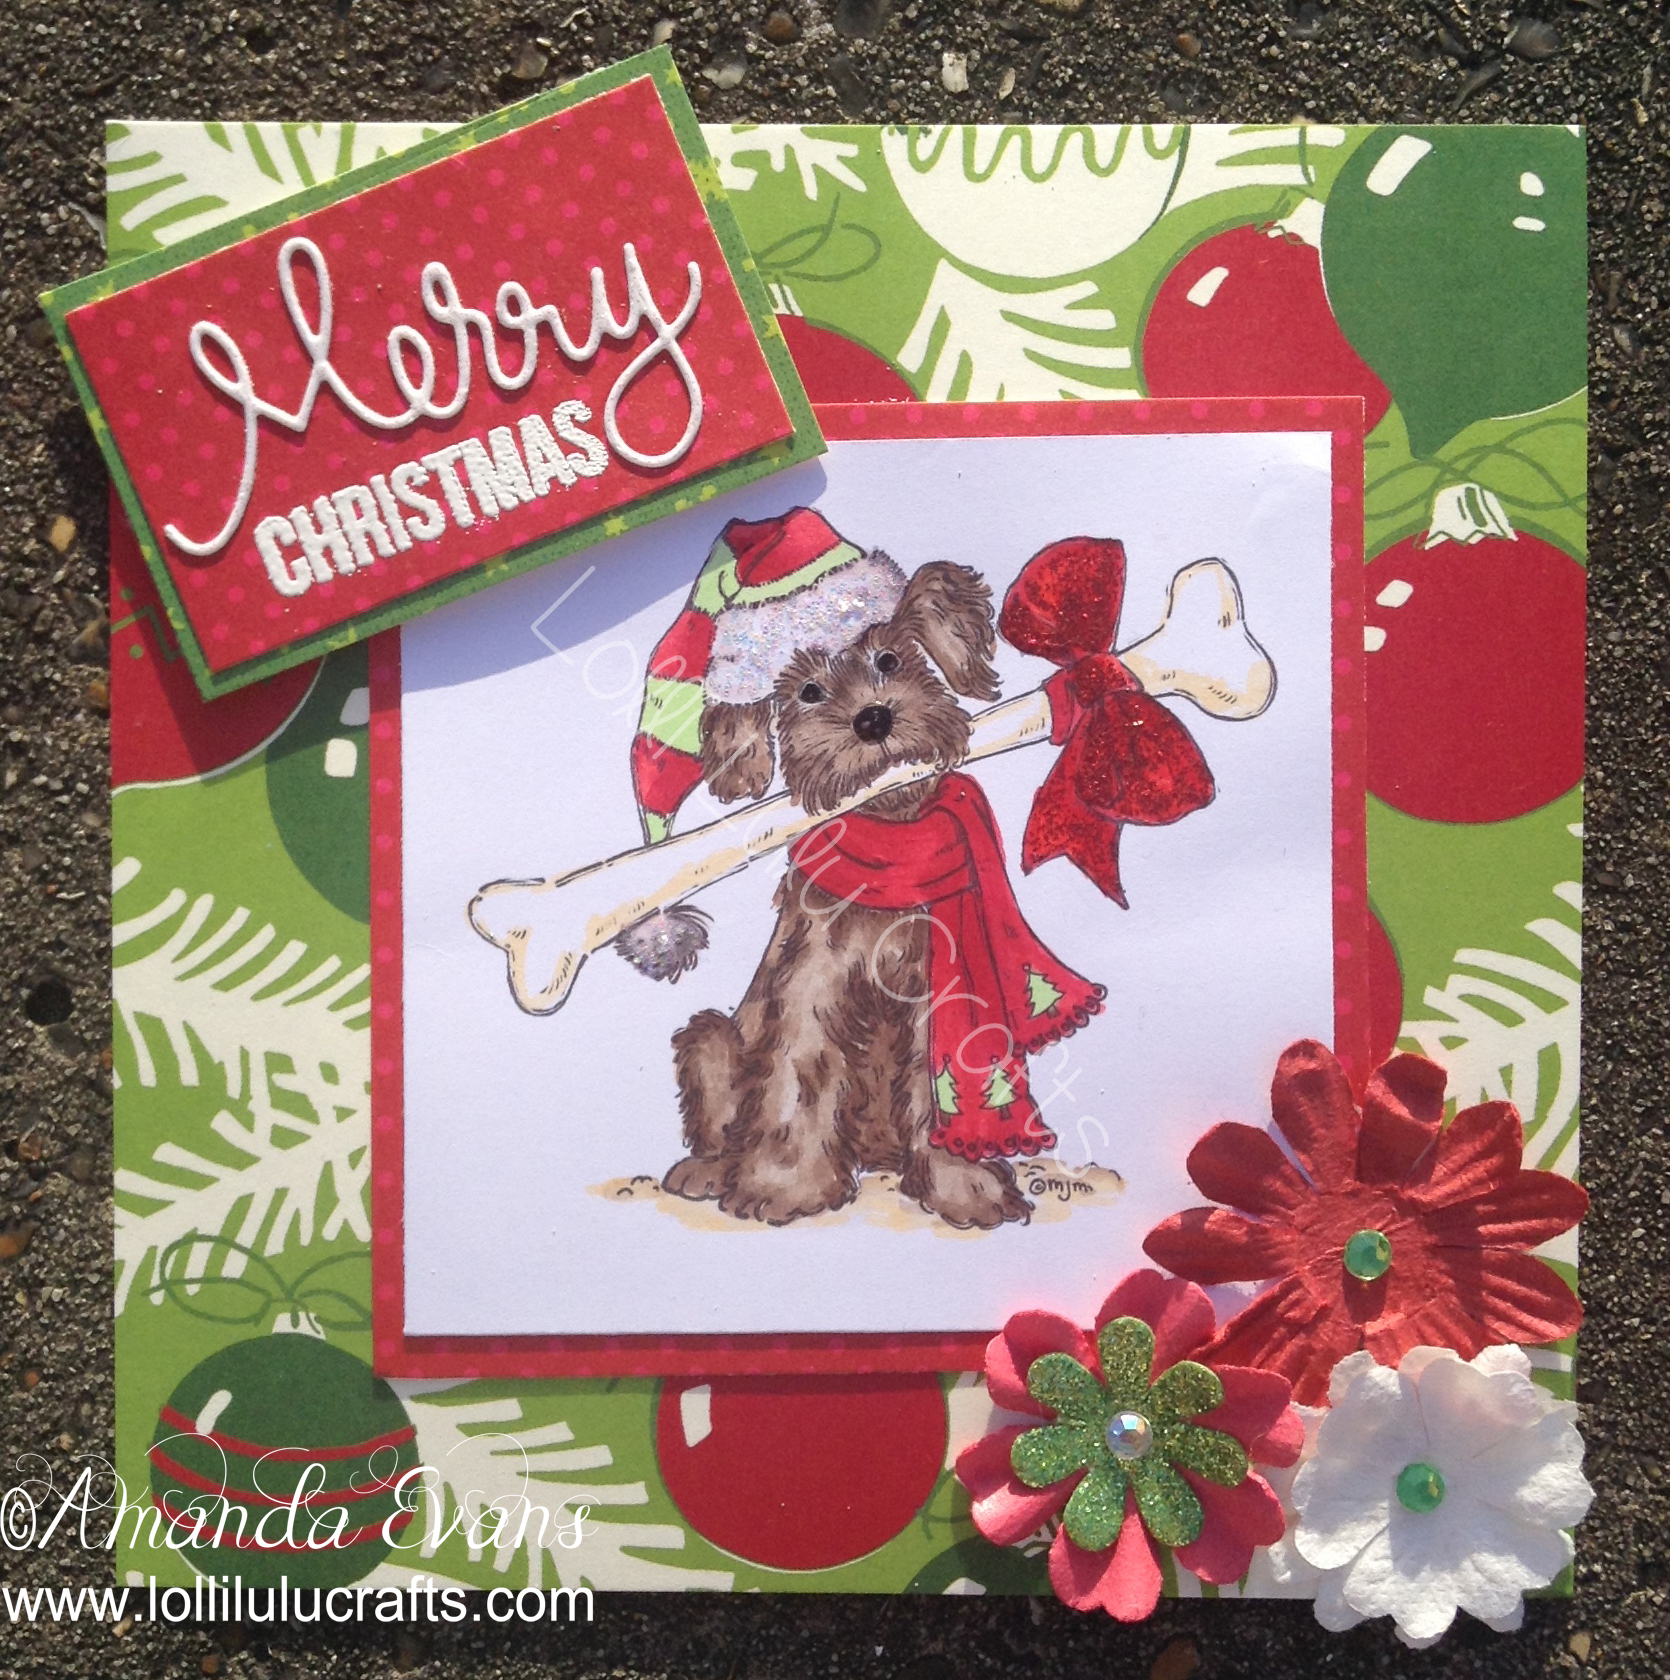
Hiya, today I have a fab card using an image from Mo’s Digital Pencil called Bismarck. He is a cute dog all ready for Christmas with his bone all wrapped up with a ribbon. I think this is an adorable image which I complimented with some fabulous papers from Anna Griffin.
So first of all I printed this digi stamp on to my Xpress It Copic Marker paper, I just have a regular inexpensive Canon printer so you don’t need anything real fancy! I then gave this some time to dry, I normally leave my images overnight to ensure there will be no bleeding of the ink line with my marker.
Next I coloured the image using my Pro-markers, unfortunately I do not seem to have a list of the colours used. I think I must’ve but this card was actually from last year but I made more cards to show you than slots available so I bumped this one forward to this year and in the interim I seem to have mislaid the colour list. I’m really sorry about that 🙁 that said I think it’s a pretty simple colour to follow up the specifics. Usually with my pro markers I colour more simply than with my Copics so you will probably find that each section just has two colours – the main shade and then a shadow shade.
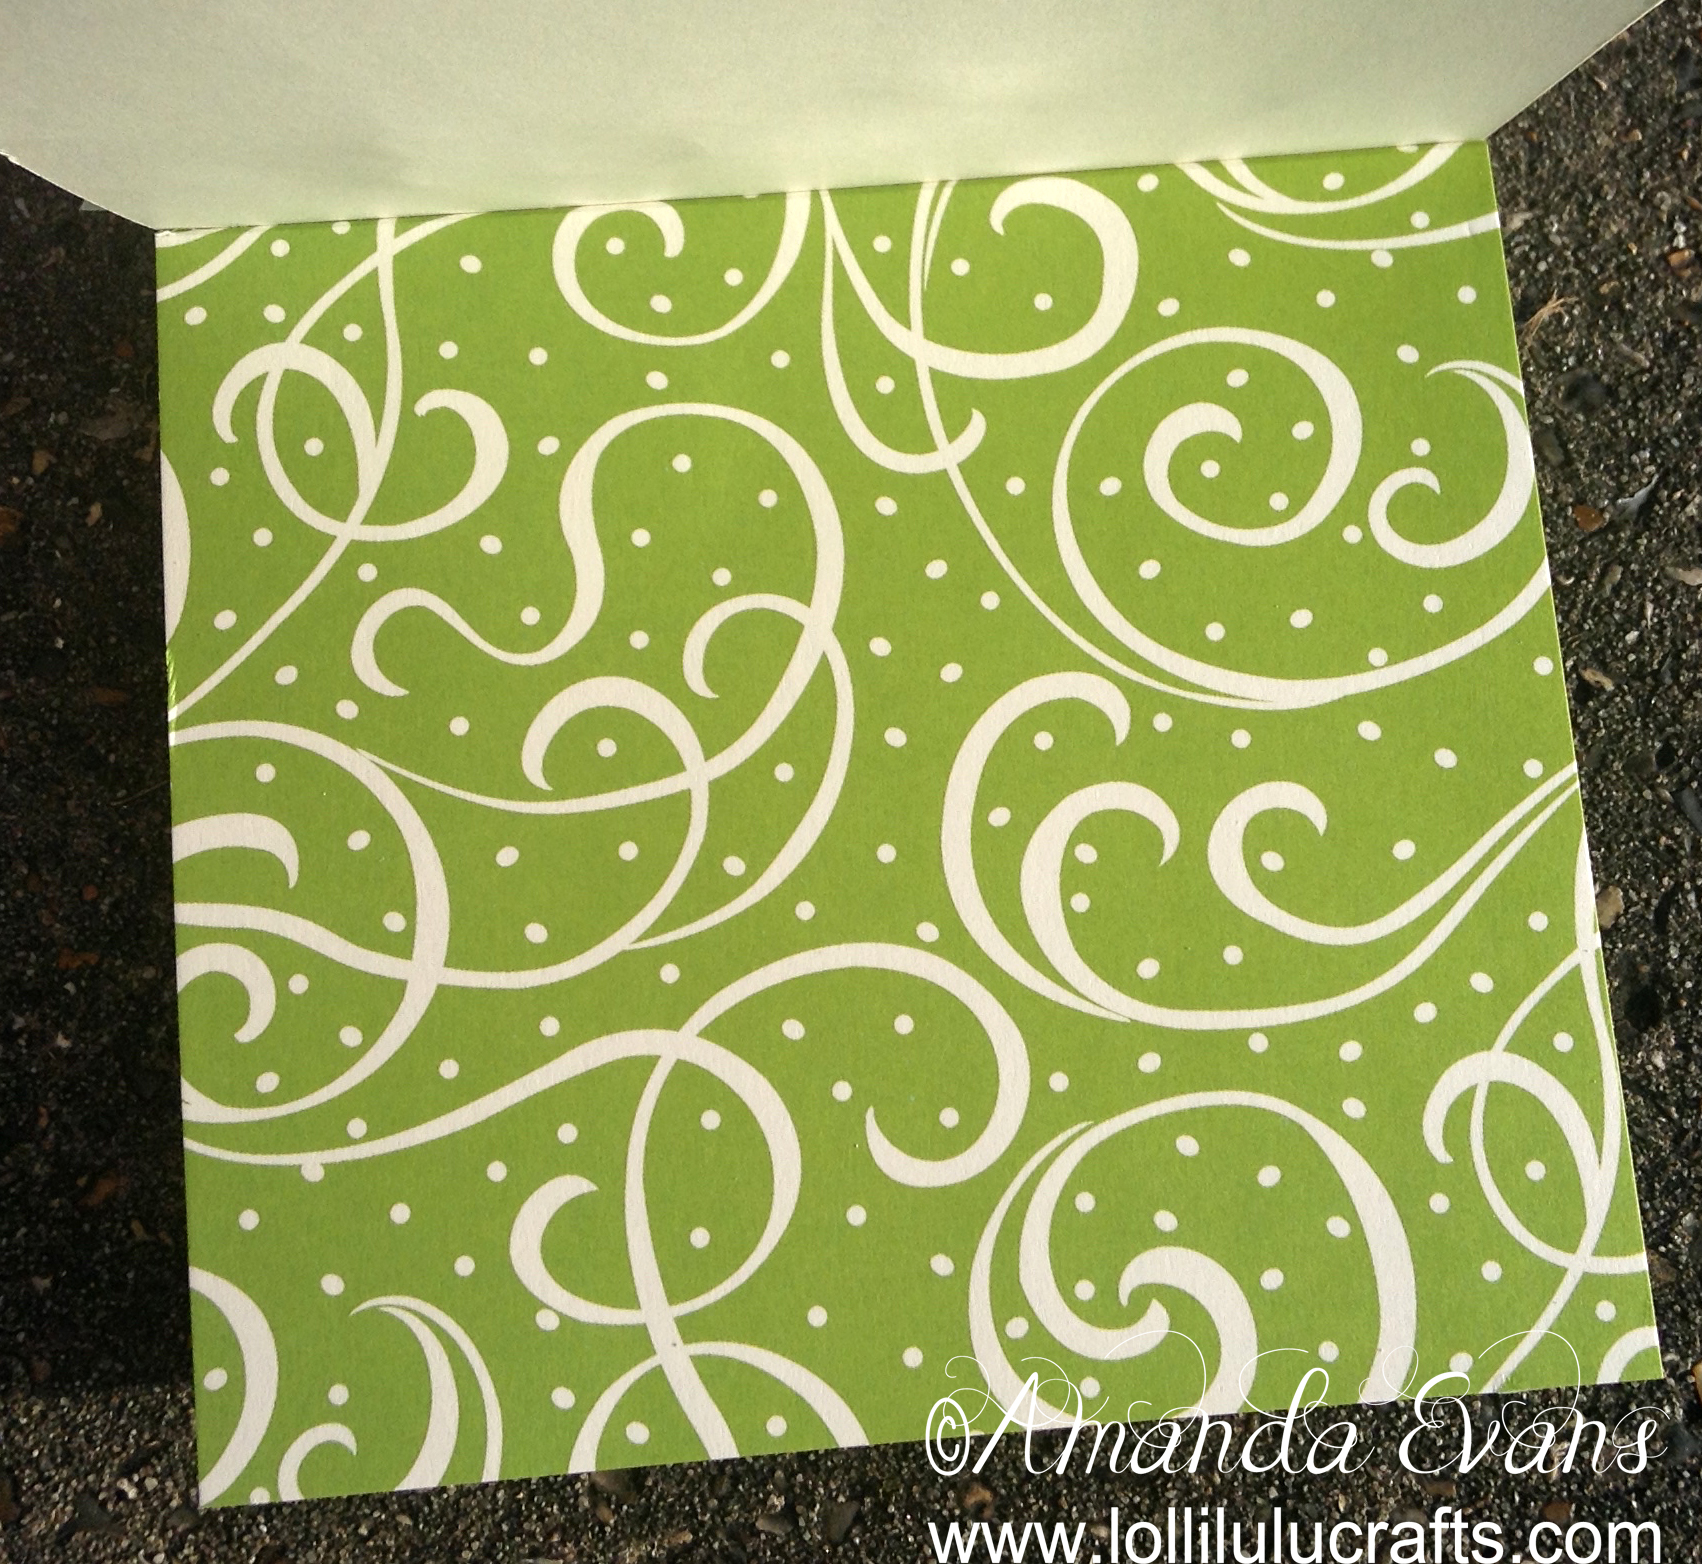
Once the image was coloured I pop it to one side while I made the cardbase. At this point I have not even cut the image to size as I haven’t even decided what shape or size my card was going to be. In the end I went from my favourite which was a 6″ x 6″ Square top folding card. I then took my Anna Griffin papers matted the Christmas baubles patterns paper over the front completely and did the same on the inside with this fabulous Green paper. Although the colours sound traditional when you say you’ve made a red and green Christmas card when you look at it the shades of the red and the shade of the green give it a real modern twist! Don’t you think?
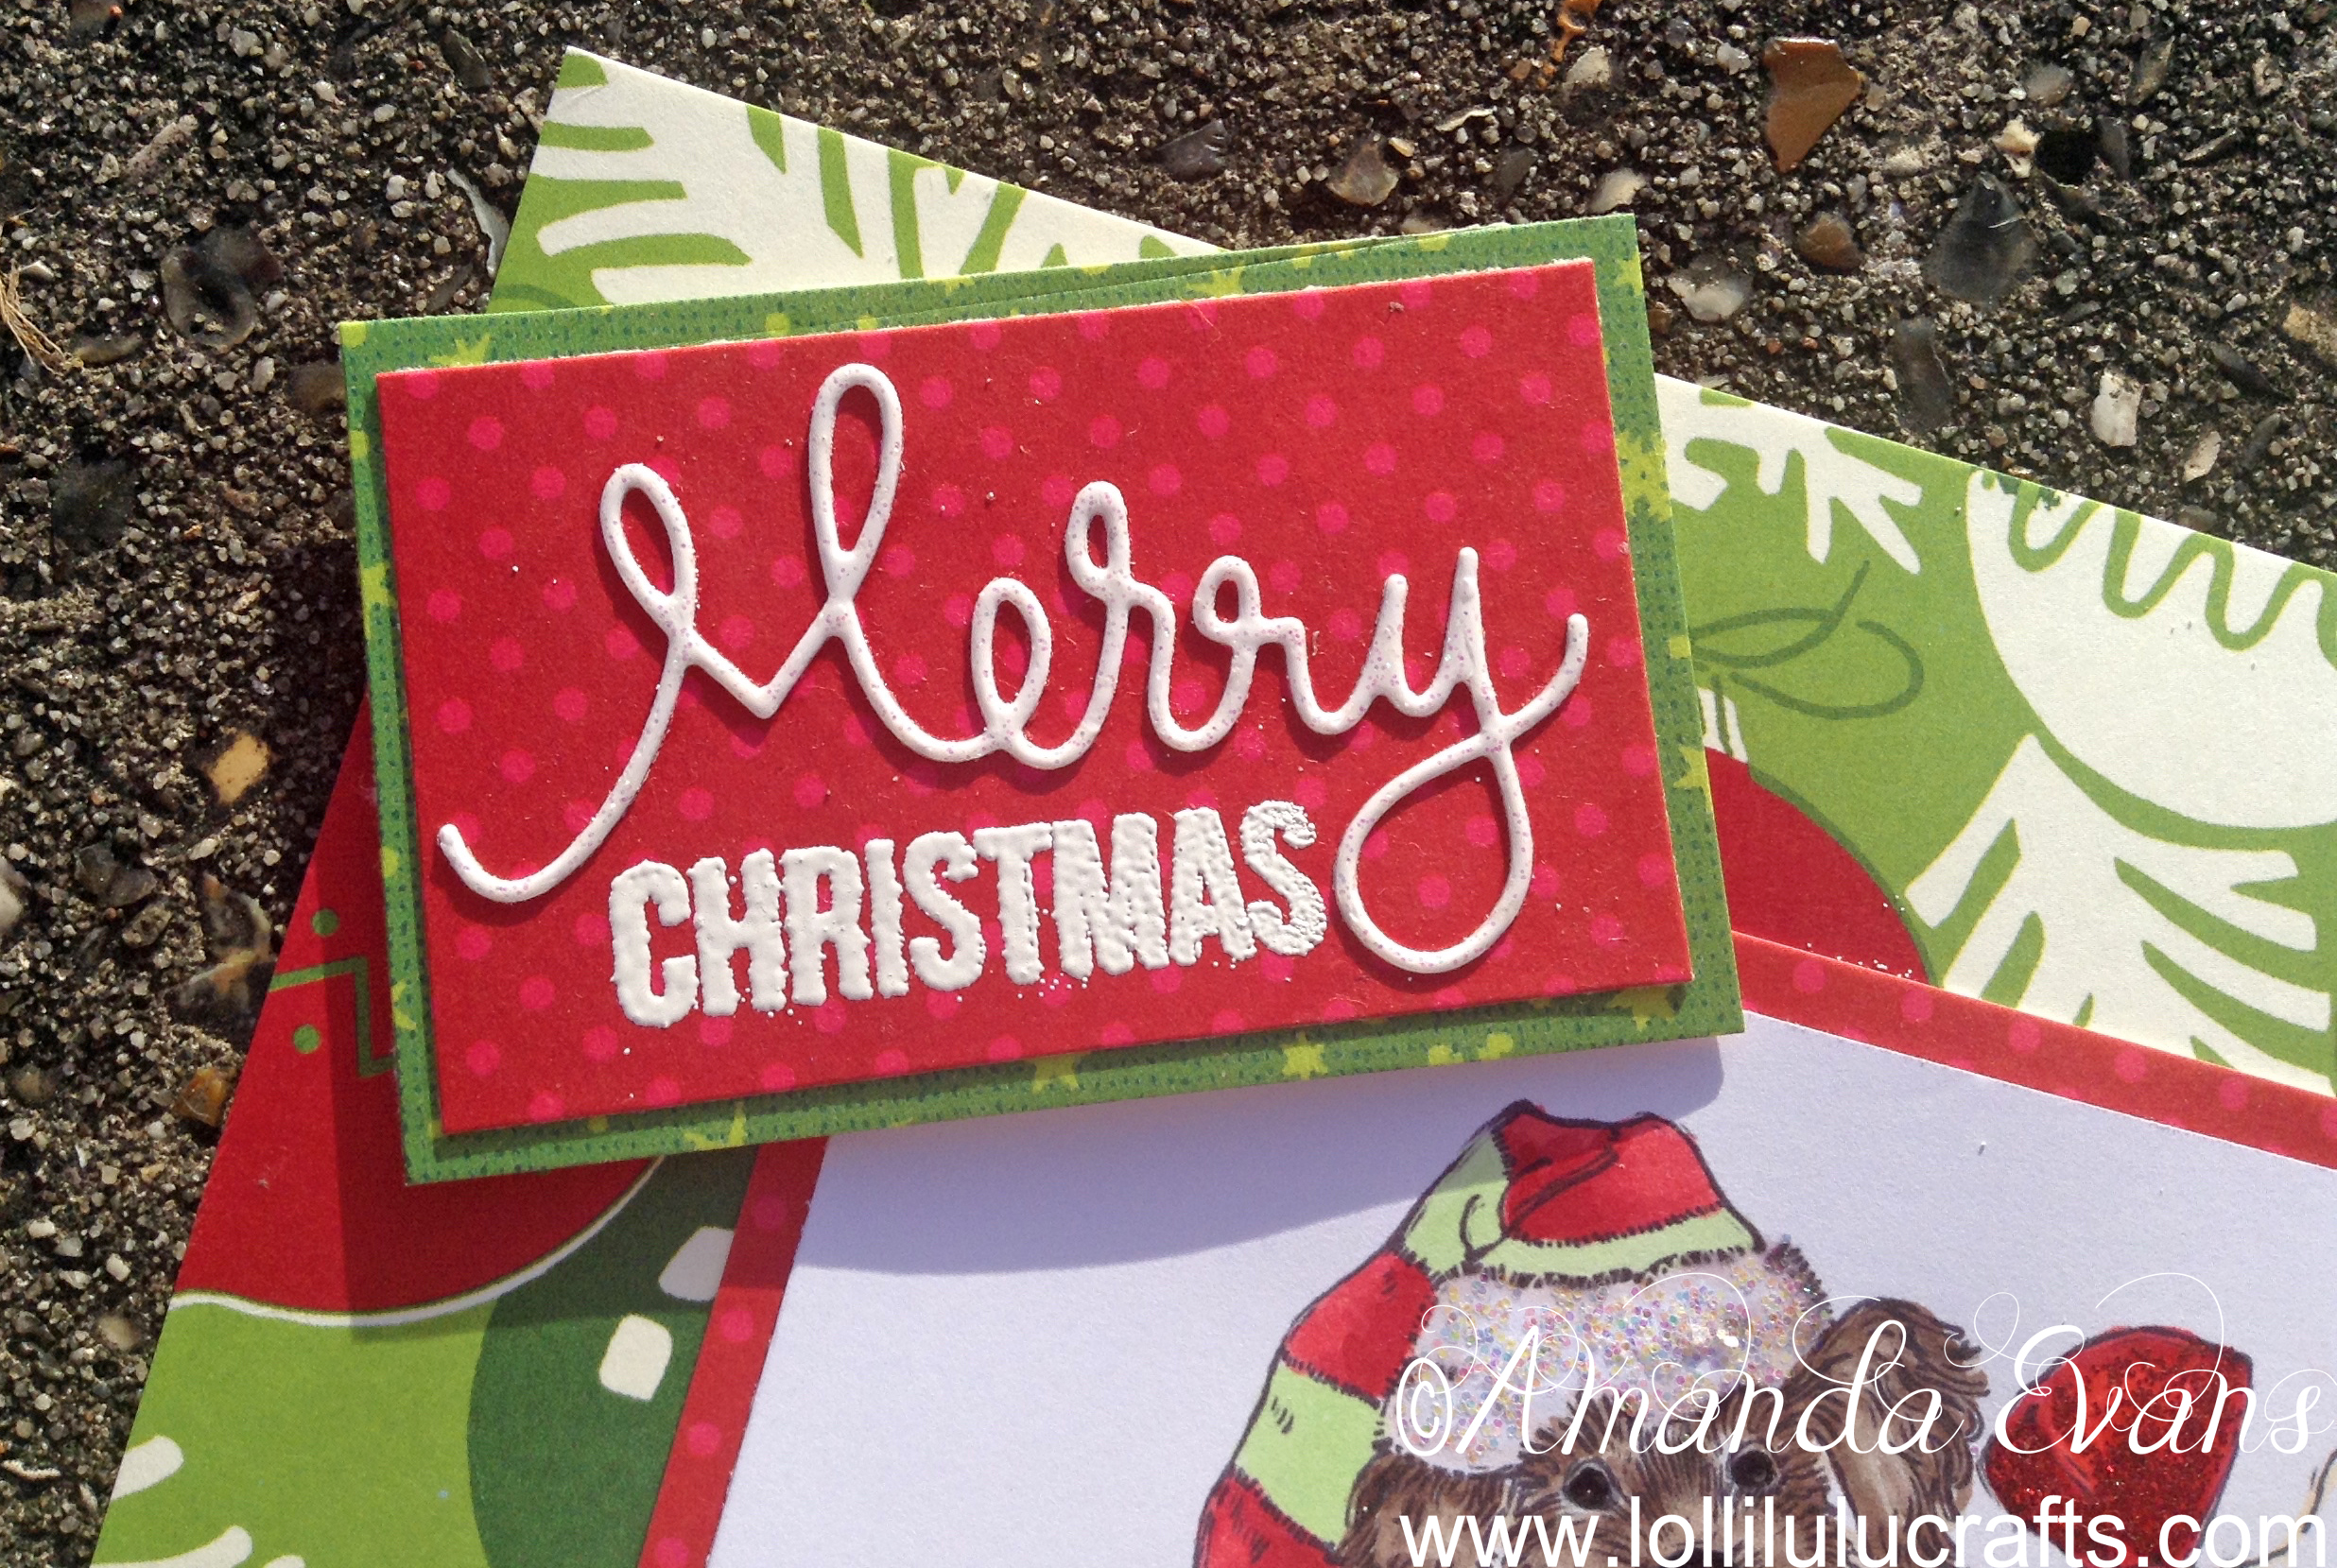
I then picked out two pieces of paper that have the same pattern but one was red and one was the green. I’ve cut a piece of the red for my sentiment and stamped and embossed the word Christmas on to it. I then die cut the word on Merry from a sparkly White piece of paper and added this to my red sentiment mat. I then matted this on to a mat of the green.
Next I cut my image to quite a tight size so that I can see quite a bit of the background paper I then mattered my image on to the red dotty paper and added this to the centre of the front of my card. I then added my sentiment Matt to the card but in such a way that it was angled and deliberately overhanging both of the top and the left hand side.
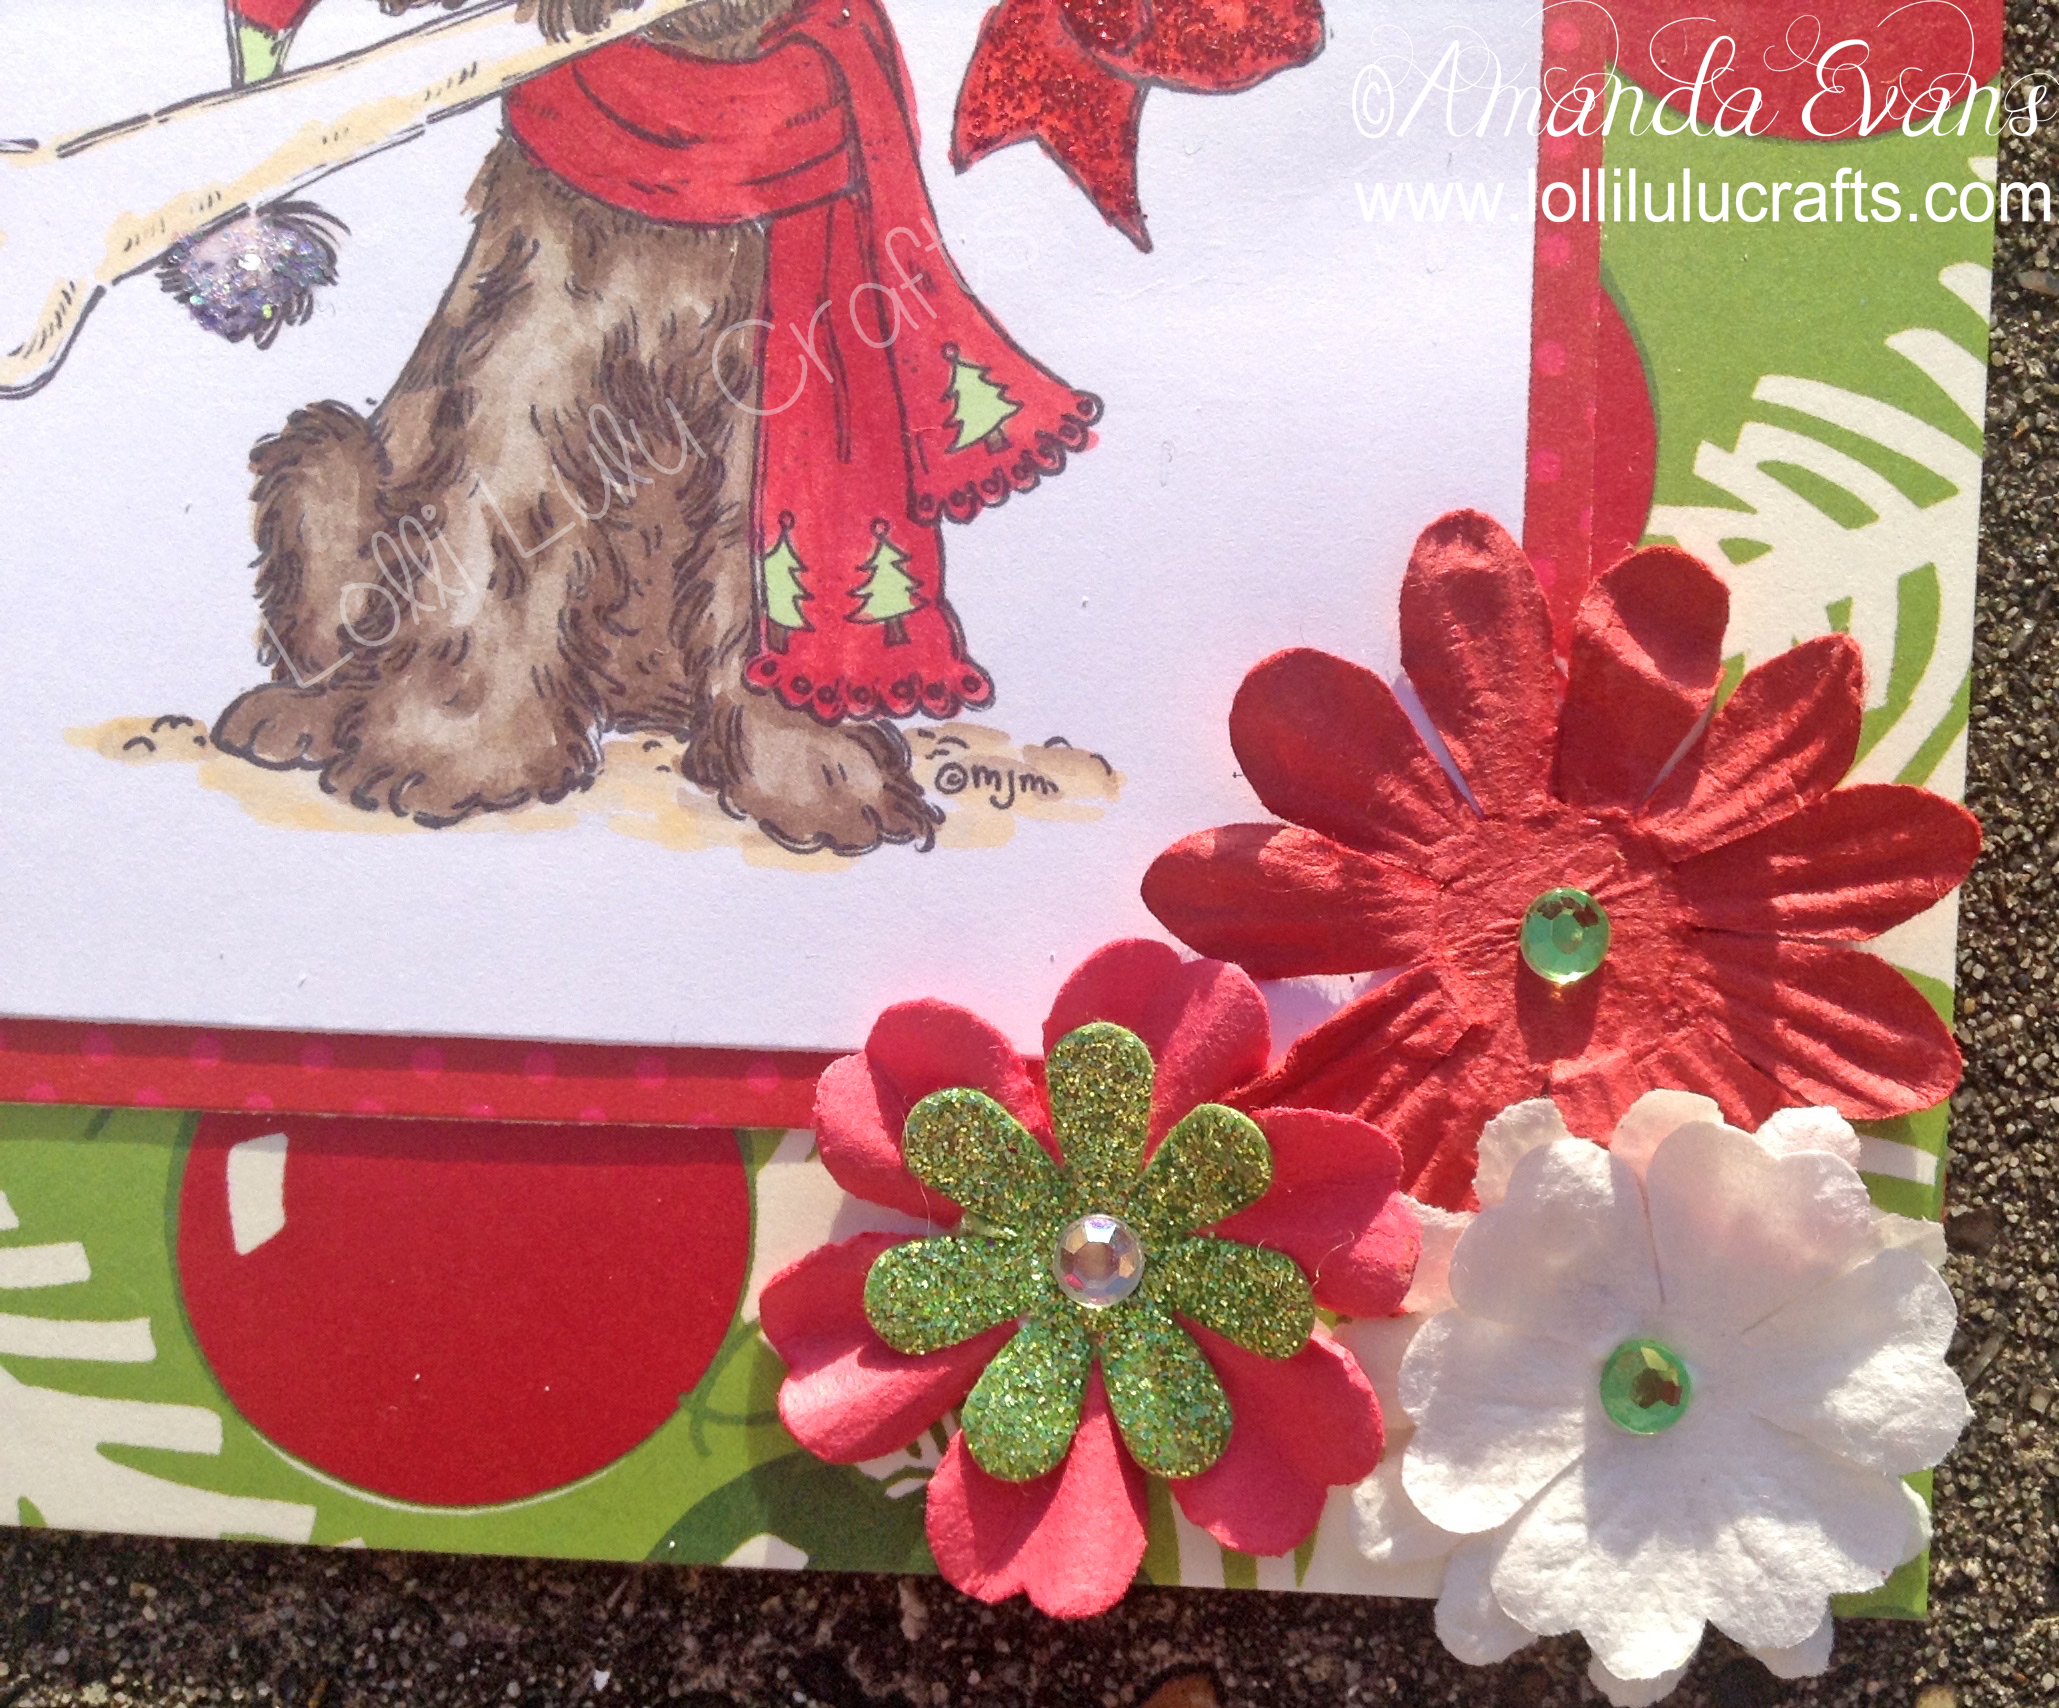
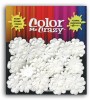
As a final touch I added some paper flowers and crystals to the card,and then some Stickles to my picture. And there we have it my Bismarck the Dog Christmas Card:-
So that is it, I hope you like the finished card I thought it turned out really fun. Traditional but with a modern twist, And of course I always love Anna Griffin and colouring so it is the perfect card for me! LOL! but for now hugs and have a great craft day,

●▬▬▬▬▬ ●SUPPLIES● ▬▬▬▬▬●
Below are the products featured in today’s Video. Some products can be purchased from multiple stores so I have given each store different letter codes. Click on the letters below the picture to go to a favorite store: Simon Says Stamp (SSS), Dick Blick (DB), Cricut (C), Scrapbook.com (SB) and Amazon (AMZ)


●▬▬▬▬▬ ● DISCLAIMER ● ▬▬▬▬▬●
Affiliate links are used. For affiliate information and policy please see the Policy page.

Aww, he is just sooo cute. I haven’t had any experience with downloading images. Still very unsure of doing things on the computer.
thank you Audrey, and you shouldn’t worry about downloading digi’s from these sites, compaies like these make it pretty simple and easy for you to do, and I am always happy to advise or help where I can 🙂