


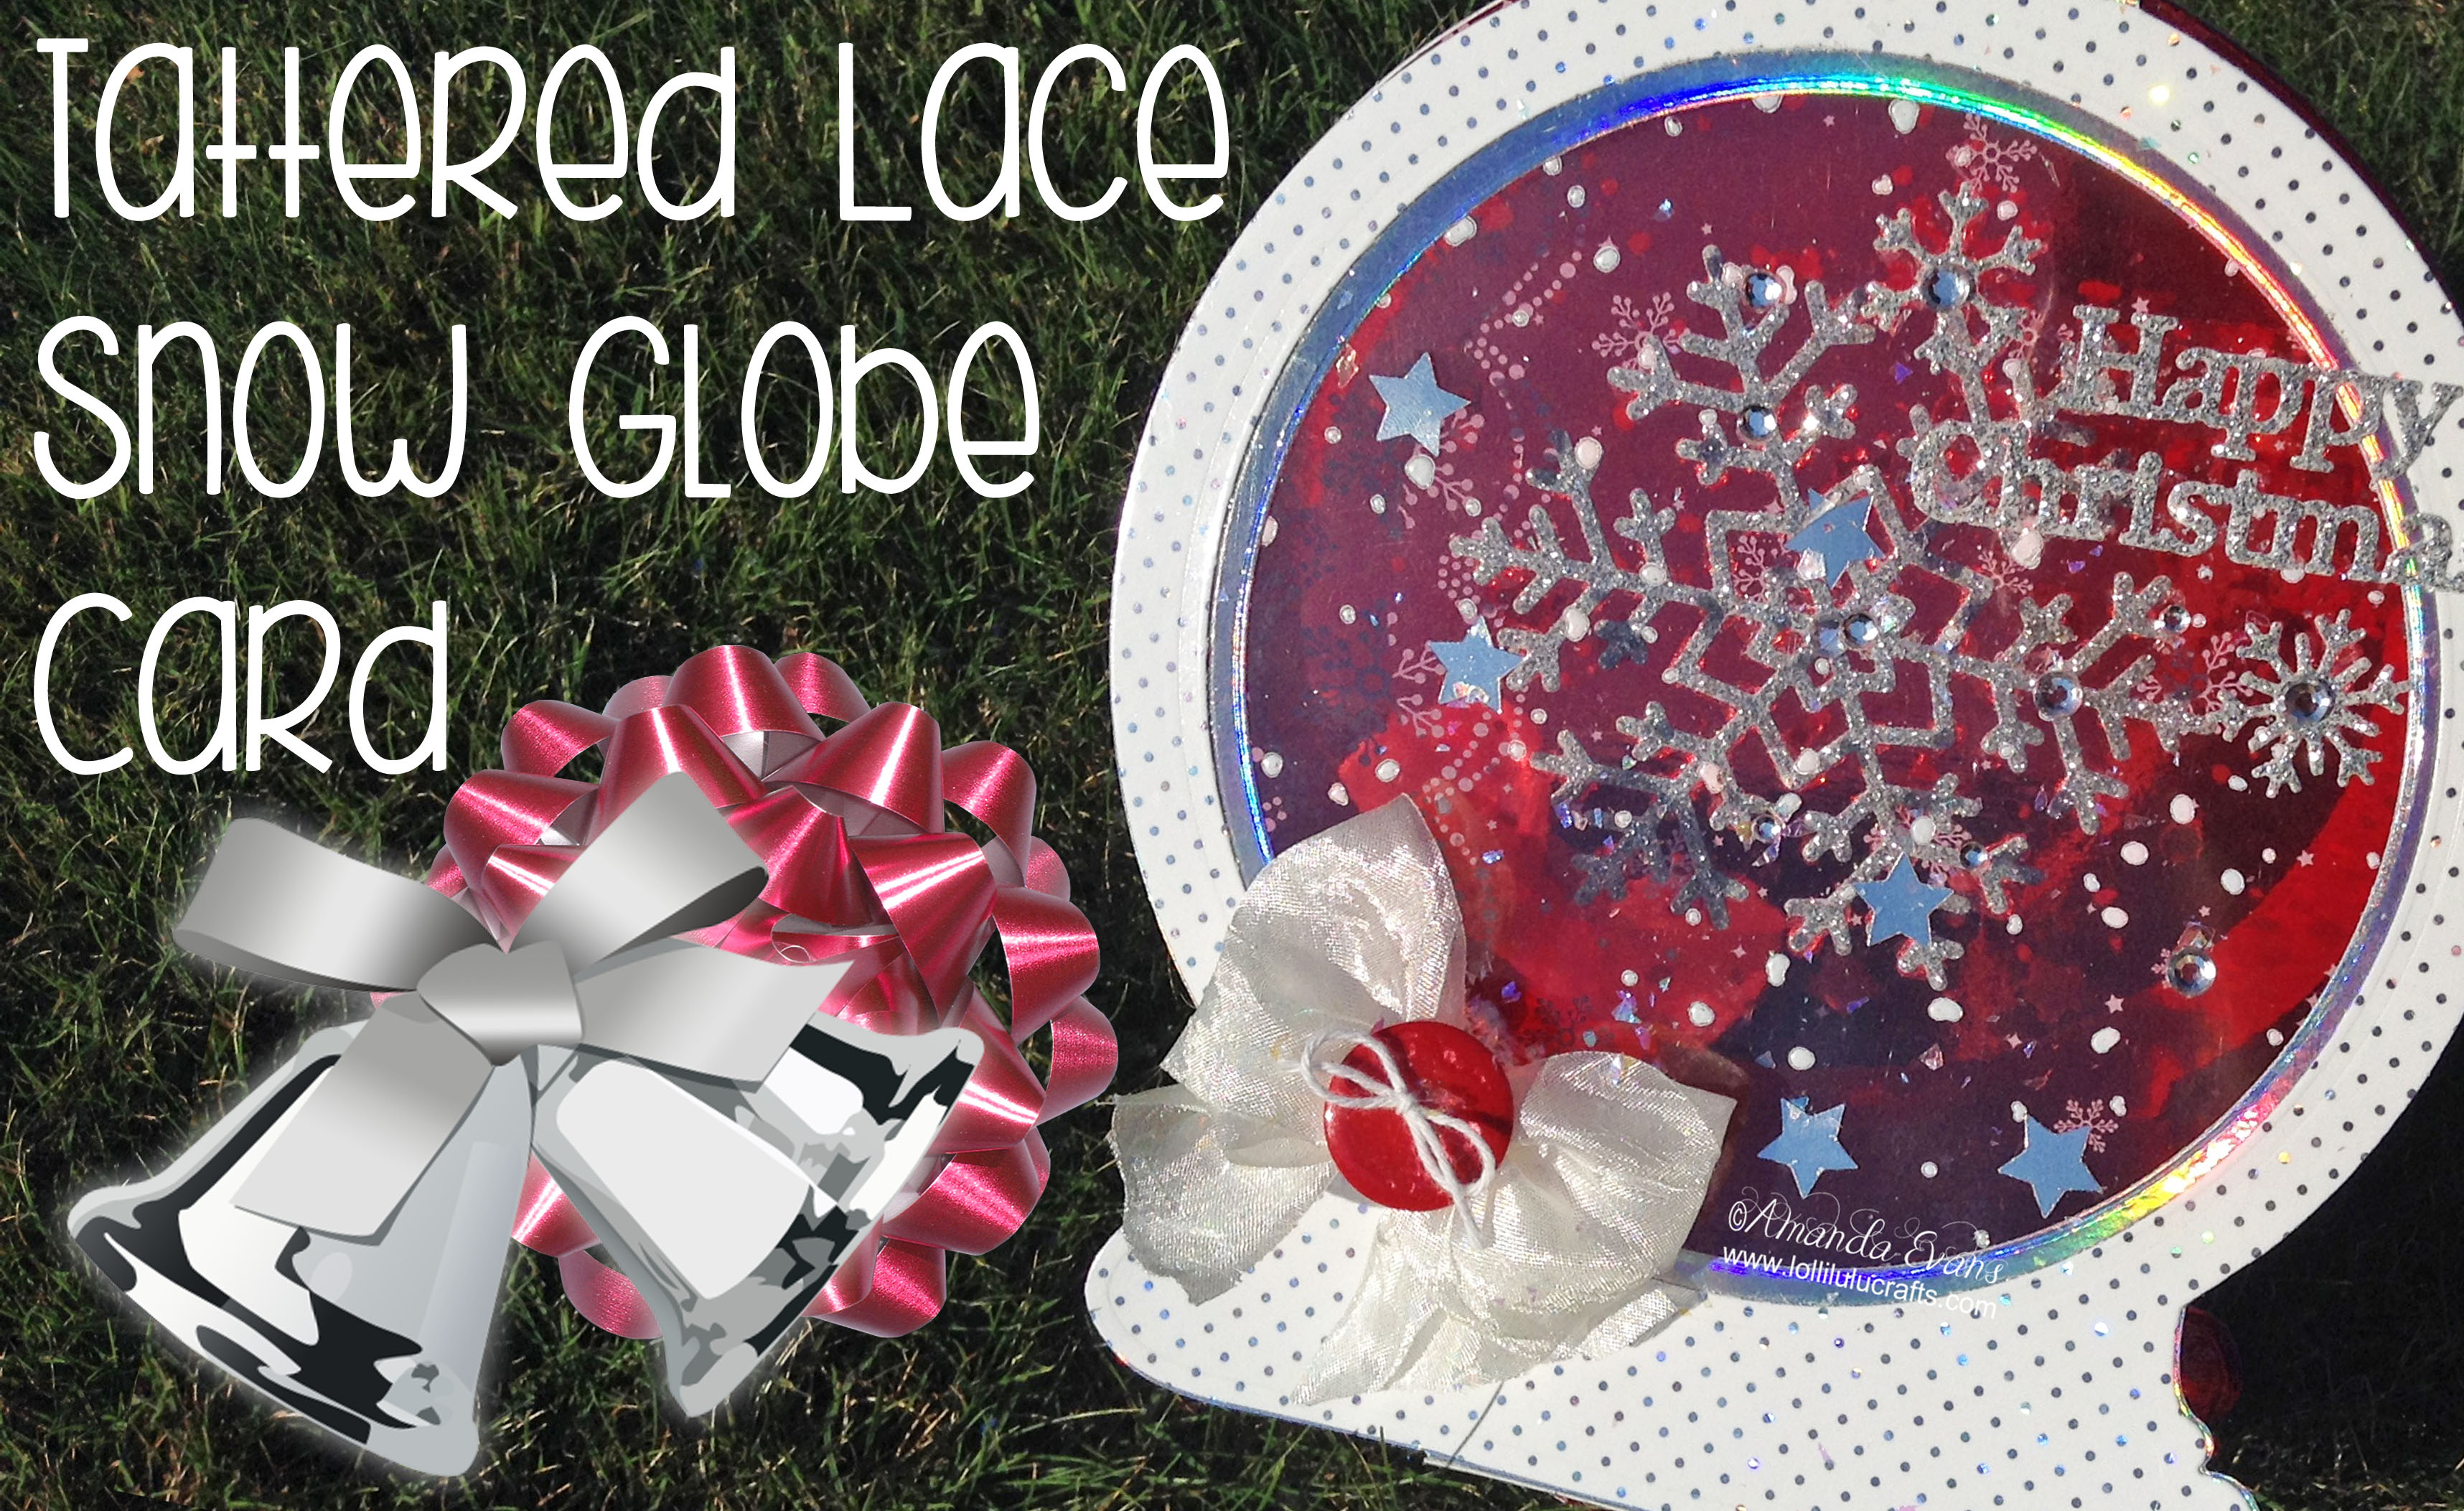
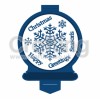
Hiya, today I am making a project using the wonderful Snow Globe Die sent to me by Tattered Lace. The video post is going to take a look at the basics of how to make a Snow Globe but also complete an actual Snow Globe project in the process.
In my video I will explain how to put together the basic Snow Globe card although for my card I’m actually going to mat and layer my Snow Globe so you’ll get to see how to do just a little bit more with yours if you want to. I know with dies like this it can seem a little difficult sometimes to make them stay standing upright, so in the video I will chat a little on how you can actually make it work, it really is quite easy 🙂
So first of all let’s take a look at the video and then after the video I have put down a written step-by-step of exactly what I did to make this card, I will also make notes in that step-by-step of the parts that you can miss if you’re just doing a single layer Snow Globe. Anyway let’s now take a look at my Tattered Lace Snow Globe Card Project video: –
So hope you found the video useful and that you can see just how easy it really is to make this snow globe work but as promised here is the step by step: –
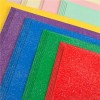
- Cut one full snow globe in red mirri card; two snow globes in holographic silver card and one snow globe in white dotty card.
- Take the white dotty snow globe die cut and cut an aperture into it using the circle die from the snow globe die set.
- Next we want to cut an aperture into our holographic snow globe diecut. So take one holographic snow globe diecut and place on the top of it the white snow globe with aperture. This will help to ensure that our circle die is lined up accurately for when we put these two pieces together later on.
- Take a size 15 circle die from our essential circle die set and place it on to the holographic snow globe. Make sure that this circle die is placed centrally inside the white snow globe die cut that we had put on top of the silver holographic snow globe and cut. We should now have two snow globes with apertures and when placed together you should see a small mat of the holographic card showing through into the aperture of the white snow globe. This will be more clear when you see it on the video:-)
- Take the white Snow globe diecut and the red Snow globe diecut and cut the bottom and top tab off them both.
- Taking the size 18 essential circle die, cut out one circle from your snowfall acetate.
- Our final bit of die cutting is to take the snowflakes and sentiment of your choice from our snow globe die set and cut from a silver glitter sheet. Put these to one side now
- Stick together the solid holographic snow globe and your red snow globe. Make sure you stick the wrong sides together so that the colour of both pieces faces outwards.
- Next stick the two front snow globes together, matting and layering as you would normally so that you can see the holographic silver layer show in the aperture.
- Please note that if you are not doing any layering then steps seven and eight are not relevant.
- Now stick your snowfall acetate to the inside of your front snow globe aperture.
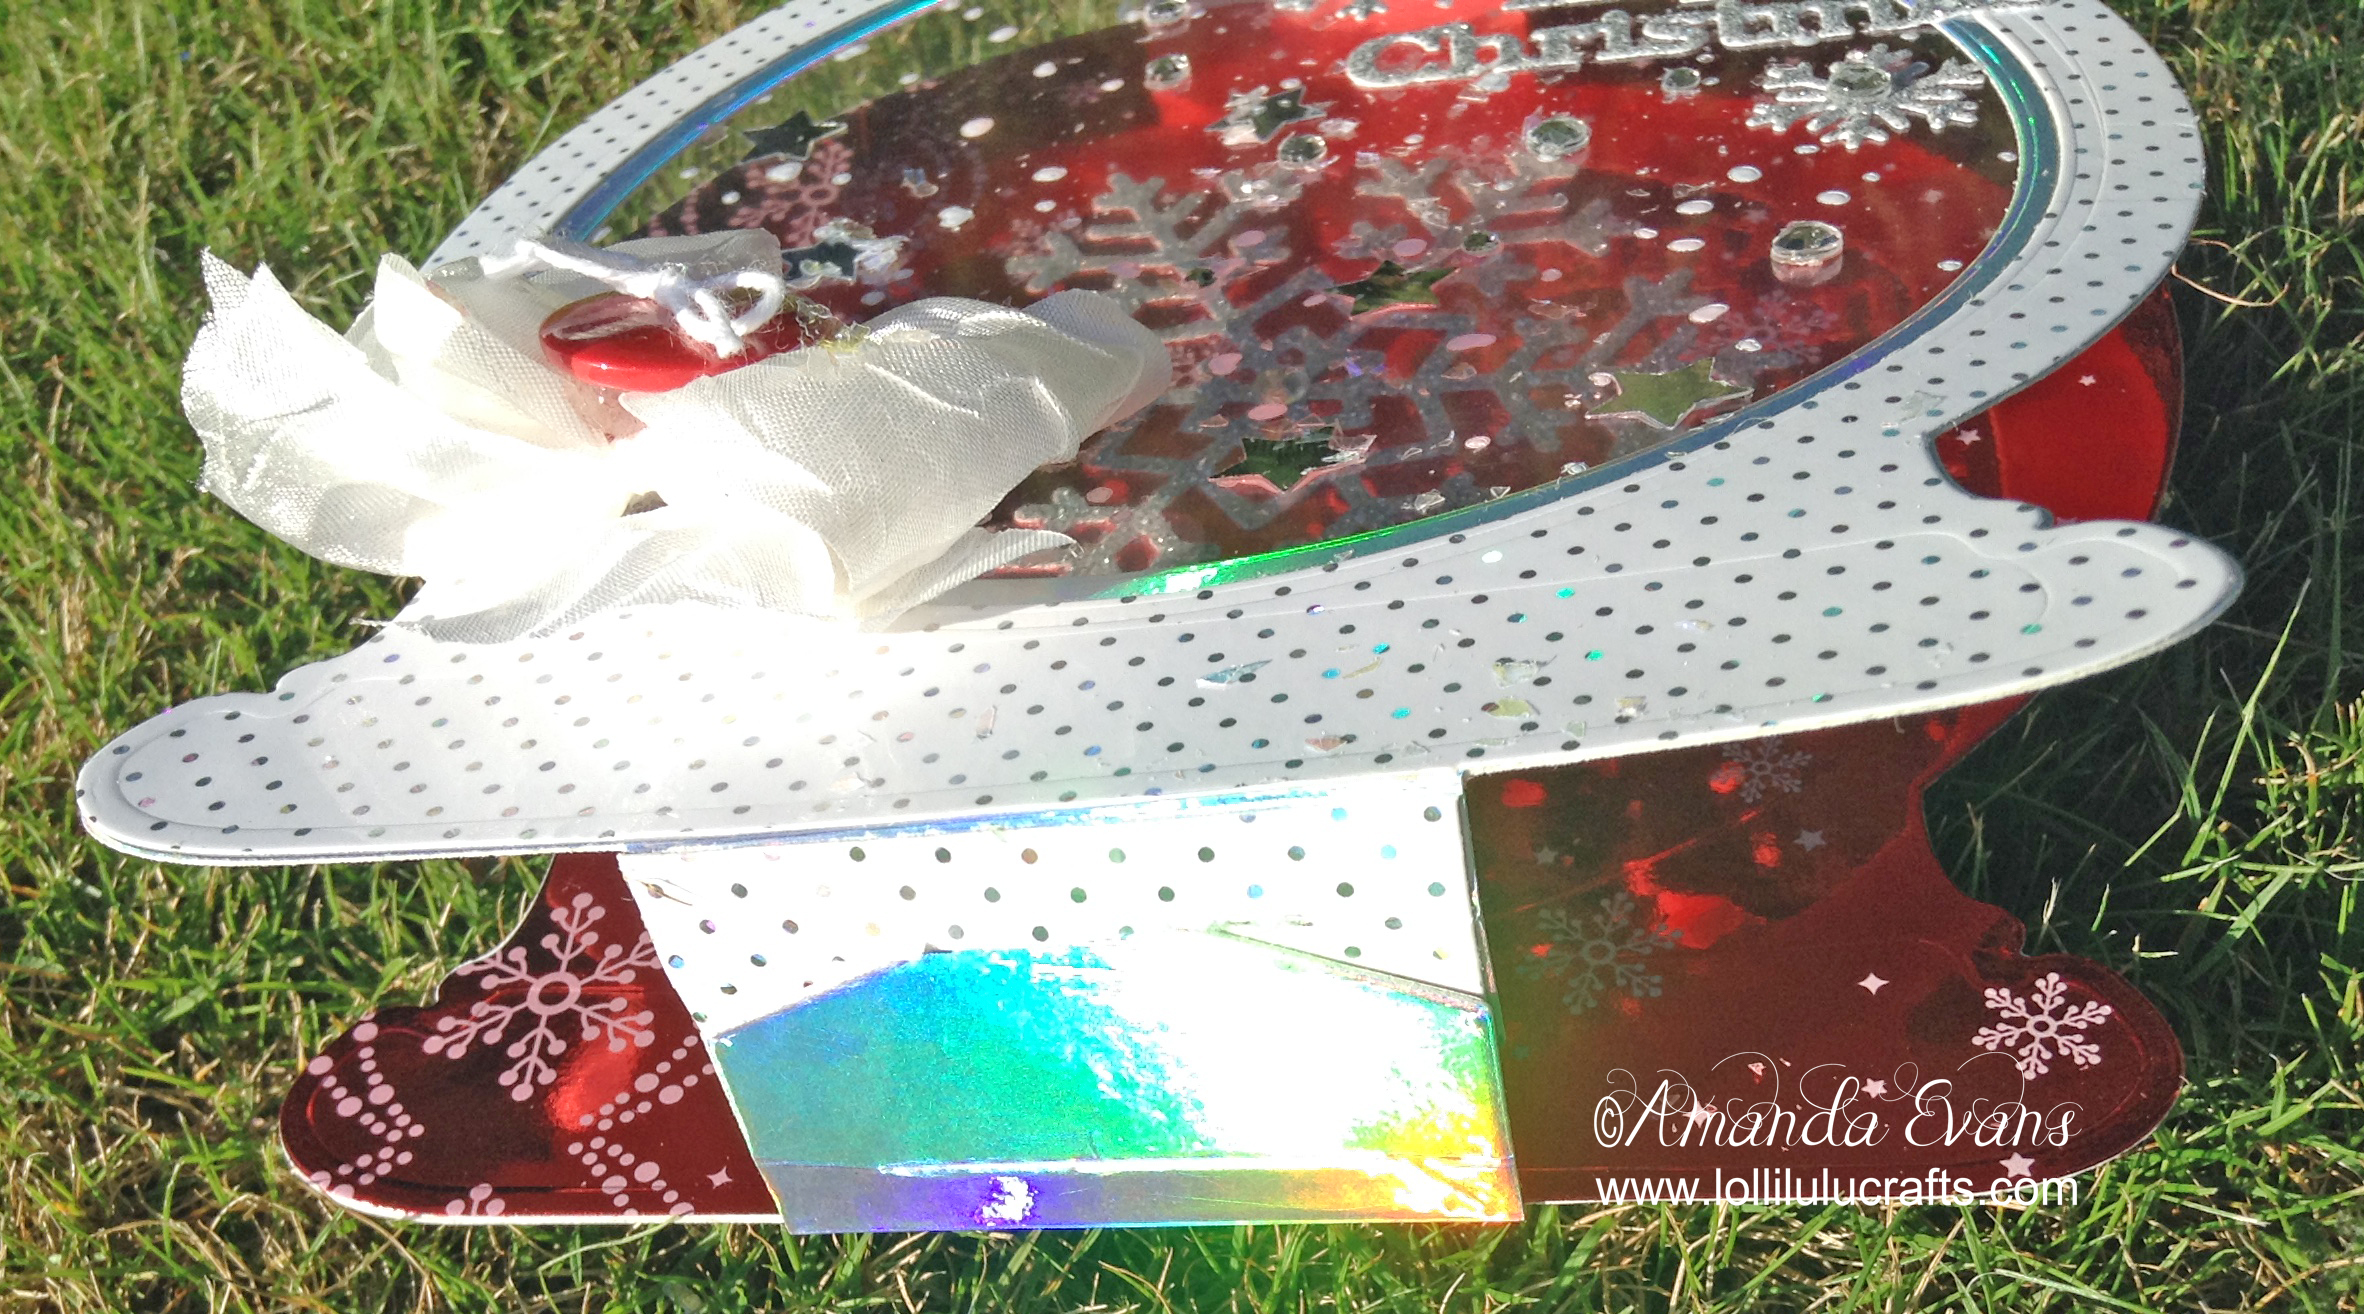
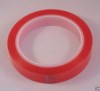
- Using the school lines provided, score the top and bottom tabs towards the centre of the snow globe. Then taking your red tape, stick the two top tabs together.
- You do not need to stick the bottom tabs together. You will note that there are little slots in these tabs, to complete the snow globe you will slot one tab into the other and then it will stand. The reason they are not permanently stuck is so they can be laid flat for postage. I found that sometimes putting the front flap into the back slot worked better or vice versa. It really is just a case of trial and error as to what works for you and you can easily put a little mark to show which goes where for the recipient.
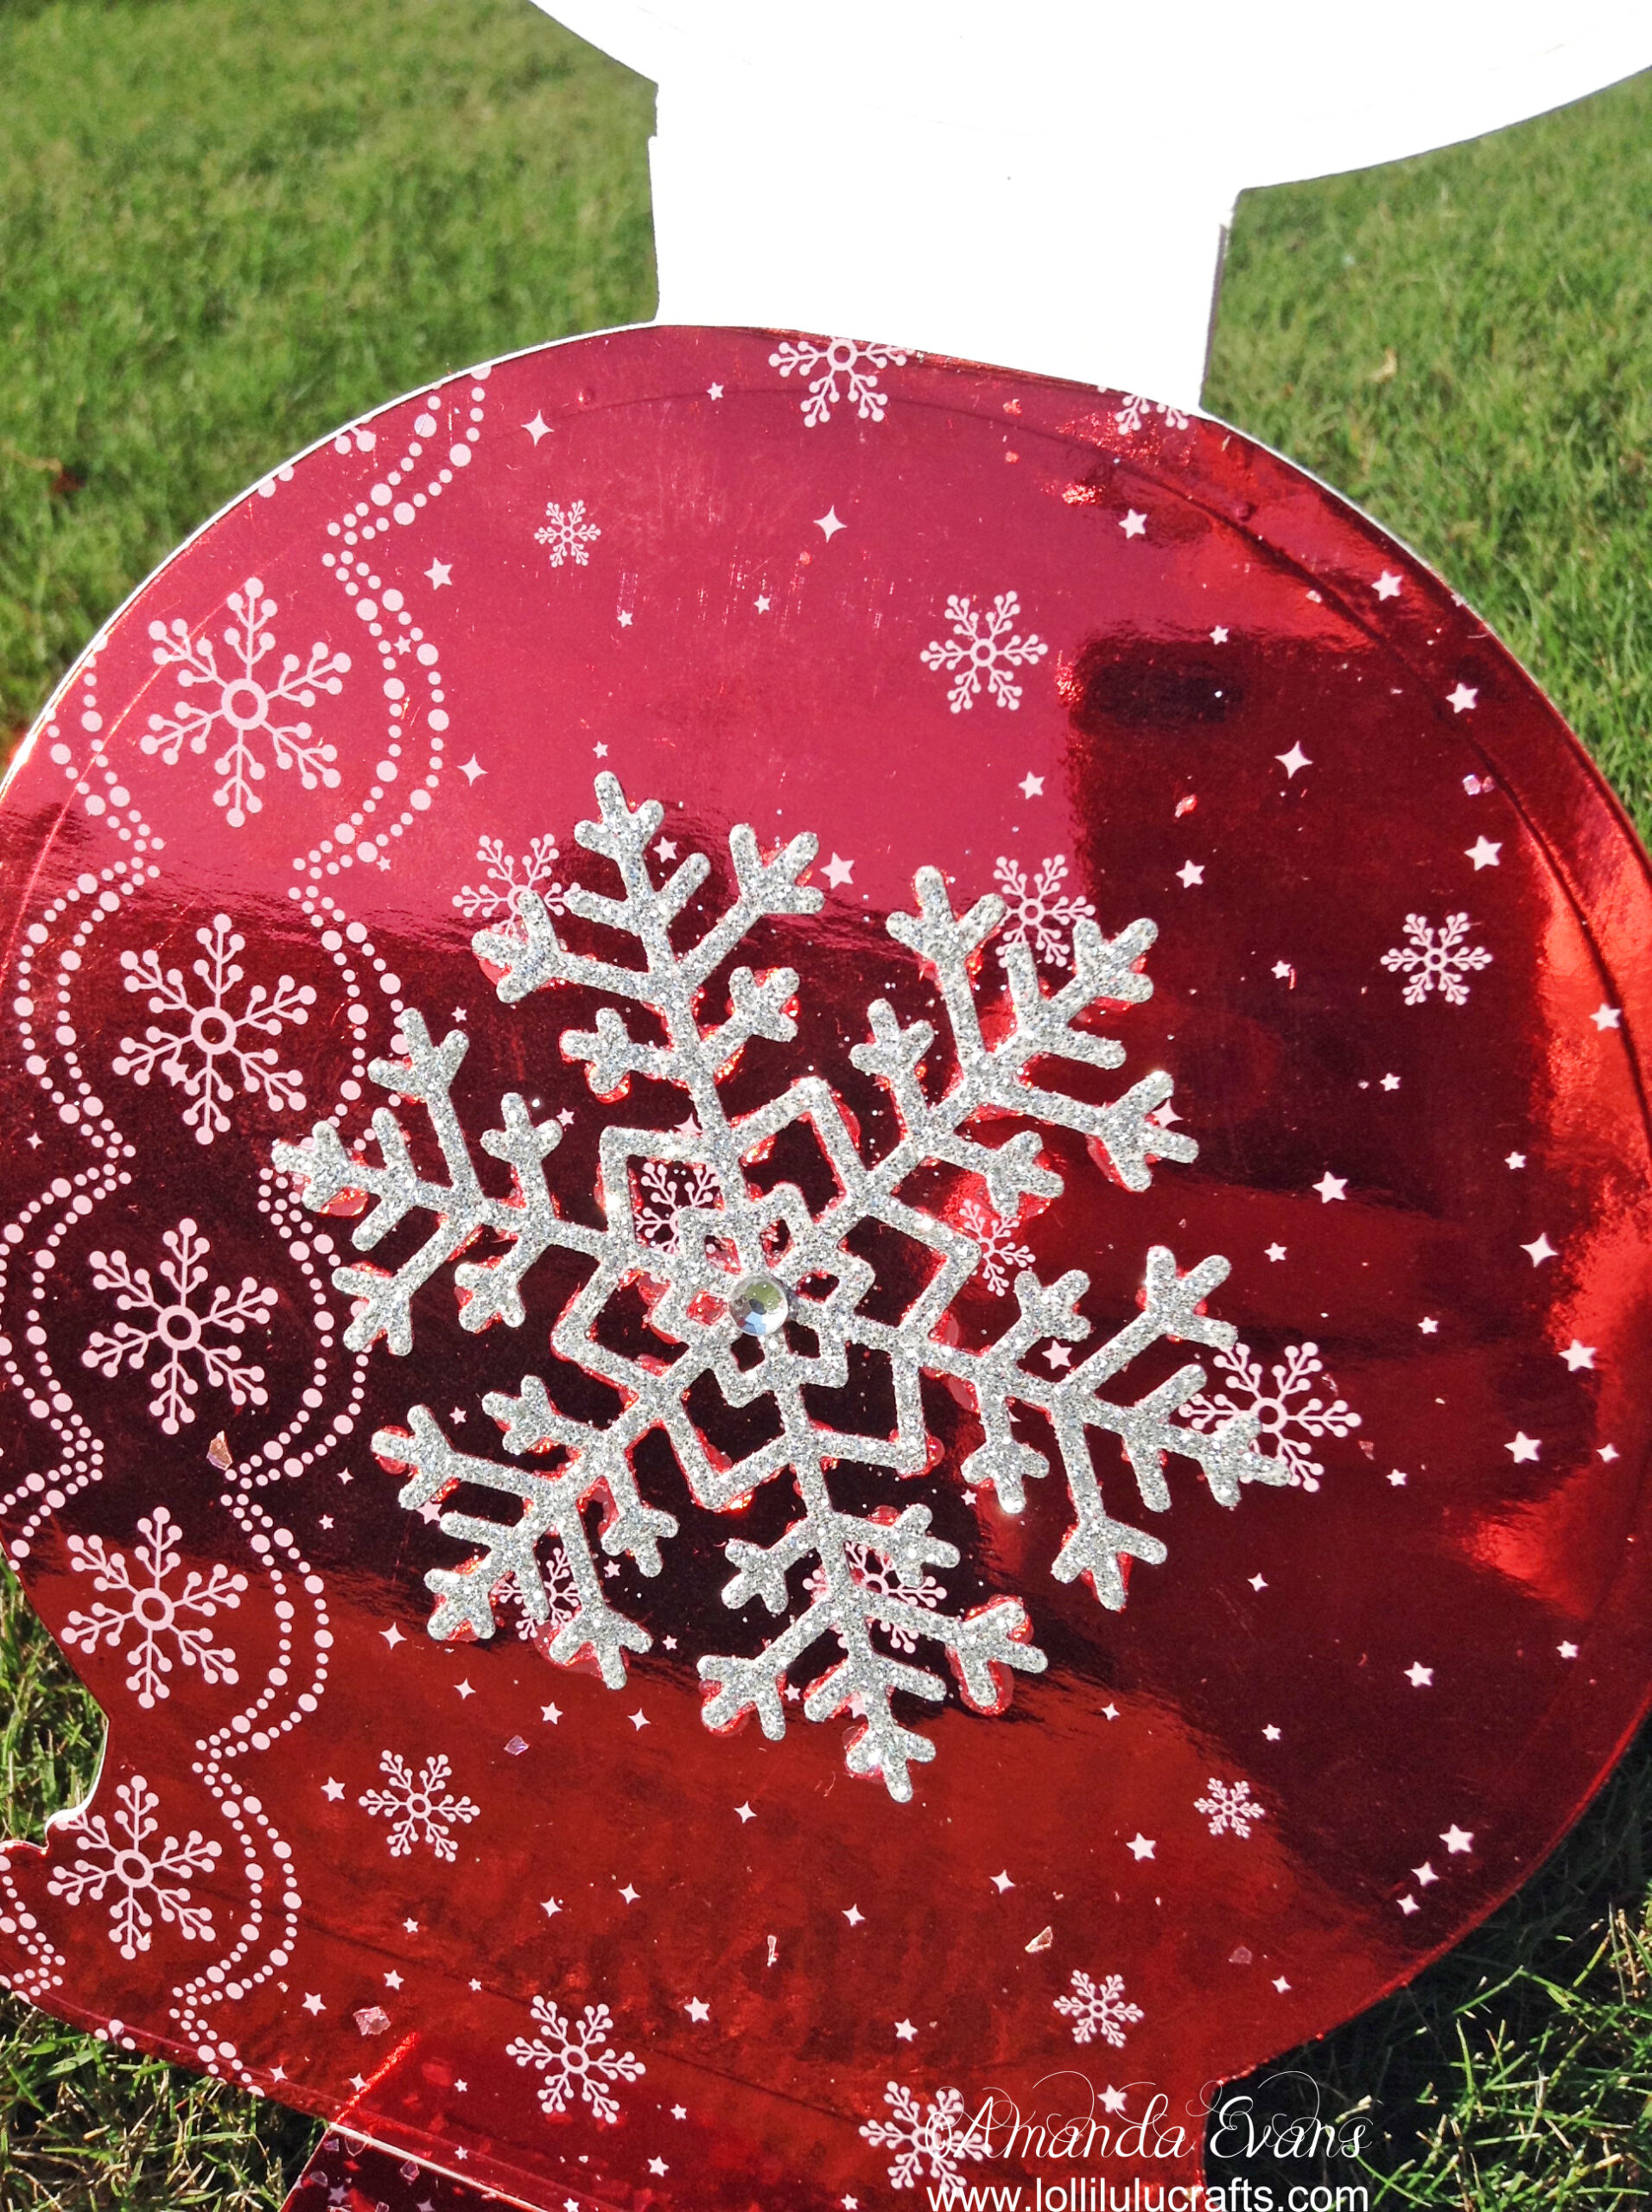
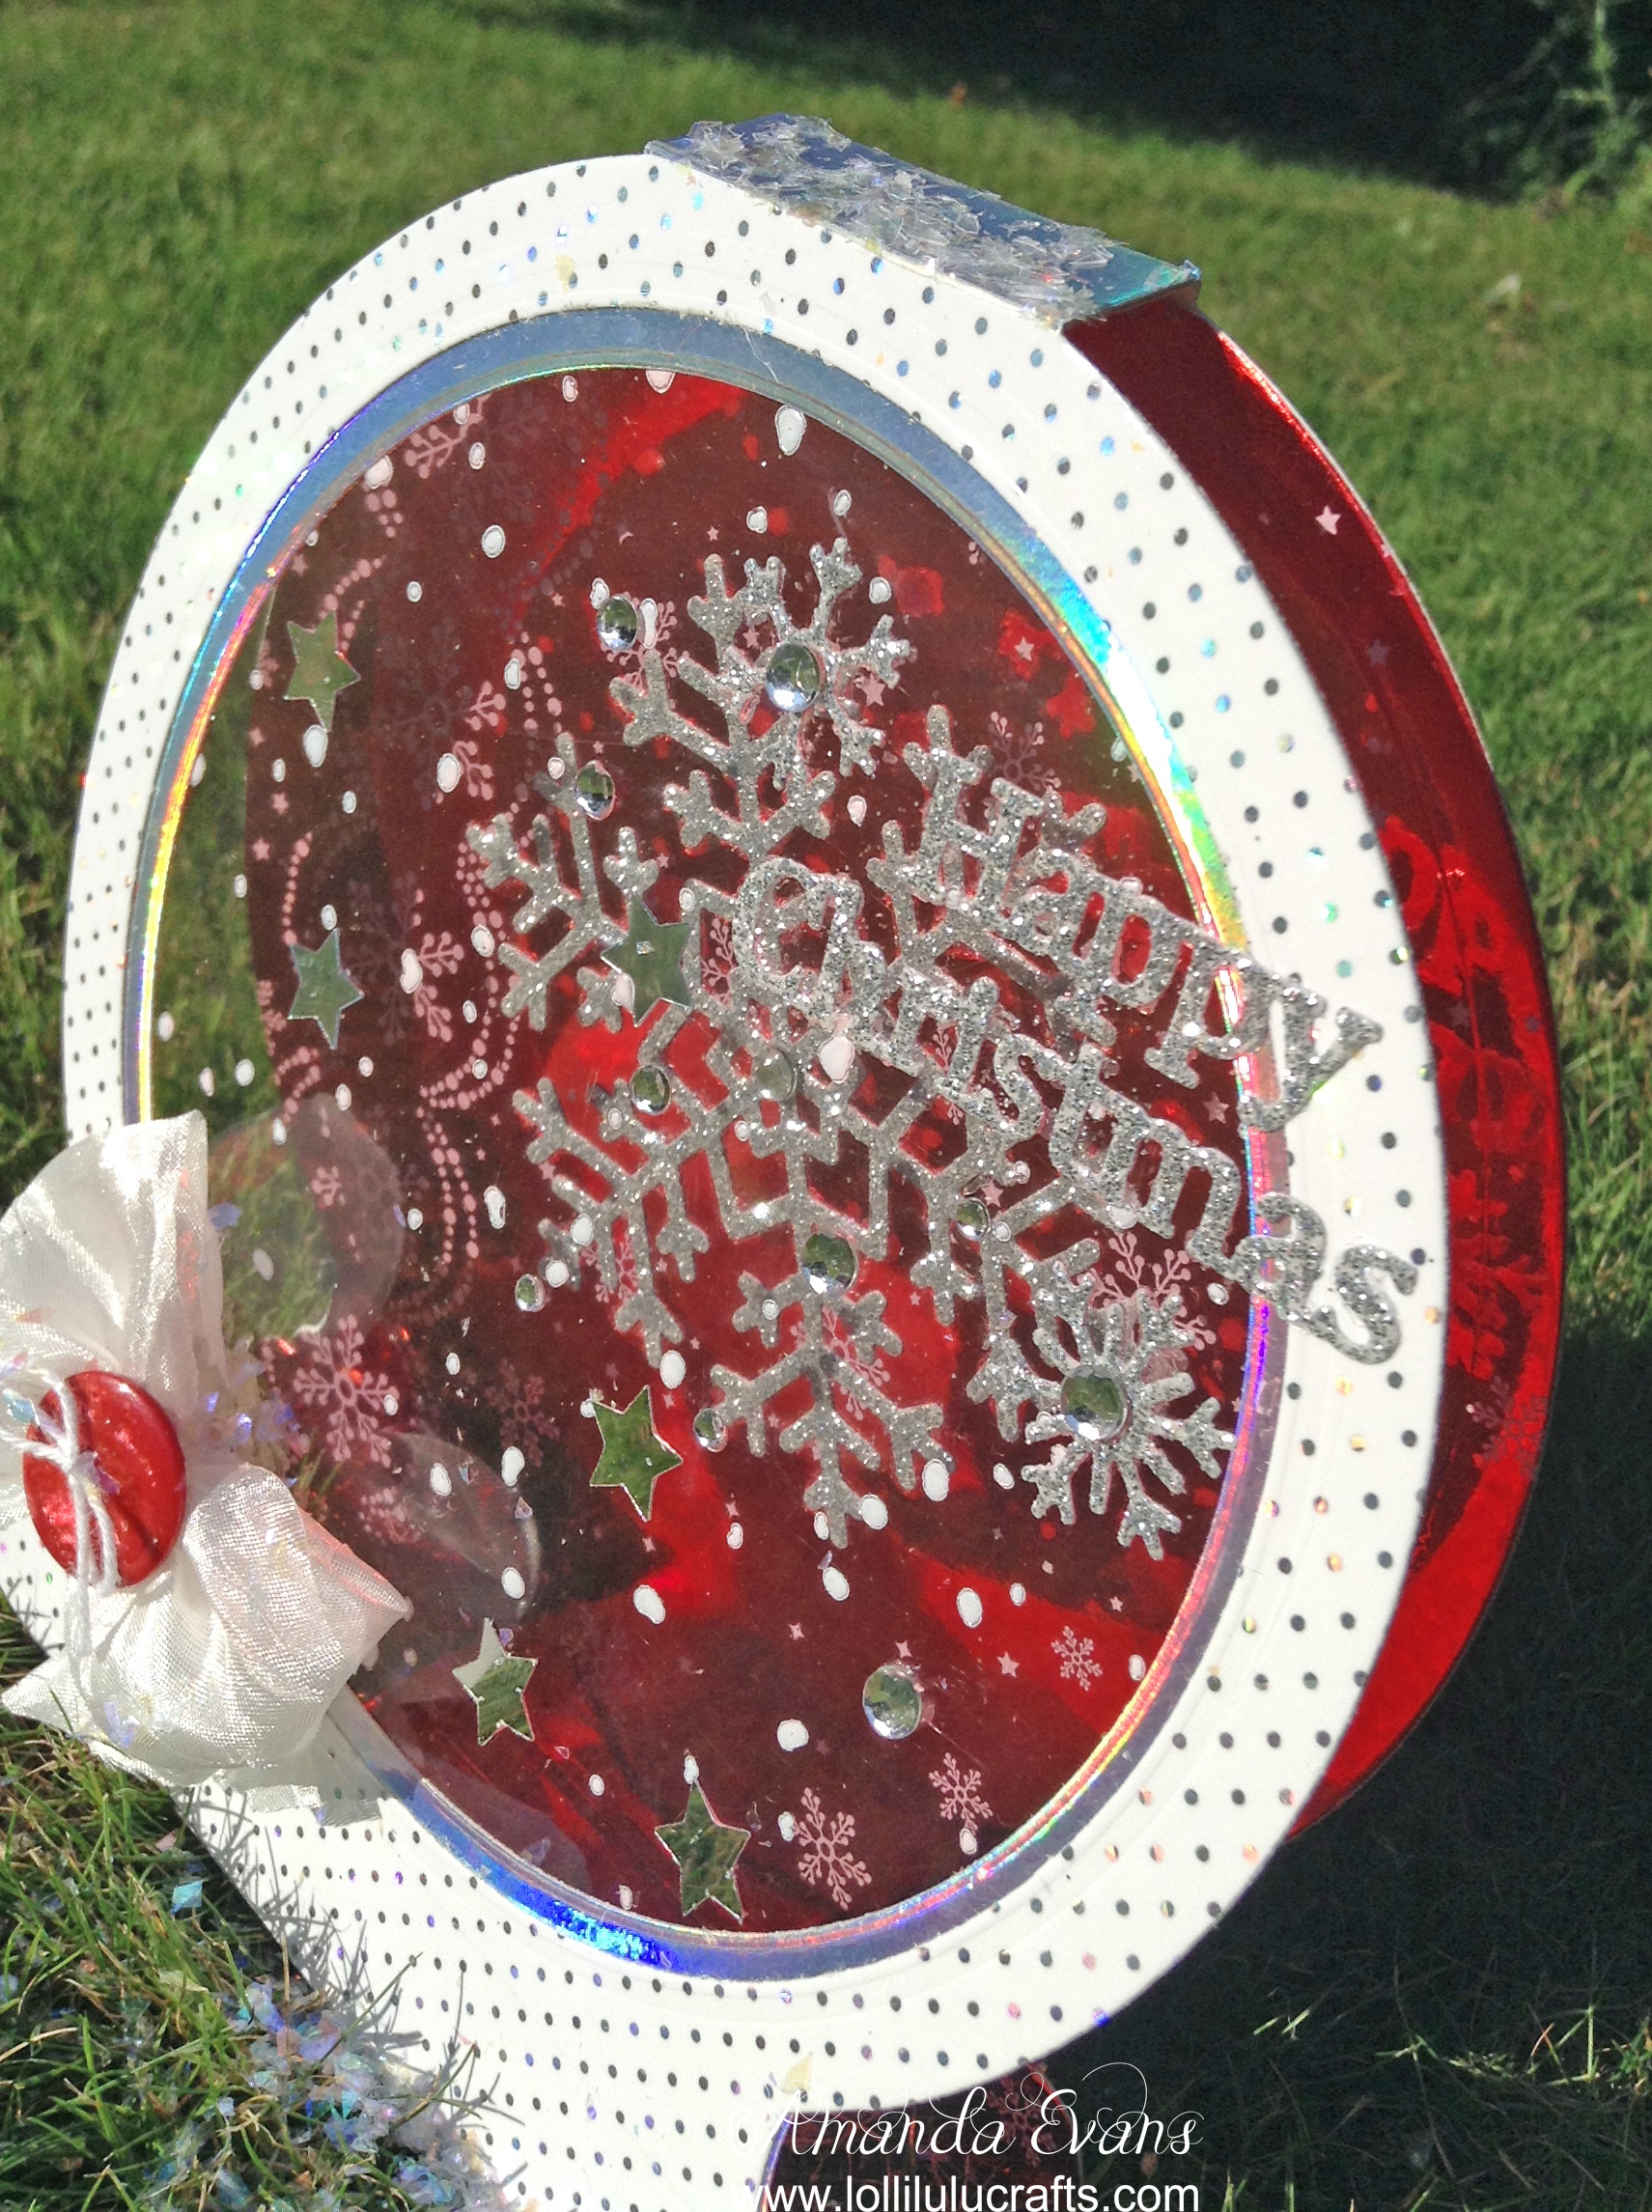
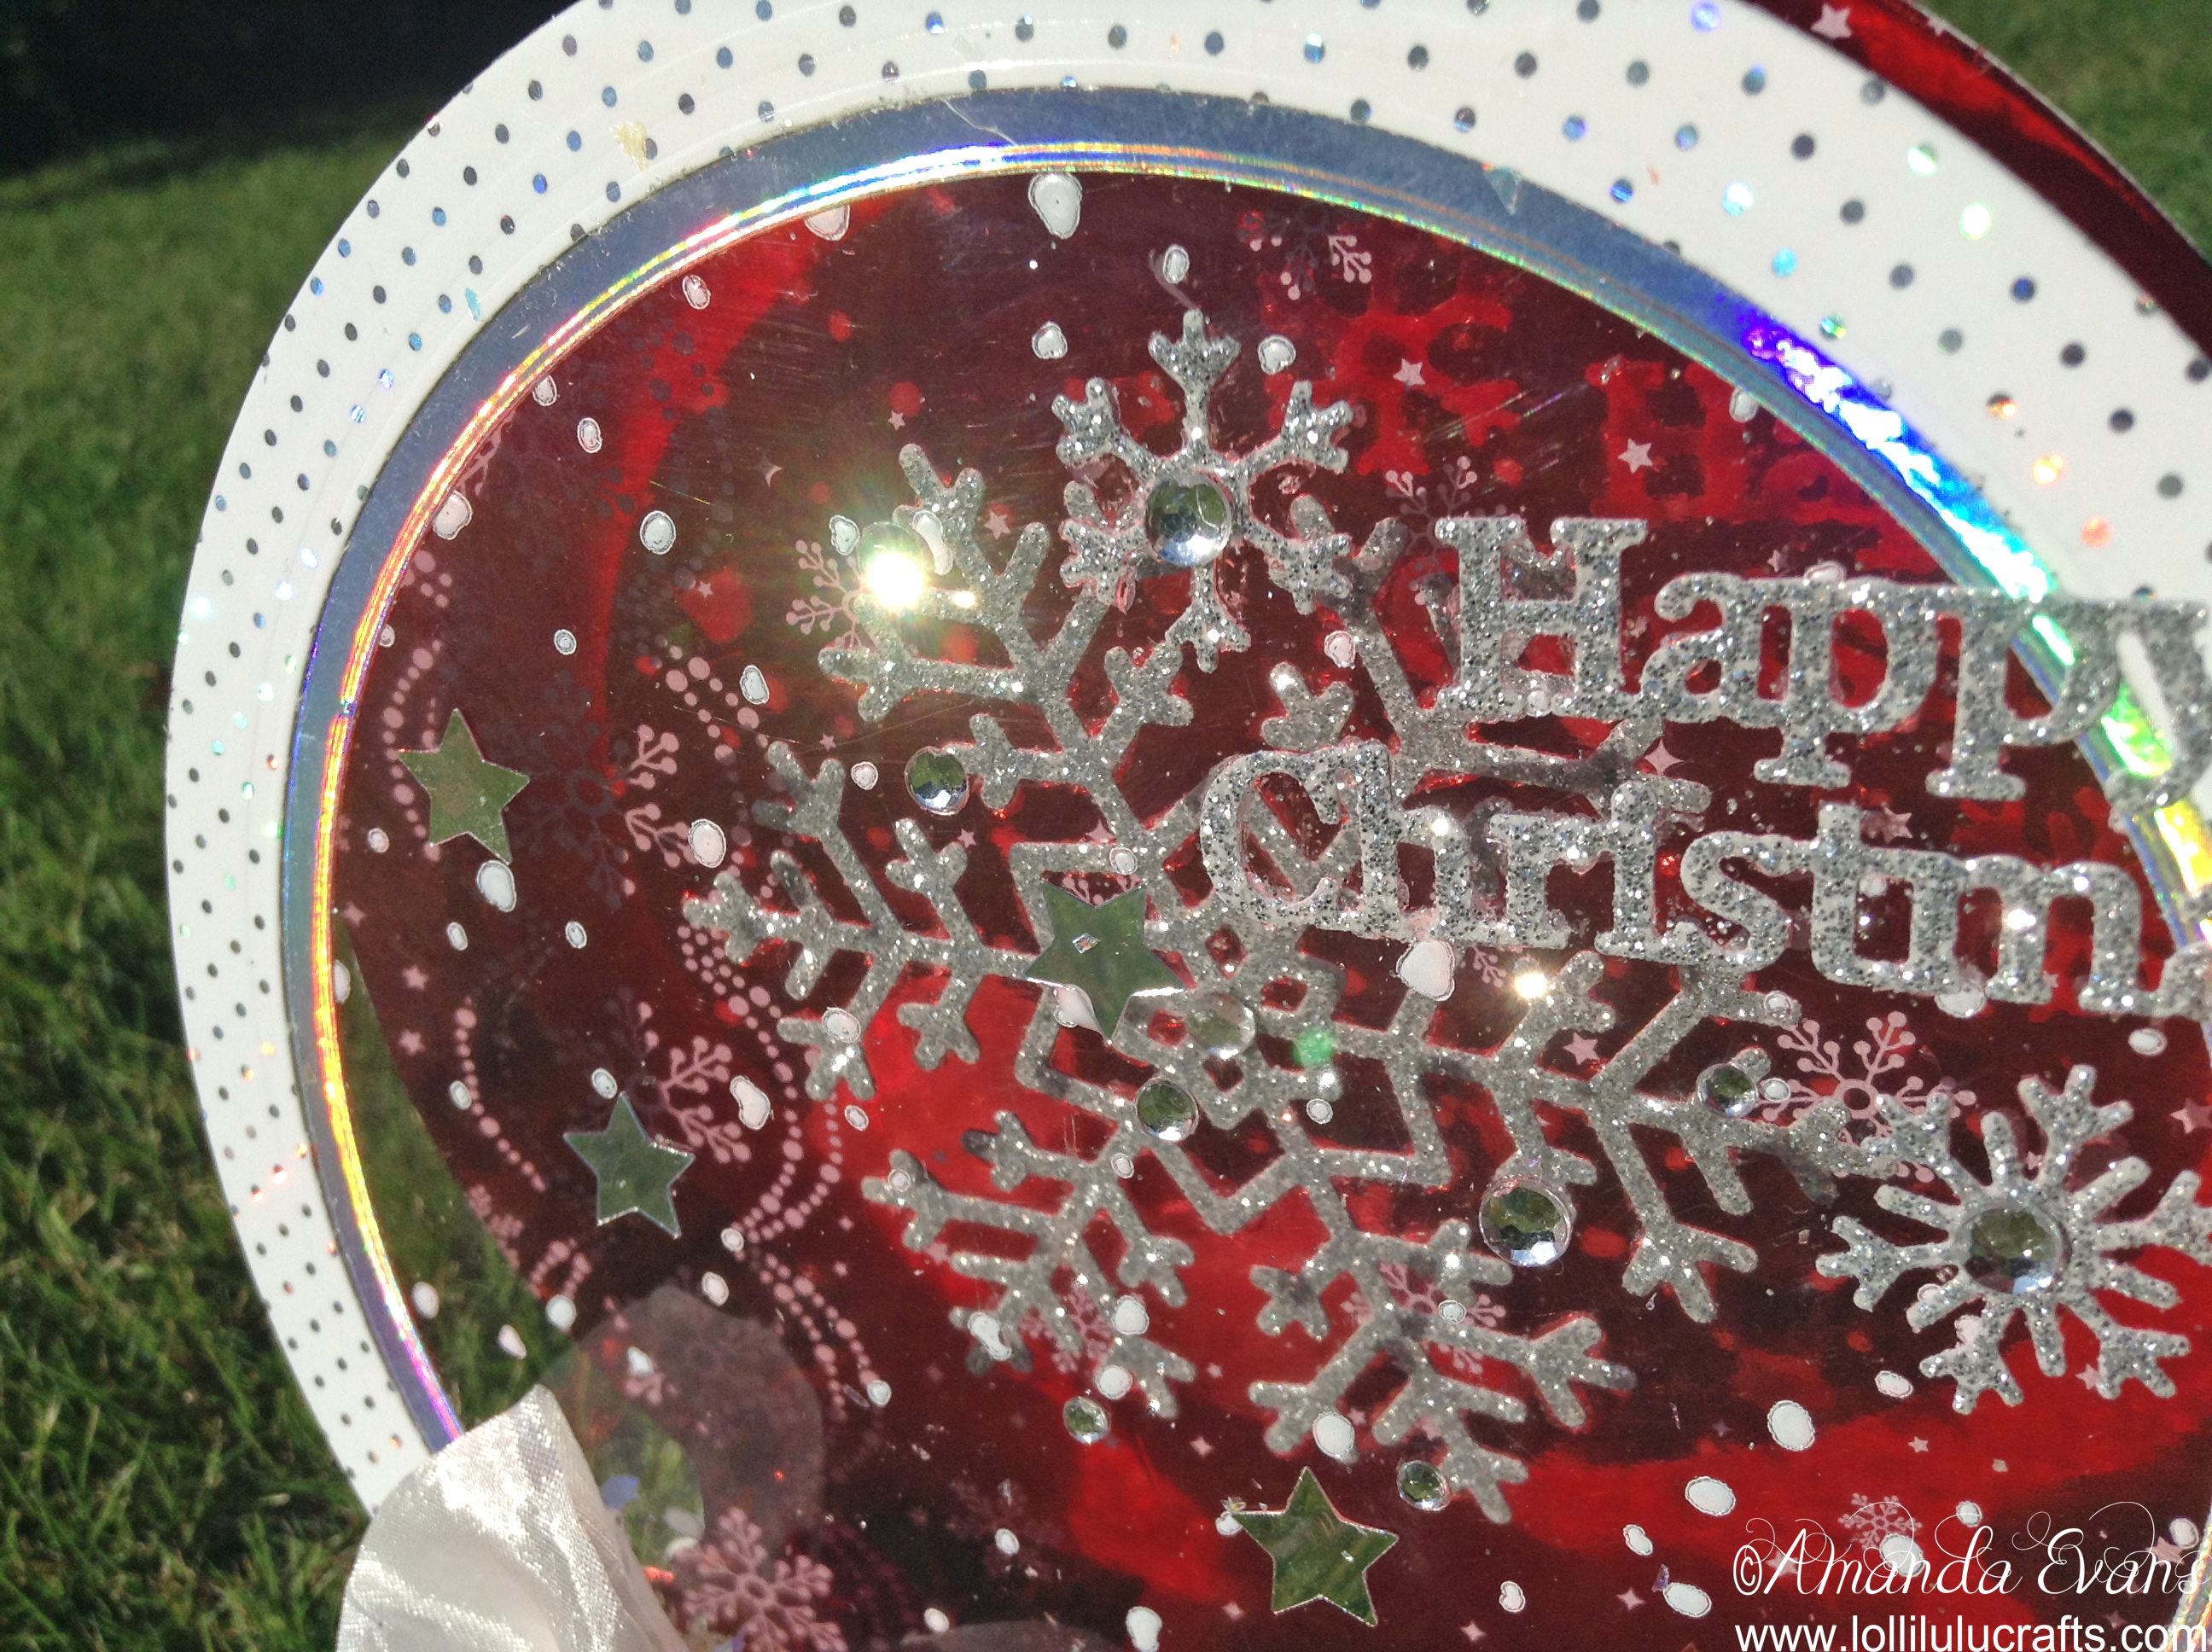
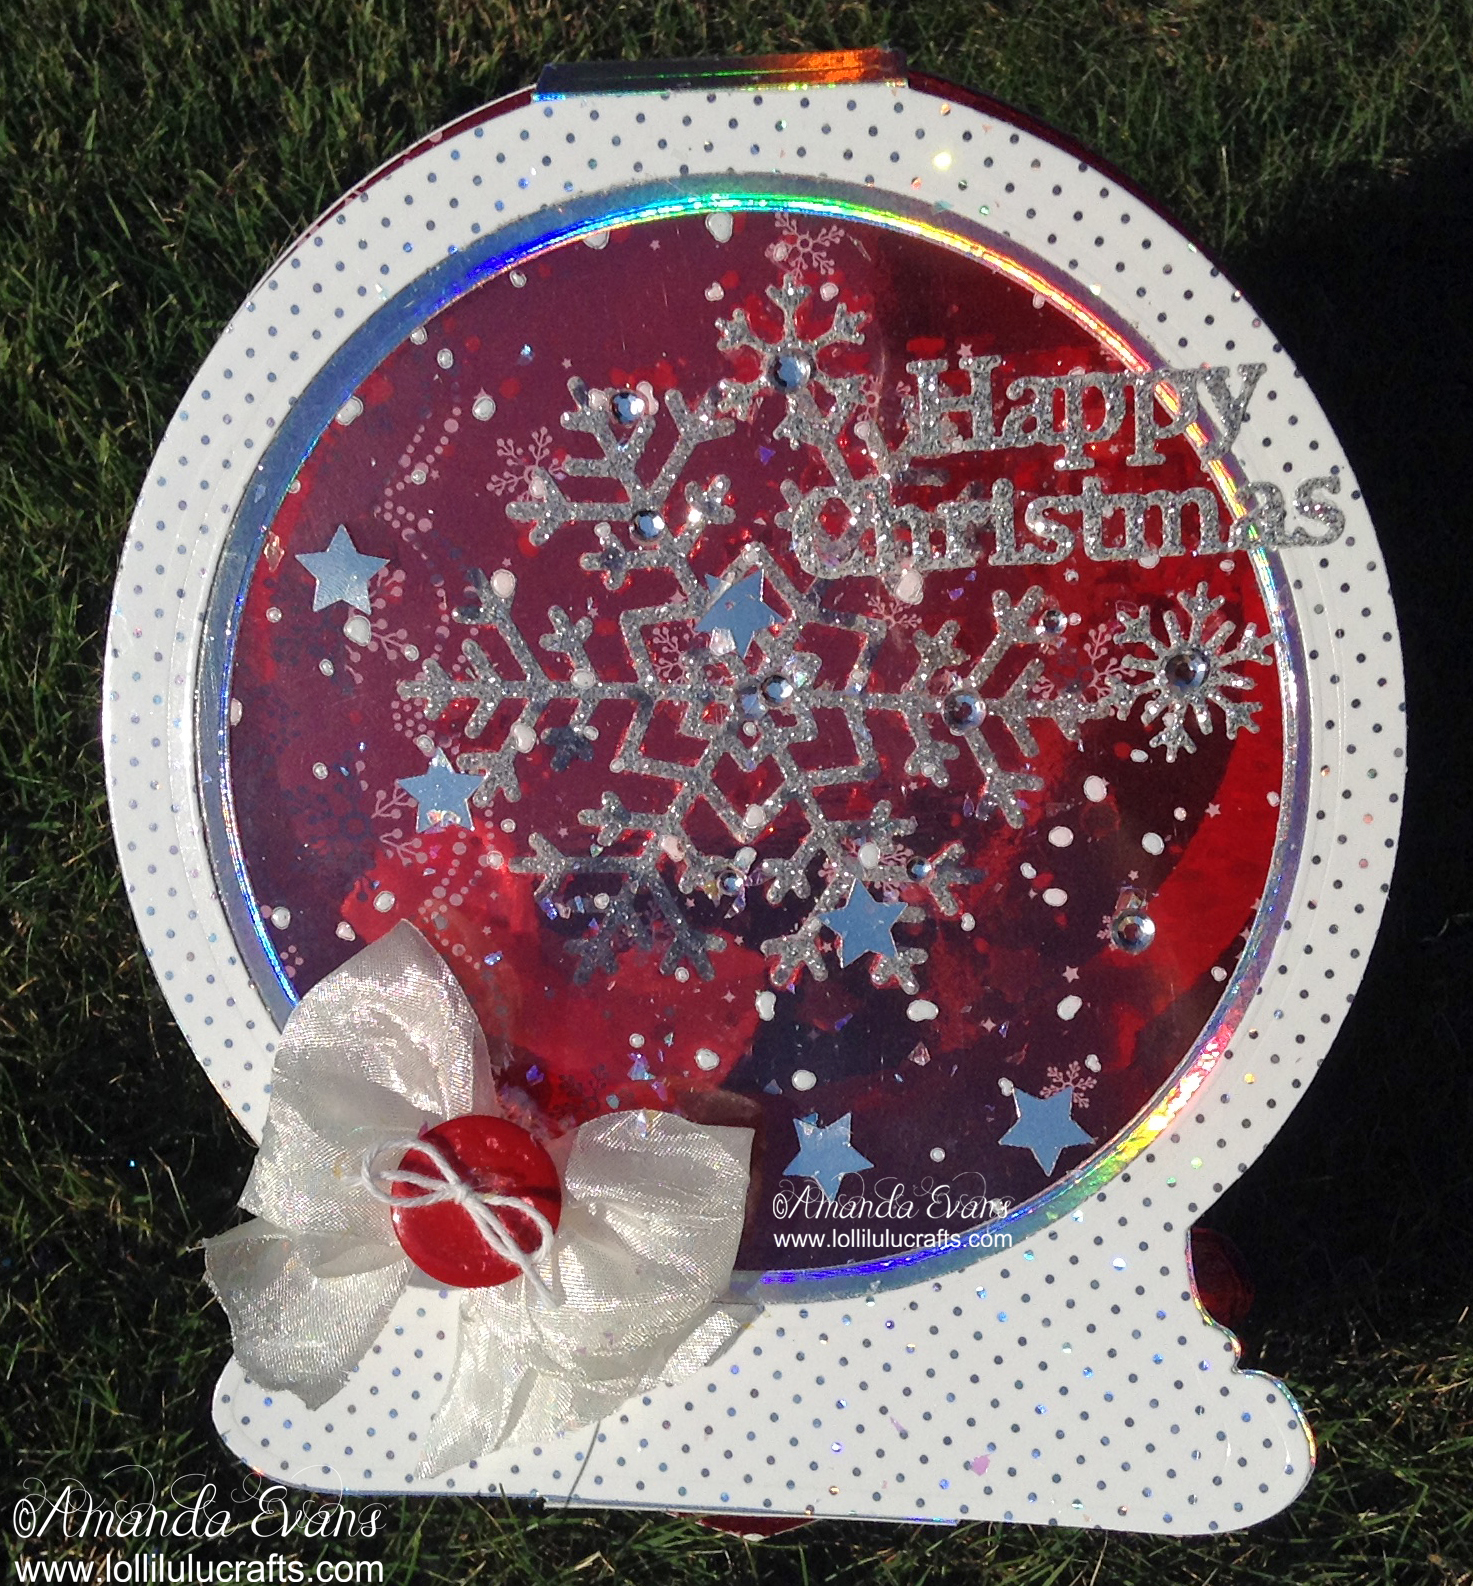
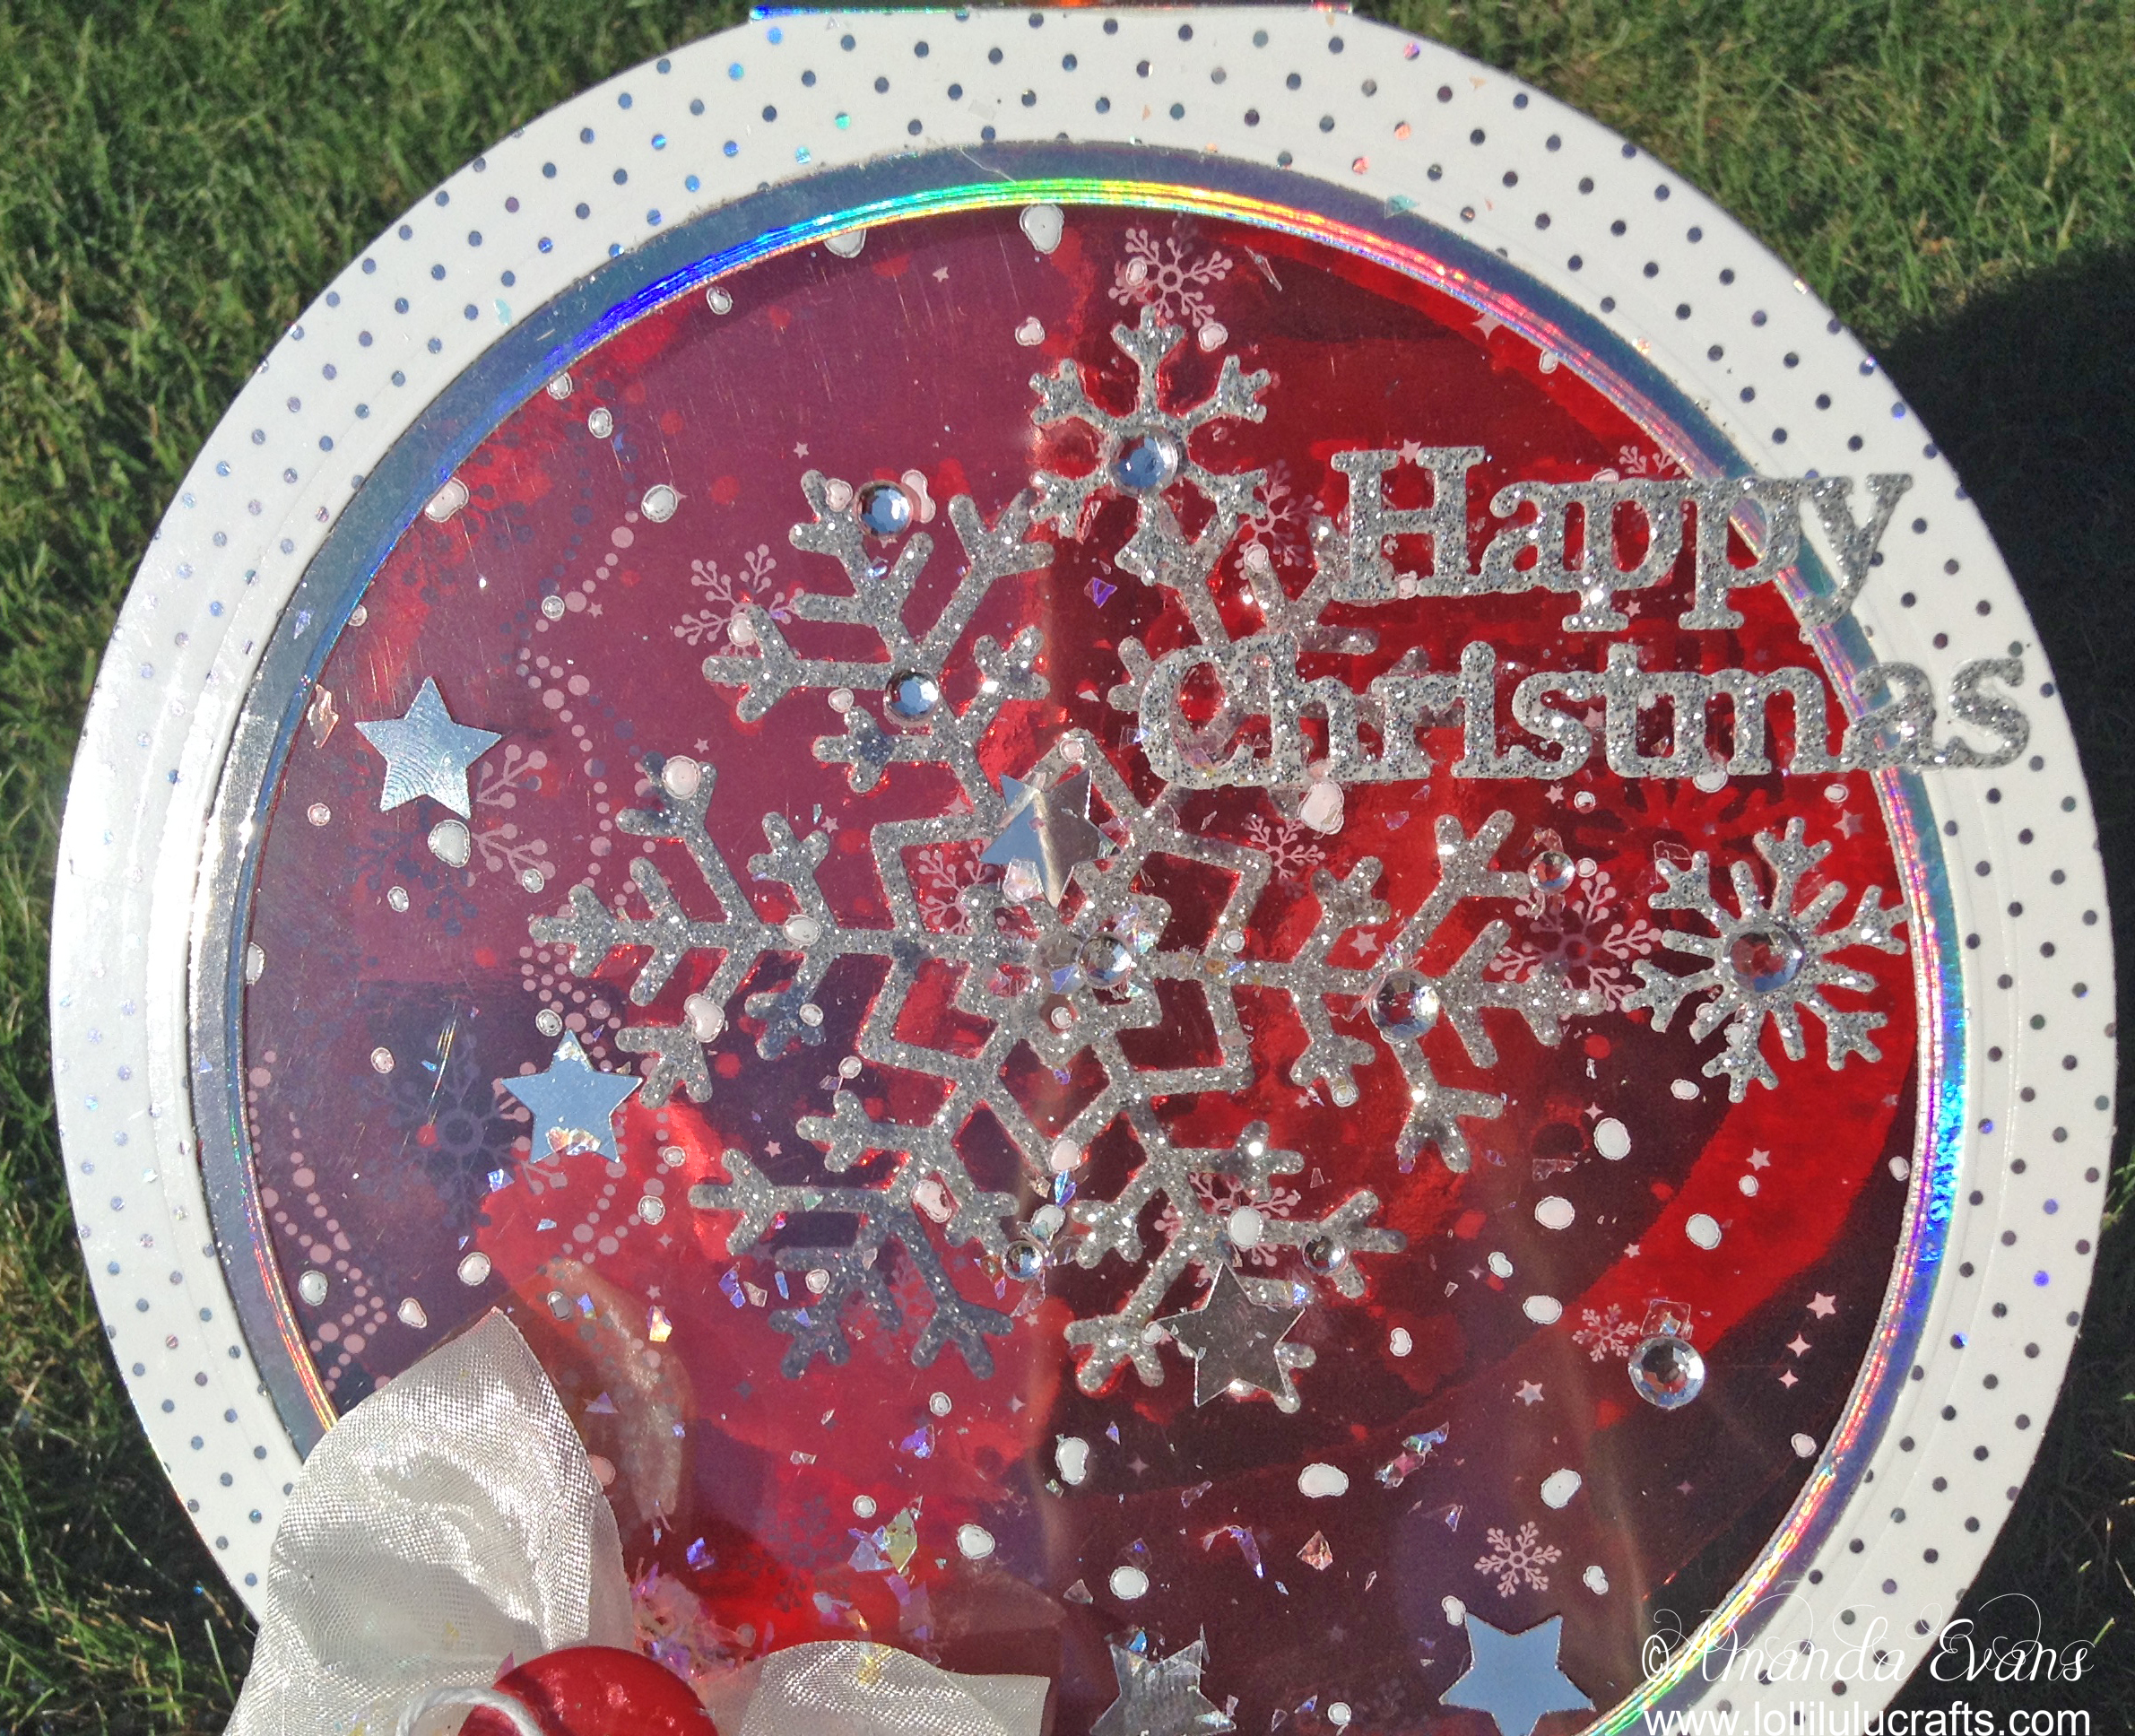
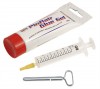
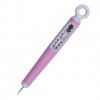
- Now to our decoration, taking the large snowflake and some wet glue, stick the snowflake to the back Snow globe–that is the centre of the red piece of card. Next I took the sentiment and other snowflakes and stuck them to the acetate.
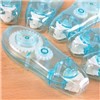
- I still wanted to added a little something more so I sprinkled some stars onto the front of my acetate, I often do this in order to achieve a real random look. I then stuck these using little dots of wet glue.
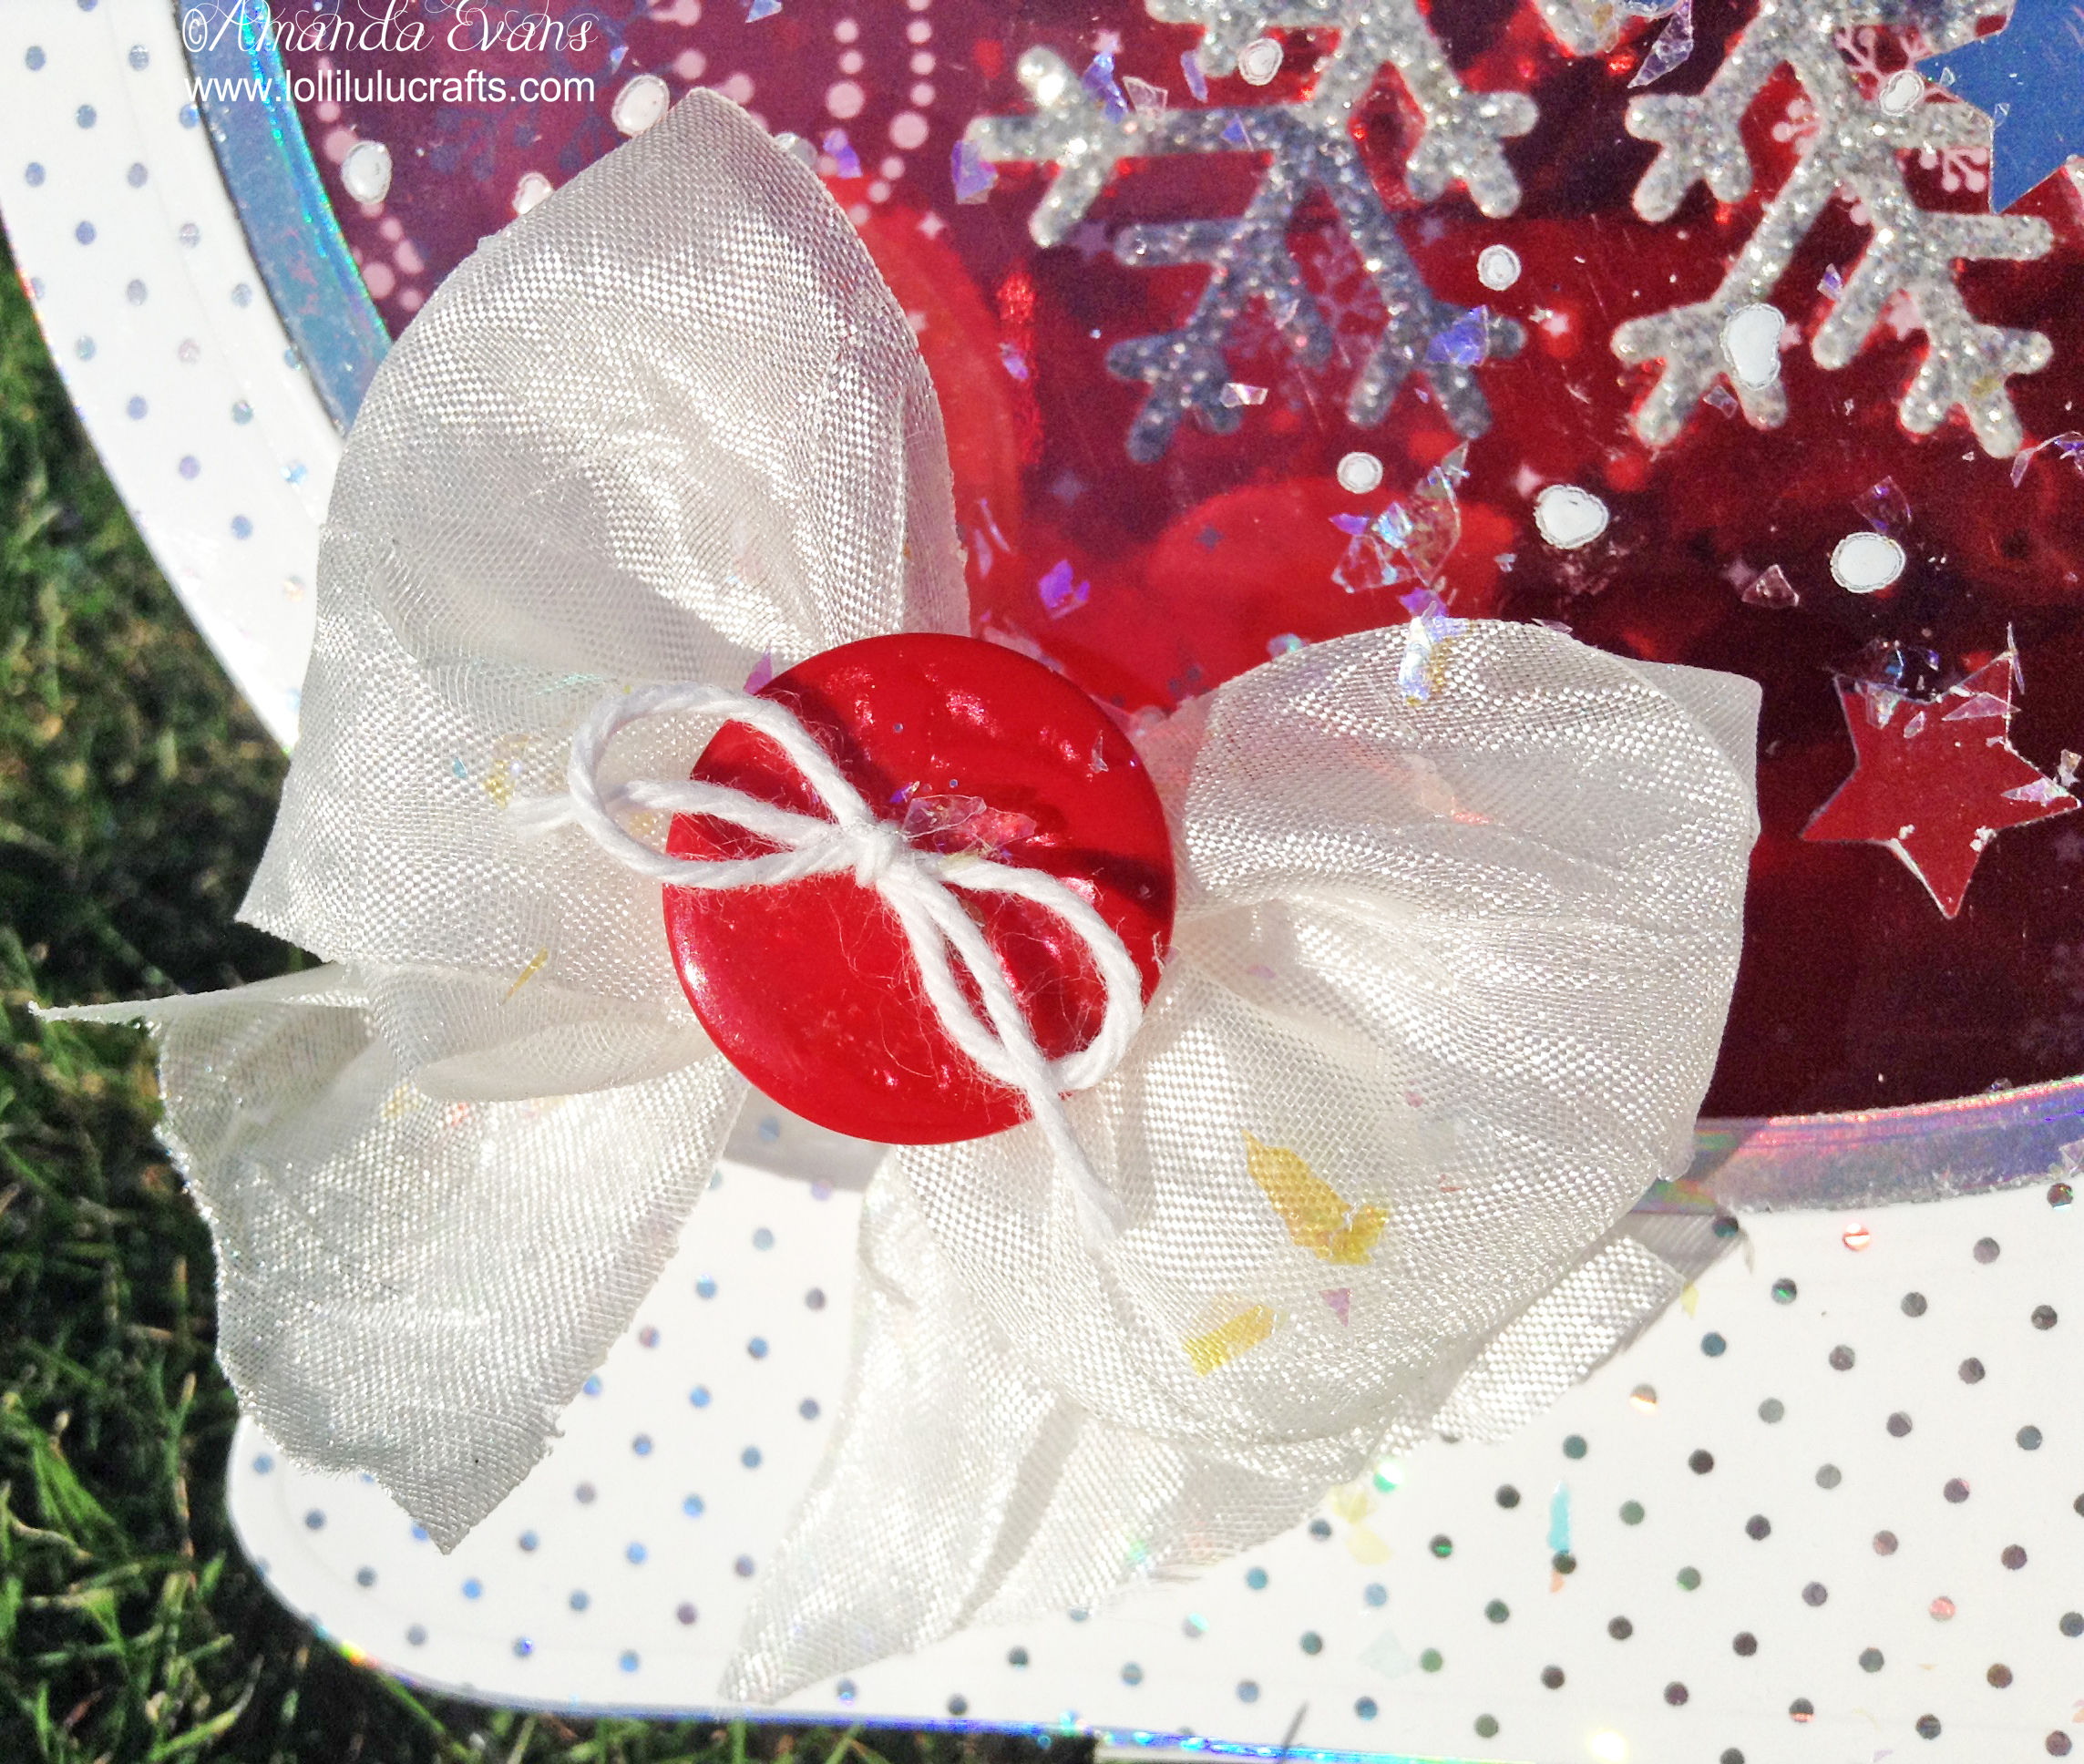
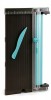
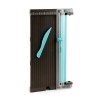
- Finally I using glue gel I added a crushed silky bow, that I made on my Tattered Lace bow maker, to the bottom of the front of my snow globe. As a final touch I added a red button with some white twine bowed through it onto the centre of the bow. Because the front of the snow globe, due to the aperture was lighter, there was enough weight at the back to balance having the bow on the front. And that was card finished.
However I understand that some people may have had issues with trying to get the snow globe to stand, and as you saw mine did stand fine, This is totally down to making sure that the balance and counter balance is equal. You don’t need to get massively scientific about it, just see what makes sense. If you add a lot to the front and not the back then it will topple over and vice versa. To be honest if was me and I wanted to do much more than I did today I think I would add it say to a easel card. Using a easel card would not lose the beauty of the snow globe as you could still keep the shape but it would give it some security of balance. The other thing you could do is cut an extra snow globe for the back and into that piece at the bottom cut a little tab. Again that then gives your snow globe something to lean on. Anyway I hope that has helped and now just before I go here are, of course, the photos of the finished card. I hope that helps.
So that is it for today but if you have any questions you know where I am so just ask away, I am always happy to help, but for now hugs and have a great craft day,

●▬▬▬▬▬ ●SUPPLIES● ▬▬▬▬▬●
Below are the products featured in today’s Video. Some products can be purchased from multiple stores so I have given each store different letter codes. Click on the letters below the picture to go to a favorite store: Simon Says Stamp (SSS), Dick Blick (DB), Cricut (C), Scrapbook.com (SB) and Amazon (AMZ)


●▬▬▬▬▬ ● DISCLAIMER ● ▬▬▬▬▬●
Affiliate links are used. For affiliate information and policy please see the Policy page.

Very cute and I do like you work you do a good work on your work
Thank you Rose xx