


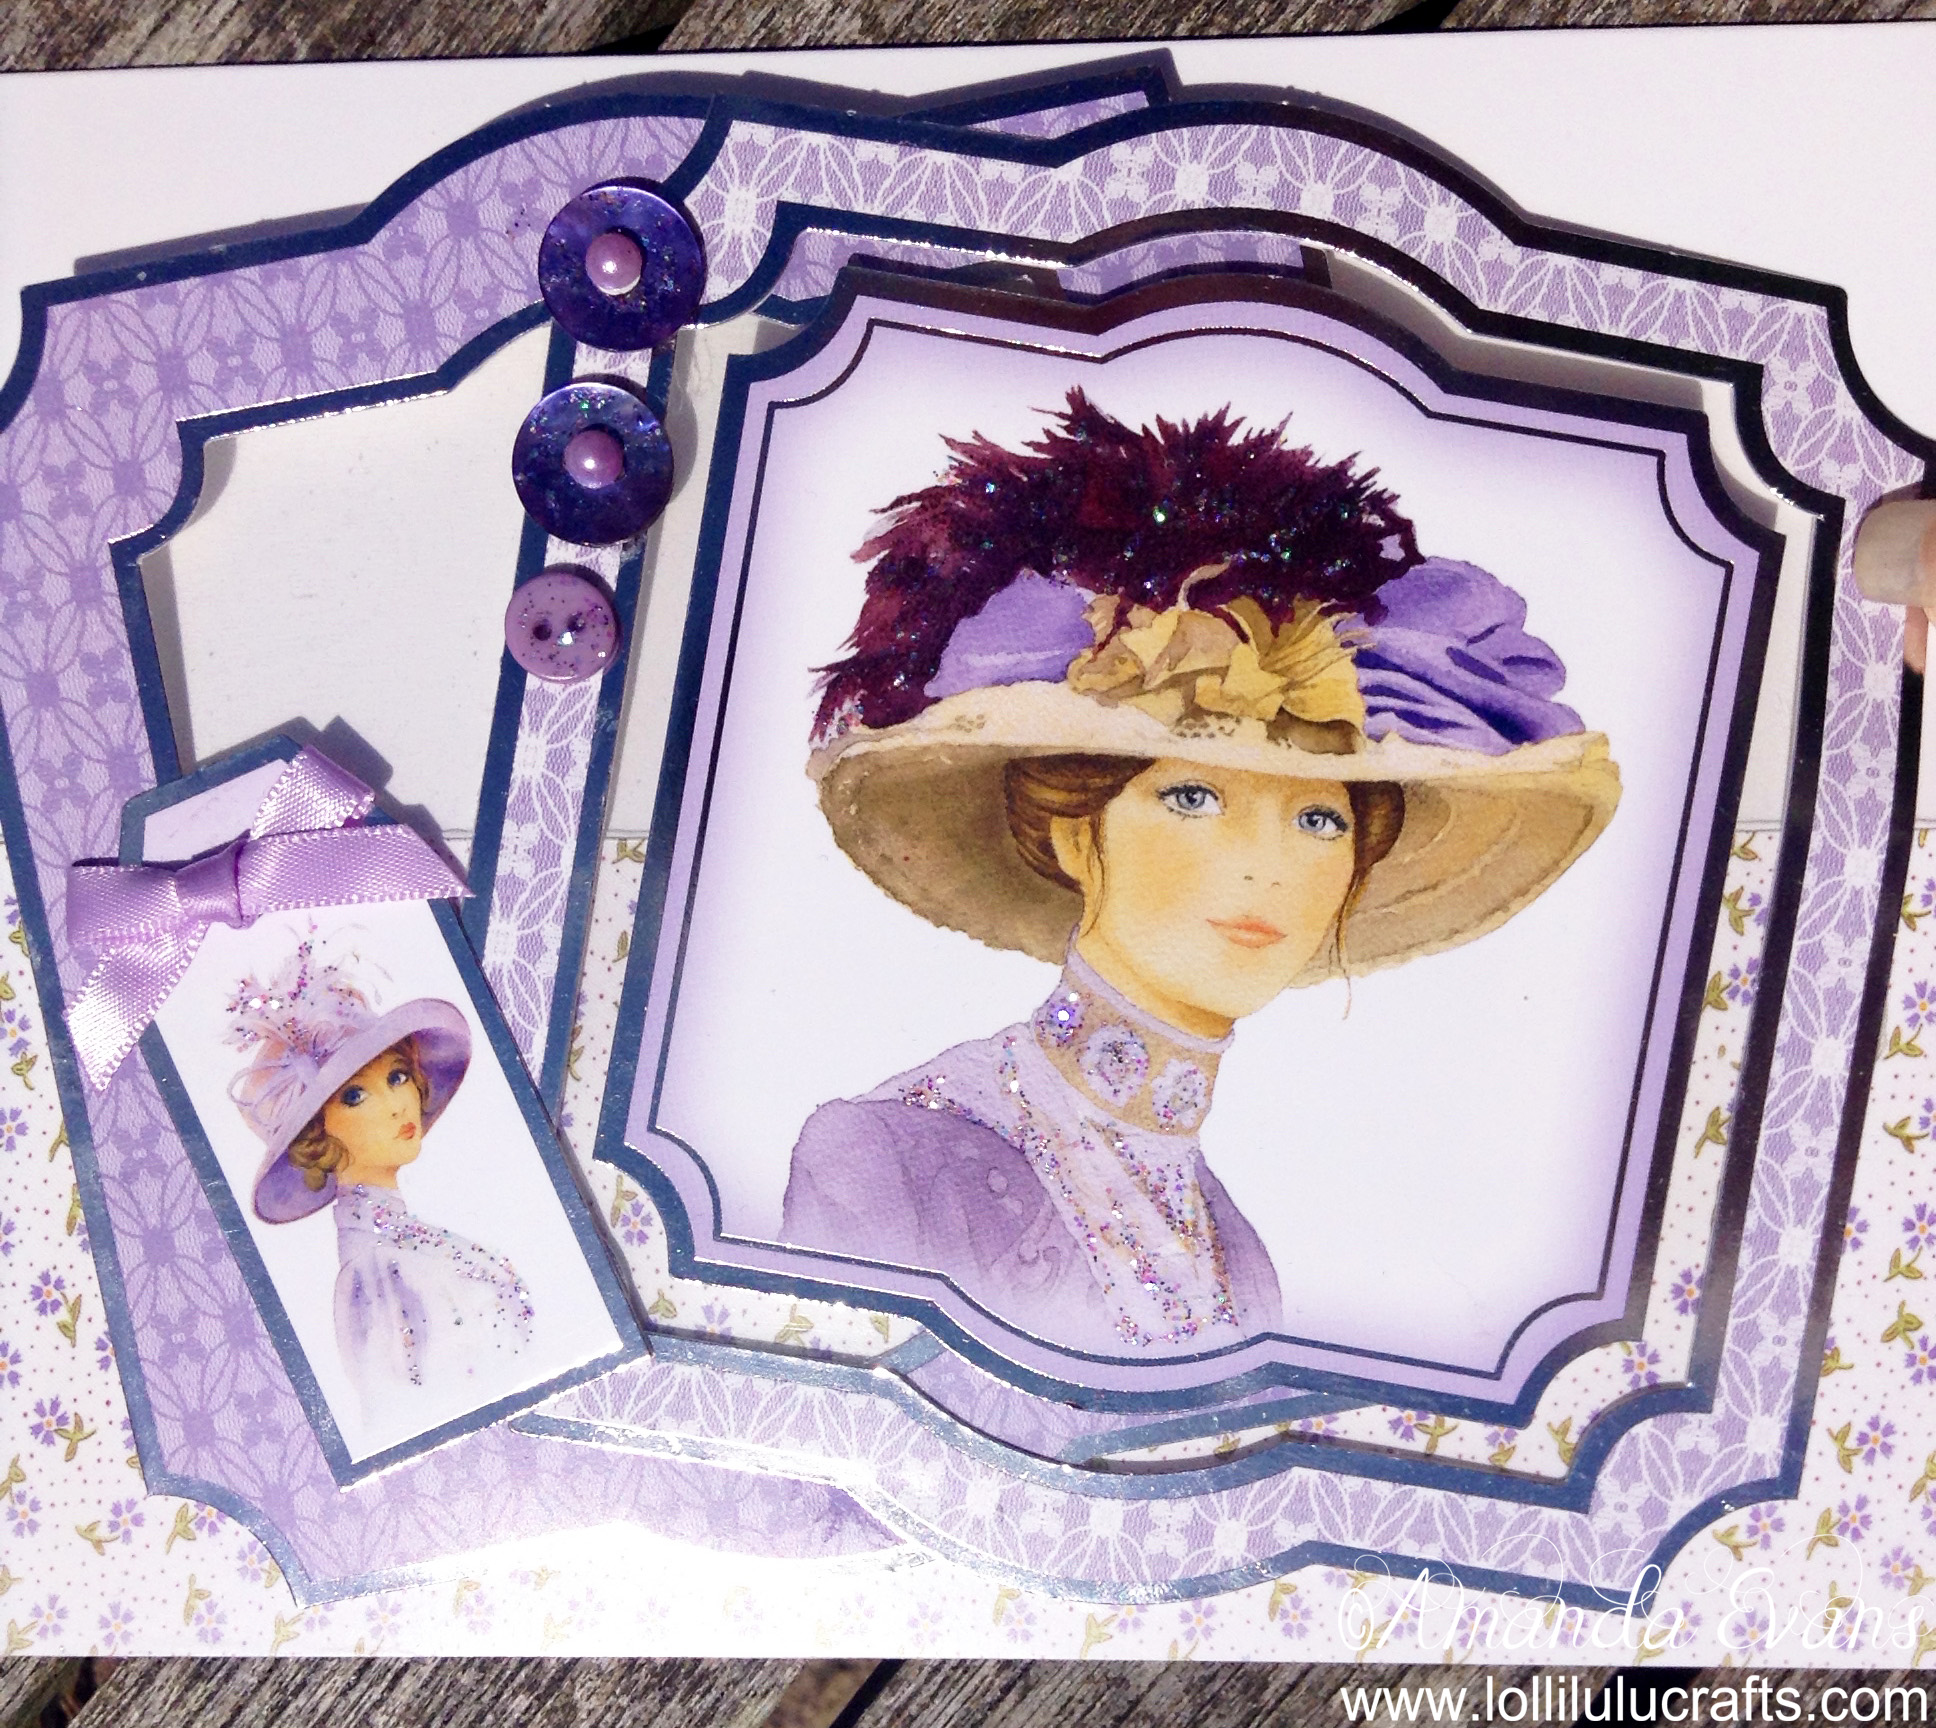
Hiya, today I have for you an elegant Acetate Easel Card that I made from the stunning Hunkydory My Fair Lady Collection.

The My Fair Lady Collection came with a Hunkydory magazine and the images were the same as those in the Cross Stitch Elegant Ladies kits by John Clayton. I love making Easel Cards, I always think they look so effective and the elements on the topper sheet inspired my topper design of a couple of windows made using the frames with some acetate. So I hope you enjoy this Hunkydory My Fair Lady Acetate Easel Card Video
So to make the card I picked out one topper sheet and one sheet of complimentary patterned card stock. I then went to my stash and got some Hunkydory Adorable Scoreable card. Since I wasn’t sure of exactly how my window topper would size up, I decided to make this first and then judge what size card I needed to make after.
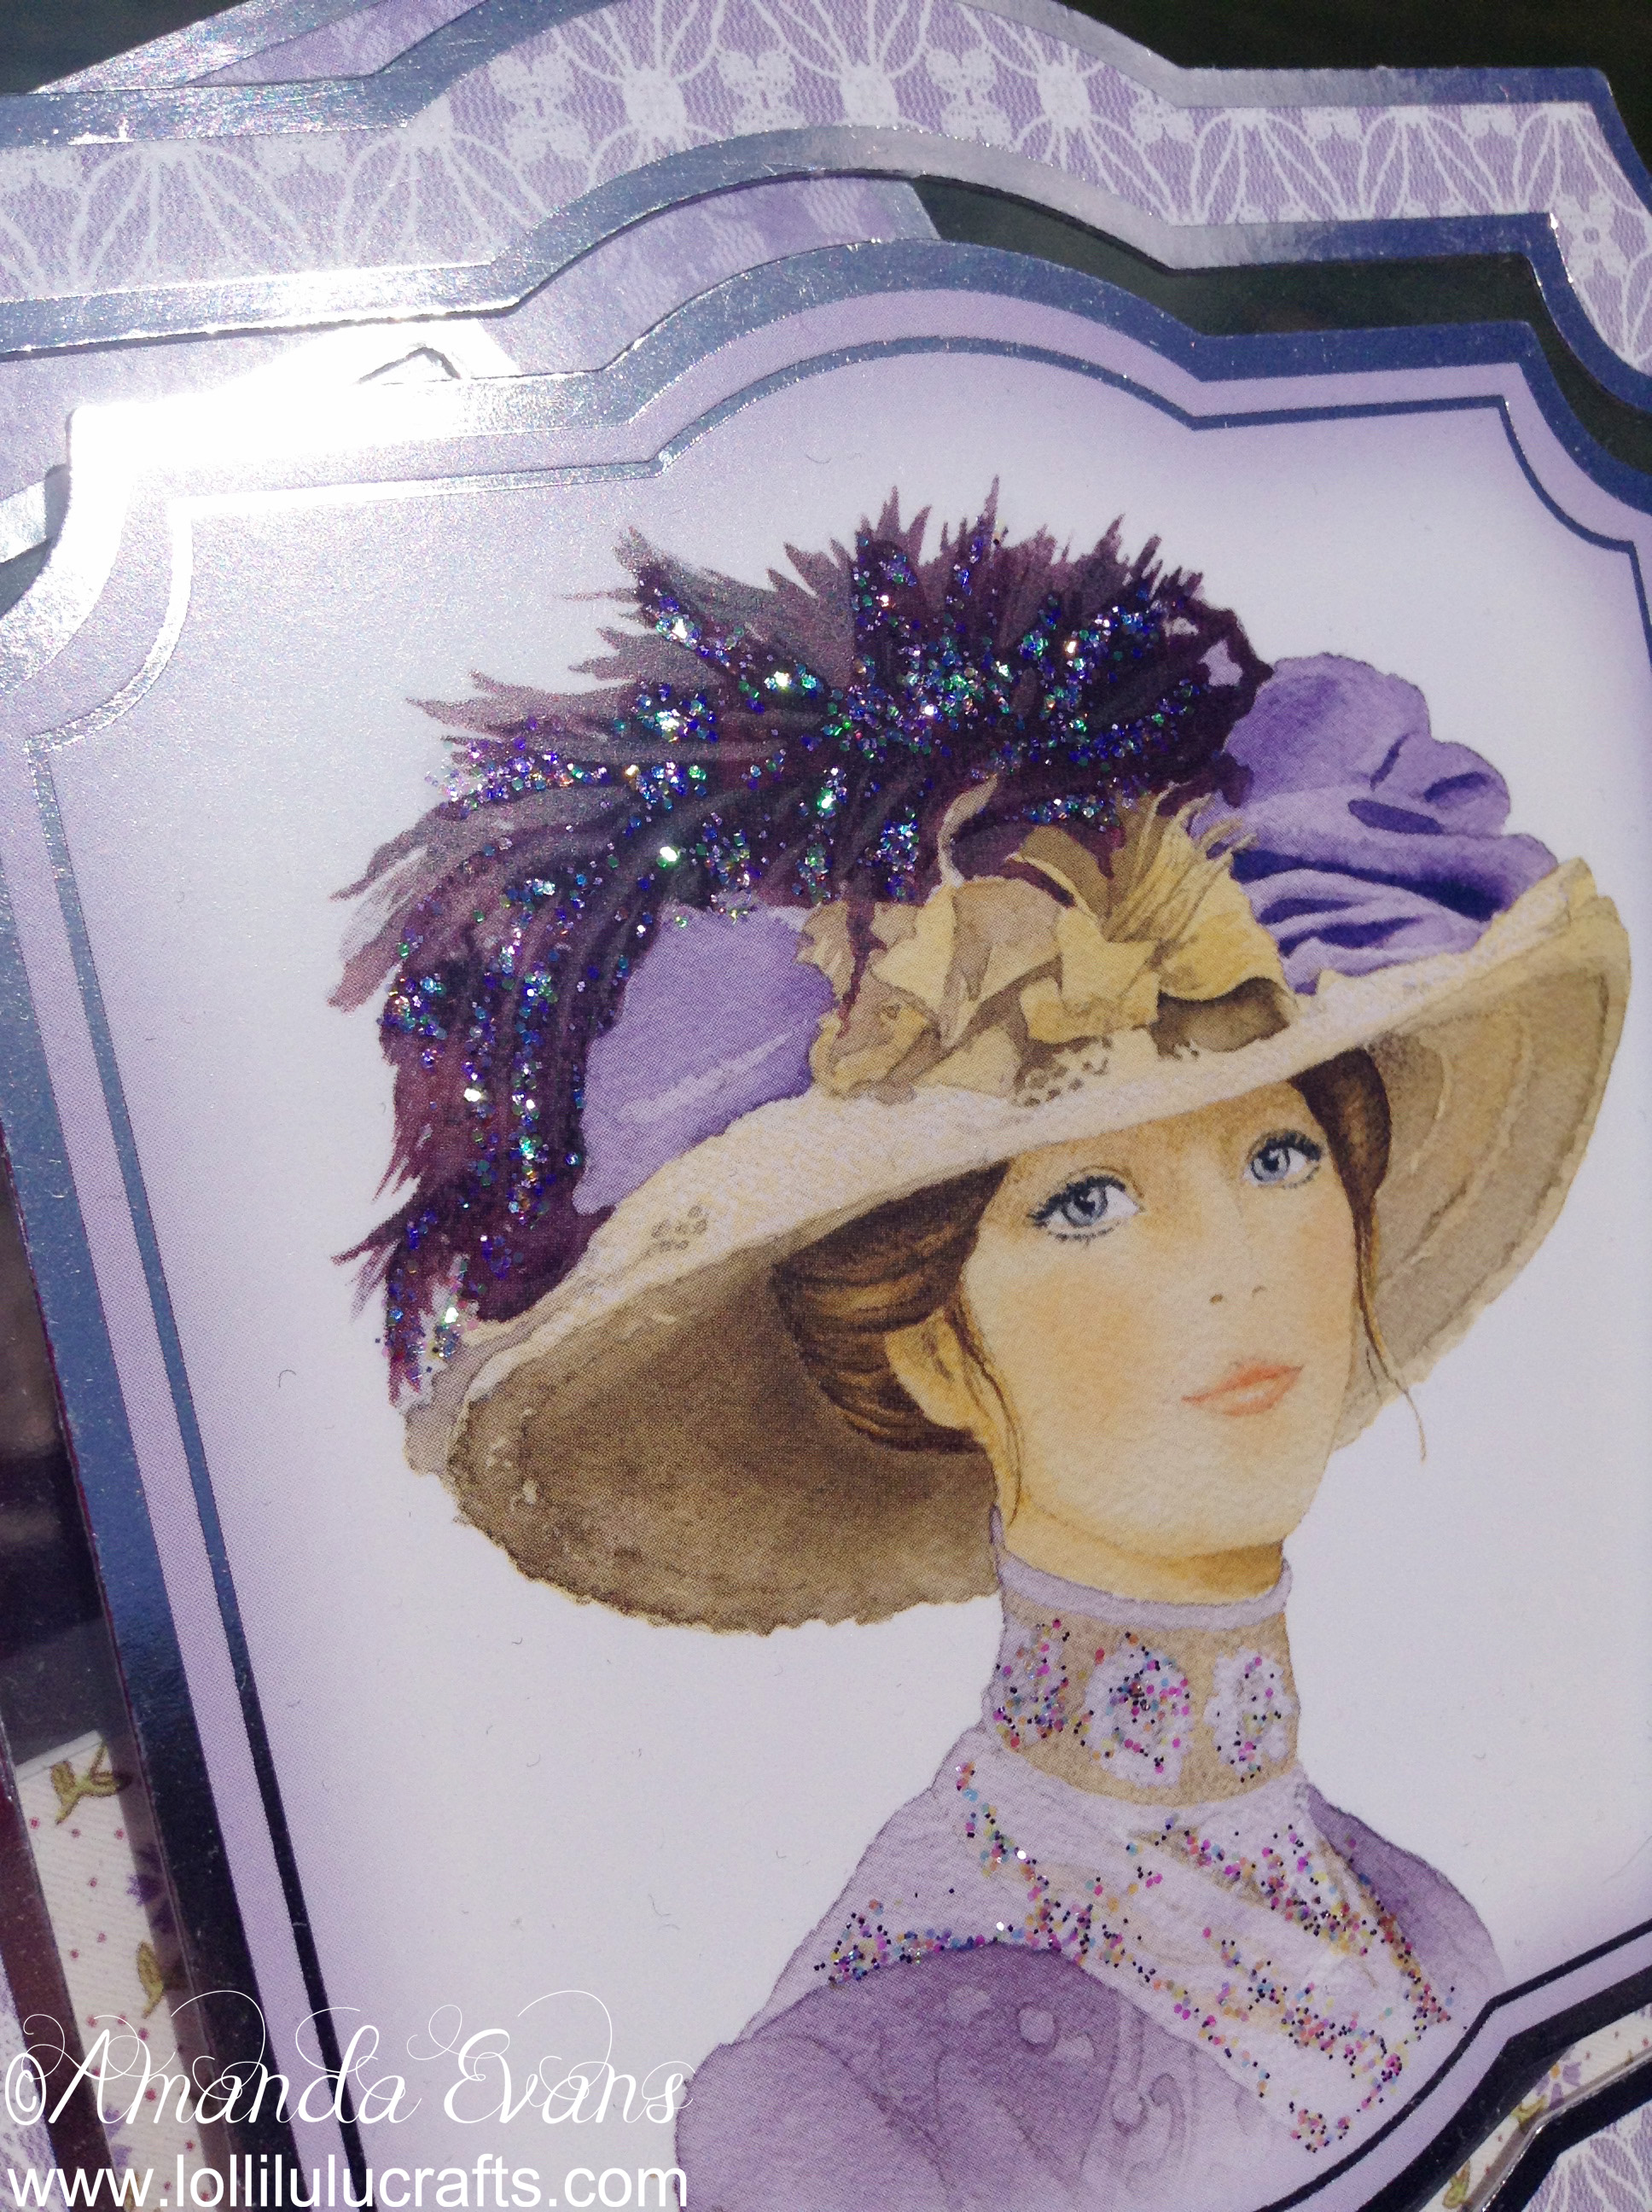
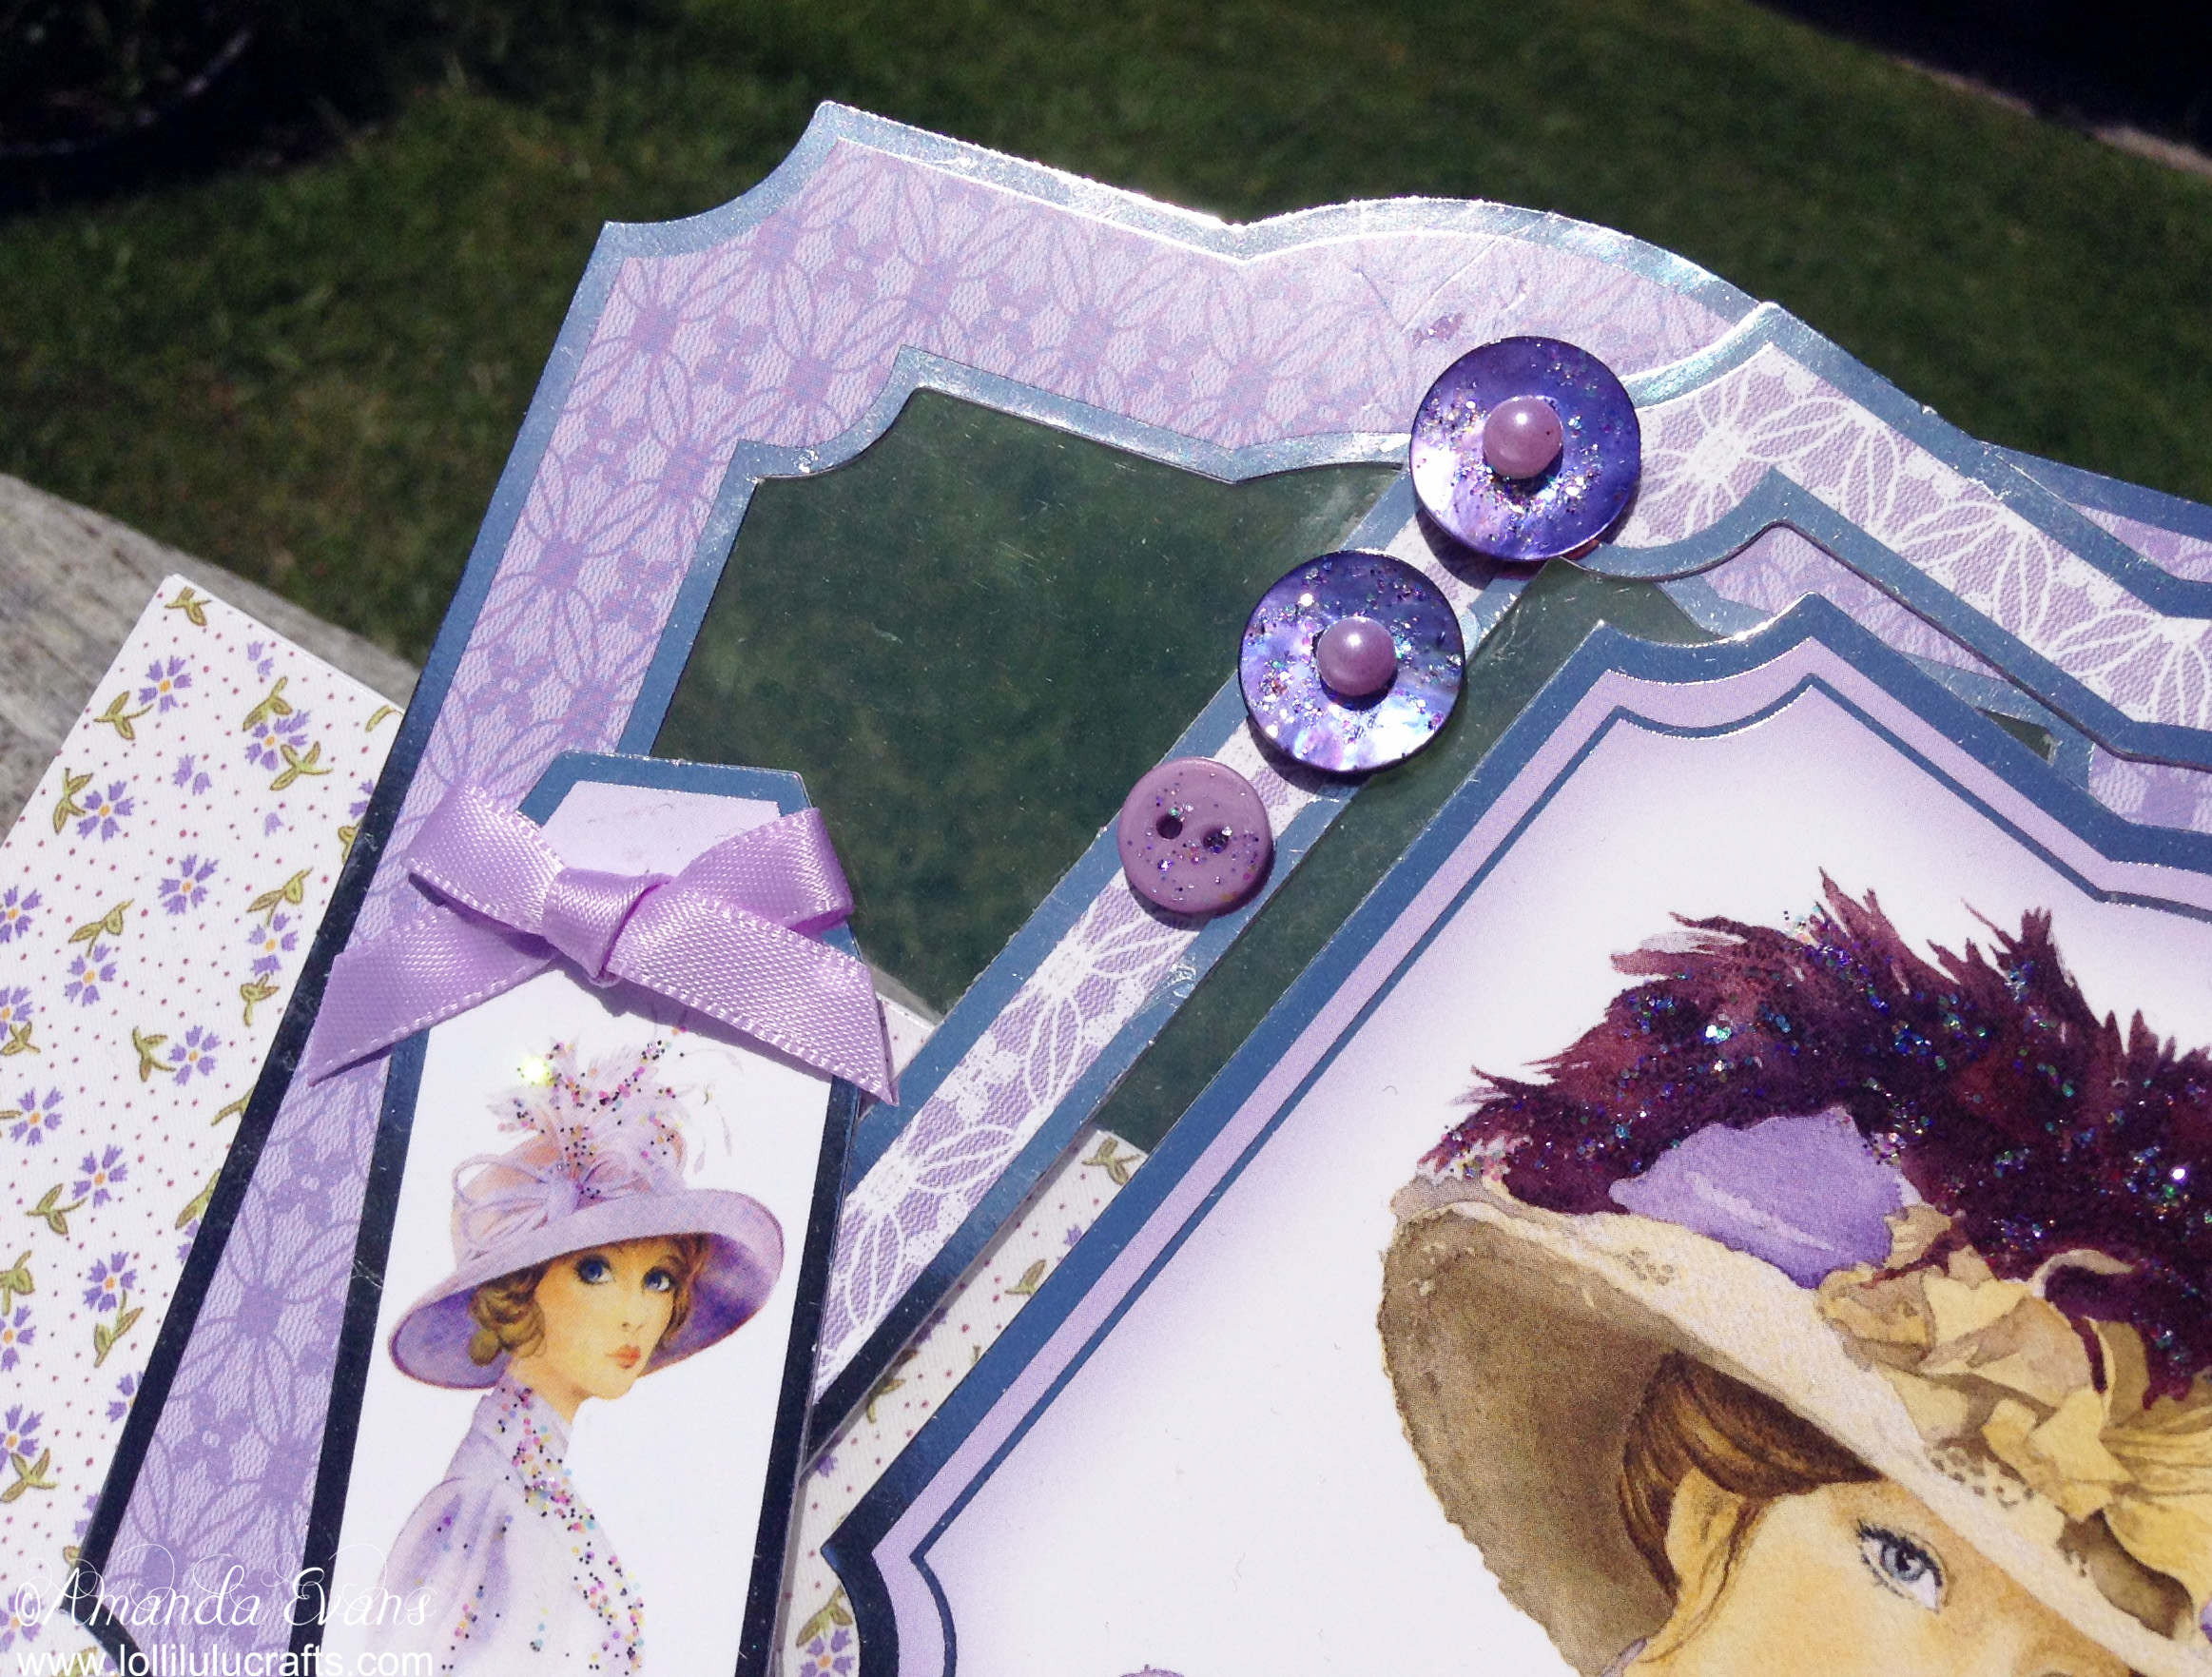
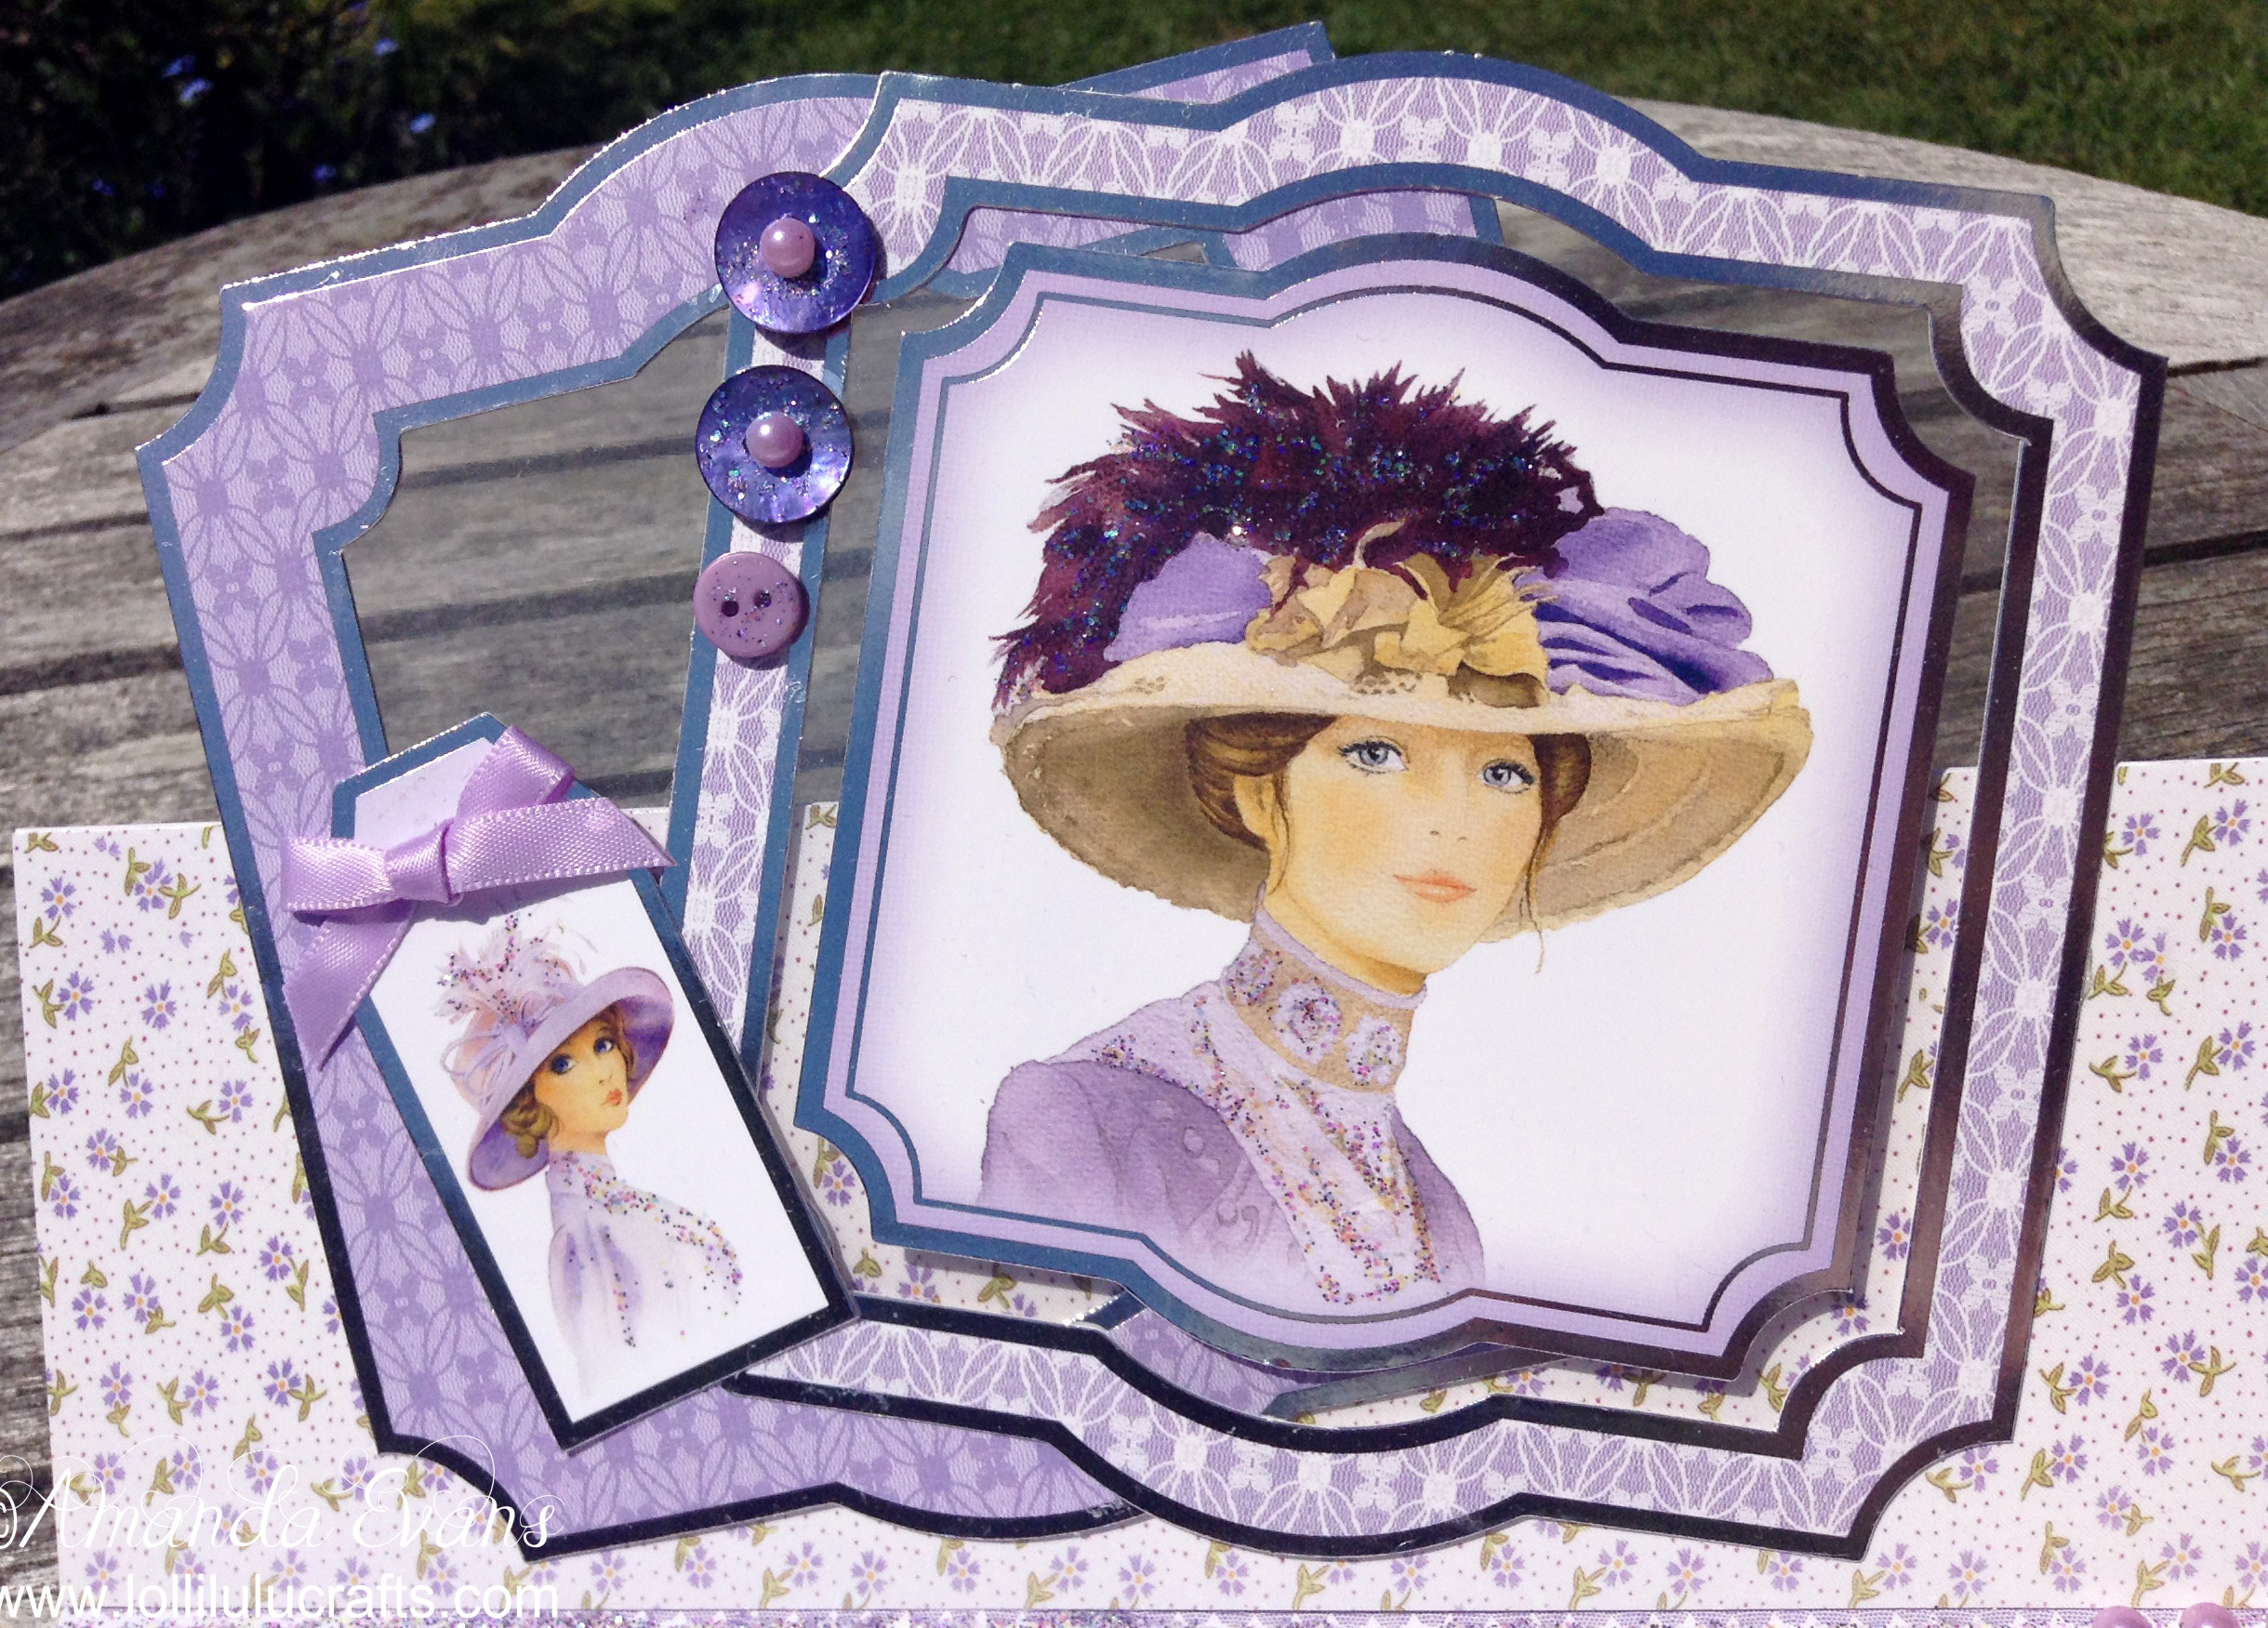
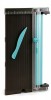
So to make the topper I grabbed two of the lavender frames and my acetate. I cut the acetate to just a little smaller than each frame then because of the shape of the frame I just nipped off the corners of my acetate so it fitted perfectly behind the frame. I then glued the acetate in place and then glued the two frames together at a “Jaunty” angle! Once I was satisfied with the look I added the “My fair Lady” image to the centre of the right-hand frame.
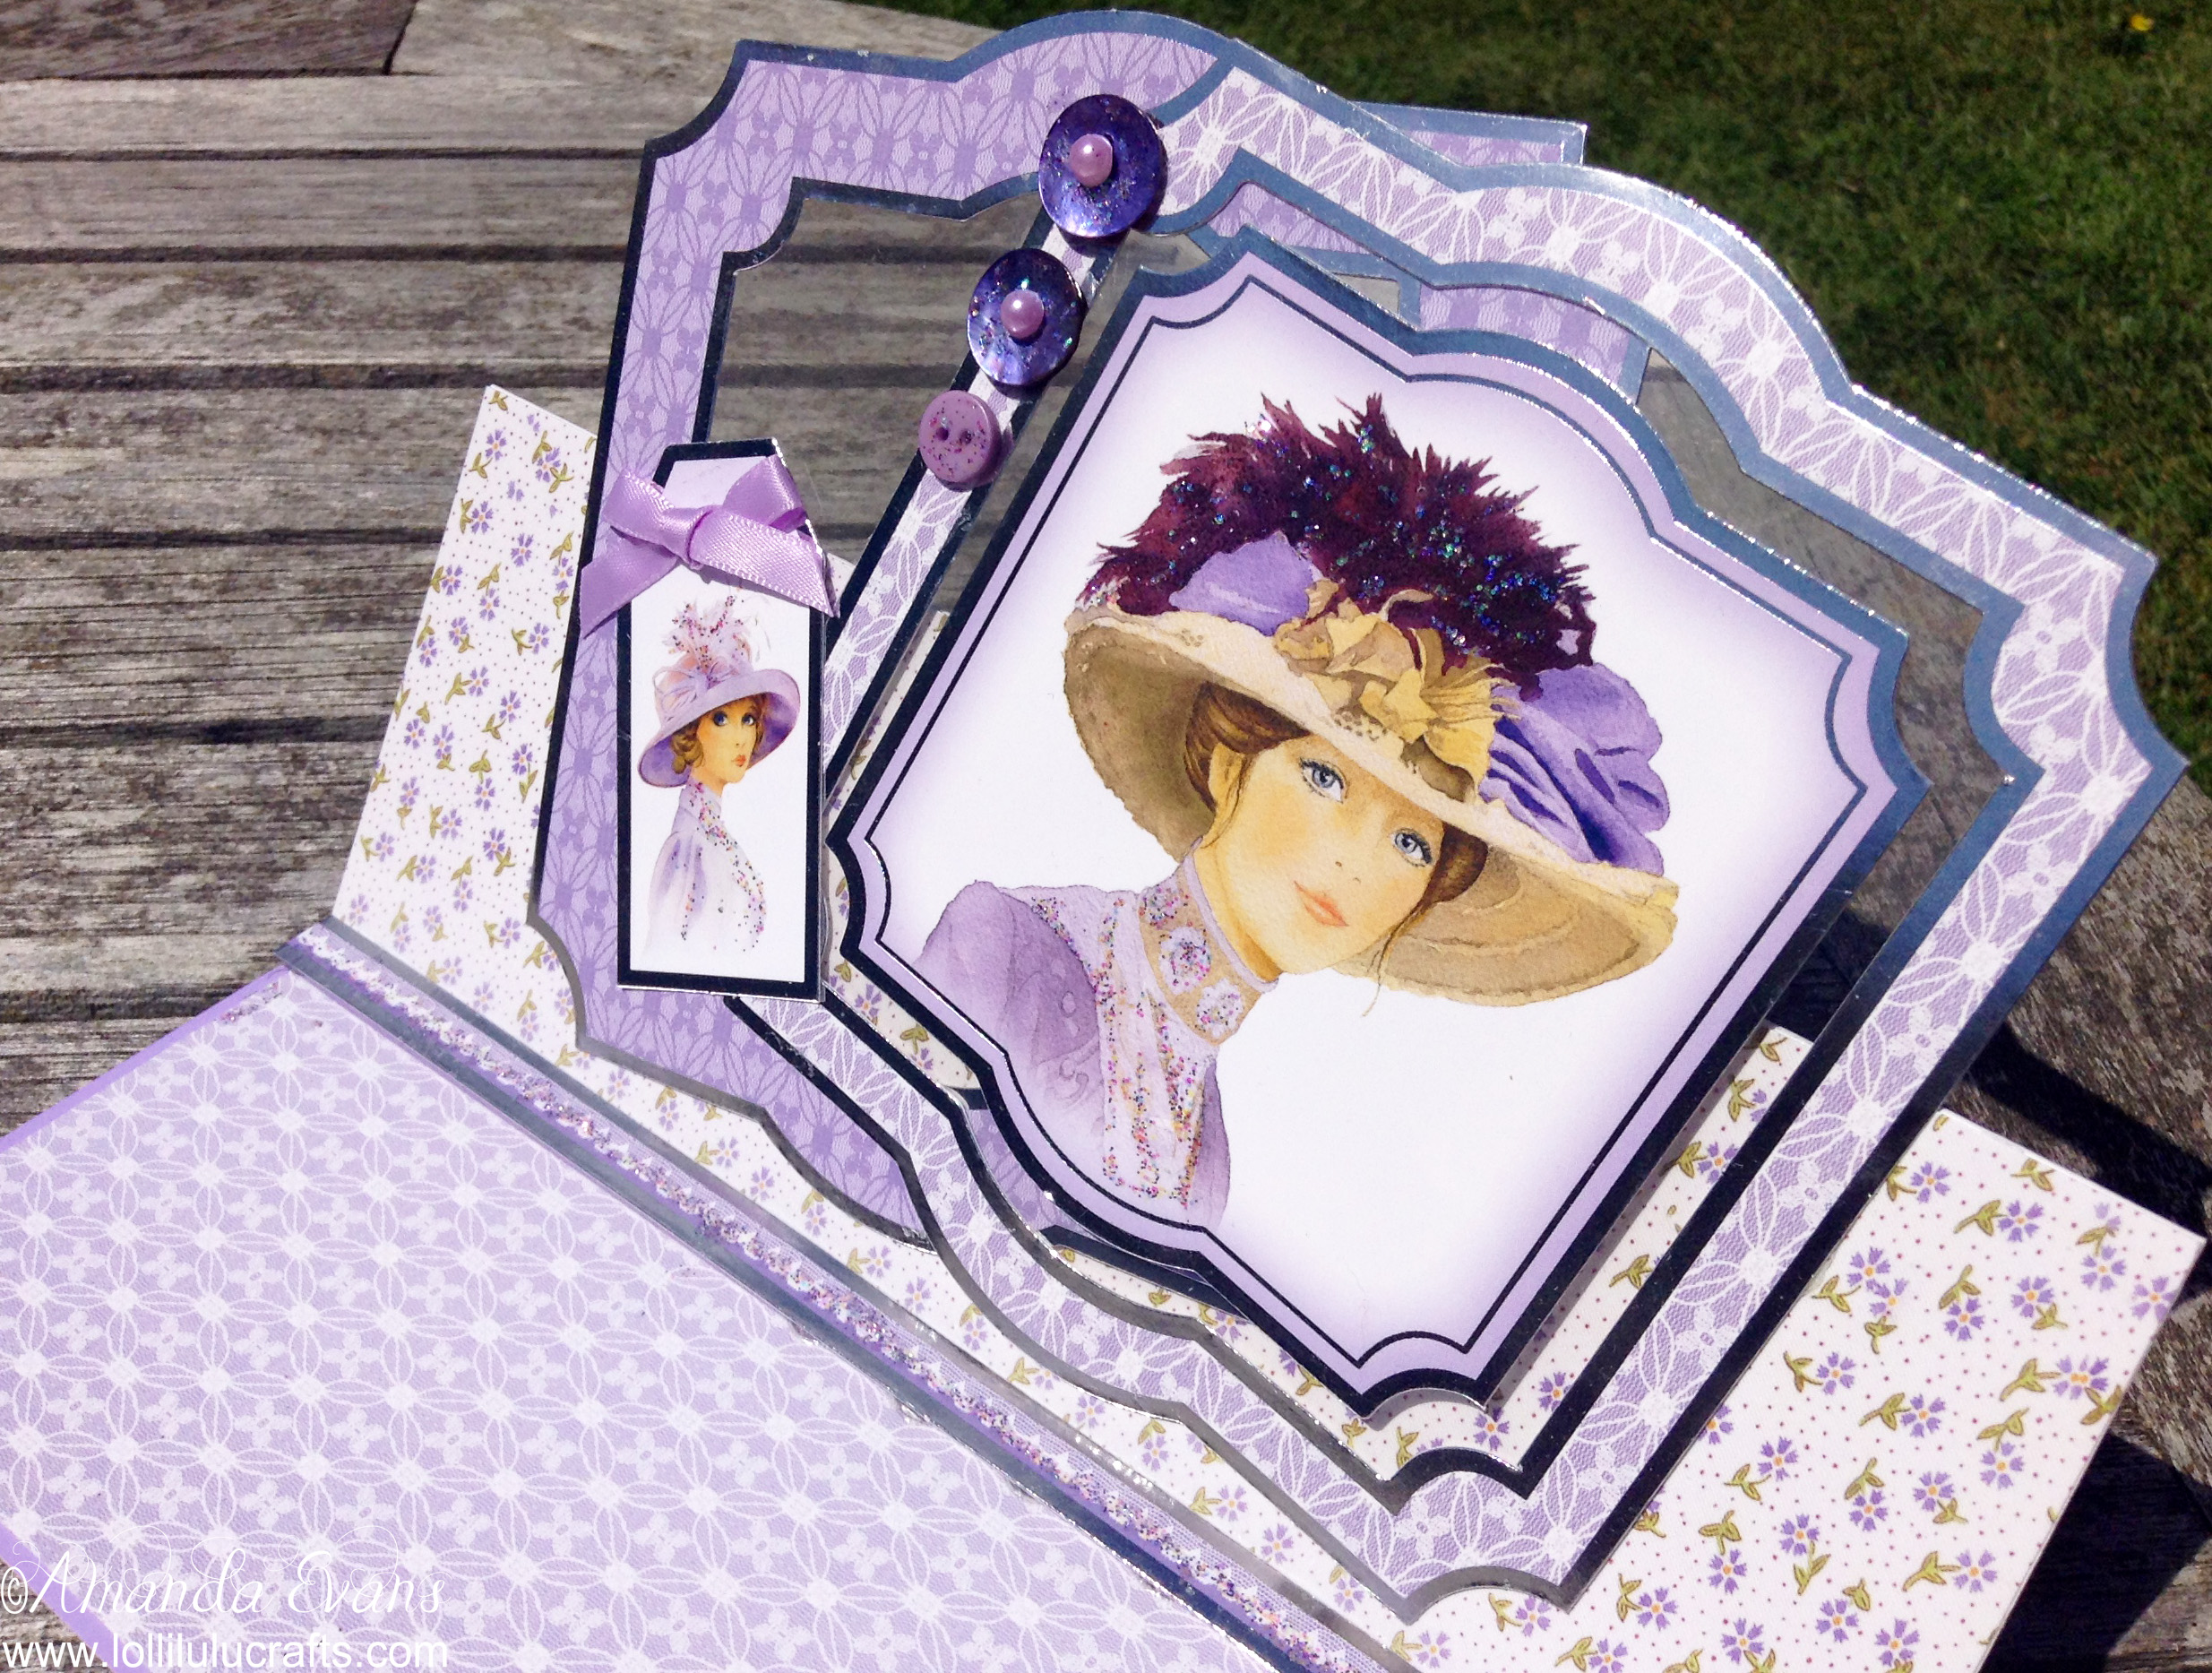
Although I had an idea of what this card was to be like, I haven’t gone into specific detail and therefore allowed that part to develop in a very natural way. So as I put the image onto my acetate, I decided that I would like to add a tag to the other part of my topper where the two frames crossed over. This served two purposes 1. to hide a section of the frame that I felt looked a little messy, and 2. I think it just balanced the whole look of the topper.
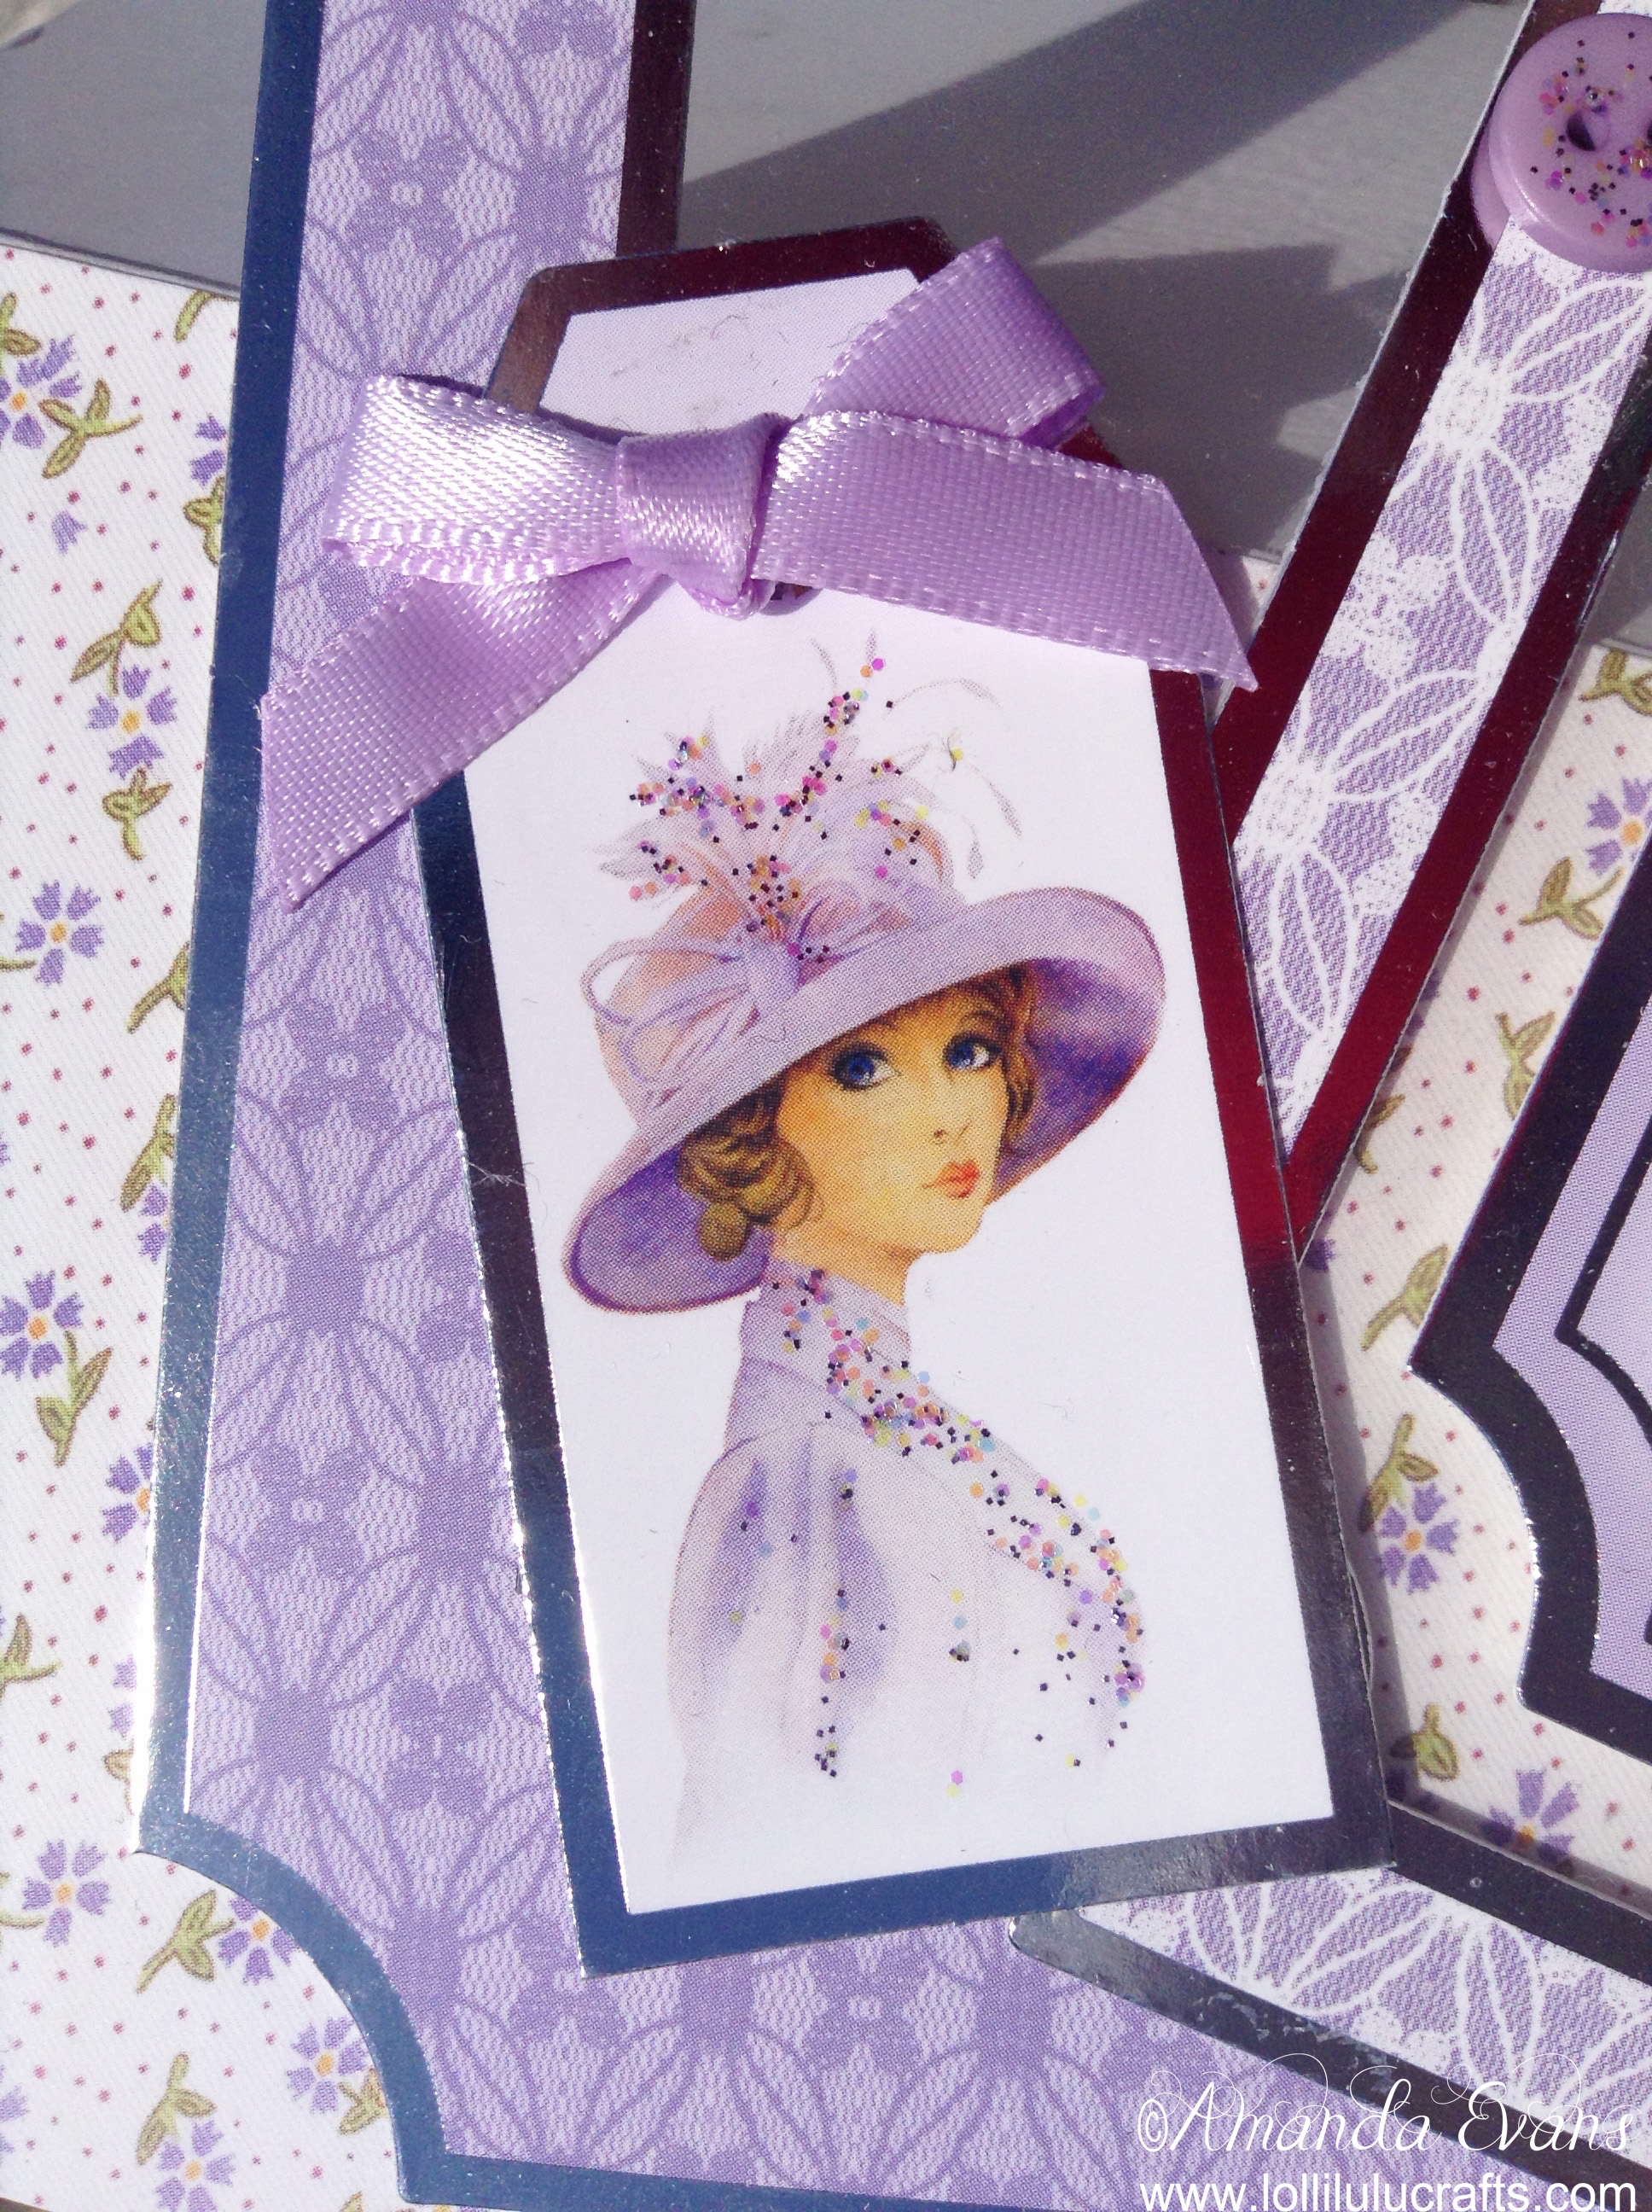
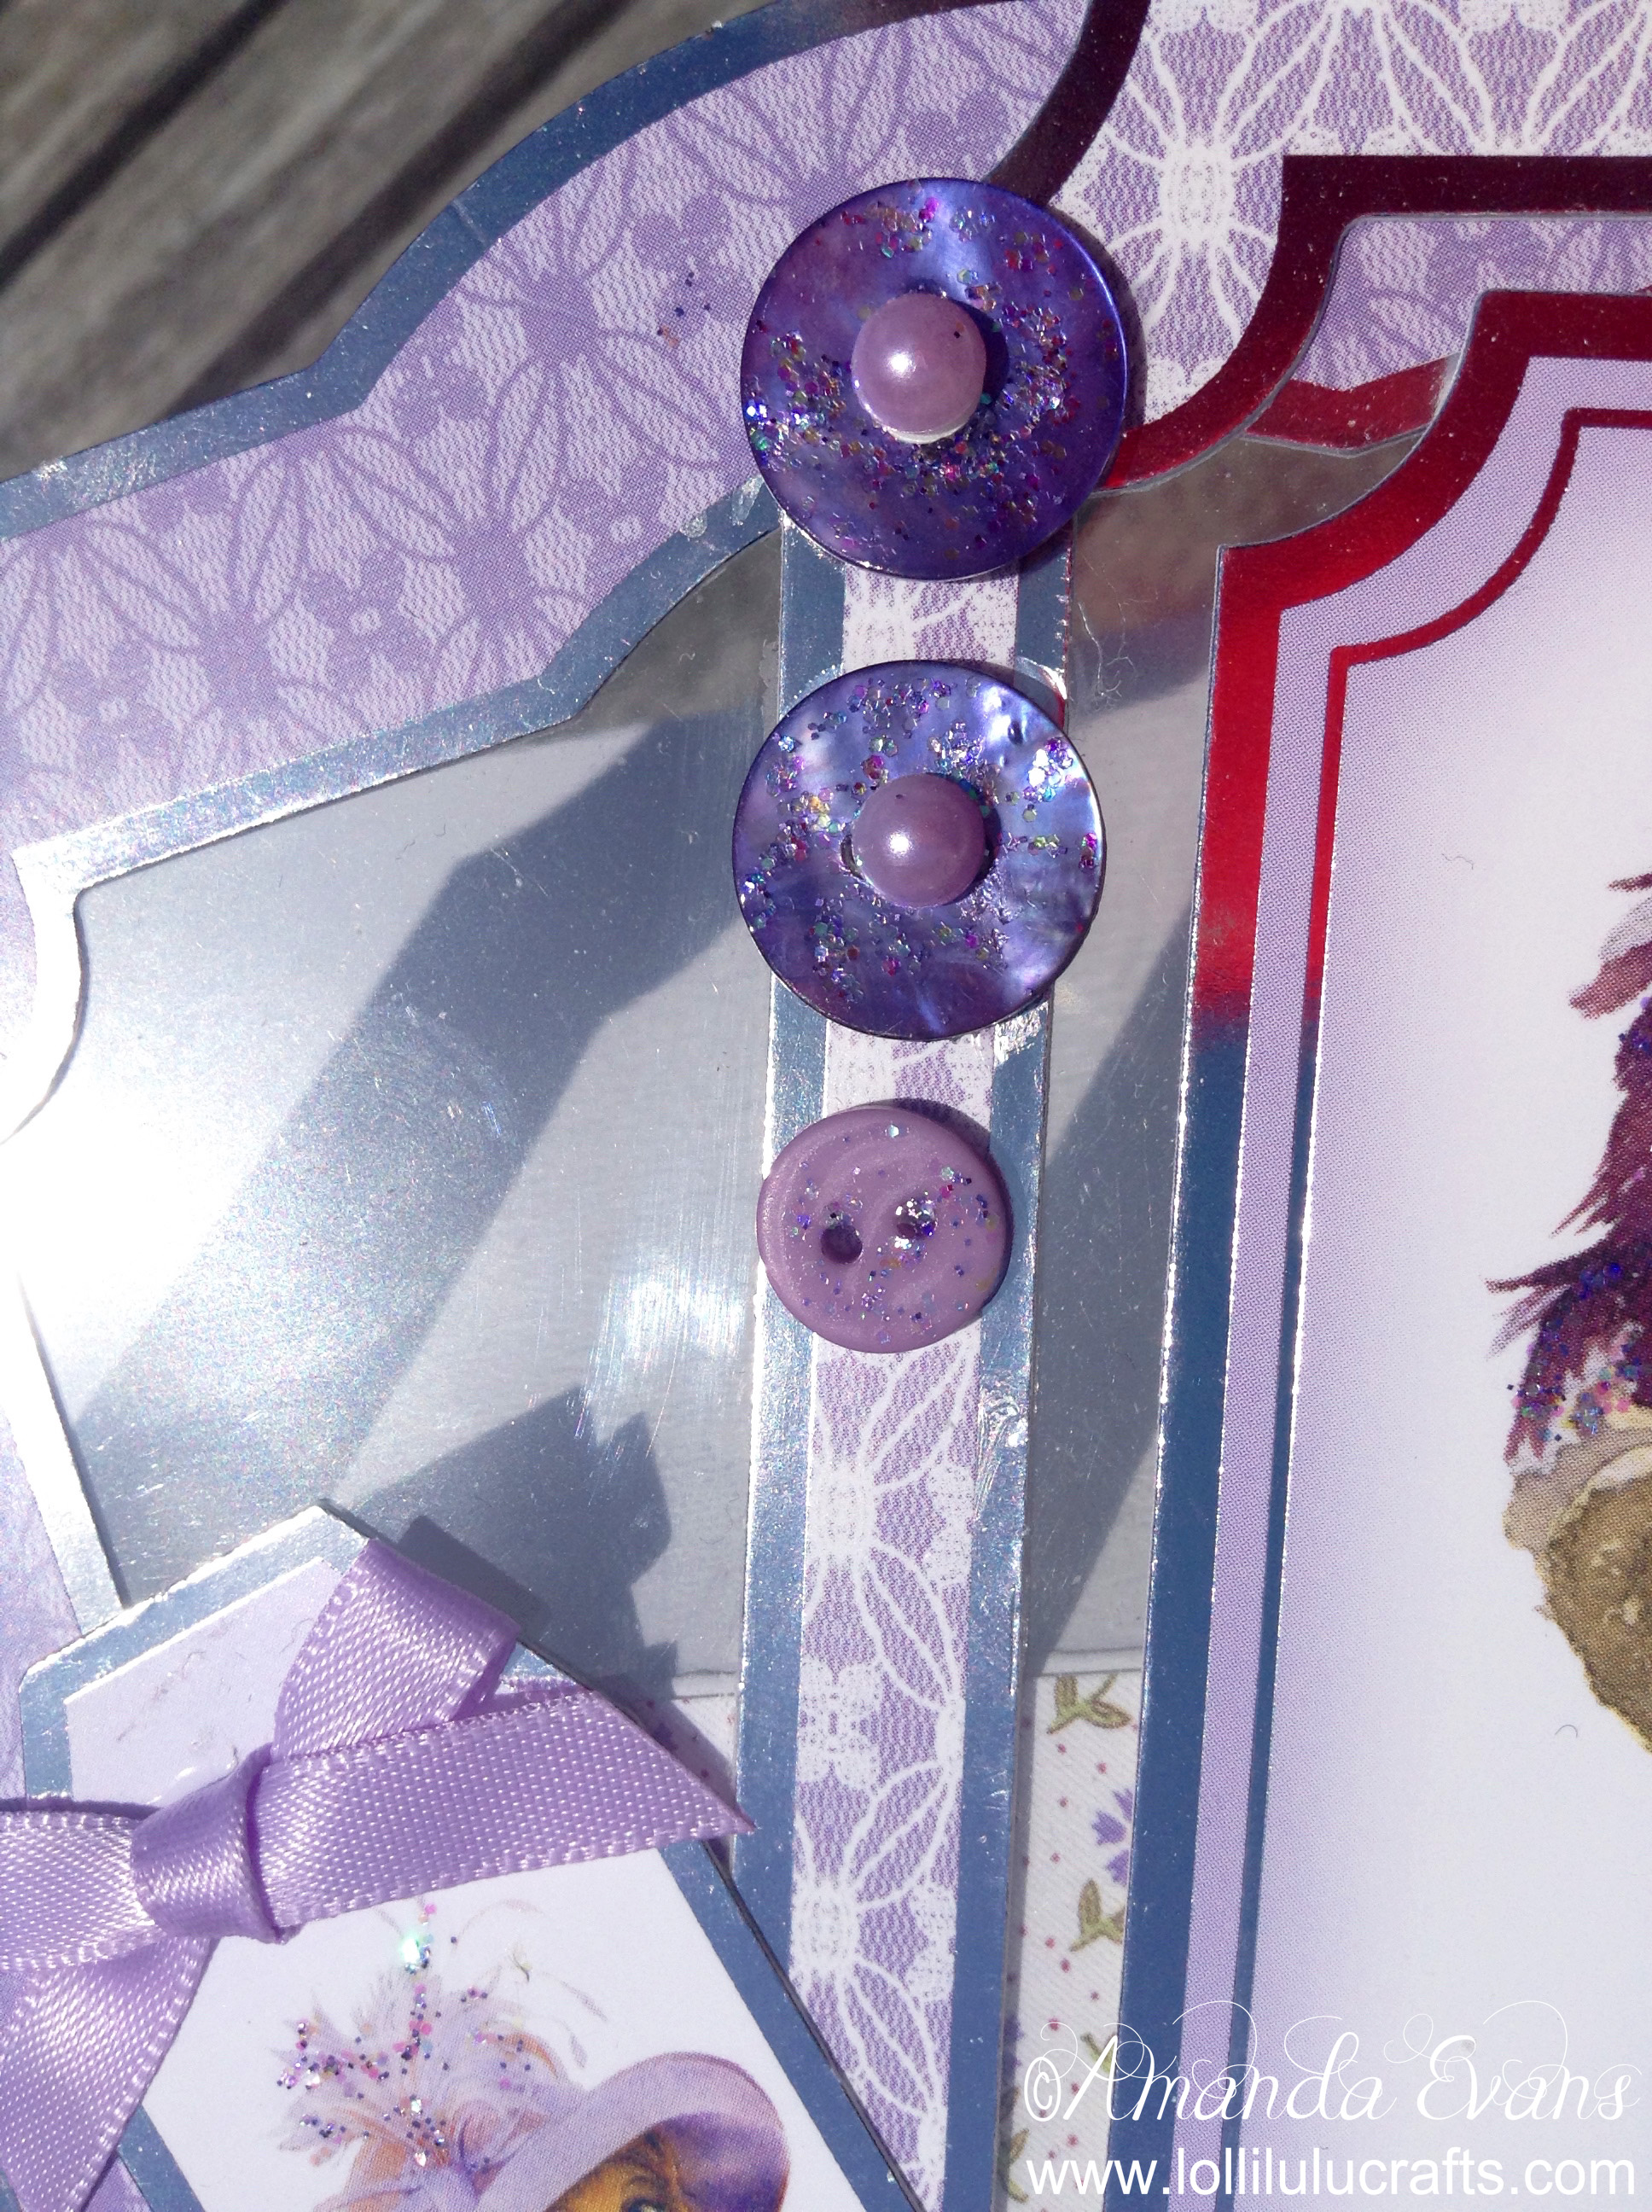
Then I added my little ribbon bow and my three buttons. Again the buttons I just came across as I was looking for my little bow and thought they would be perfect for the card. So there really was no planning that kind of detail.
Now the topper was made I put it to one side to dry while I made my easel card base.
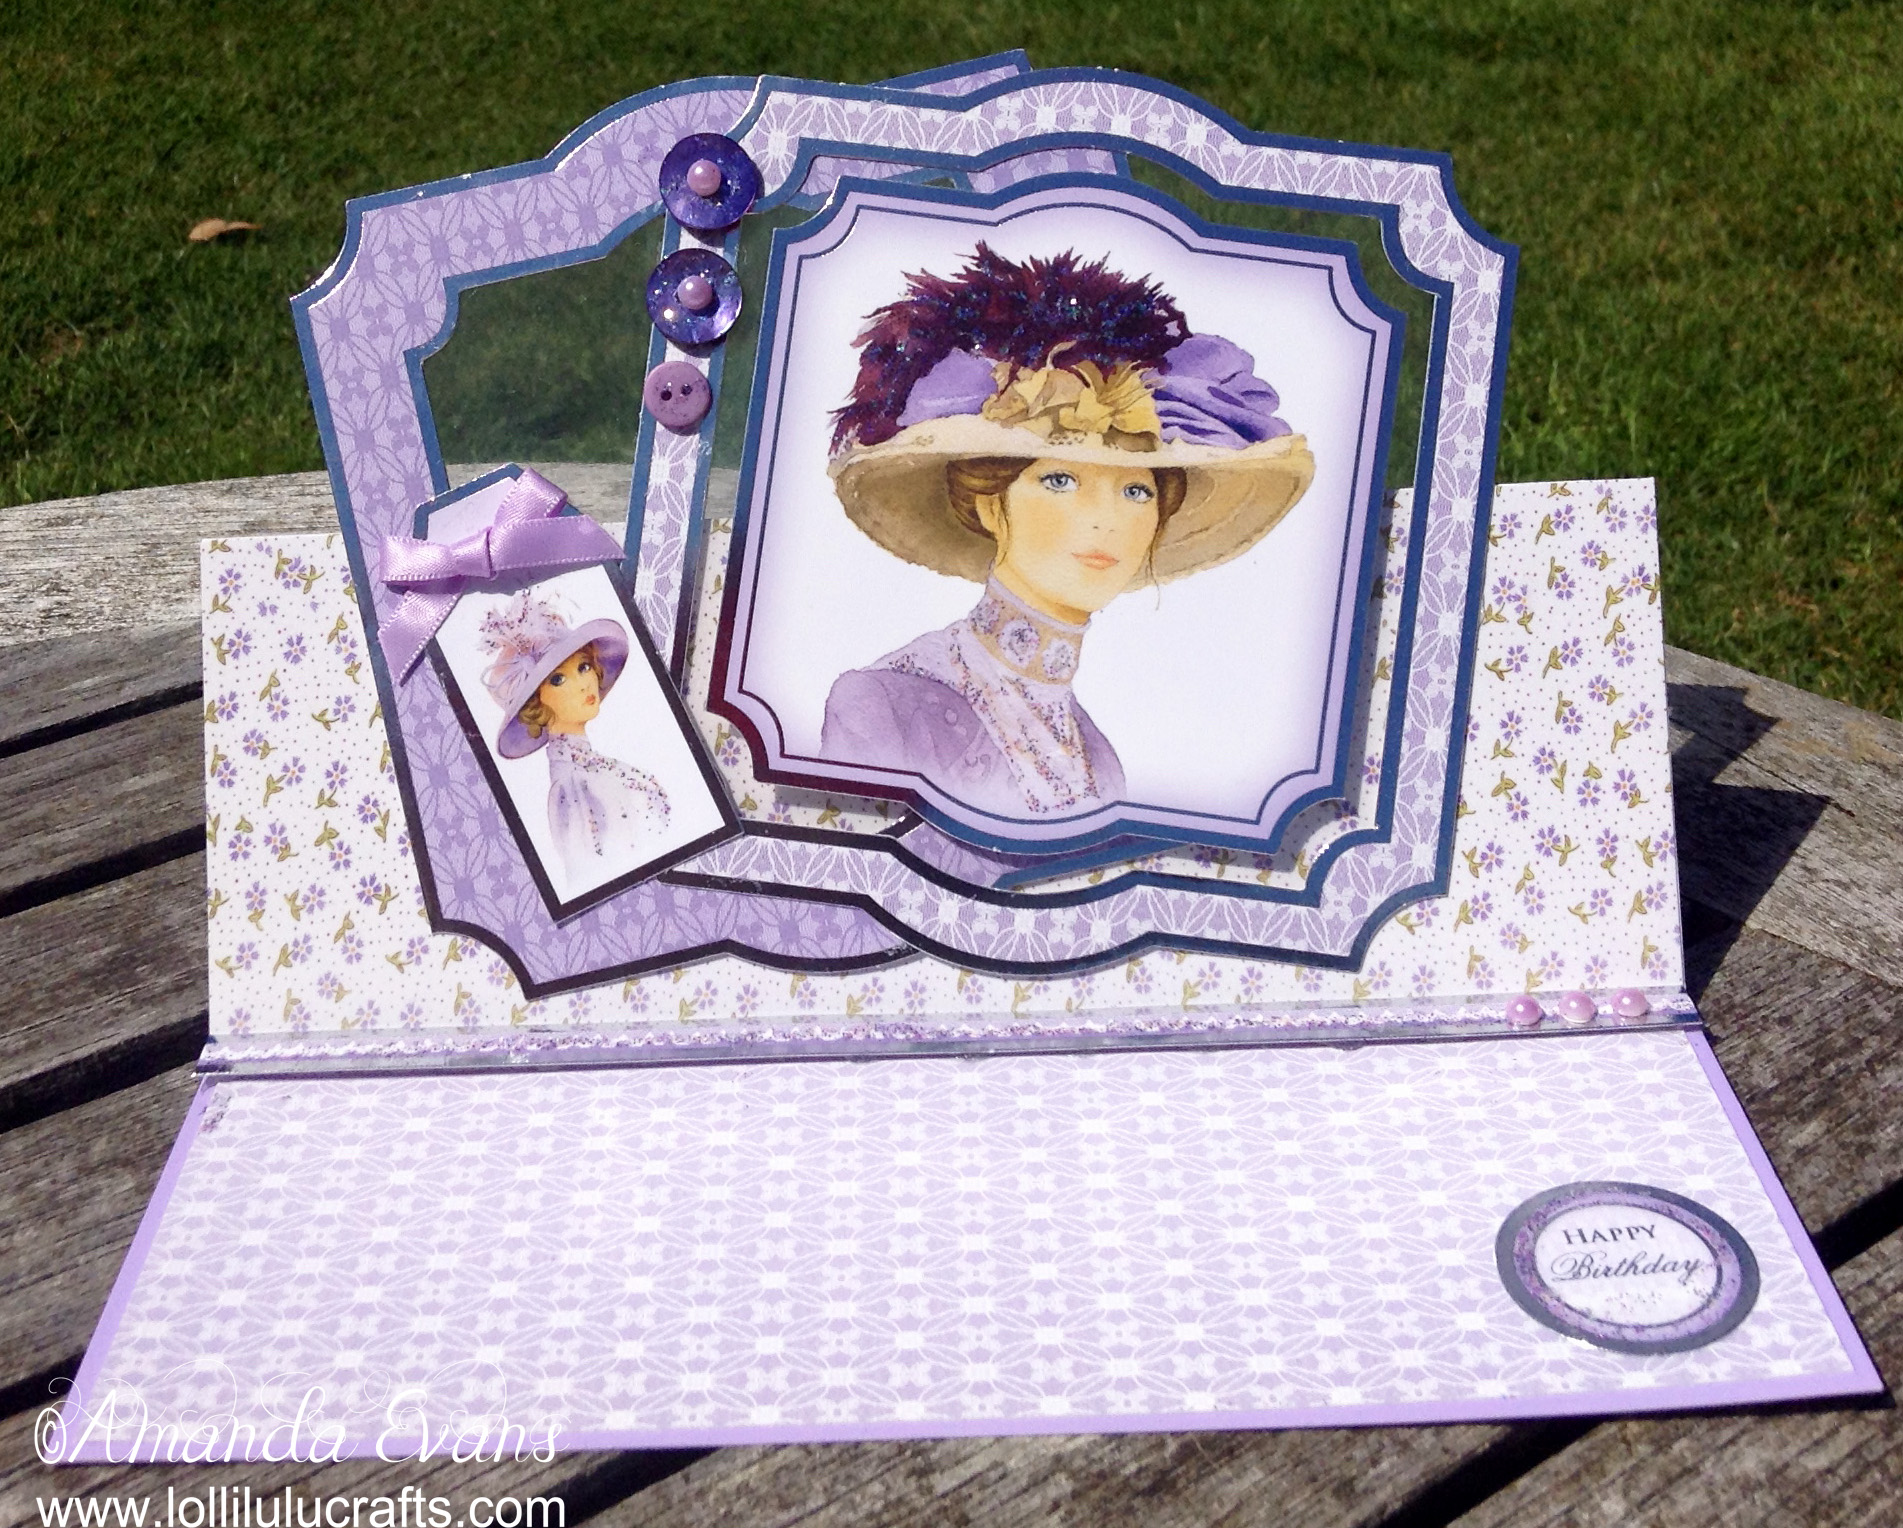
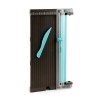
For this I took my A4 Lavender Adorable Scoreable card sheet and cut a small piece off the end to make it easier to score and fold in half, and in half again! So I cut it to 11 1/2 inches and I then scored at 5 3/4 inches and then again at 2 7/8 inch. When creating an easel card base using coloured card stock you find that the base part of your easel card will be coloured but as you fold the top part of your easel over and over again to create the stand, that piece is not coloured. So I took my patterned card stock and put a piece of that on my easel card stand and also onto my easel card base. I then used a border from the topper sheet to create my stopper. I raised it up using my Pinflair Glue Gel.

Once that was all done it was ready to add my topper. Now it’s important when adding a top-up to your easel card to get the position correct otherwise it will either be hidden behind your stopper or it may not fit in your envelope. So what you want to do is make sure that when you fold the card flat, as if you were going to put it the envelope, that the topper does not go outside of the edges of your card base and that there is sufficient gap at the bottom so that when you stand the easel card up that the stopper is not hiding your design.
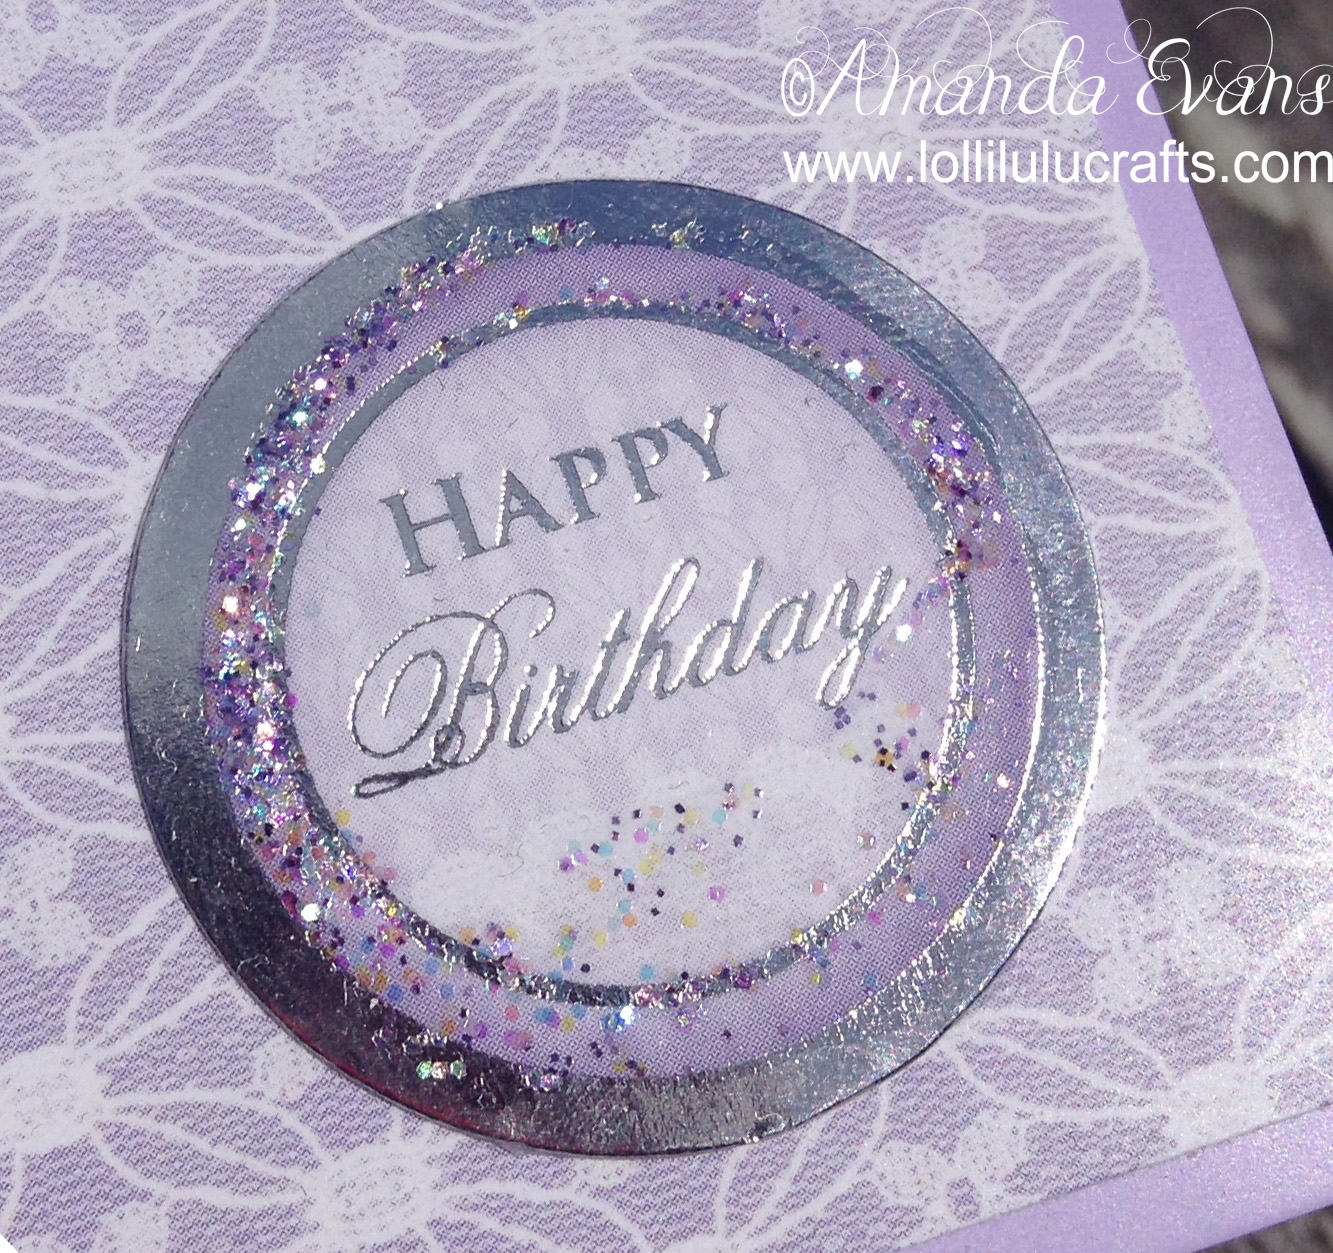
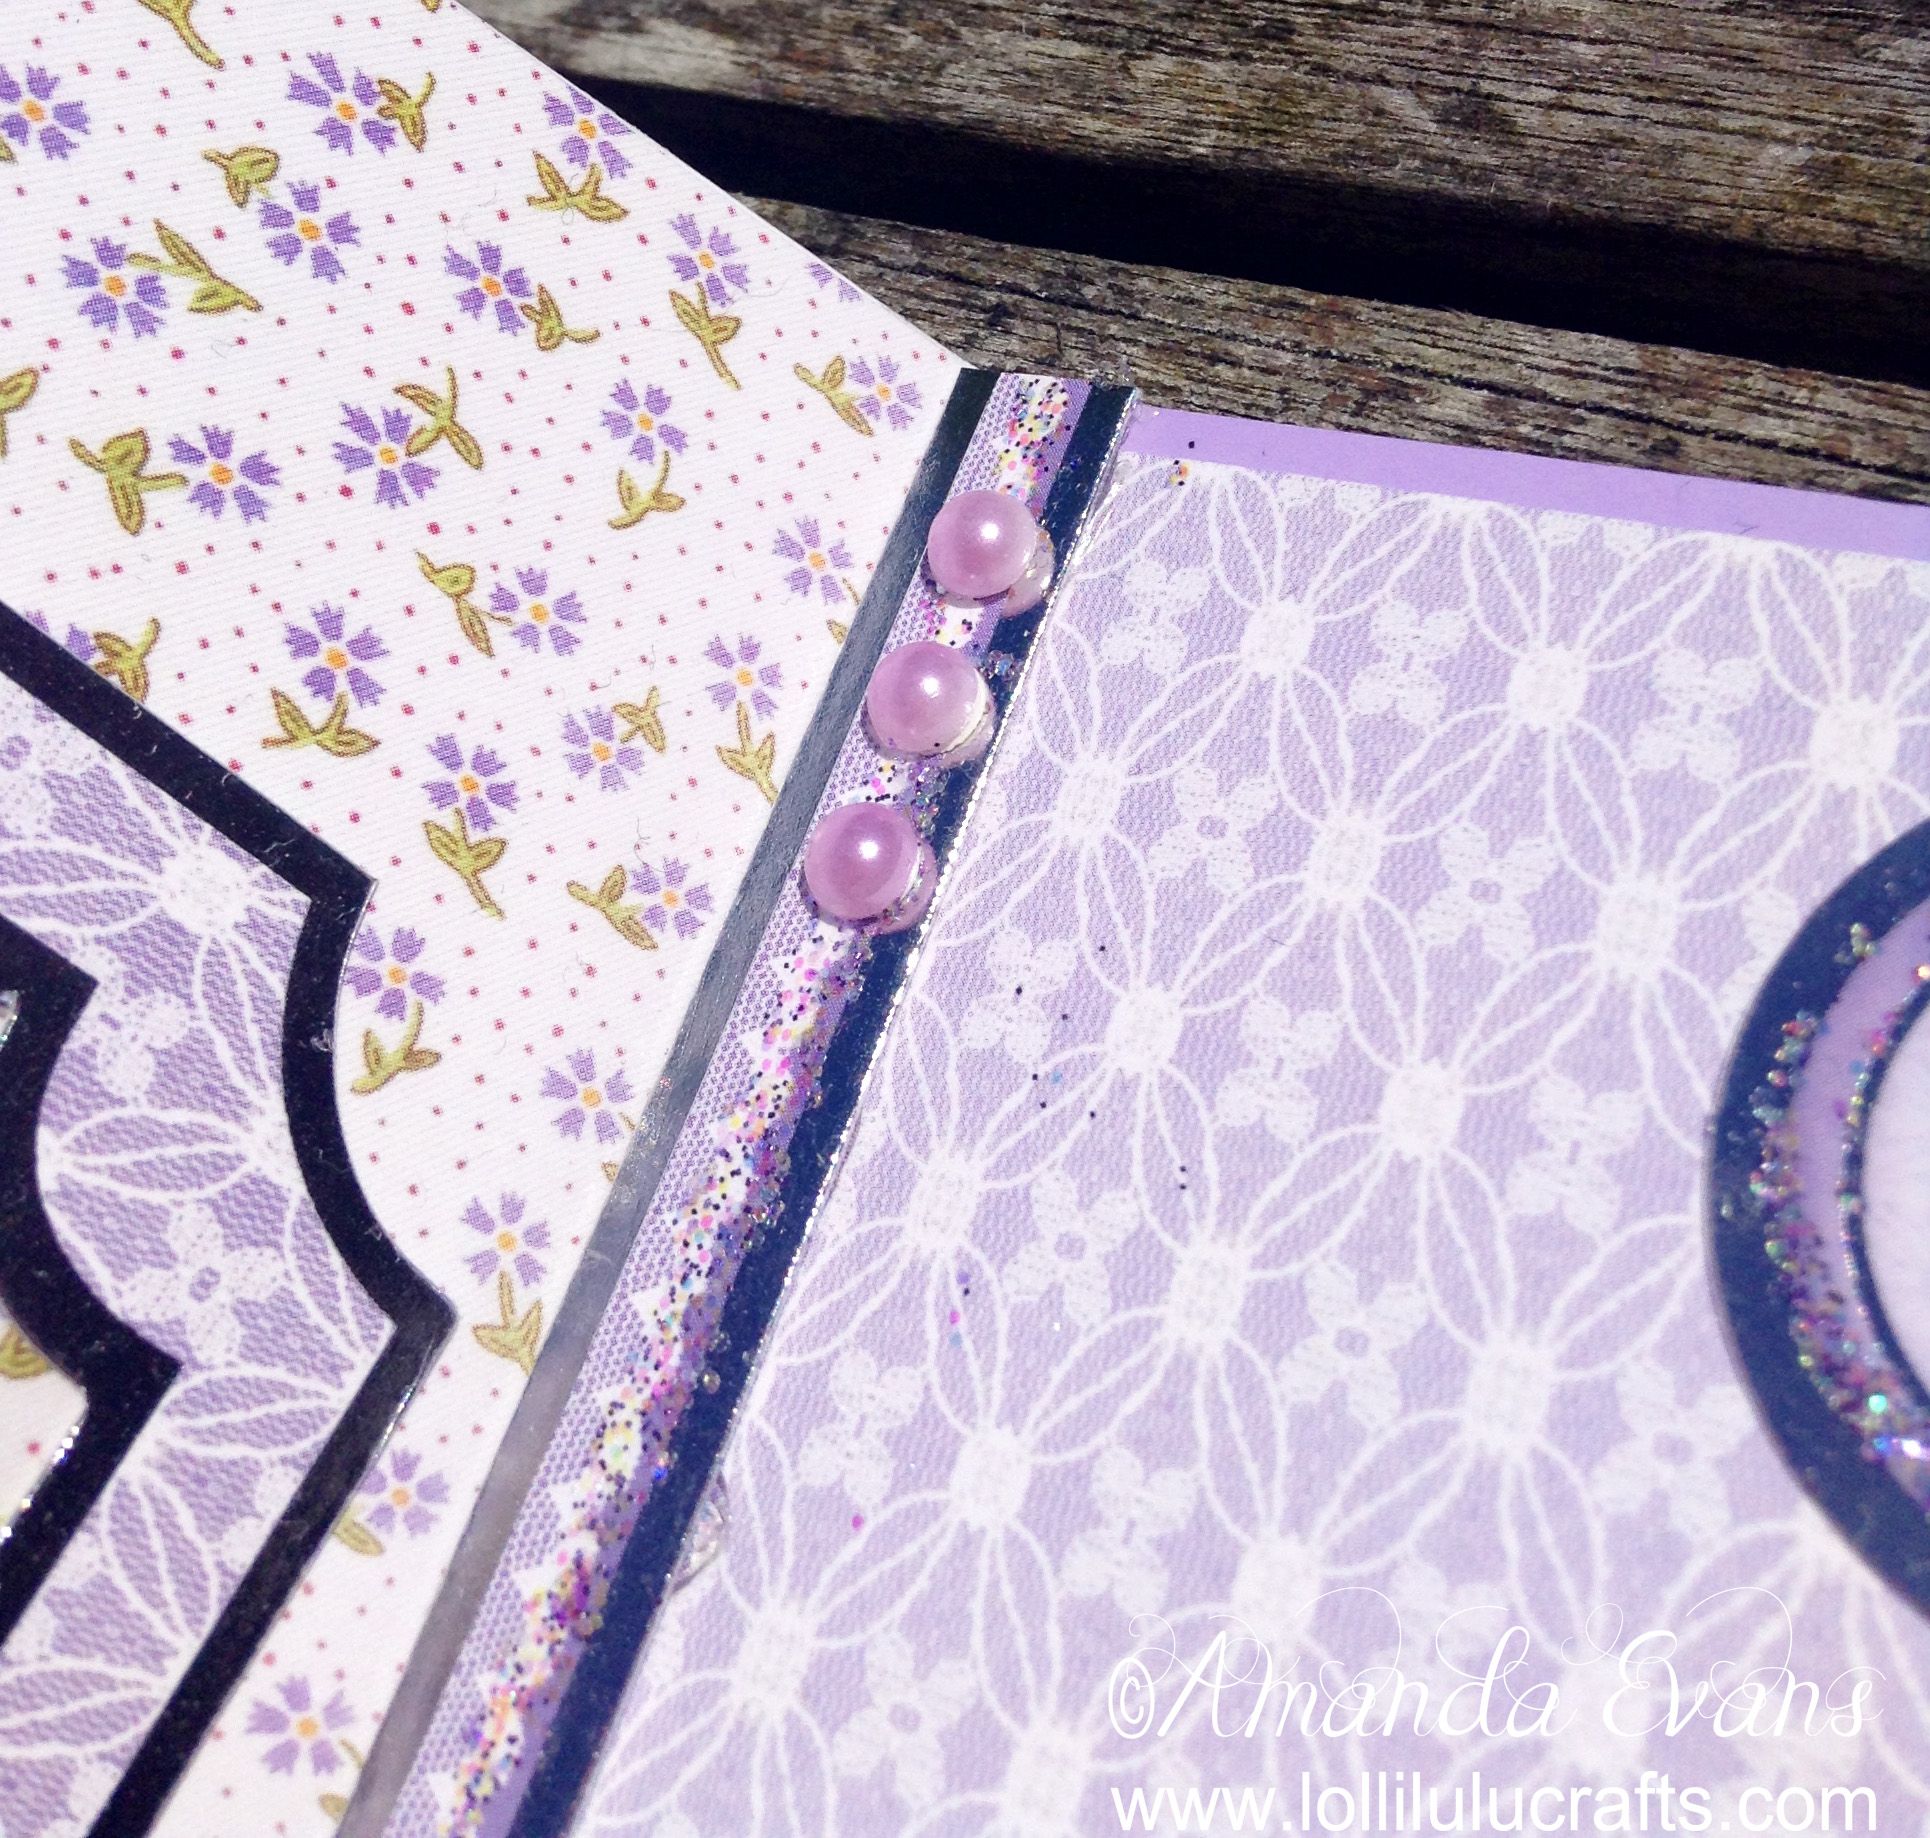
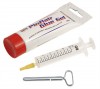
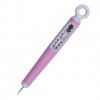
So I positioned my topper and used my Pinflair to stick it in place, Glue Gel is very strong so will easily hold firm the weight of our topper. So to finish just some Grape Ice Stickles and some Lavender coloured pearls.
I really like how it turned out, as I said above I only had a general idea in my minds eye of what I wanted to achieve so it’s really nice when the finished card surpasses those expectations. I know that probably all sounds a little big headed and that I’m blowing my own trumpet, but if you don’t like your work then how can you expect anyone else to?! Anyway I hope you do like it as much as I do and as always I would love to hear your comments, or maybe if you enjoyed the video you could give it a thumbs up, but for now hugs and have a great craft day,

●▬▬▬▬▬ ●SUPPLIES● ▬▬▬▬▬●
Below are the products featured in today’s Video. Some products can be purchased from multiple stores so I have given each store different letter codes. Click on the letters below the picture to go to a favorite store: Simon Says Stamp (SSS), Dick Blick (DB), Cricut (C), Scrapbook.com (SB) and Amazon (AMZ)


●▬▬▬▬▬ ● DISCLAIMER ● ▬▬▬▬▬●
Affiliate links are used. For affiliate information and policy please see the Policy page.
