


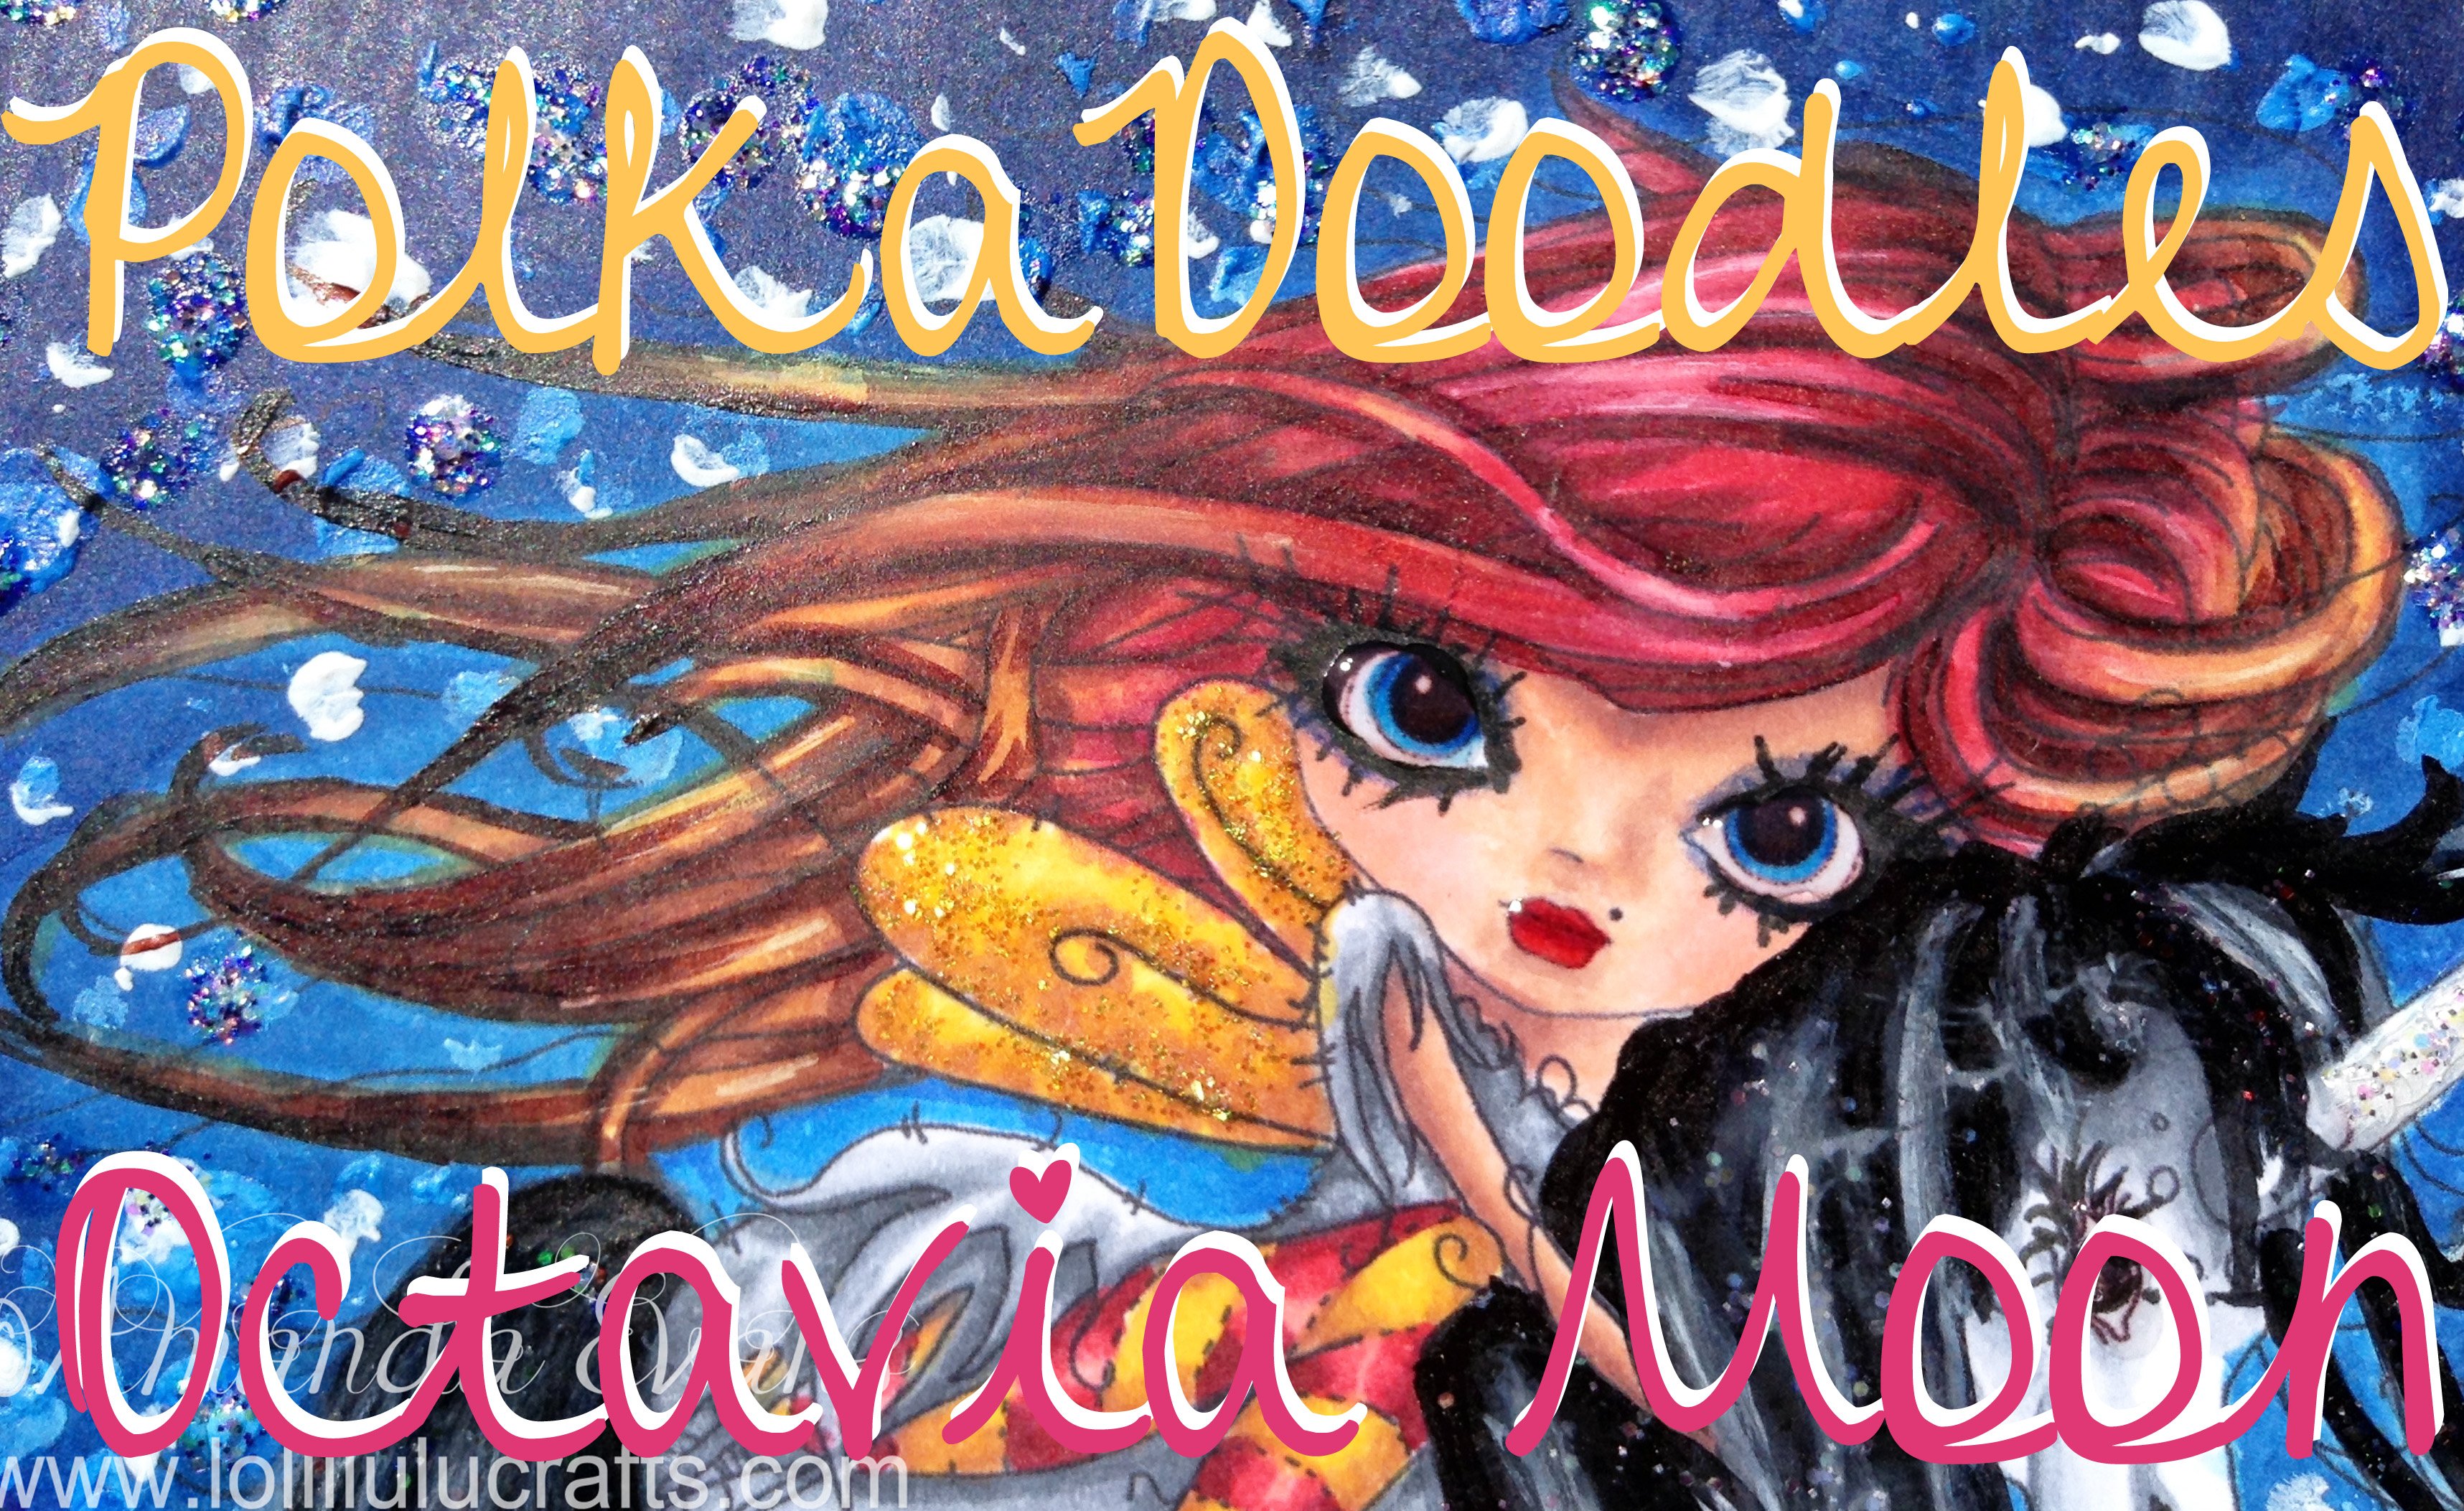
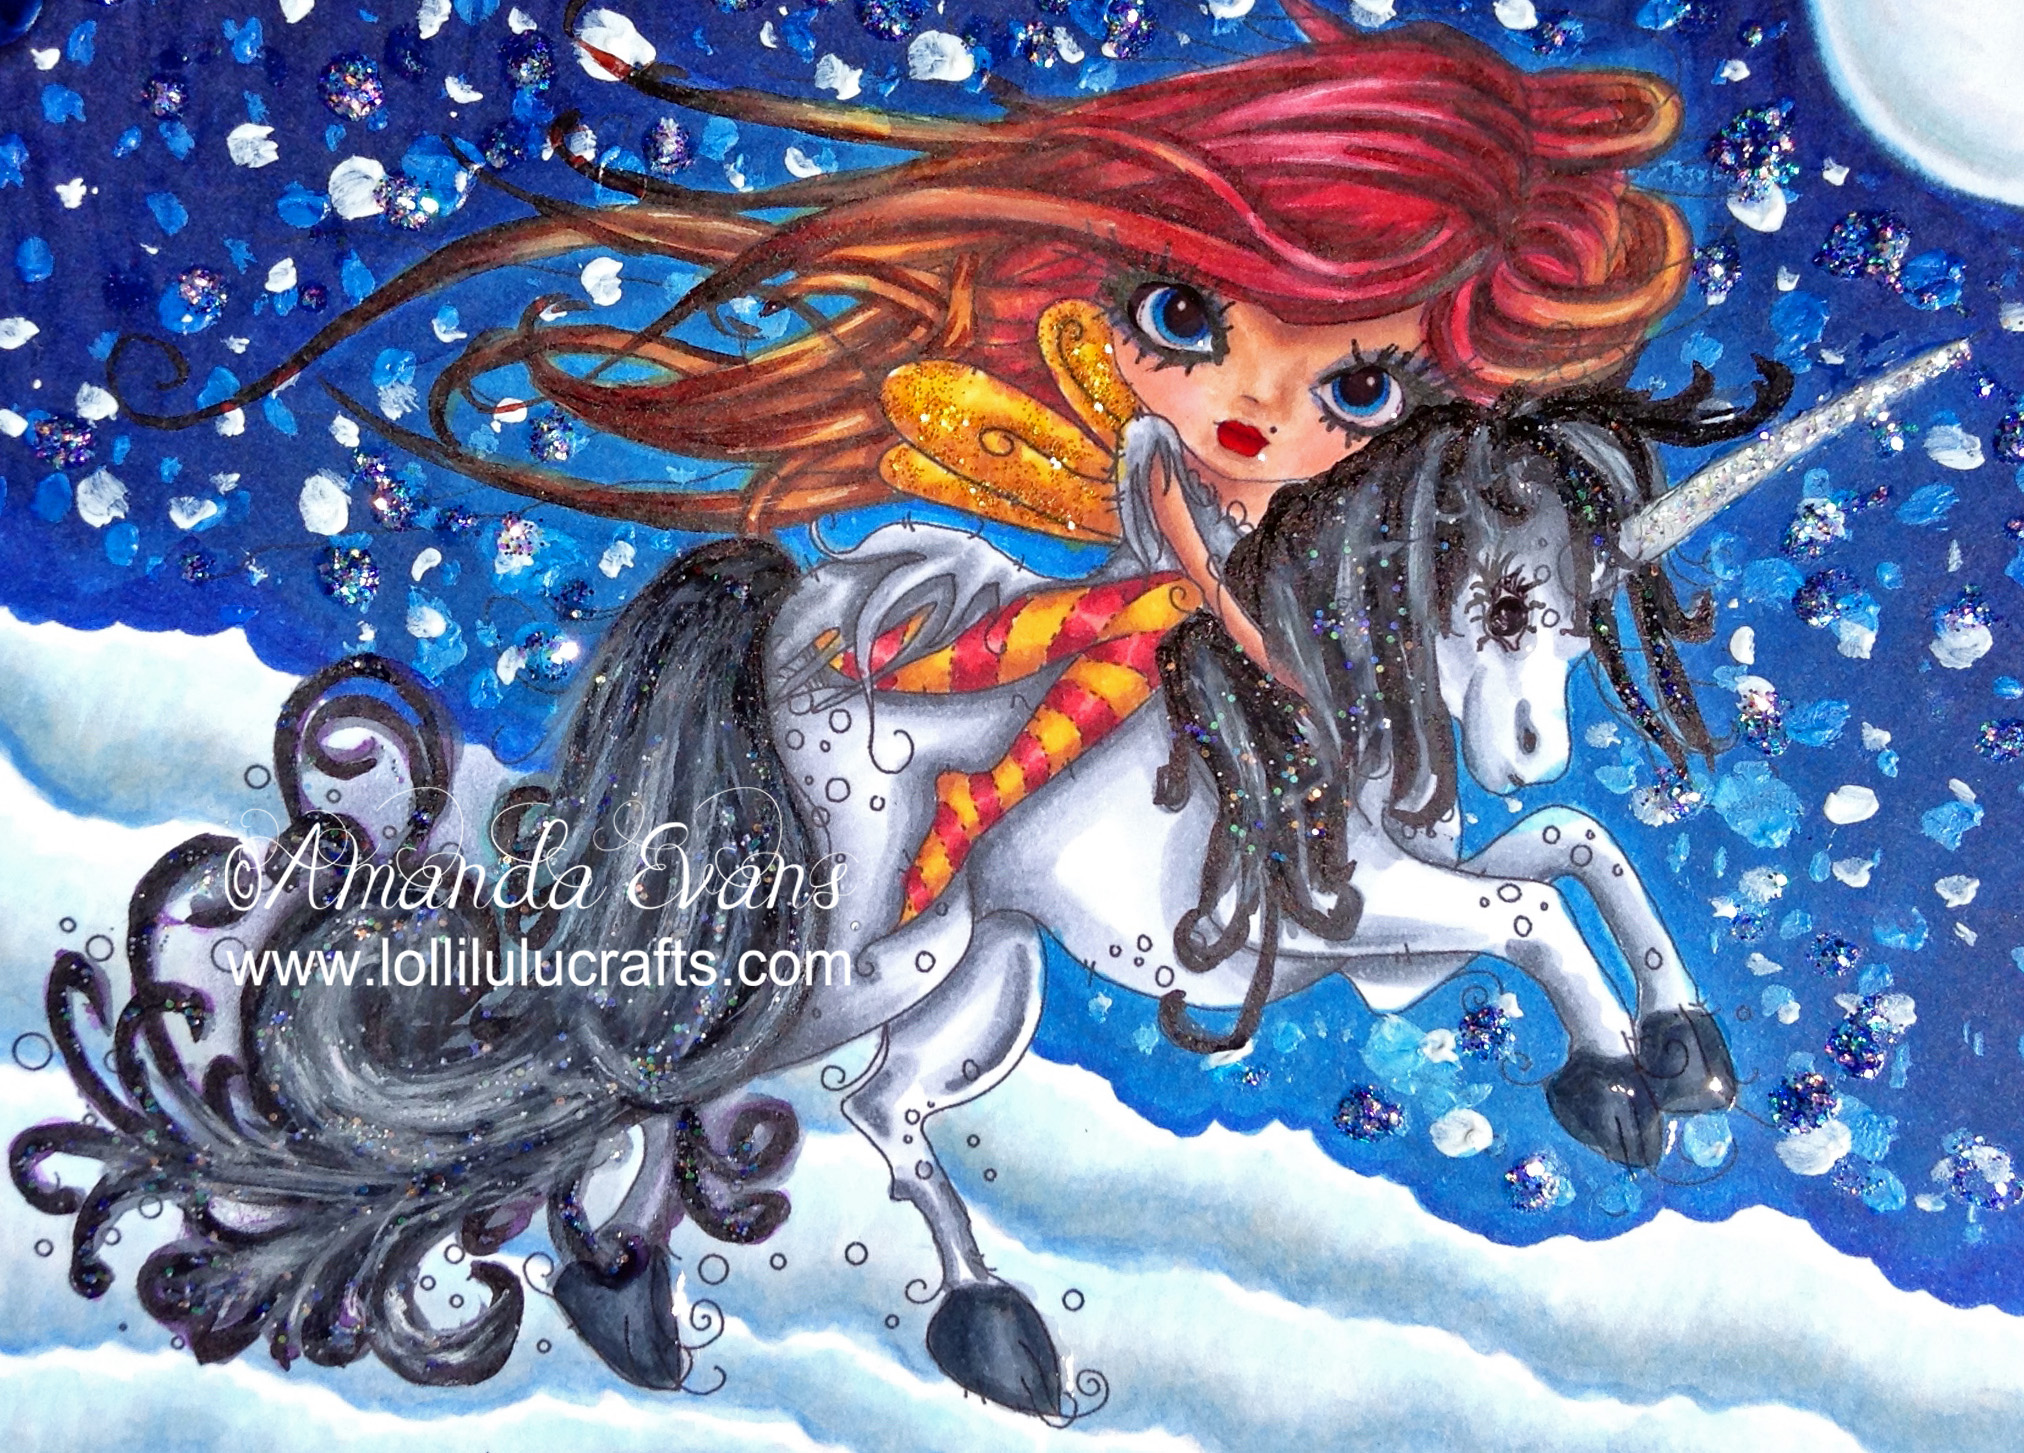
Hiya, today I don’t have a card for you but a picture that I coloured using my Copics. It’s the cutest Polka Doodles image of Octavia on her Magic Unicorn!
A lot of you may know that I have been doing a number of classes with Kit & Clowder in order to advance my colouring skills and learn new techniques. Last month Kit & Clowder started a new monthly course, One for your markers and one for your pencils. Each month you receive a video and written instructions for a particular image that you are going to colour, and each month’s image is designed to not only give you a completed picture at the end of it but also to teach you a particular technique. Each month that technique will be different.
Now as yet I actually don’t have any pencils but I didn’t want to lose out on any of the classes so I signed up for both. So today I thought I would share with you my completed image of my first marker Create and Learn class. Now obviously I couldn’t make a video or show you step-by-step photos of what I’ve done because that would be effectively just sharing the class with you! LOL! but I have got here the completed project and a brief insight into what we were doing and the focus of the lesson.
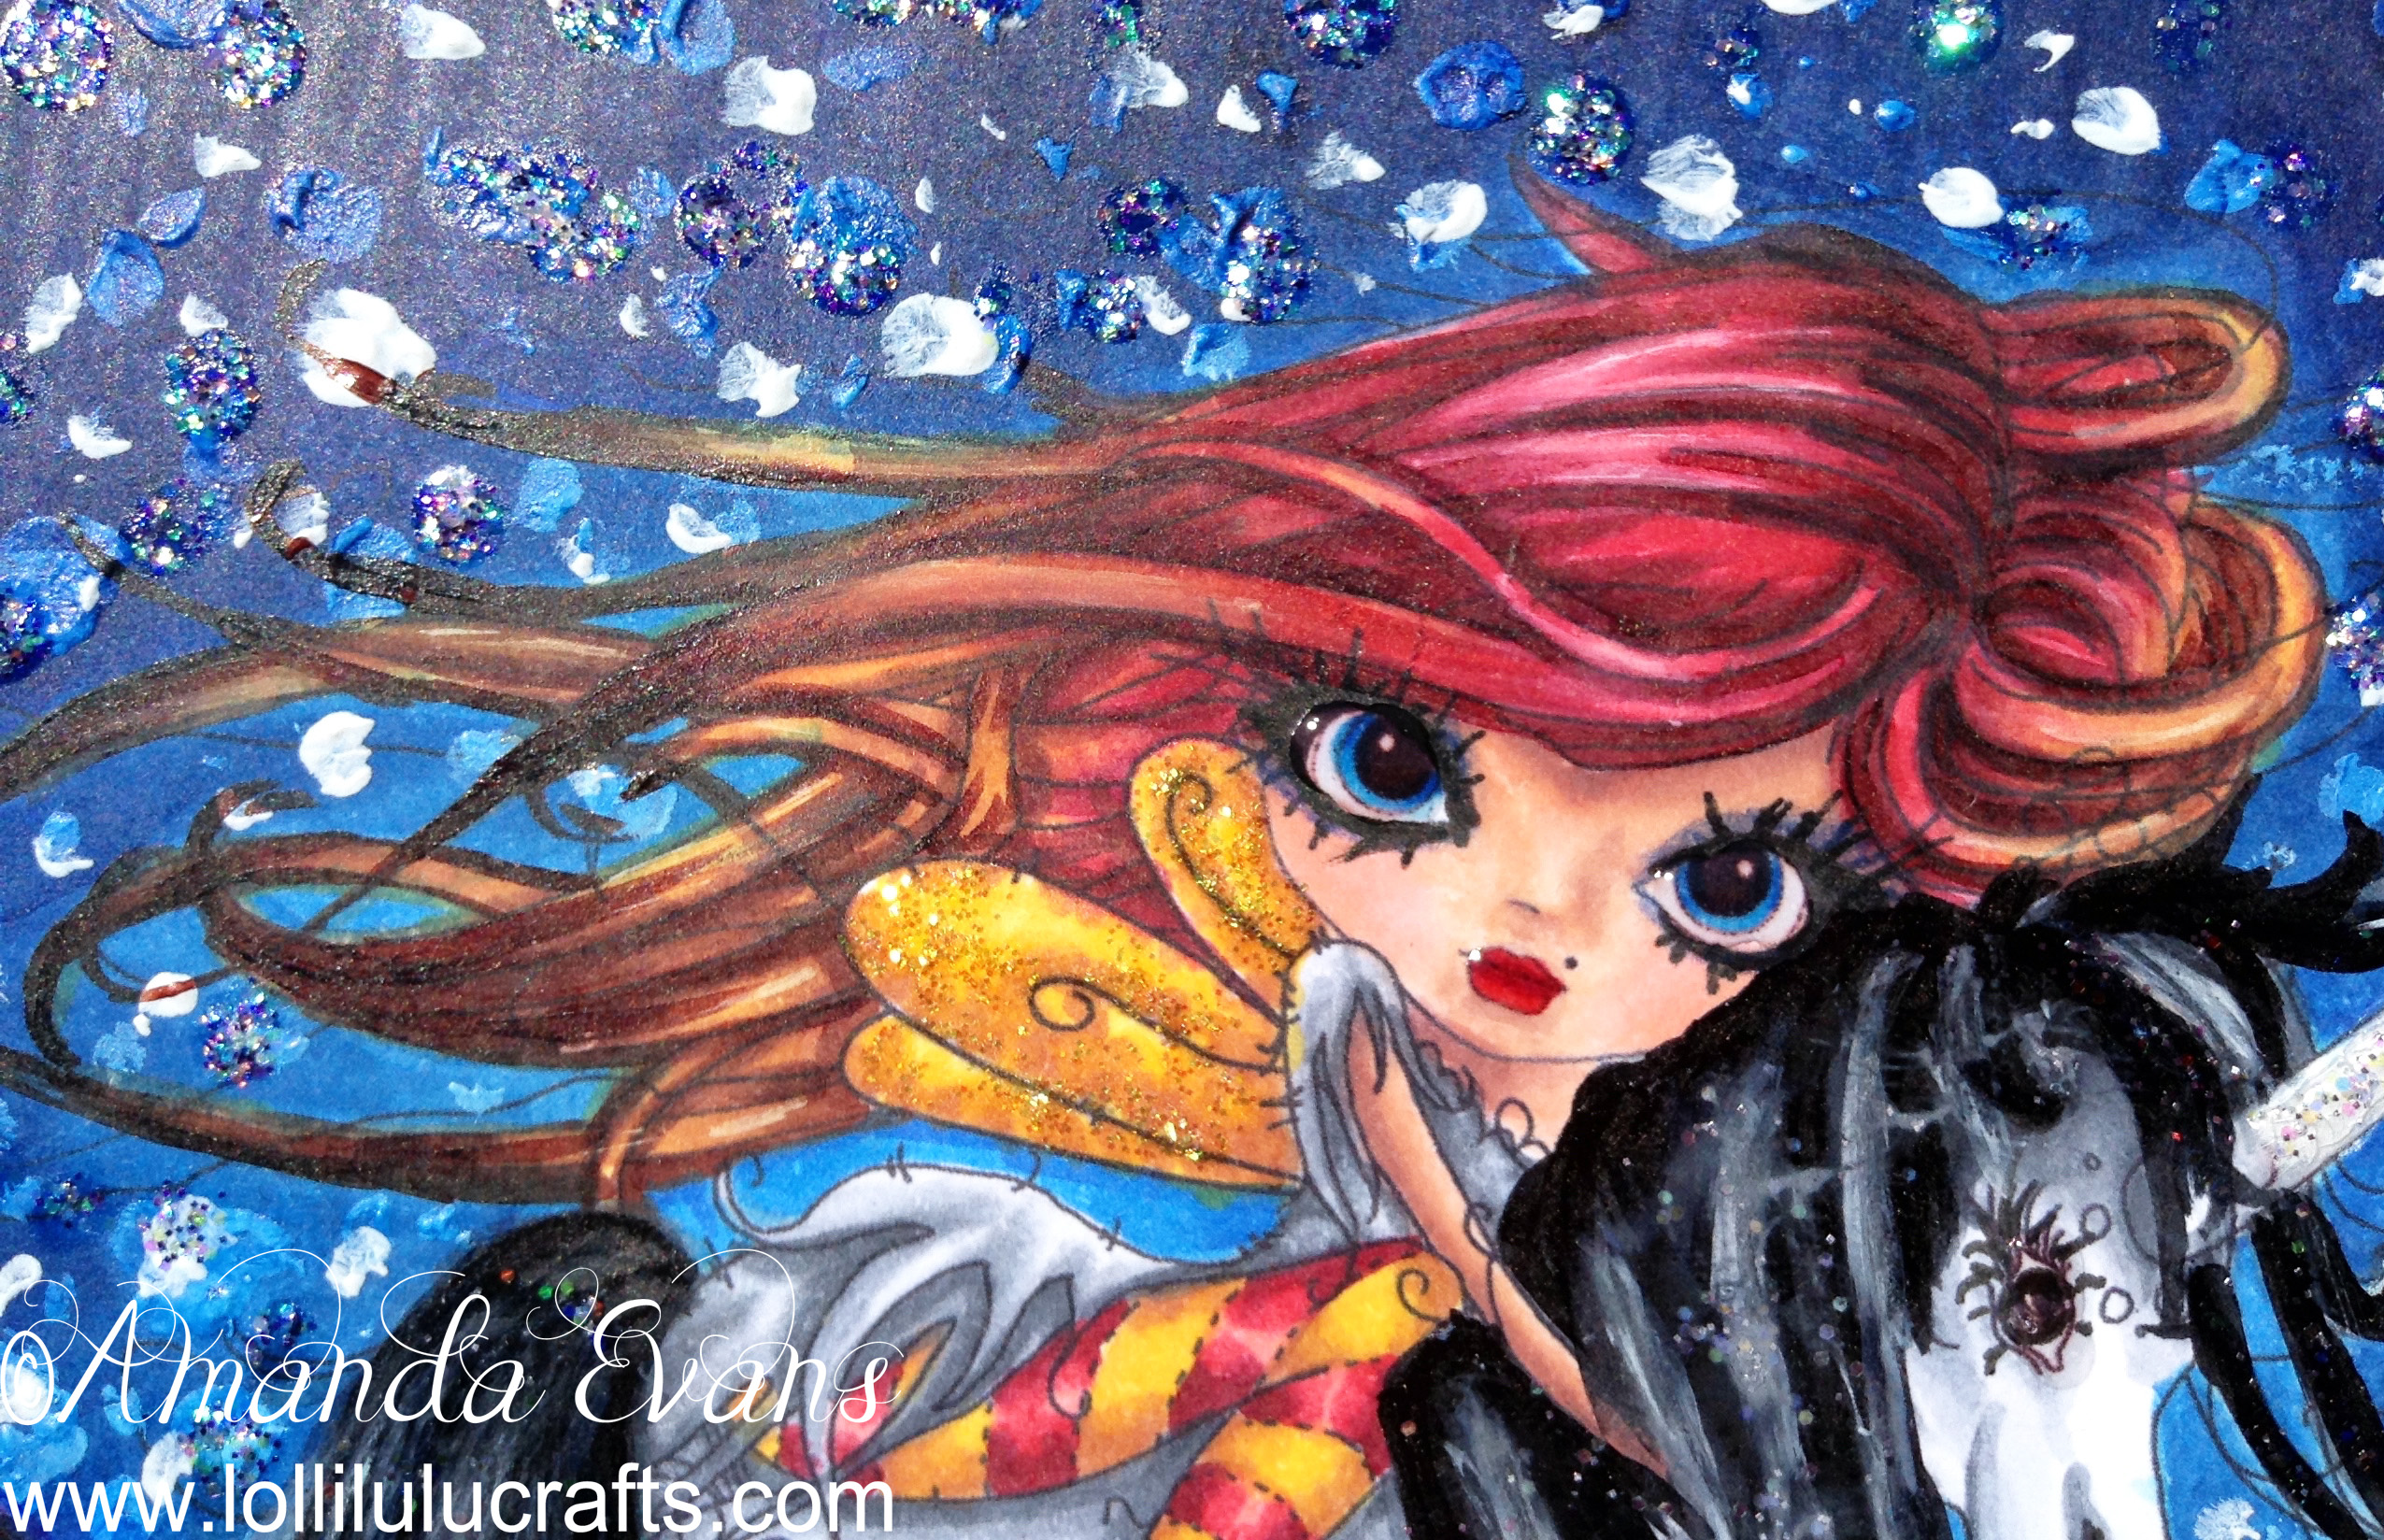
So for the marker class we used the Polka Doodles Octavia Moon Unicorn Digi Stamp. We were given specific instructions on sizing and once I sorted that out, I printed my image onto my Copic Marker Paper. The focus of this class was how to create a background. So we learnt how to create a gorgeous night sky by hand colouring and blending it. When I did my sky and stars I wanted to create almost like a halo of light in the sky around my Octavia Moon image rather than just blending straight down from dark to light in a horizontal pattern. When adding my stars I again focused them around my image to add to this magical feeling around my Unicorn. You will see on my completed image that there are lots of glittery stickles, I added all of that at the end when I’d completed all of my colouring.
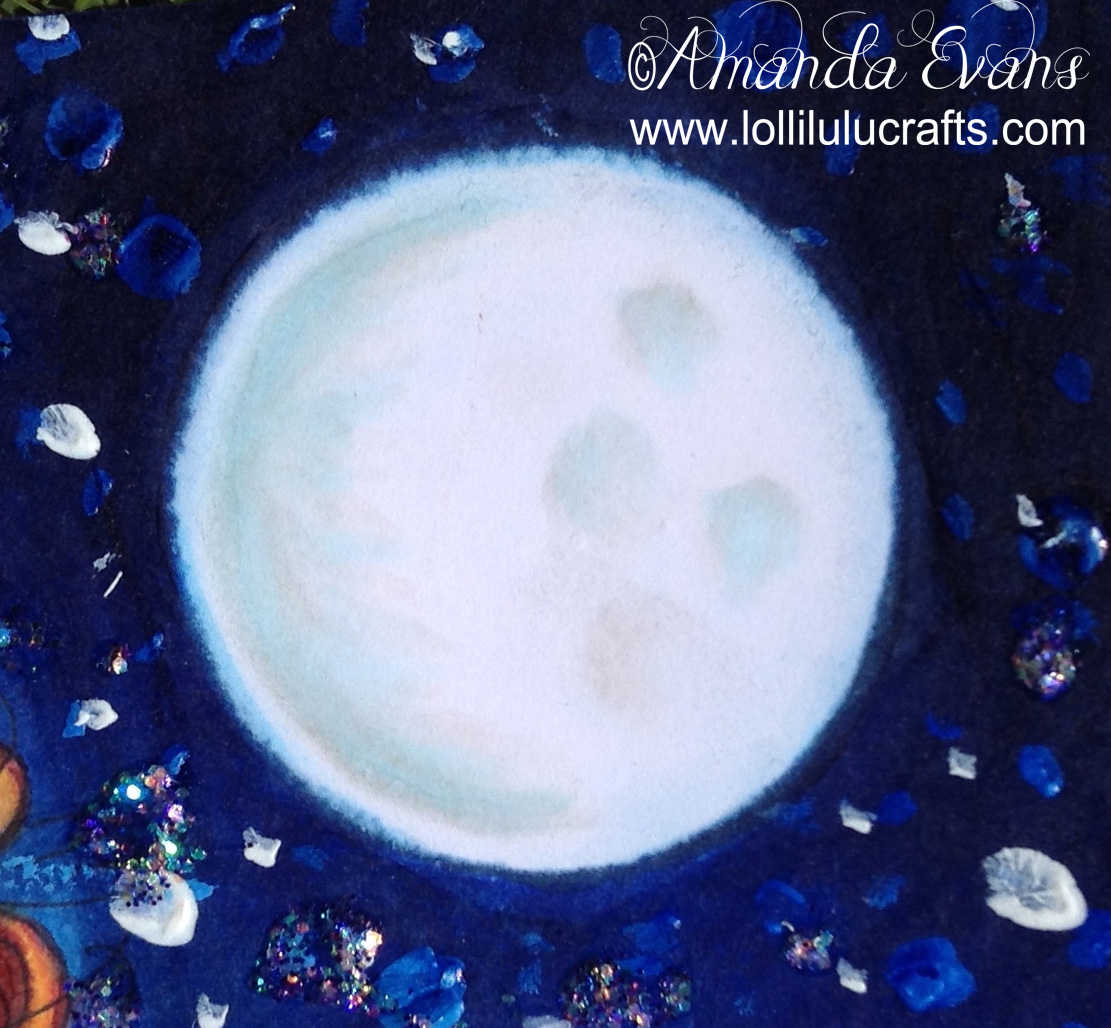
The moon was created by leaving a gap in our colouring of the sky and then because I had to tidy the shape with my blender pen it left a lovely halo around the moon, next we added some shadow and ‘dents’ in the surface of our moon. Here I deviated from Alyce’s instructions because instead of just colouring the shadows in with the greys I also used pale blue to add the reflection of the sky. Plus for the dents instead of just colouring them in I decided to add marks with my pen onto a sponge and ‘smudge’ them onto the page, again then adding some additional colour of the pale blue by hand. I think it turned out really cool.
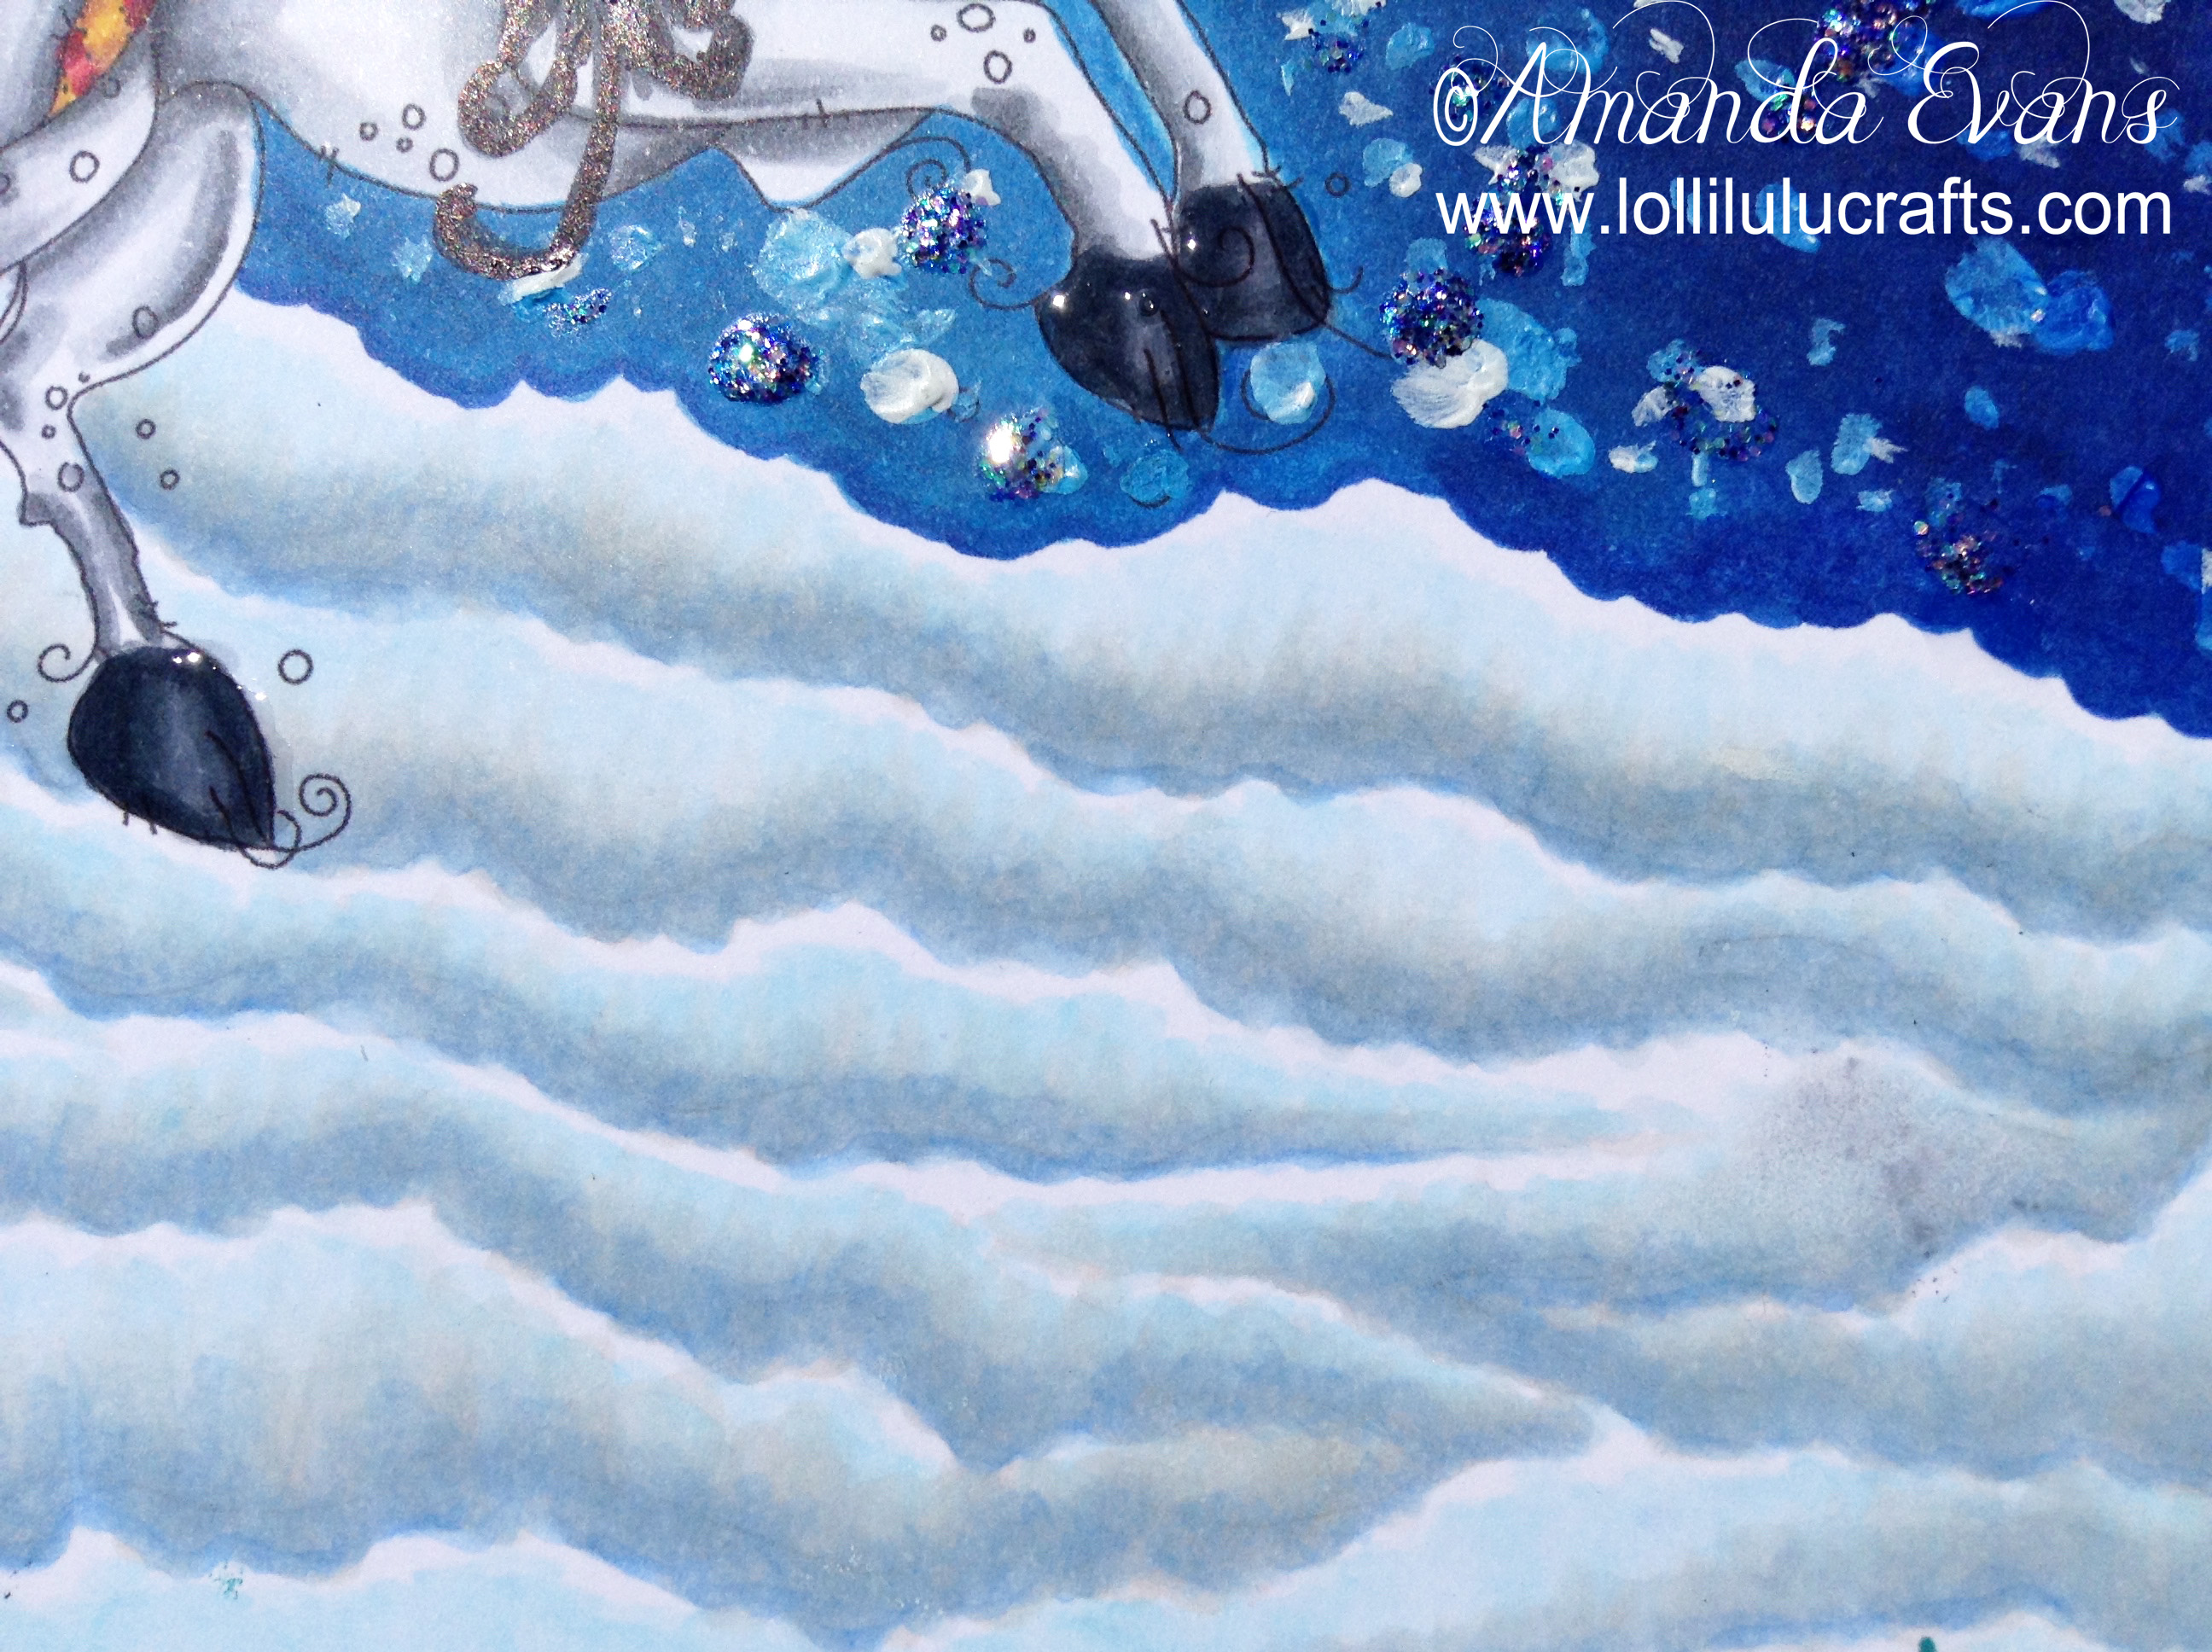
Next we learnt how to create these gorgeous clouds. The baseline for our clouds were lines that we had hand drawn and I have to say I did spend a lot of time fiddling around trying to get really interesting cloud shapes. The clouds themselves took a little practice to get how I wanted. On my A4 sheet that I was working on, I had some space under the image and I did quite a bit of practice there before going on my main image. I’m glad I did because it did take a little while to work out how to achieve just the right look. I was really really pleased with the finished result and for me it was just perfect.
Now the background is completed I had scary task of working on the image. Normally this would be fine but having achieved this background that I was so pleased with I was really nervous to make sure I coloured the image really nicely too. For me, there were a couple of new techniques on the image too – 1. the hair and 2. the Unicorn. Now with the hair it was not that it was two-tone that was new, but just generally the technique of colouring hair as a whole, as I have only just started the Hair Class in Kit & Clowder, although I like how I do hair now, it is a challenge to do any new technique. Anyway I dived right in and actually I was really pleased with how it turned out.
With the unicorn I don’t colour animals much and again I haven’t done that class yet, so again I dived straight in and literally coloured with Alyce as she coloured on the video. It was almost like a speed colour because I didn’t pause the video and I literally just coloured exactly as she described and I think his body turned out great.
So we’re on the last sections, the tail and mane, and so far I am really really pleased with everything and how it has turned out. But disaster was only minutes away! I started to colour The tail in the purple and aqua – what purple and aqua I hear you cry!?! there is no purple or aqua on your picture! Well there was supposed to be! but it went horribly wrong!!! First of all I wasn’t that happy with what I had done, I think the problem was that I was just copying rather than learning the technique and then applying it as part of my style. So then I tried to correct the problem and of course eventually you oversaturate everything and at that point it’s all over, however at this point to add insult to injury my pen then decided that it was a good time to make a huge puddle of black ink on my image!! Eek!!
At this point I really did think that was going to have to start the whole thing again and I really wondered whether that was something that I could face! So I had a go at trying to clean up the mess by using pure alcohol (I have isopropyl alcohol in my cupboards because I use it for my nails!) I put some absorbent paper behind my drawing and use the alcohol to try to flush the colour from the front and soak down into the absorbent paper behind. This seems to work reasonably well, or at least well enough for me to be able to create a dark grey tail. So I used the colours of the unicorns body to create dark grey and black tail. However the highlights were not there because the paper was stained with the the purple and aqua. So I went in with my Copic Opaque White paint and added in some white highlights. These were very stark so I then move them around and thinned them out using my blender pen. I then went in with my greys again to add strands of colour over the white. I repeated this method several times until I was reasonably happy with the look. I then took a thin calligraphy black pen and added some streaks of the dark colour just to finish up. I then use these colours in the same way on the mane which up to this point had been untouched. I think in the end I was actually really pleased with how it looked and I don’t think you could tell that there was a problem there unless I said. I don’t think it’s as perfectly coloured as I would’ve liked it to have been, but it looks fine and I was satisfied that I have managed to rescue the image.
As a final touch, when I was adding that glitters to the Sky et cetera I also added some glitter to the tail and mane. I felt this helped disguise any little remaining bits that weren’t quite right, although most of those were only probably visible to me because I knew. But by adding the glitter it did make me feel better. I think that adding all the glitter stickles really made my unicorn and fairy look so magical and really finished off my Polka Doodles Octavia Moon Unicorn Picture . So that is it, the first picture from my first Create and Learn class,Polka Doodles Octavia Moon Unicorn Picture

I don’t think I’m going to make this into a card, I may well frame some of pictures from these classes but for now I will pop in a protective clear sleeve and put it to one side till I make that decision. Now this post is completely from me and not sponsored in any way by Kit and Clowder, but I did think that some of you may see this and think you might be interested in taking a look at the classes so here is a link for you.

Well I hope you’ve enjoyed taking a peek at what I’m doing in my classes and that you liked my finished picture. But for now hugs and have a great half day,

●▬▬▬▬▬ ●SUPPLIES● ▬▬▬▬▬●
Below are the products featured in today’s Video. Some products can be purchased from multiple stores so I have given each store different letter codes. Click on the letters below the picture to go to a favorite store: Simon Says Stamp (SSS), Dick Blick (DB), Cricut (C), Scrapbook.com (SB) and Amazon (AMZ)


●▬▬▬▬▬ ● DISCLAIMER ● ▬▬▬▬▬●
Affiliate links are used. For affiliate information and policy please see the Policy page.

Gorgeous! I would have cried and given up after the tail ink blob. Way to go and rescue it!! It looks great.
Thanks Miss Kitty Cat – I have to say it was the best time I had ever had!! lol! And I know it could look better because of it but it could have been a lot worse too x
WOW!! I love how that sky turned out and her eyeliner.. her eyes are so piercing!!! You did such an amazing job!!! <3 <3
thank you ‘Miss” x