


Hiya everyone, hope you are ok this lovely sunny day? A nice late burst of summer sun and I am loving it 🙂 I actually managed to get an hour off today and went with Mum to meet some friends of ours for a lovely Costa Coffee. I actually had one of their chocolate coolers which I know is stupid calories but I hadn’t had time for lunch so I decided to treat myself. It was really nice to get out in the sun, especially after all the thunder storms we had overnight. Mum is still getting back on her feet but is doing really well at getting fitter. She normally trys to have one walk a day but I am normally so busy working on here that I never seem to be available when she is going – either that or she deliberately plans it so I can’t go lol! But is was nice to go OUT together for a change. Although little Daisie was not happy to be left behind. She likes going to Costa’s as they let you have the dogs there if you sit on the outside tables, and she loves to sit and watch the world go by.
Anyway today I have two Cricut Robotz Cards featuring the fun, but rather complicated Cricut Robotz Cartridge. I think this cartridge’s layering is somewhat difficult to work out and probably this is a cartridge that would benefit from the new style of handbook and universal overylay since this would identify what the different layers are meant to be much easier. I think even once it’s cut it is hard to work out what the pieces are for, but of course we actually need to work this out prior to cutting, so we know what colour we want to cut in. However I have a little gift for you as I have done all the hard work for you. I actually had to go back and re-do my original project cut file and I have to say it took quite some time and effort to work it all out! But it is all done now and if you do choose to download the file from me you will see it all laid out with each colour on a different mats and all clearly labelled for you 🙂
CRICUT ROBOTZ PROJECT DOWNLOAD!
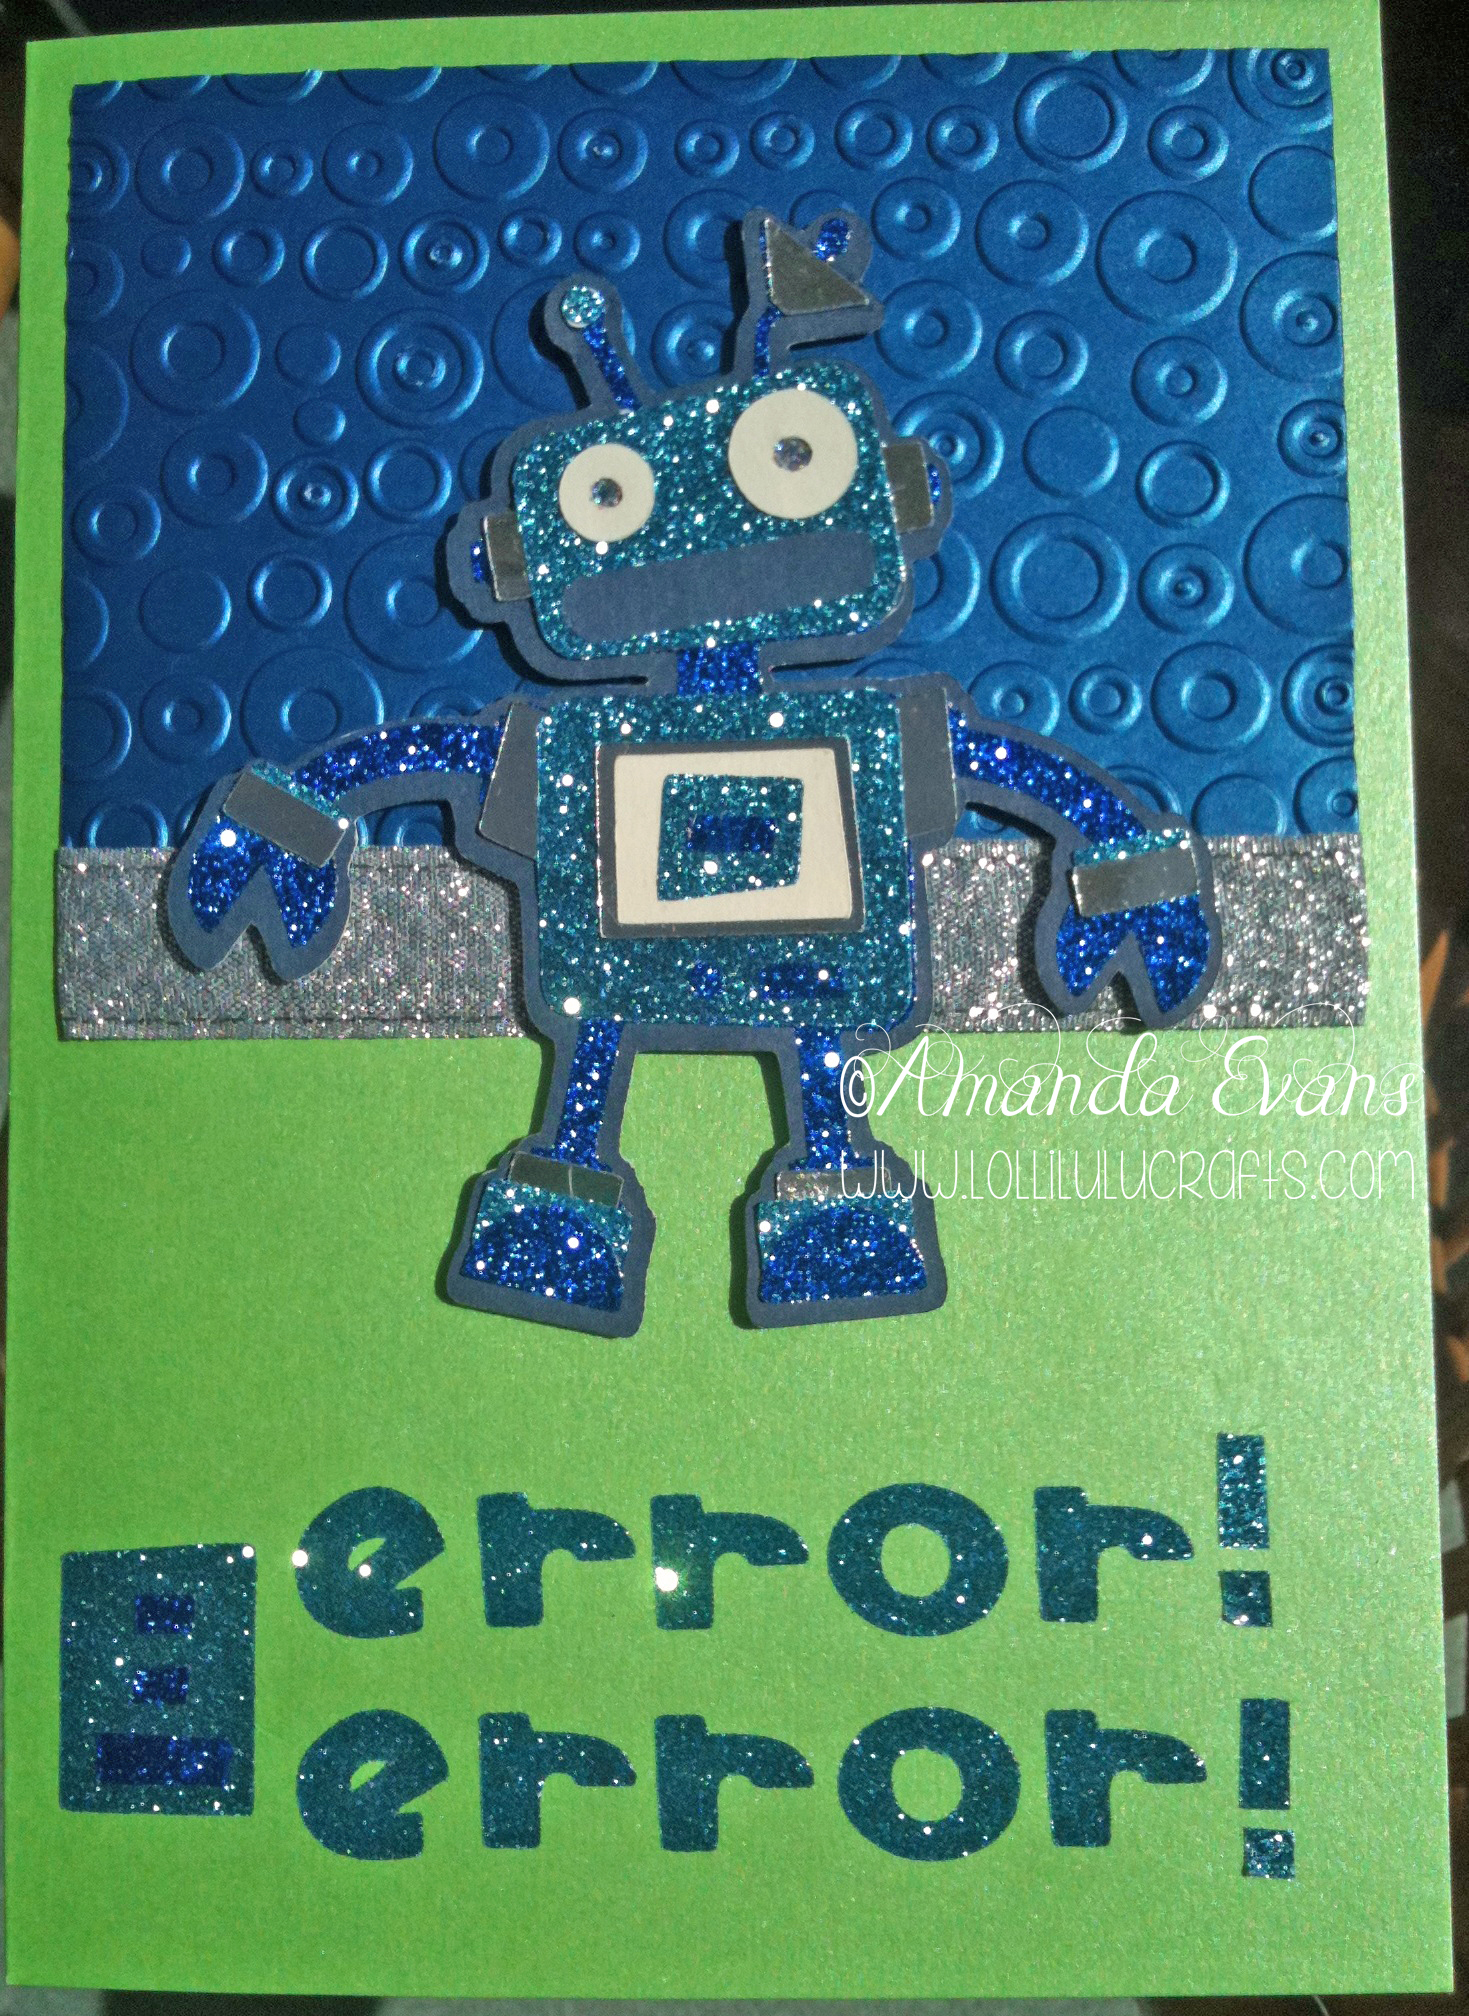
The first card I made I used Robot #25. It was a simple A5 card in a strong pearlescent green – Create and Craft’s own brand that was in my stash. I took a dark blue piece from the same card pack and used that to make a mat for the front of the card. I made it about 1/4″ smaller to the top & sides and half the height of the A5 front. I then embossed it using the Cuttlebug Dots and Spots Embossing Folder. I made up my Robot – see below – and added him to the front using my Pinflair Glue Gel. The Glitter sheets used in the Robot and the sentiment were self adhesive sheets which made it really easy to put together. Sadly the photograph does not show how shimmery the sheets are, they are almost like a see through sheet, that is a coloured clear like stained glass. Then on the back of the sheets is all the glitter and actually if you pull the element back off the page you will leave the glitter behind lol!
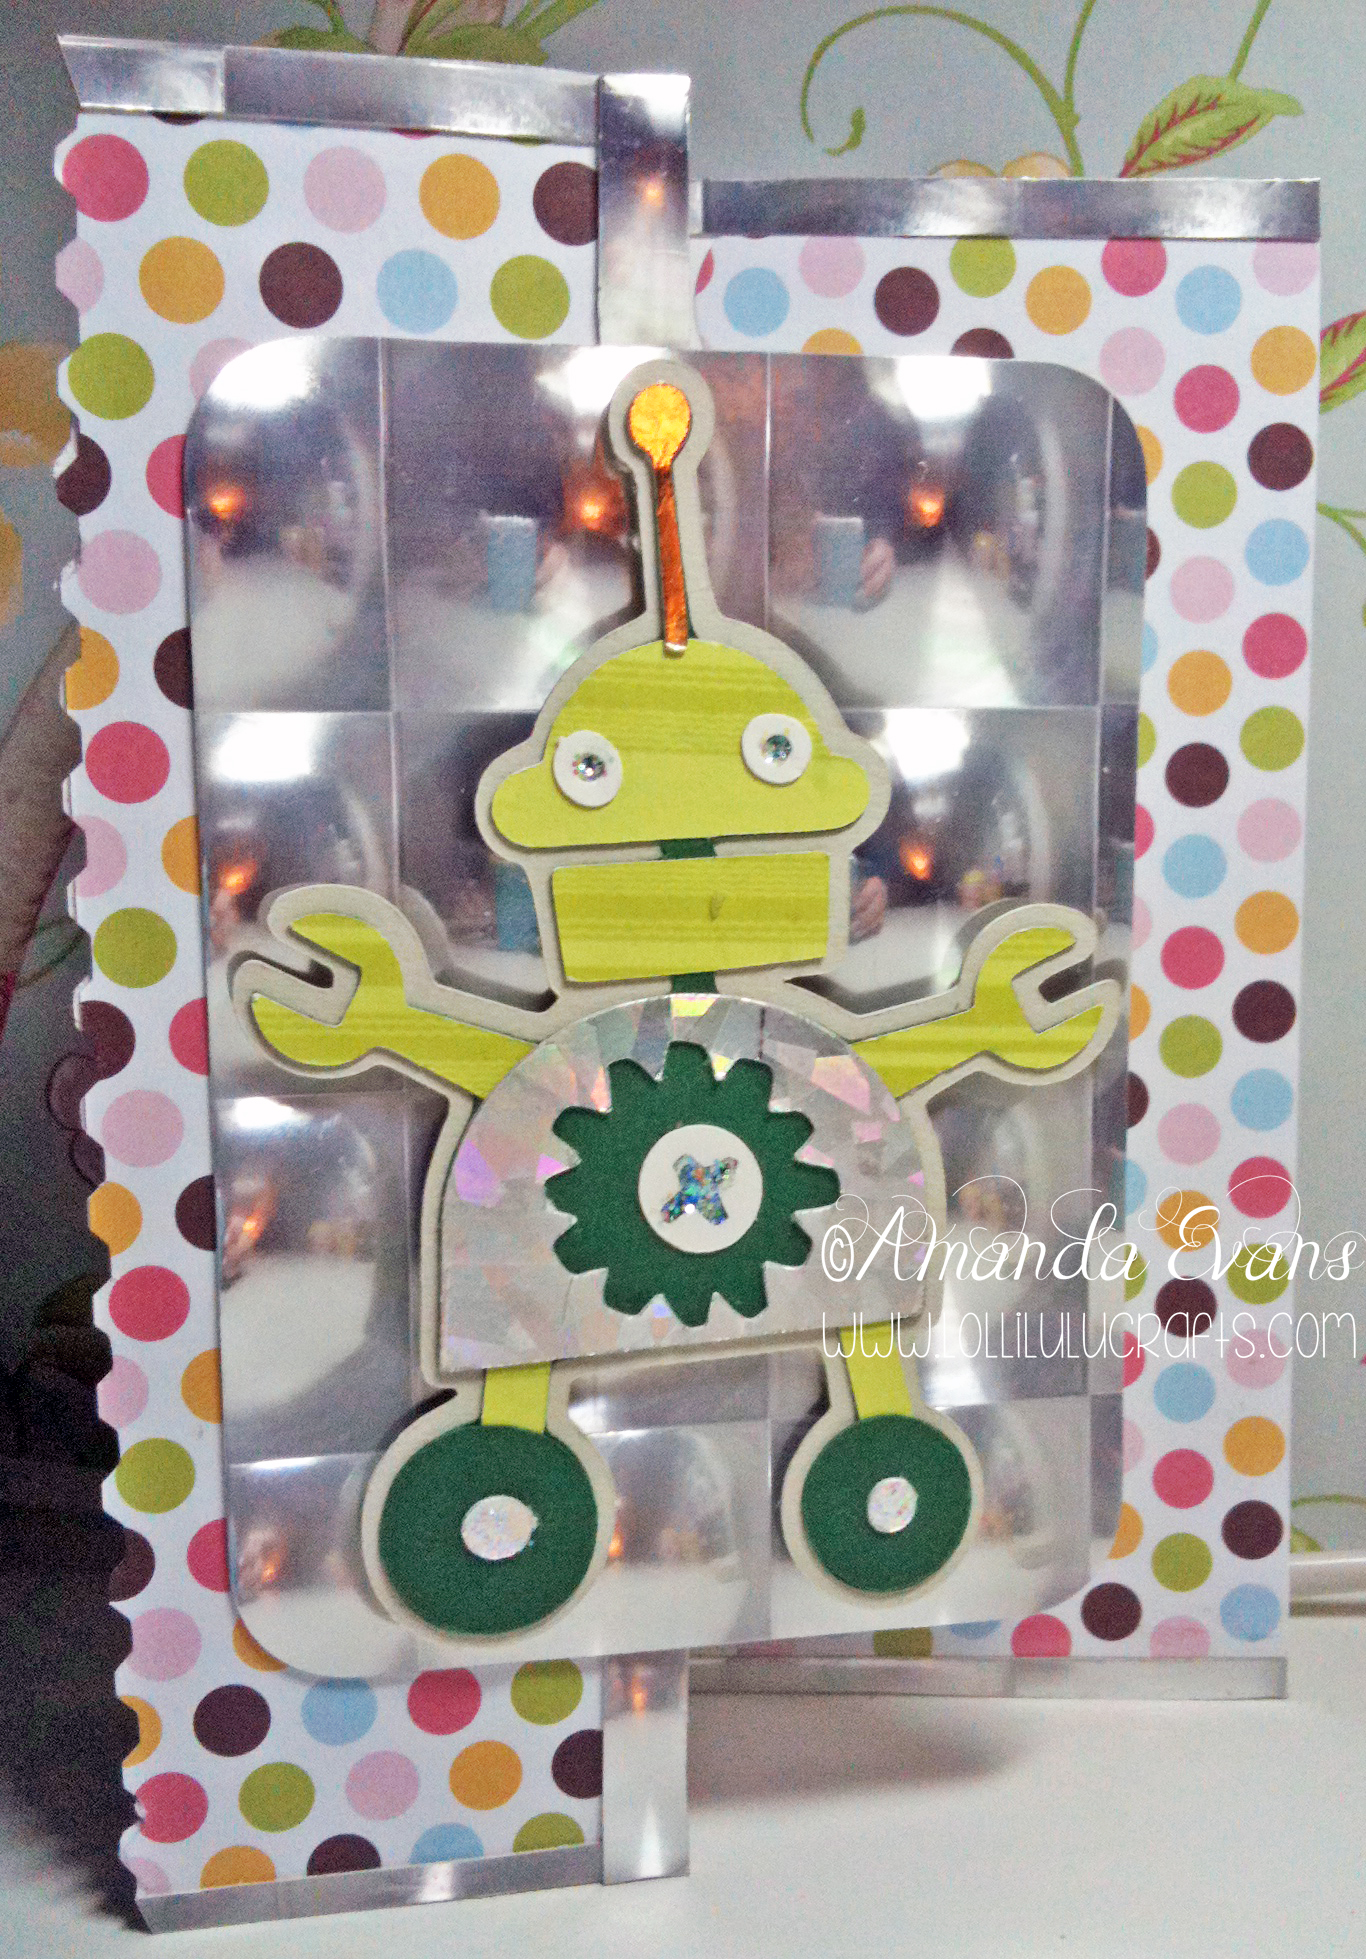
The second card is a Z fold card made simply by folding the front of a portrait A5 card back on itself. So basically score down the centre of the front of the card and fold it so the front edge is taken towards the outside centre fold, so when viewed from about it is like a Z shape. I used some fancy edged scissors to decal the edge of the card and added the fun patterned paper from American Crafts I believe. Then I had this amazing Silver Mirri Card that looked really Futuristic Urban so I used it to cut a mat for my Robot and for trim for the edges of the card. This, I felt, stopped the patterned paper making the card too ‘bubblegum’ and made the overall feel a little more Mechanical! I then made up my Robot #17 – see below – inc. using some more Mirri card but this one slightly different design and some greens that went with the colours in the paper. I thought the green was fairly unisex too – after all who says Robots are just for boys! 🙂
Ok so lets take a look at how these cute little fella’s are made. So as I said above I have worked out out the cuts for you and I have put each Robots layers on different mats for you so you can easily see which cut is for what. To help with this, I colour coded them so the colours represent those that I have used on the card. I also labelled each mat with its Robot number and the colour for that mat. This means that if you want to use different colours to me, it will be easy to identify what cuts you want to exchange your colour with because my mat colours match my real card. However since the Robot will easily fit onto one mat, I also added another mat that has all the cuts for one whole Robot on it. So you have the choice to cut each colour on separate mats or to go for it all in one go 🙂
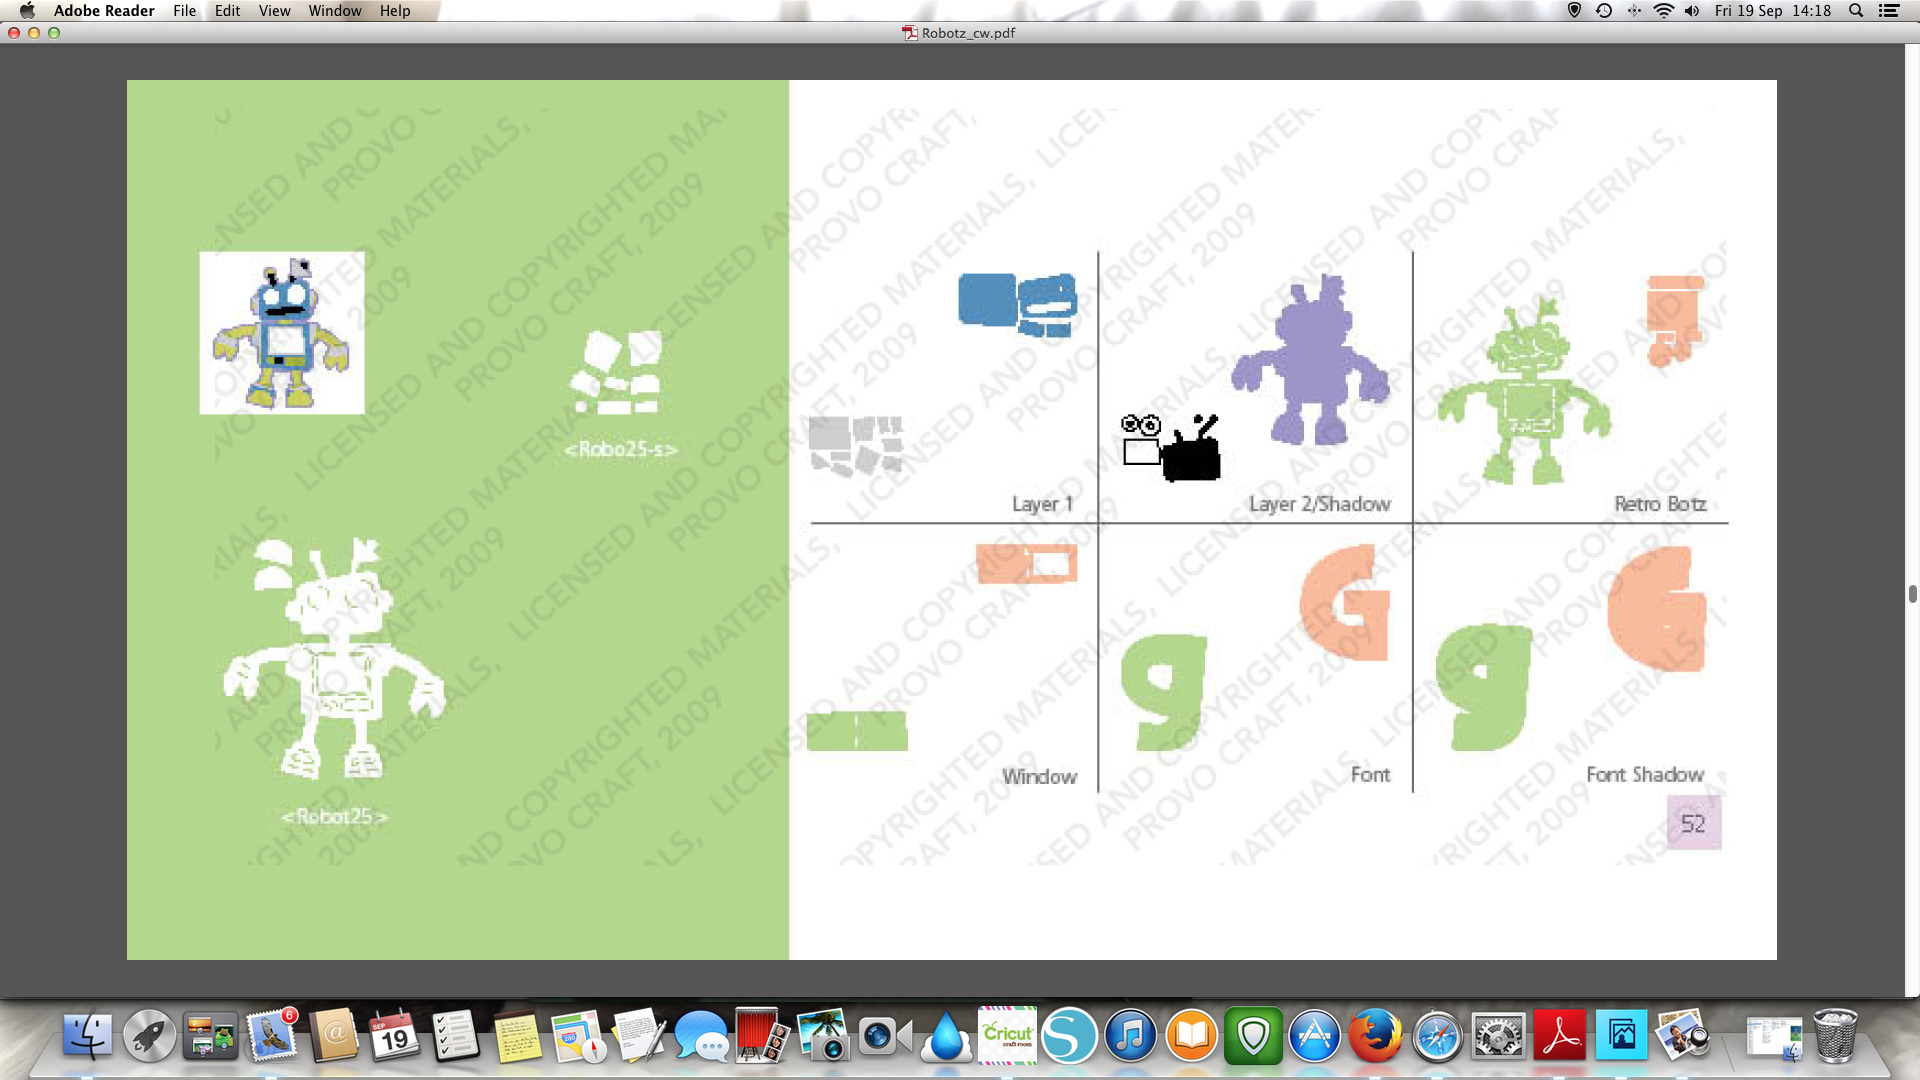
Ok so to Robot #25 – the one on the left. I would say he was the most difficult to understand what the different layers were for and therefore what colour to cut them. However since I have done that bit for you, he is pretty easy to put together. You just have to watch the order you add the elements, plus if you do cut it all on one mat then I would suggest you remove the waste but leave the actual cuts on the mat. I find this helps keep things organised as Cricut does put the cuts in a semblance of an order. For e.g. the little pieces for the right foot will be on the right and vice versa, but if you take them off the mat it might make it a bit more difficult to identify the pieces. So if you cut the Robot as I have done him this is how you would put him together:
1. Take your shadow layer and take the full robot (Blue Glitter) and adhere to the shadow
2. HEAD: –
- Add the Navy ‘face’ to the Blue Glitter layer {Layer 2 making use of the ‘hide contour’ feature to hide the White section since the layer needs to be cut twice as there are two parts each in a different colour}
- Next add the silver to the ‘ears’ and antenna (right side). {Layer 1}
- Add Light Blue Glitter layer to face and dot to the other antenna (left side). {Shift Layer 1 & Shift Robot #25}
- Add White to the eyes. (Layer 2 as above I used the ‘hide contour’ feature to remove the part of the cut not needed in white}
- NB keep the Light Blue Glitter little dots of waste from the ‘face’ to use later and from the centre of the ‘O’ s from the sentiment
3. BODY:-
- Add Silver to the top of the arms {Layer 1}
- Add Light Blue Glitter body {Shift Layer 1}
- Put together ‘control panel’ for his ‘tummy -> Mat and layer the White ‘square’ onto the Silver one, then the Blue small ‘square’ matted onto the Light Blue Glitter mini ‘square’. Add this whole section to the middle of his ‘tummy’ (Layer 1, Layer 2, Shift Robot #25. and waste chopped up}
- Add some Blue Glitter under the control panel onto the Light Blue Glitter body. {any spare pieces of waste}
4. ARMS:
- add the Light Blue Glitter pieces to the wrists followed by the Silver {Shift Robot #25 and Layer 1}
5. LEGS AND FEET:
- Stick the Silver on ankles {Layer 1}
- then add the Light Blue Glitter onto the feet {Shift Robot #25}
- followed by the Dark Blue extra pieces from the main Robot cut onto the feet. {Robot #25}
6. SENTIMENT:-
-
- Cut the sentiment from the Light Blue Glitter attach to card under Robot.
- Panel next to sentiment made from any spare pieces left and waste of Blue Glitter and Light Blue Glitter.
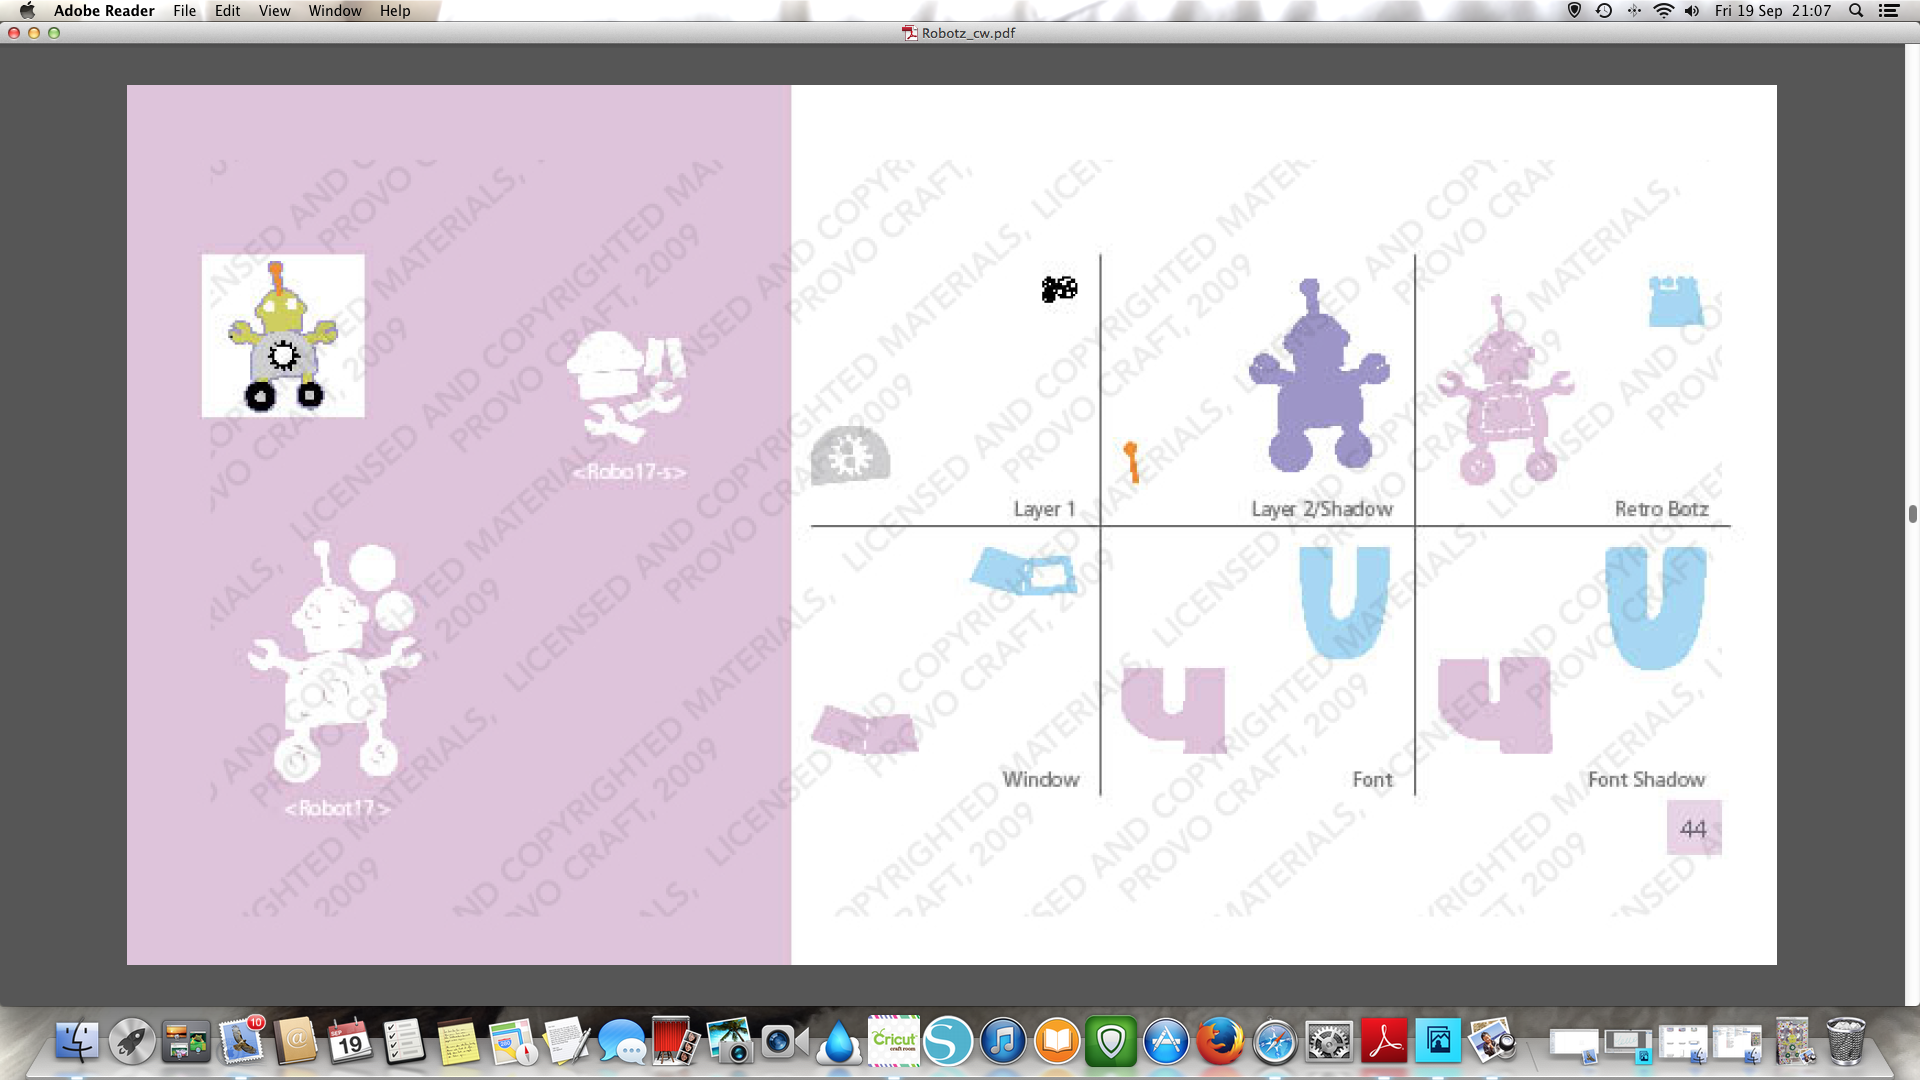
So Now to Robott #17. He is a much simpler cut to work out as you can see from the handbook.
1. So again starting with the Shadow Layer in the Tan add the main Robot image in Lime Green (Shift Layer 2 & Robot #17}
2. Next add the Silver Antenna {Layer 2)
3. Adhere the Lime Green to the Head, Arms and Legs {Shift Robot #17}
4. Next add the Silver to the Body and the circles in the middle of the wheels {Layer 1}
5. Add the white cog to the centre of his tummy – if you want you could use a little of the silver waste under the cog to have the silver popping through the hole in the white. And add the white to his eyes. I used a silver marker to add a centre to the eyes but Im sure you could use some waste too if desired {Shift Layer 1)
And that is the two Robots made and all you need to do now is add them to their respective cards. So if you want to make these cards then click HERE to get your free download of the cut files. The file includes for both projects and is in Cricut Craft Room however you can put CCR files easily onto your Gyspy. I have put the instructions for this and exactly what you get on the ‘product’ listing for the download. There is a section that I have started in my store for Cricut downloads so as I do more things for you they will be added there. I hope you will take advantage of the cut files and enjoy making your Robot cards – don’t forget though that the download is for the project files and not the actual cuts. This means that like with the cricut cartridges, you can see the cuts and work with them, but unless you own the cuts / cartridge you cannot actually cut the project out.
Anyway that is it for now, I hope you have enjoyed and I would love to see your Robot projects if you decide to take me up on my download, Have a great craft day,

PS I would like to enter this card into the following challenges:
Hobbybook Designer – Embossing

They look great Amanda! I really love that silver mirri card, it’s a bit mezmerising!
I love mirri card and that was a really nice set with different designs on them 🙂
Amanda
I think your cards are adorable. Clever and cute the way you used your papers and doo dads. Textures and glitter are great and they just look really cute. I like these cards they are fun and give you a chance to really use stuff that’s out of the box.
pat
thank you my sweet friend so glad you like it. I thought he was very cute but little so and so’s to work out what layers were what lol! xx
I’m glad you worked it out instead of me having to do it. I’m terrible at this stuff. I get confused easily and just sit like a lump. Amanda is that a reflexion of you in the card of the robot..it looks like a cup and since it is a mirror type paper I was thinking maybe that was you in the reflexion..if it was that was clever and cute too. I think both cards are adorable just like you. How is your Mum now.? Poor Daisy was left behind. But it gave you a break and a chance to relax..hopefully. I just adore your snow flakes falling. I can sit here and watch them drift by. I love it.
pat
This was filmed a little while back now so I dont really remember the reflection but I guess it could be me or more likely the camera 🙂 Glad you liked the card and glad it was helpful to have it worked out – I thought it was a pain to do so thought it might help. Mum is getting there and is even doing some of her clients now (we have a nails business) but she does get tired but she doesn’t let things stop her very often or slow her down. I love the snowflakes too, I shall be sad to have them go – still got a while yet, 🙂