


Hiya, today I have for you a card that I made with my April Craft Box contents. I decided to go with the sea/nautical theme of the box and make my card into a Nautical themed Miss You Card.
Now originally I had said that today I would be posting a video. But I decided that since this was the first Craft Box that I had ever had that I would like to make an extra project from it to share with you. I have to say the main project I made (video this Friday for definite) I used quite a lot of stuff from the box and yet I still had plenty to make this card and still have some stuff left over!
Anyway to todays card. I have done a little bit of a step by step for you with some photos so that what I write here will make a little more sense, then at the end as always, I have a whole heap of photos of the finished card. So when I started this card I literally had no idea what I was doing. I took the box and looked at what I had left and just started crafting. Sometimes it is really fun to craft in that unplanned random way. Now the numbers of the written points below correspond with the numbers on the photos:
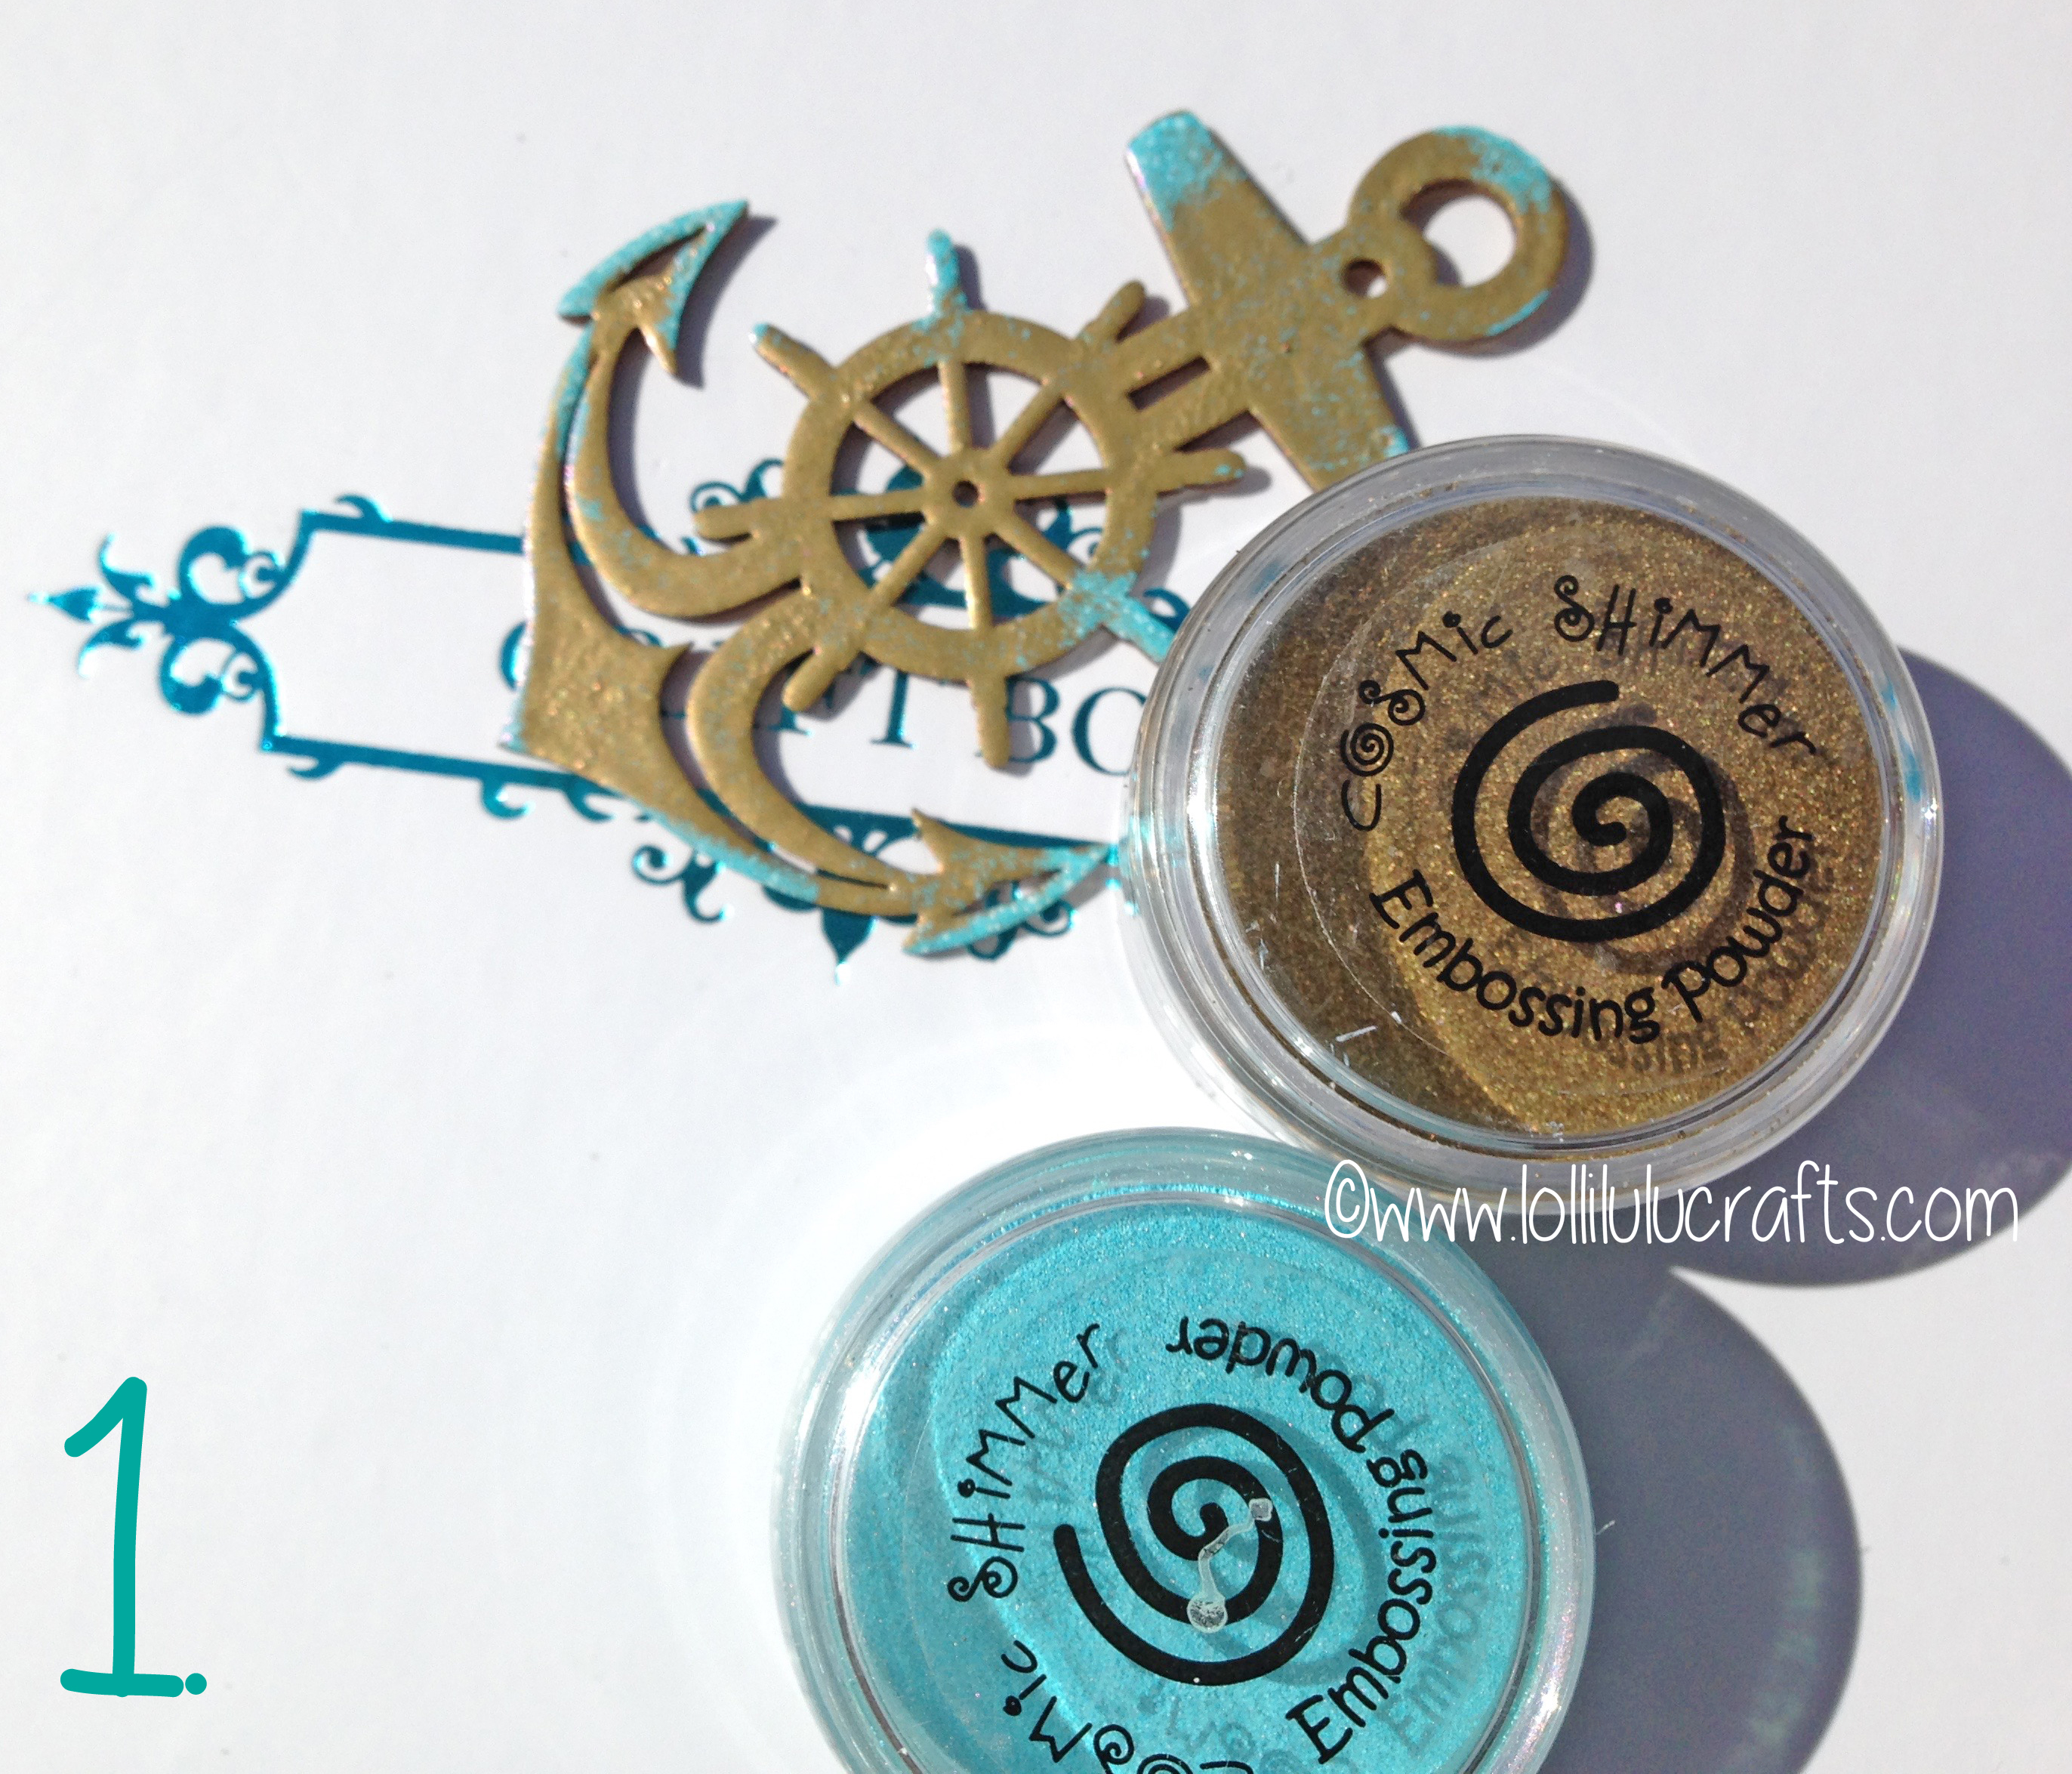
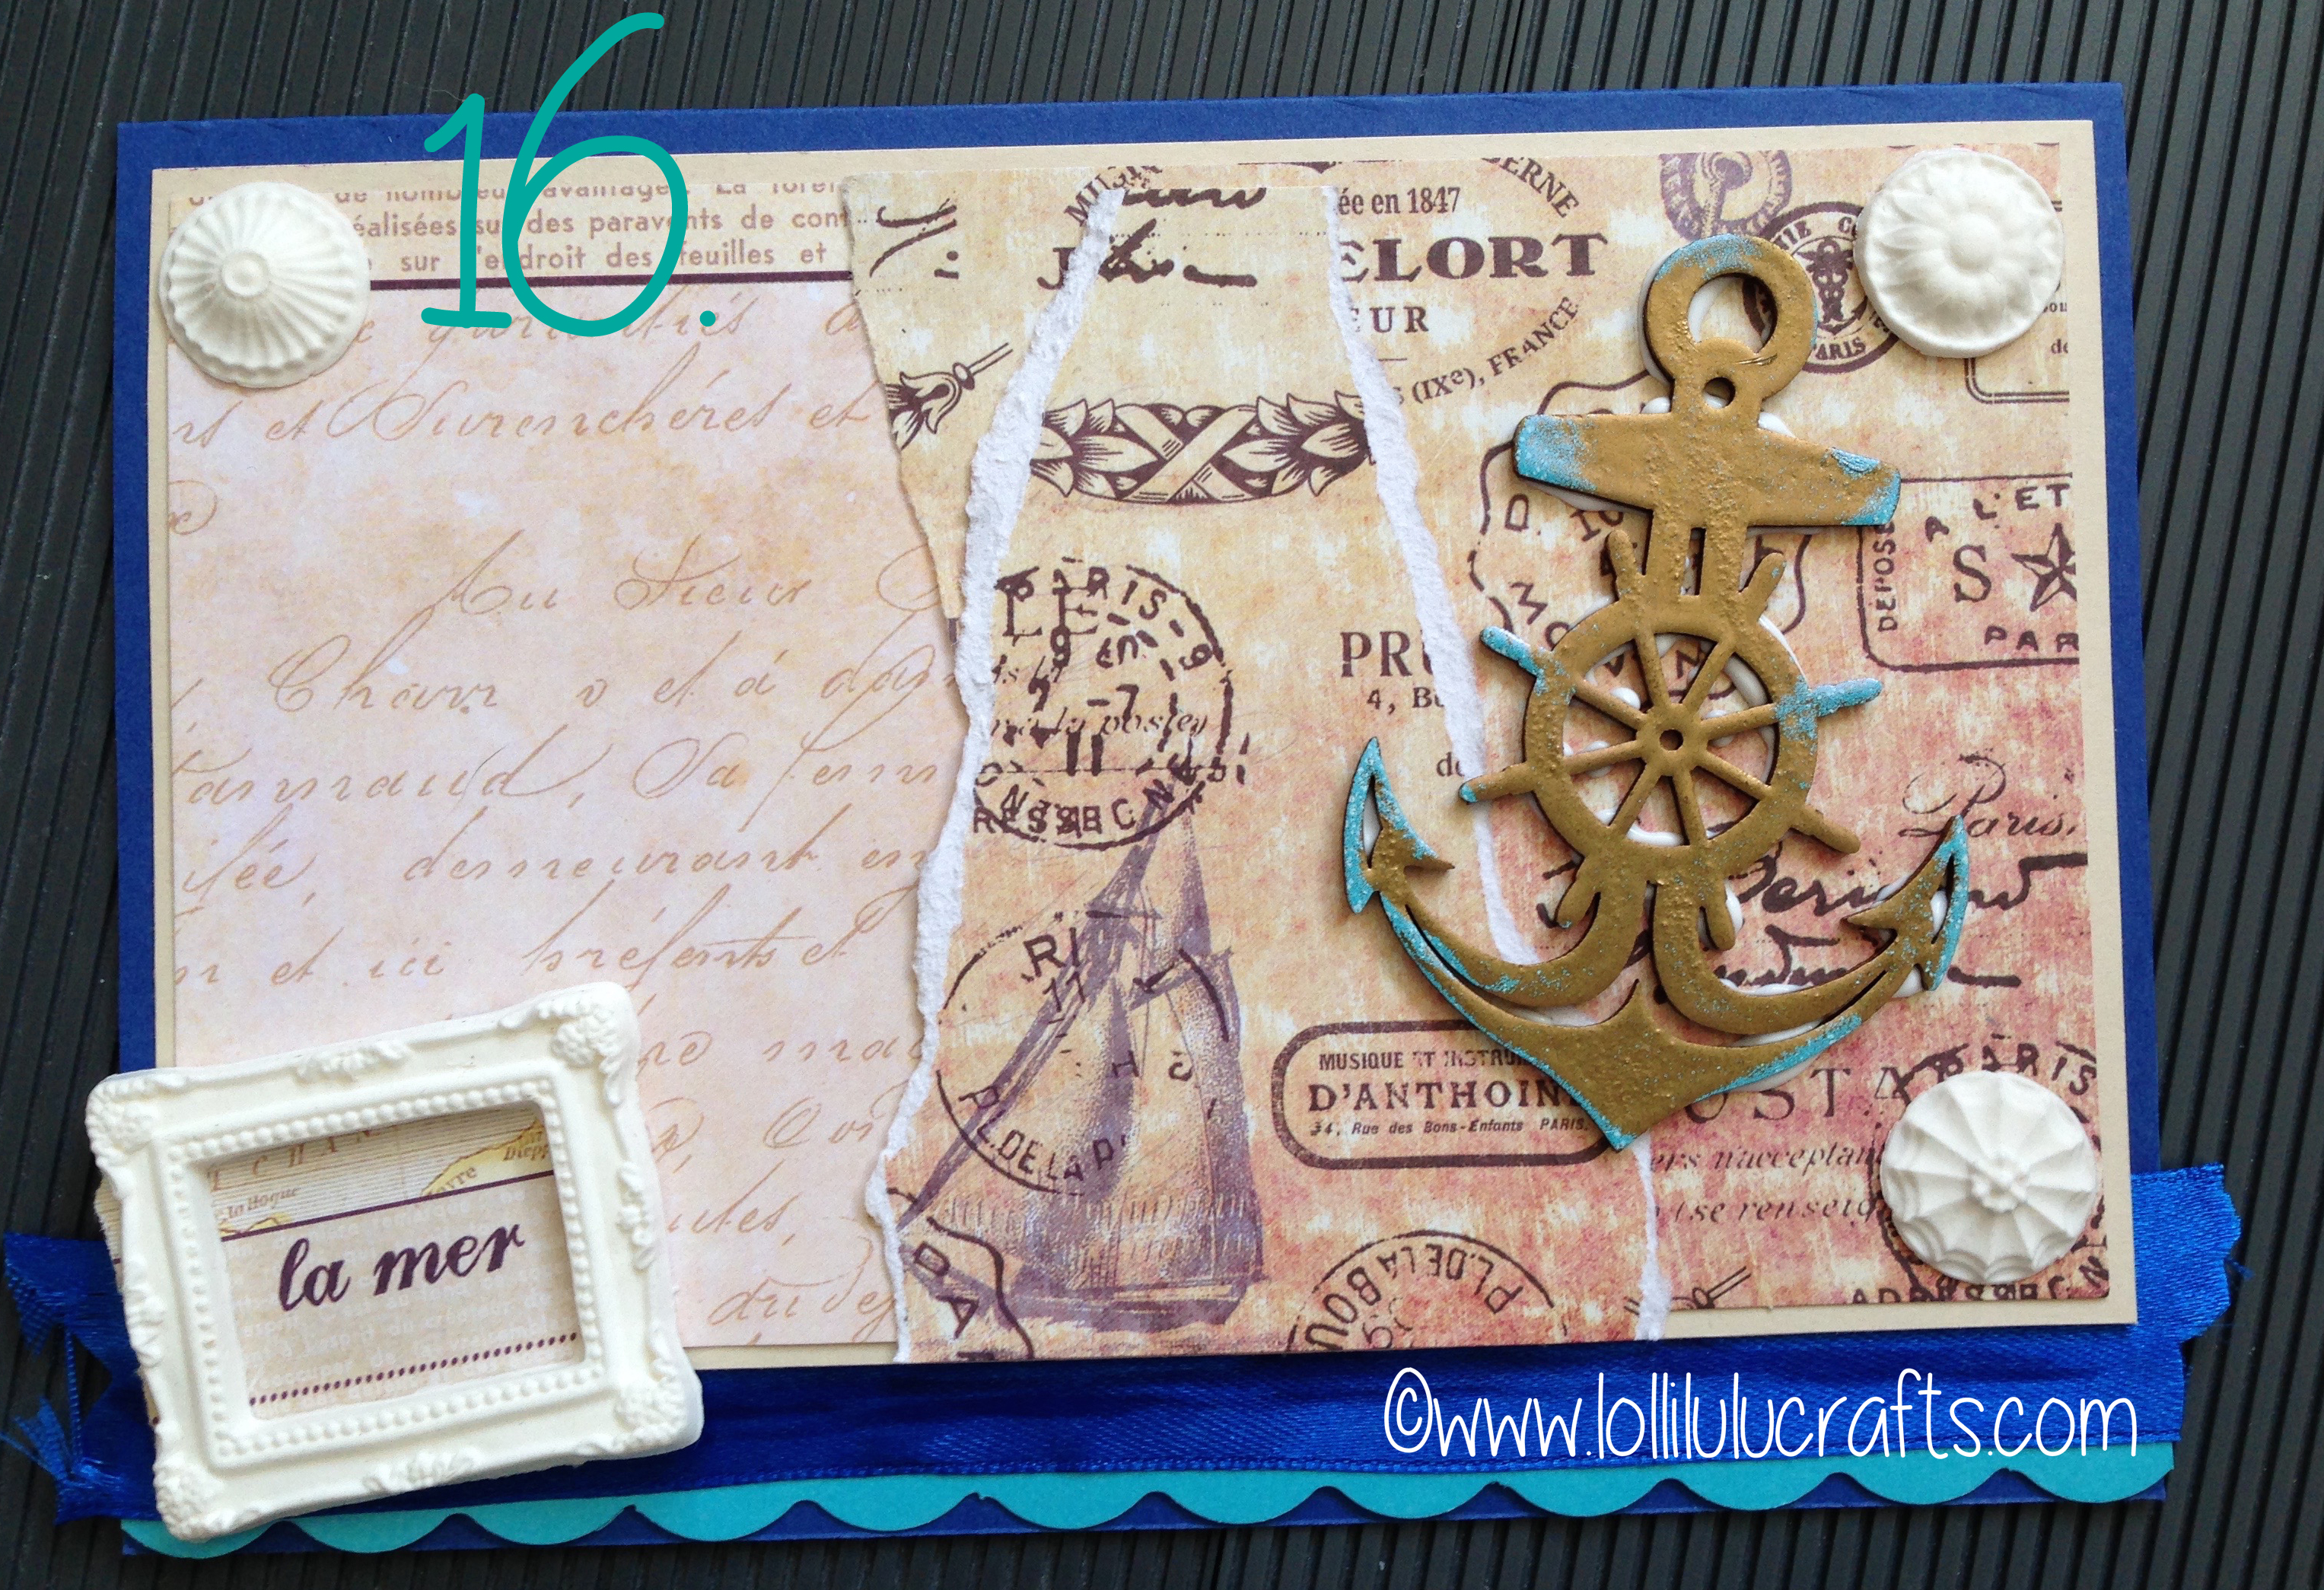
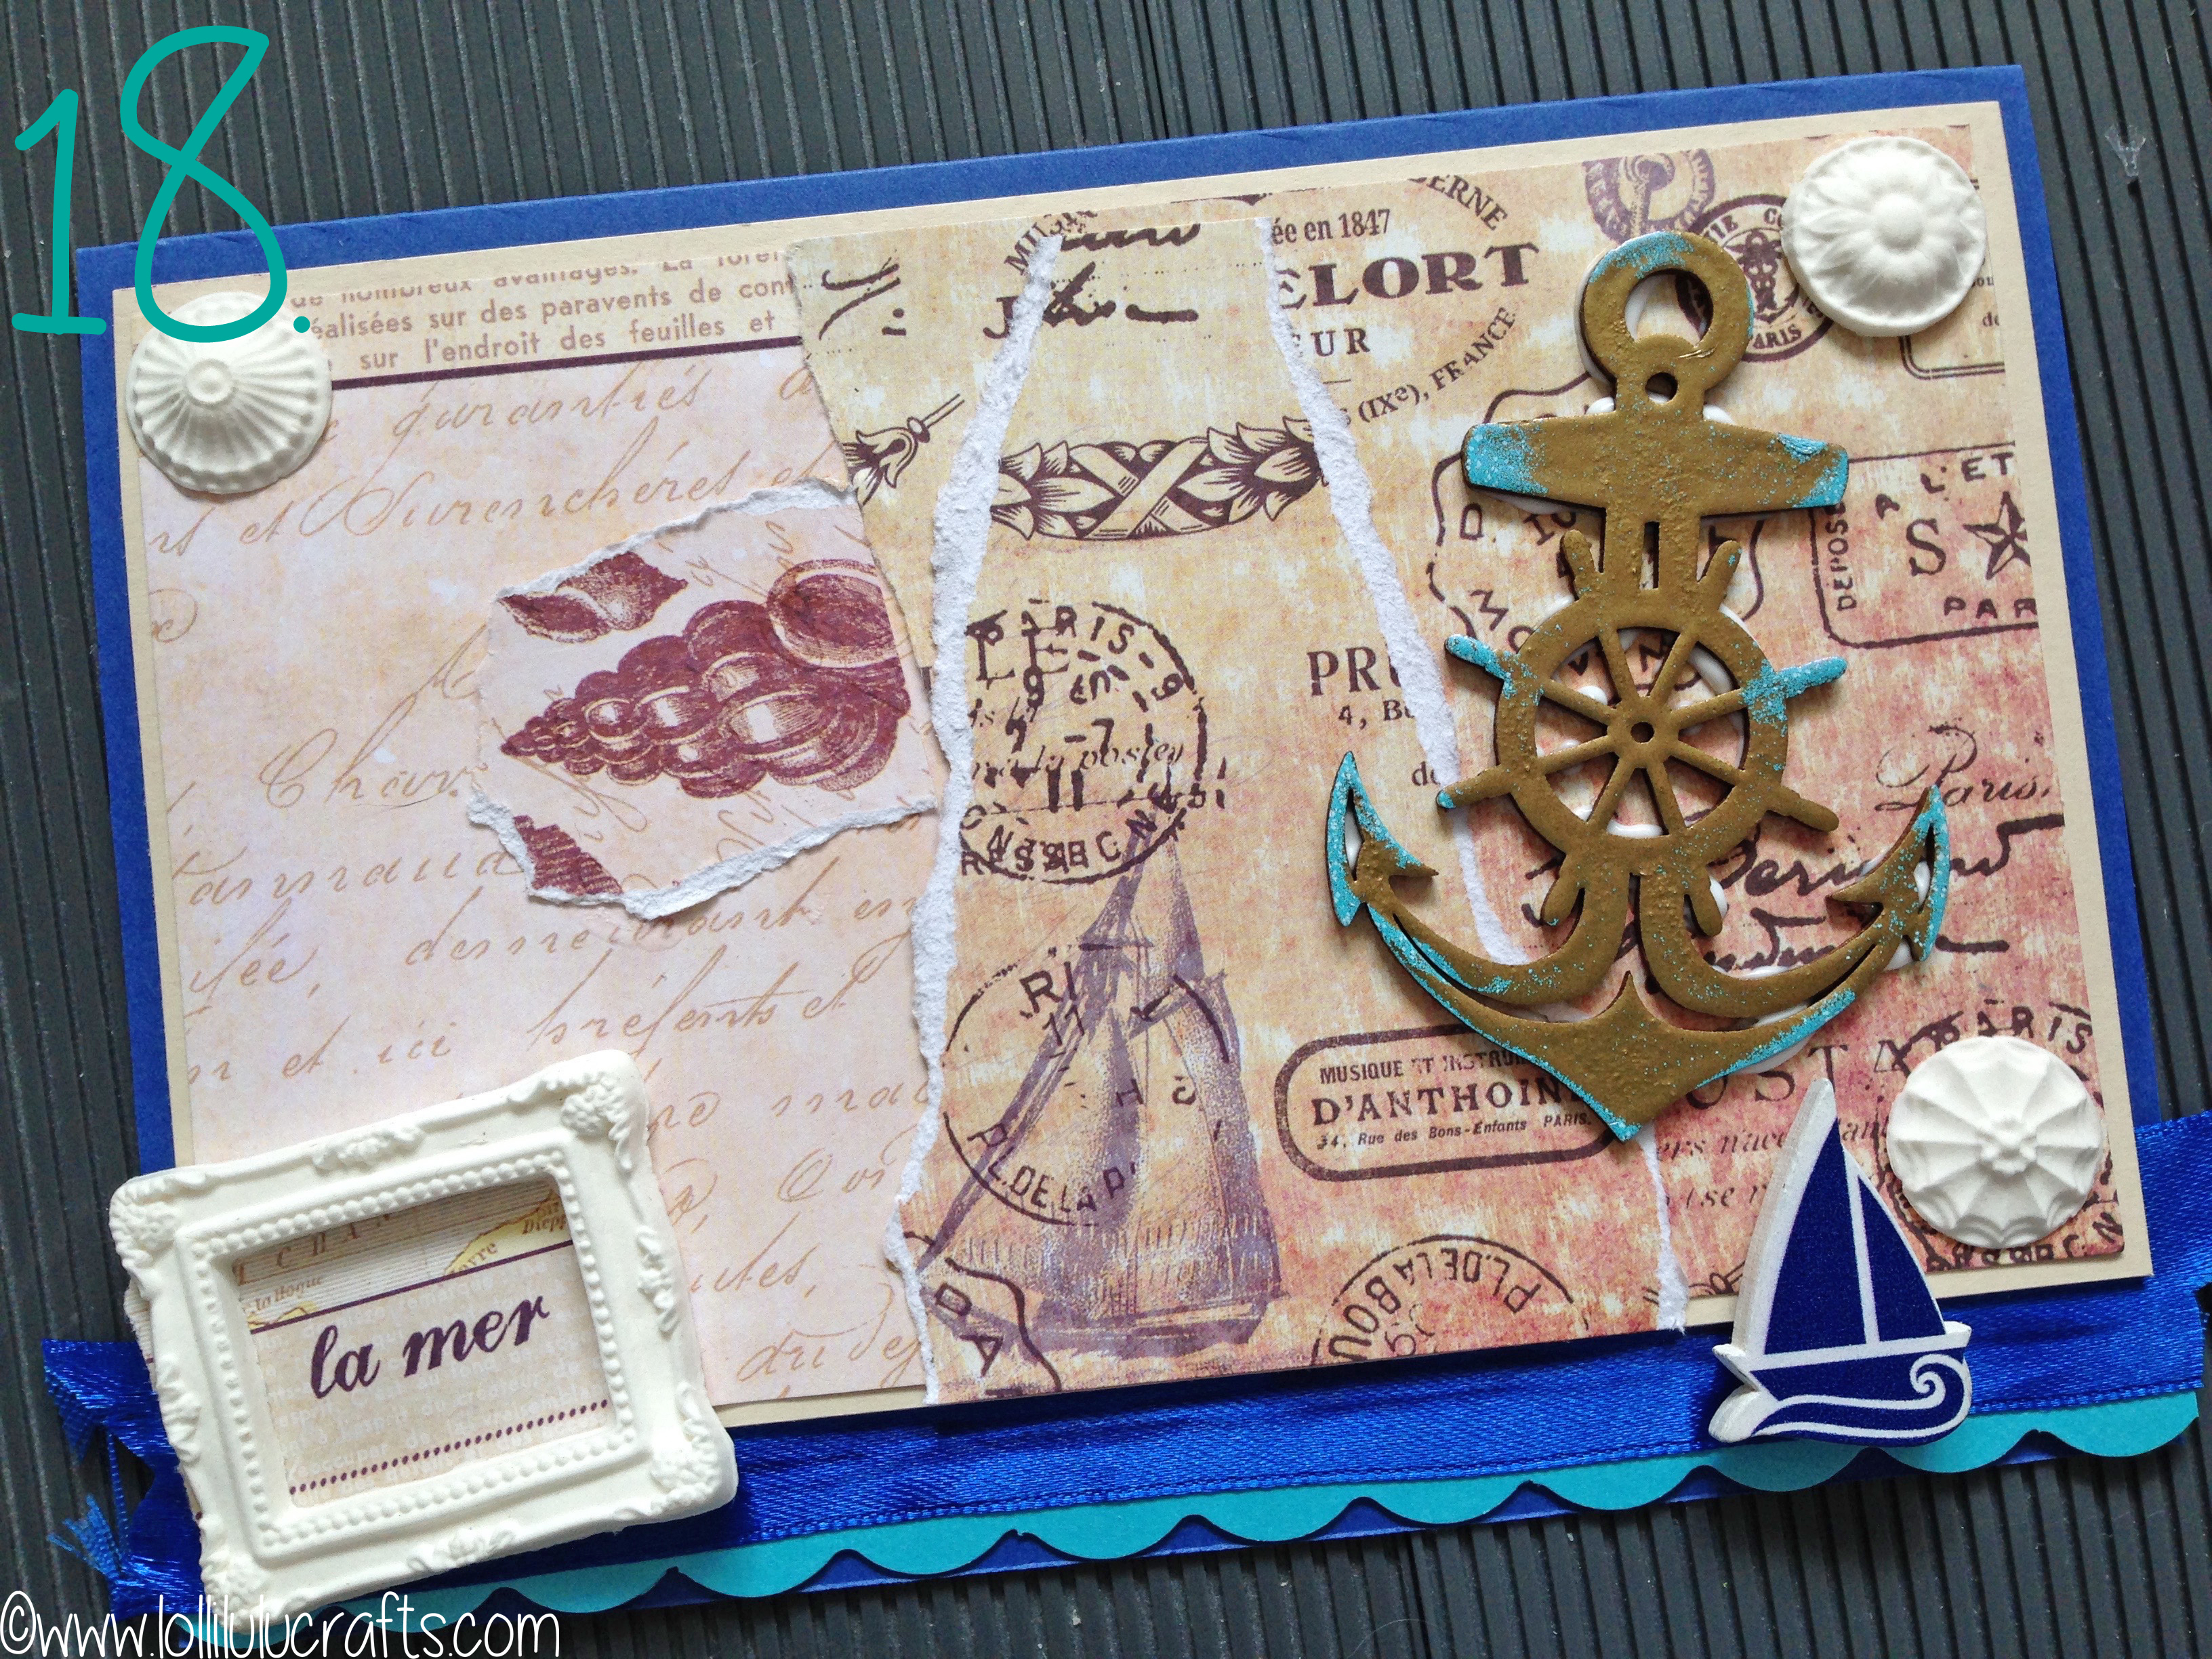
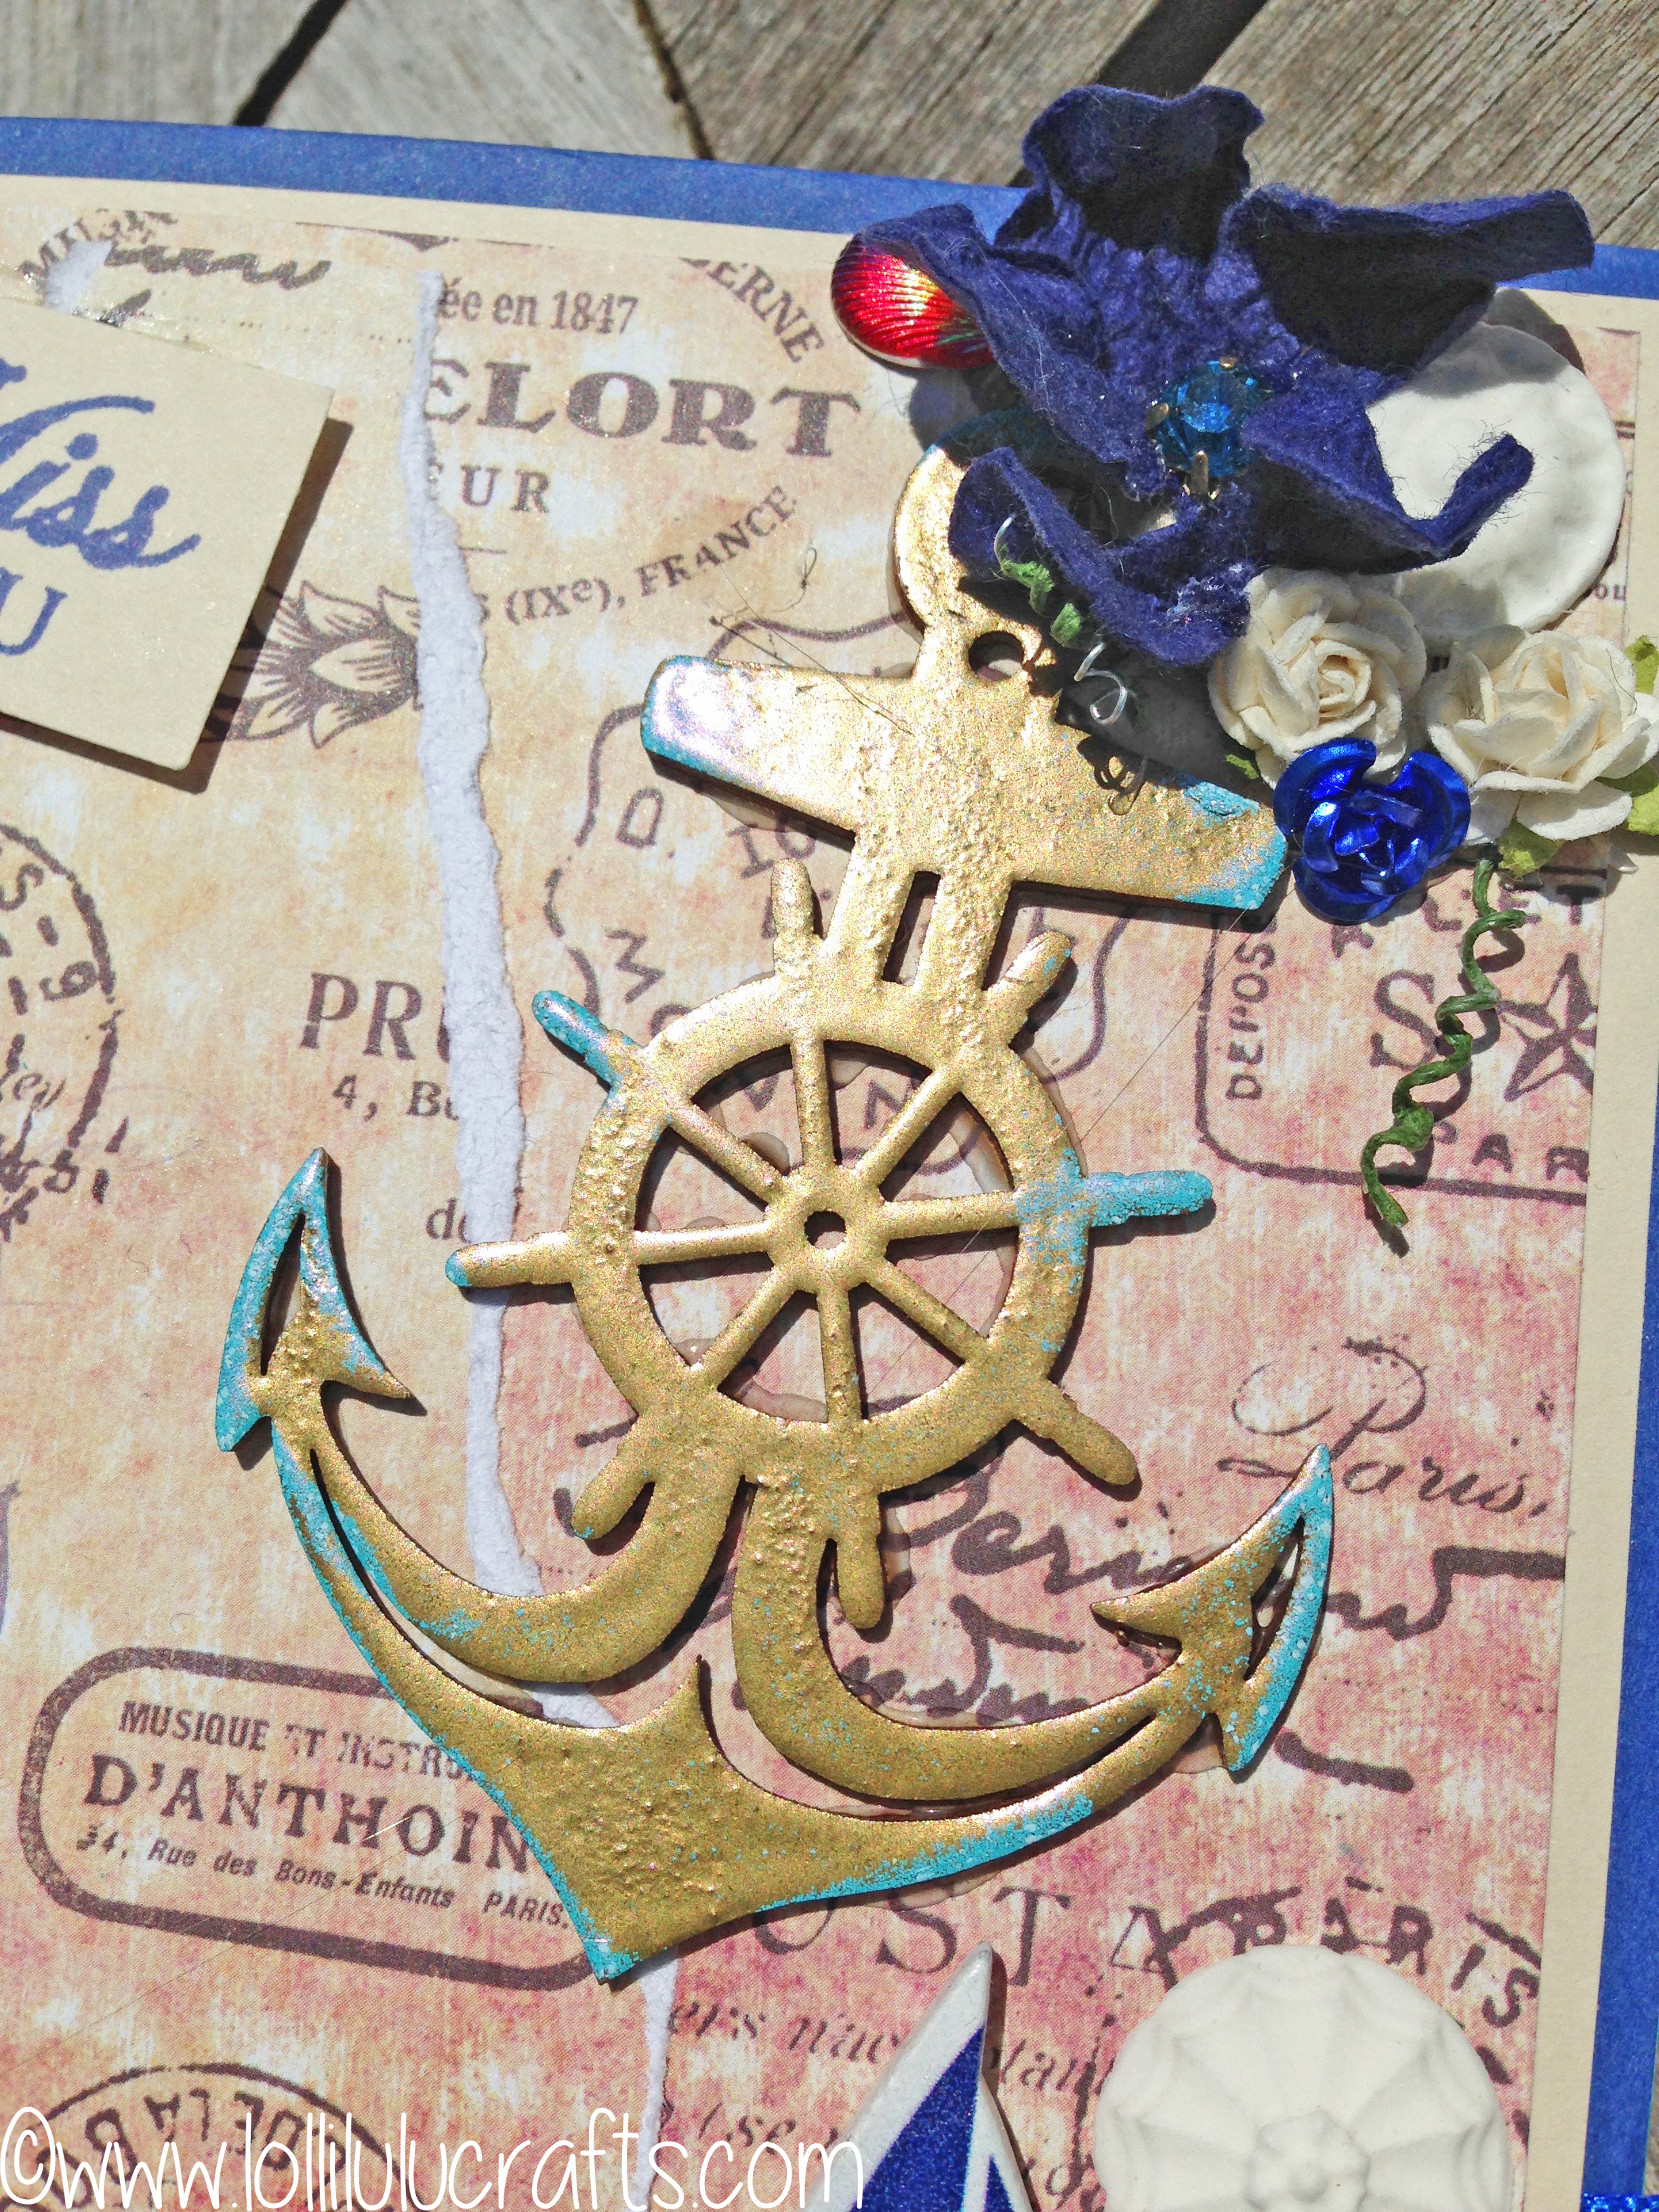
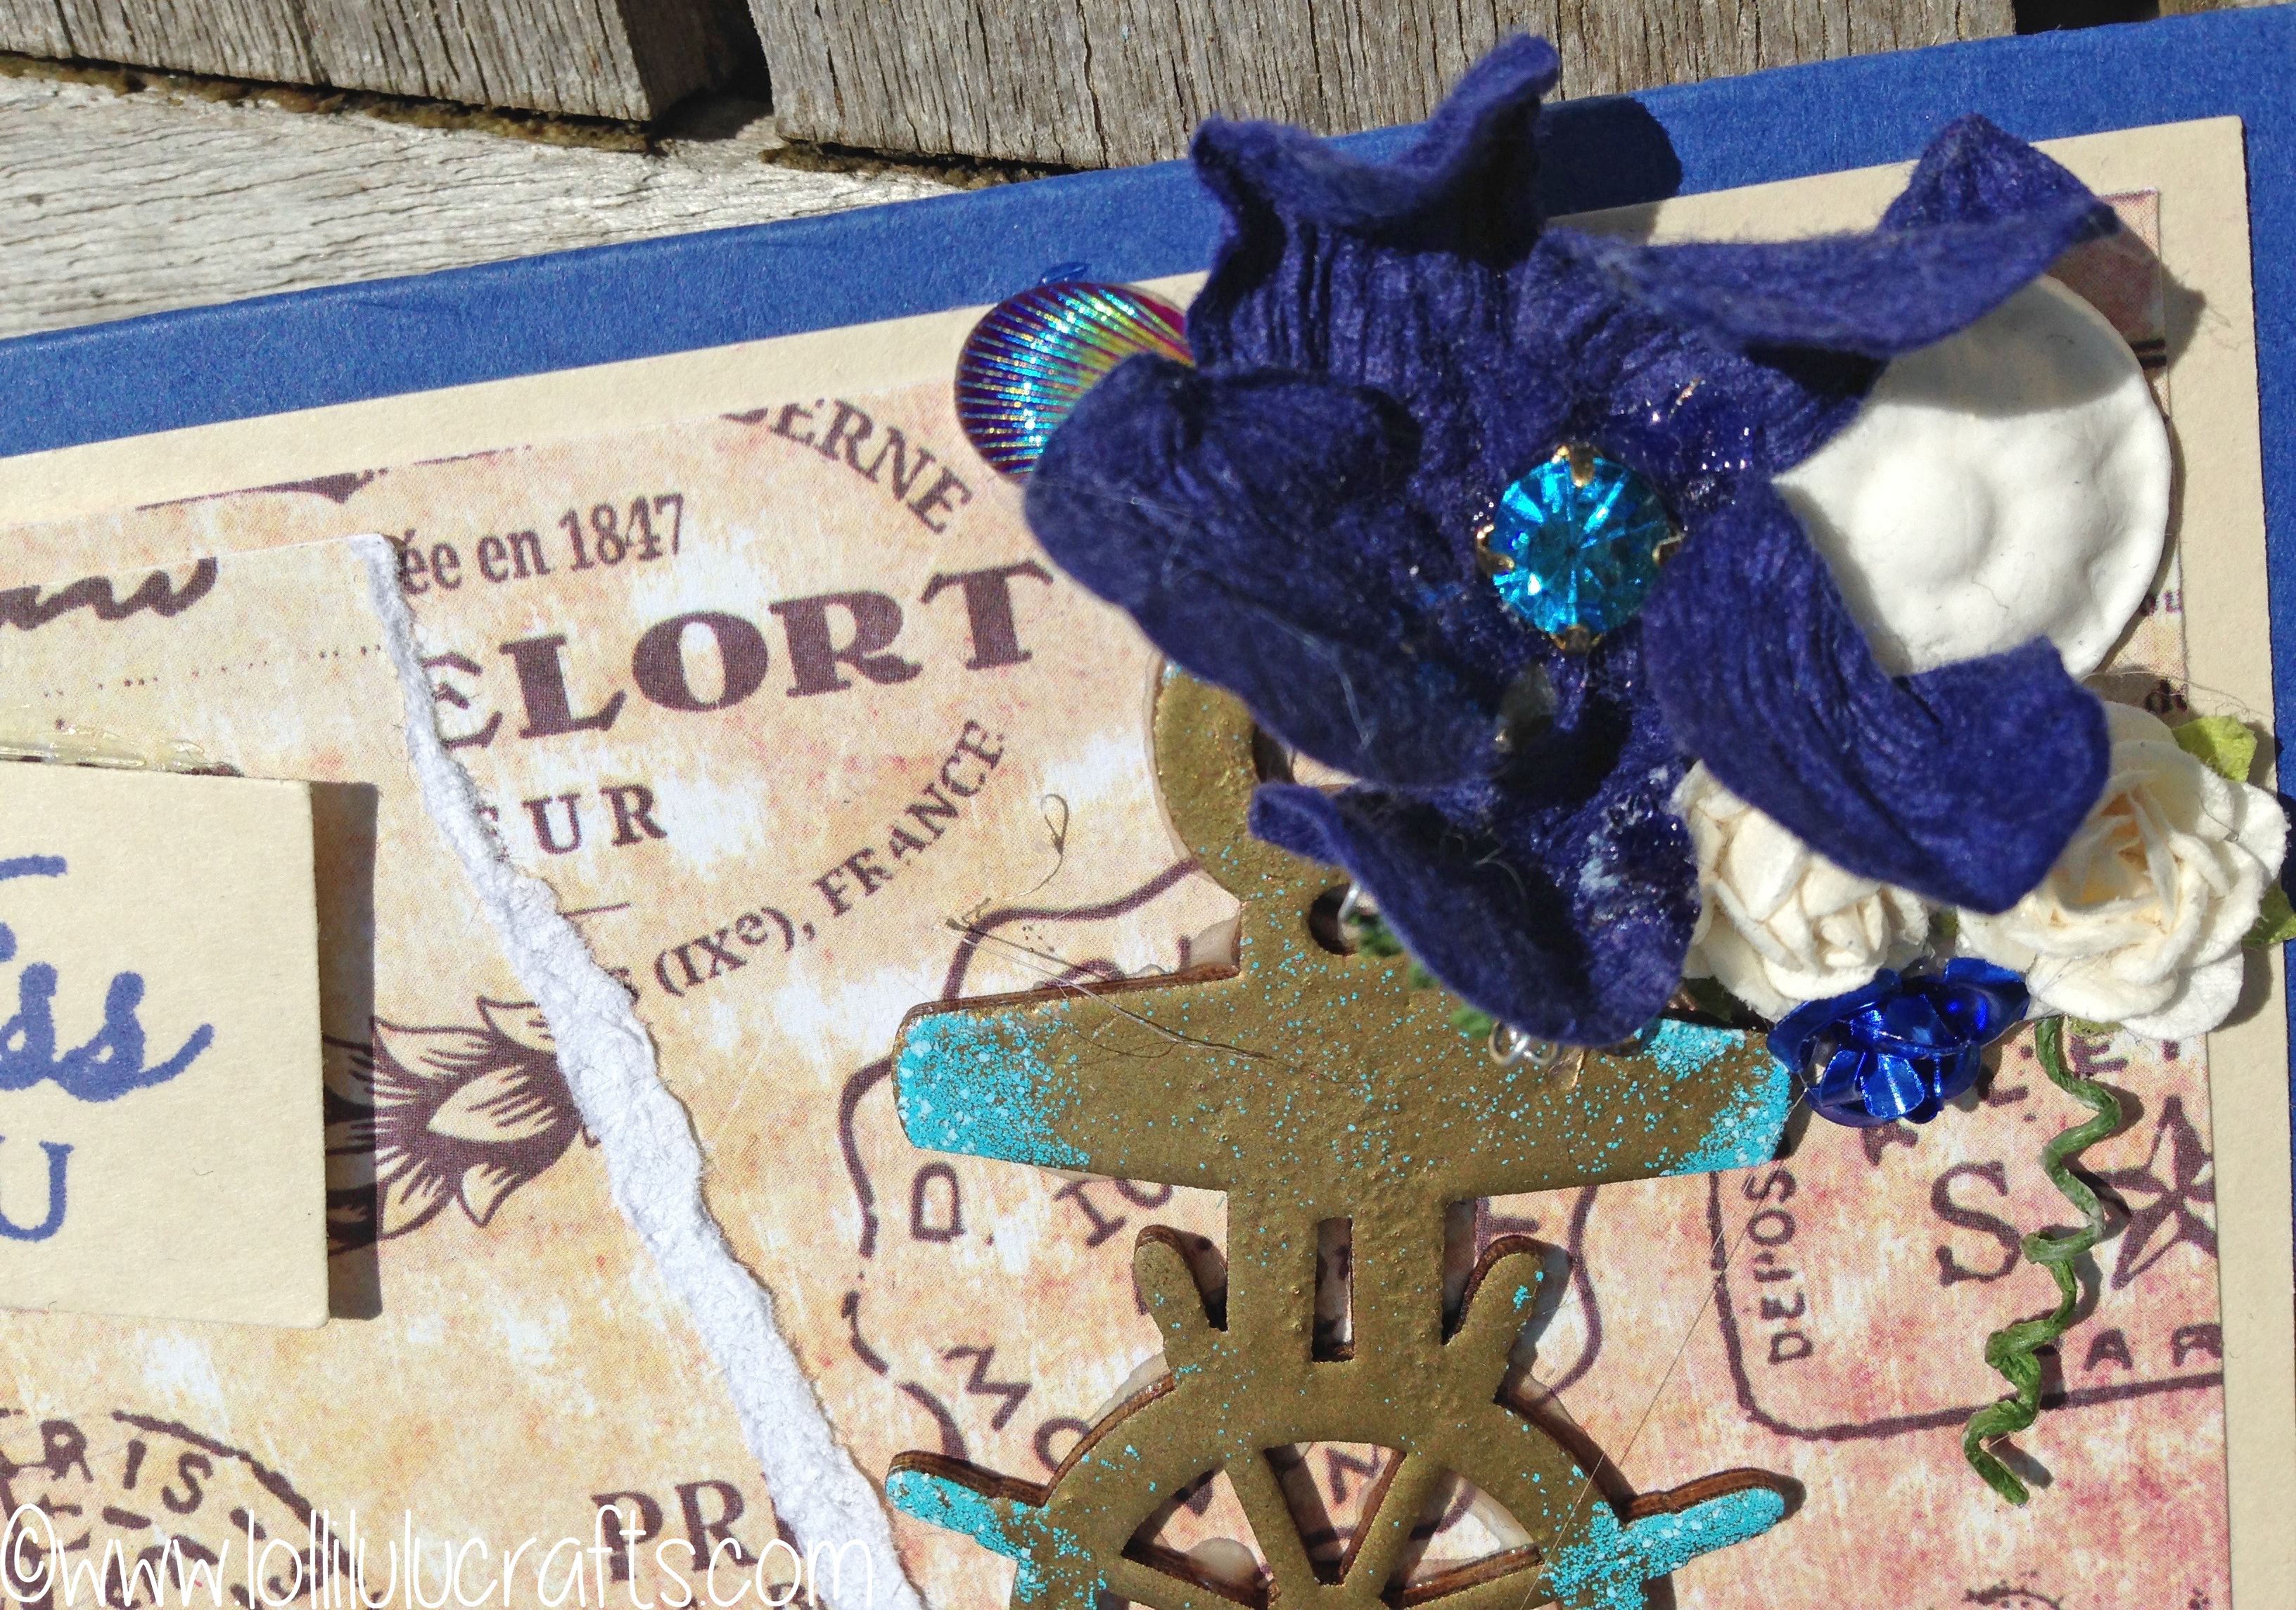
- So the first thing I saw was the wood anchor. I decided to heat emboss first with the gold and then a little accent with the blue.
- I really like how it turned out, it looks kind of like when the verdigris comes onto metal I think.
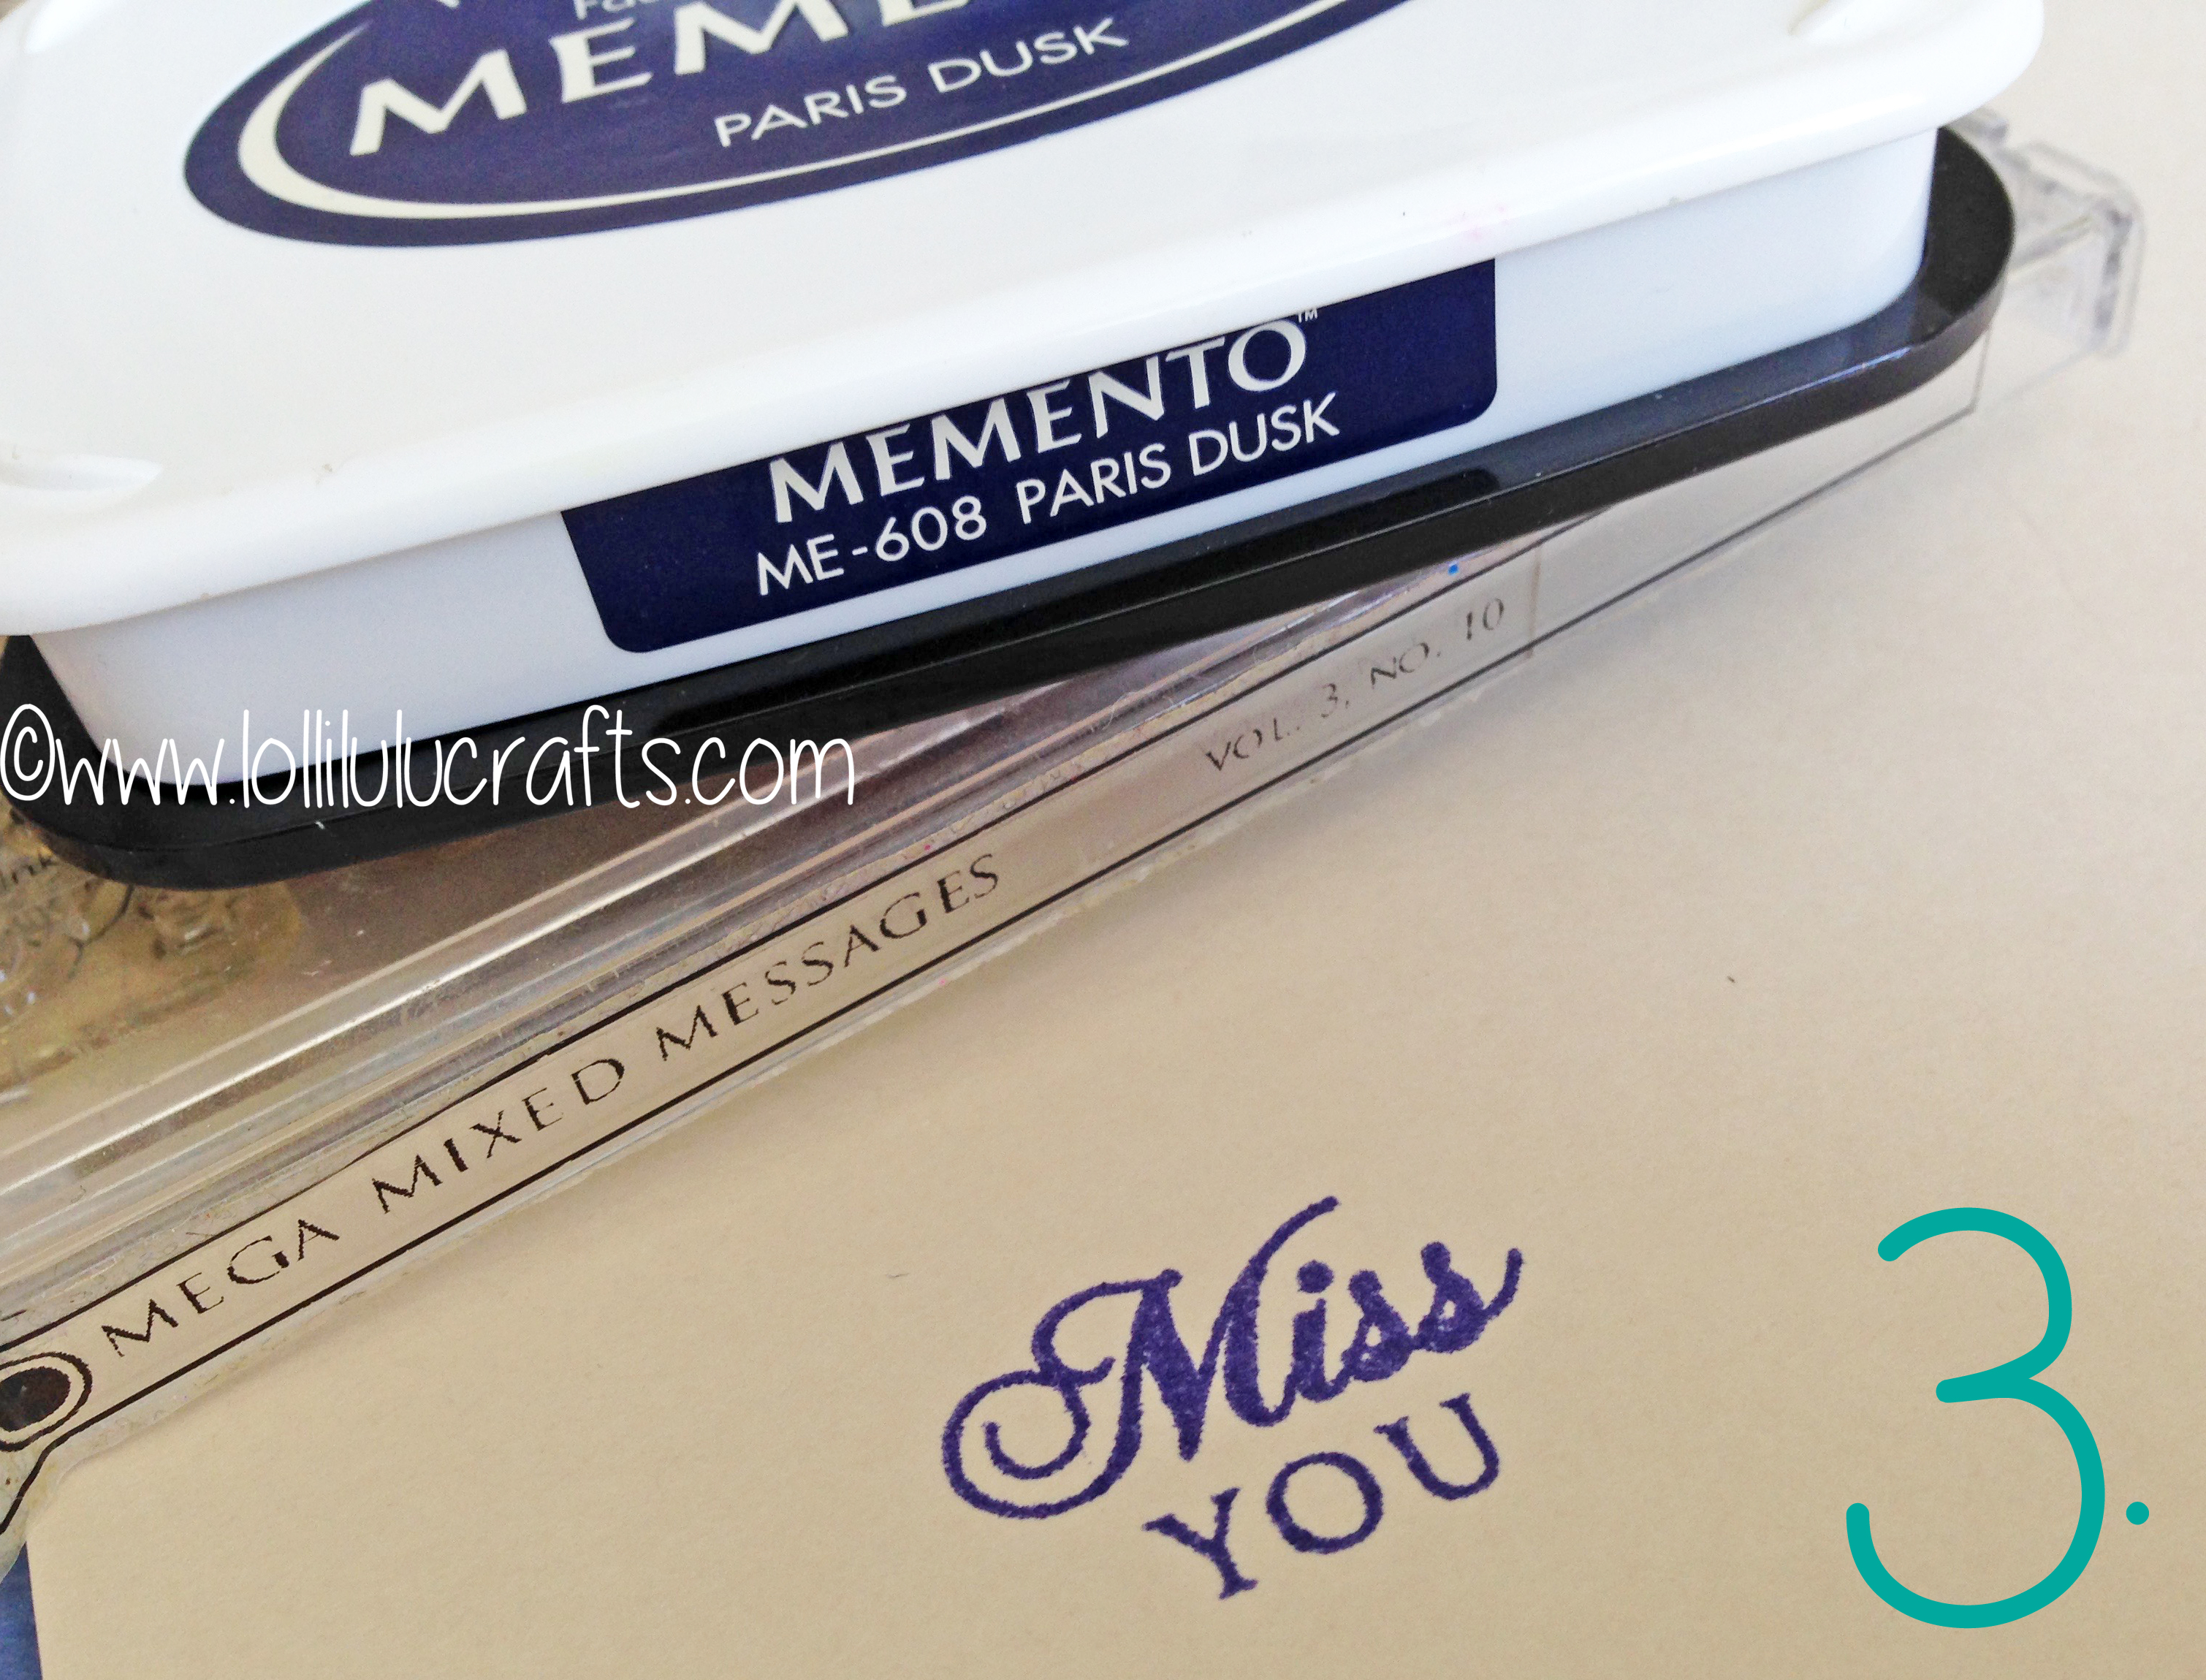
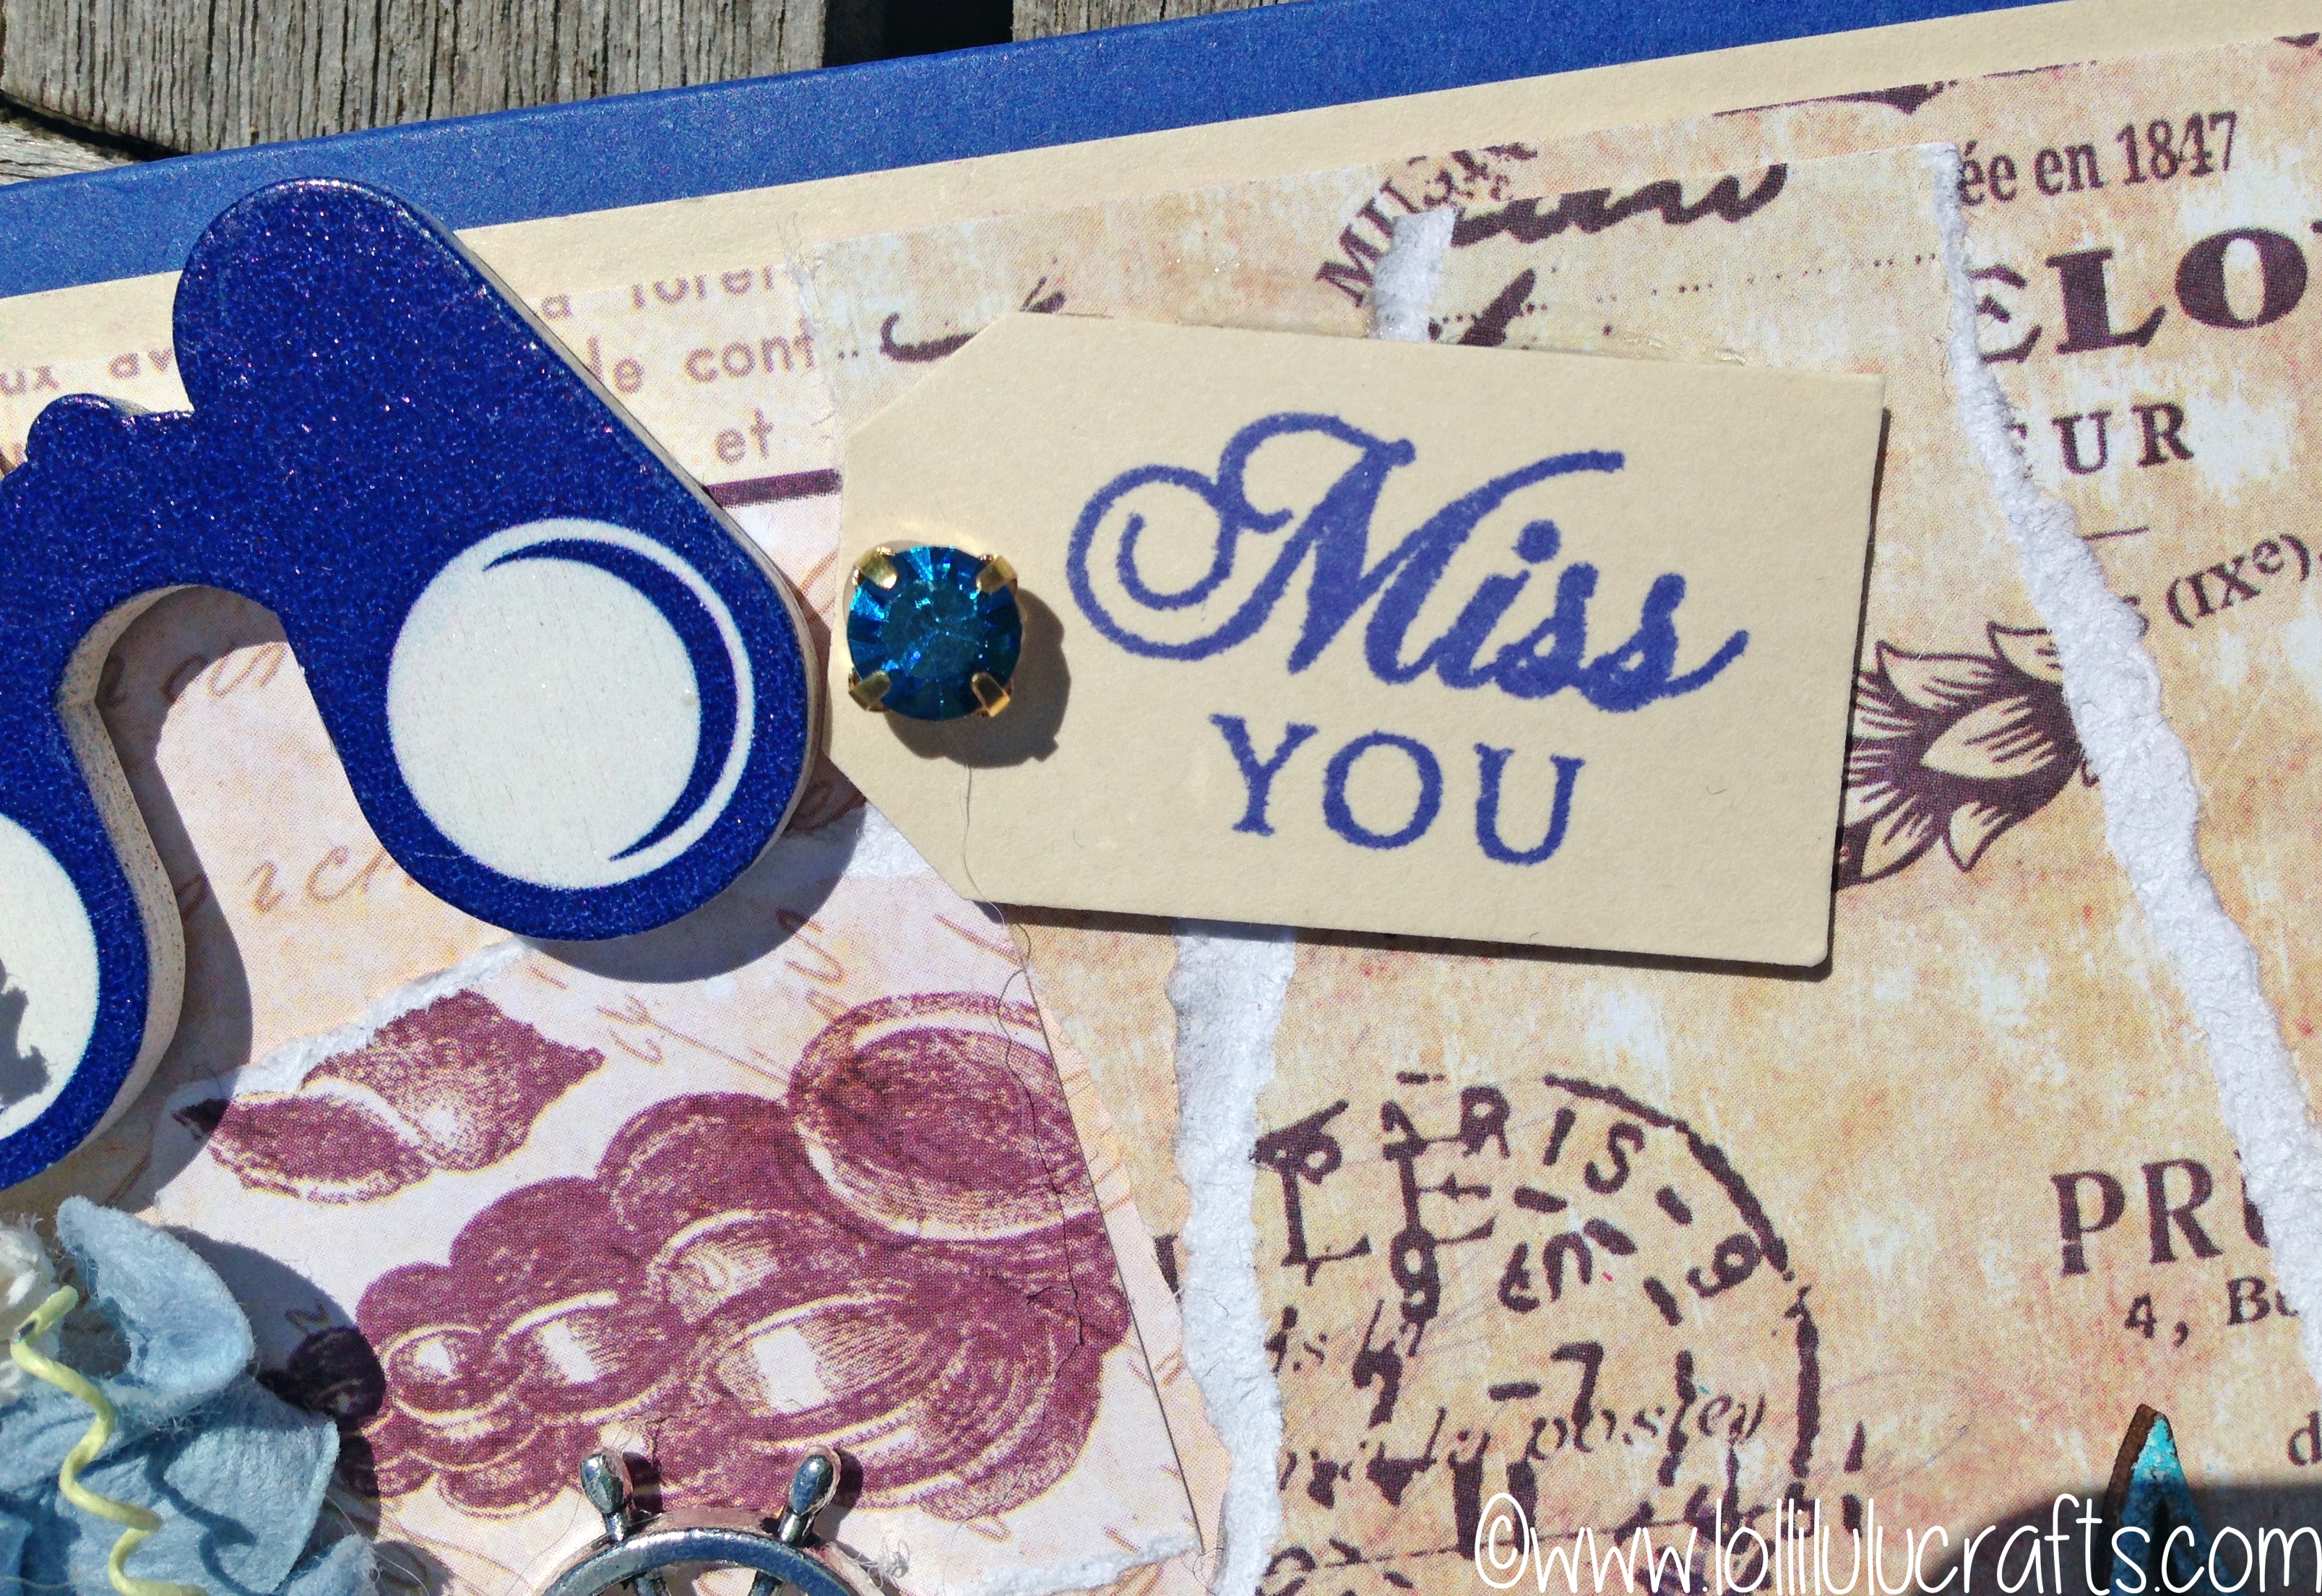
- Next I took a piece of sand coloured Creative Expressions Foundation Card and stamped onto it the ‘Miss You’ sentiment from the PaperTrey Ink stamp set and the blue Memento ink.
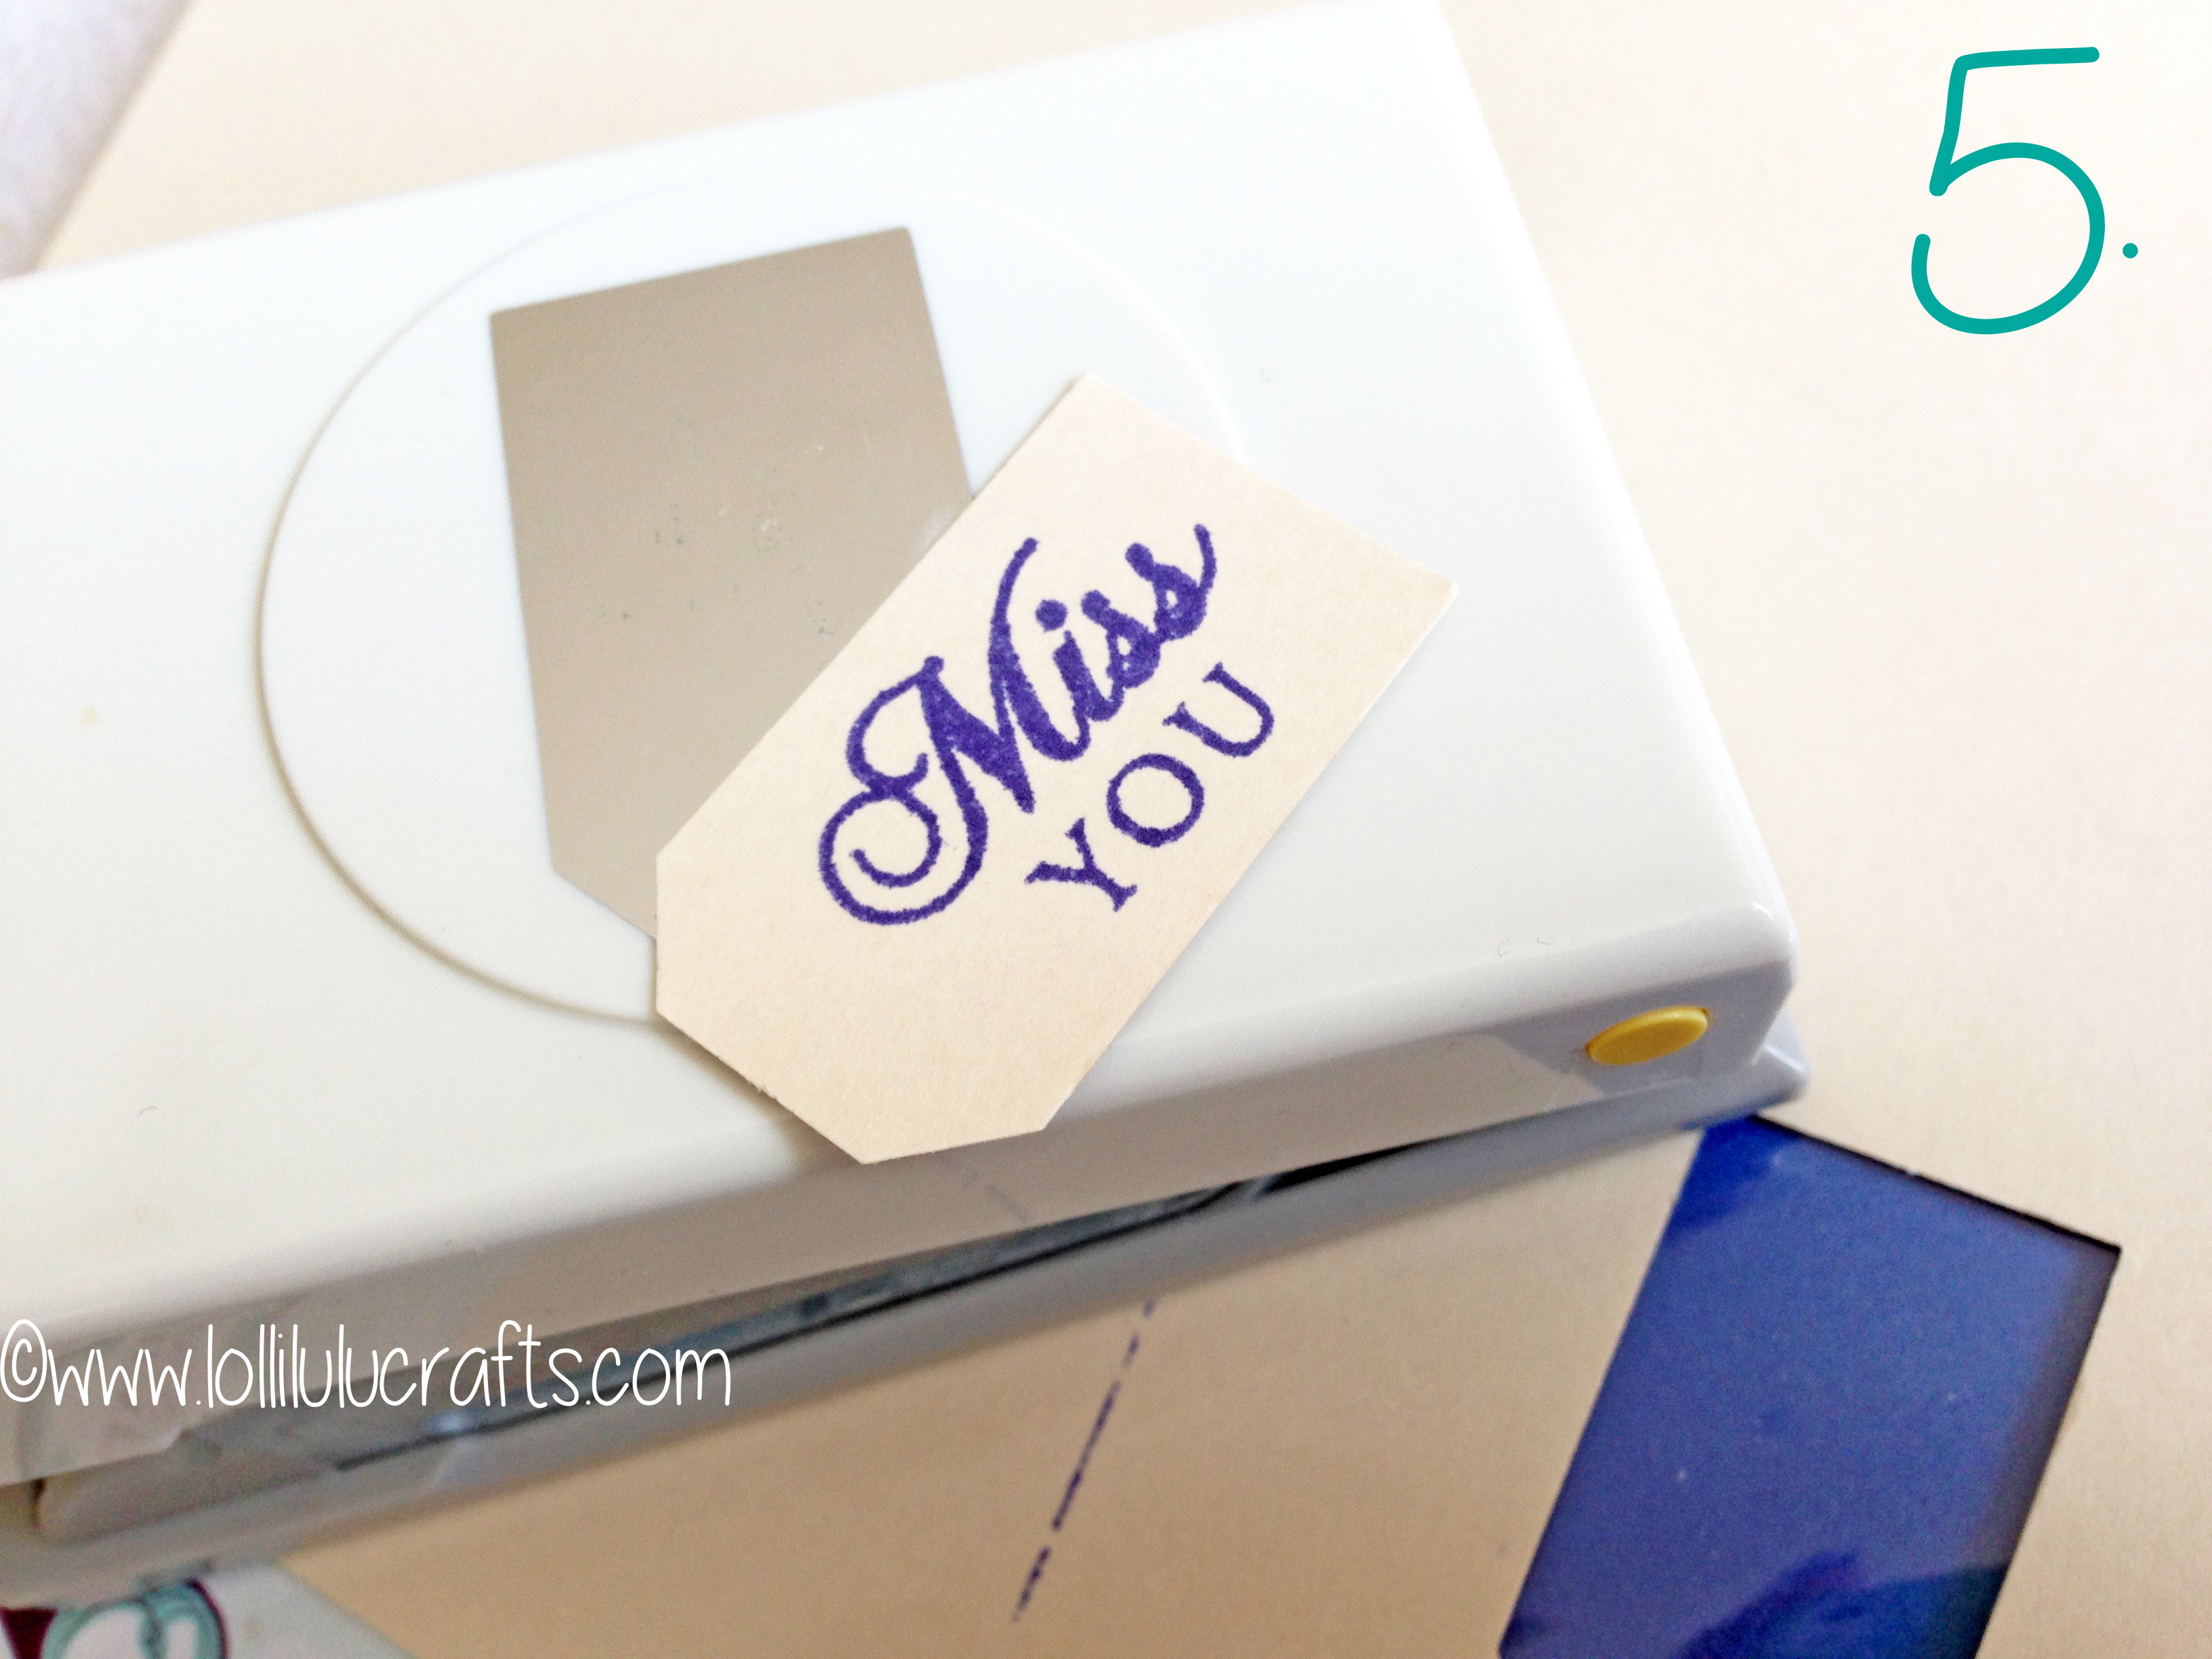
- Then I found a label punch from EK success,
- and punch out my sentiment.
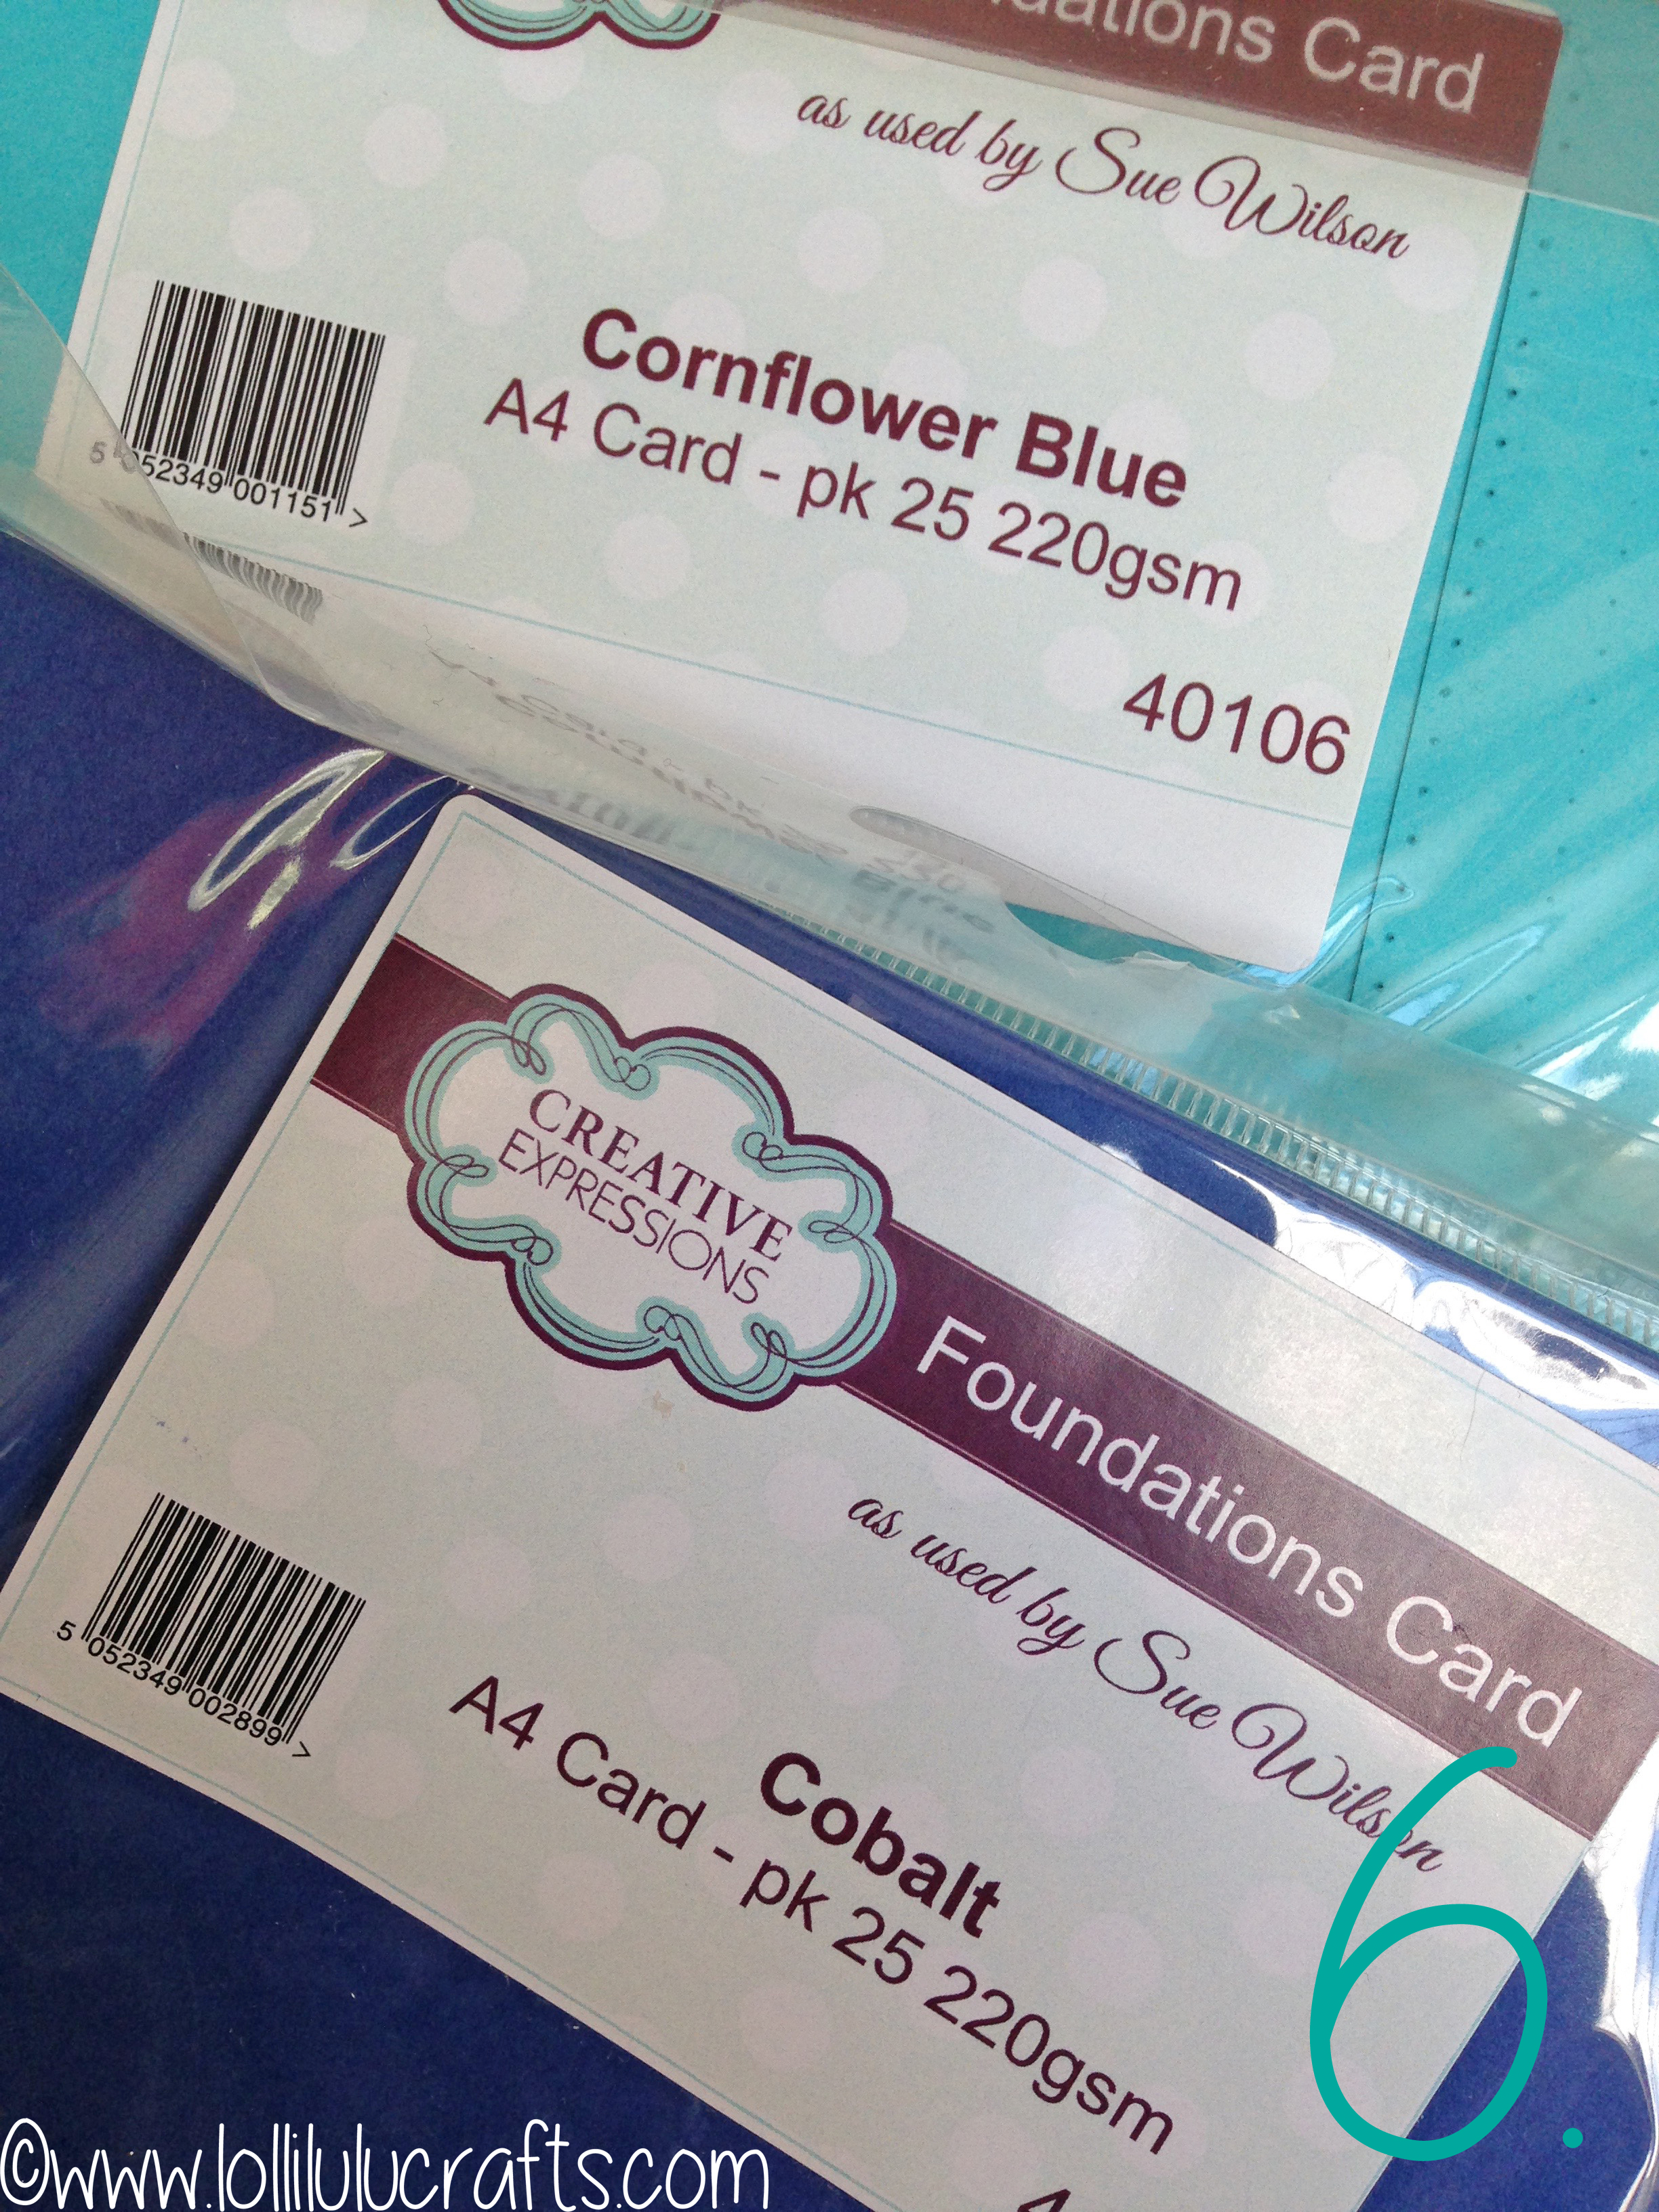
- Then I decided that I really needed some cardstock to make my card base so I picked out these two fabulous colours also from Creative Expressions Foundation range. They went really well with the elements in the Craft Box.
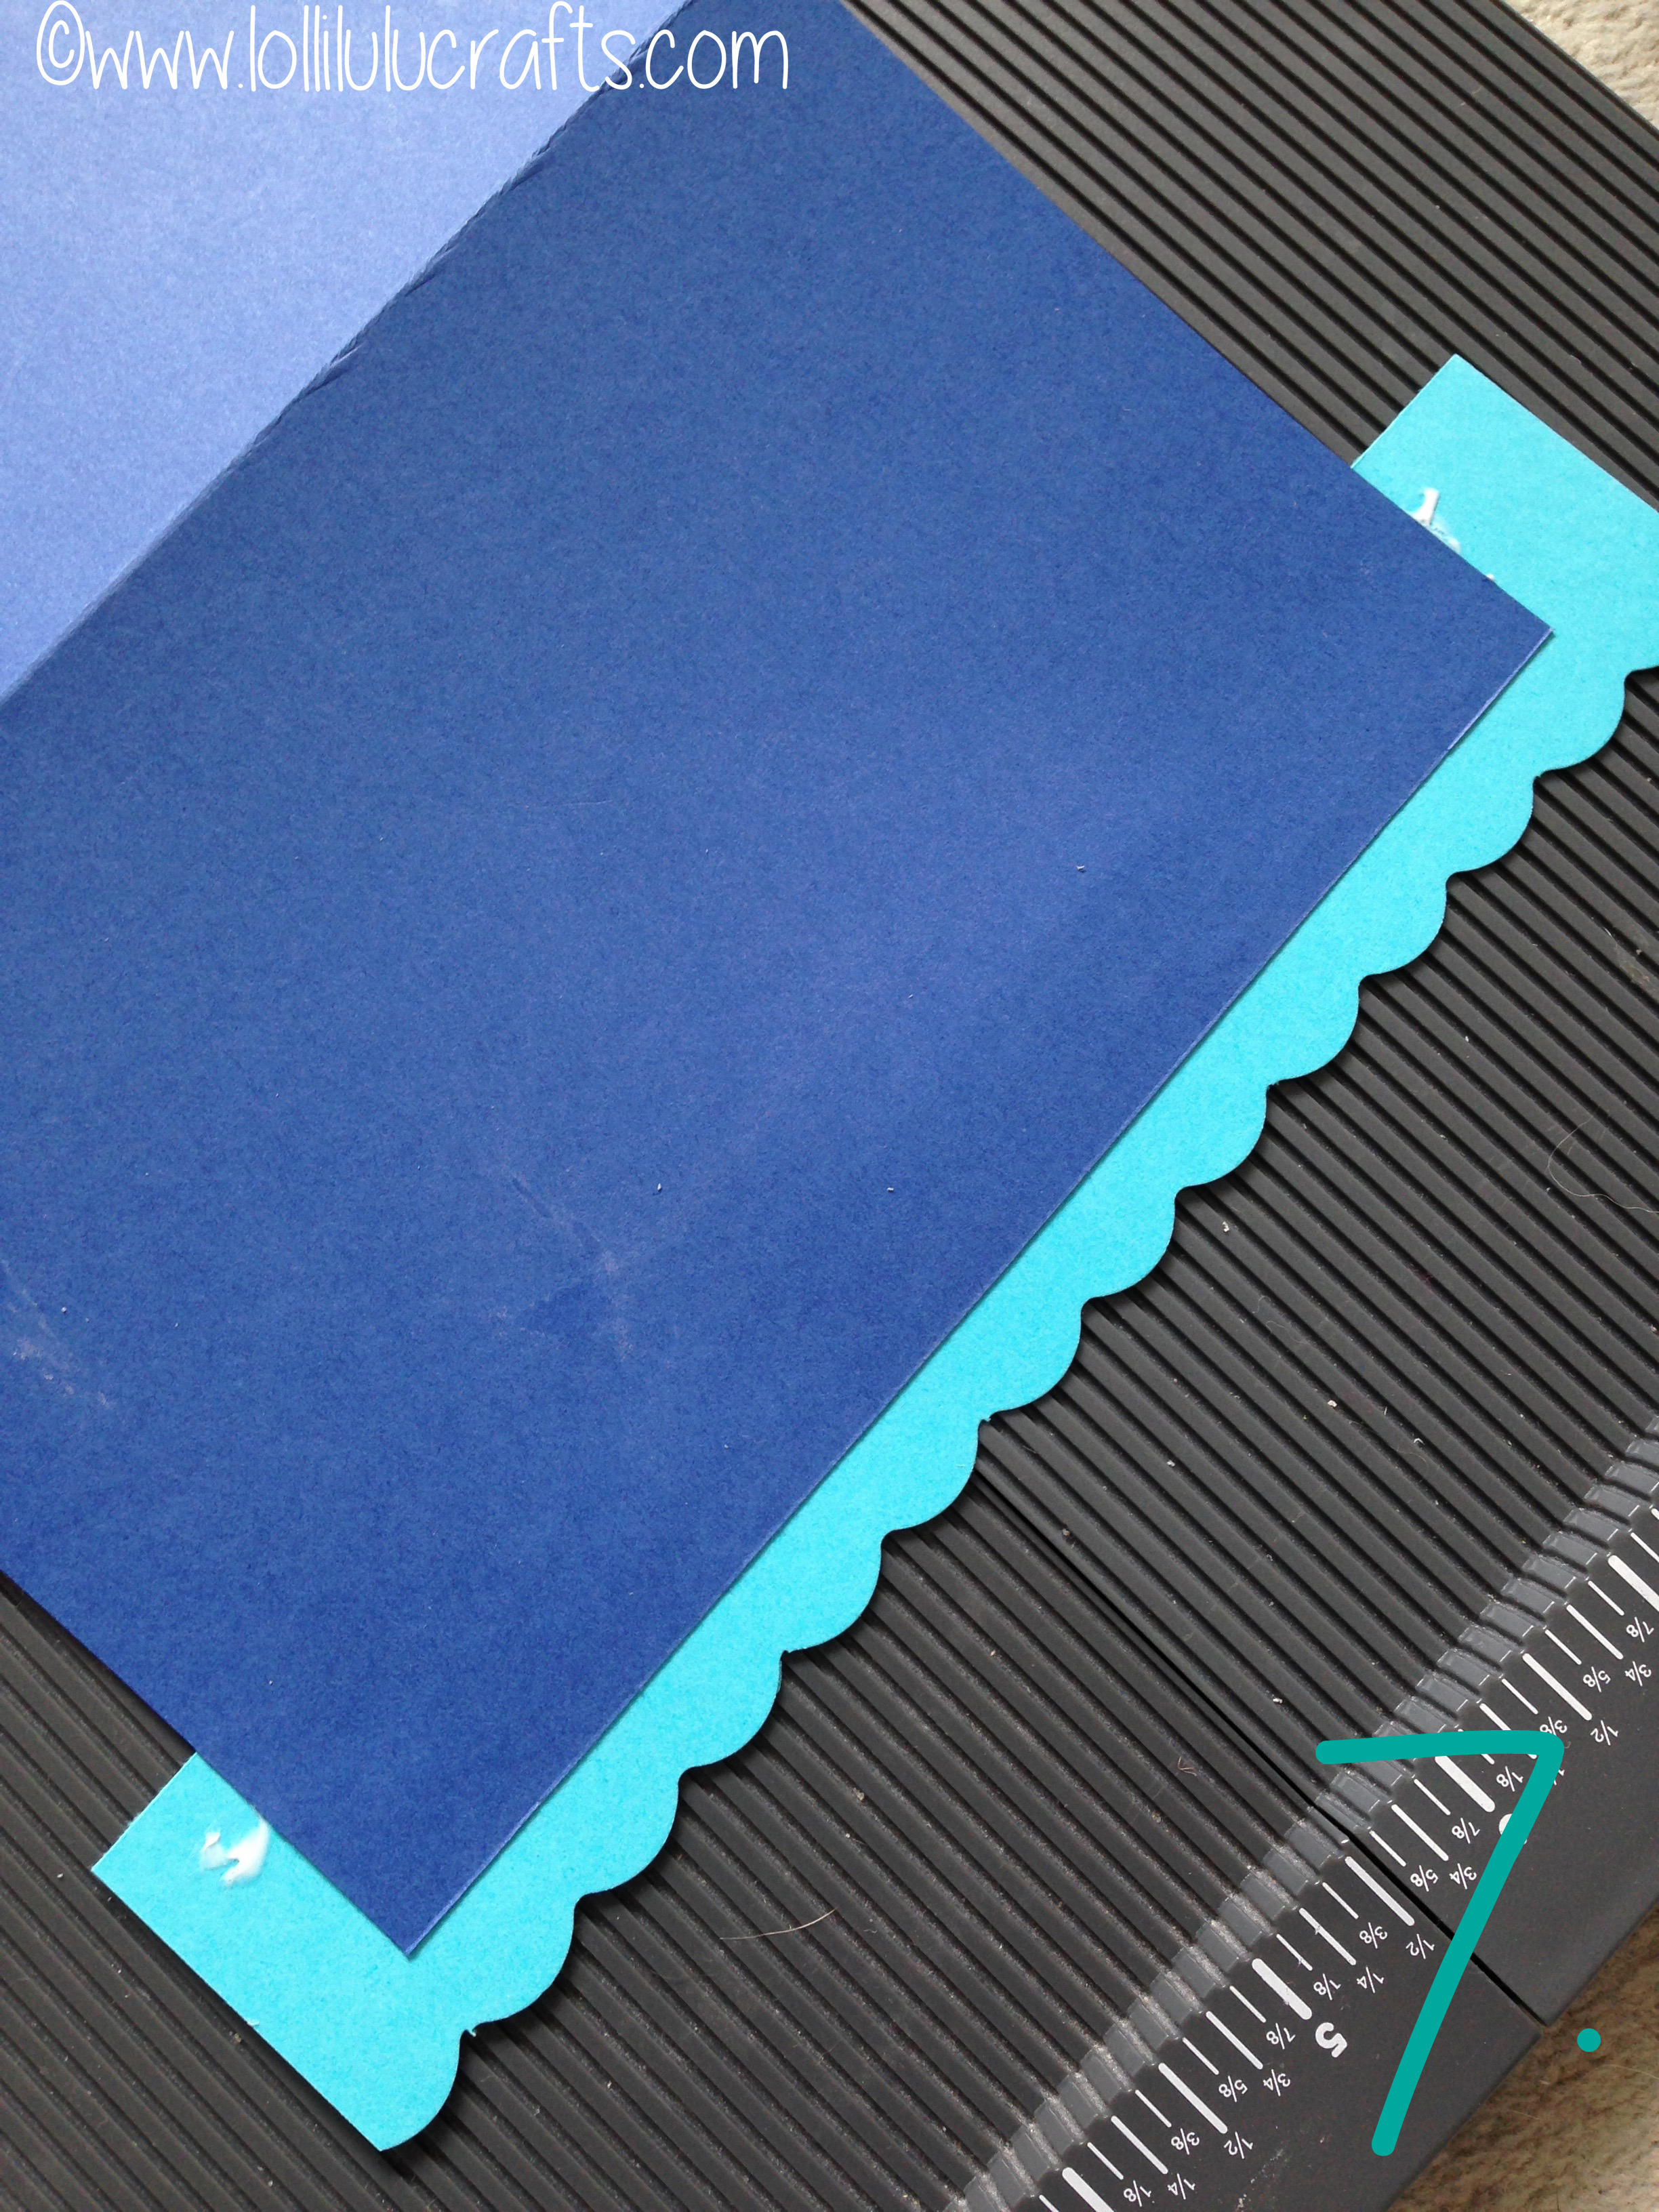
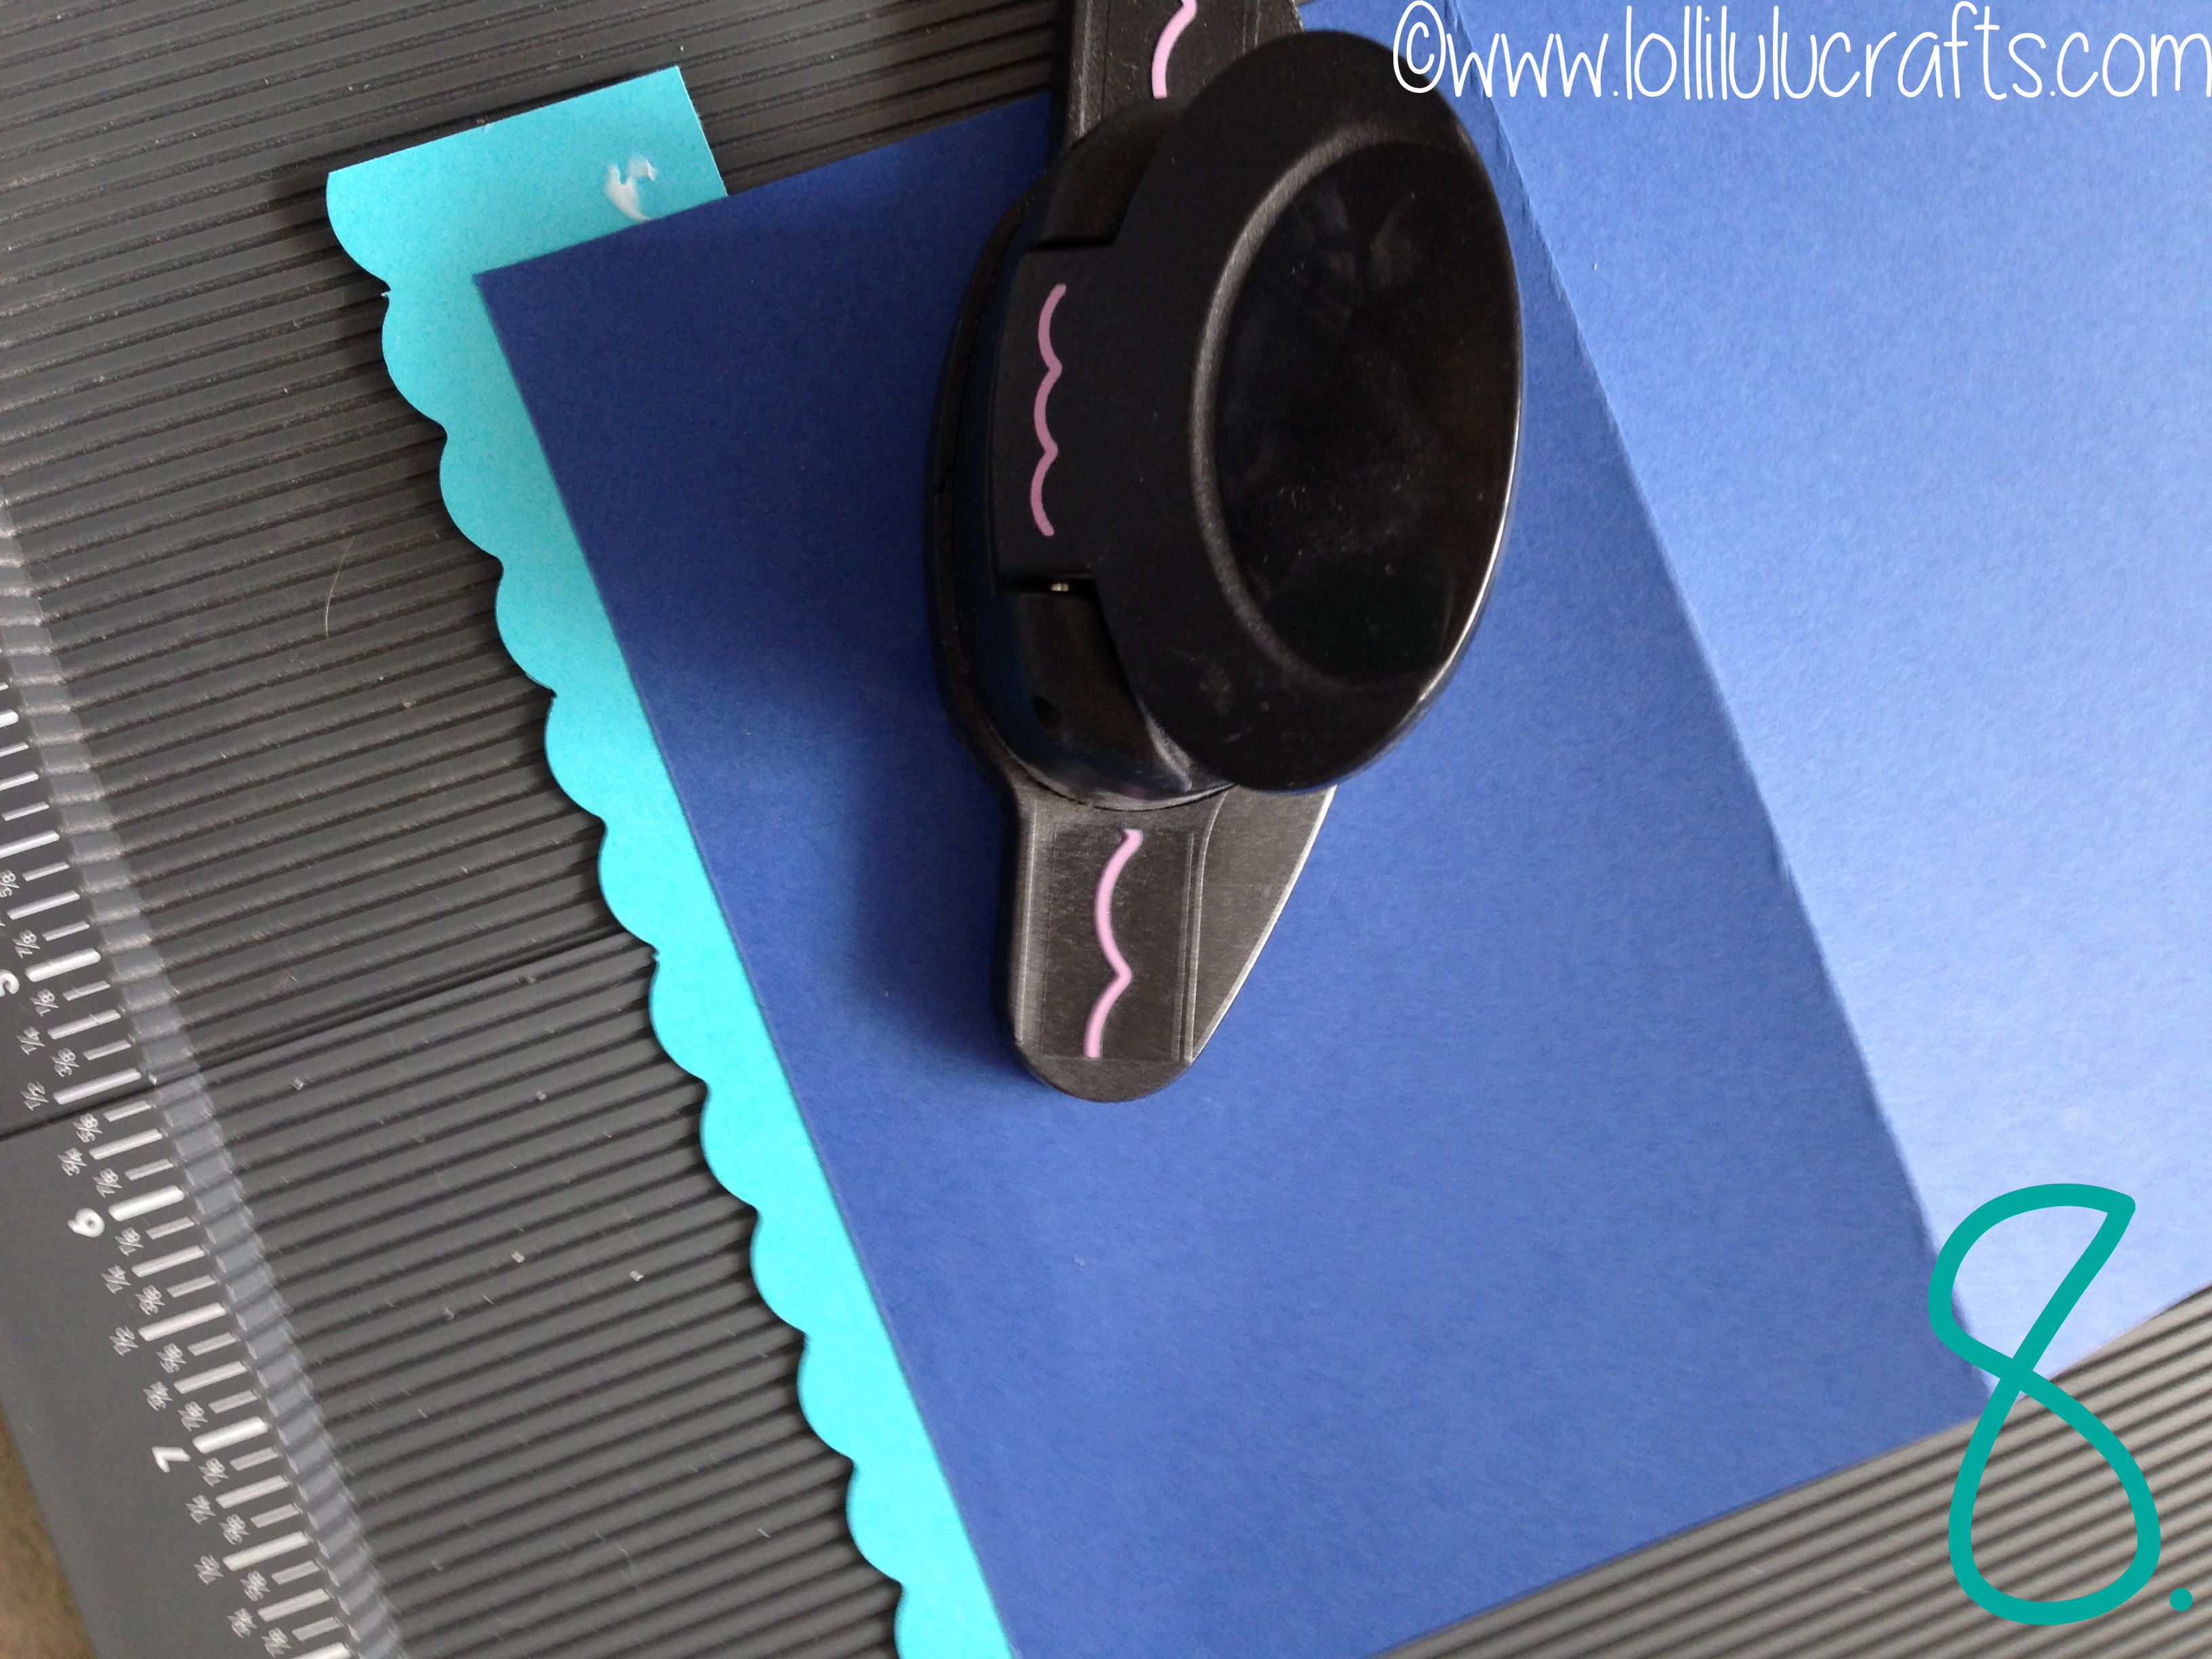
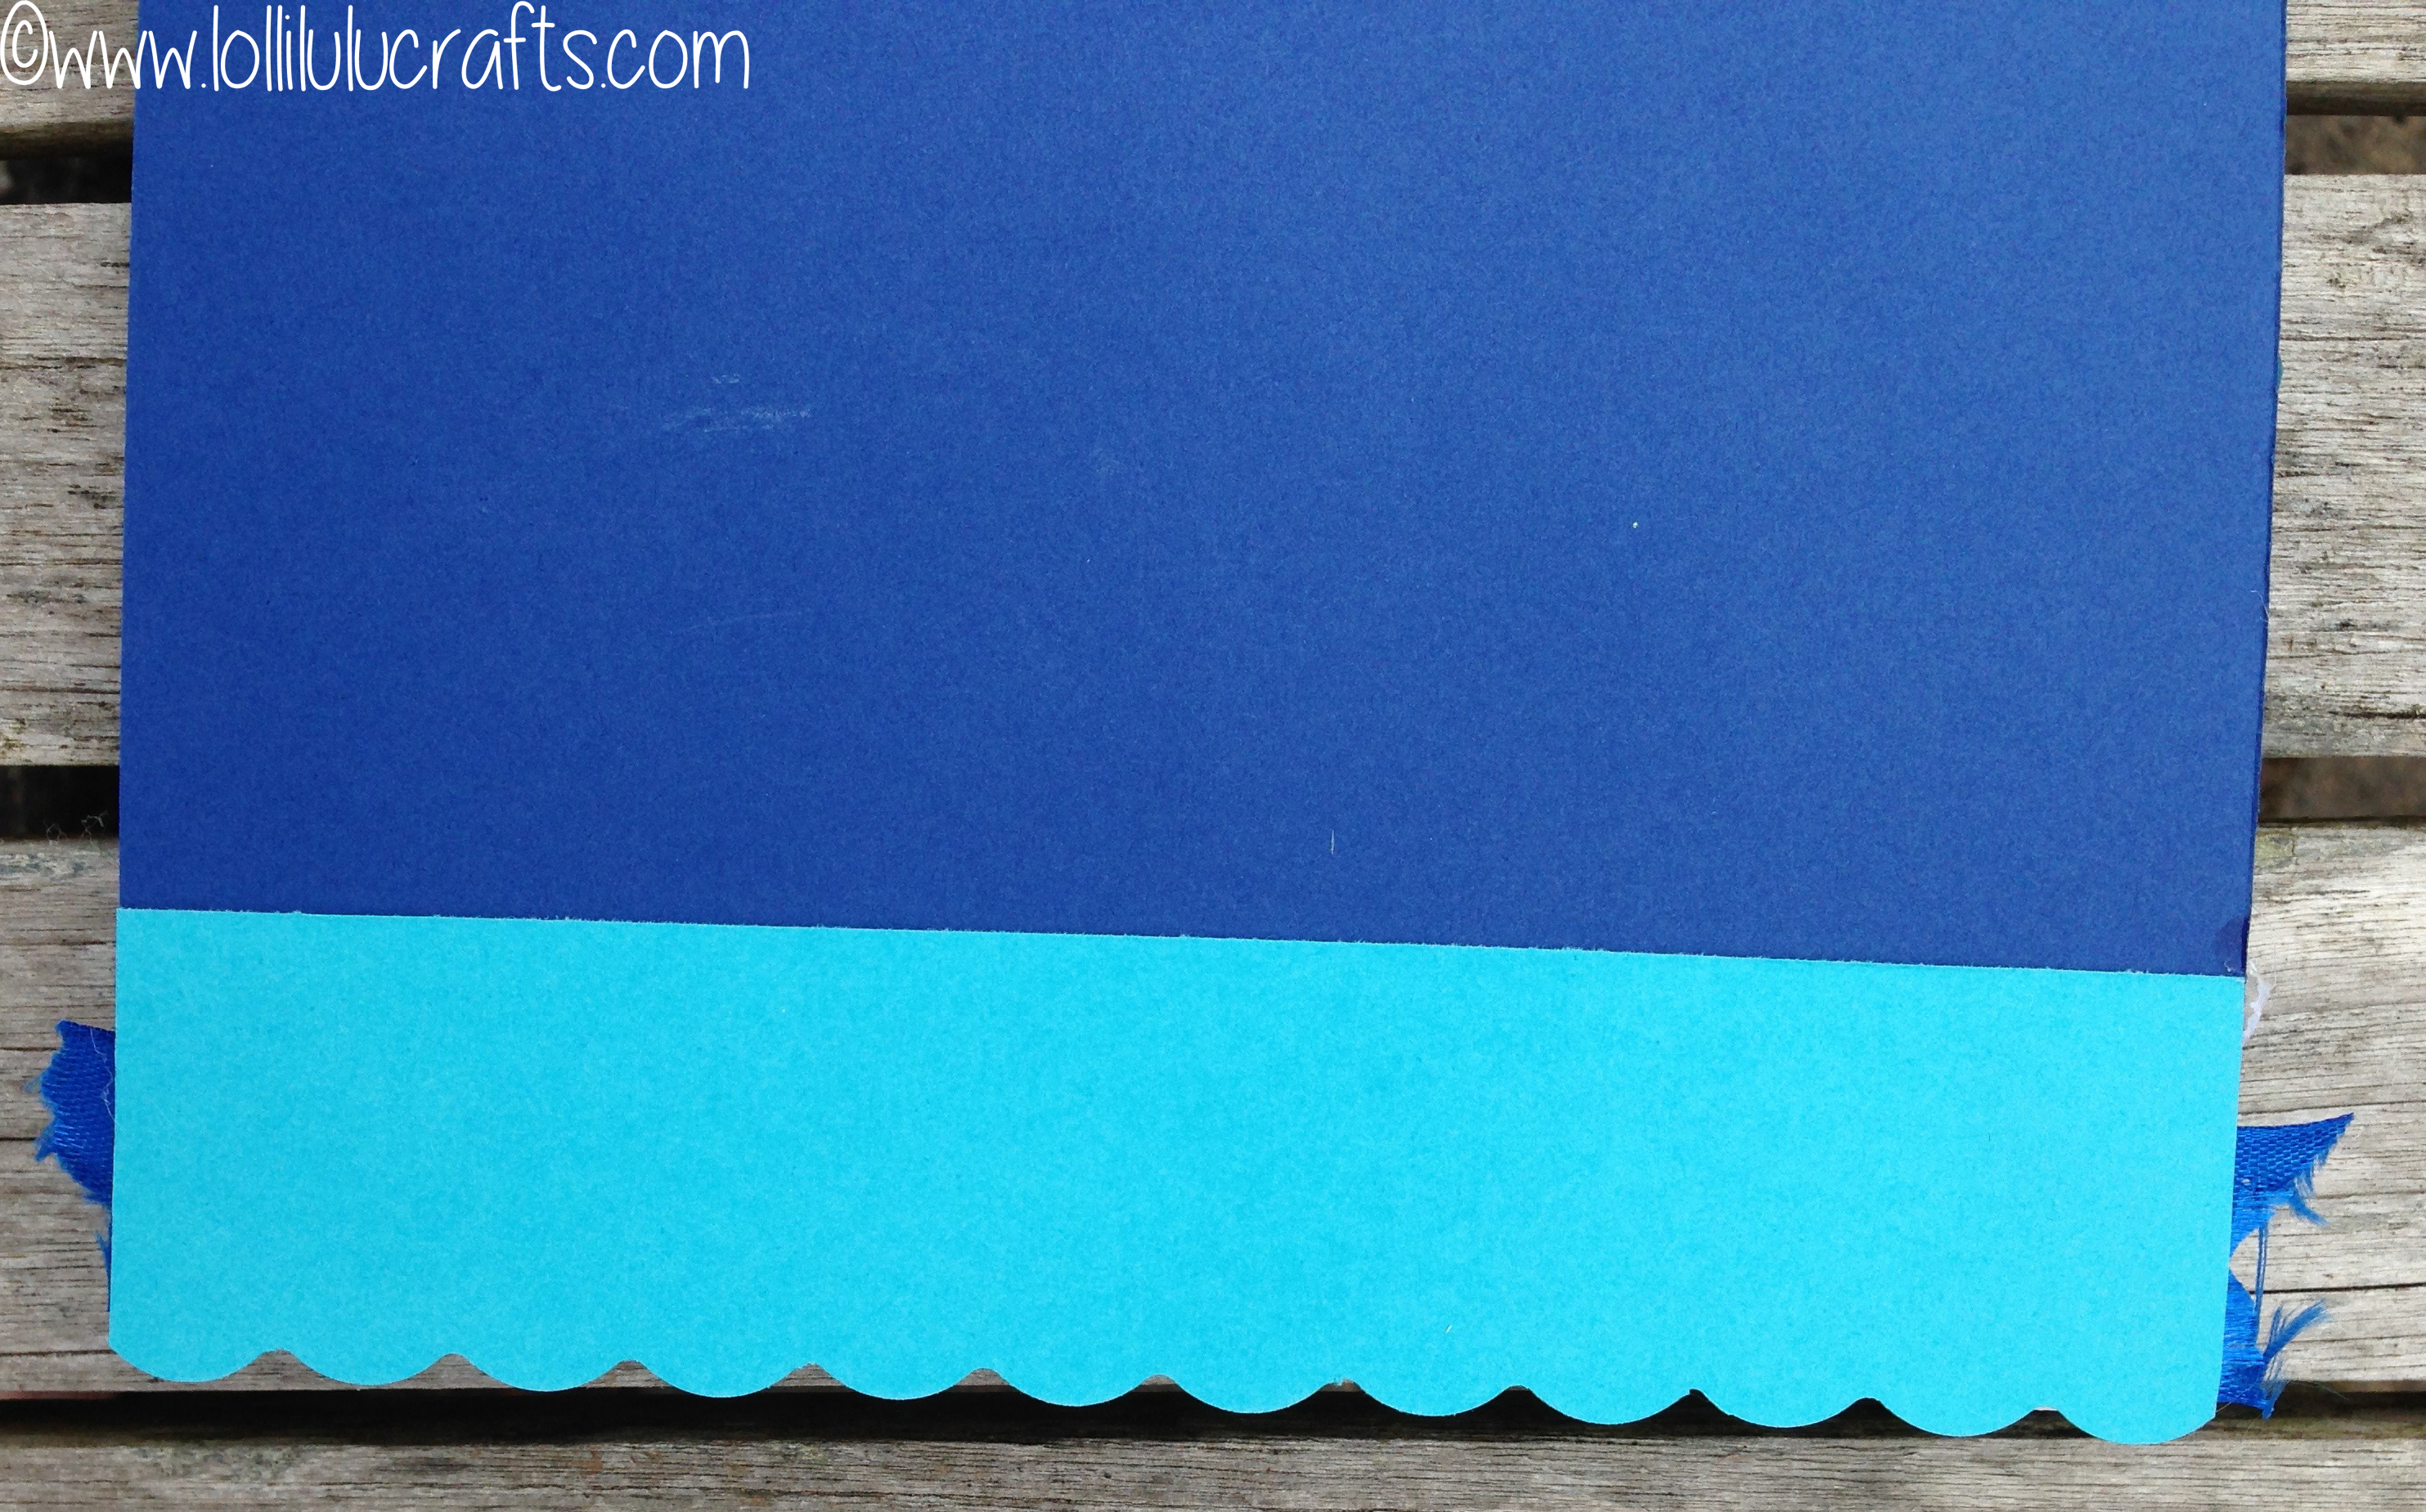
- I then made a 5″ x 7″ card base in the Cobalt Blue cutting 1″ off the long side front edge so that I could add a small scallop edge piece in the Cornflower blue.
- I punch my scallop edge using a X-cut scallop punch and stuck it to the card so that the card base ended back up to a 5″ x 7″ card. I then put this to one side for the moment.
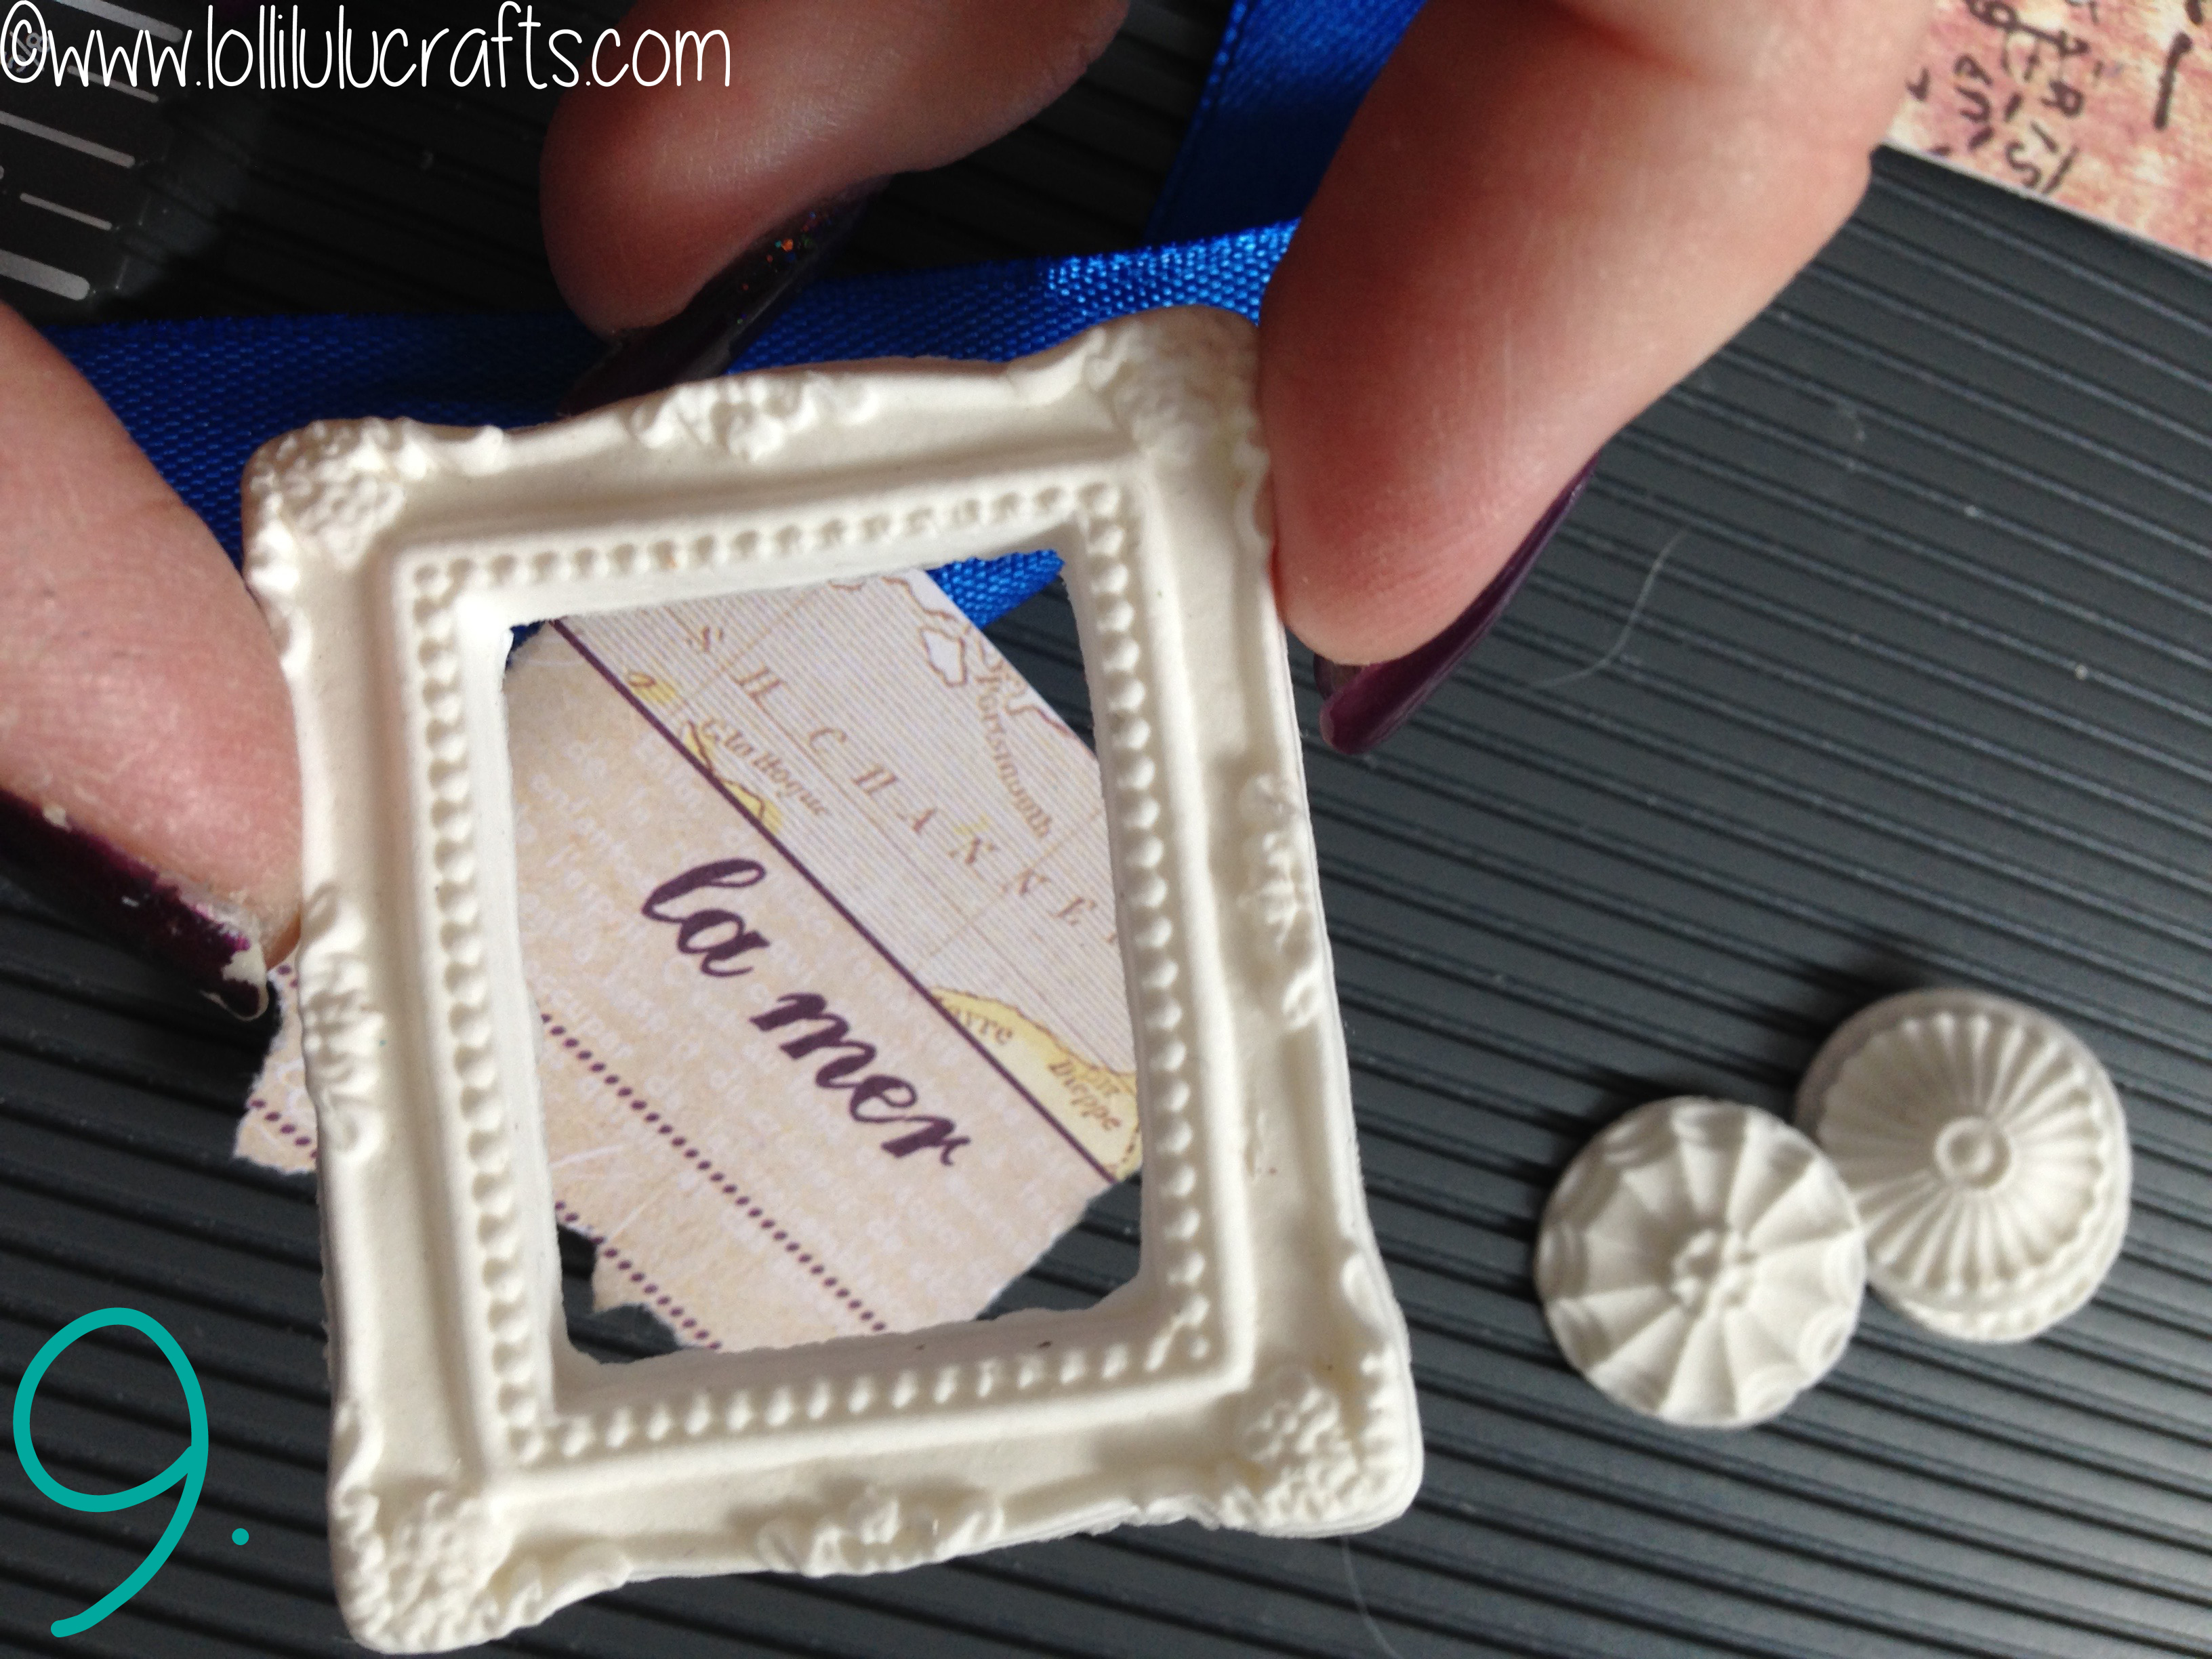
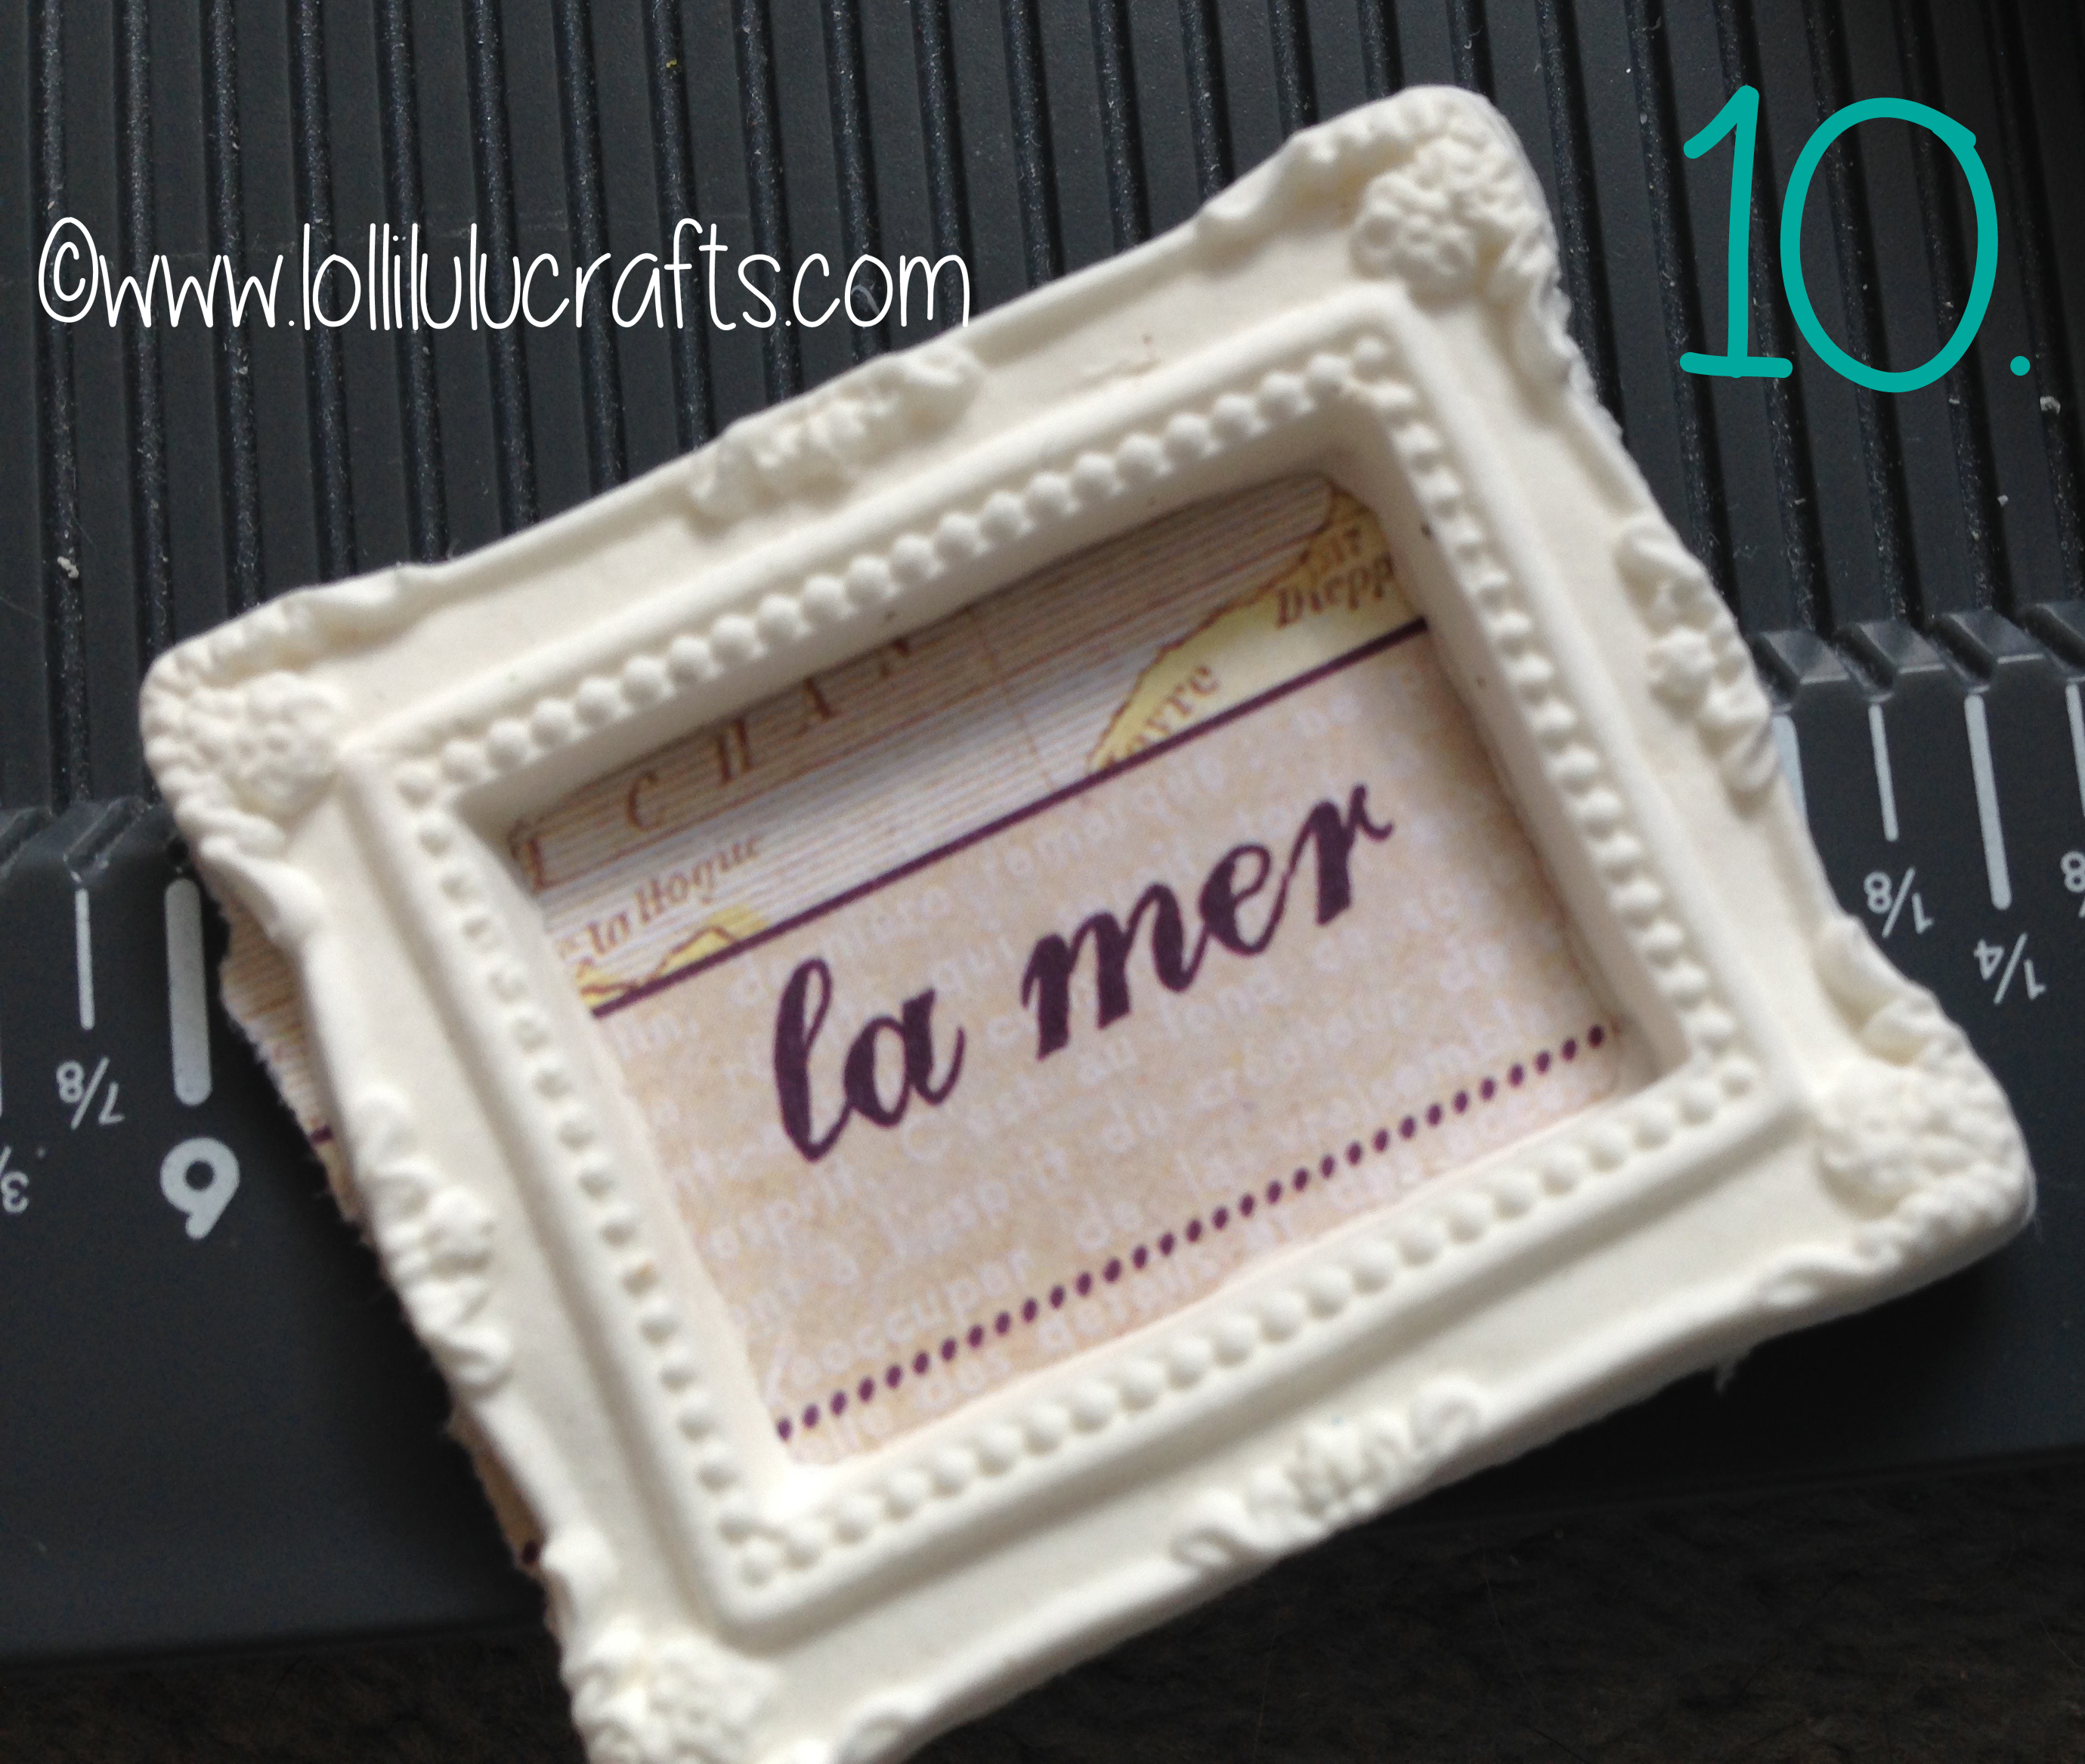
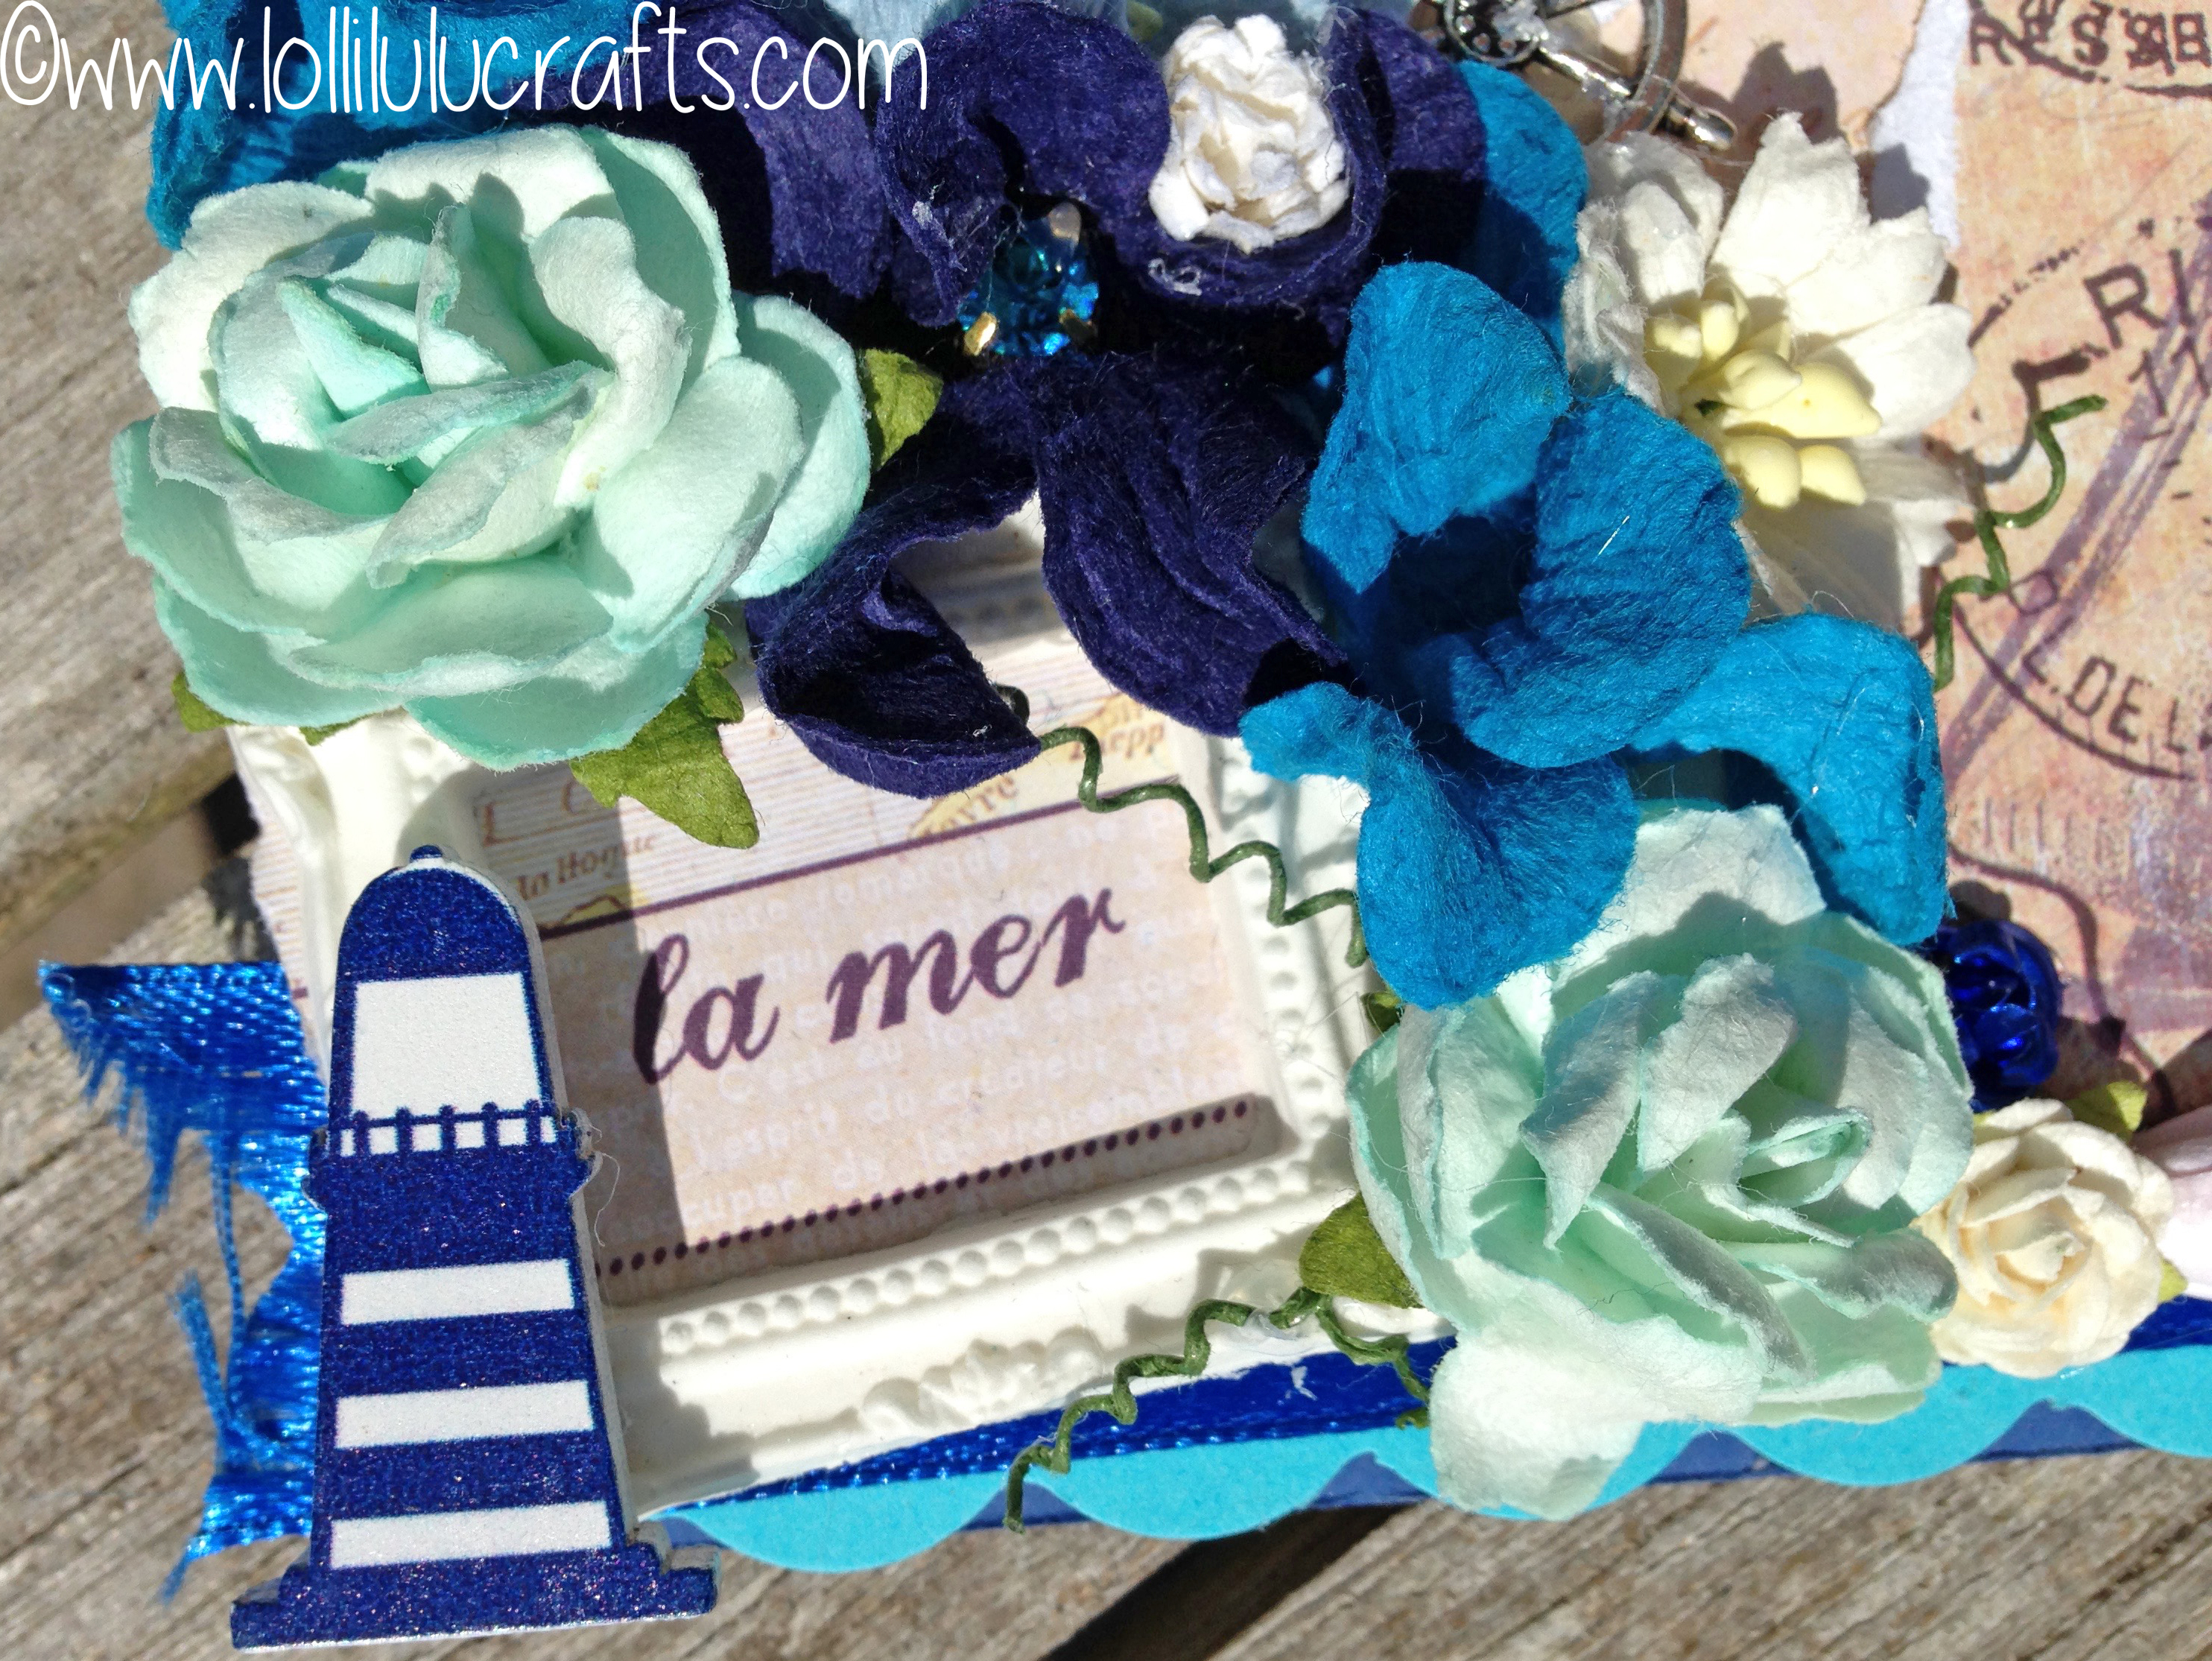
- Next I found some pieces that I had previously made using the Martha Stewart paper ‘clay’ and molds. I took the mini frame and a tore a the words ‘Le Mer’ (the sea) from one of the pieces of paper that came in the craft box.
- I stuck the frame over the words to create a really cool way to highlight that text. I put this and a couple of the other clay pieces to one side for the moment as I still really had no plan and was just opening my mind to just doing things to the card as I felt inspired.
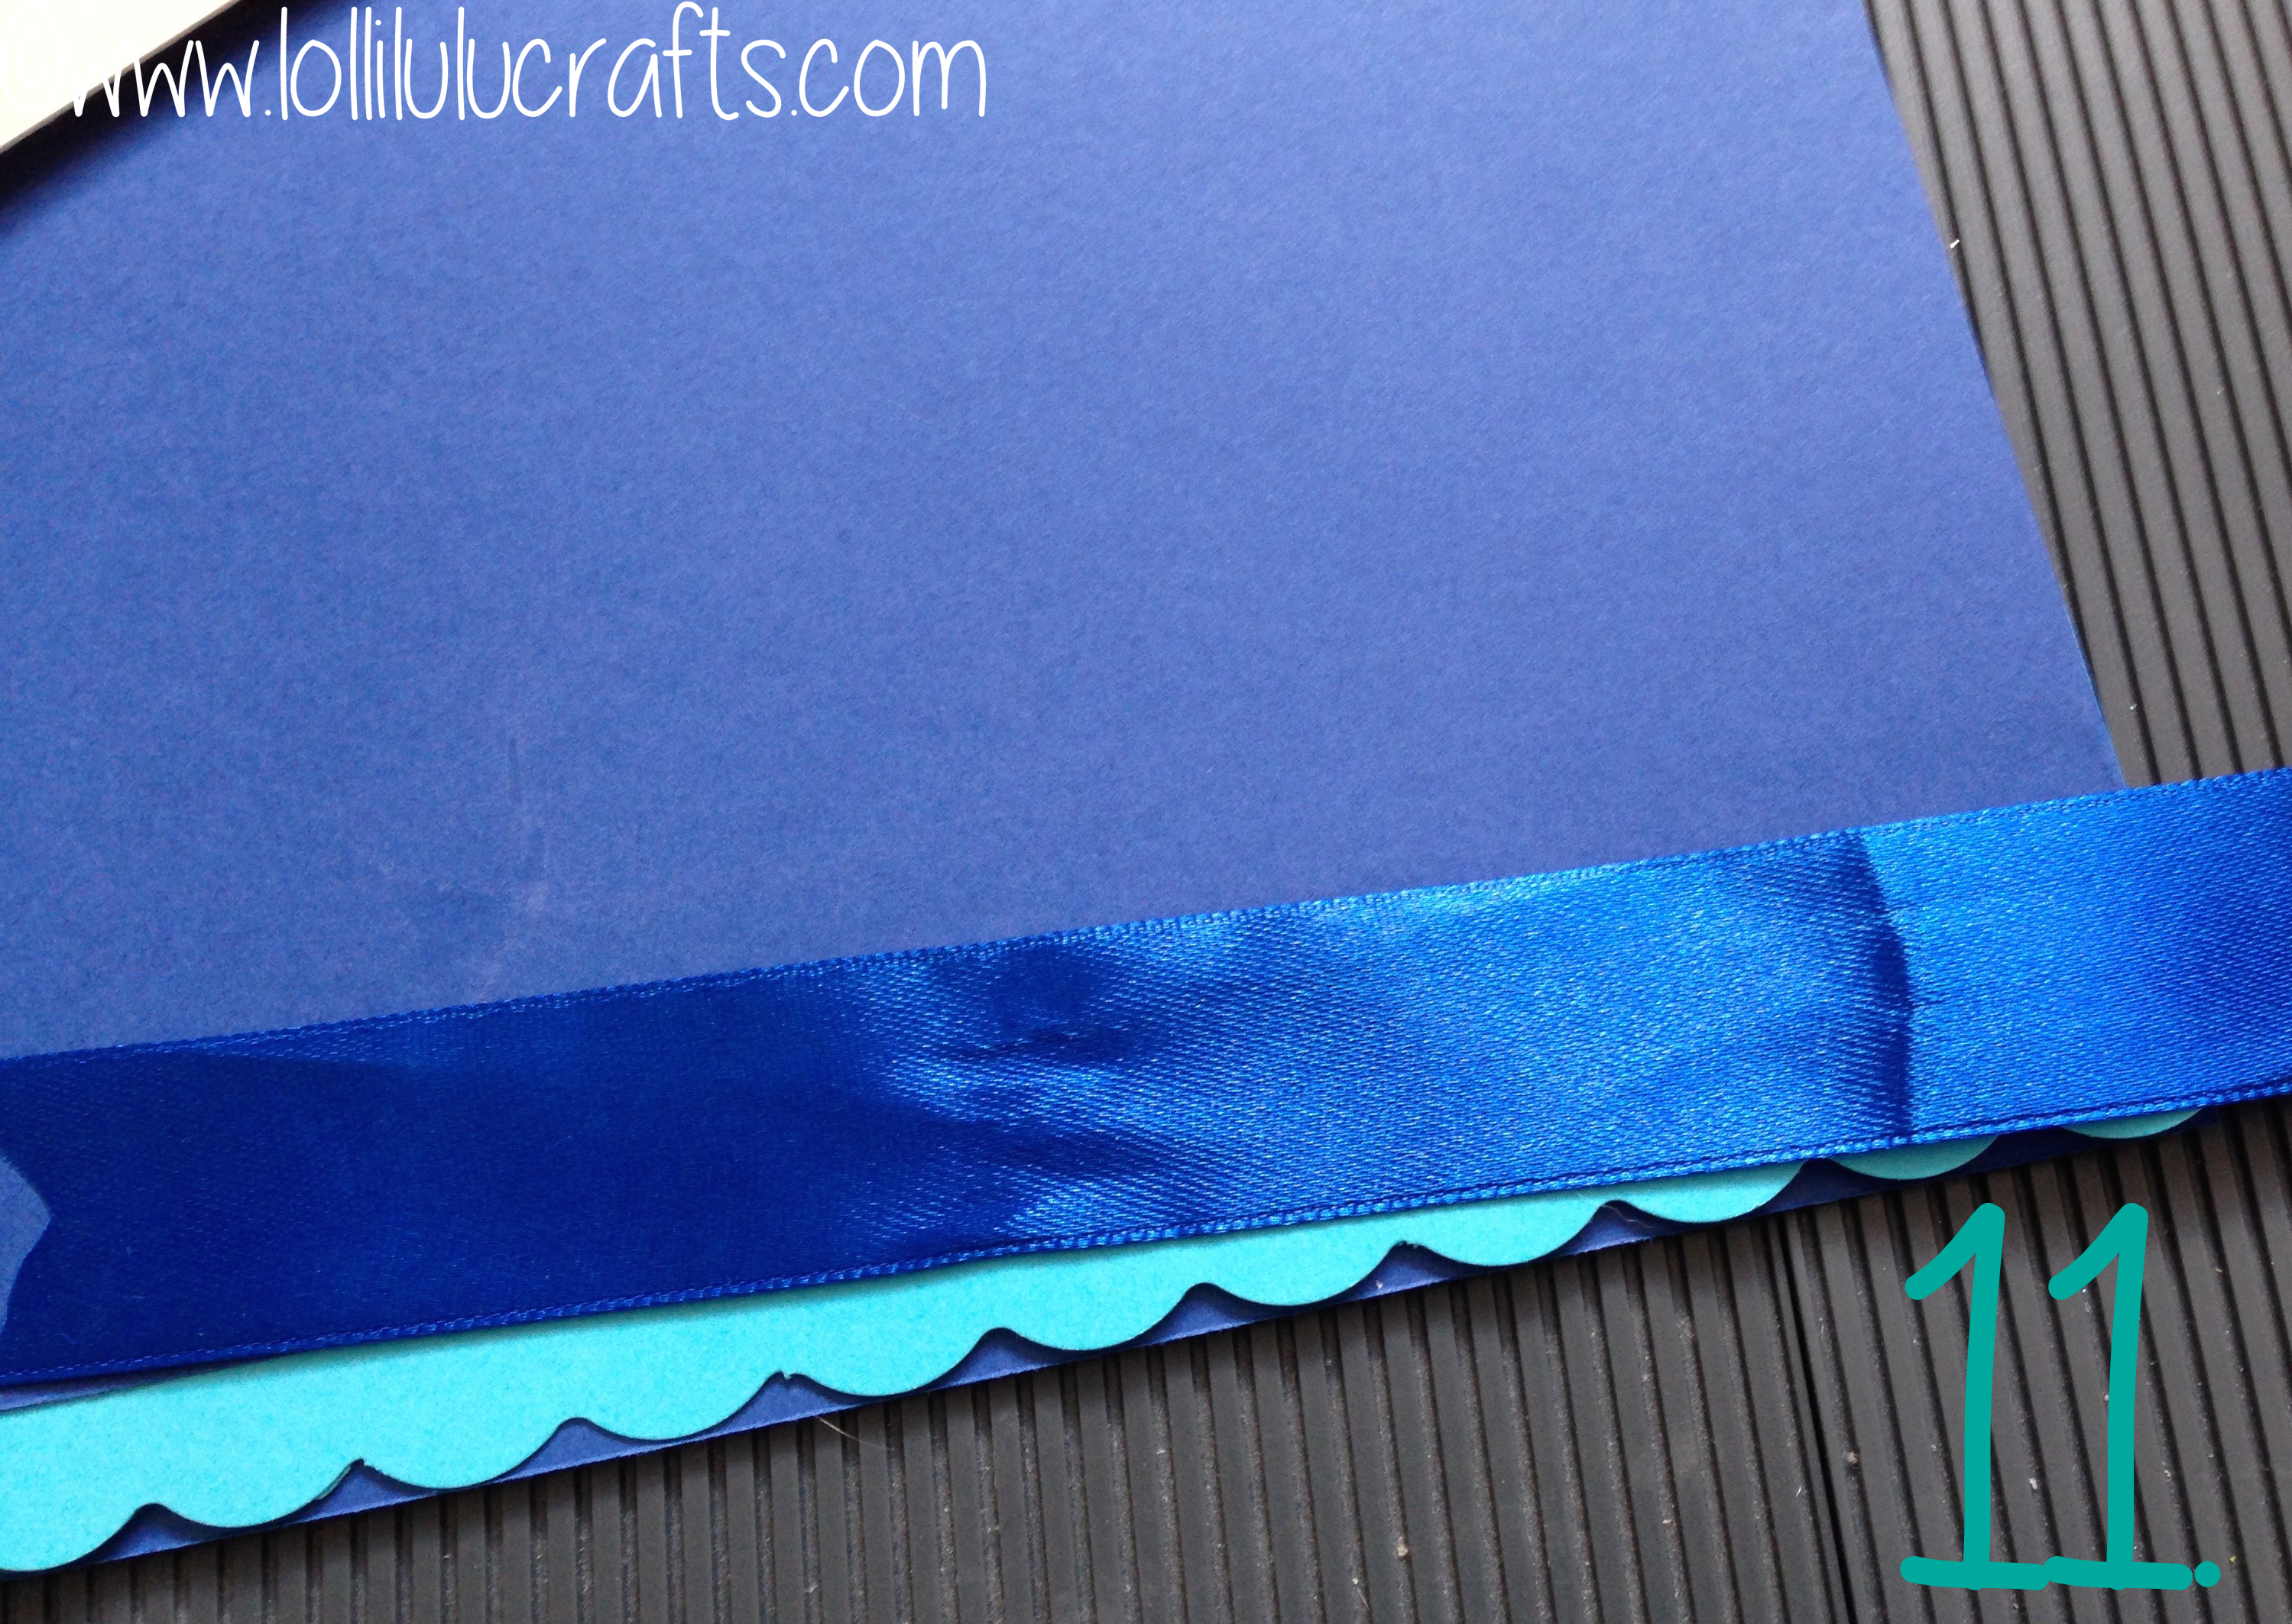
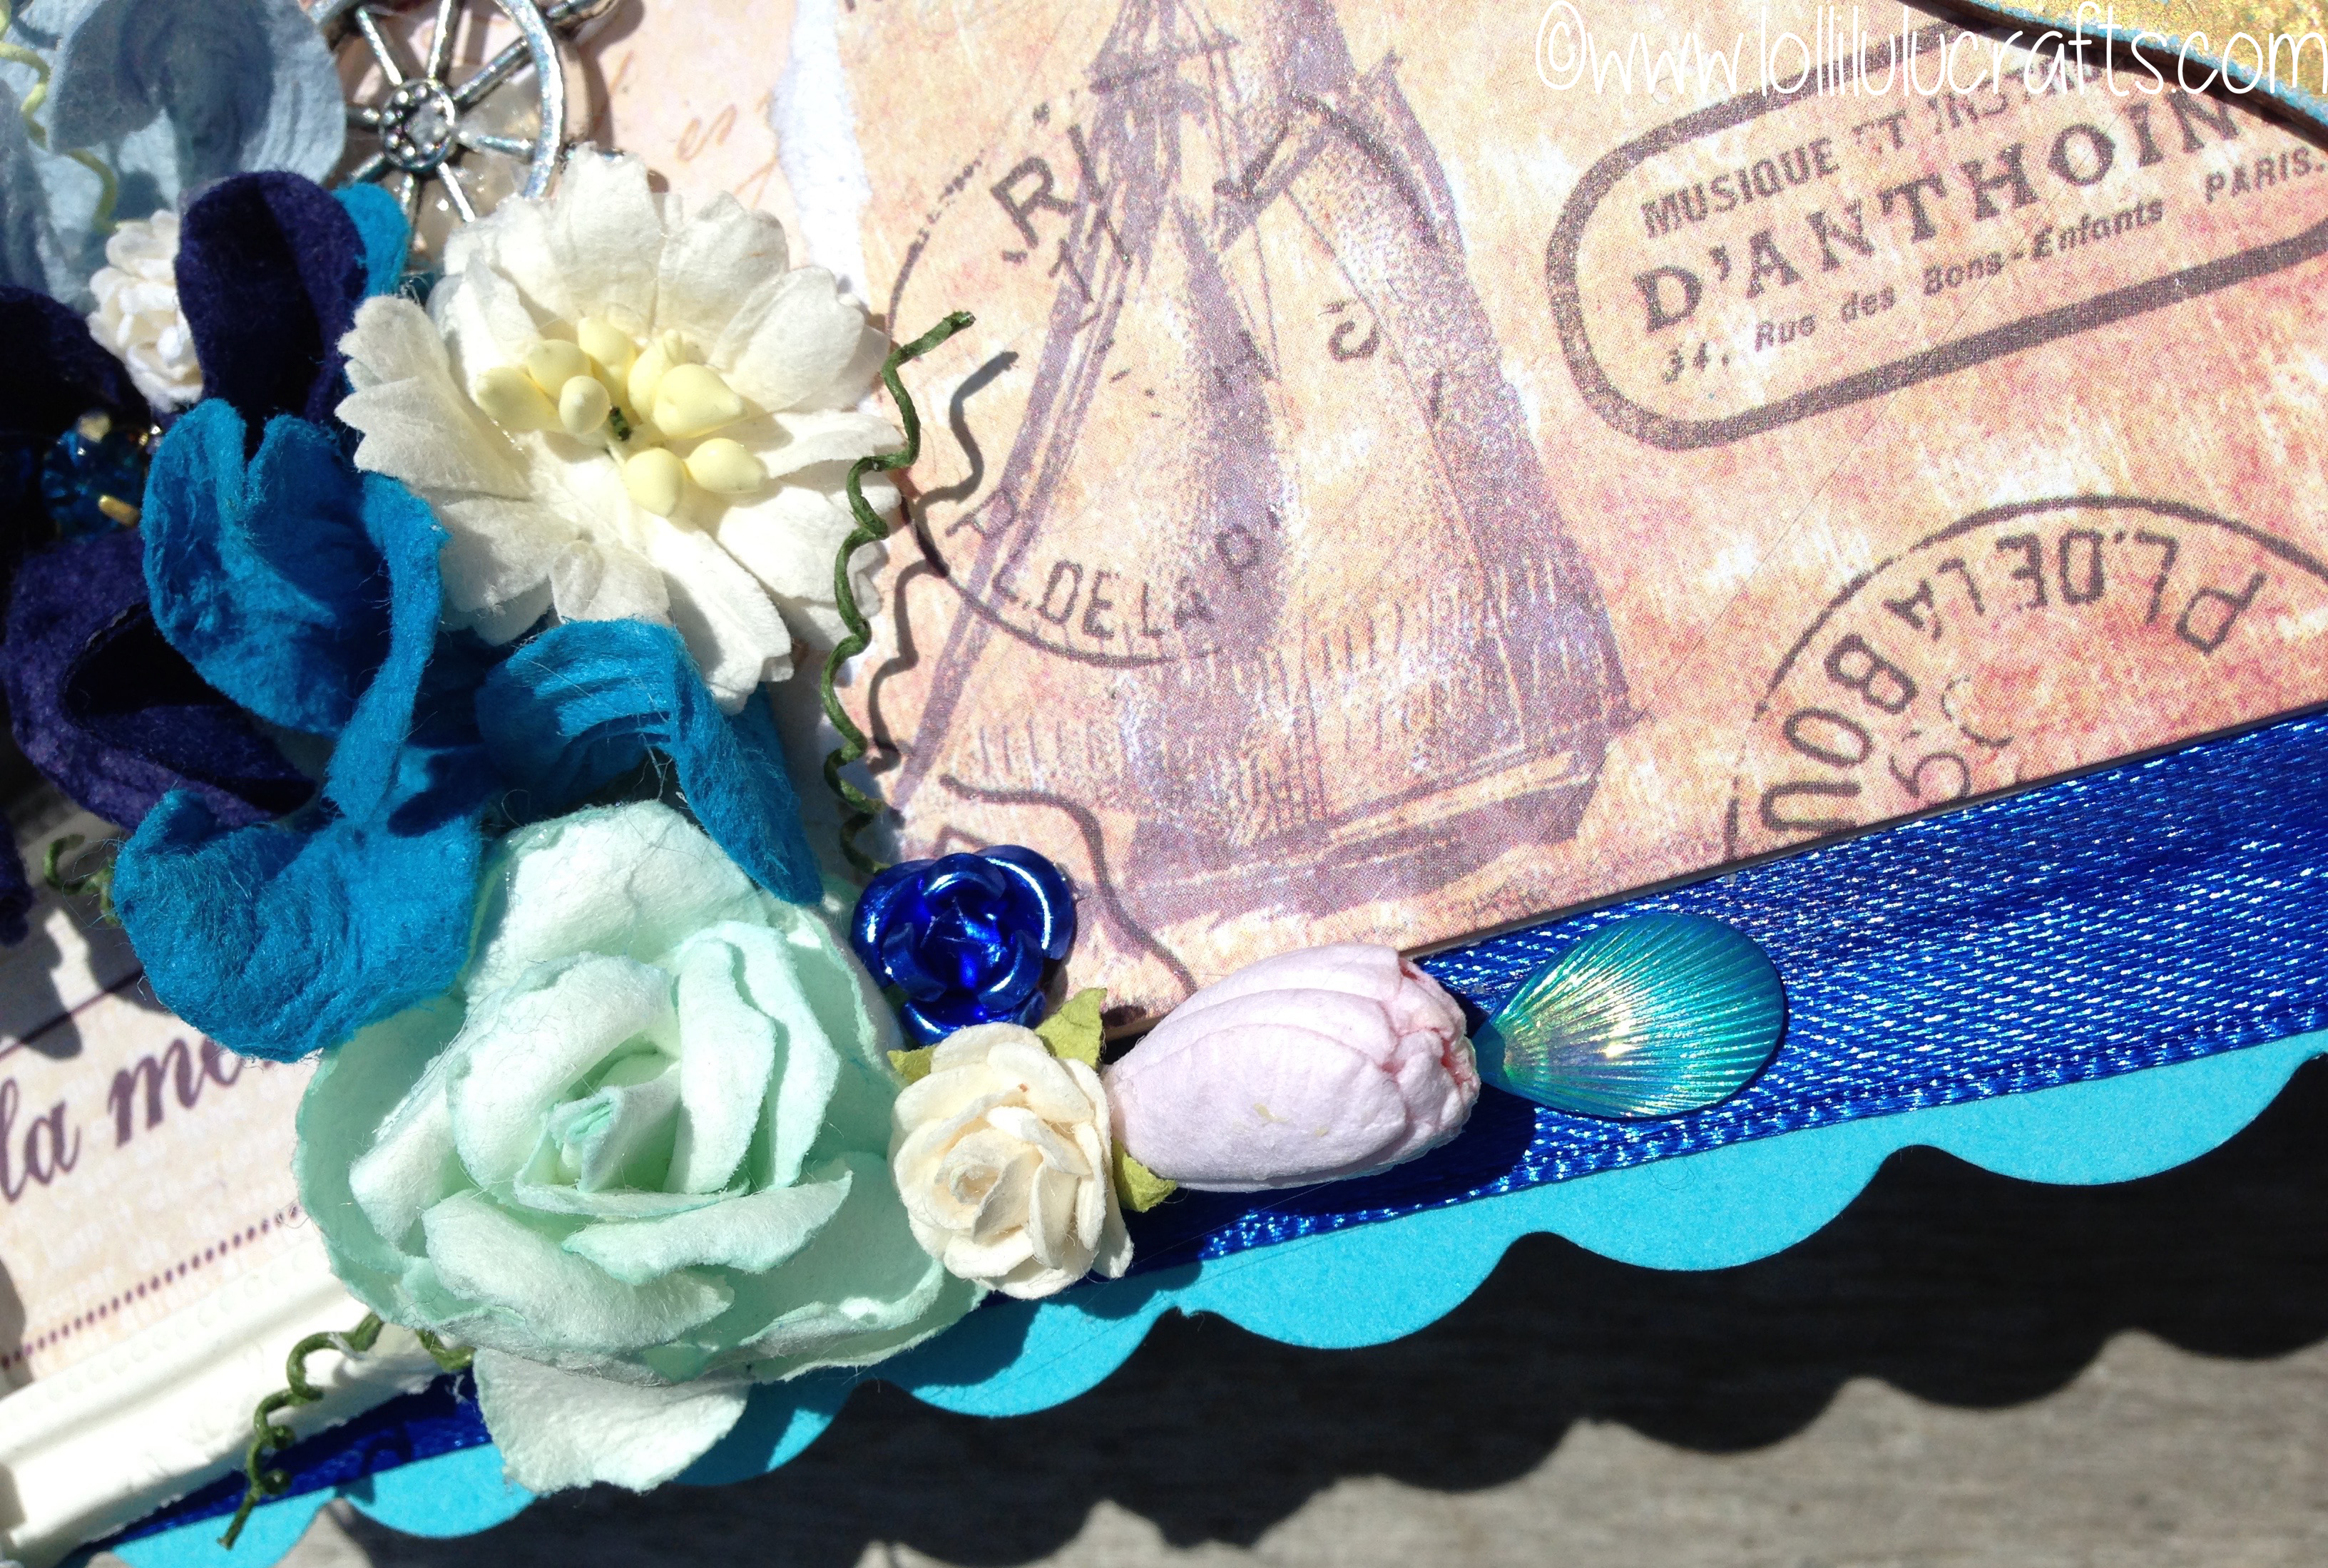
- I then decided that I didn’t like the amount of Cornflower that was showing so I added some of the deep blue ribbon that wrapped the Craft Box and added a piece over the join between the Cobalt and Cornflower card to soften the whole look. I left the edges of the ribbon untucked and unfinished.
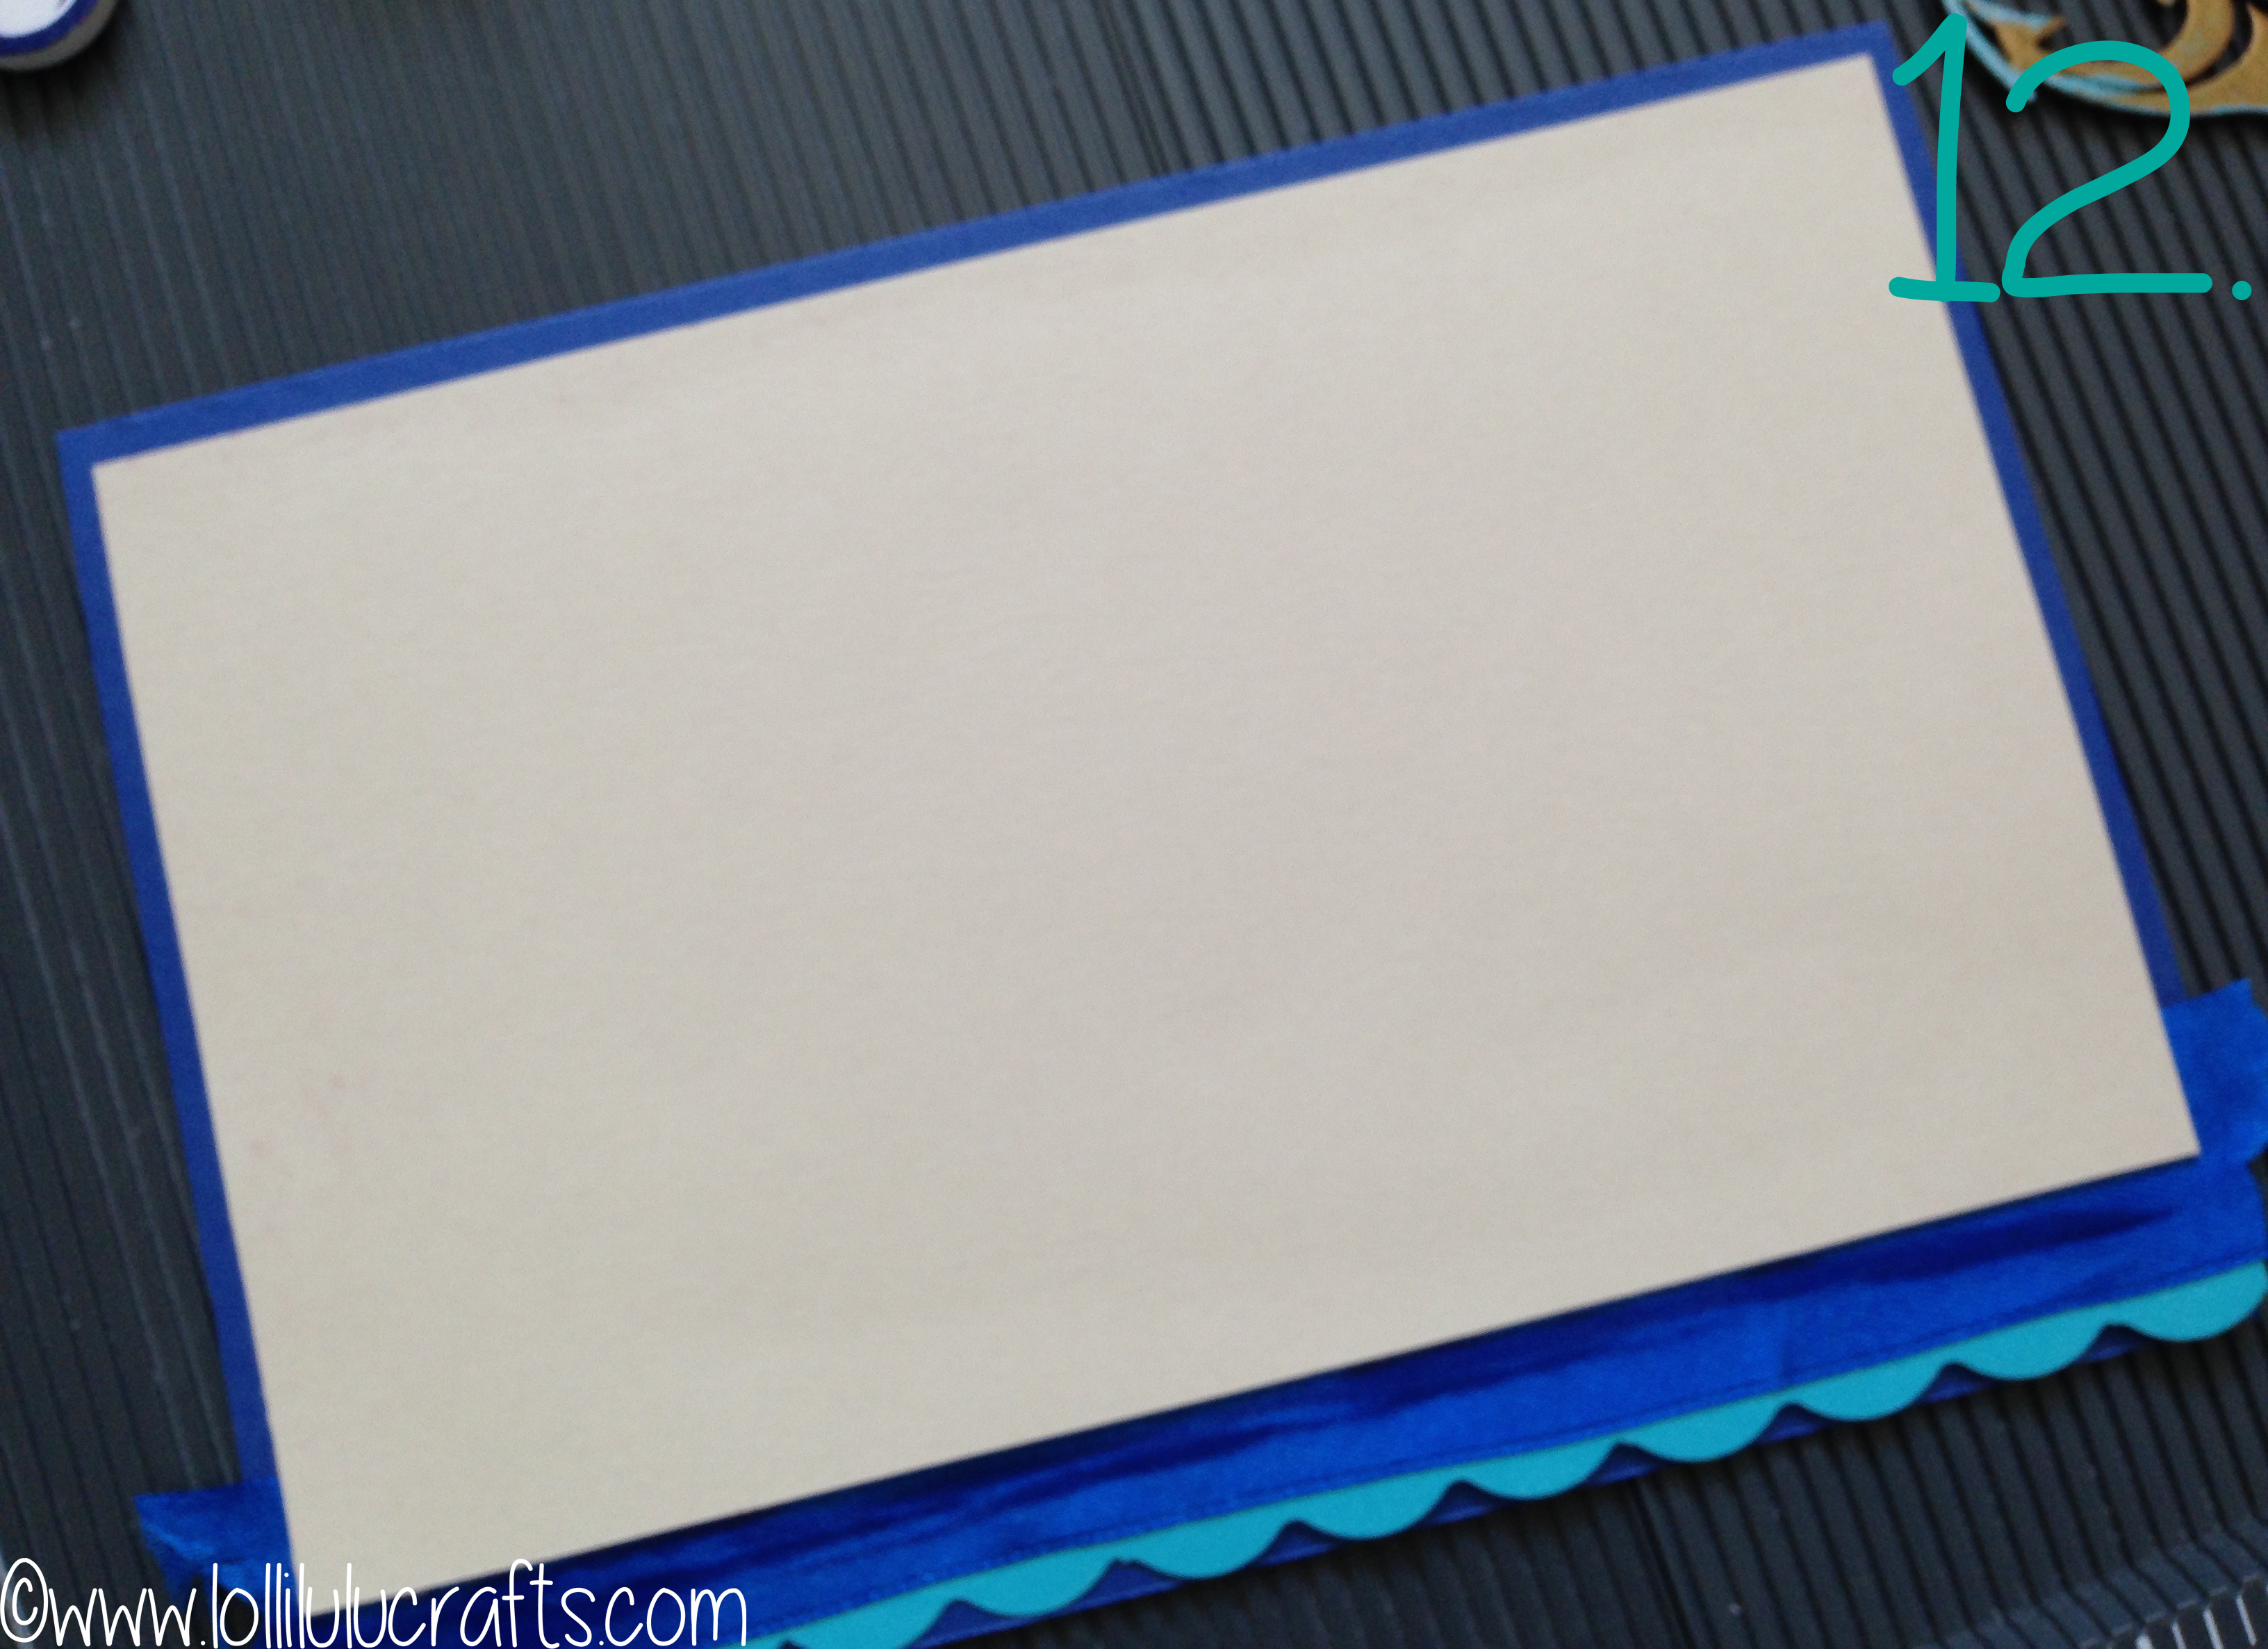
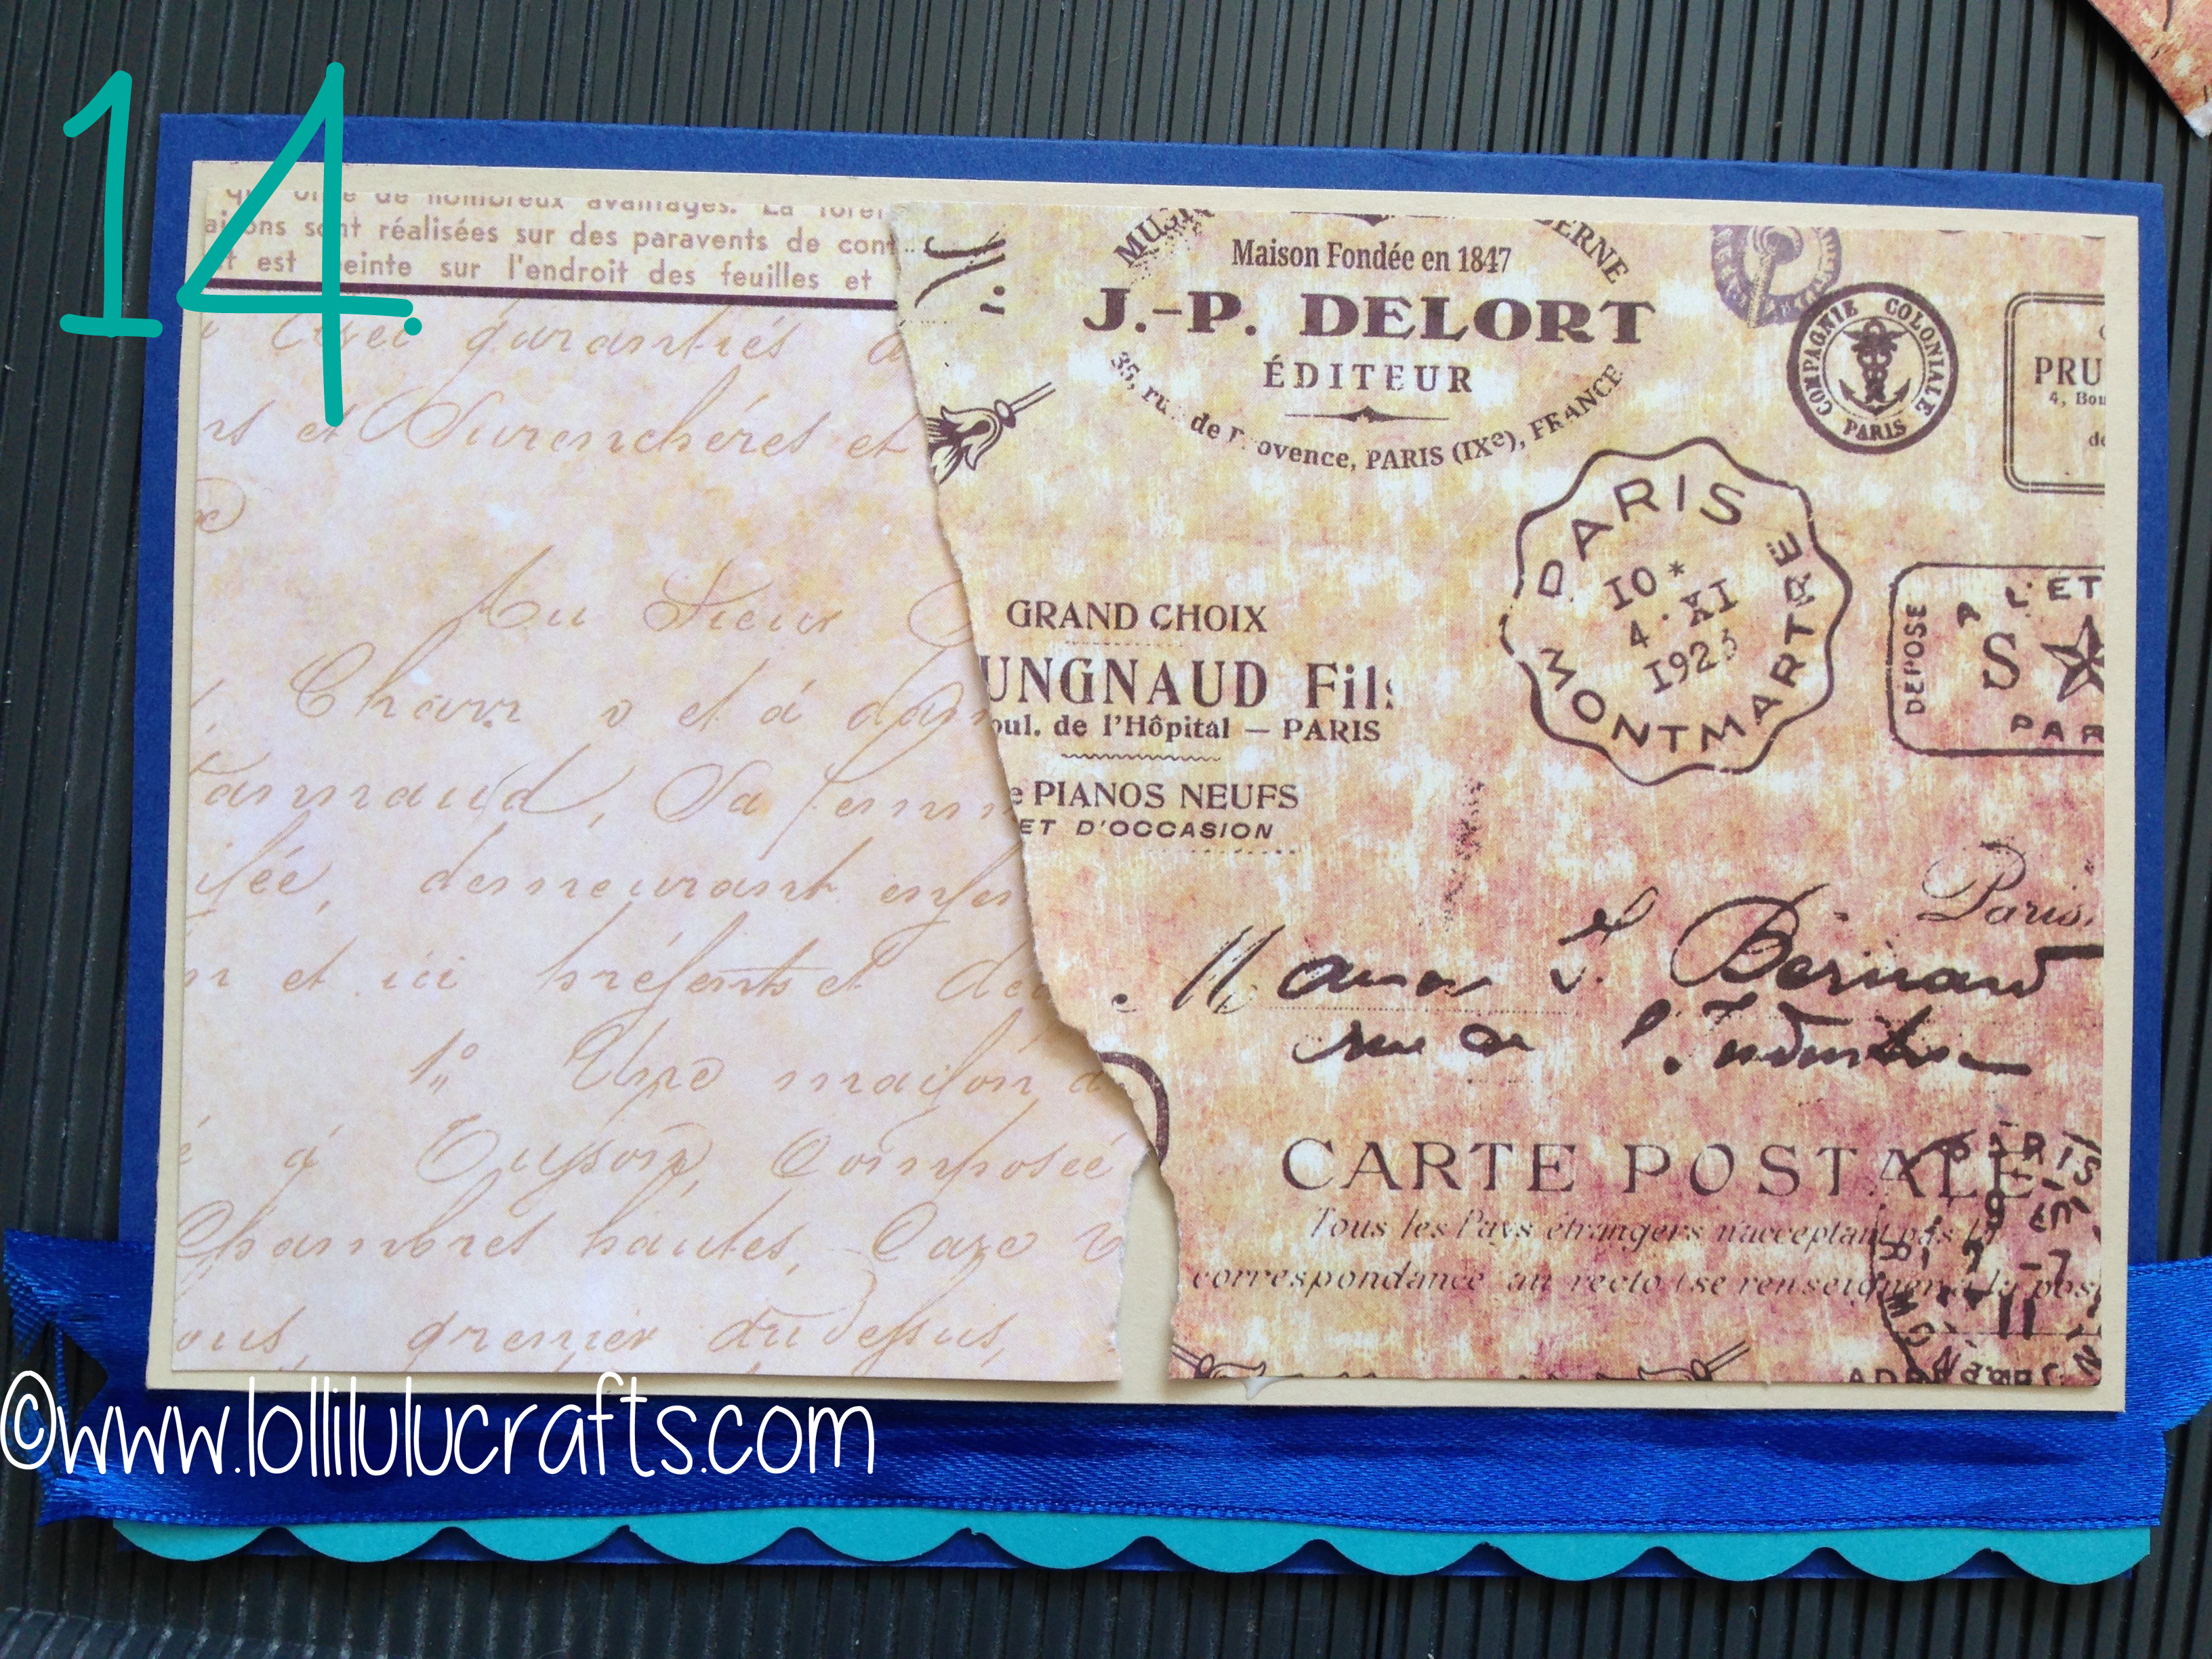
- Again to soften the effect of the blues I added a piece of the Sand coloured card that I had previously used for my sentiment across the front of the card.
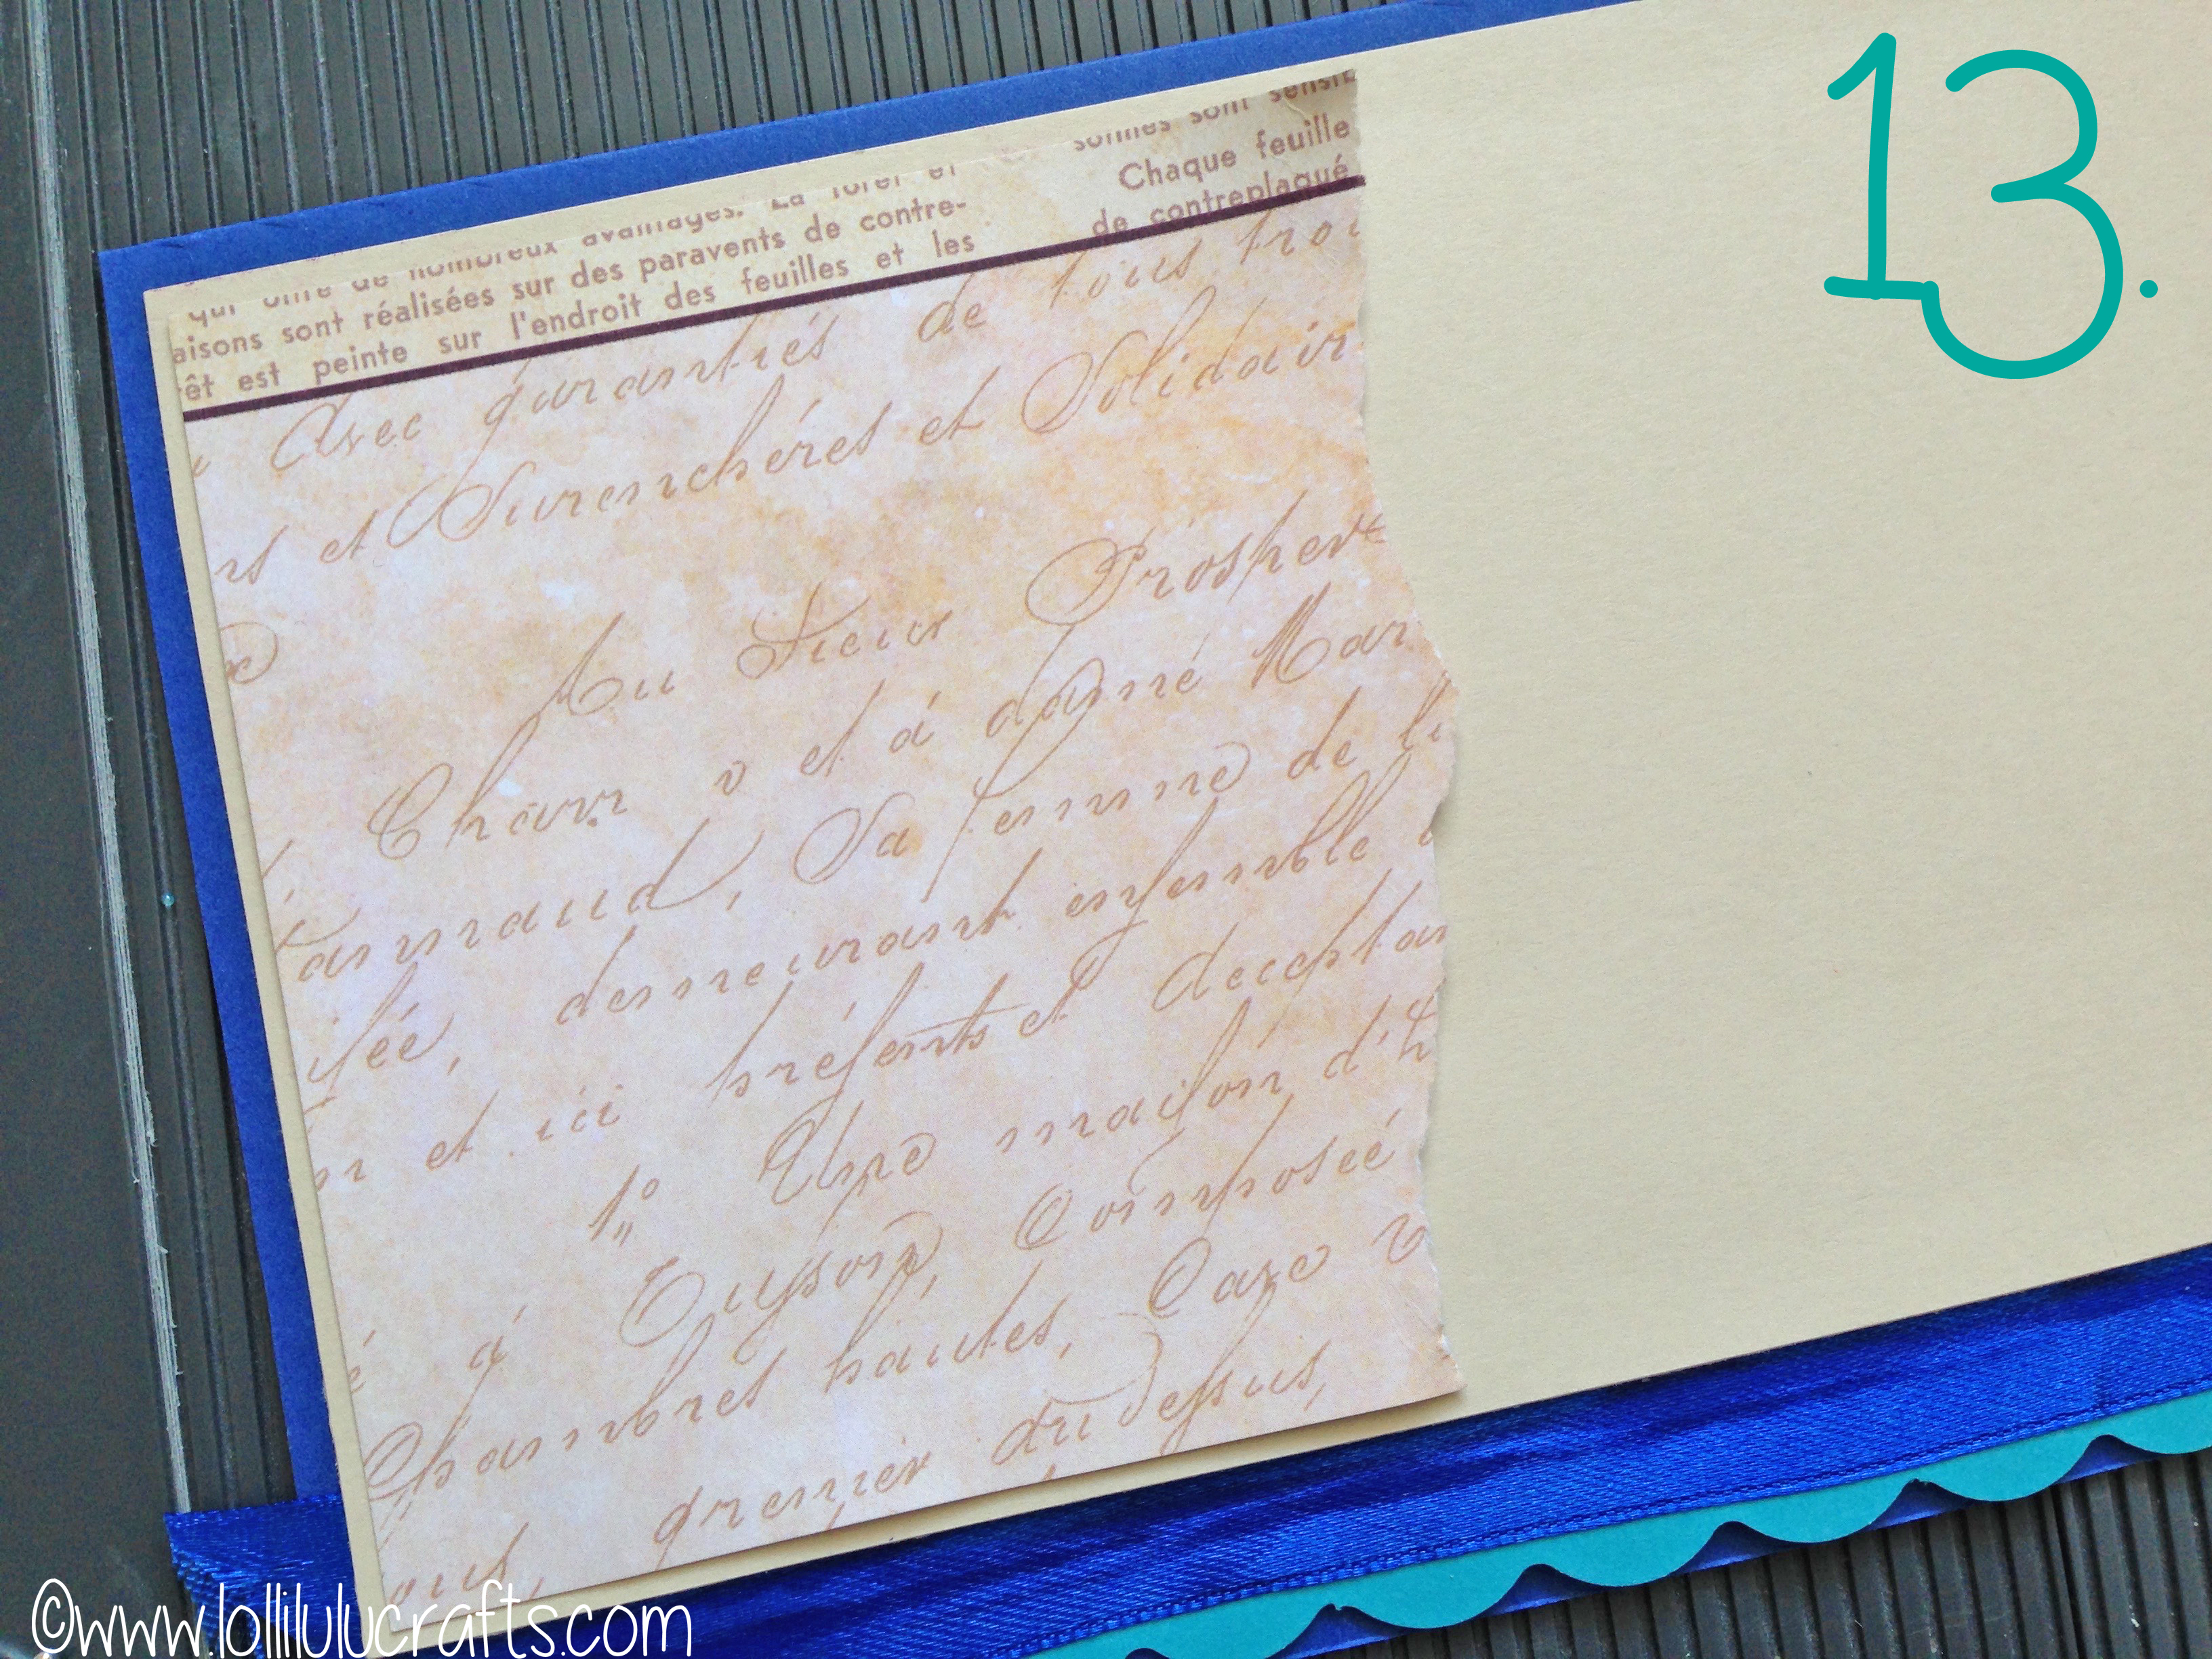
- Next I selected a couple of sheets of paper that I liked particularly from the Craft Box stash. Again I really had no idea what I wanted to do but I knew I didn’t want it all neat so I took the first piece, ripped it down one side and stuck it down. It was clearly meant to be as it matted perfectly at the sides and top to the Sand coloured piece.
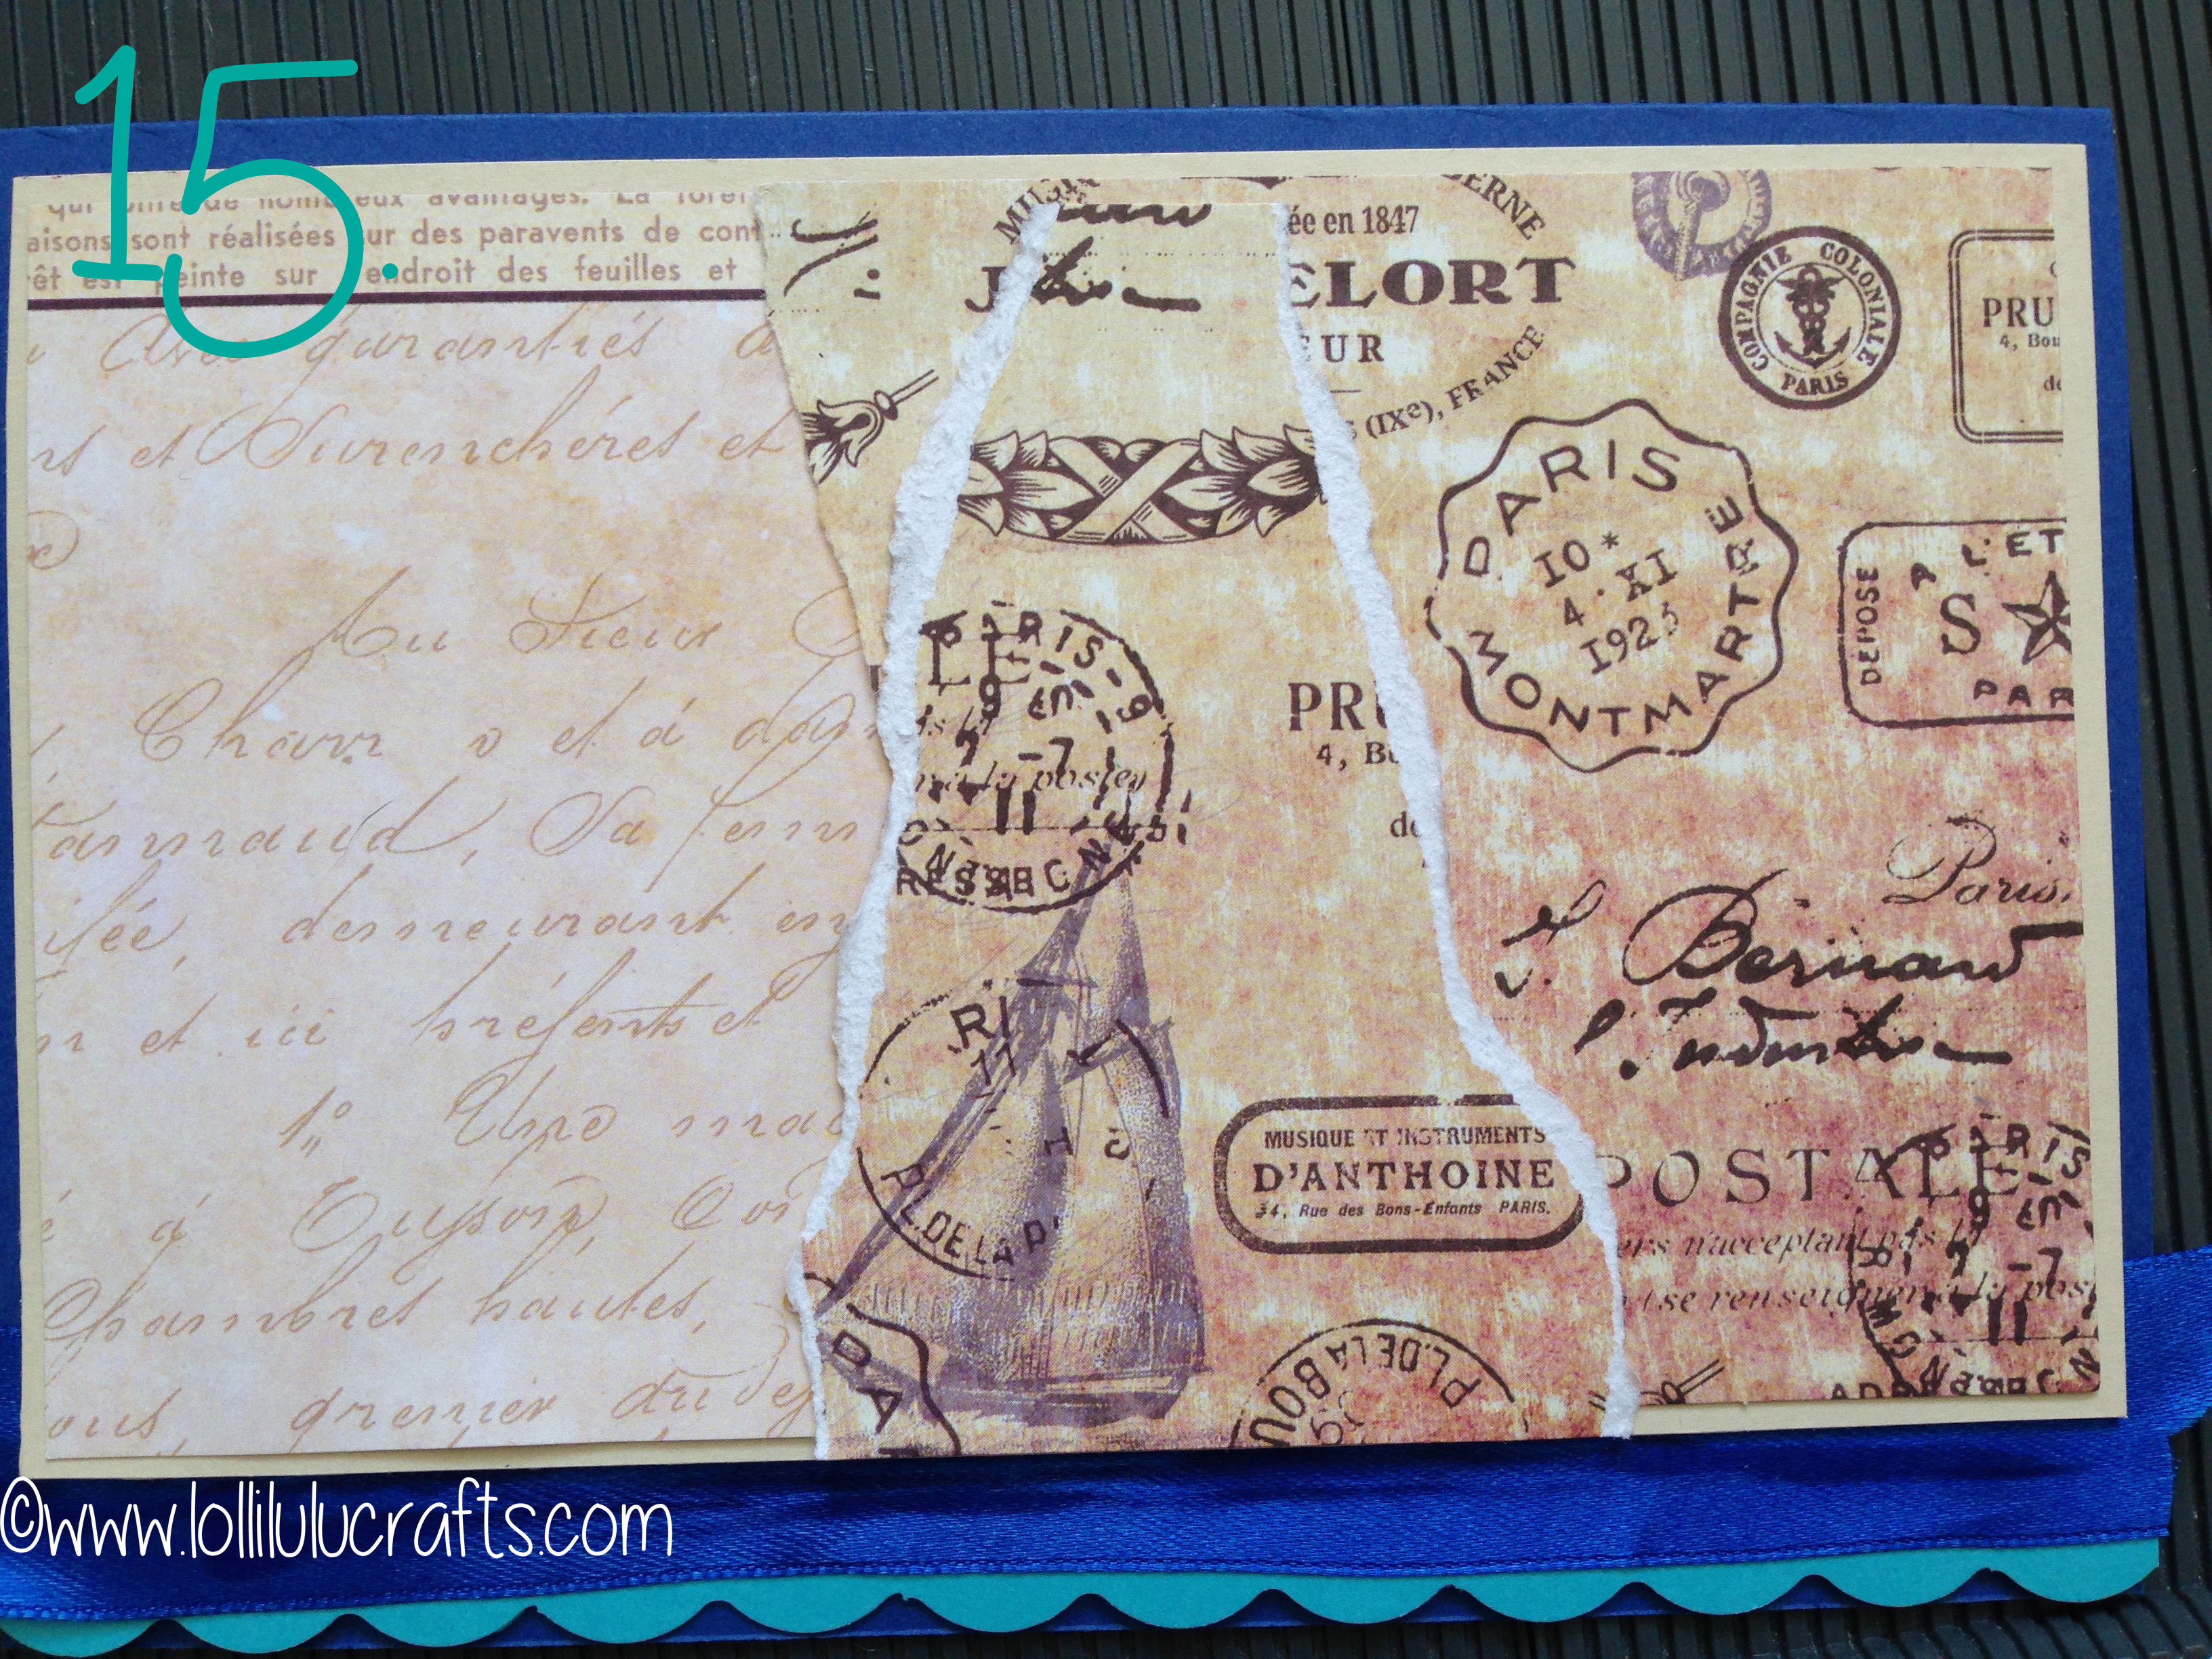
- I then took another one of the sheets of paper and ripped this one and stuck this down on the other side, it slightly overlapped the first.
- I then felt that the paper needed a little something more to make even more ‘Vintage’ feel, so I took some of the second piece of paper that was left and ripped it down the remaining side and then stuck it down in the middle. It worked really well as it so happened that there was a full image of a ship on that piece 🙂
- Next using my Cosmic Shimmer glue I stuck down the large wooden anchor, the frame and the three little circles that were rather like fancy coving or architrave.
- Next I wanted to stick down the wooden ship that was part of the set of wooden nautical elements in the Craft Box. I realised for this I would need my trusty Pinflair glue gel as it was going over two levels and needed to have a glue that could get a little height at one end and be flat at the other.
- As you can see the ship sat beautifully at the bottom of the card, on a sea of ribbon!
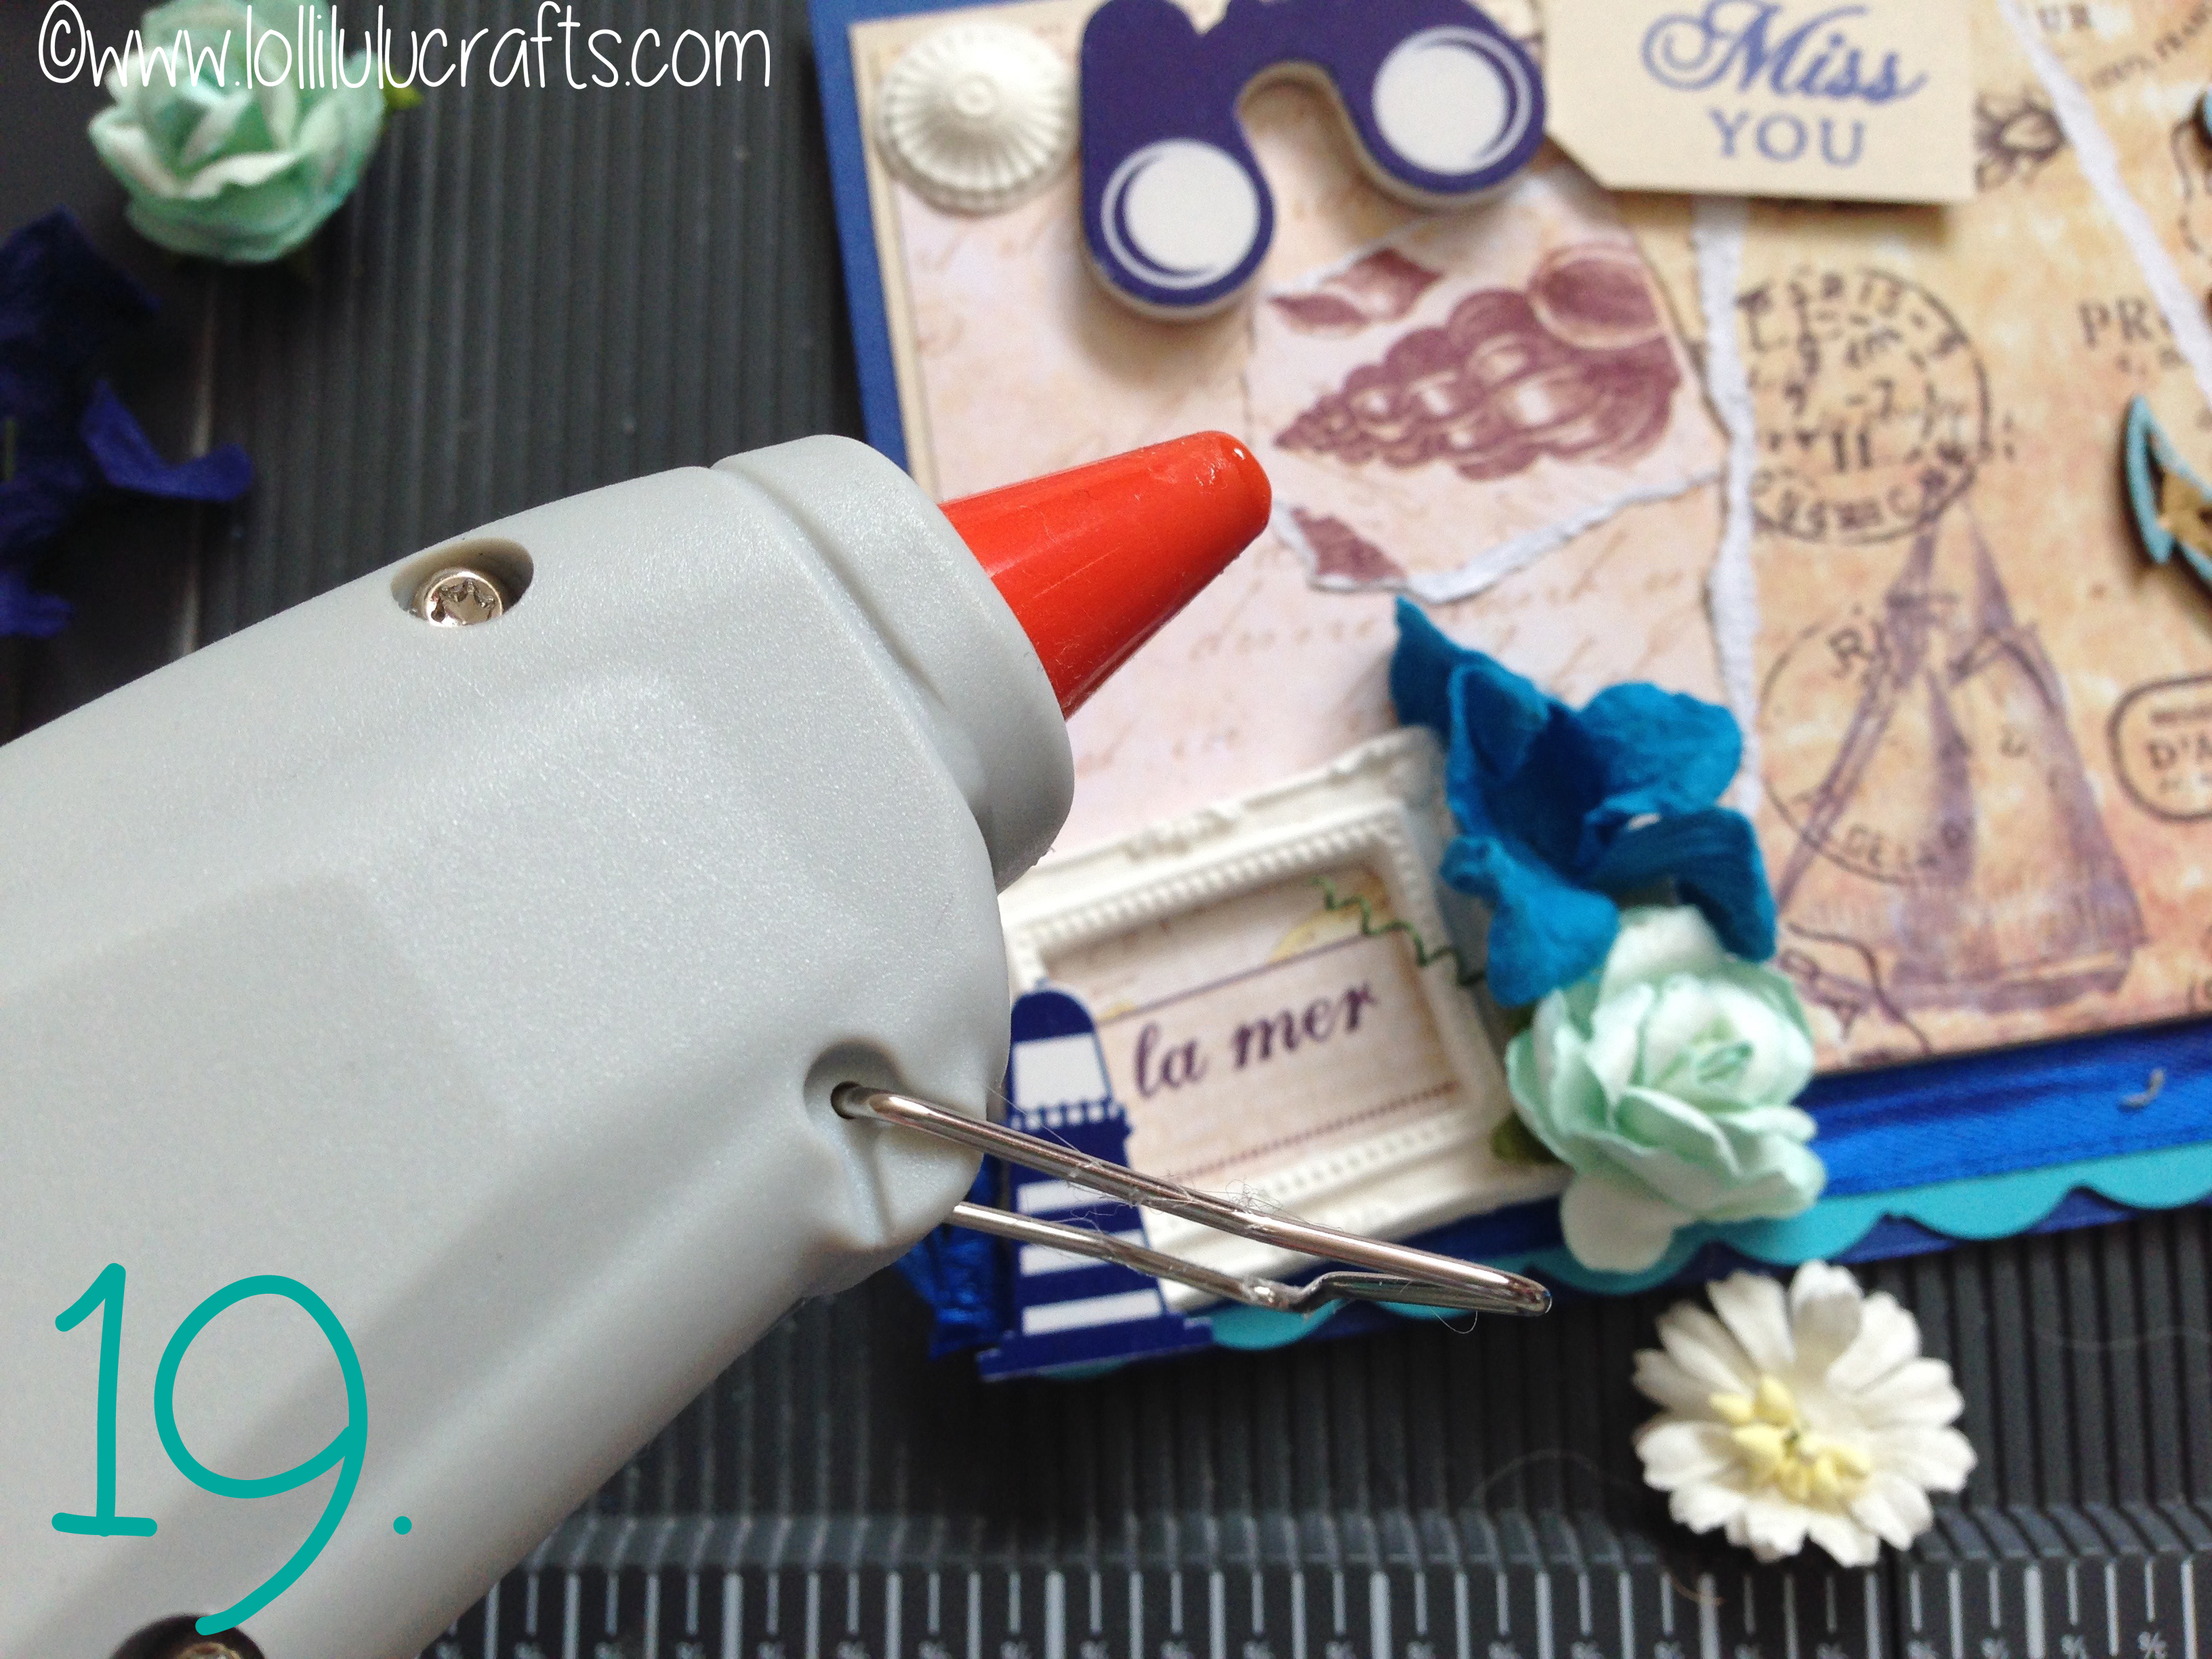
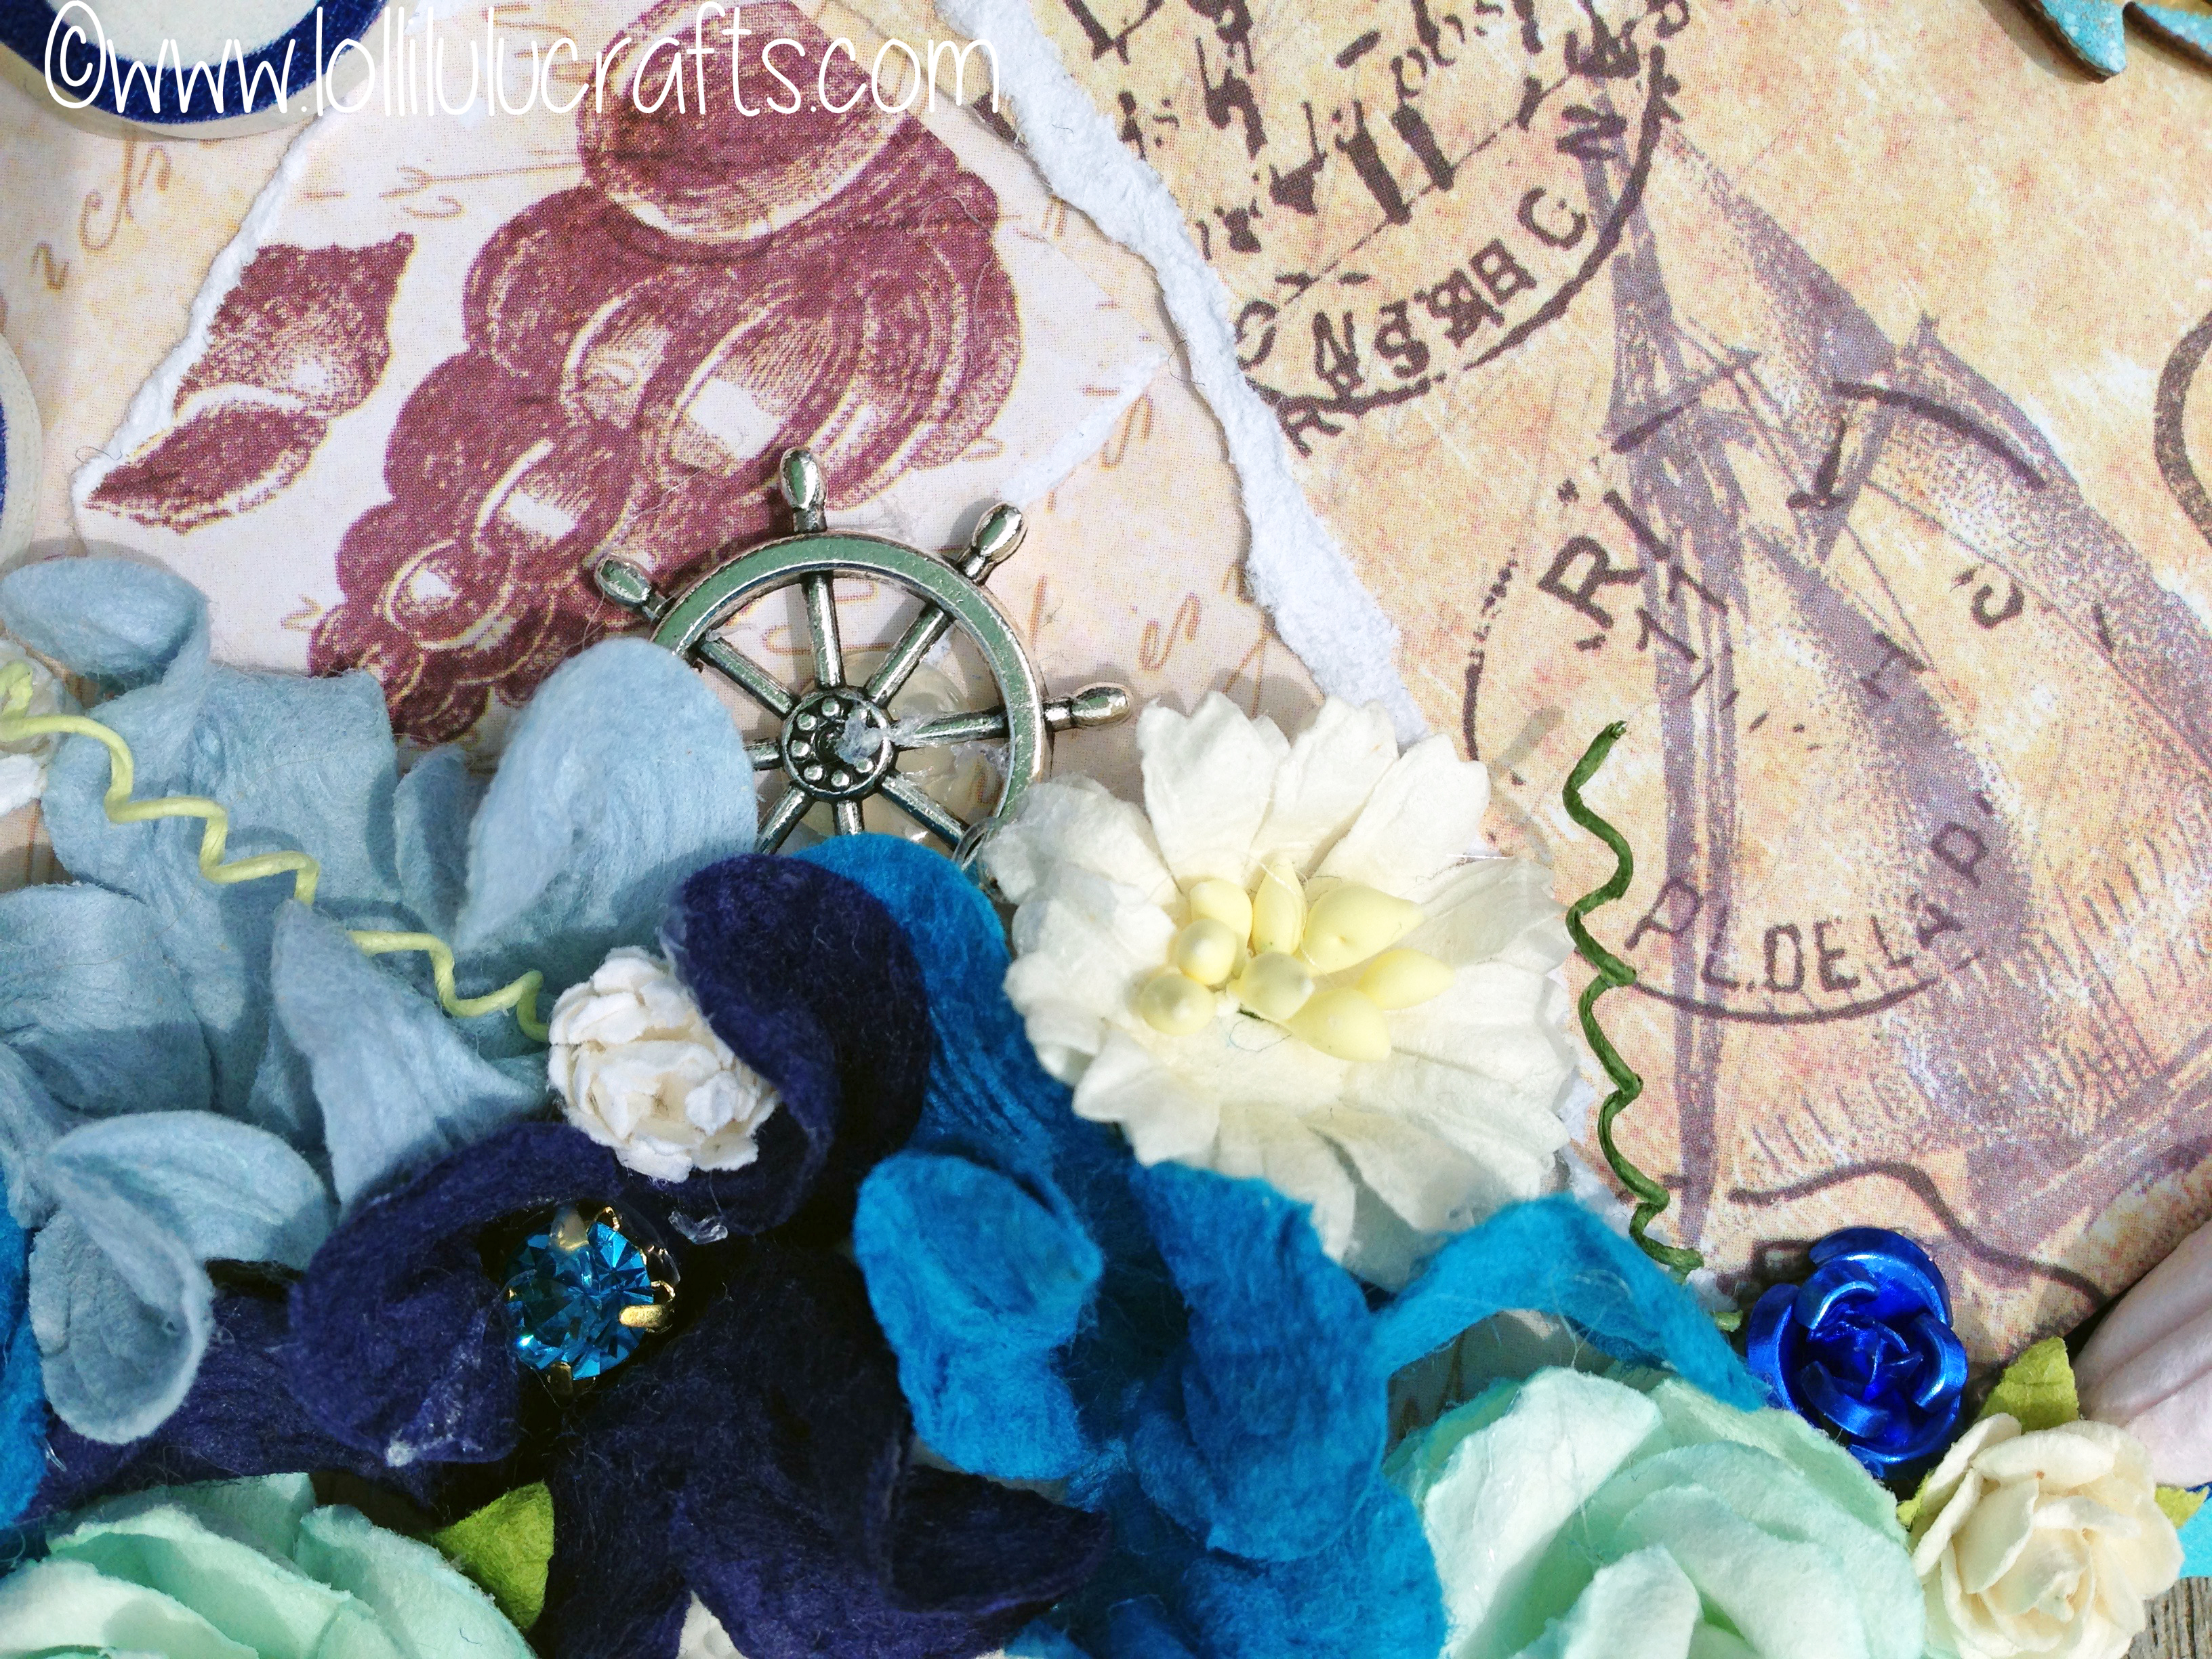
- Next for the first time I got a few items and planned out a few steps, only because I wanted to be sure to get on the card all the bits that I had picked out. I then realised for these elements and the flowers from the kit that it would be best to use my hot glue gun – mine is from Tonic Crafts.
- So finally using the hot glue gun I adhered all the final elements – wooden pieces, metal embellishments, flowers and jewels.


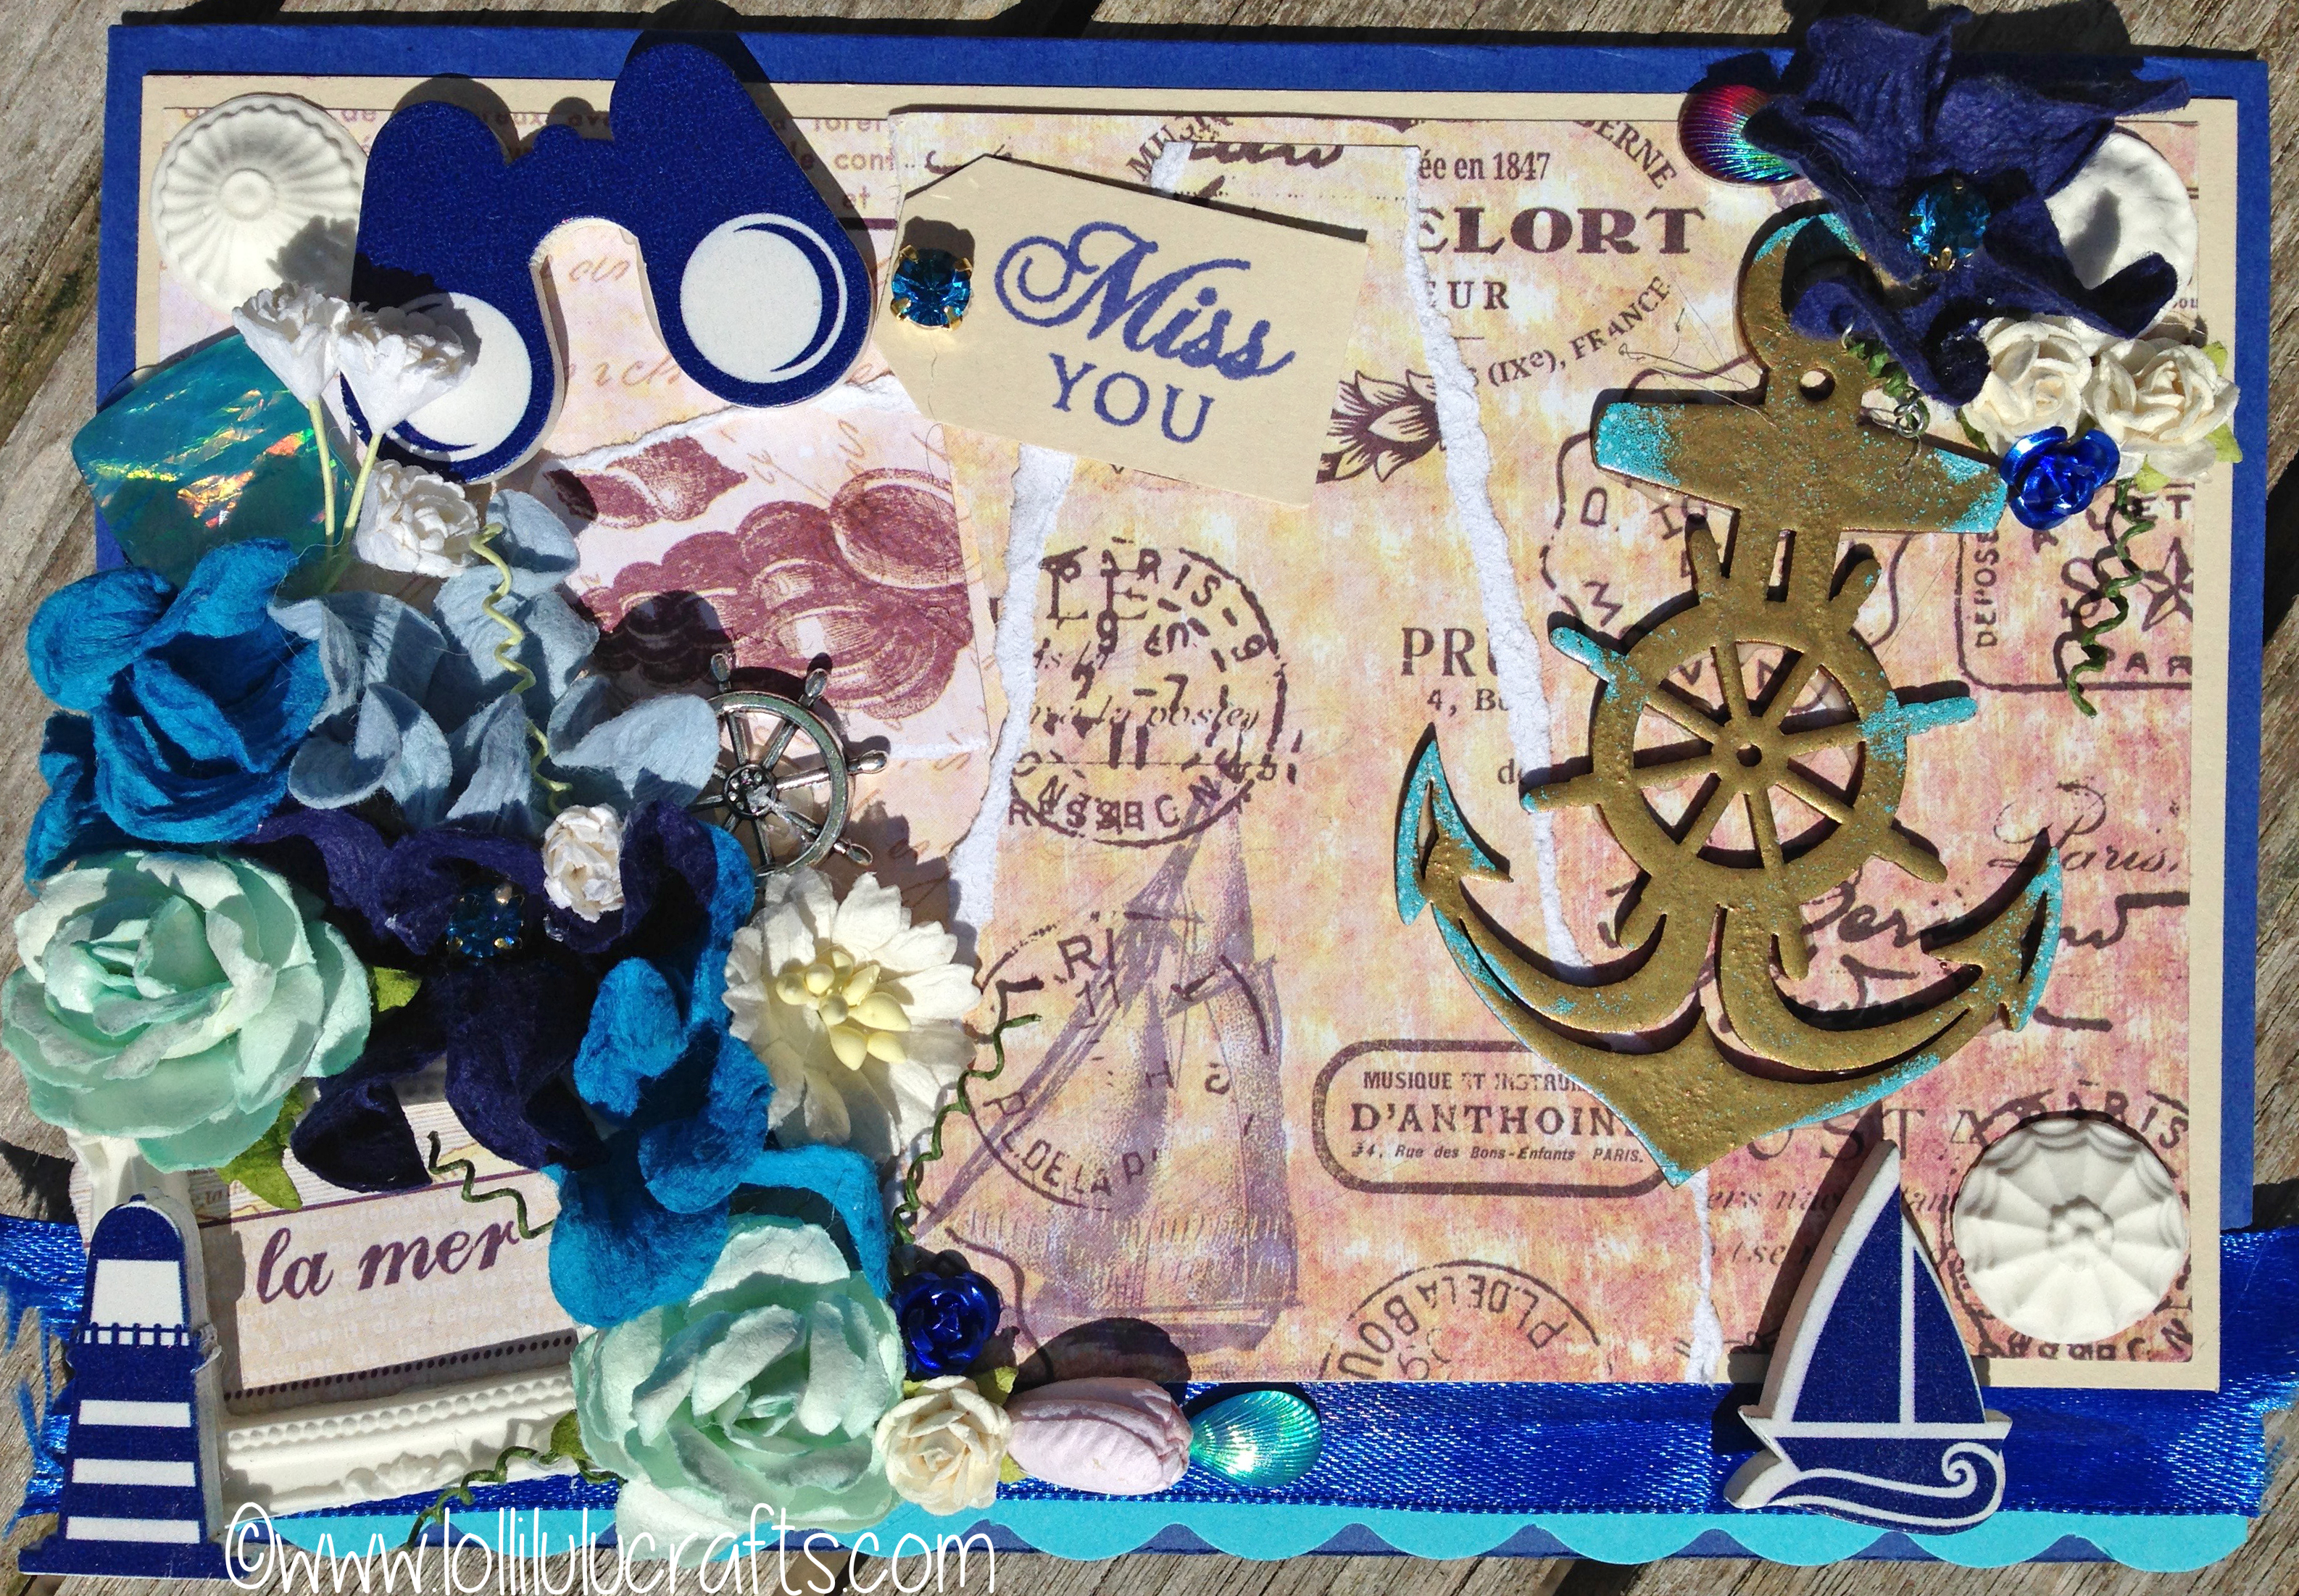
So that is how I made the card. As you can see I had absolutely no plan and it was so fun because I completely trusted that the elements from the box would work together and just went with my creative flow with no thought or planning. Very refreshing but also quite hard to do to start with and something you do need to practice in just letting go and trusting your instincts. I personally think a box like this is a great way to do something like this as you know that the elements are designed to go together although there is no set projects or cards in mind. So you can go completely with the flow. So here are the photos of my finished Craft Box April Nautical Miss You Card :-


So I hope you have enjoyed taking a look at this card and if you haven’t seen it already do go take a look at the unboxing of the Craft Box. Also do make sure you pop back this Friday for the video of the project that I made using this box. I think you will find it a bit different for me, but I hope you will like it. Anyway that is is for today, so hugs and have a great craft day,
So for now hugs and have a great craft day,

●▬▬▬▬▬ ●SUPPLIES● ▬▬▬▬▬●
Below are the products featured in today’s Video. Some products can be purchased from multiple stores so I have given each store different letter codes. Click on the letters below the picture to go to a favorite store: Simon Says Stamp (SSS), Dick Blick (DB), Cricut (C), Scrapbook.com (SB) and Amazon (AMZ)

▬▬ ● DISCLAIMER ● ▬▬▬▬▬●
Affiliate links are used. For affiliate information and policy please see the Policy page.
