


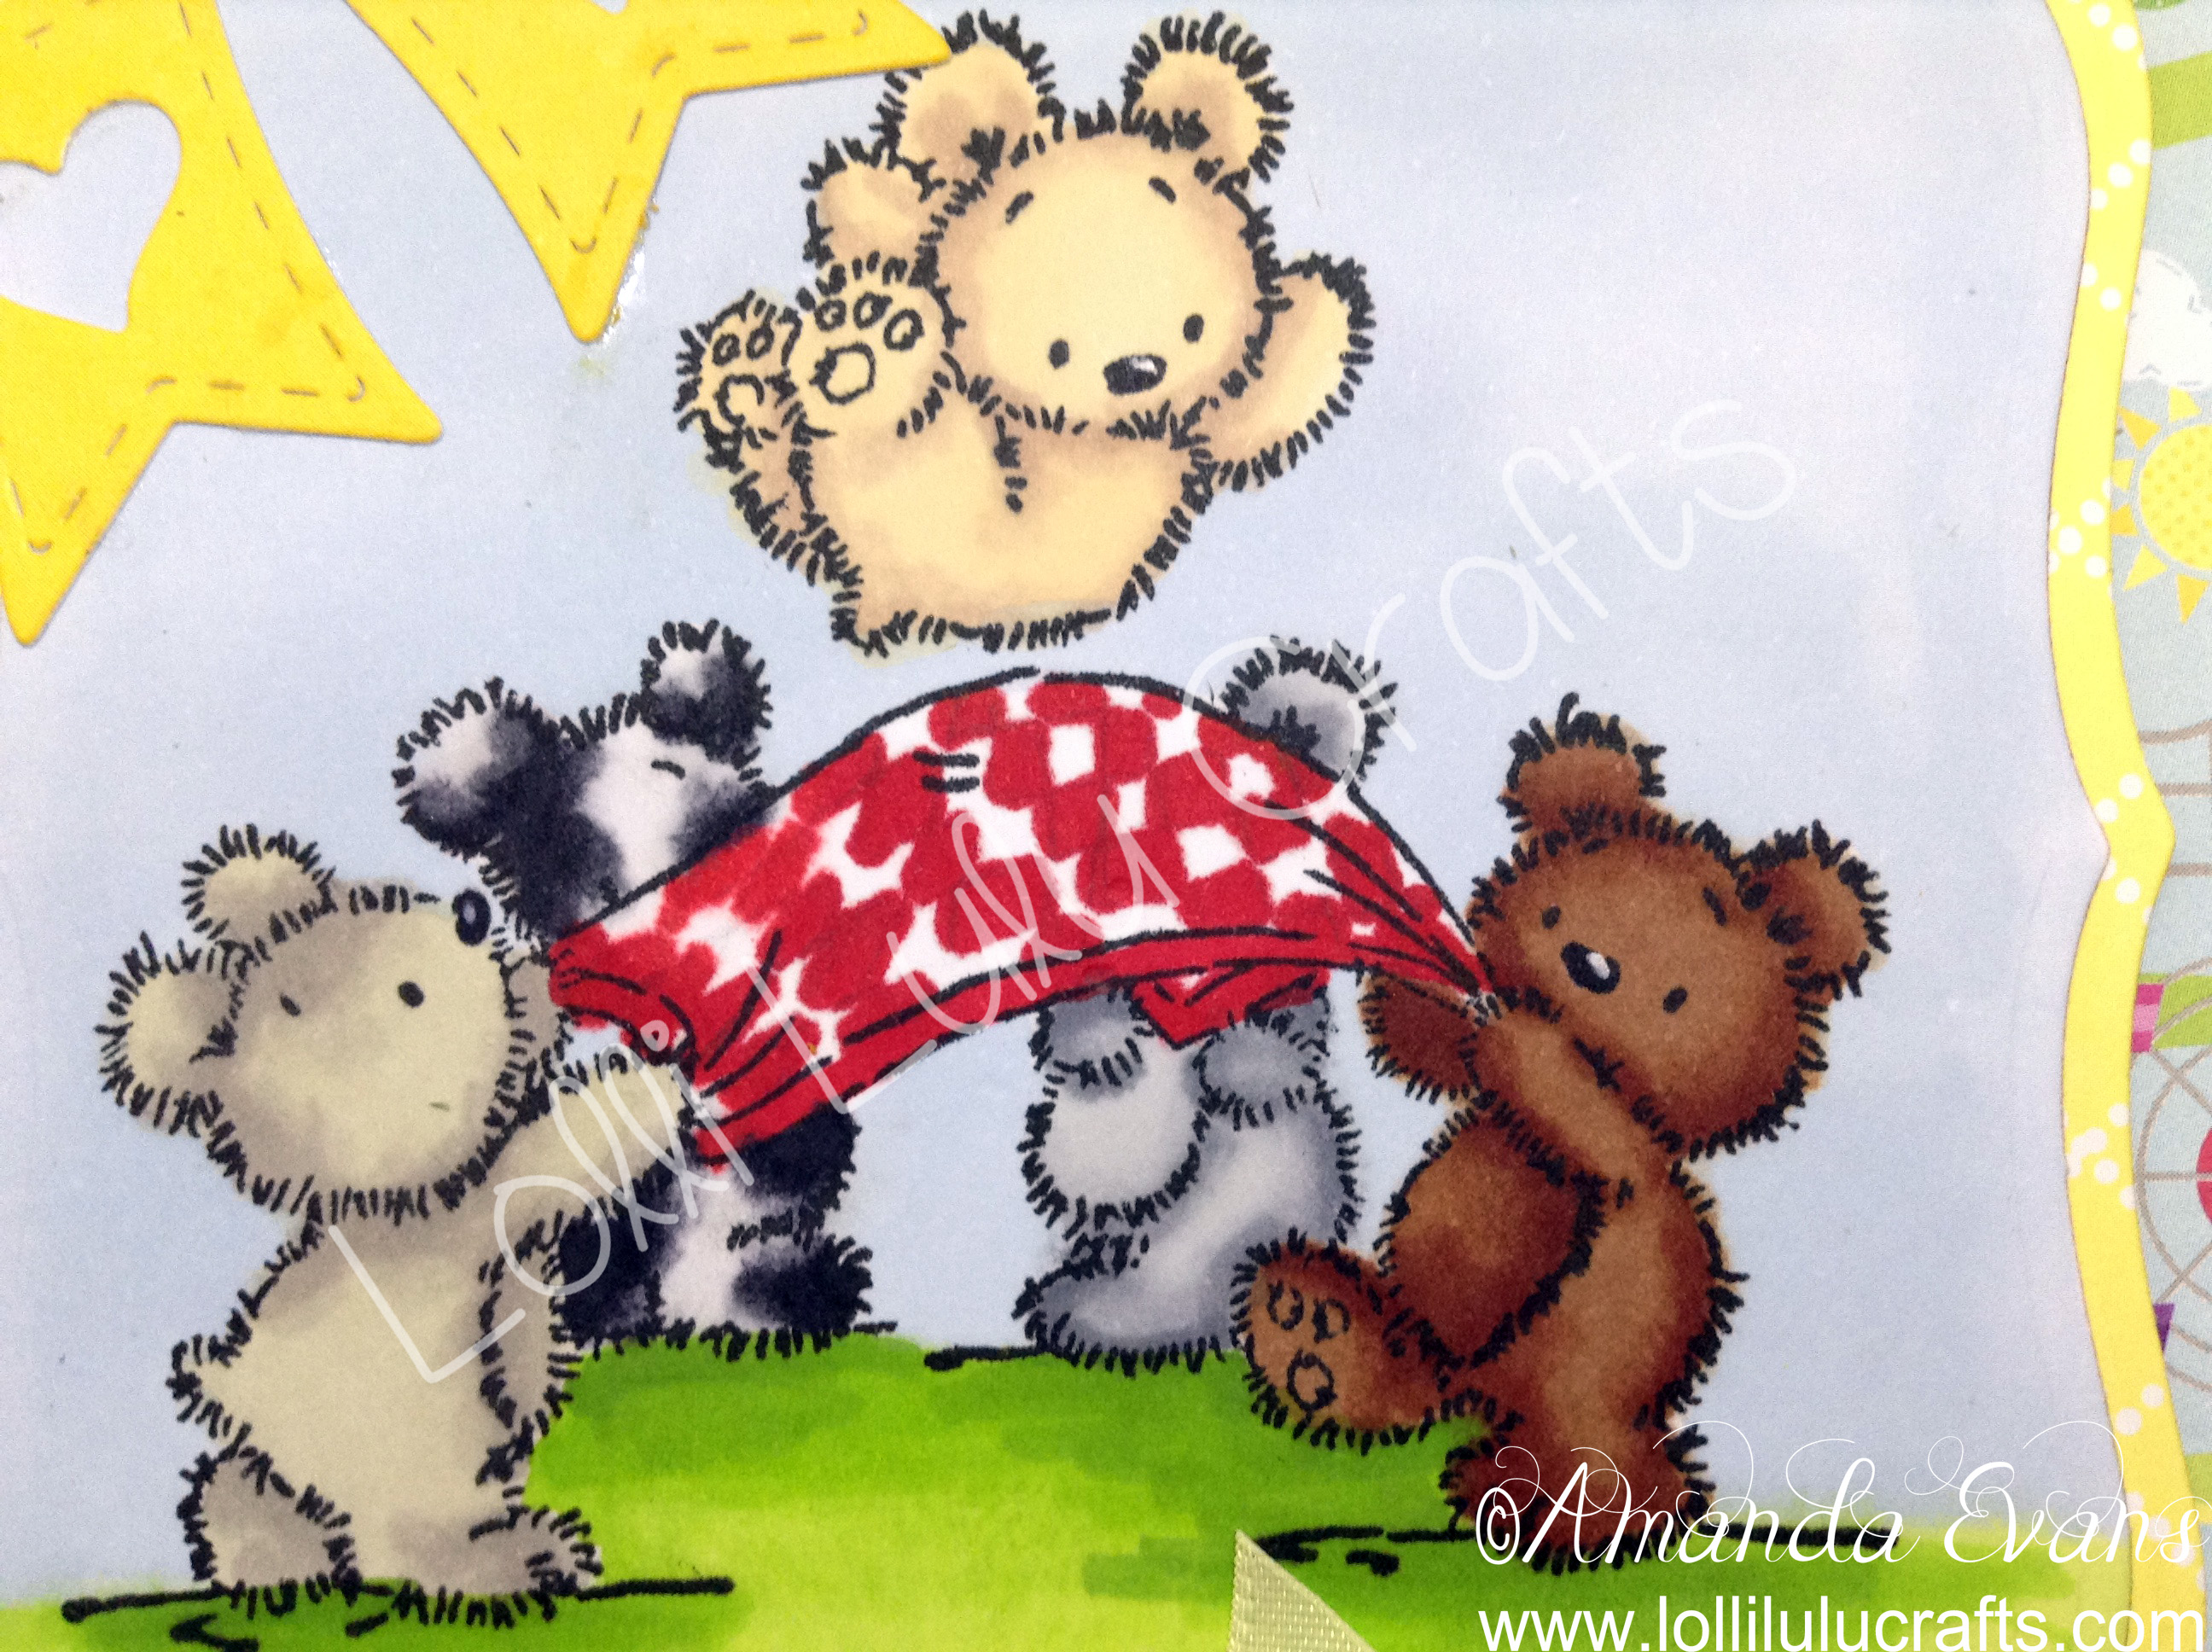
Hiya, today I have for you a card I made using one of my favourite brands of stamps and coloured for a change using my Pro-Markers – a cute and adorable Lili of the Valley Teddy Birthday Bumps Card.
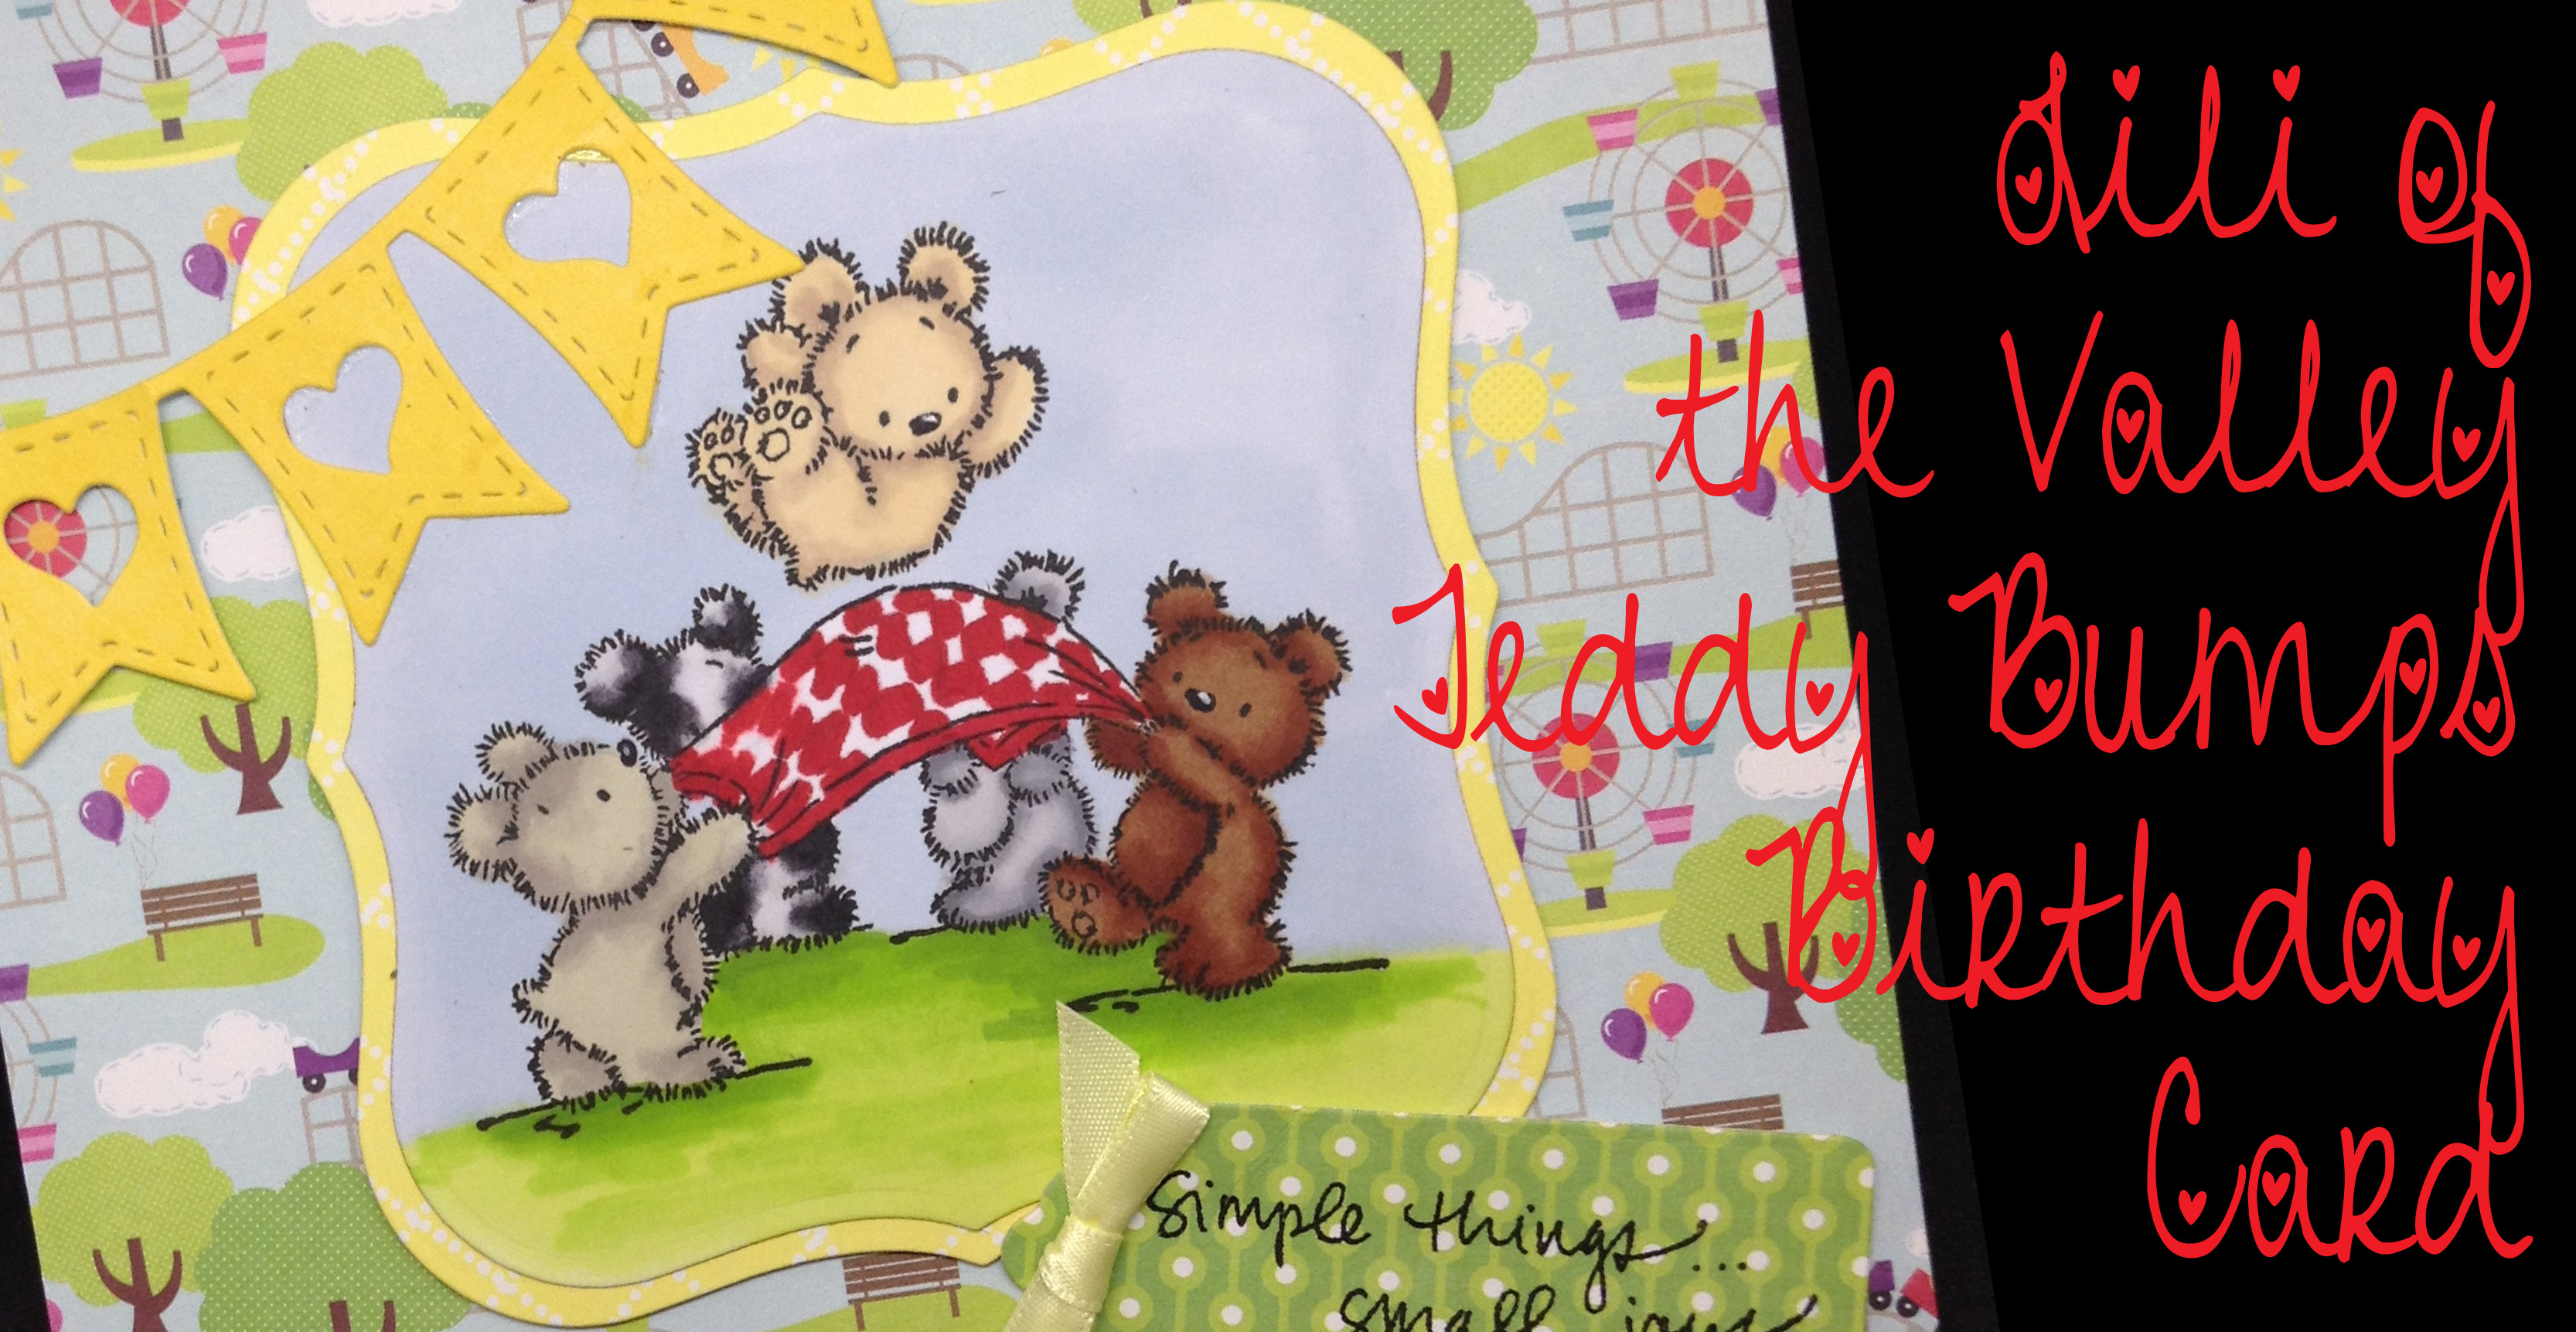
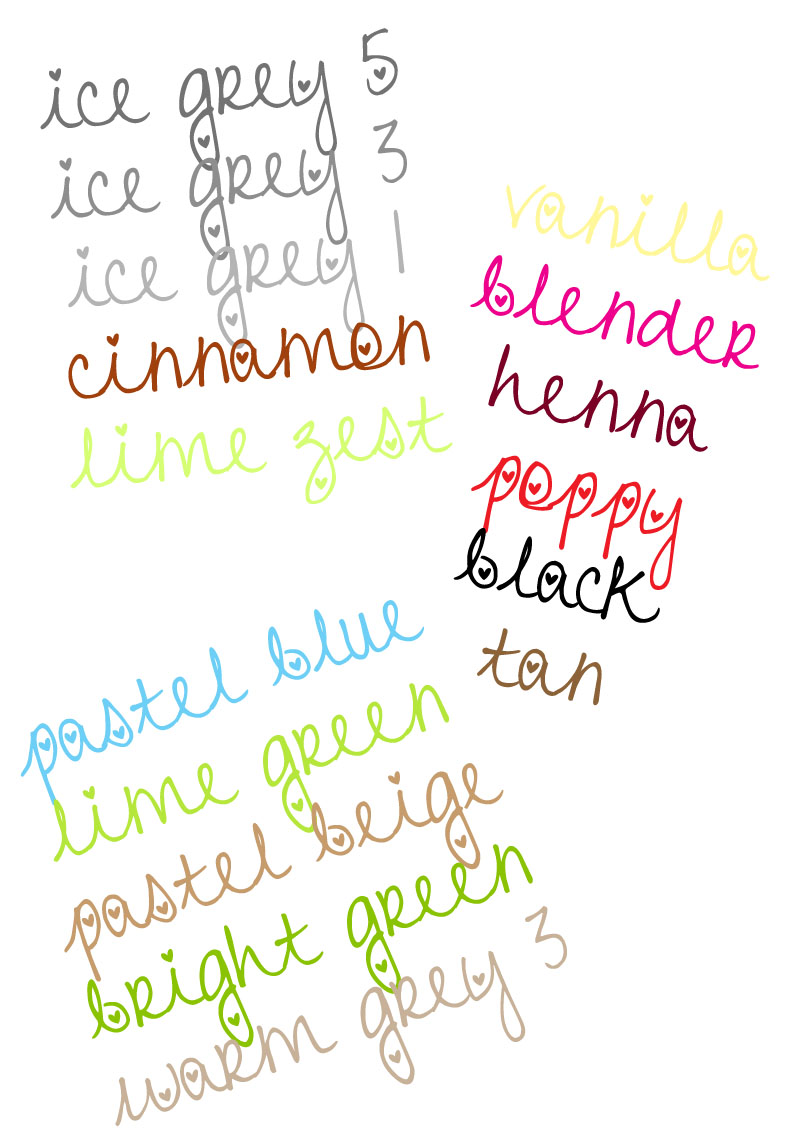
Sadly this particular stamp, I believe, is now discontinued but the design idea can obviously be translated to any stamp. So the first thing I did was stamp my image with Memento Tuxedo Black Ink onto my Copic Marker Paper. I really love this paper if I’m going to stamp and then colour with alcohol Markers. I really believe it makes such a difference to the blending and look of your finished colouring. Once I had given the stamp time to dry I then coloured it in, unusually for me, using the following Promark are colours.
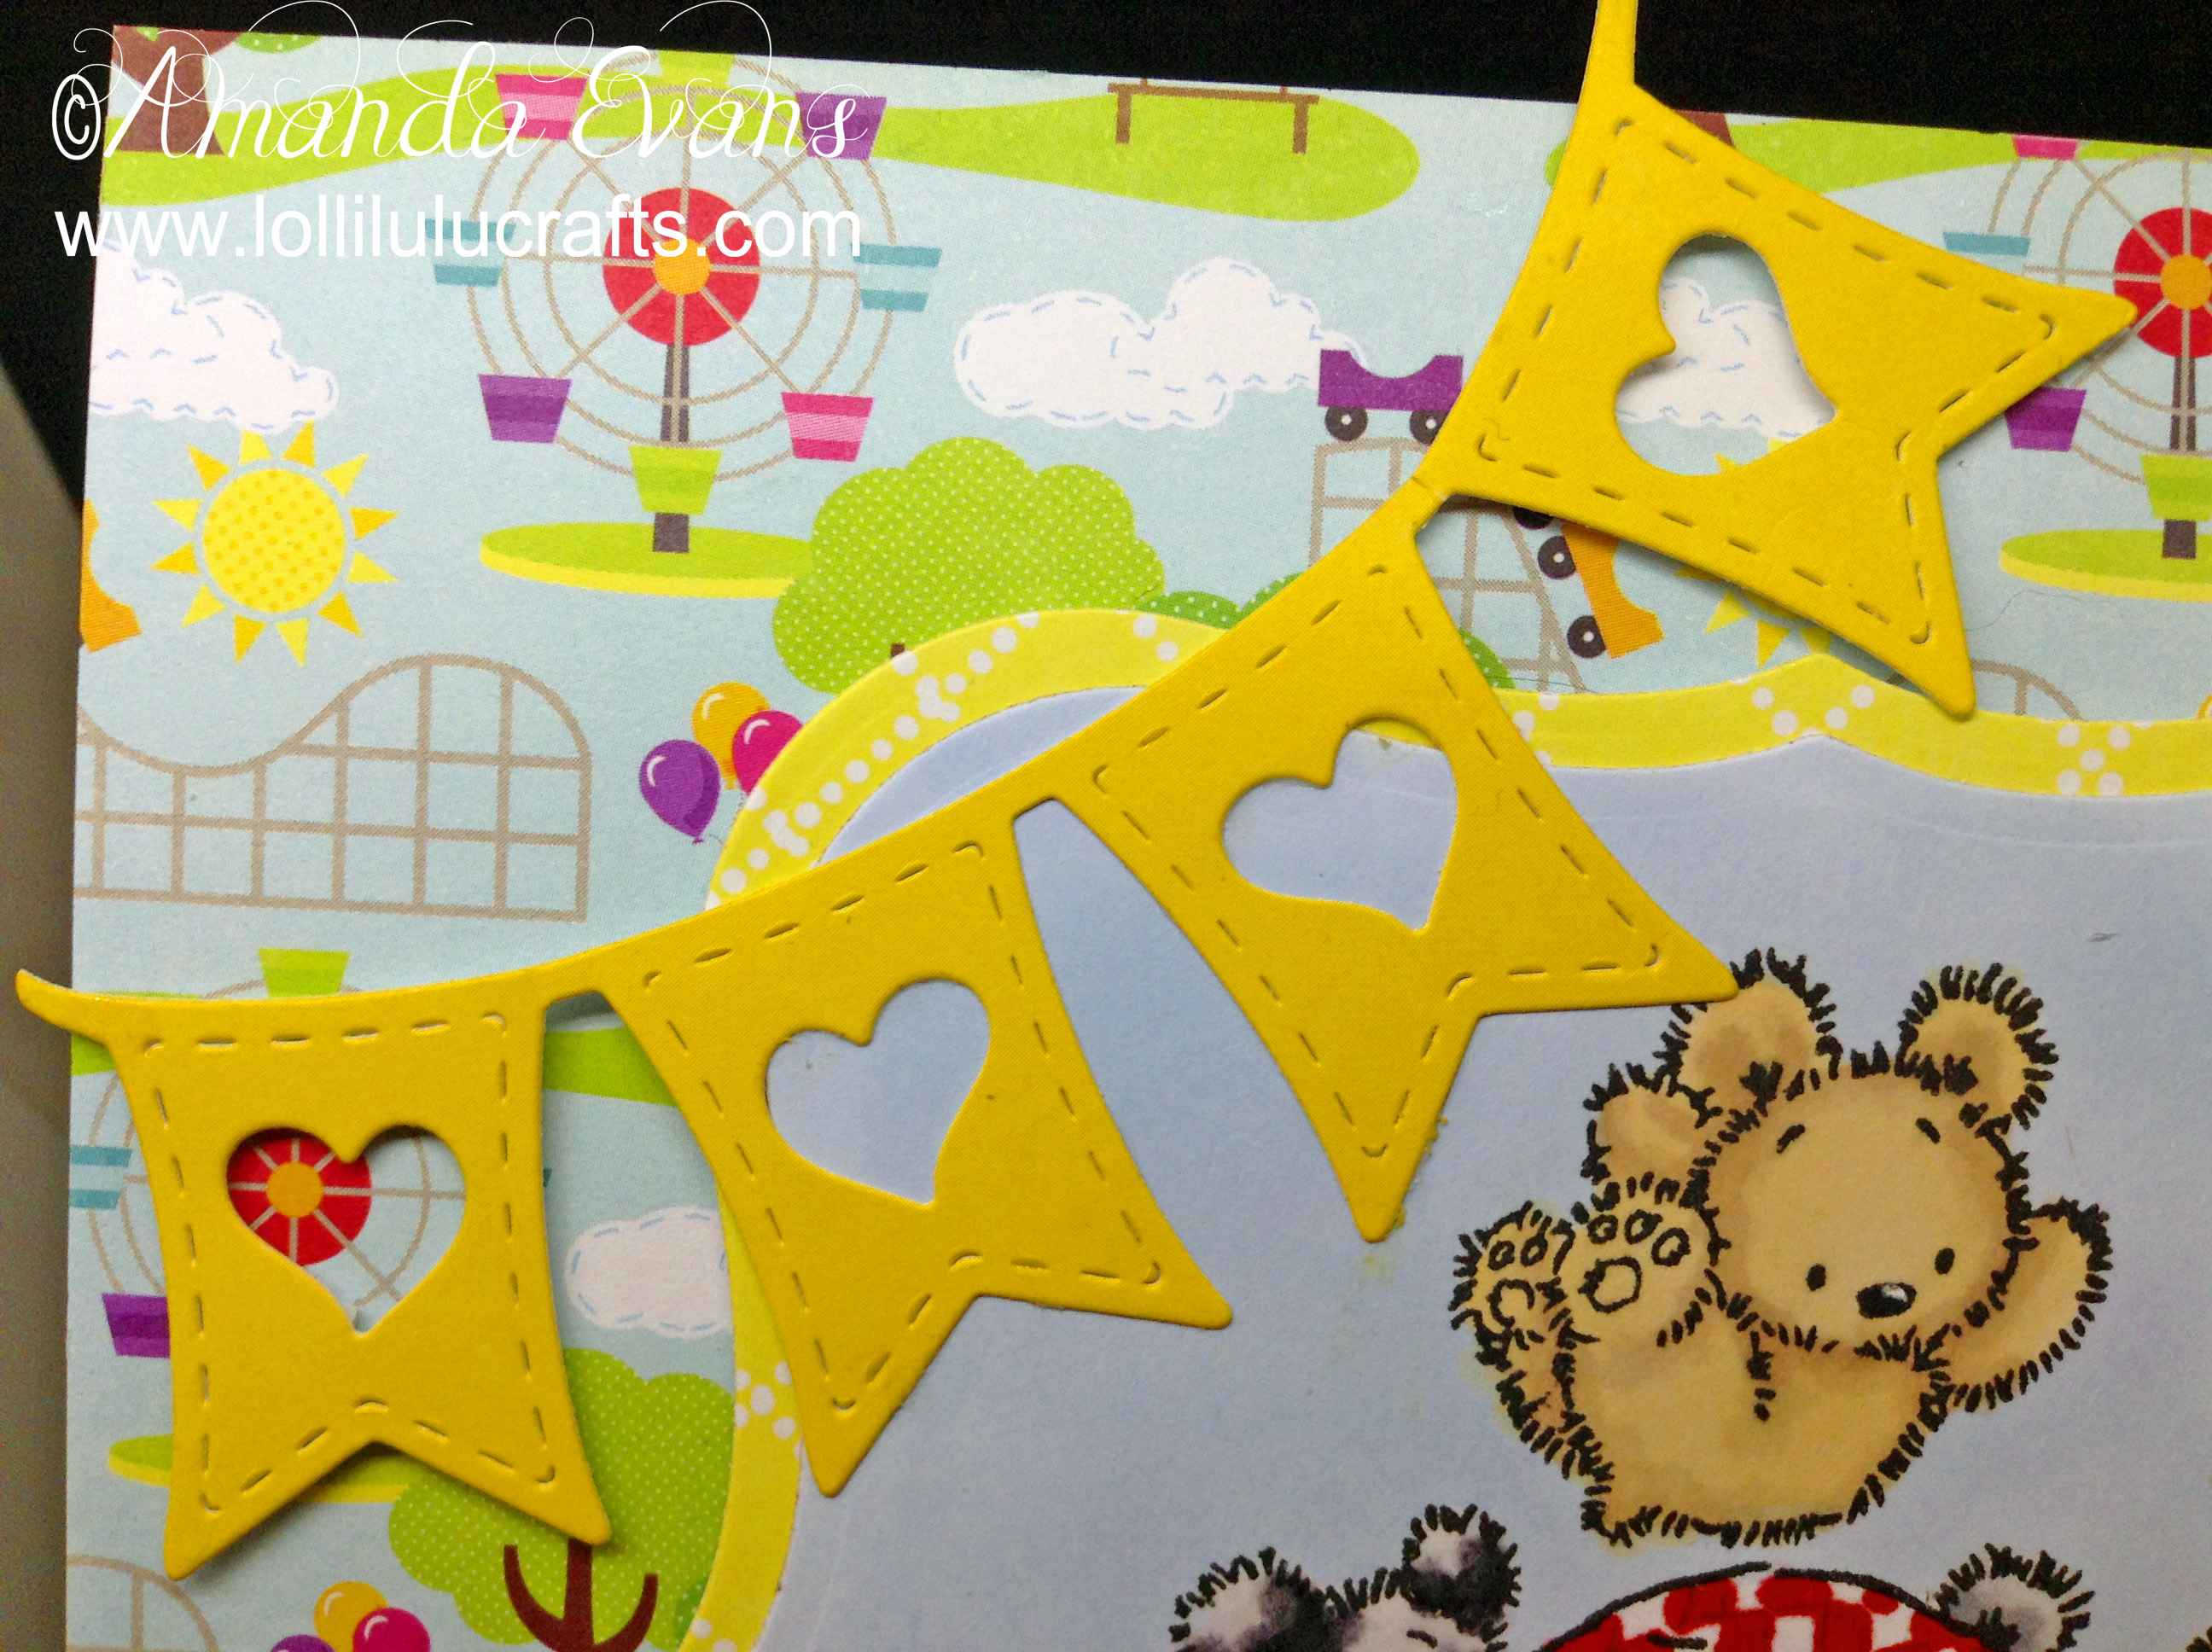
Once my image was coloured I put it to one side whilst I made my cardbase. For this I took a Hunkydory pre-scored 6″ x 6″ card which I covered with a piece of patterned paper from the 6″ x 6″ Echo Park Summer Days Pad. I picked out a piece that had trees on it etcetera so it made it look like my little teddy bears were sitting in the park.

Next I went back to my stamped image and I die cut it using my Spellbinders Labels One Dies. I really love the shape of Labels One and also I have Labels One large which means I can Mat and Layer alternating between these two sets giving 1/8 inch gap rather than 1/4 inch that you would get if you only used the one set. So next I took my Labels One large dies, a piece of yellow paper from the Echo Park pad & Die Cut the next size up to my stamped image, creating a gorgeous sunny mat for my stamped image. I think it looked so cute. Next using that same yellow paper I die cut the La La Land heart banner die and placed it across the corner of my card and over the corner of my image. I think this heart banner die is one of my favourites from La La Land.
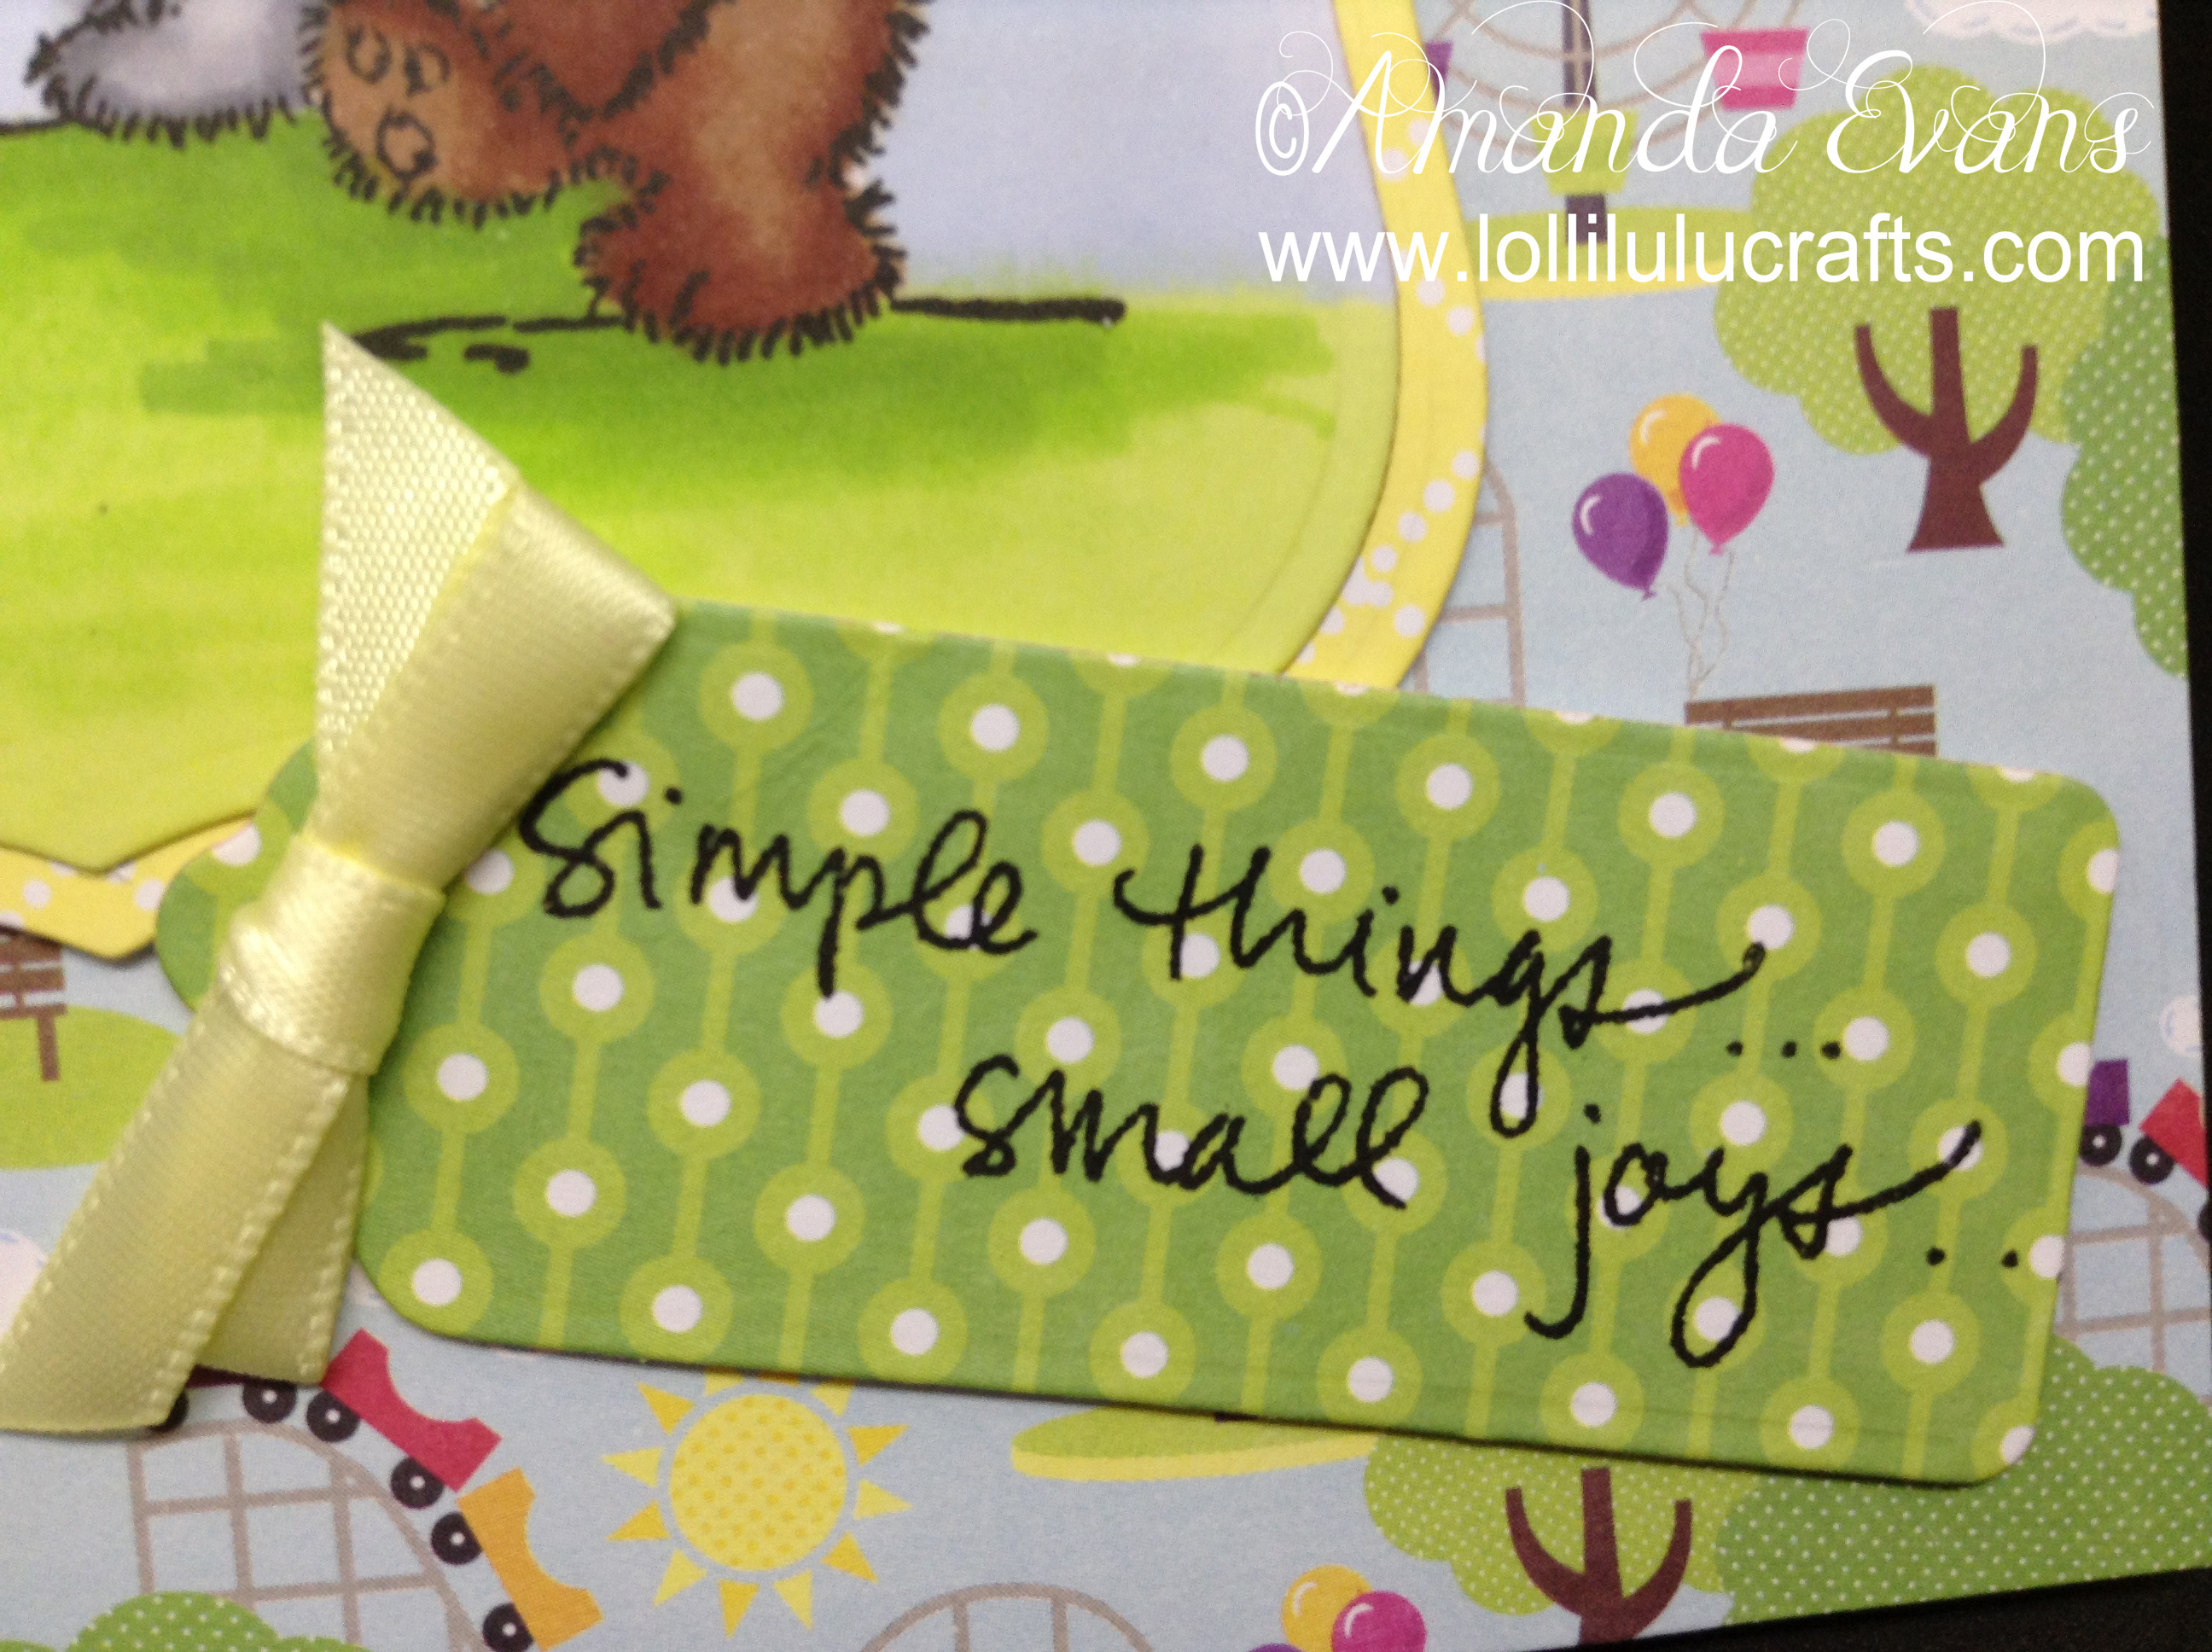
The final touch on the outside of the card was to die cut a tag, stamp a sentiment on it and add a pretty little bow to it.
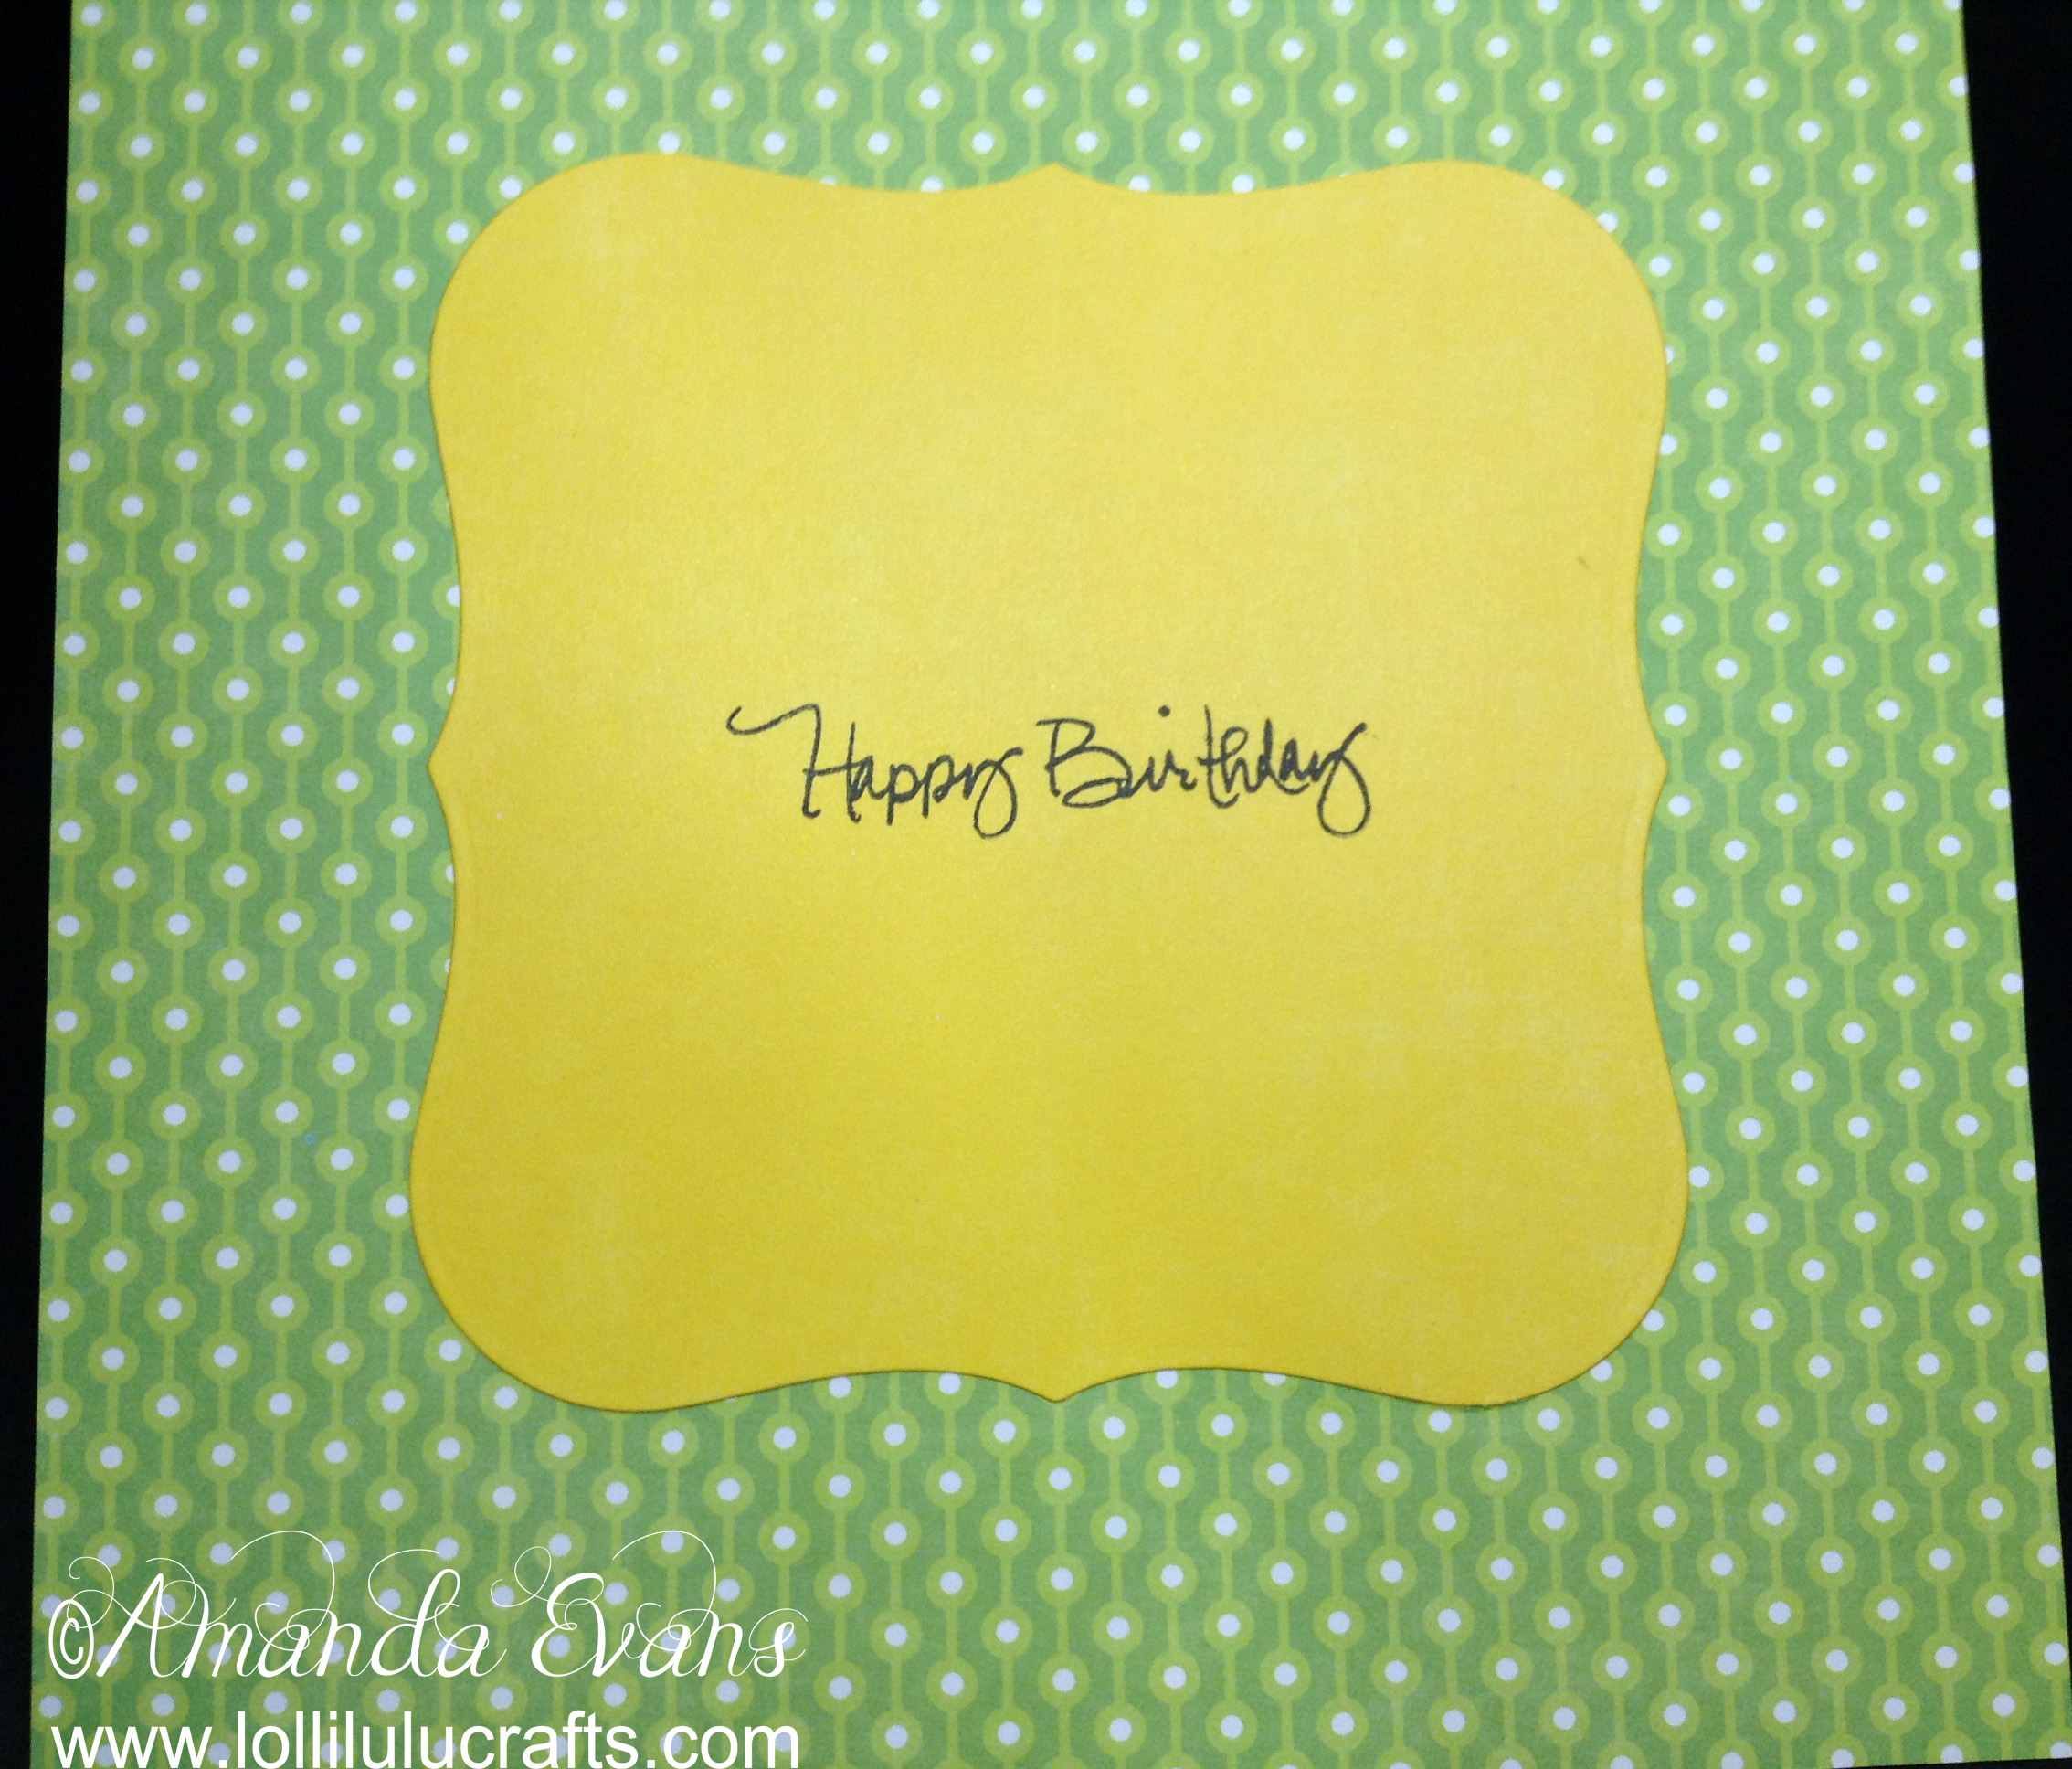
Next I decided that I needed to make the inside look pretty too so I picked a piece of paper from the same pack and covered the inside of my card. I decided to use the same pattern as I had used for the sentiment tag on the front. This not only coordinated with the outside with regards to the pattern but also the colour of that green patterned paper was a perfect match for the grassy green that I had coloured on my image. Finally on the inside, I had diecut an extra yellow Labels One shape, so I popped this in the centre and stamped a ‘happy birthday’ greeting.
So that is it our completed Lili of the Valley Teddy Birthday Bumps Card.
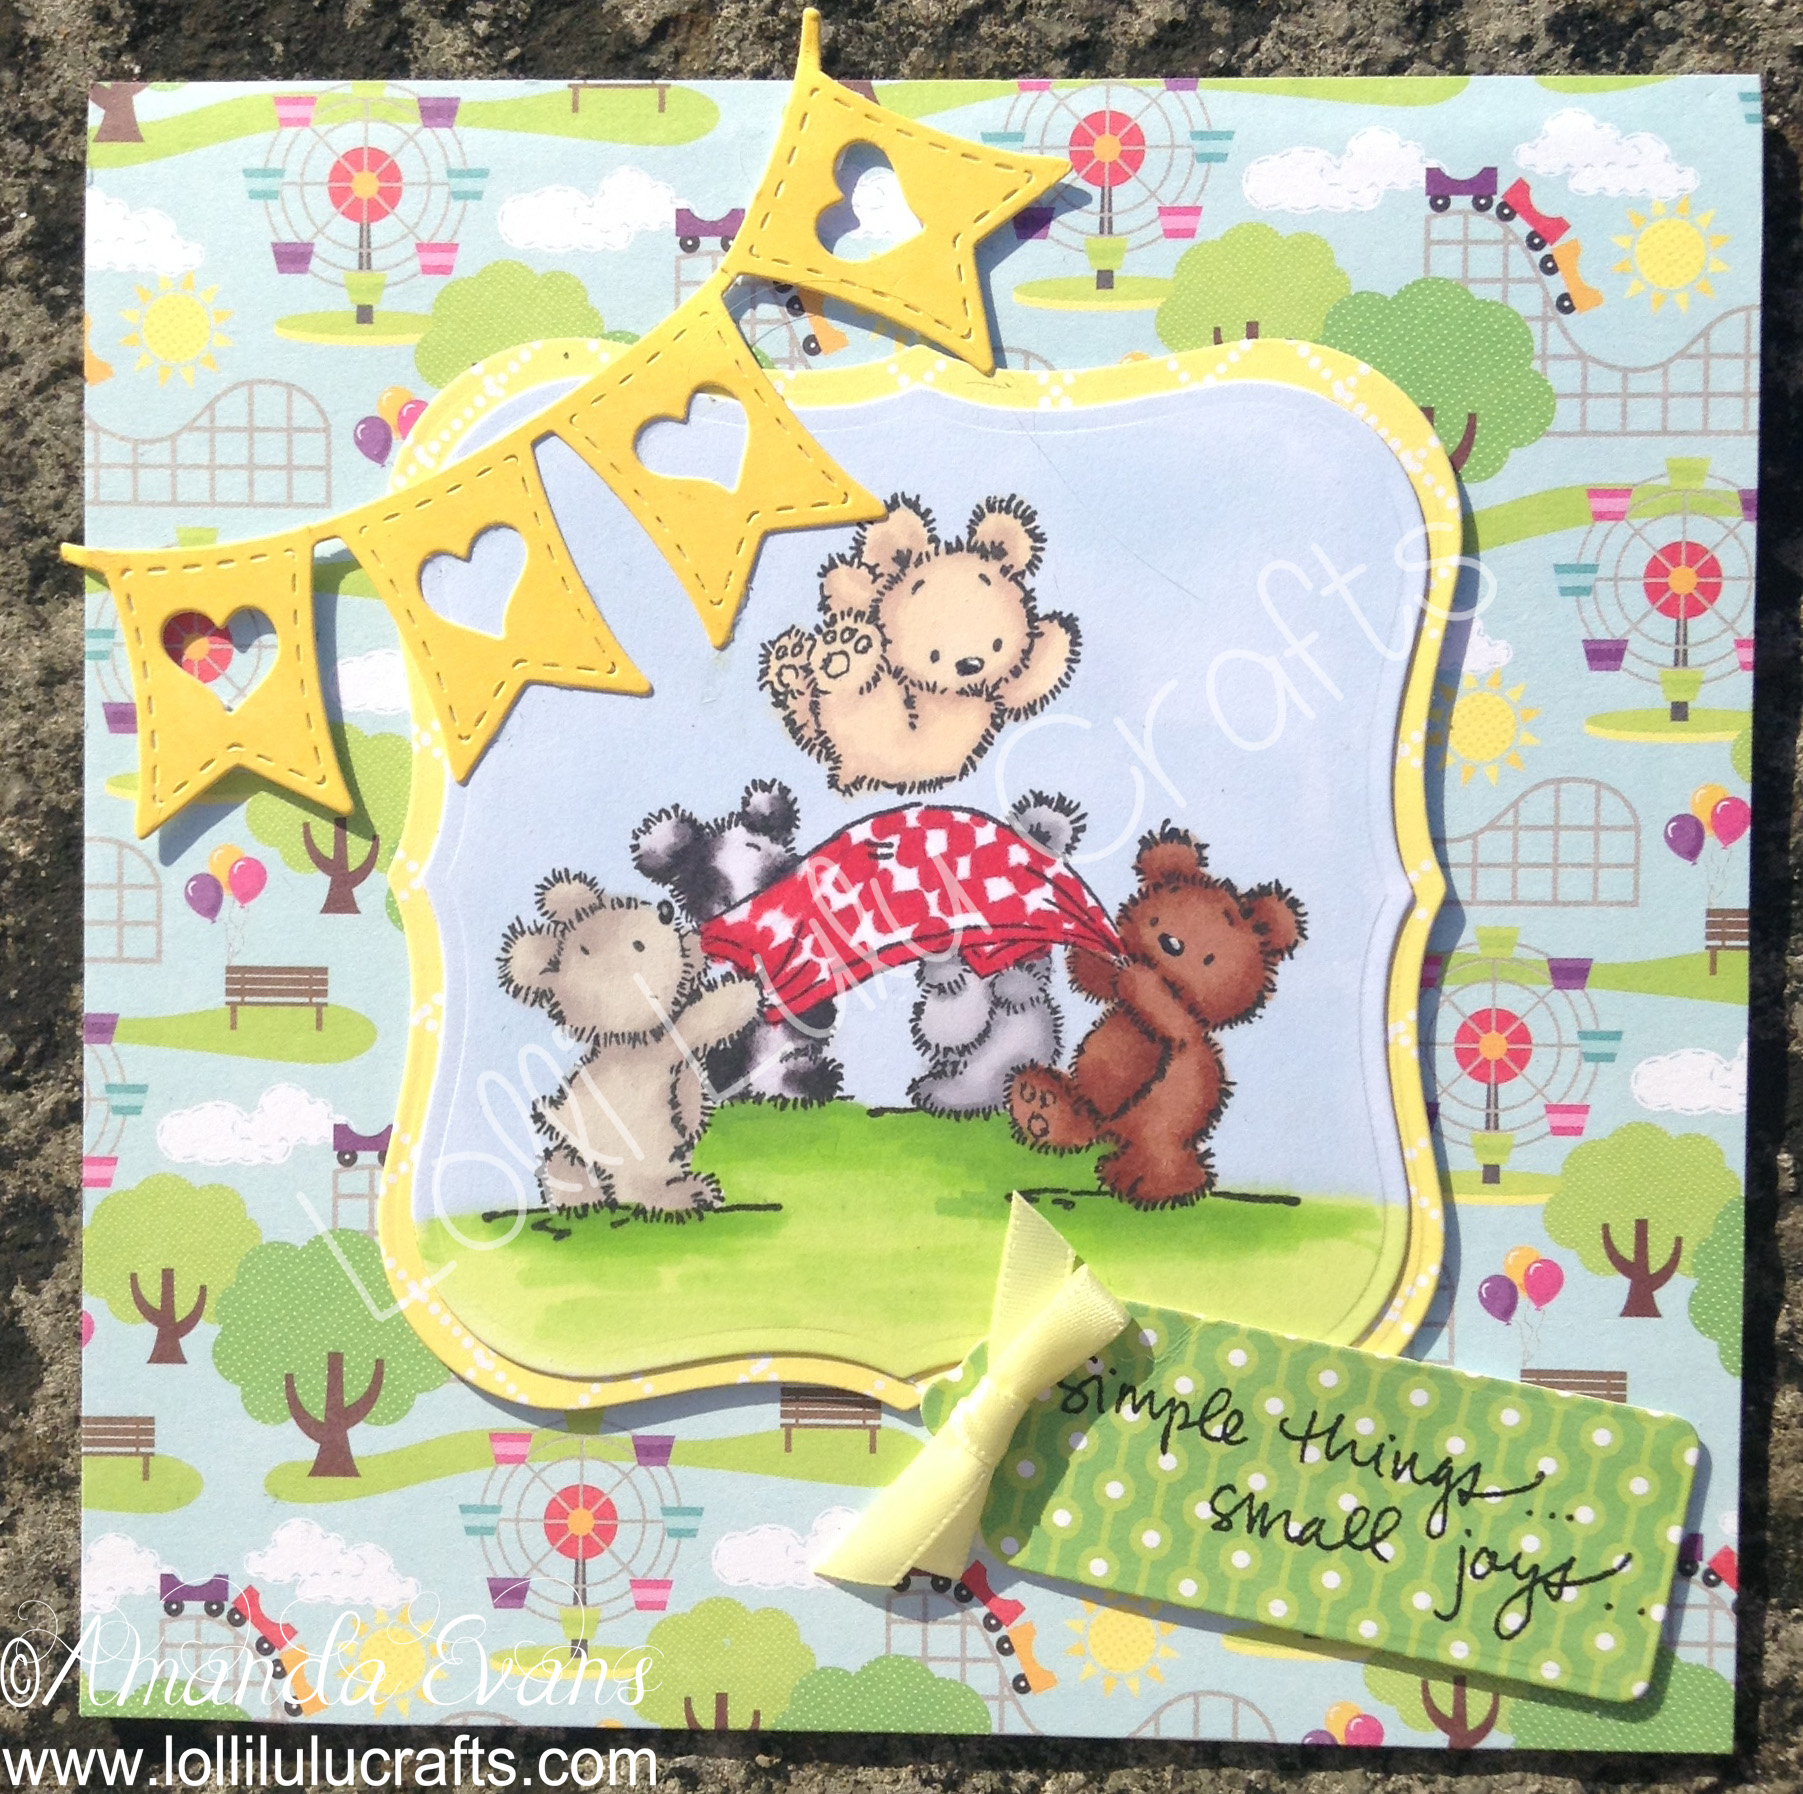
I think this image is just adorable but I actually like the whole design of this card. It’s so simple in many ways and yet the paper, the image and the colours make it really bright and fun. I hope you like it as much as I do. So that’s it for today I hope you have enjoyed this project and I would love to hear your comments as always, but for now hugs and have a great craft day,

●▬▬▬▬▬ ●SUPPLIES● ▬▬▬▬▬●
Below are the products featured in today’s Video. Some products can be purchased from multiple stores so I have given each store different letter codes. Click on the letters below the picture to go to a favorite store: Simon Says Stamp (SSS), Dick Blick (DB), Cricut (C), Scrapbook.com (SB) and Amazon (AMZ)


●▬▬▬▬▬ ● DISCLAIMER ● ▬▬▬▬▬●
Affiliate links are used. For affiliate information and policy please see the Policy page.

Really cute card. I like Lily of the Valley stamps too.
Ahhh they are adorable aren’t they and stamp so well 🙂
What a great fun card! I love the LOTV stamps too. I’m glad you used ProMarkers…I finally have the whole set so I should be getting better blends now. I know I’m going to enjoy them so much more. Love how you colored the image:)
Actually it was what you said that made me realise I must mix it up a bit and use my pro markers sometimes to colour as there are people out there that dont have copics or prefer pro markers, so you are responsible for this lol! x