


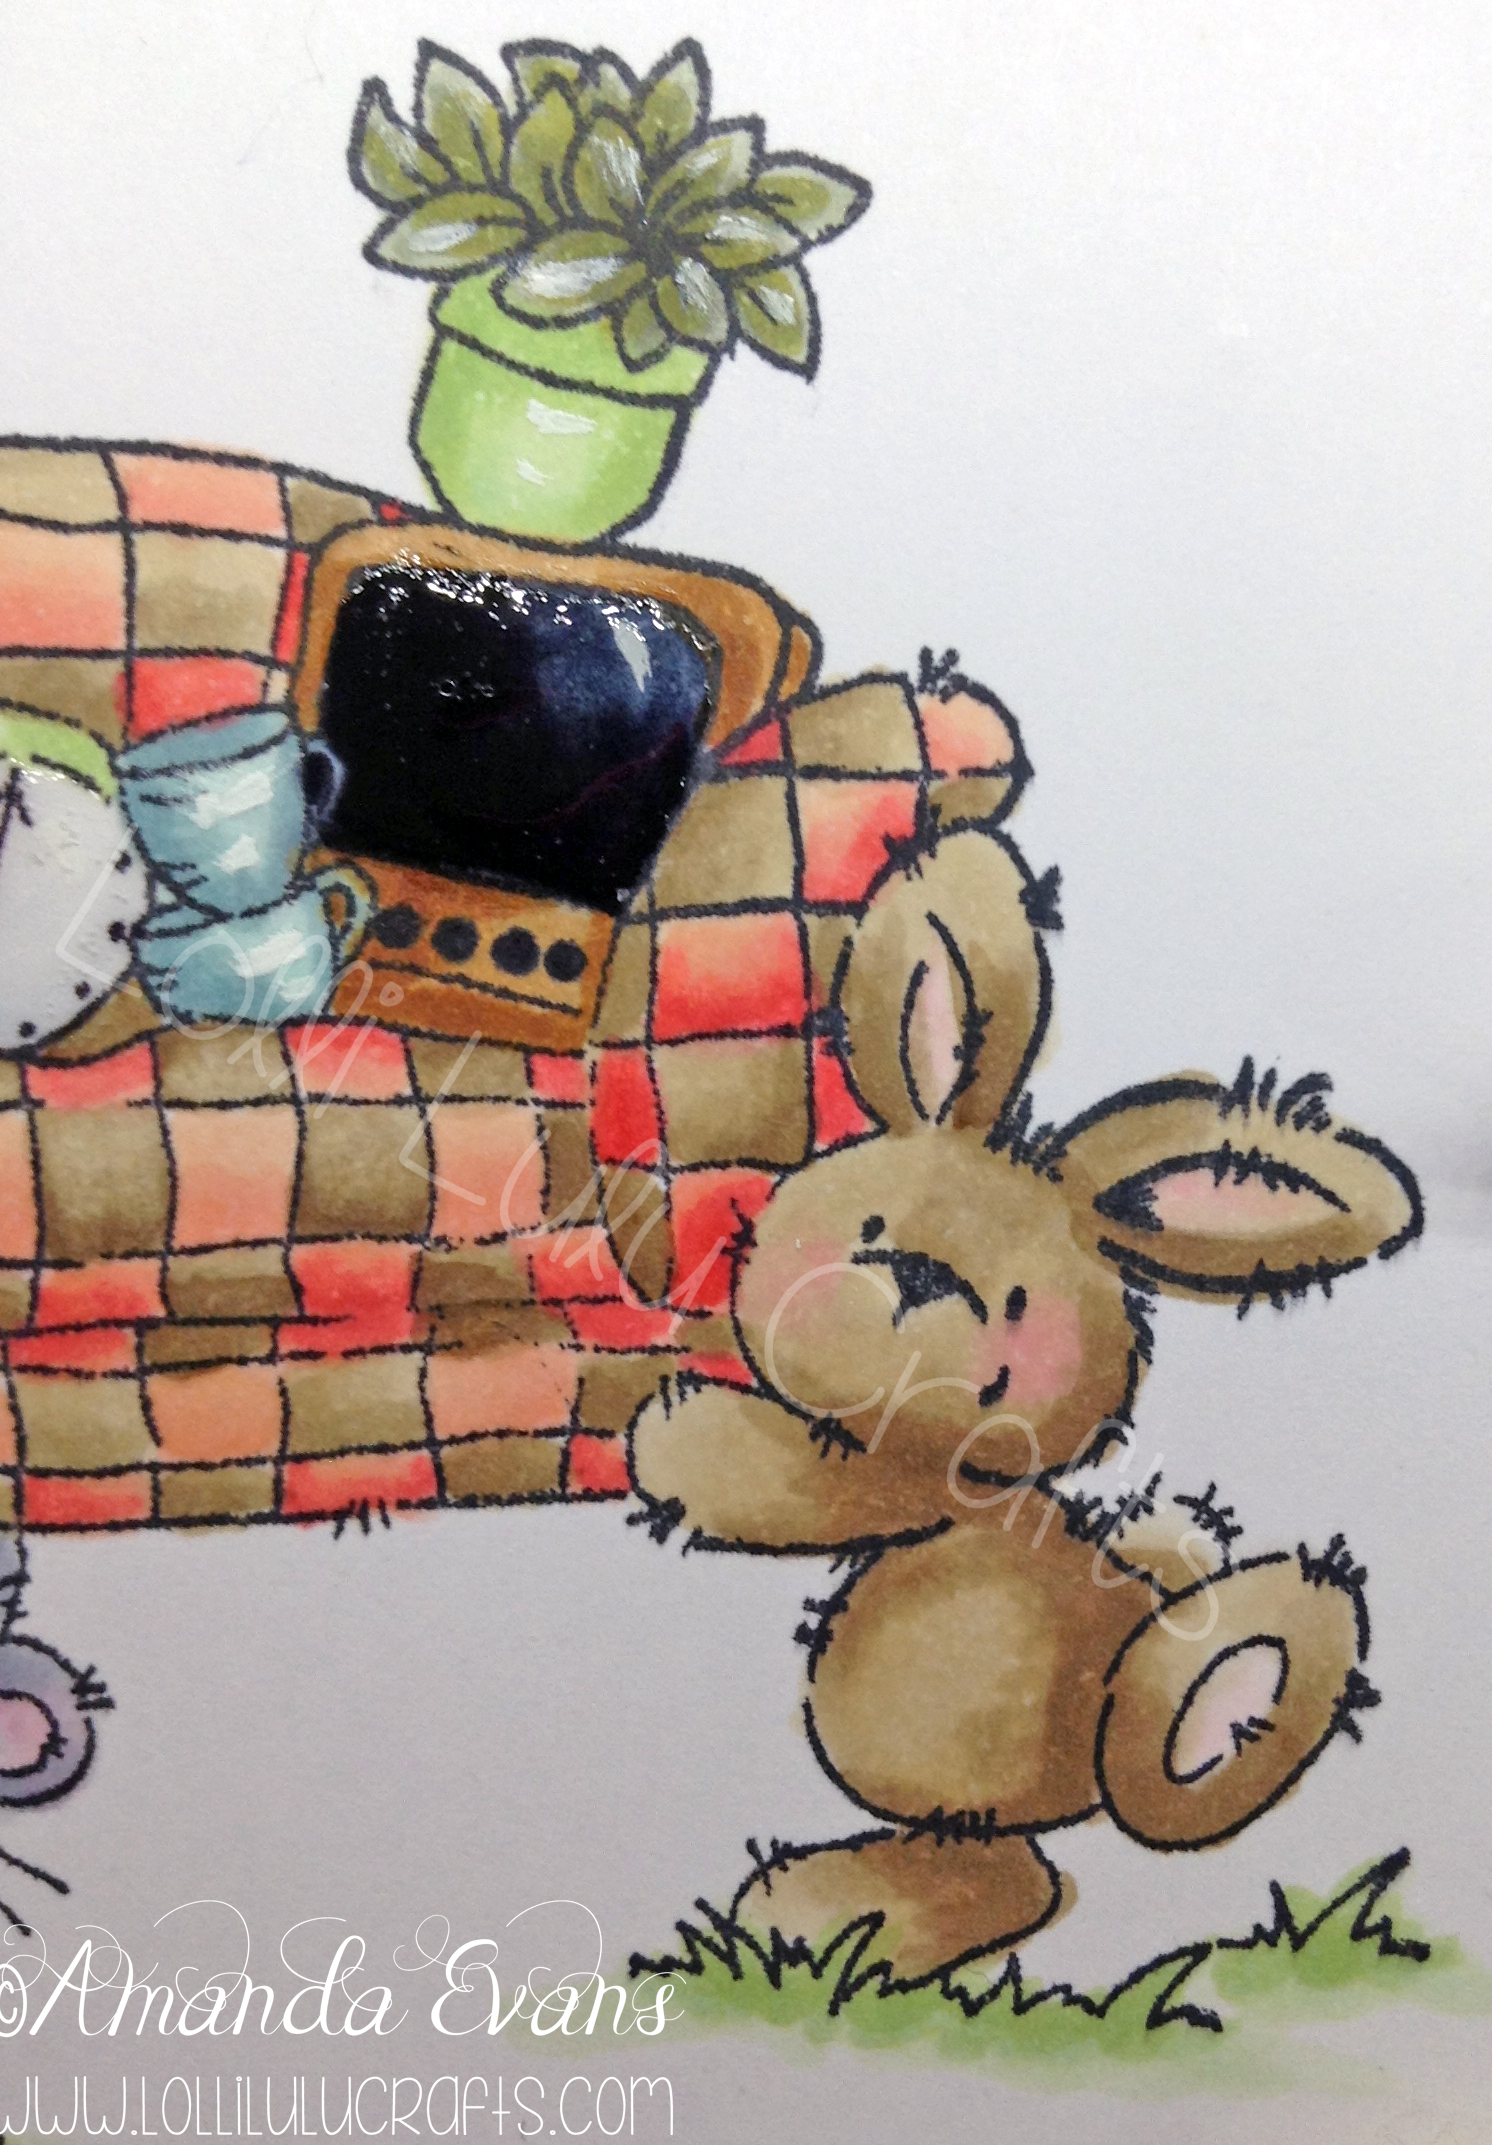
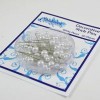
Hi Guys, I have such a cute card for you today. I have fallen in love with the Lili of the Valley stamps, believe it or not before I won a voucher from them in a challenge I had not had any of their stamps. Now I am obsessed! lol! They are so fun to colour too, really well drawn for you to colour in. Enough there in the artwork to guide you as a colourist but not so much that you dont have any scope for creativity. If like me you have been living under a crafty rock and haven’t come across them, then do go check them out. They have a sale on at the moment too plus some reduced stamps that are retiring. Oh and BTW did I mention these are real stamps not digi stamps. So today I have for you a Lili of the Valley Teddy Moving Day Card which for once was actually made for my own use as we had some new neighbours arrive next door 🙂
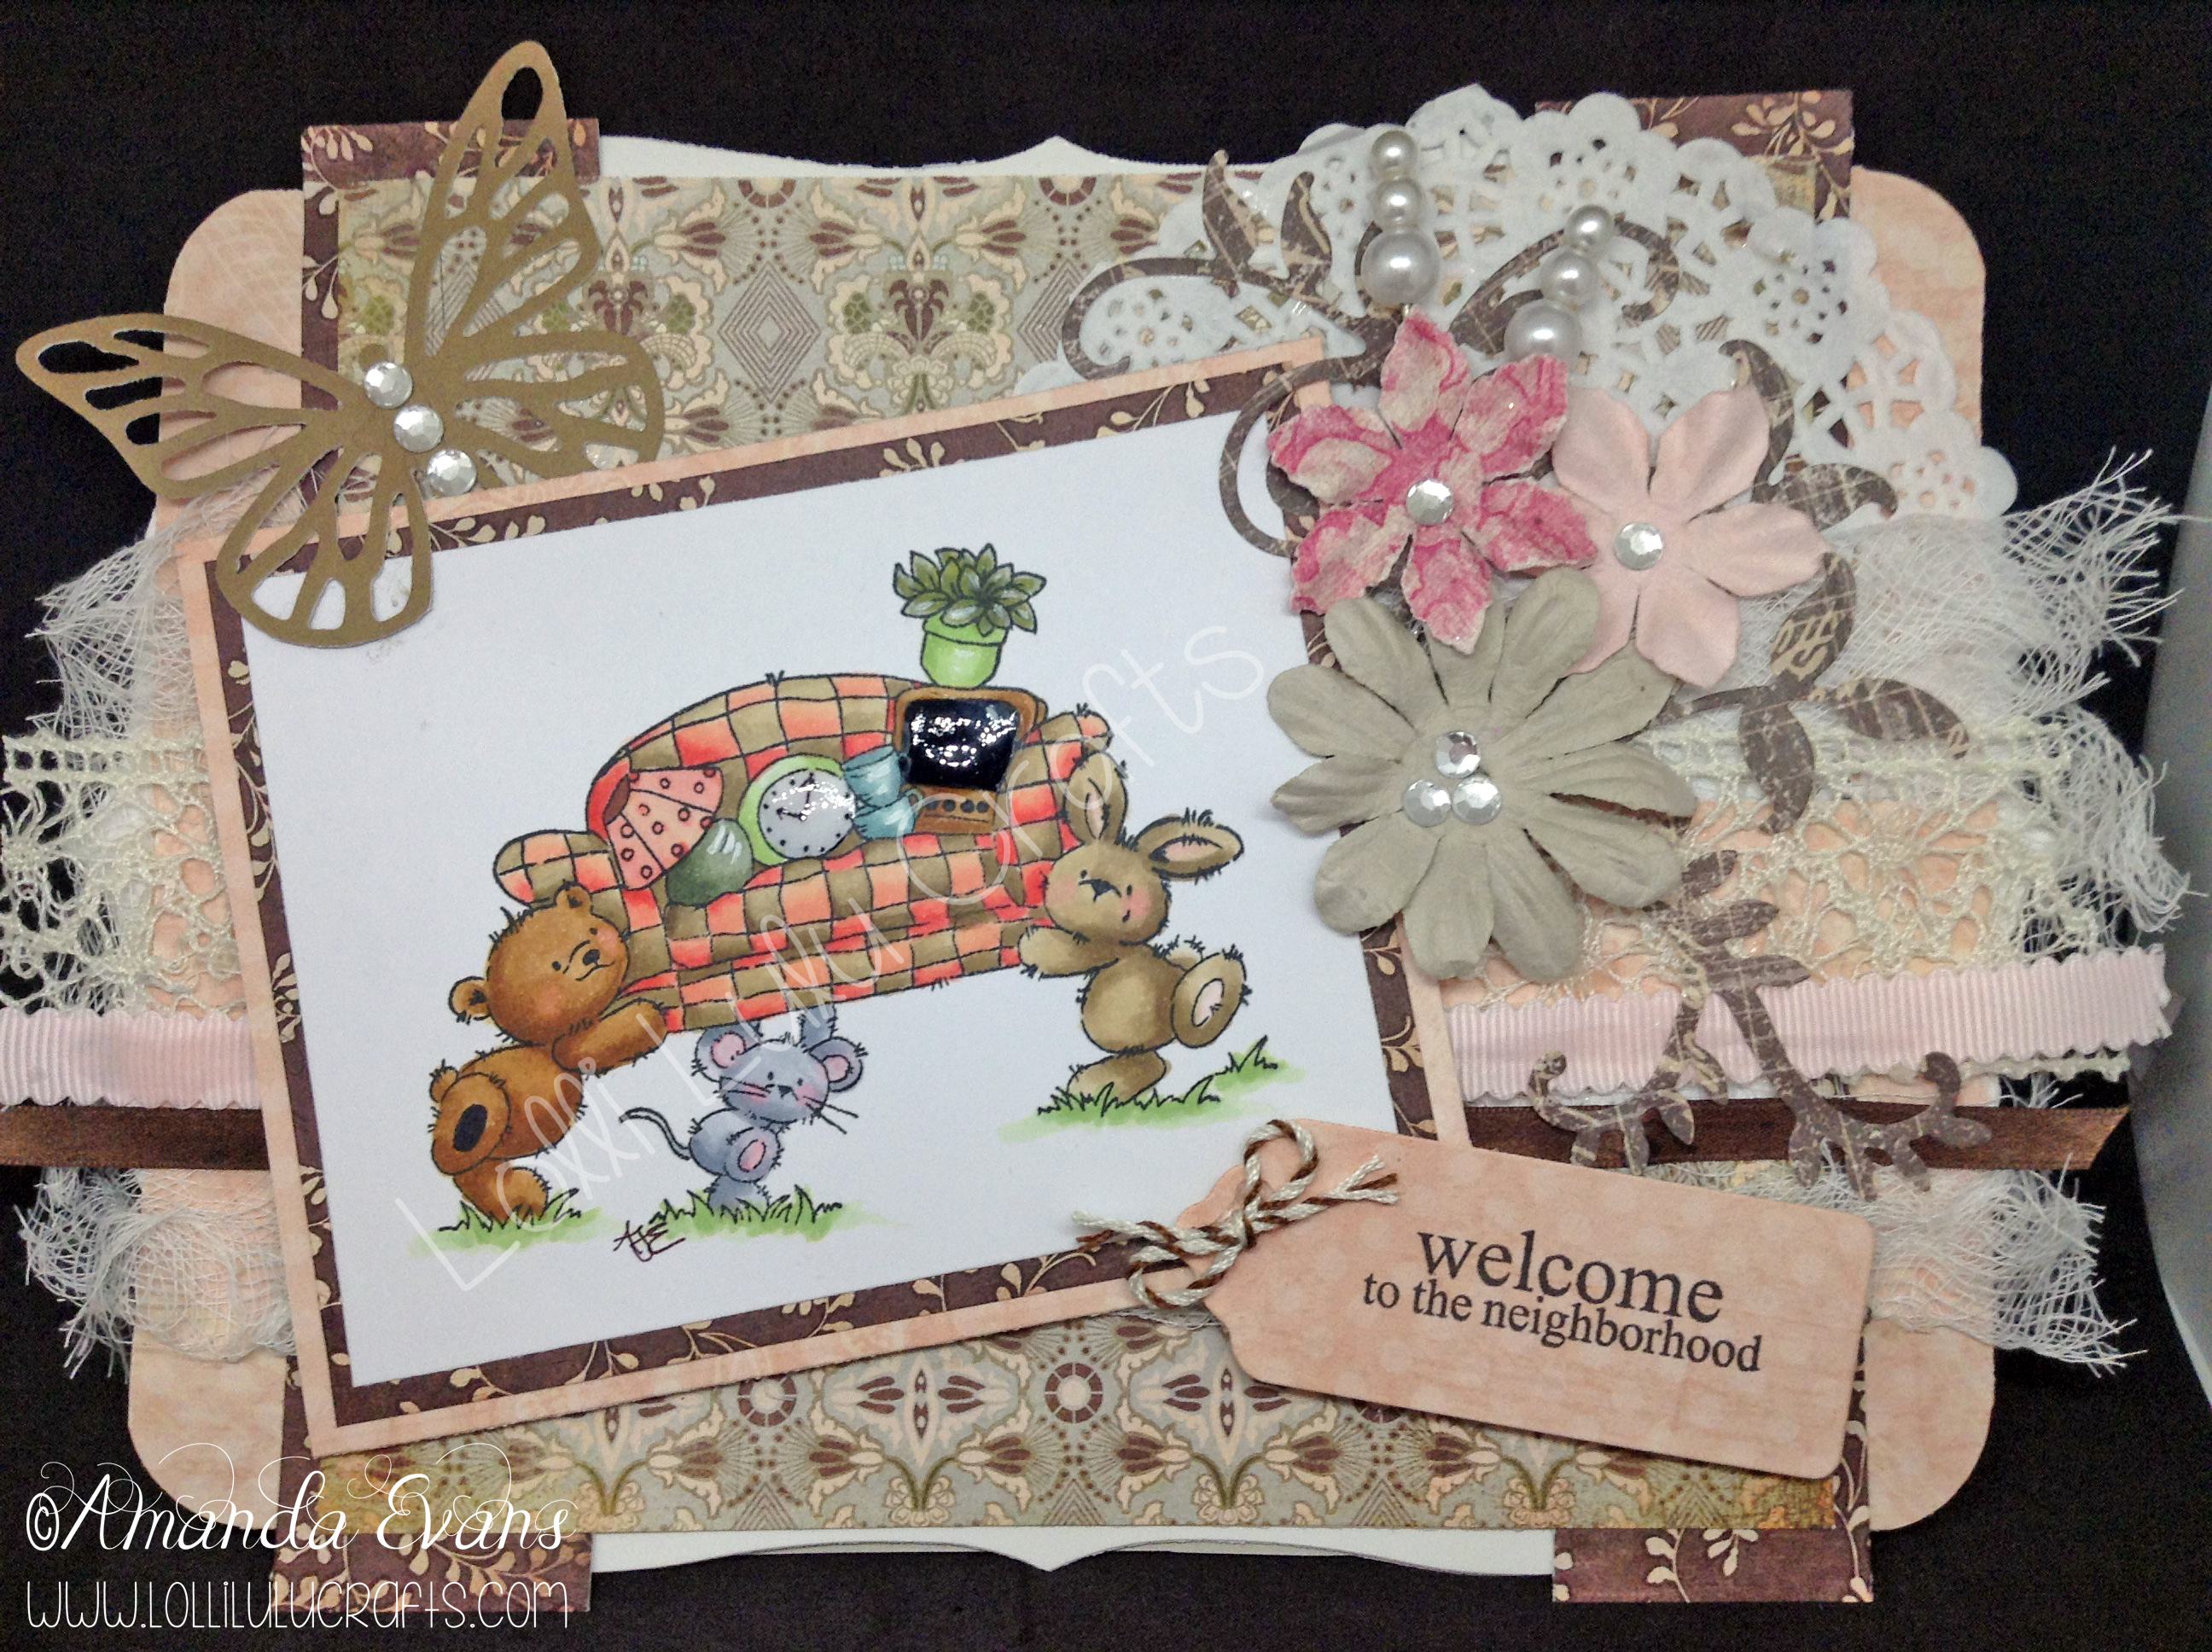
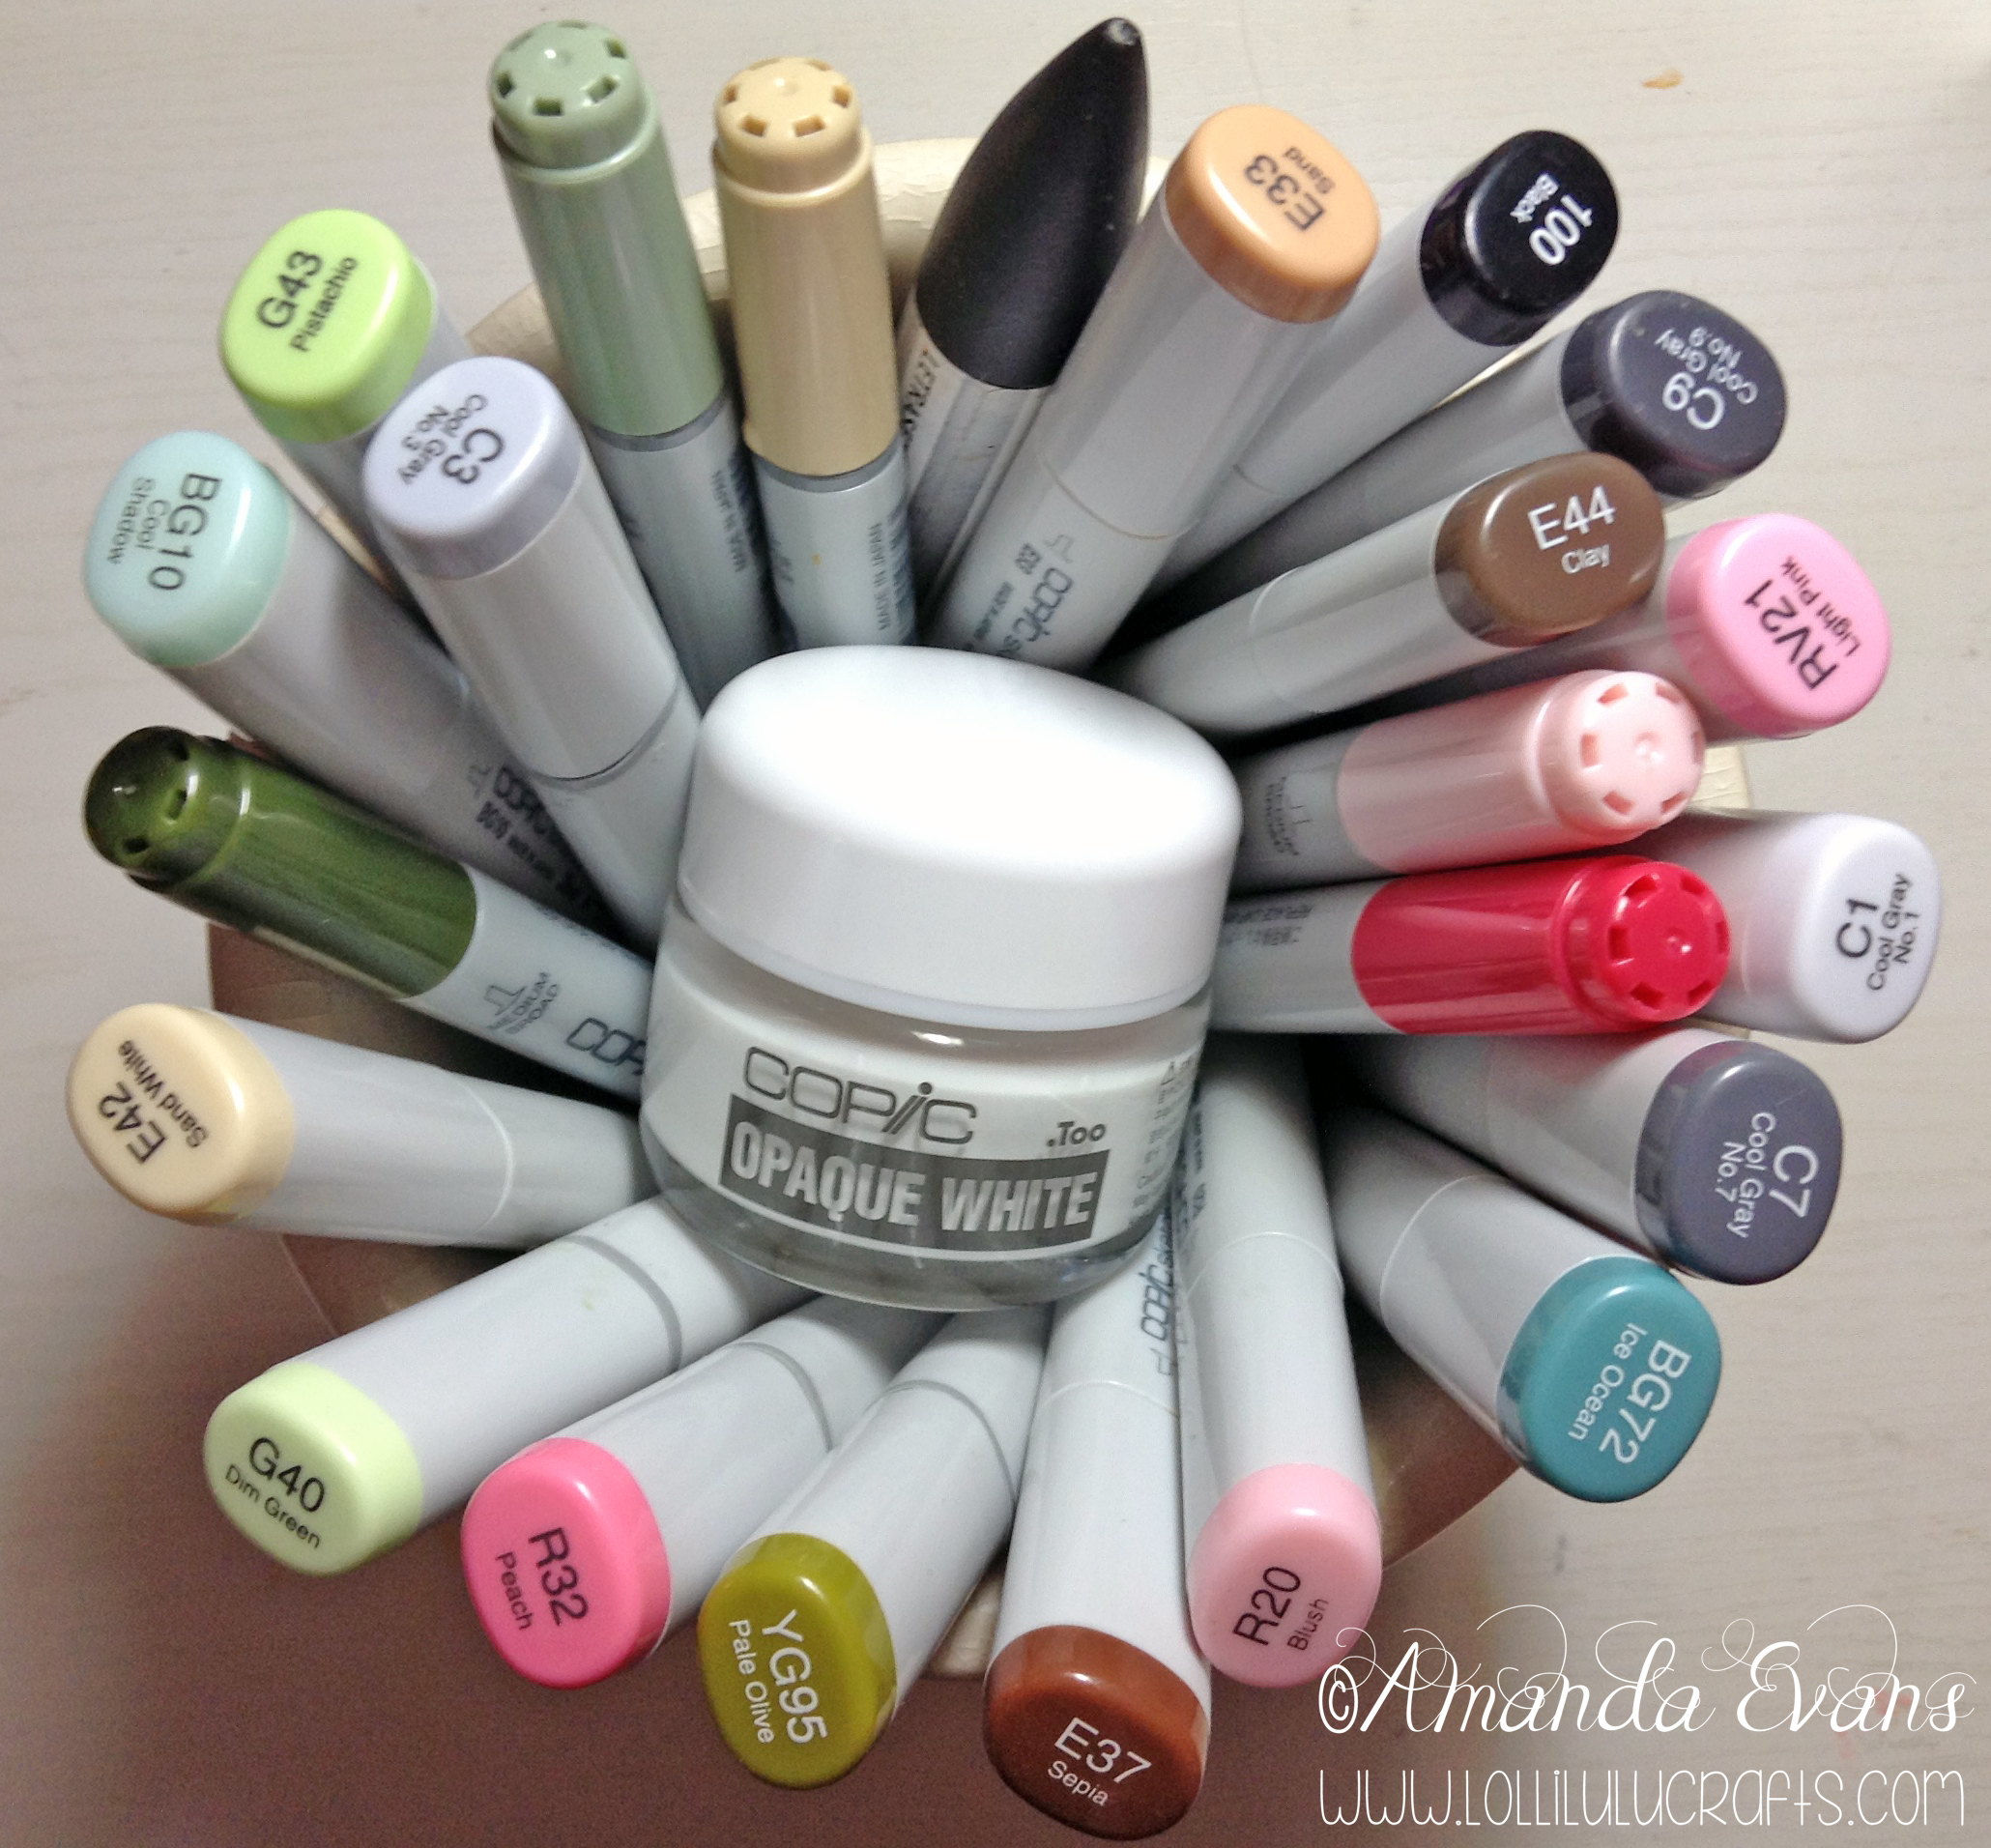
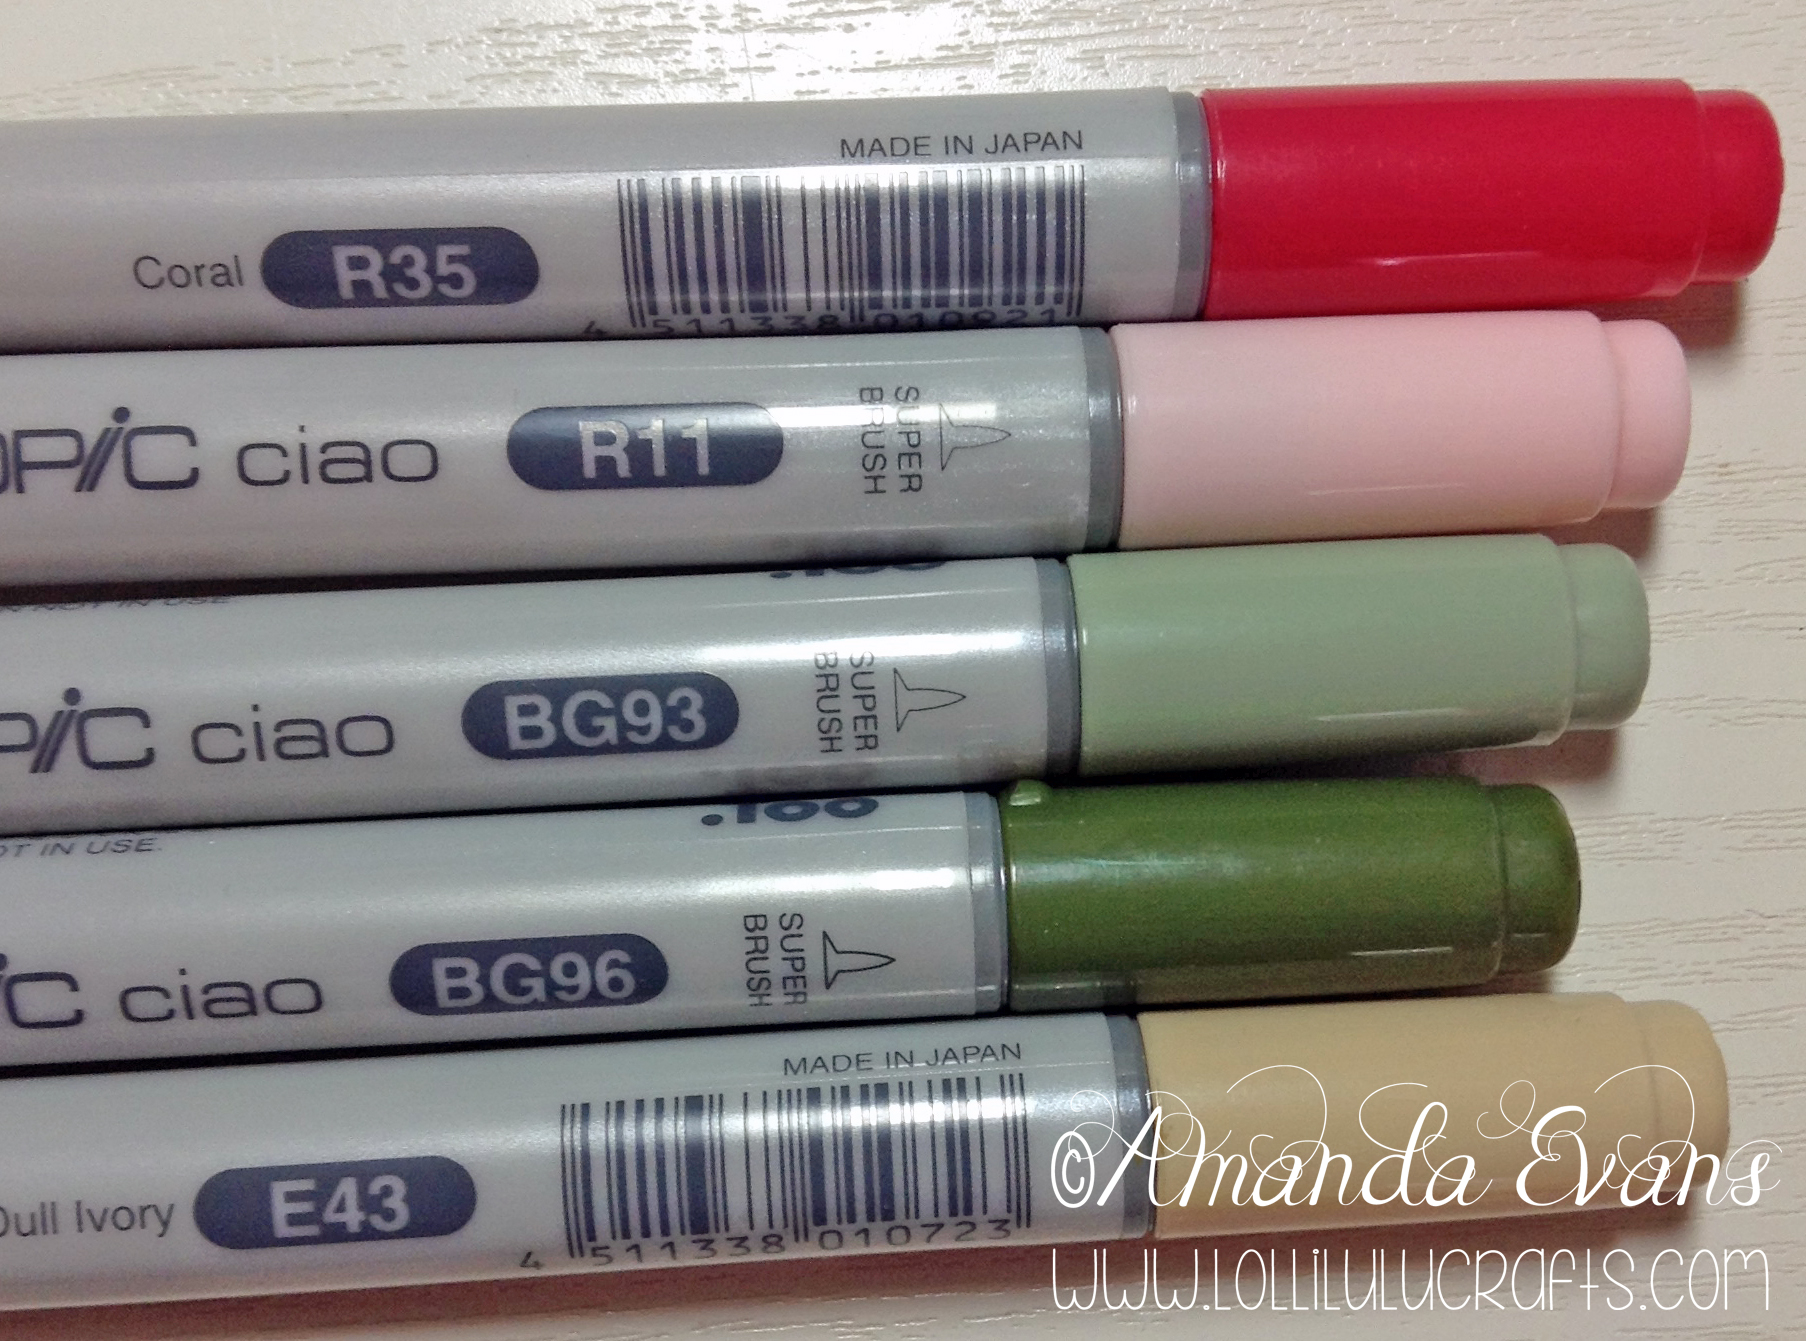
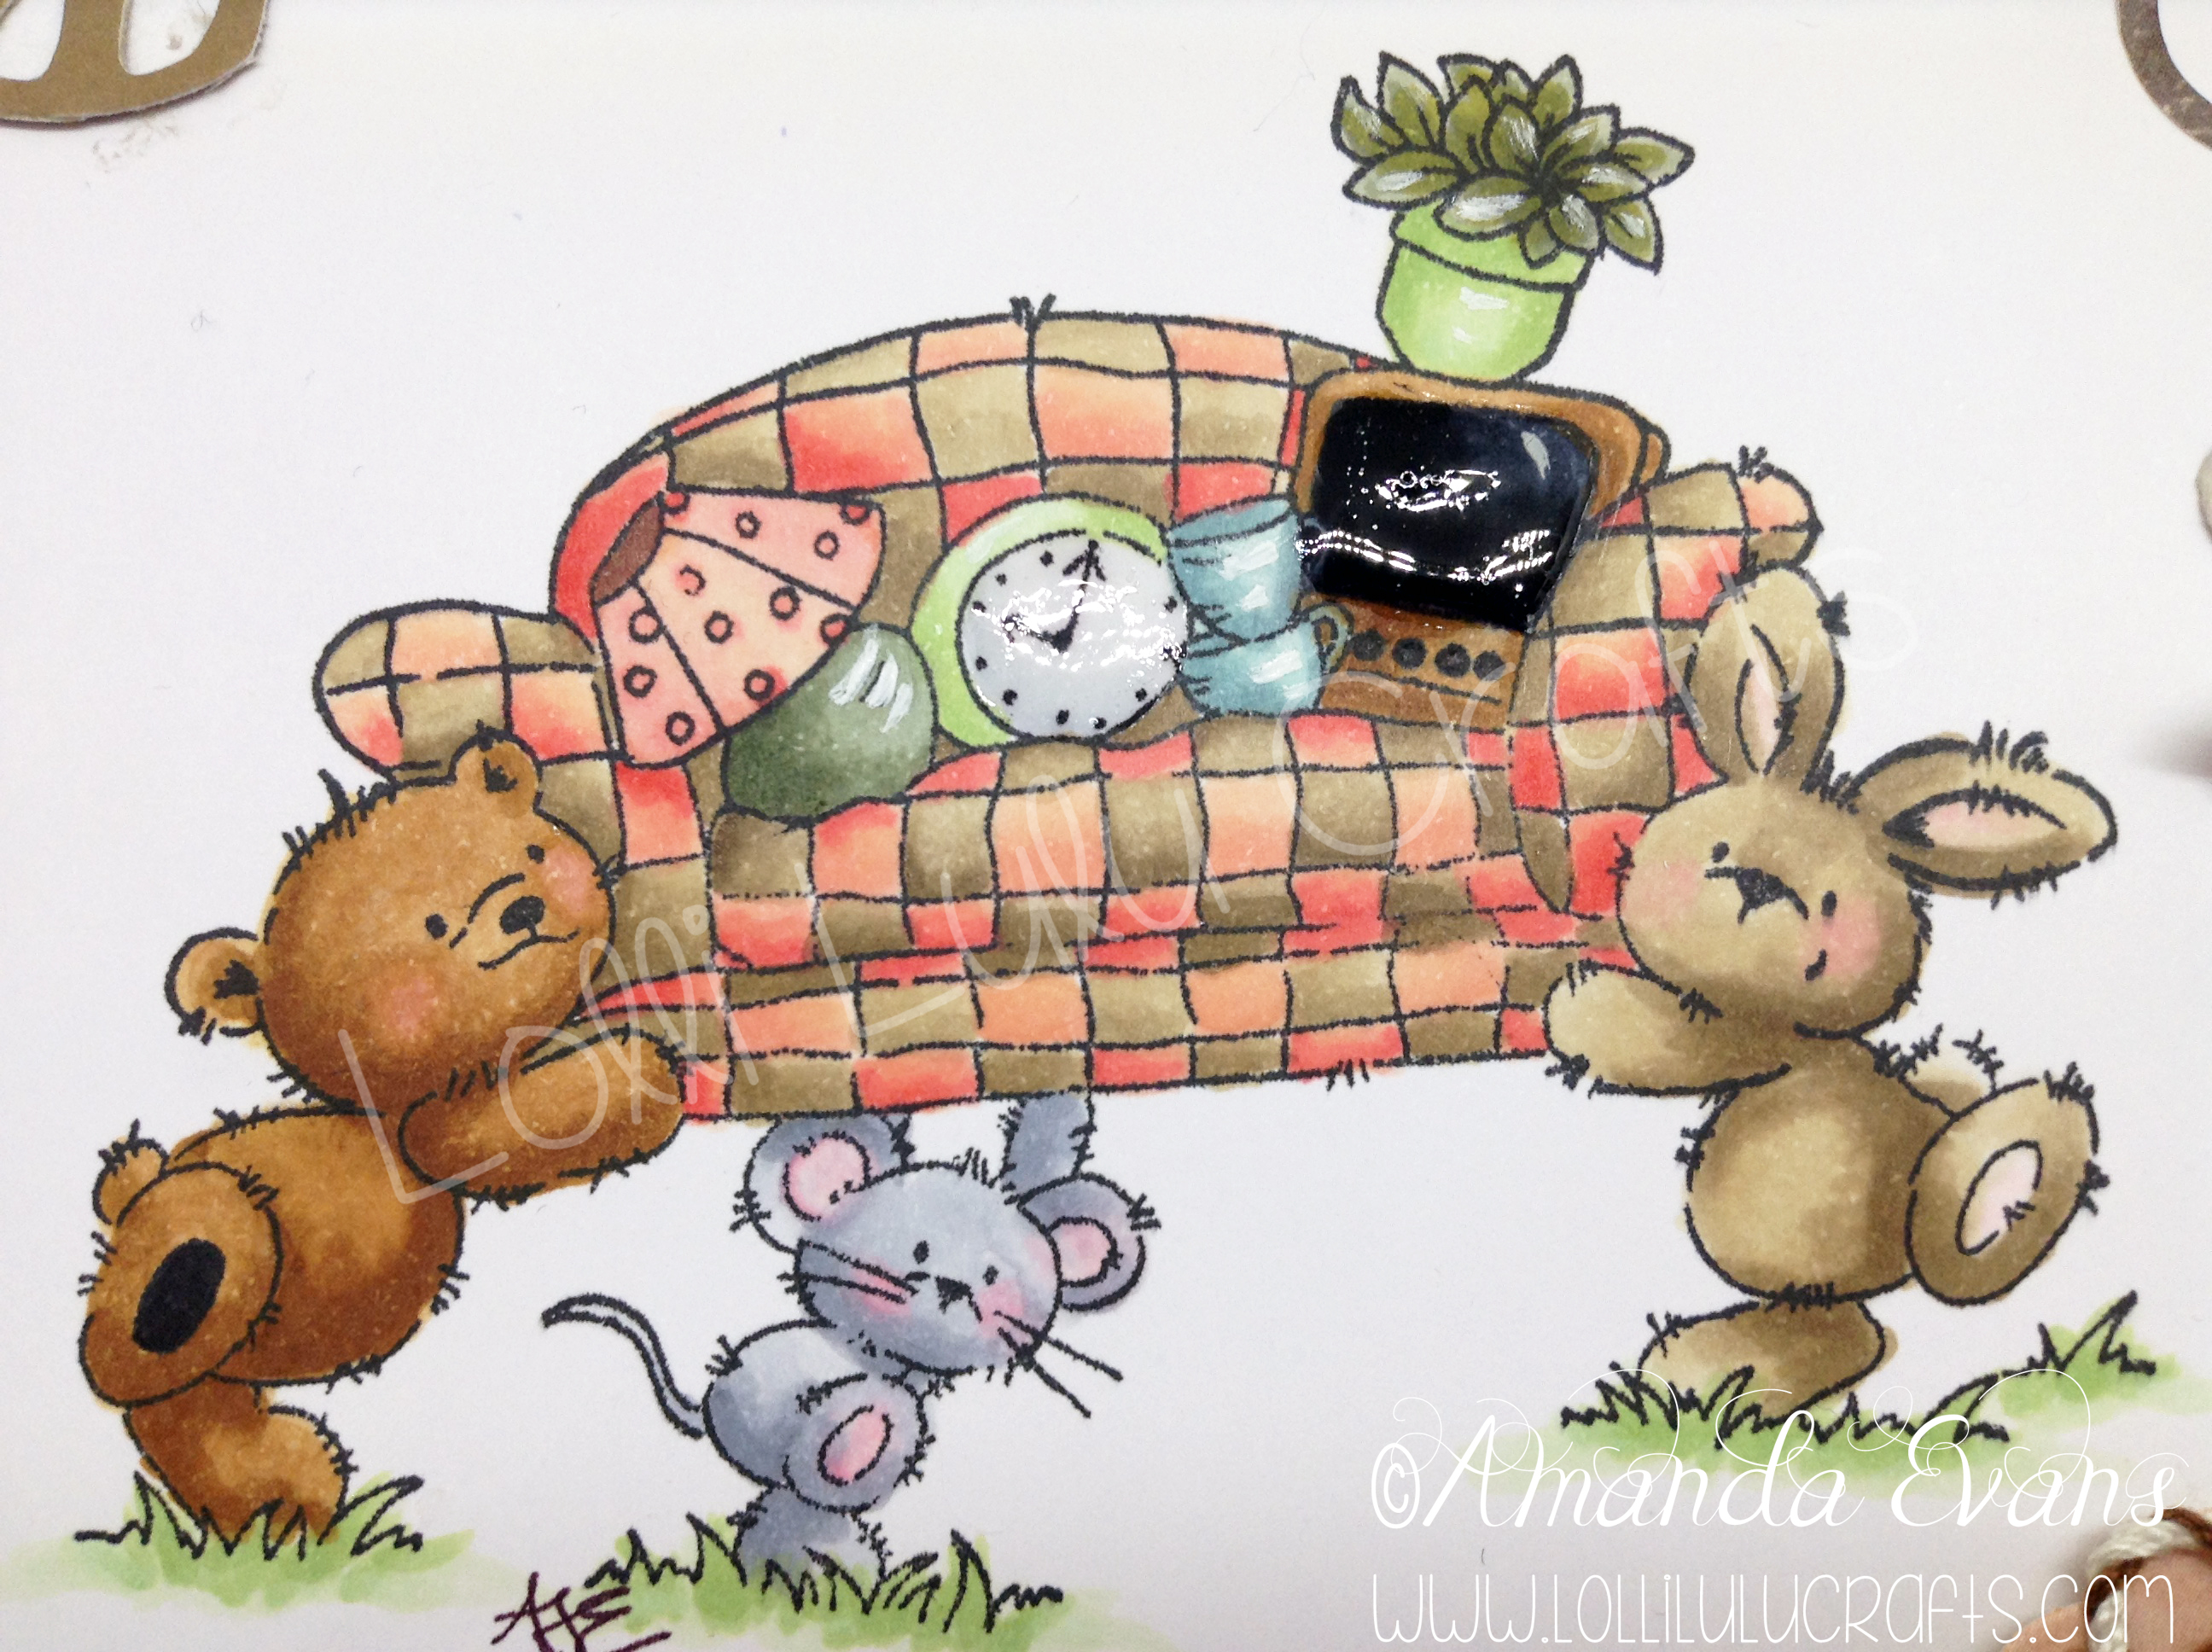
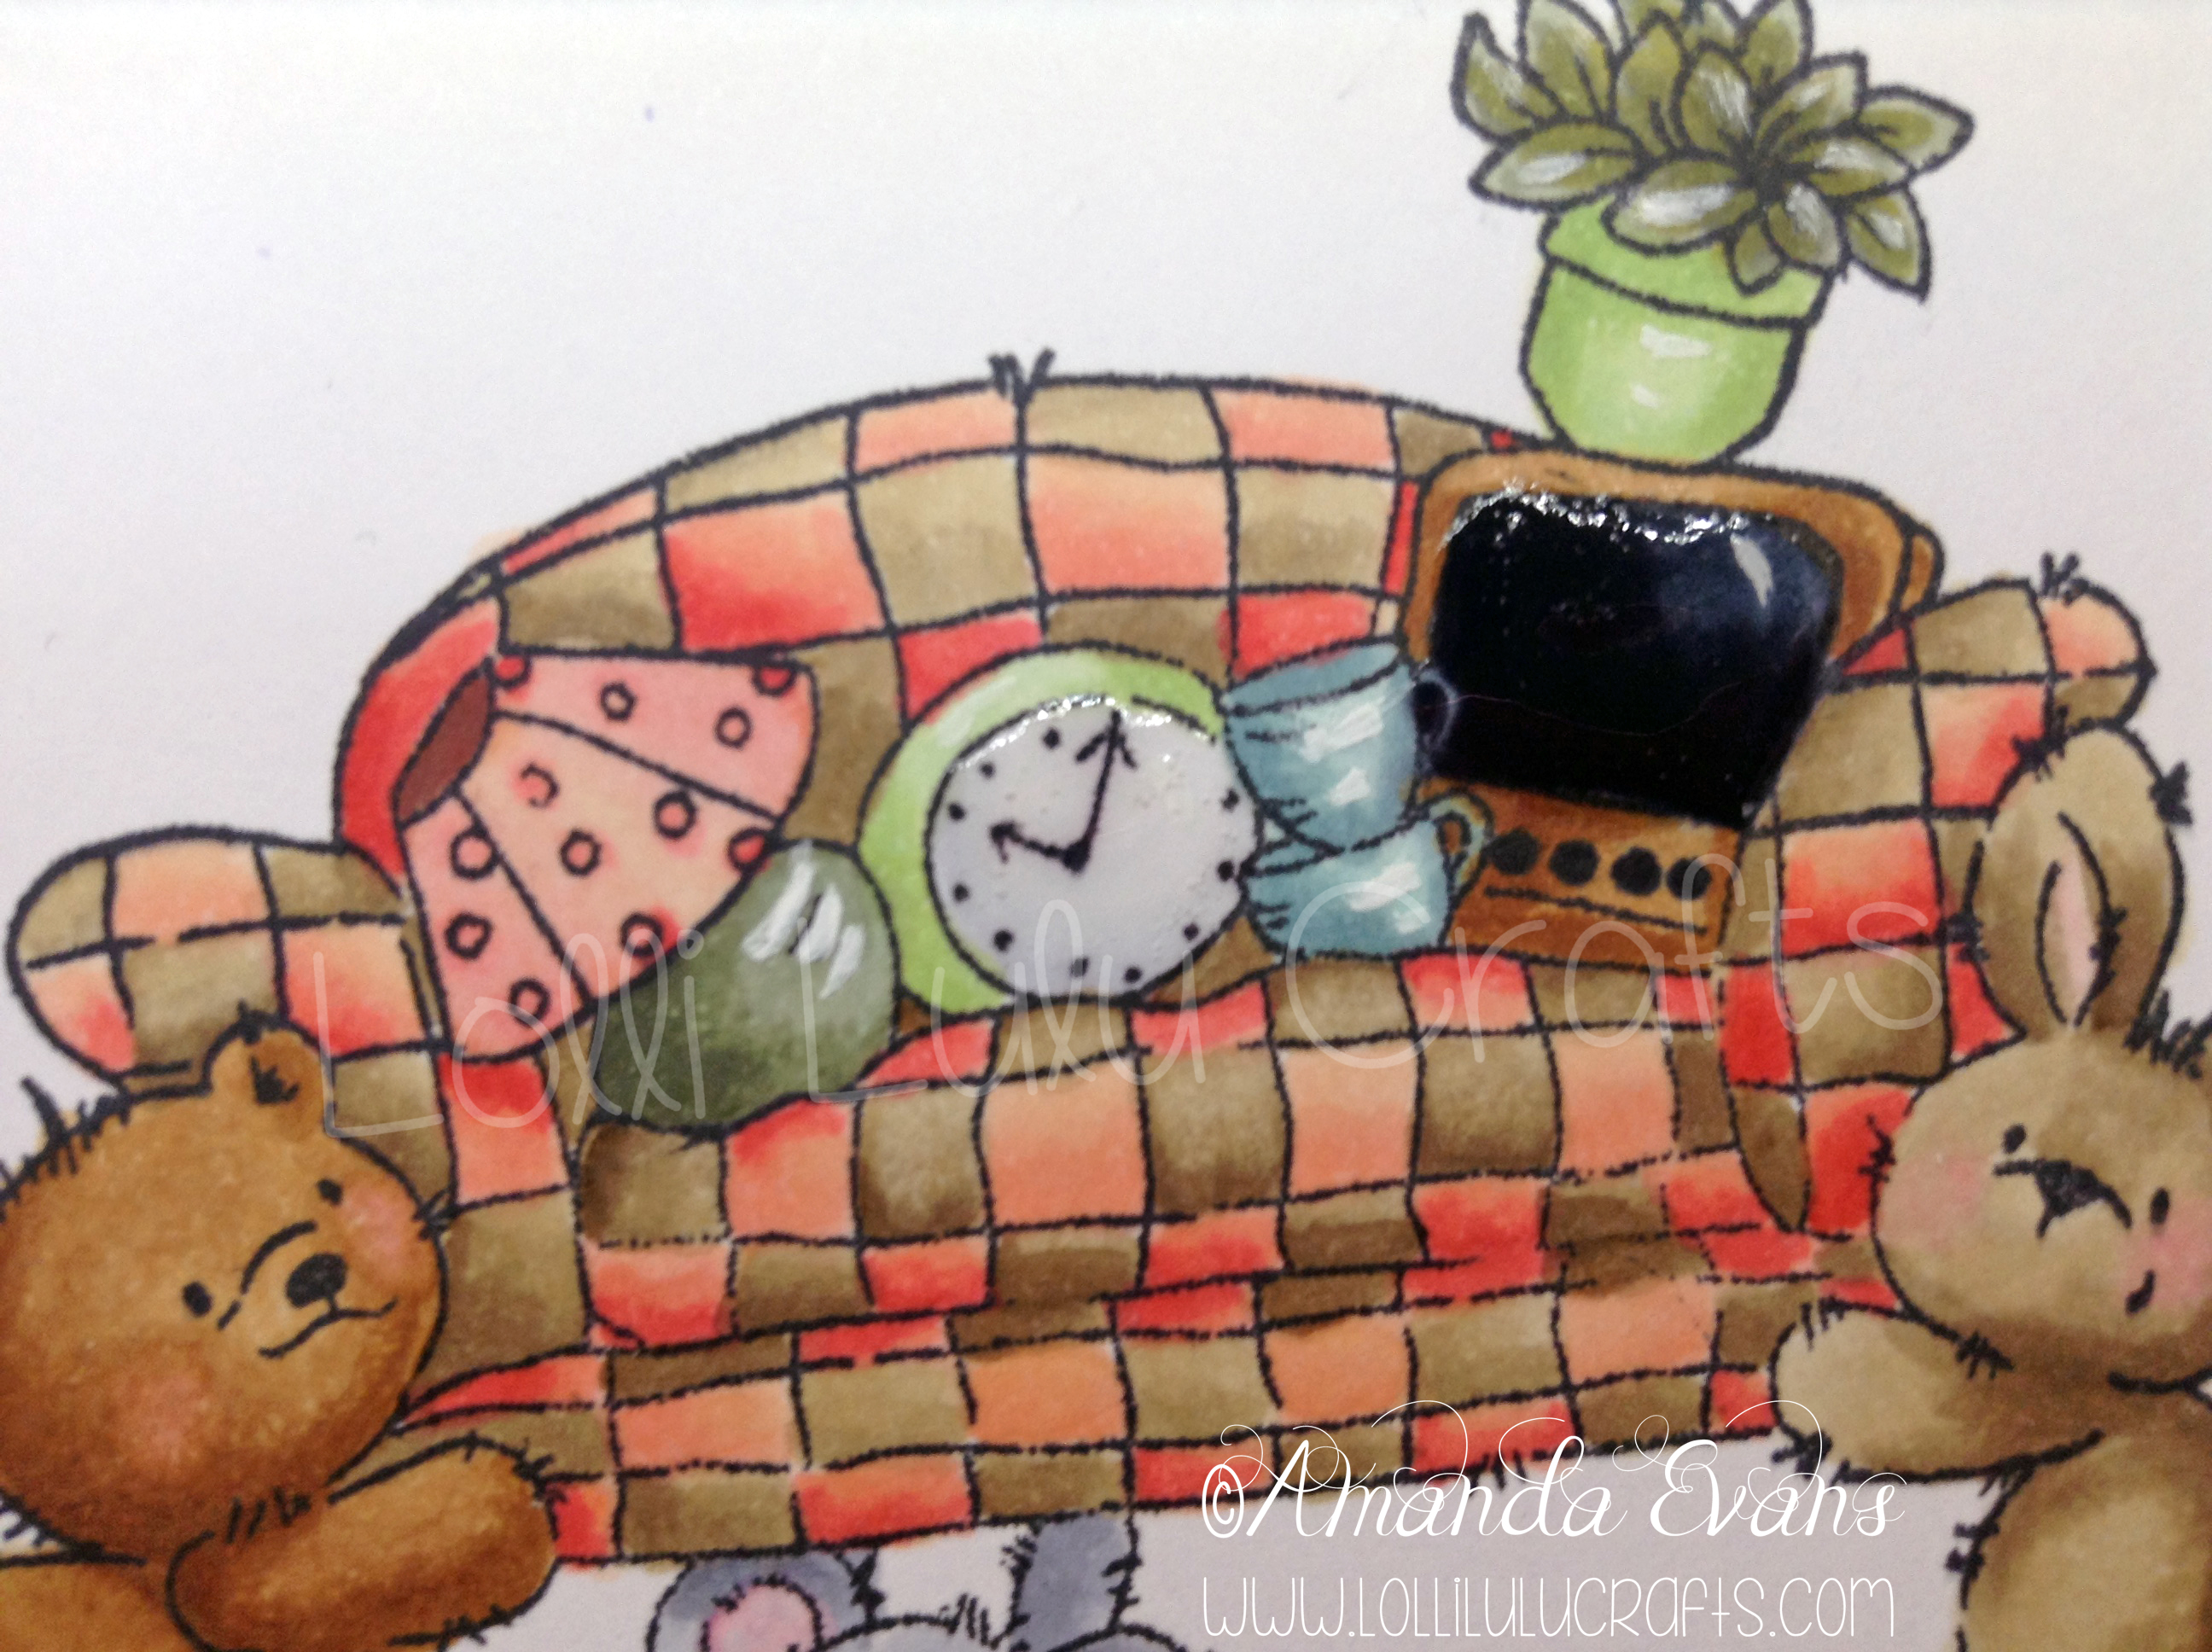
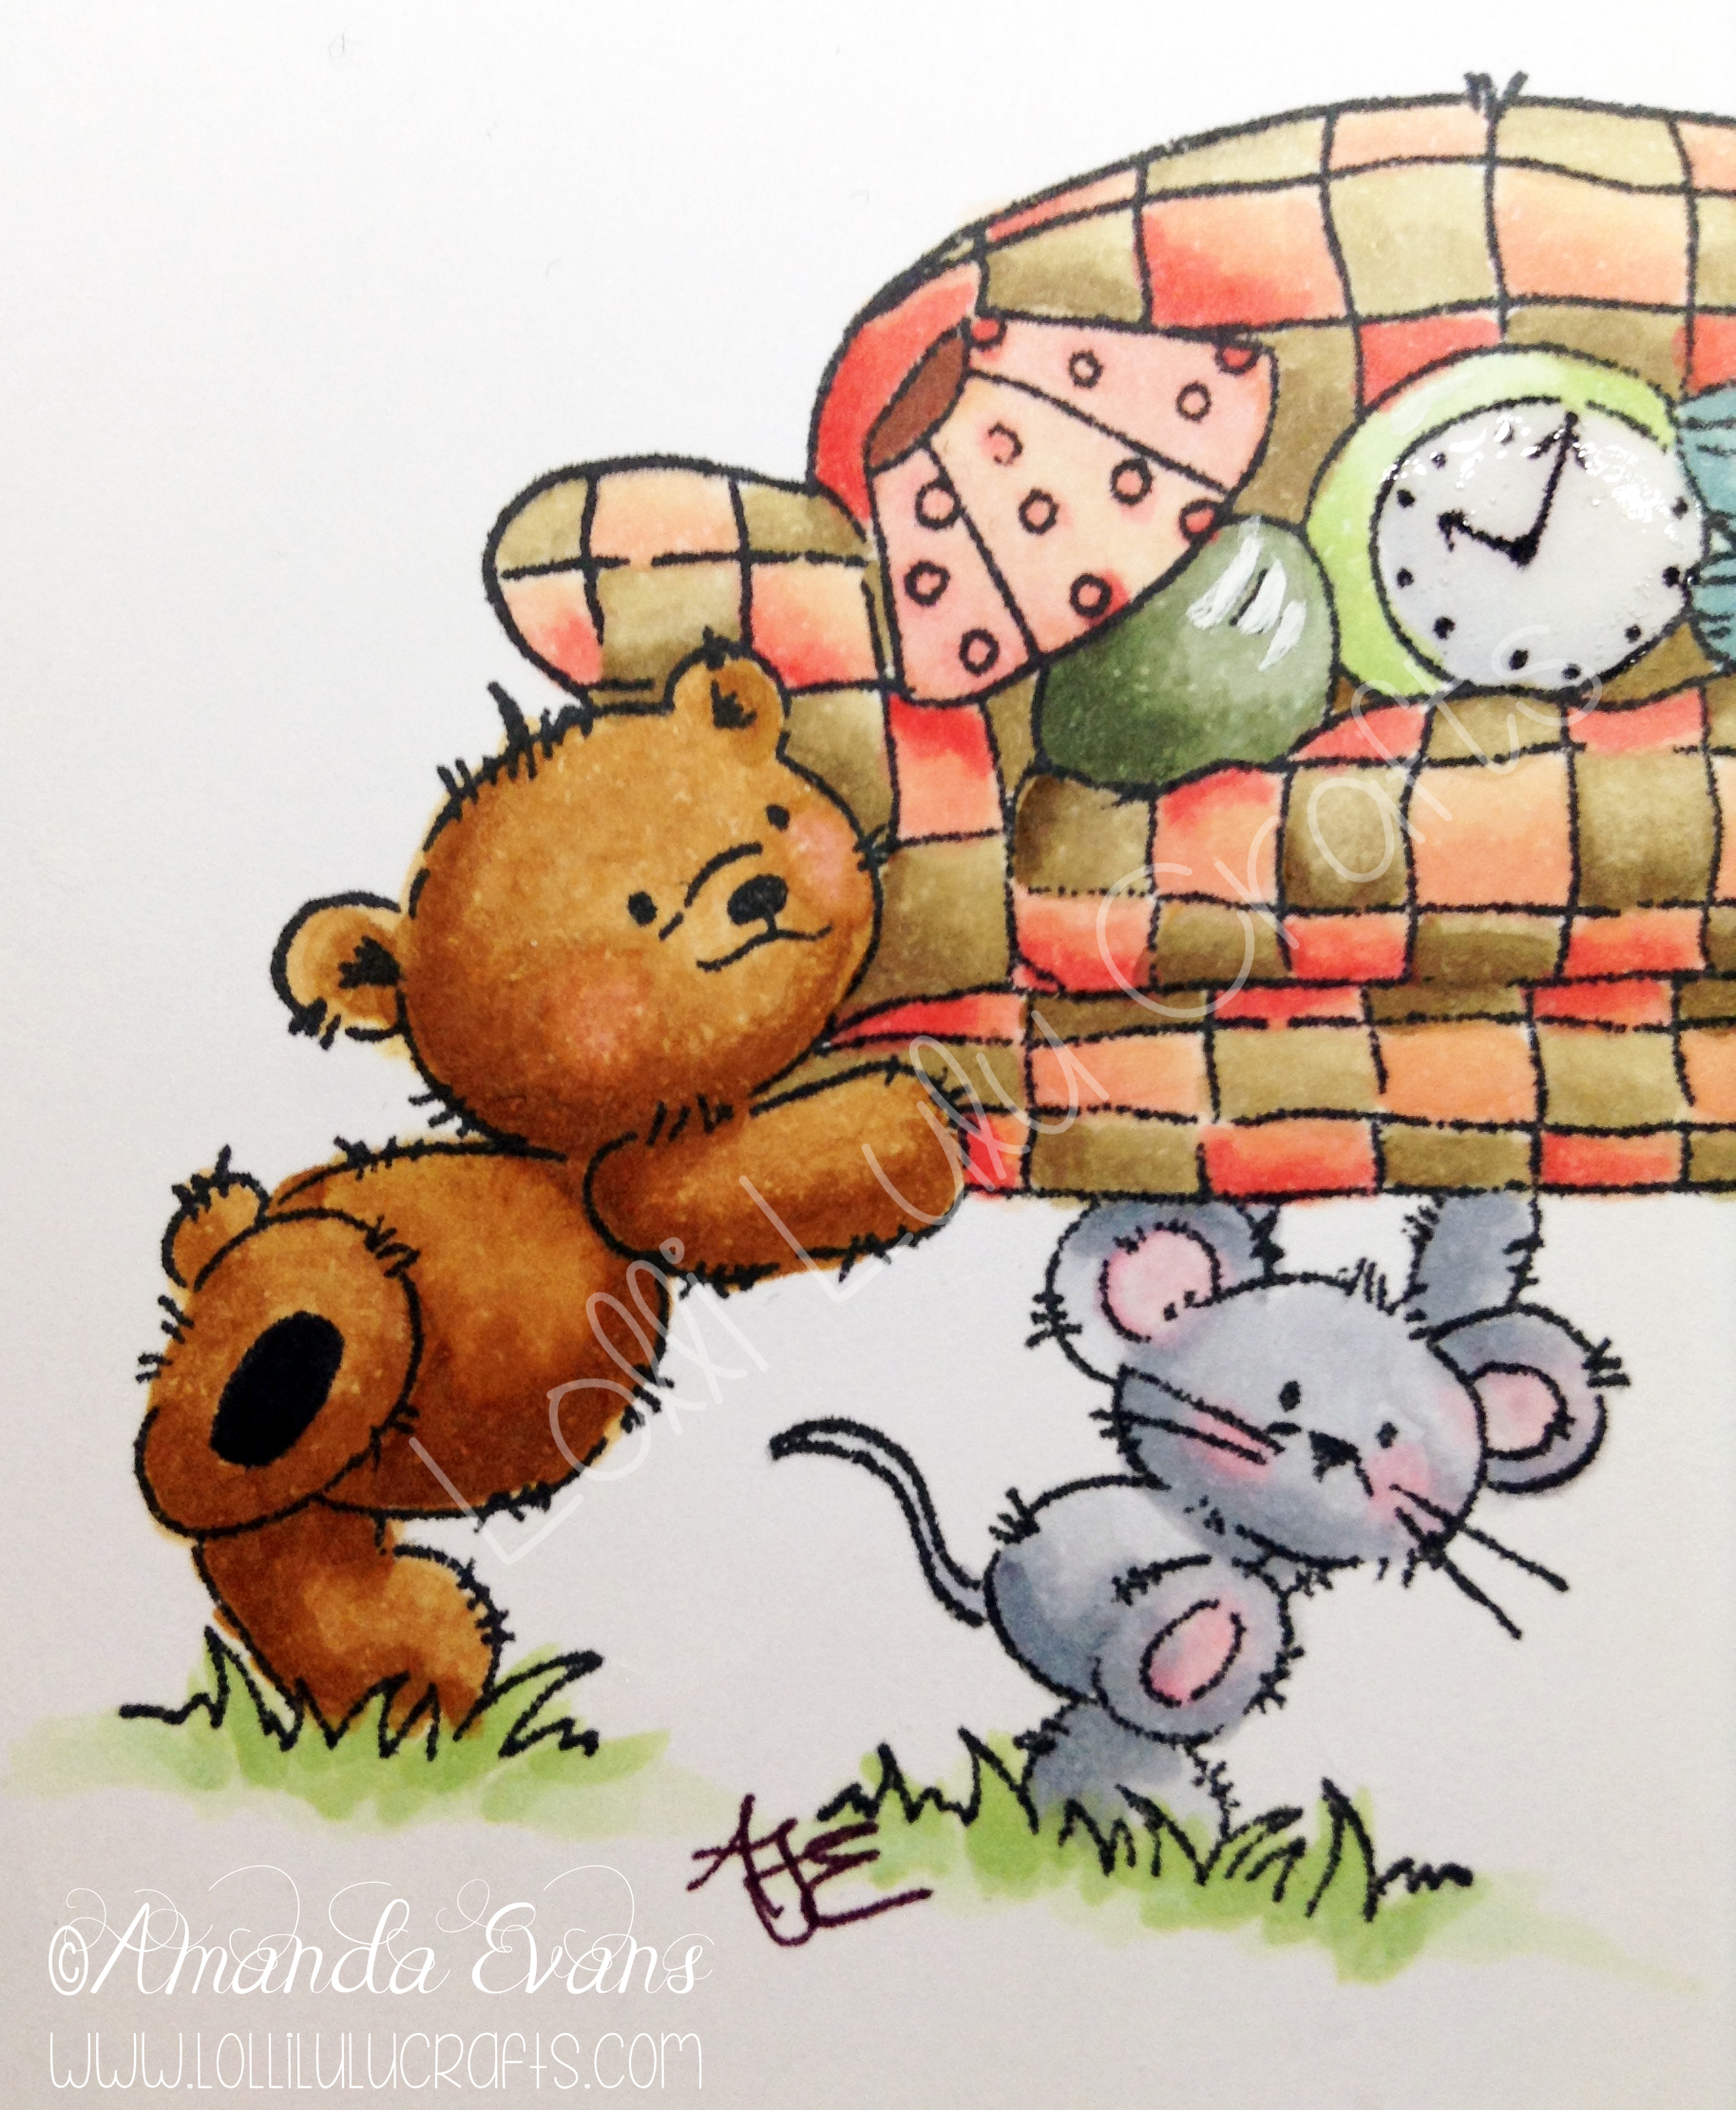
So as usual I started by stamping my image – I nearly typed ‘printed’ my image then so used to digis lol! I stamped it onto Copic Xpress It card using memento ink as I was intending to colour in with my Copic Markers. I do love colouring with my Copics. It hasn’t been all that long since I got my first Copic 13th Feb 2013 so that is, what, just over 18months ago now. Hard to believe really. I had my ProMarkers before the Copics but I didn’t use them as much and I definitely feel that the brush nib on the Copic, among a lot of other features, makes it like painting almost. Anyway back to this Stamp, I gave it a little time to dry, I always like to give a stamped image whether it is a physical stamp or a digi stamp that I have printed, time to dry as this stops any risk of smudging, then started to colour it in. I stopped after I had coloured the little critters as I was going to be good and sensible today and choose paper first so I could match my Sofa colours to it.
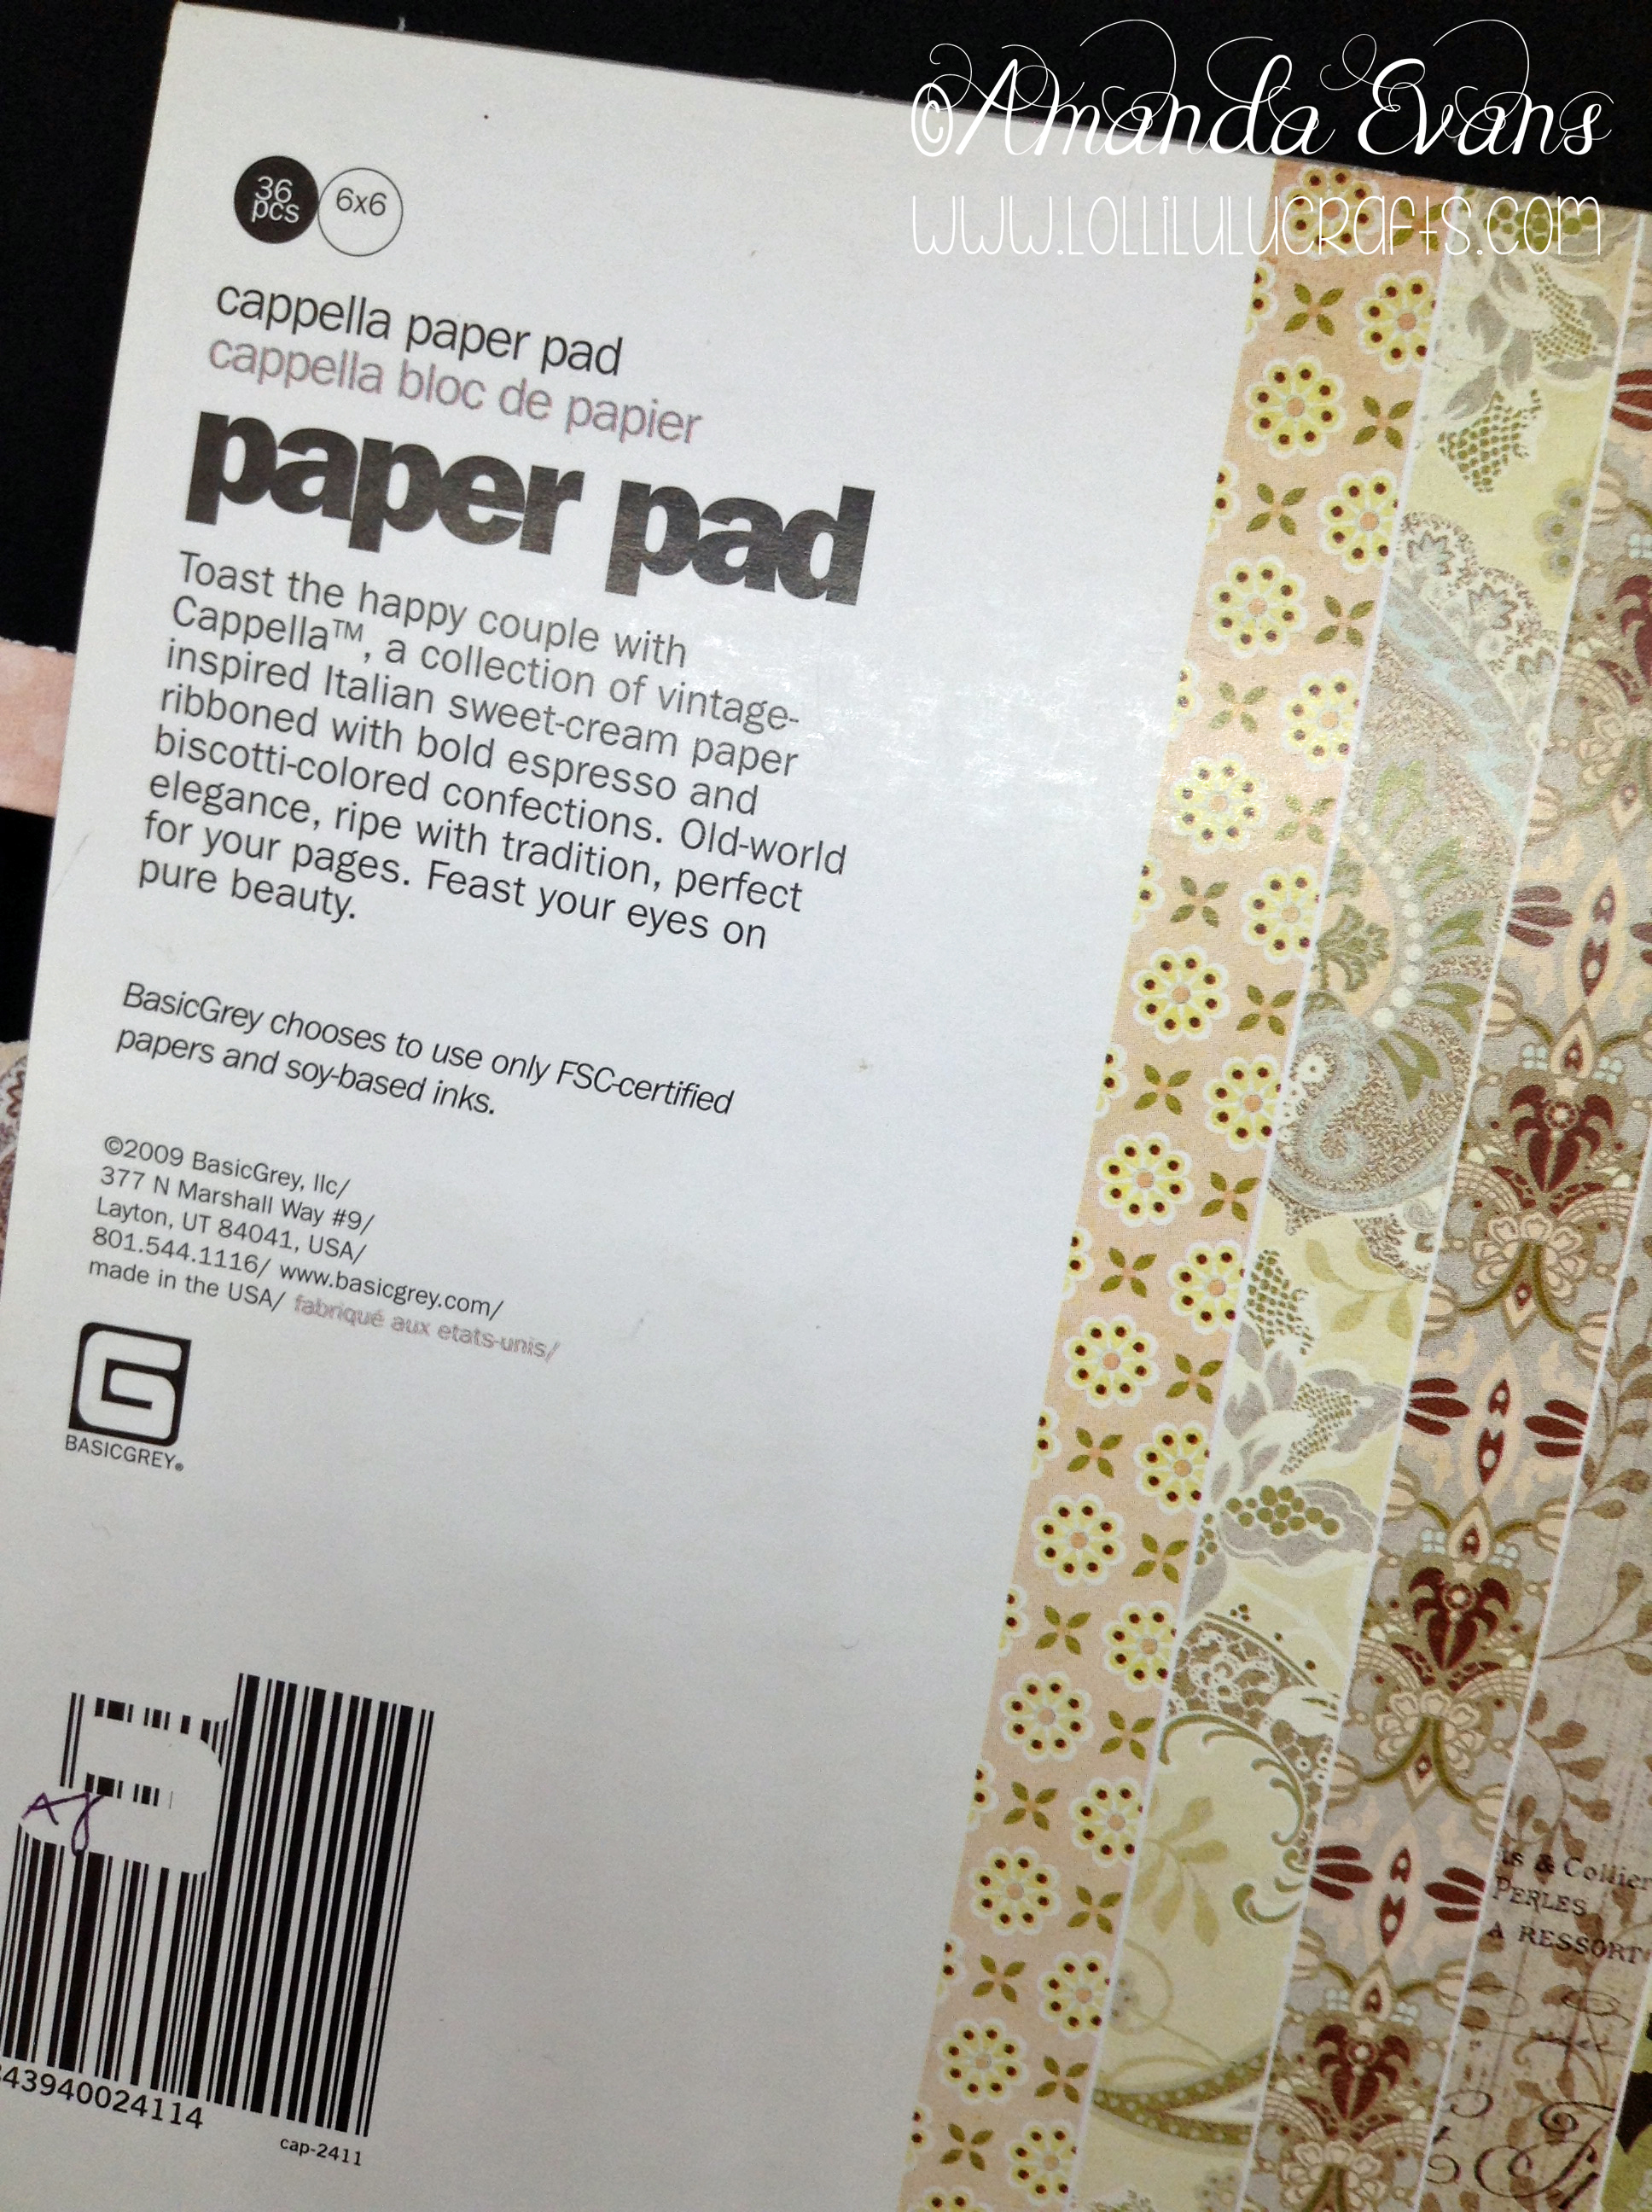
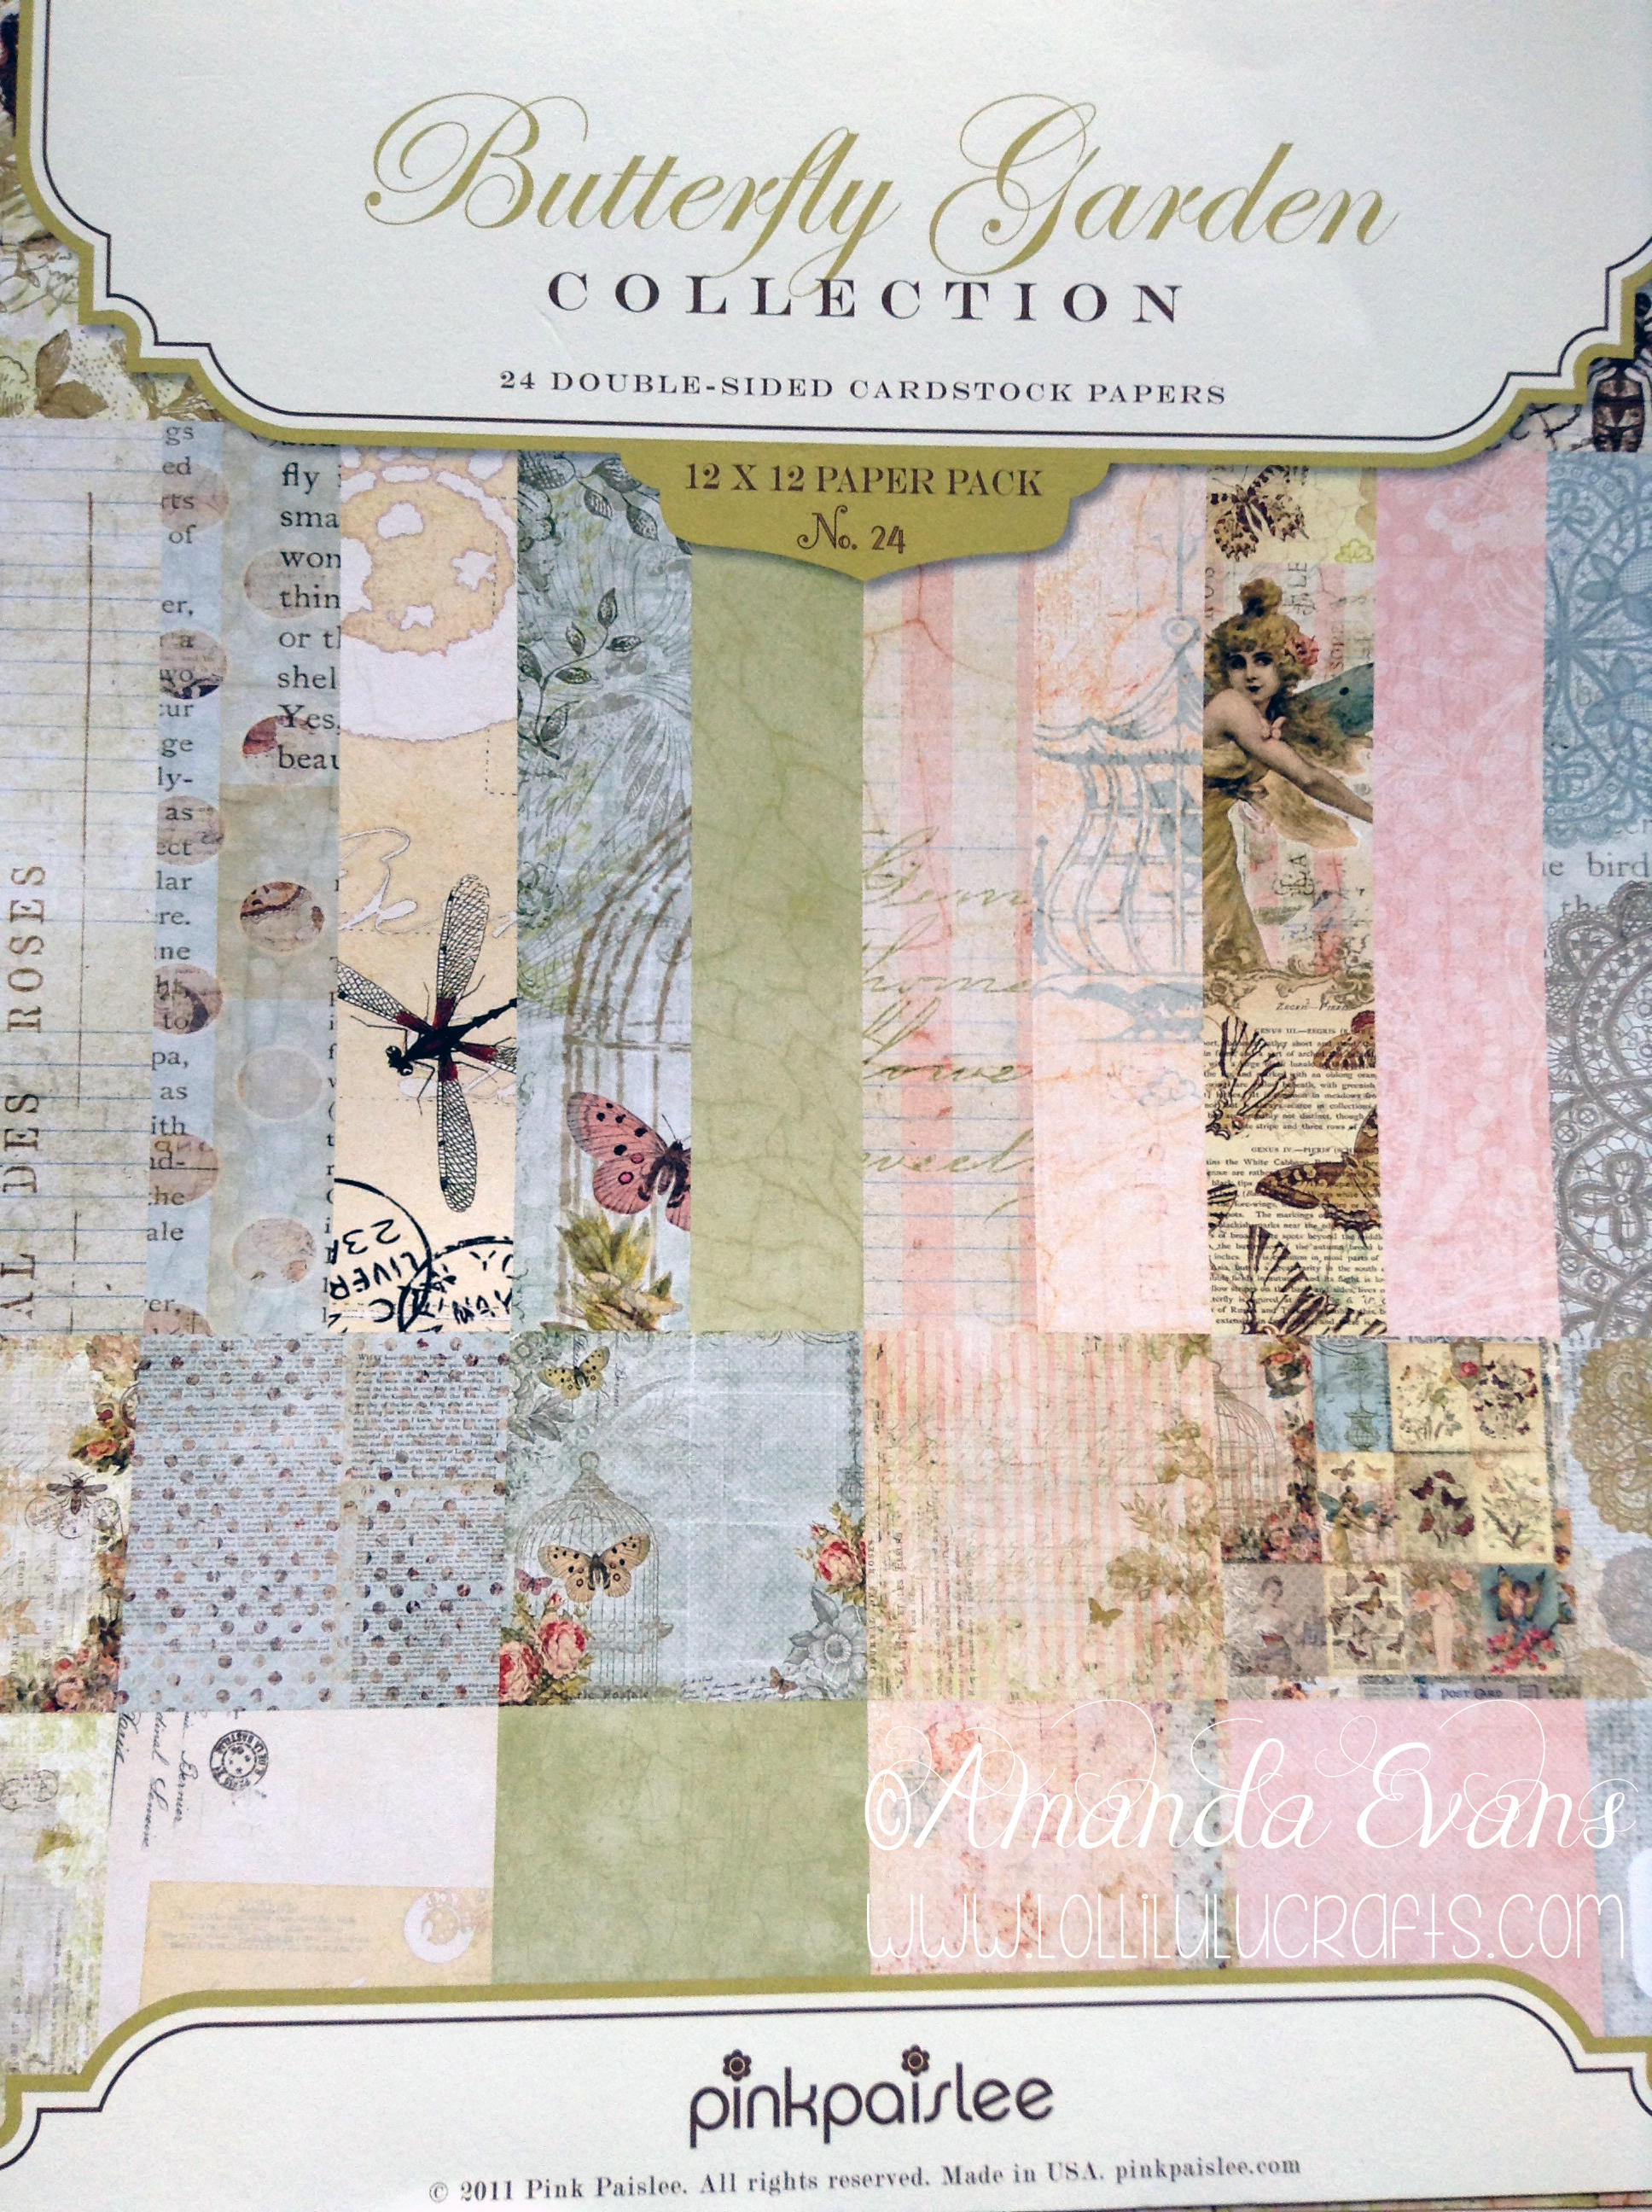
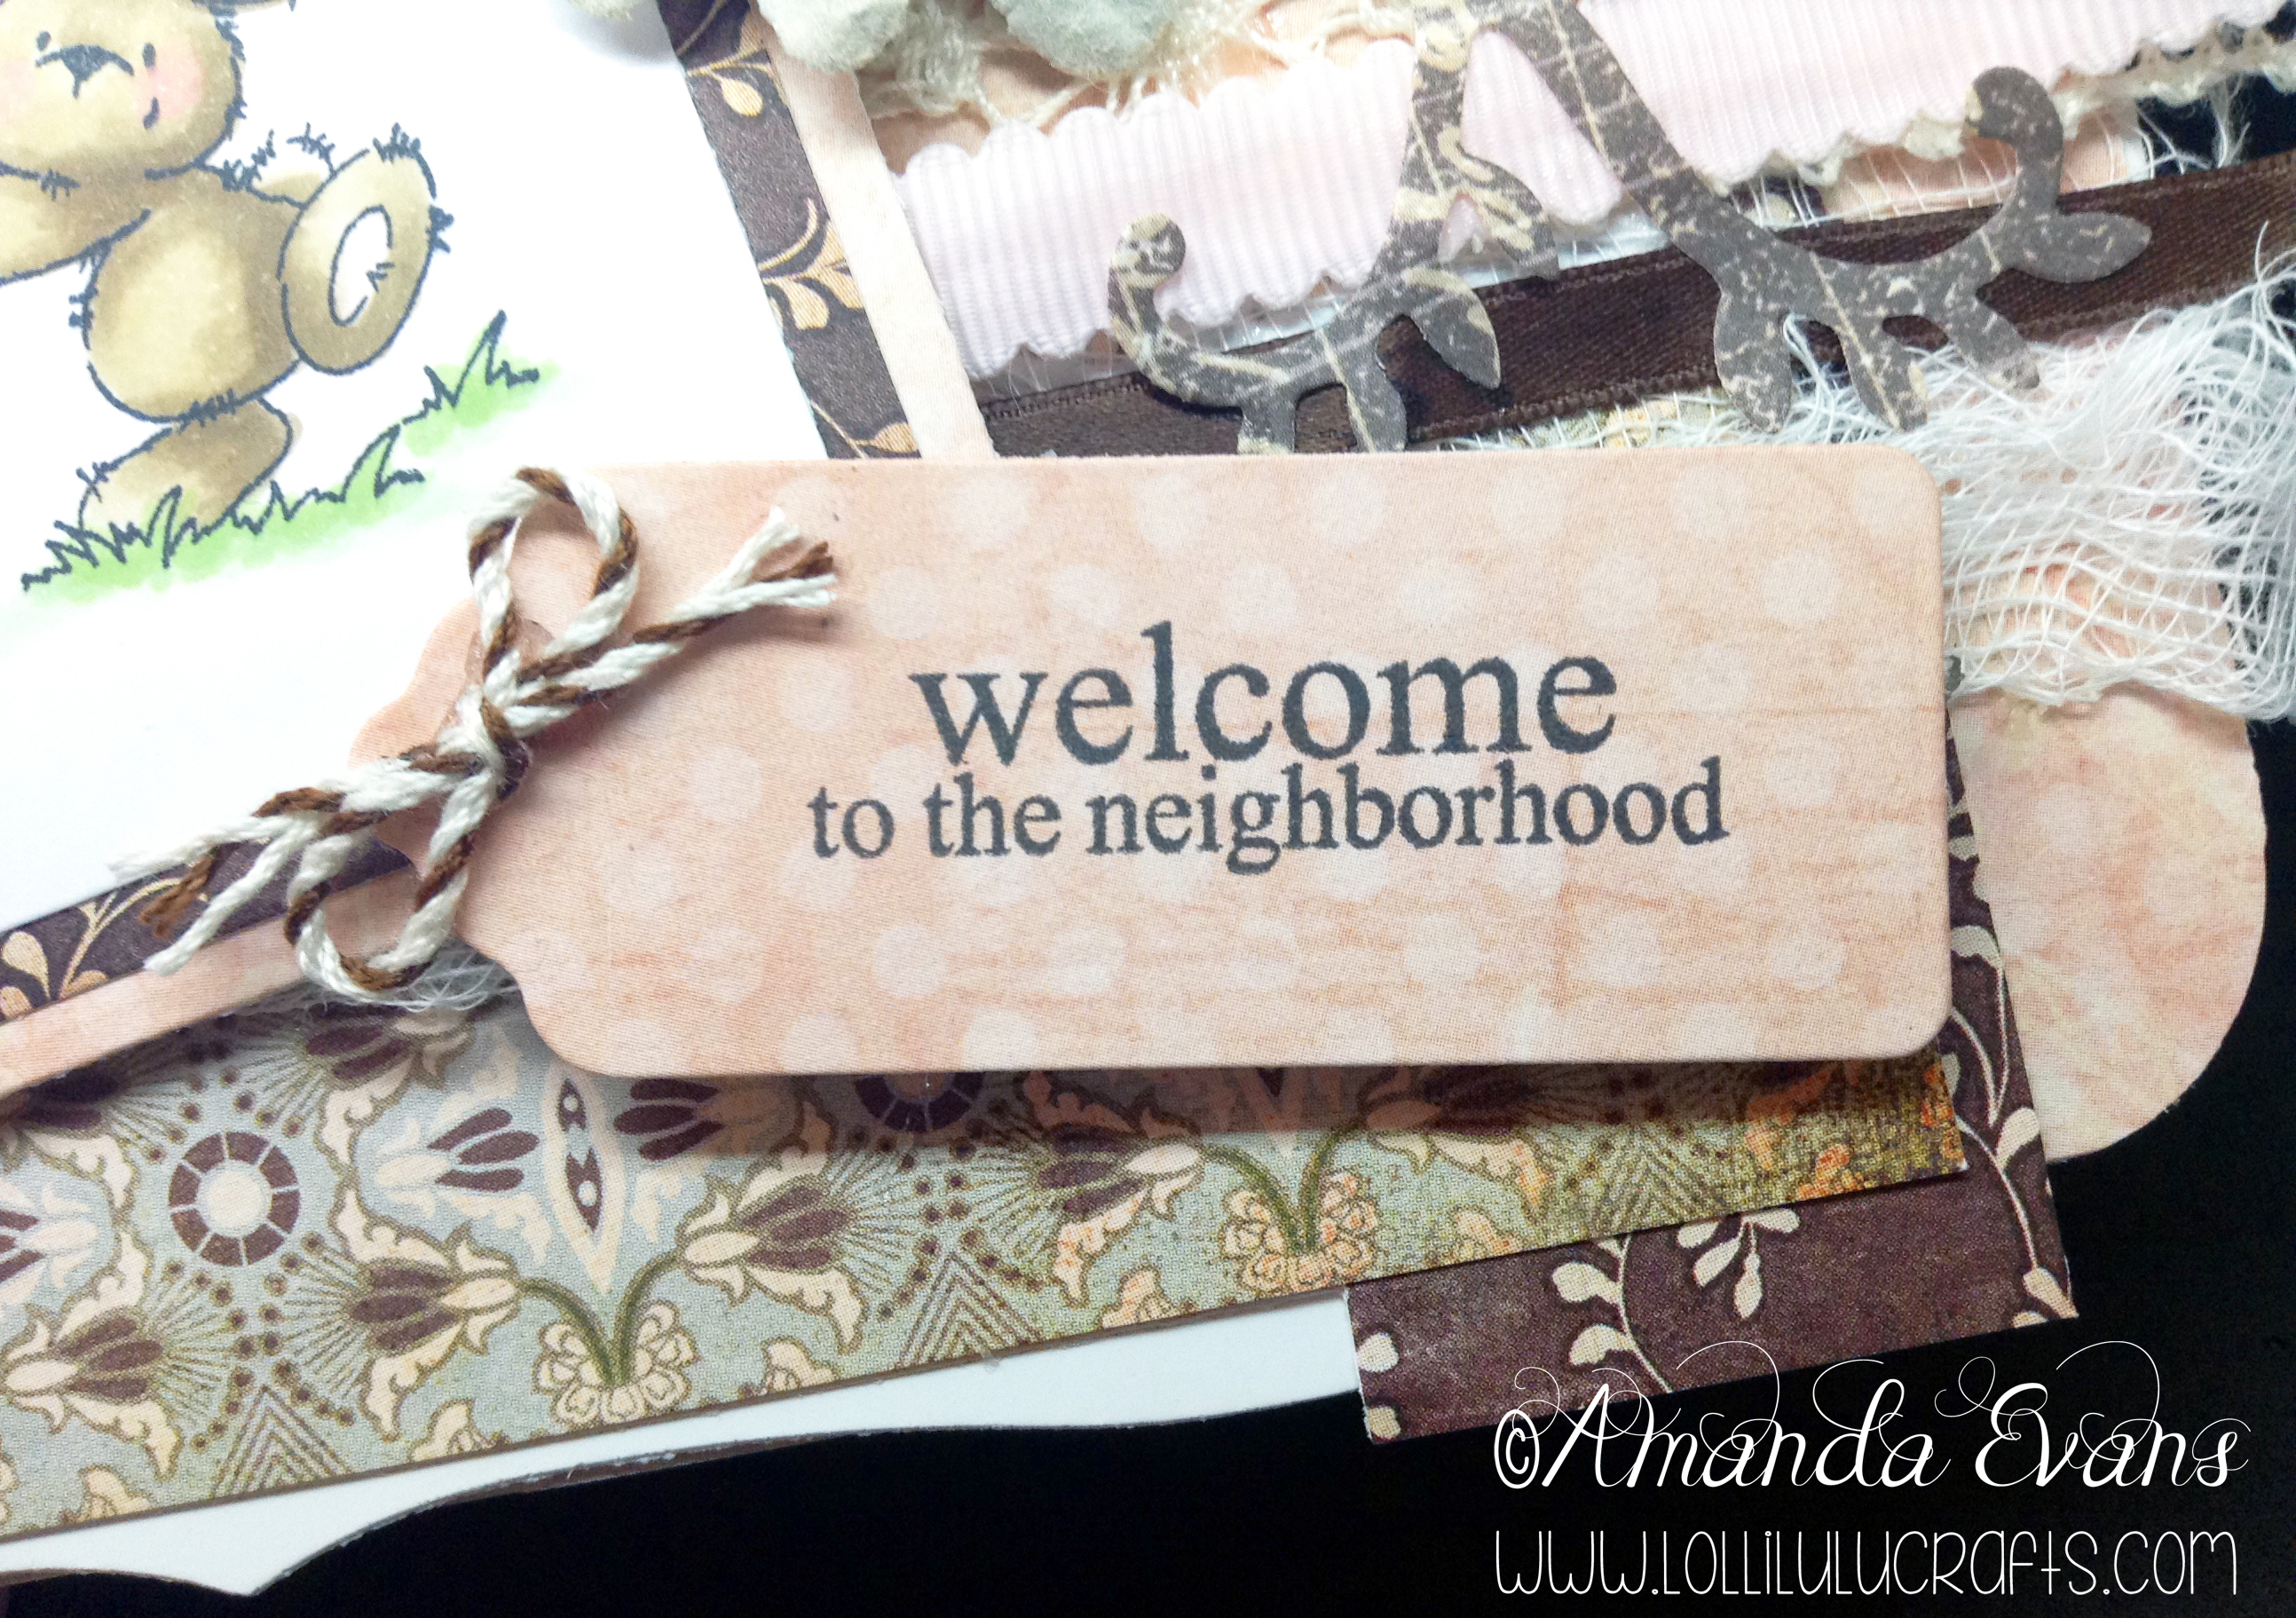
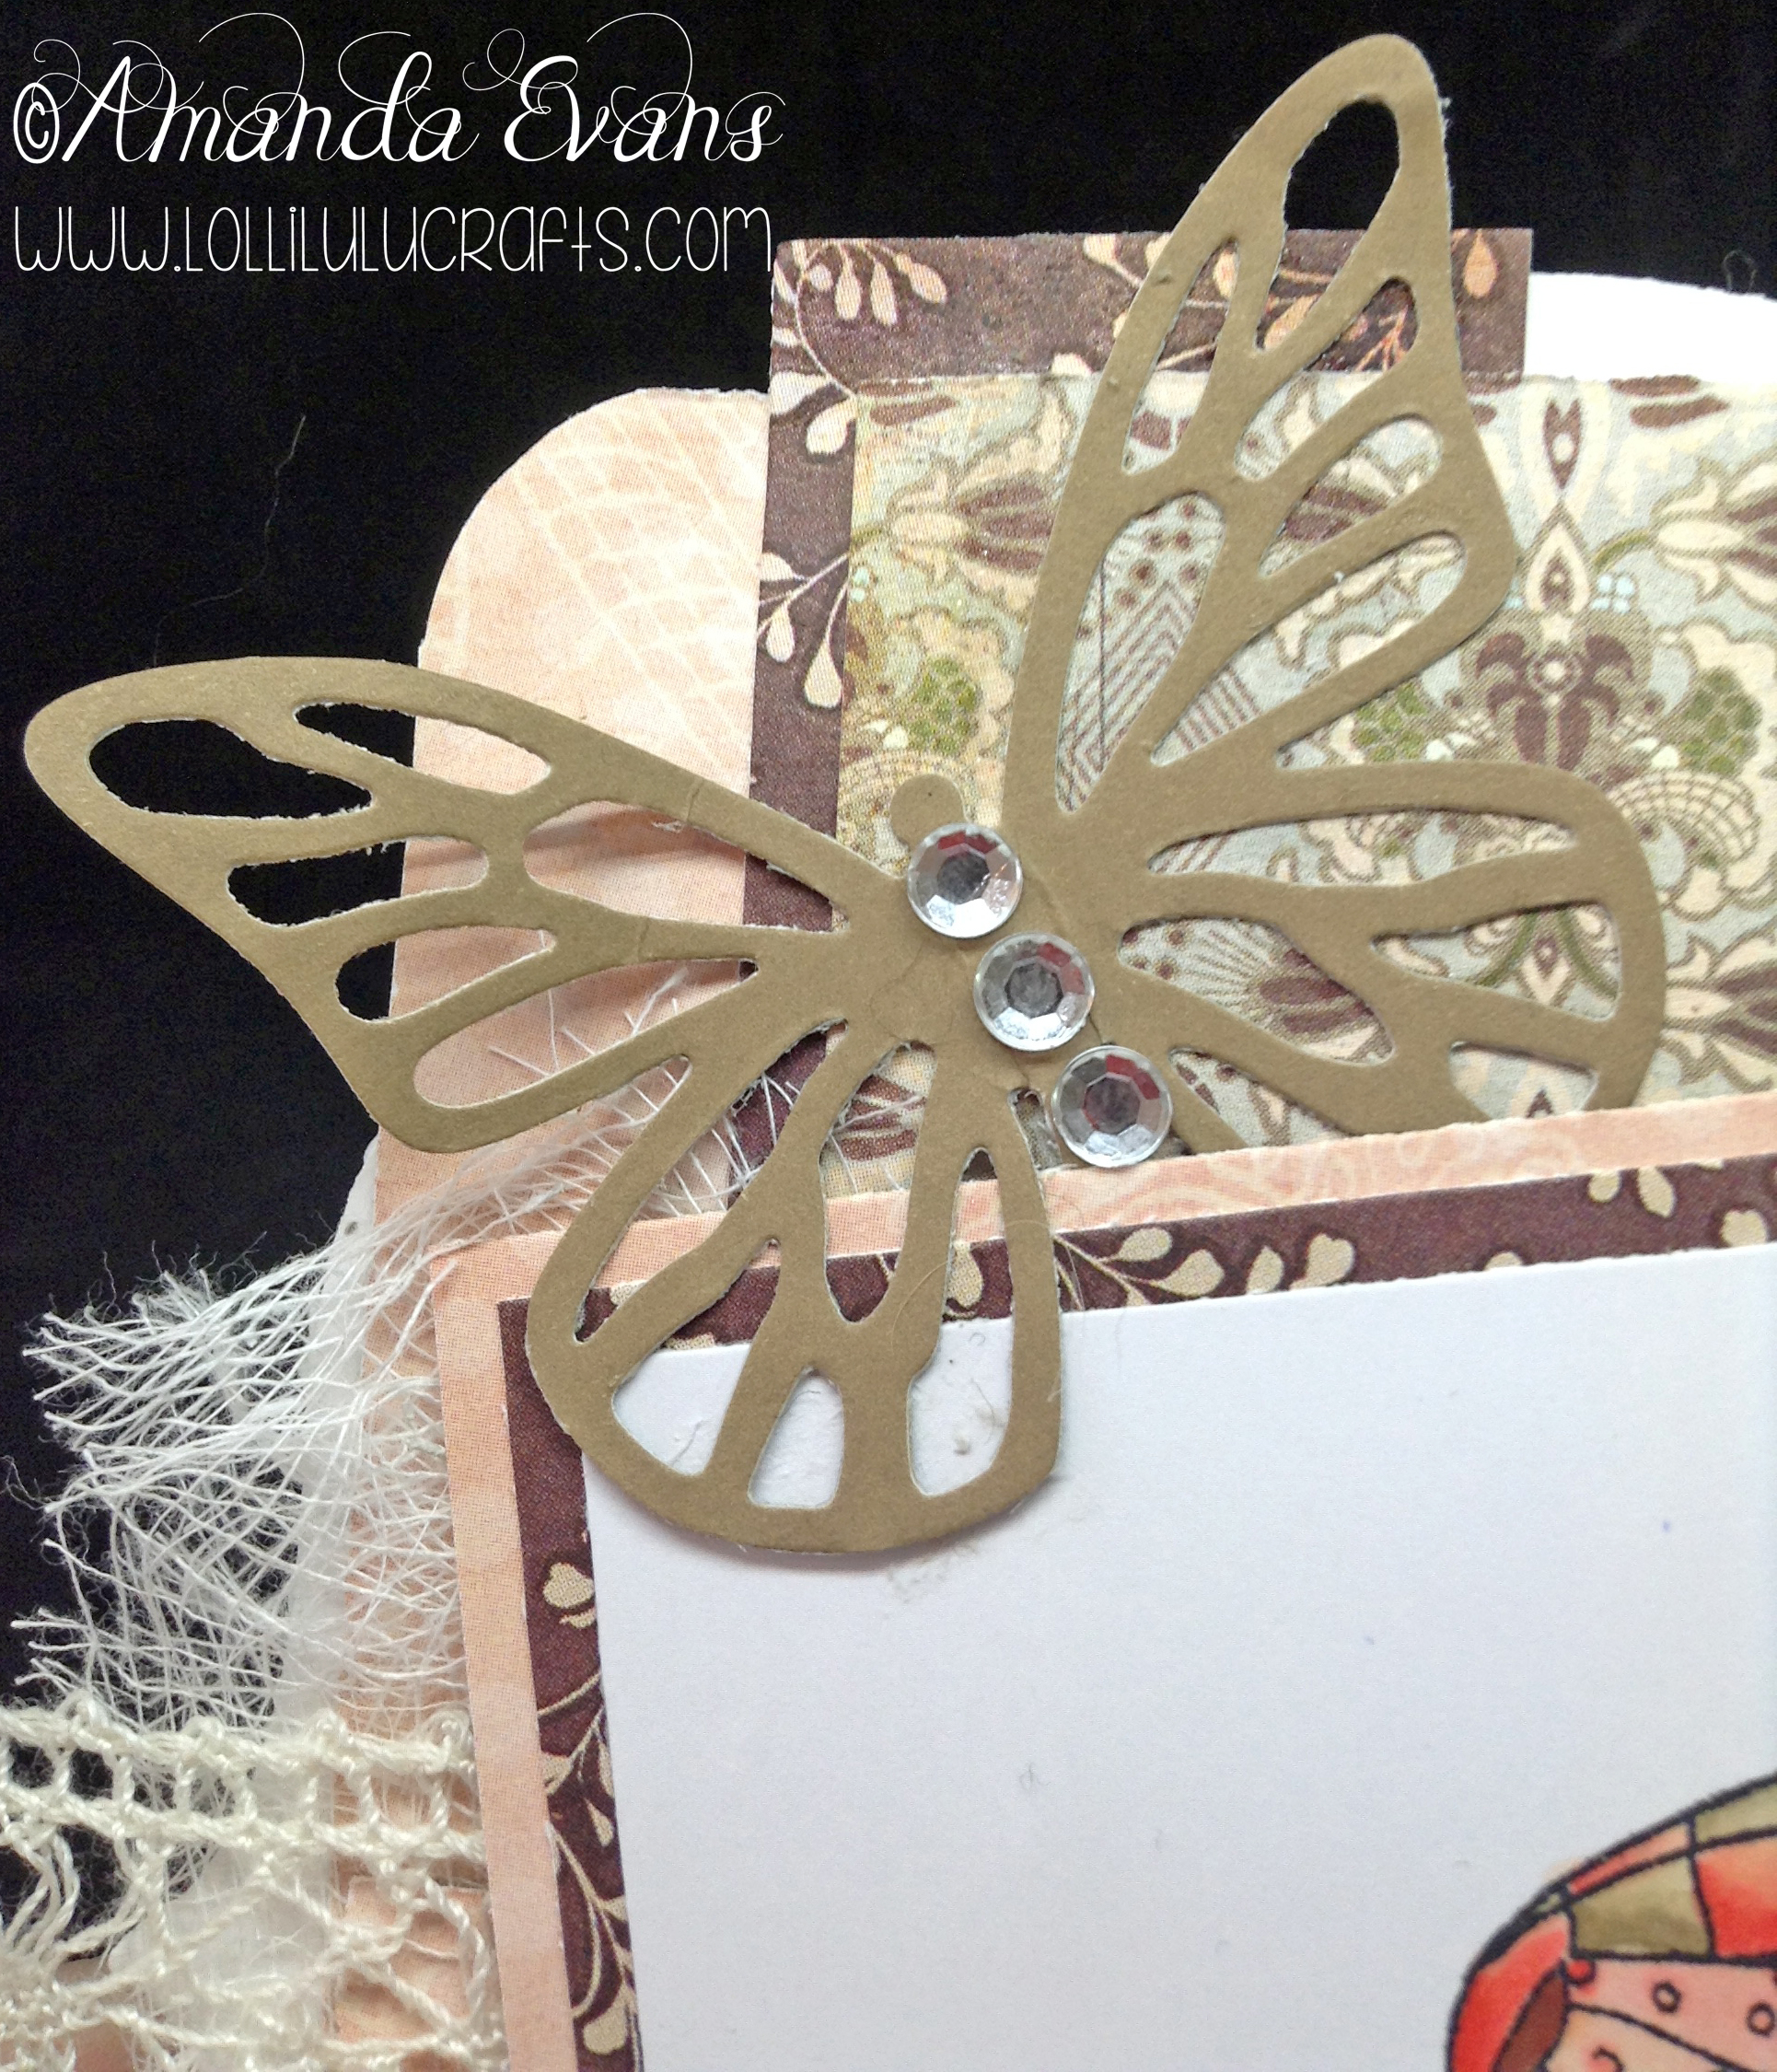
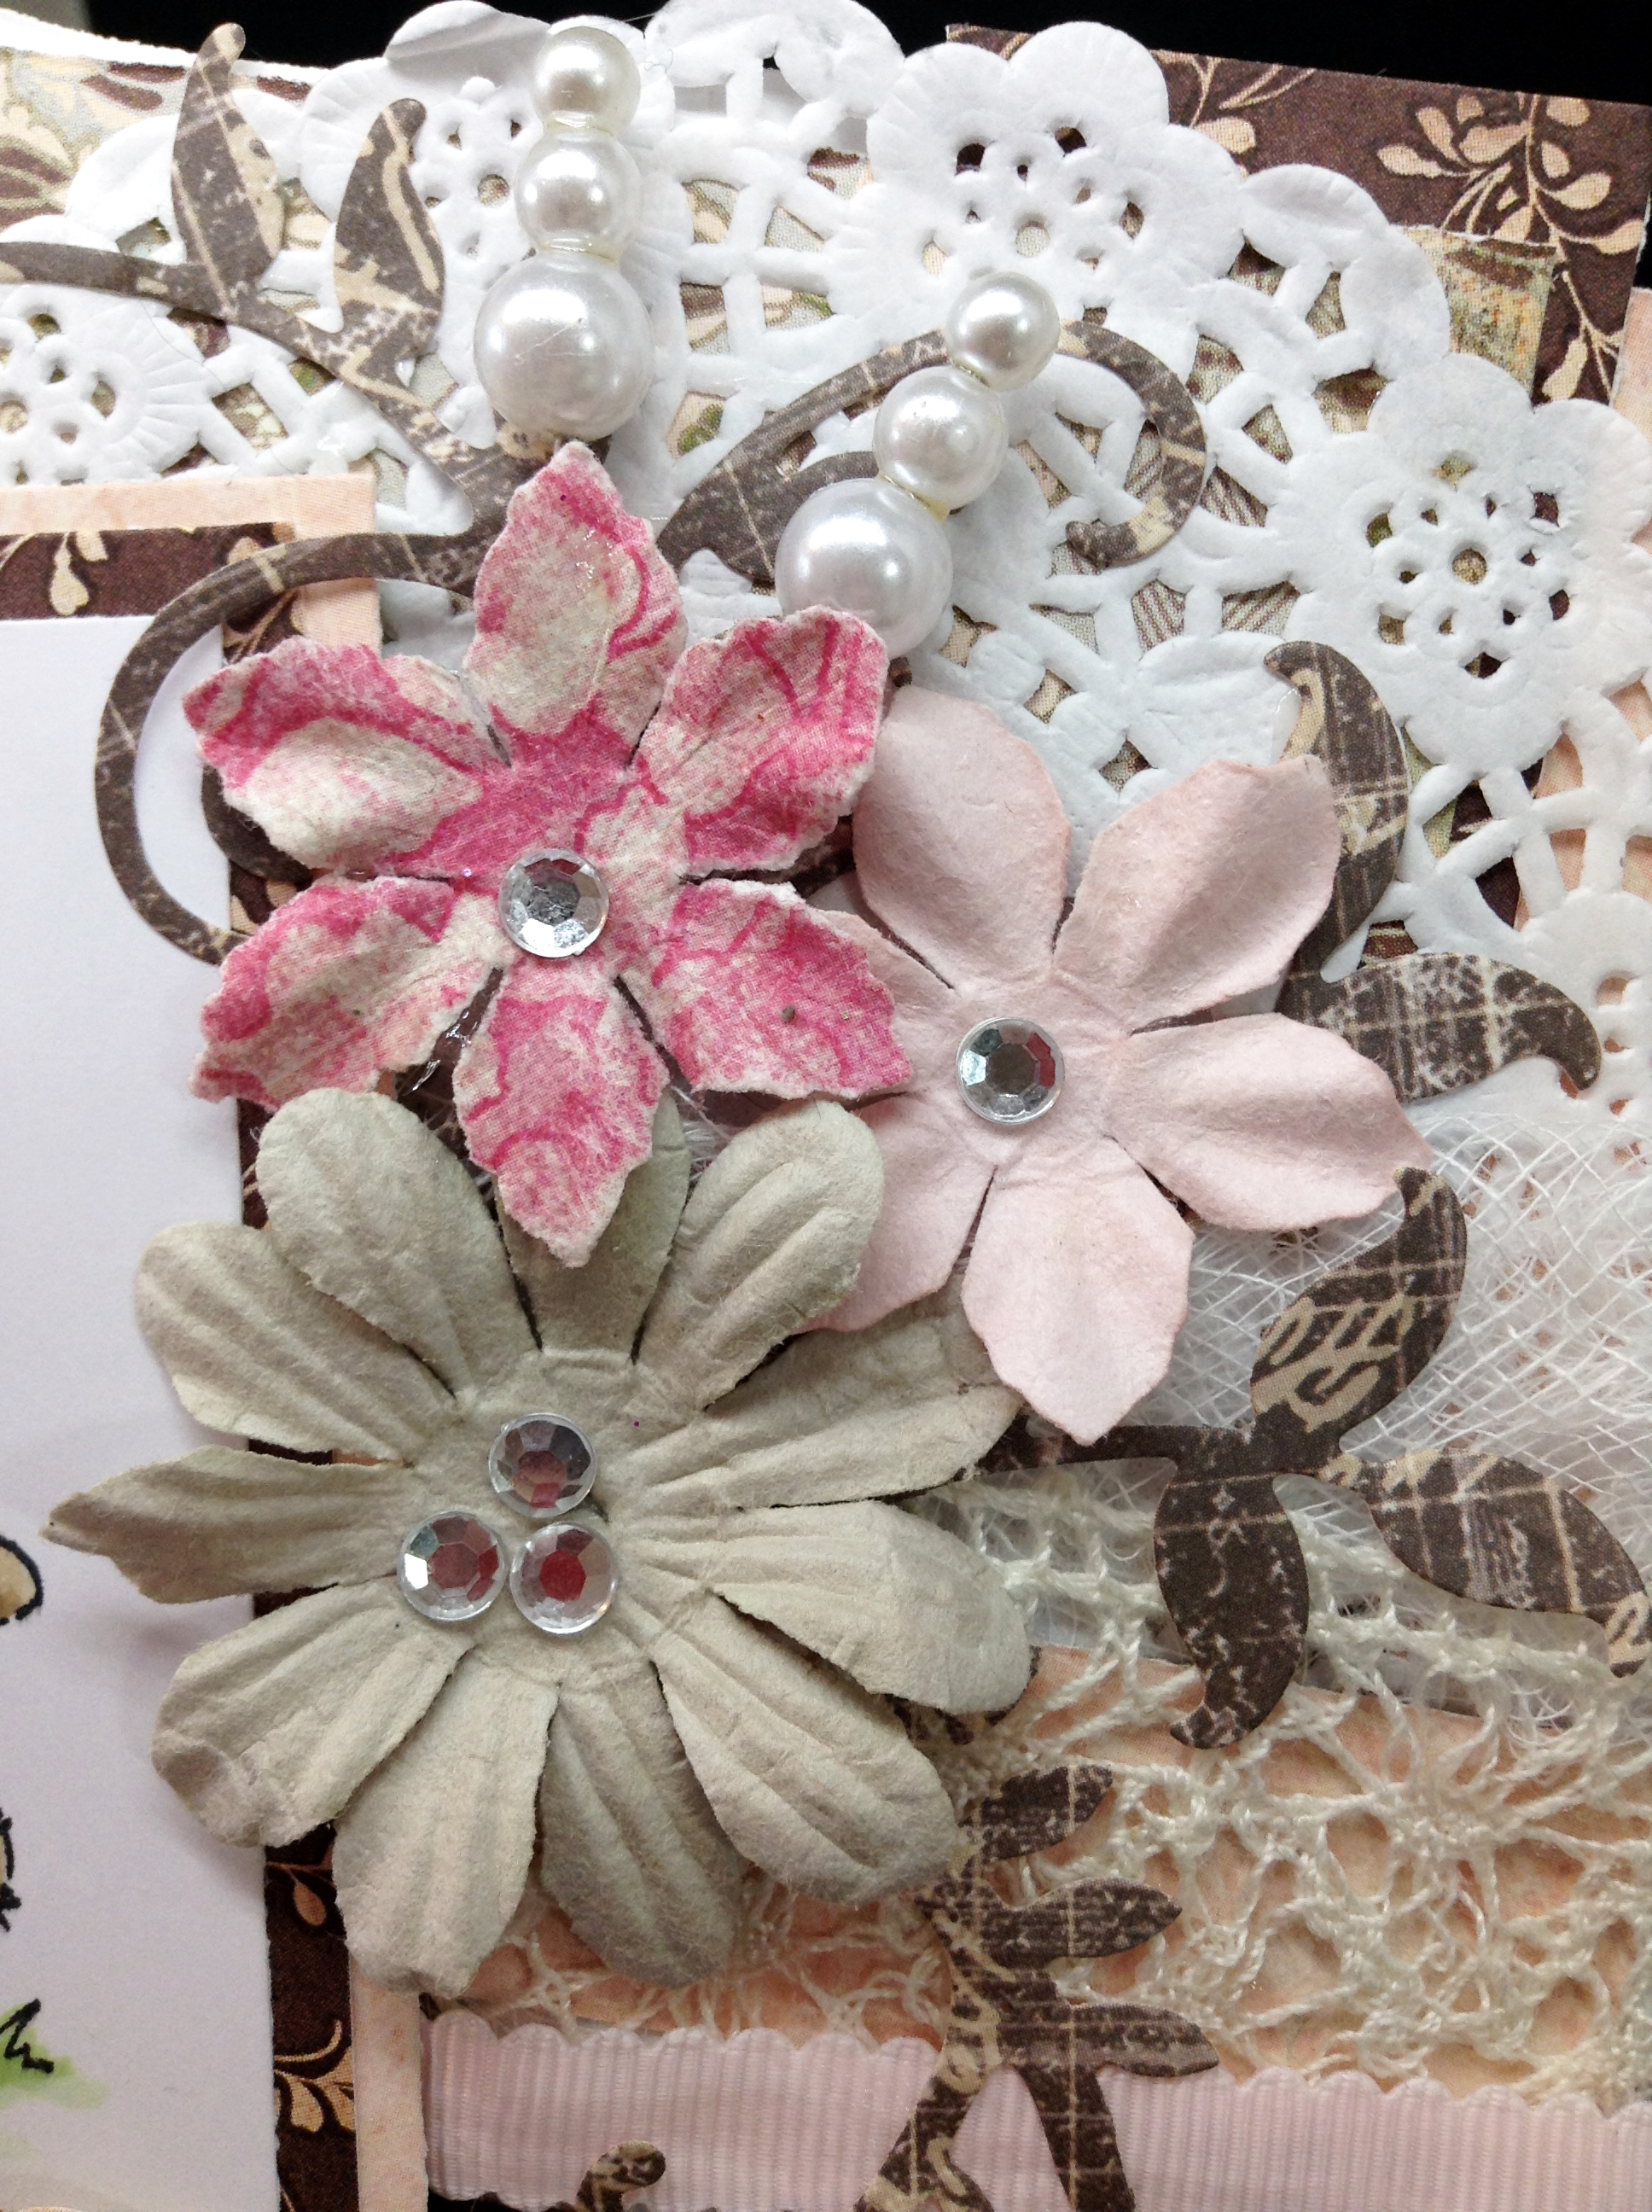
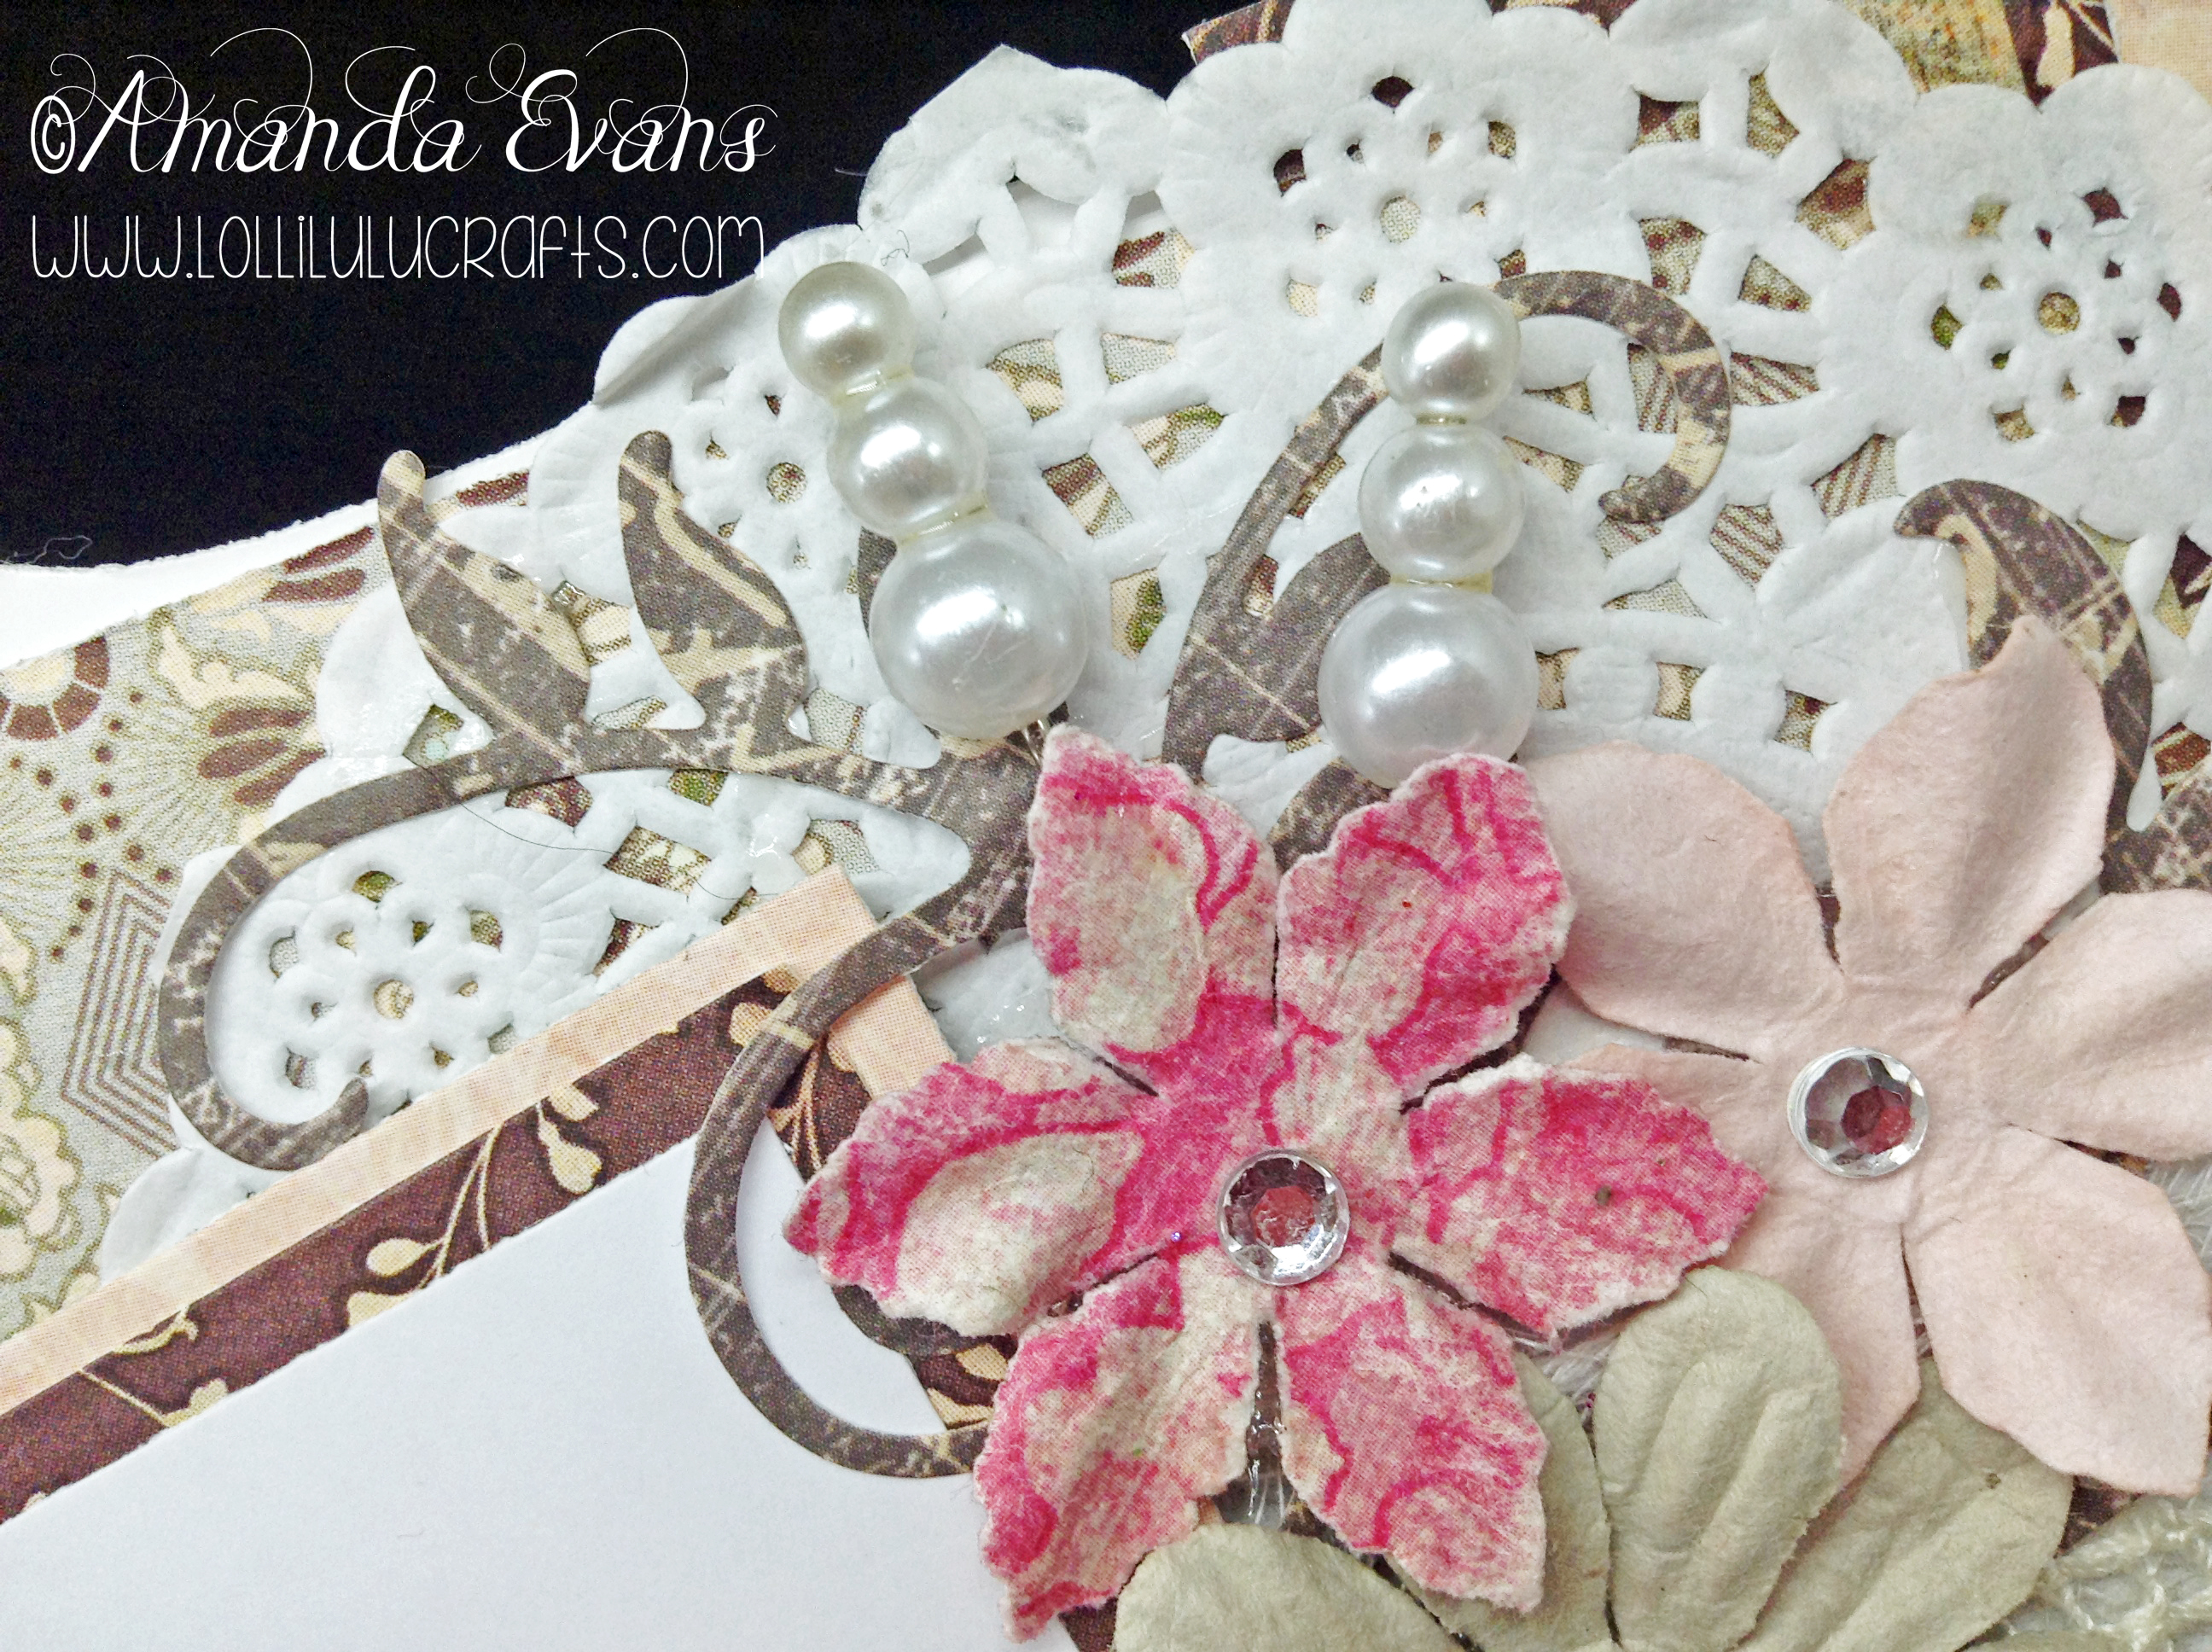
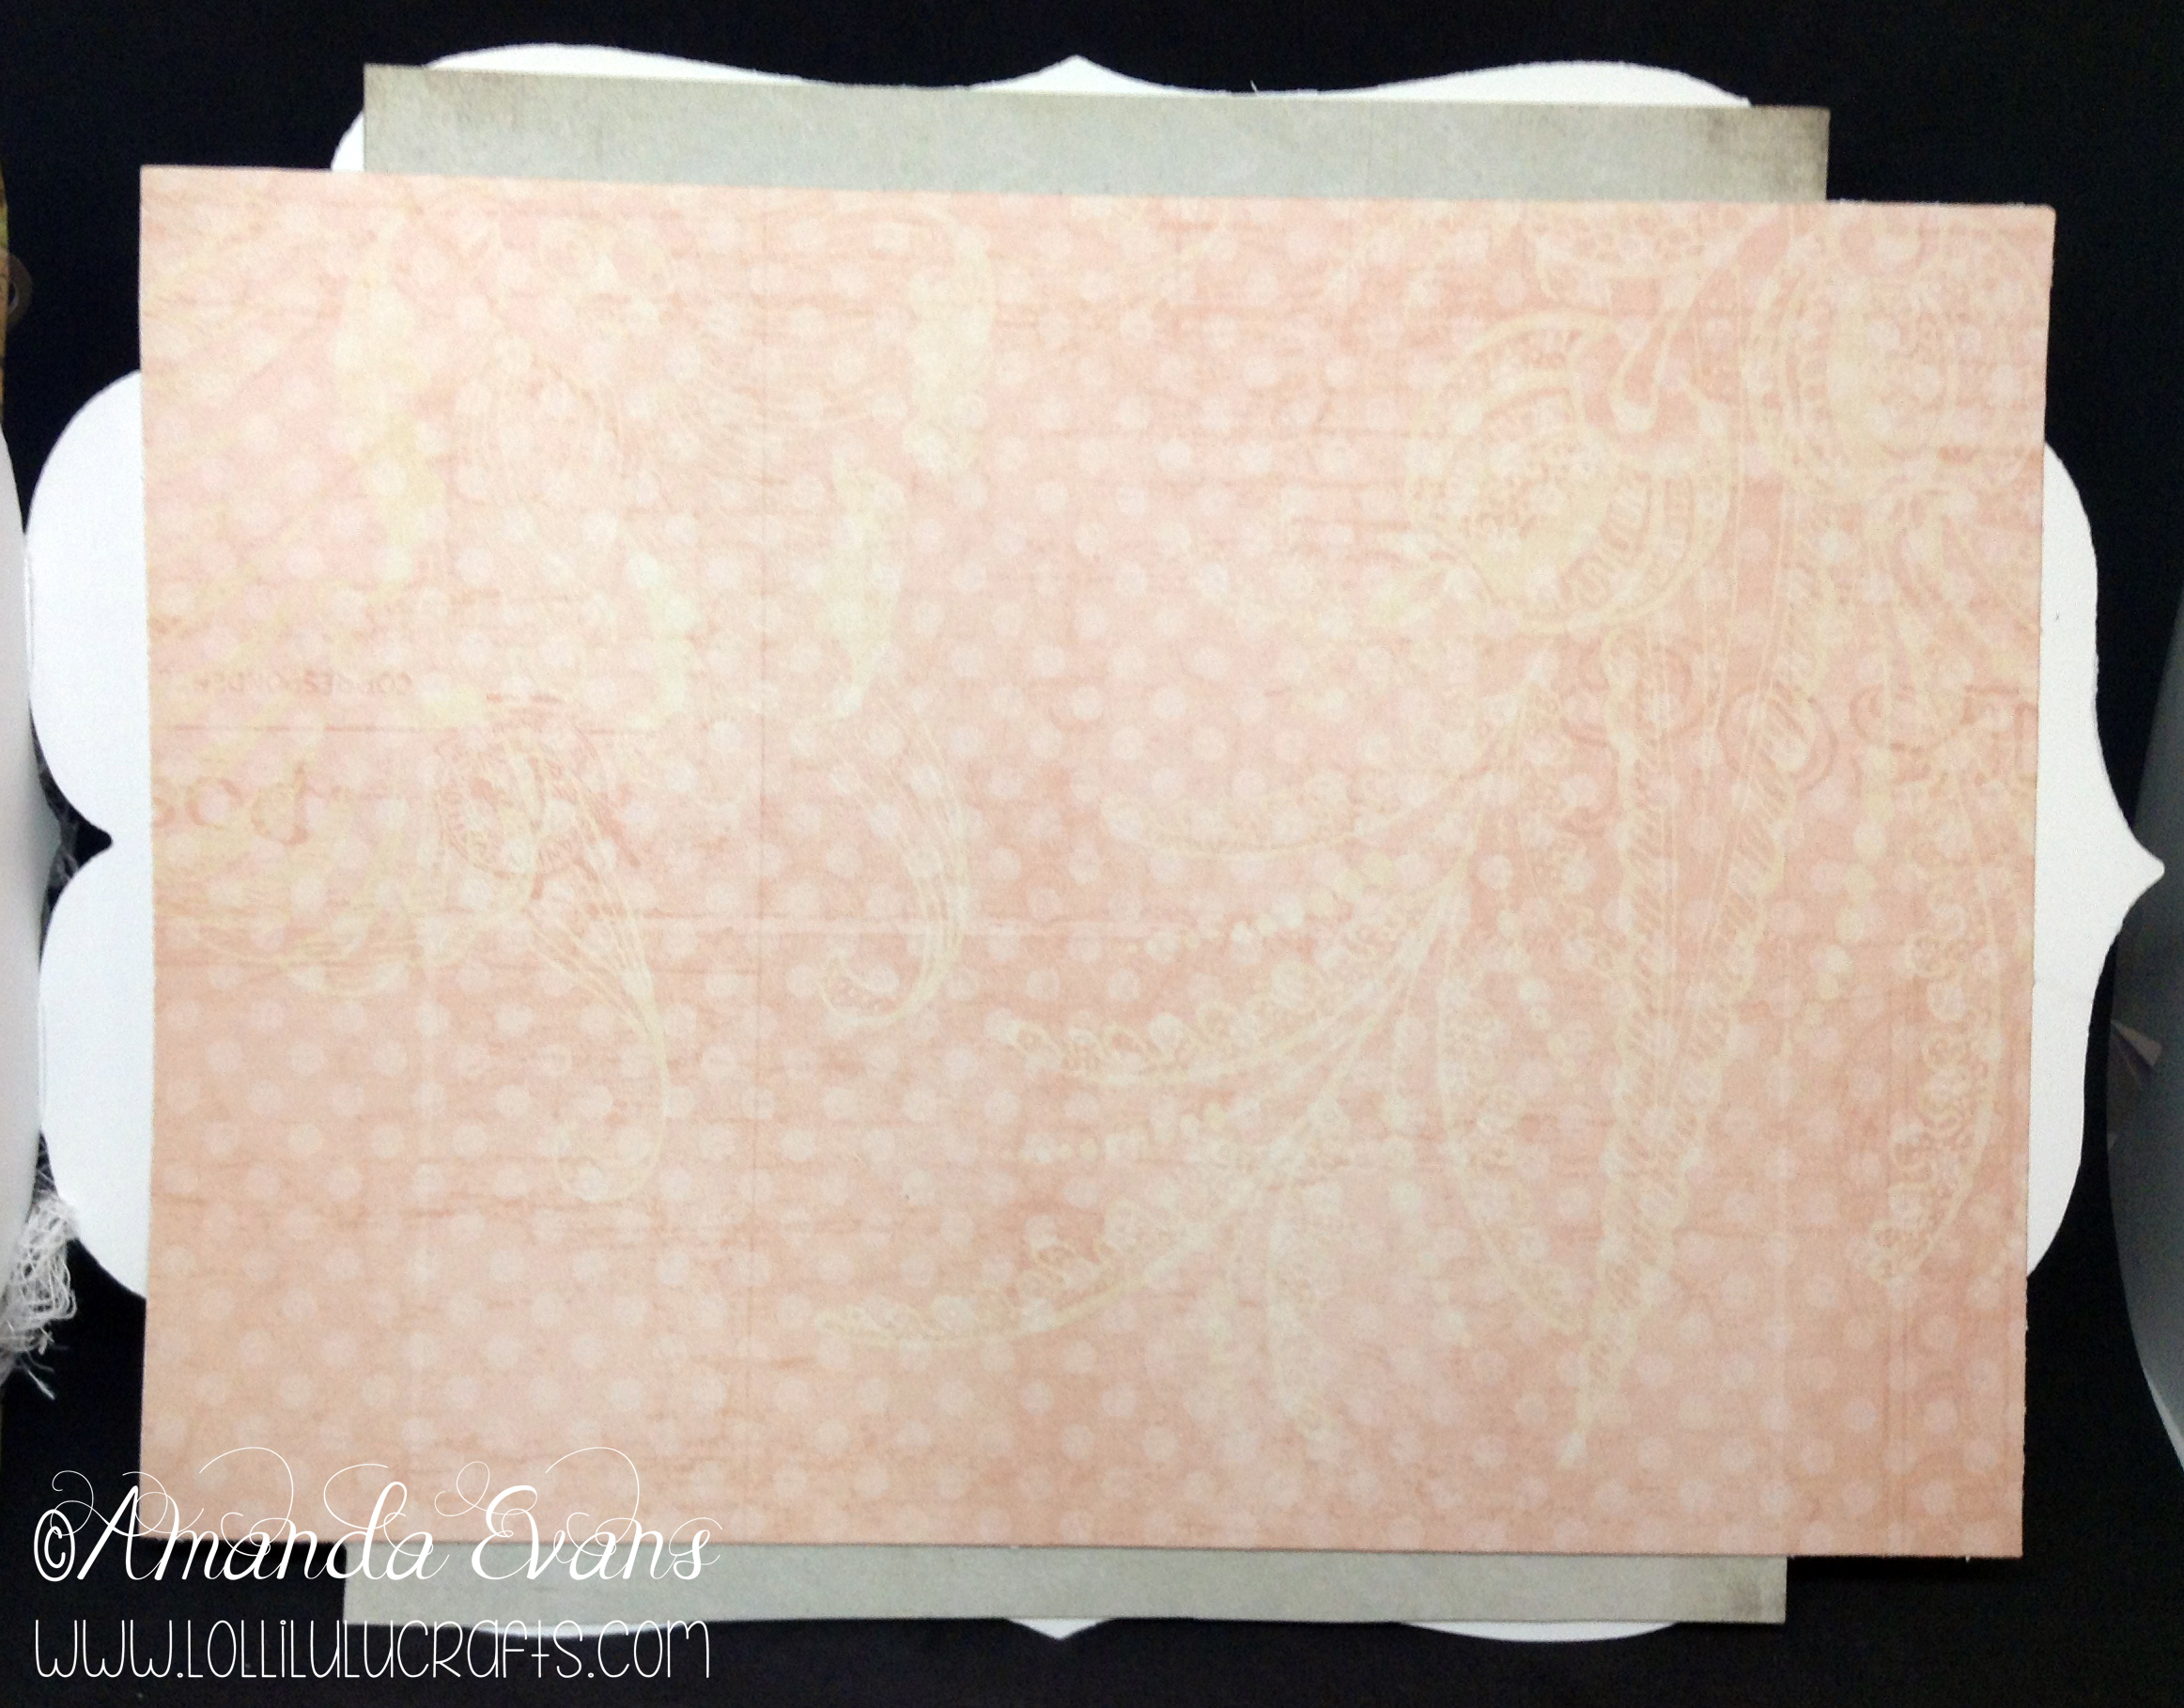
So once I finished the colouring I added the glossy accents to add a little something to it. I then cut it down to size, just by eye. Matted it onto the two layers of coloured paper from the Basic Grey Paper Pack. The Pink Paislee pack was only used for the pink spot sheet. I took another Hunkydory shaped card. This one was from a previous set I had that was regular cards but just had variety of pretty shaped edges such as this label shape. I then layered up the papers as you can see on the card. Adding next my cheesecloth piece, ribbons. Then I added my Matted Image over the ribbon using my trusty Pinflair. Finally I used the die cut pies such as the leafy swirls and butterfly that I had got from my die cut stash. These were the pieces that I had cut on my video ‘My New Teal Sizzix Big Shot Machine’. They were a perfect match. I stamped my sentiment from a Paper Trey Ink set and then used my Ek success label punch to punch it out. Finally I added the pearls, Stick pins, crystals etc to finish it off.
And then the very final touch was to add some layers to the inside of the card.
So that is the card for today and I really think it turned out nice. Again I went a little outside my comfort zone with the Vintage Style to the card so I hope you like it, For now have a great craft day,


1 Comment on Lili of the Valley Teddy Moving Day Card