


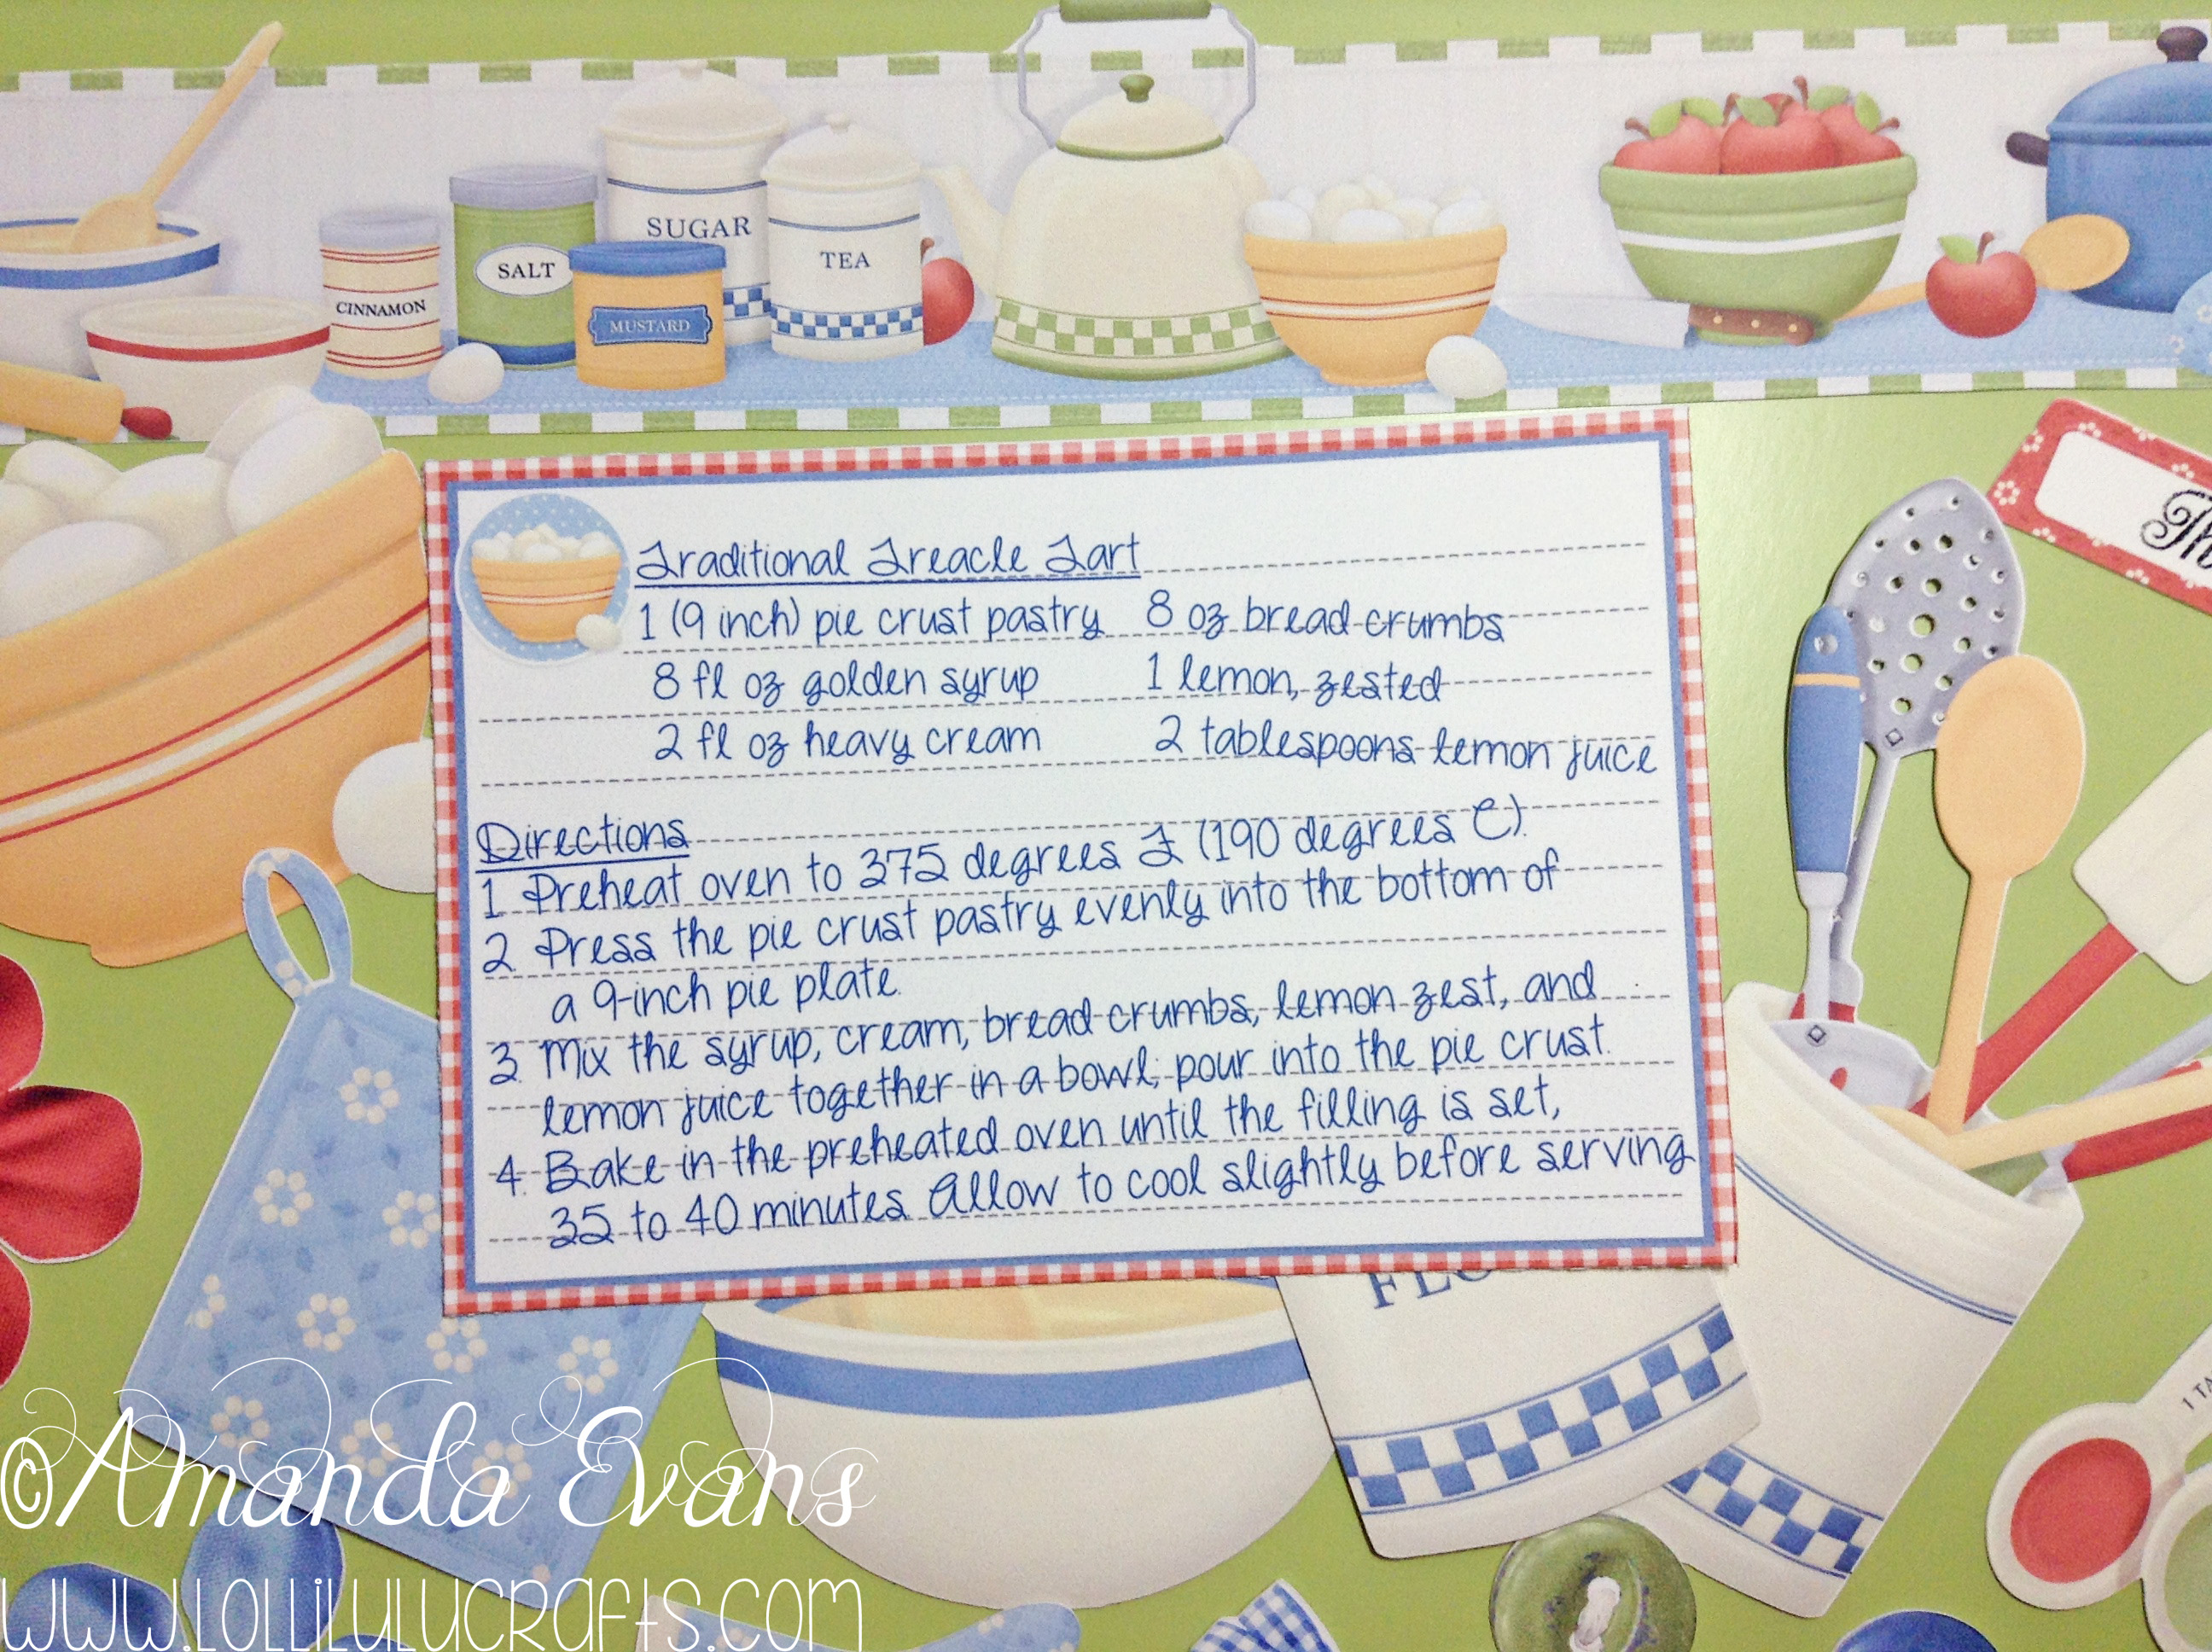
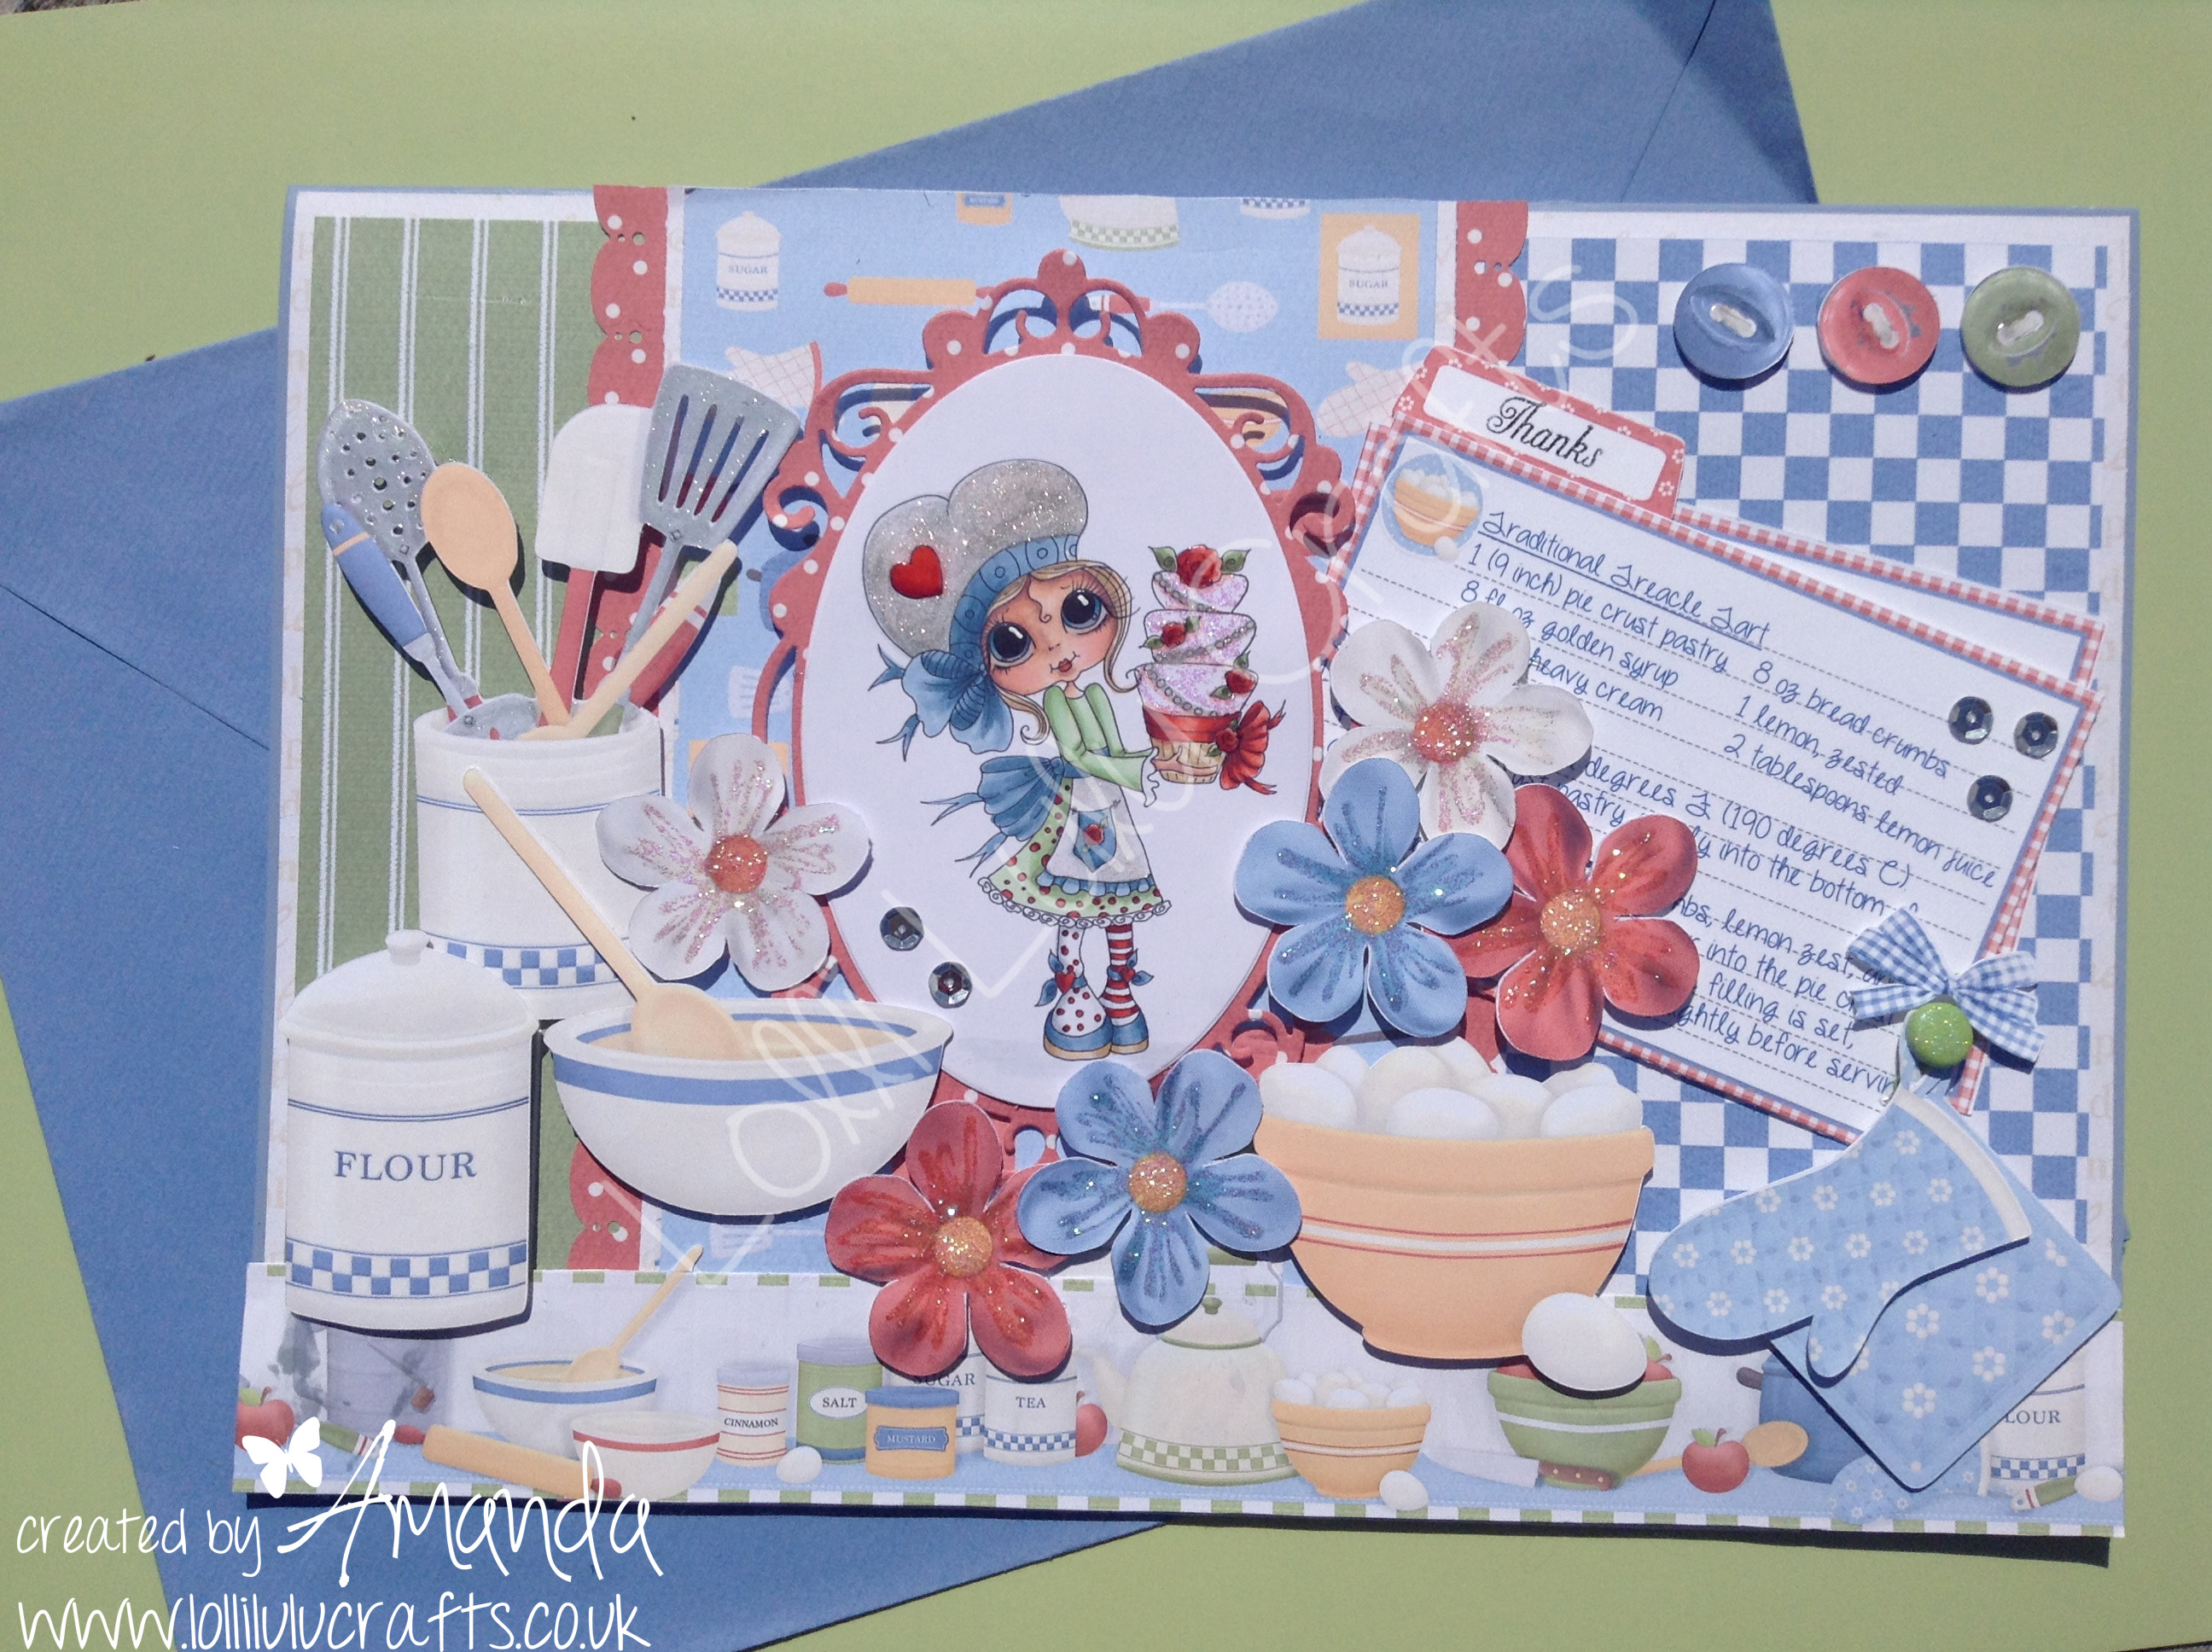
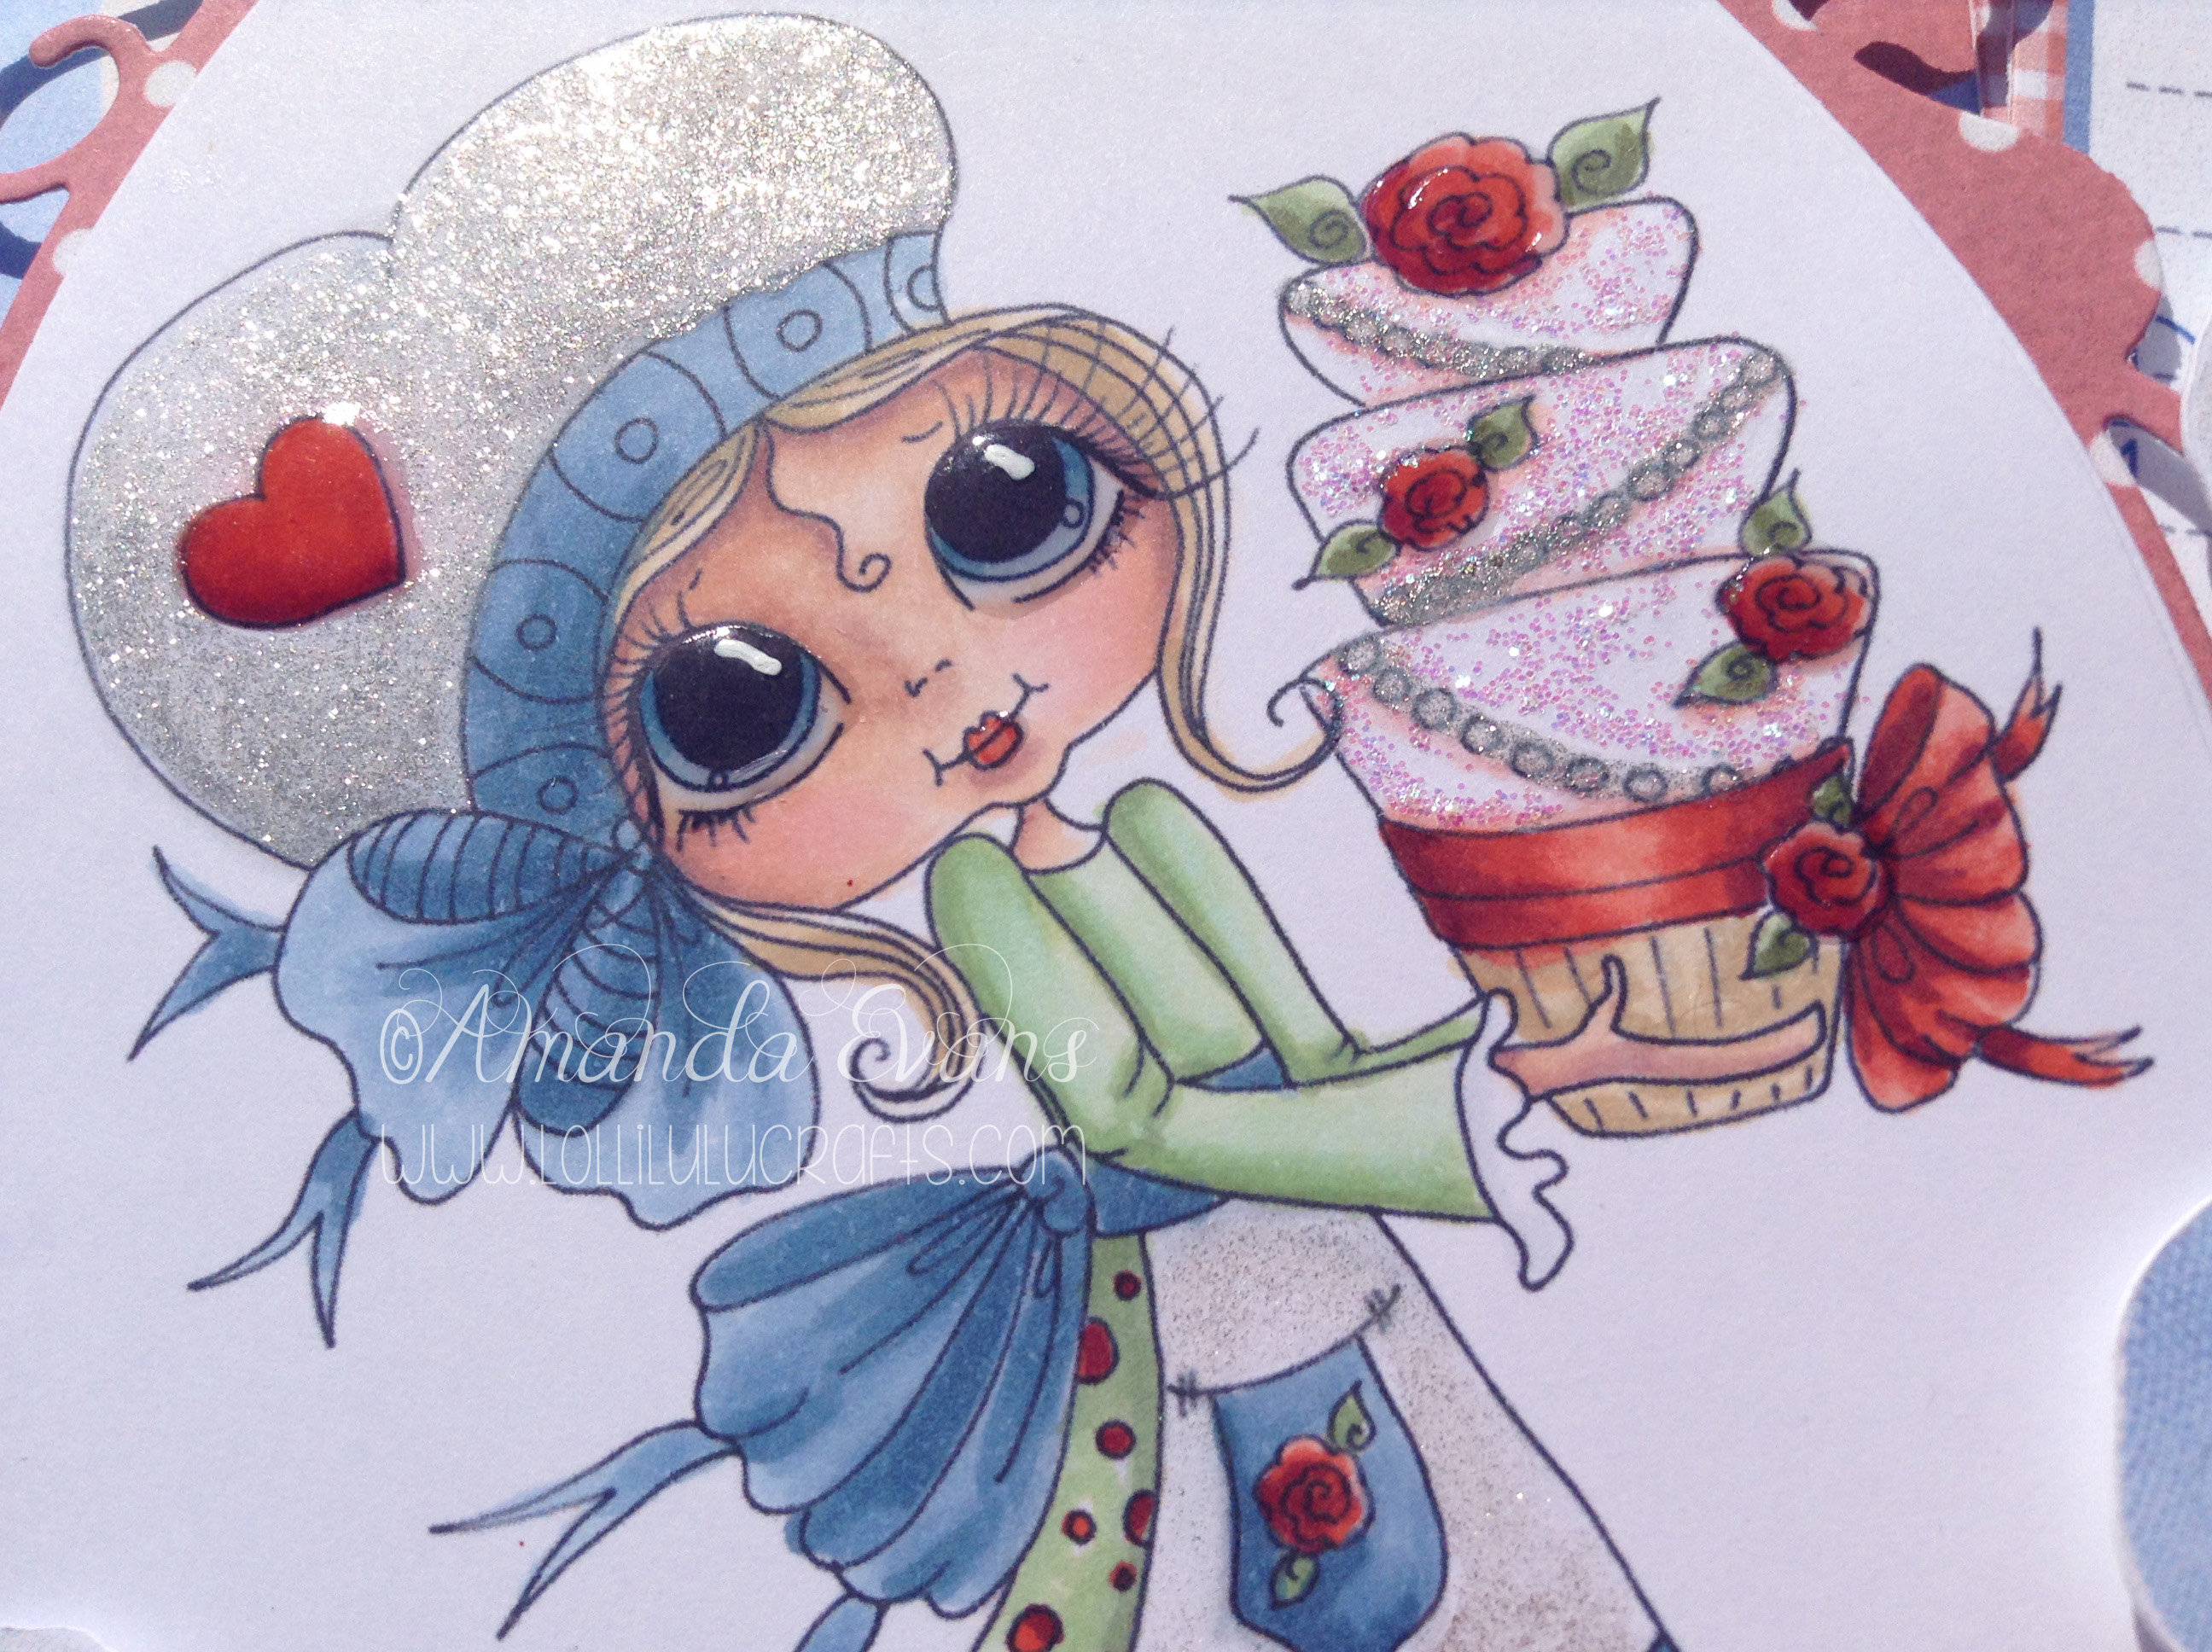
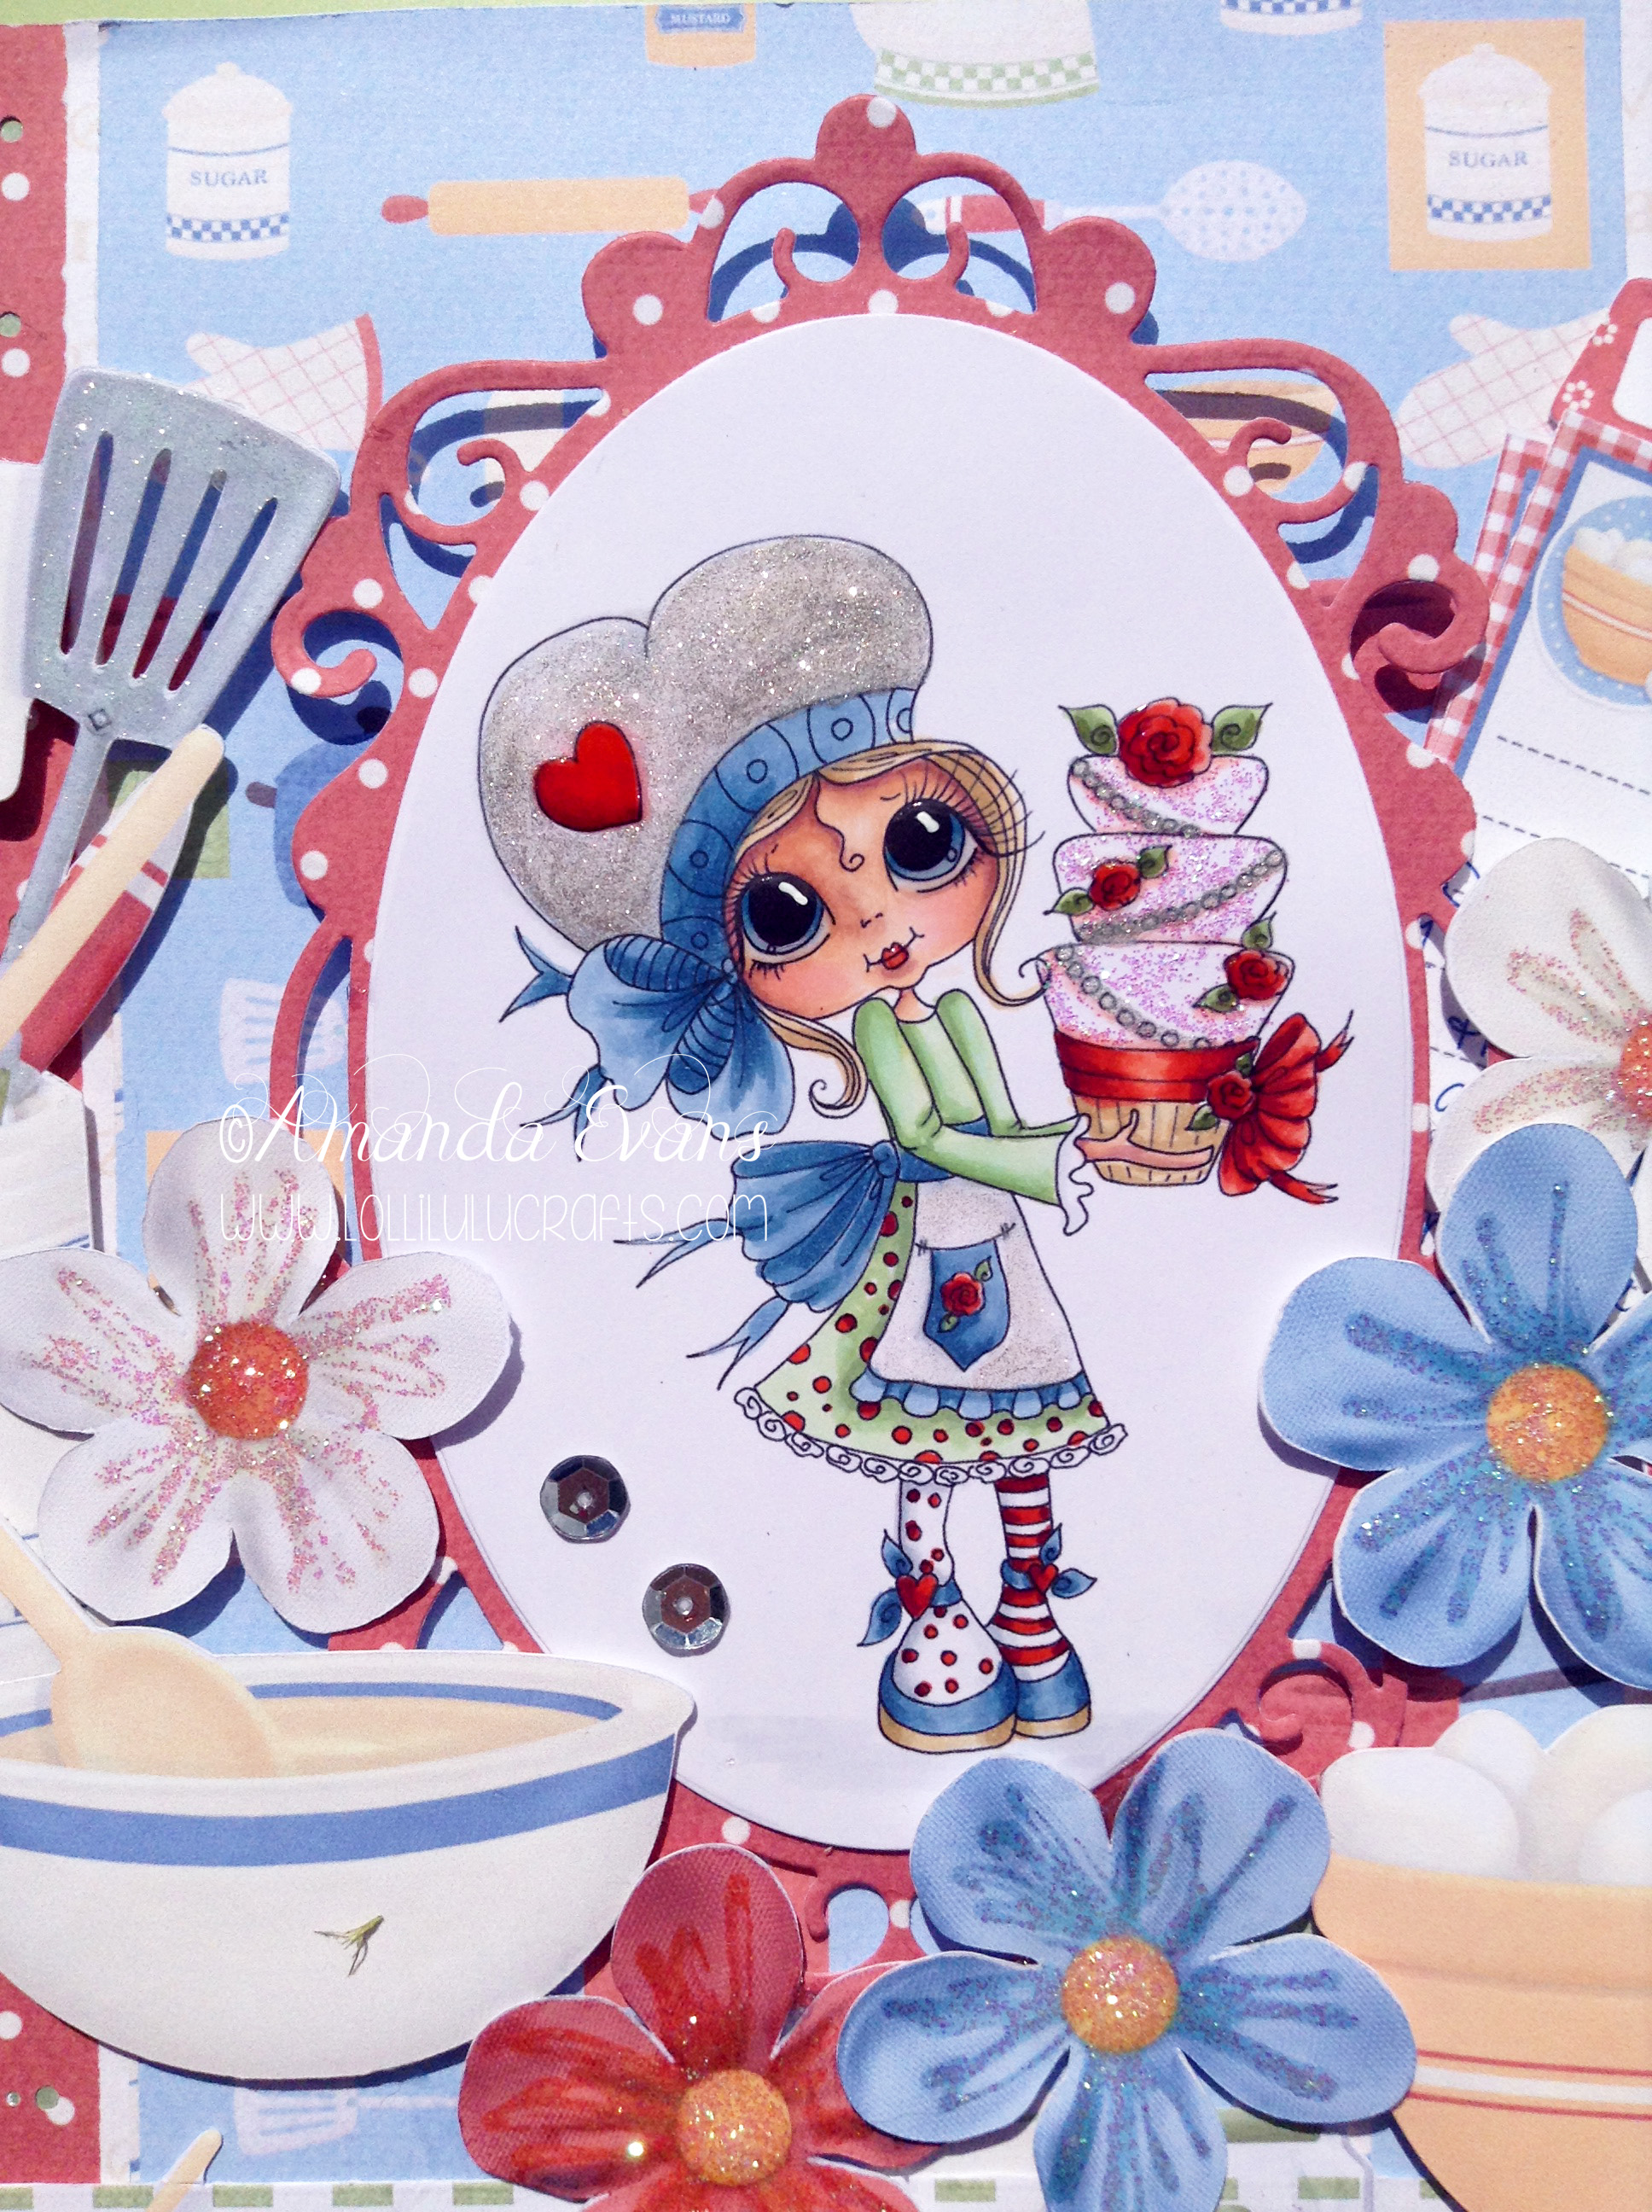
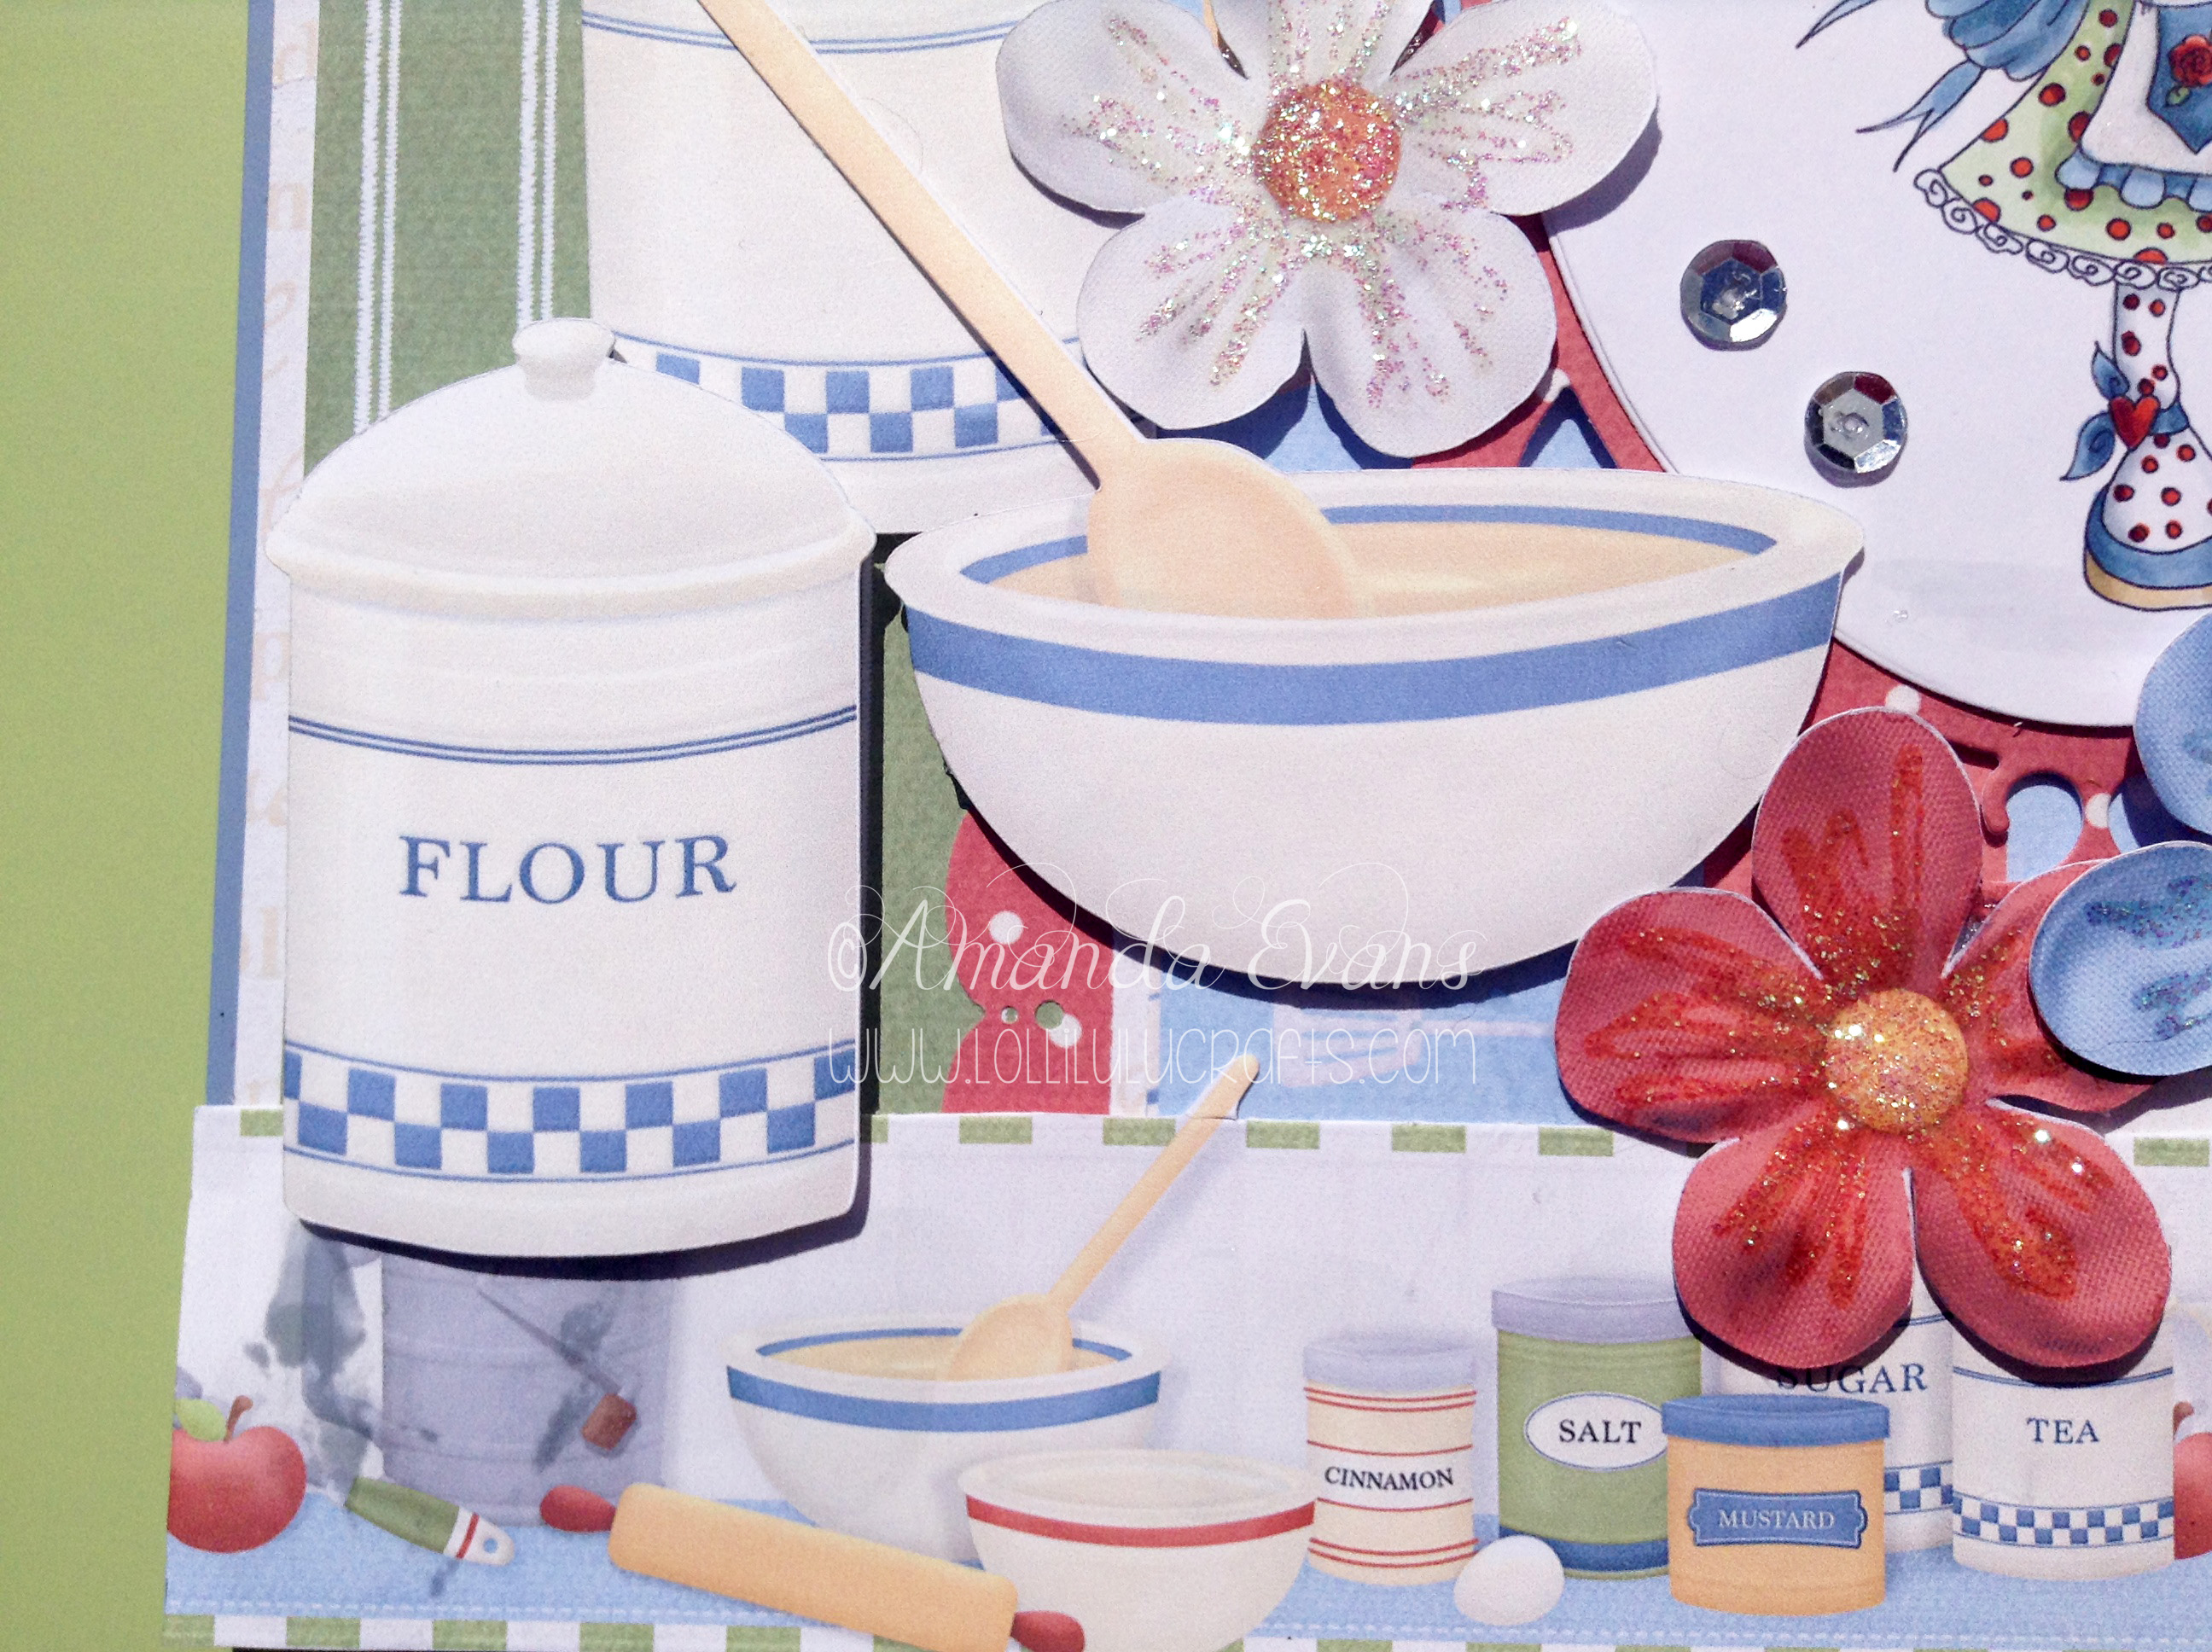
Hi ya, so here we are again with this months Silhouette Seminar No 6 Print n Cut. Last month we looked at a single layer cut and although you might think this is a big jump, print n cut is just another type of single layer cut and is not in fact that hard to do. I hoped that by showing you this it would give you much more scope with your Silhouette and crafting in general as it means all those pain in the butt things that need cutting out you can get your silhouette to do instead 🙂 In todays Silhouette Seminar I have used a cute Besties image from Sherri Baldy and more importantly for this seminar the digital images from Nitwits Grandmas Pantry collection.
In making the card I first printed and coloured my image using my Copic markers:
Colourless Blender
Skin: E000; E00; E11; E21; E04; R20
Hair, cupcake wrapper, shoe soles: E50; E53; E55
Red Accessories: R08; R89
Dress: G40; G43; G94; G99
Blue Accessories: B93; B95; B97
White areas: C1; C5
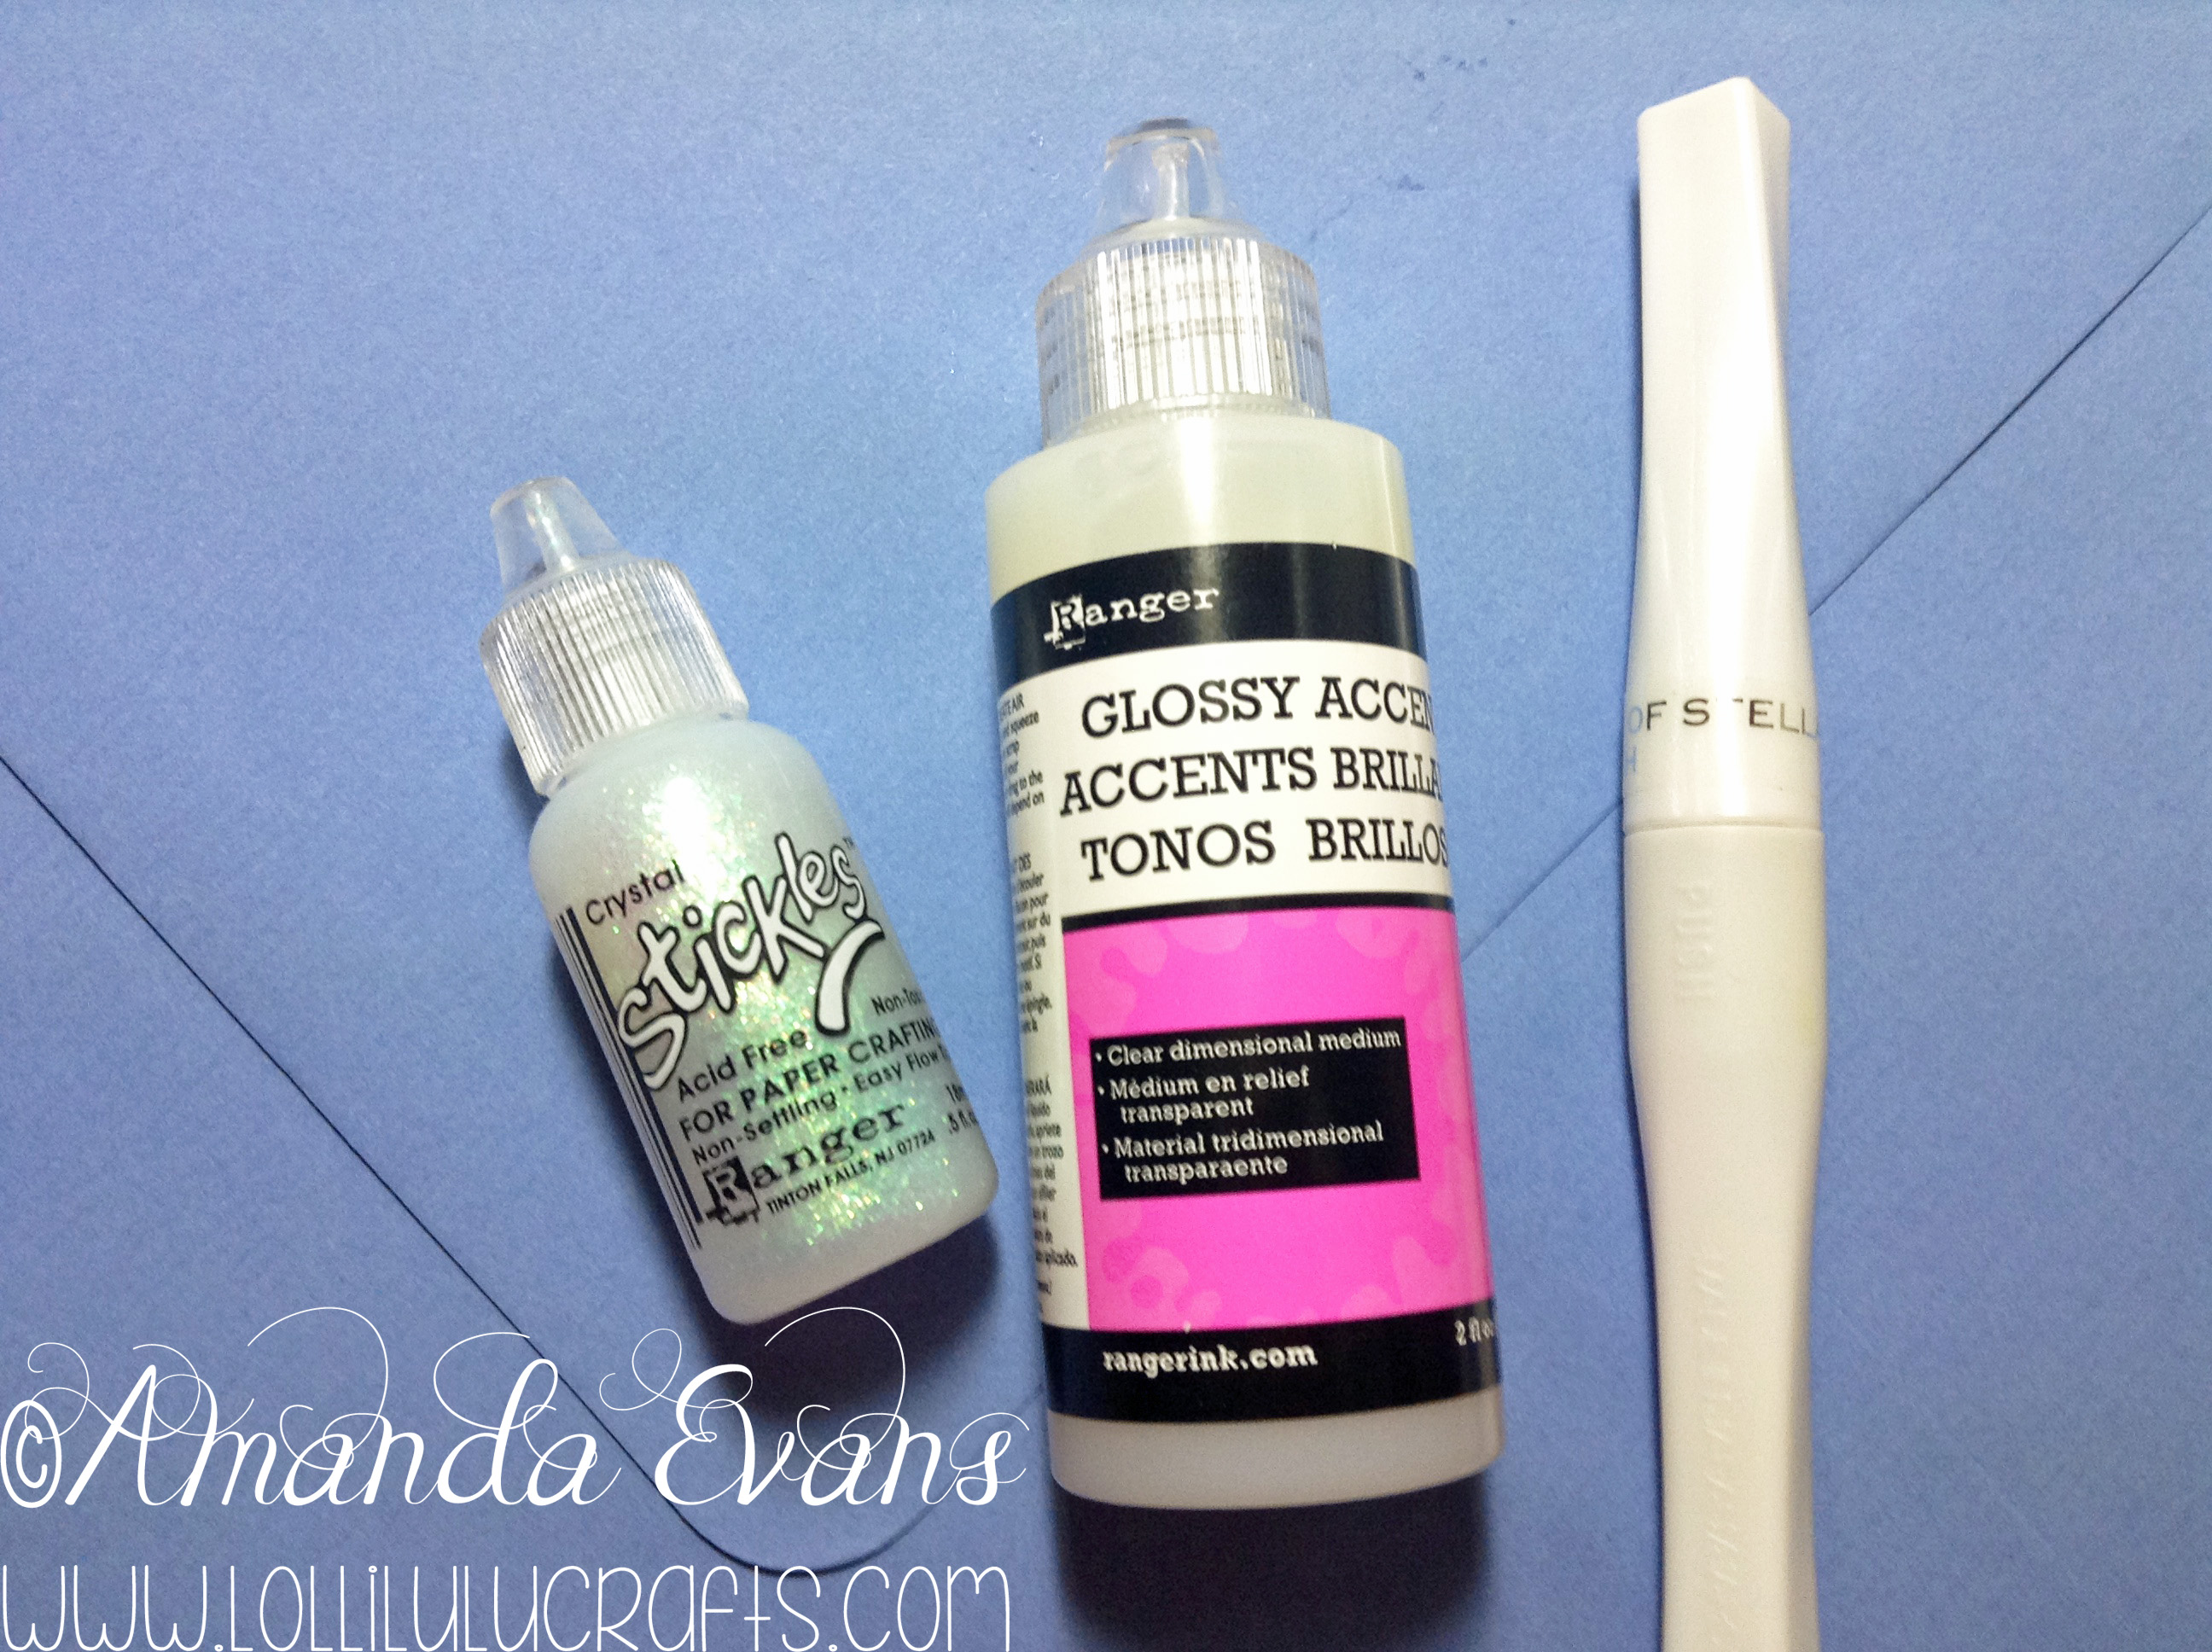
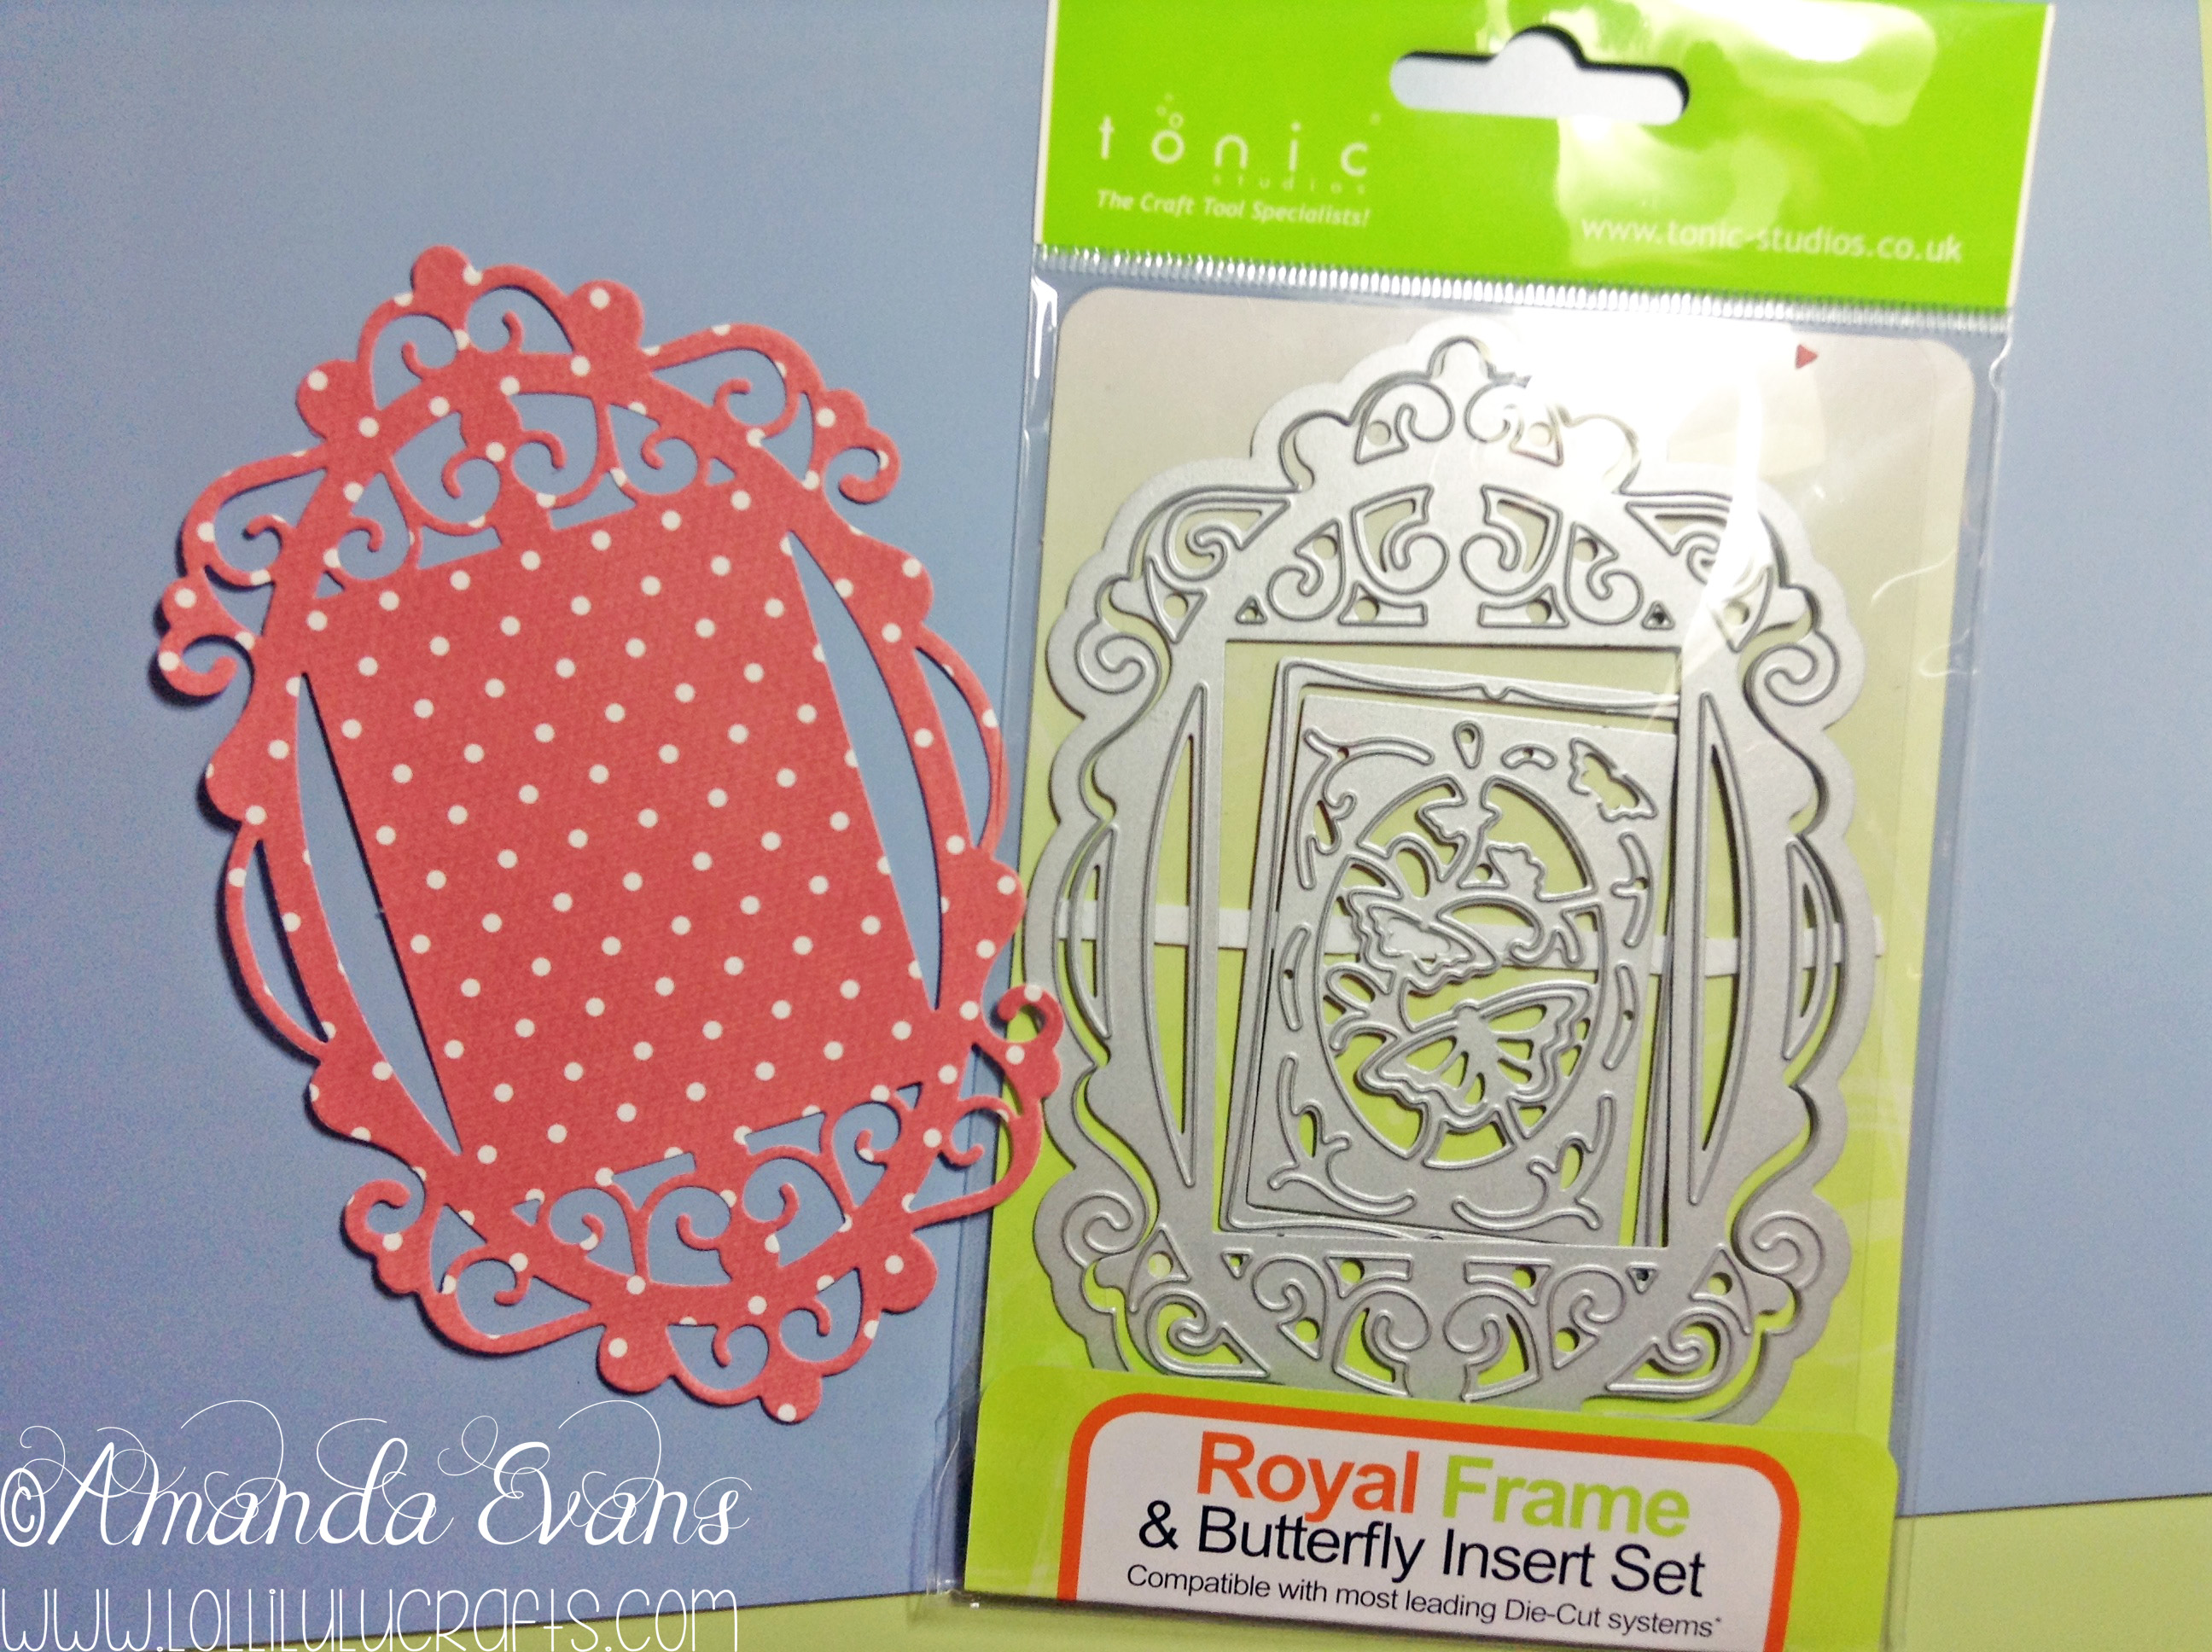
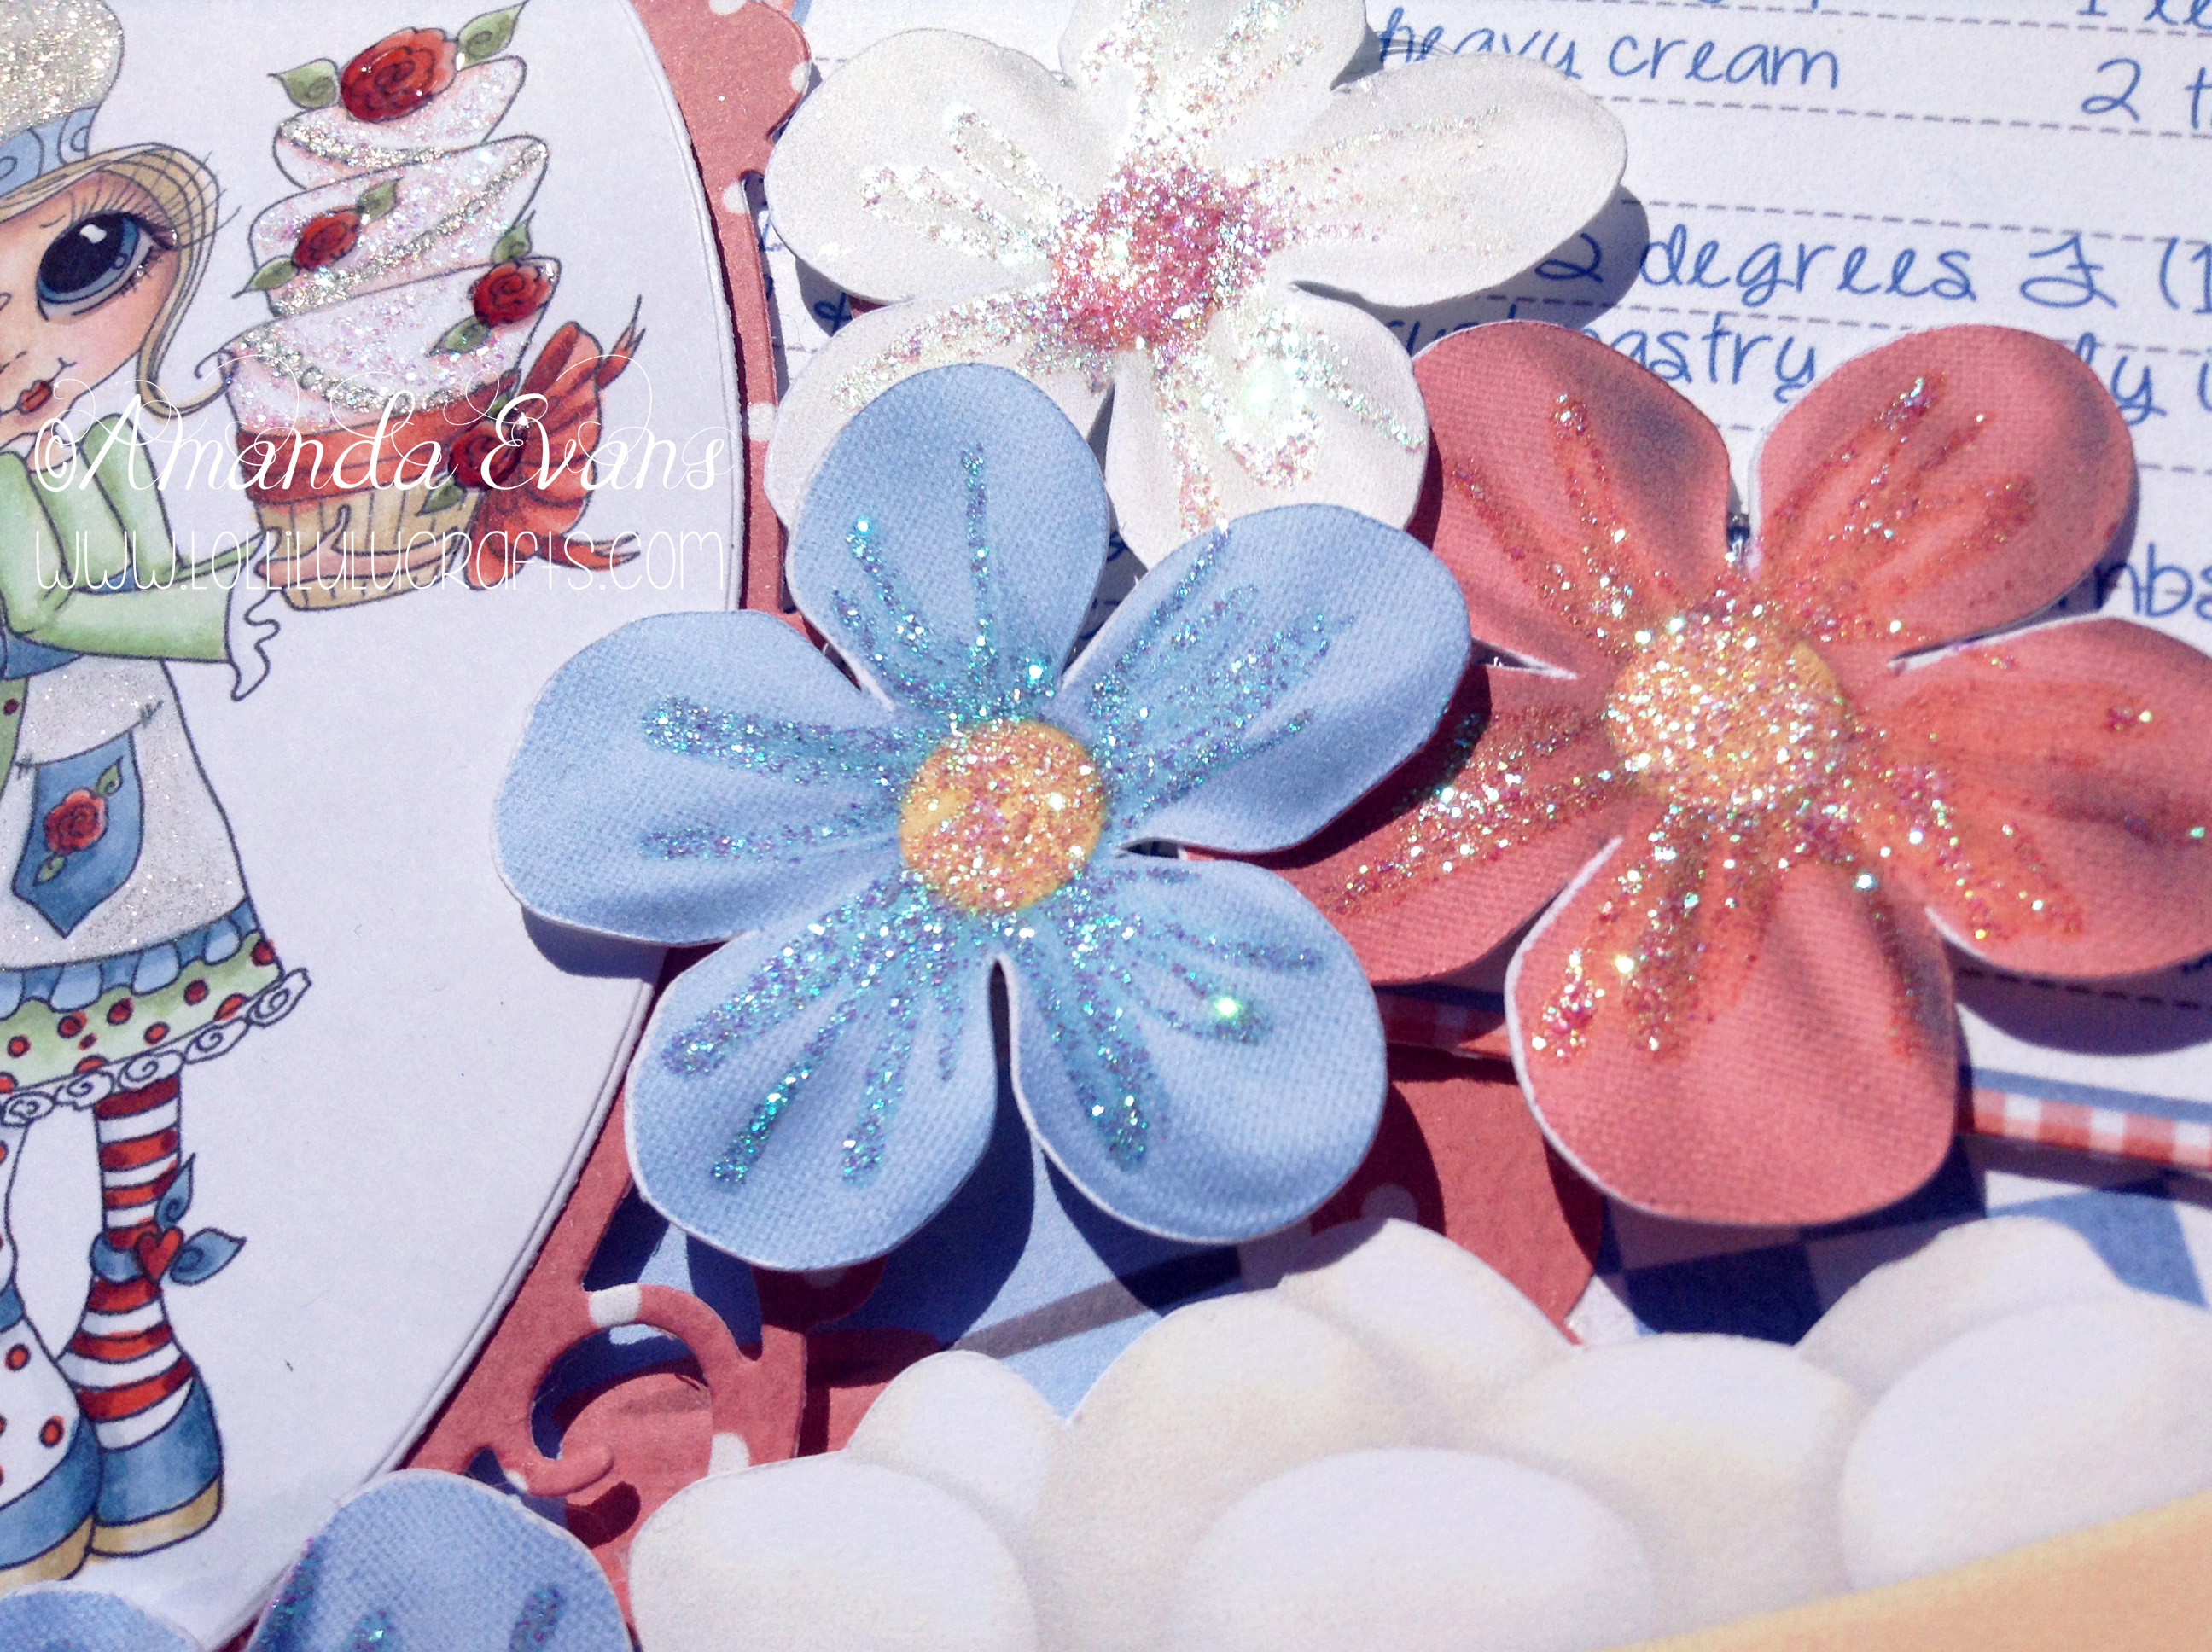
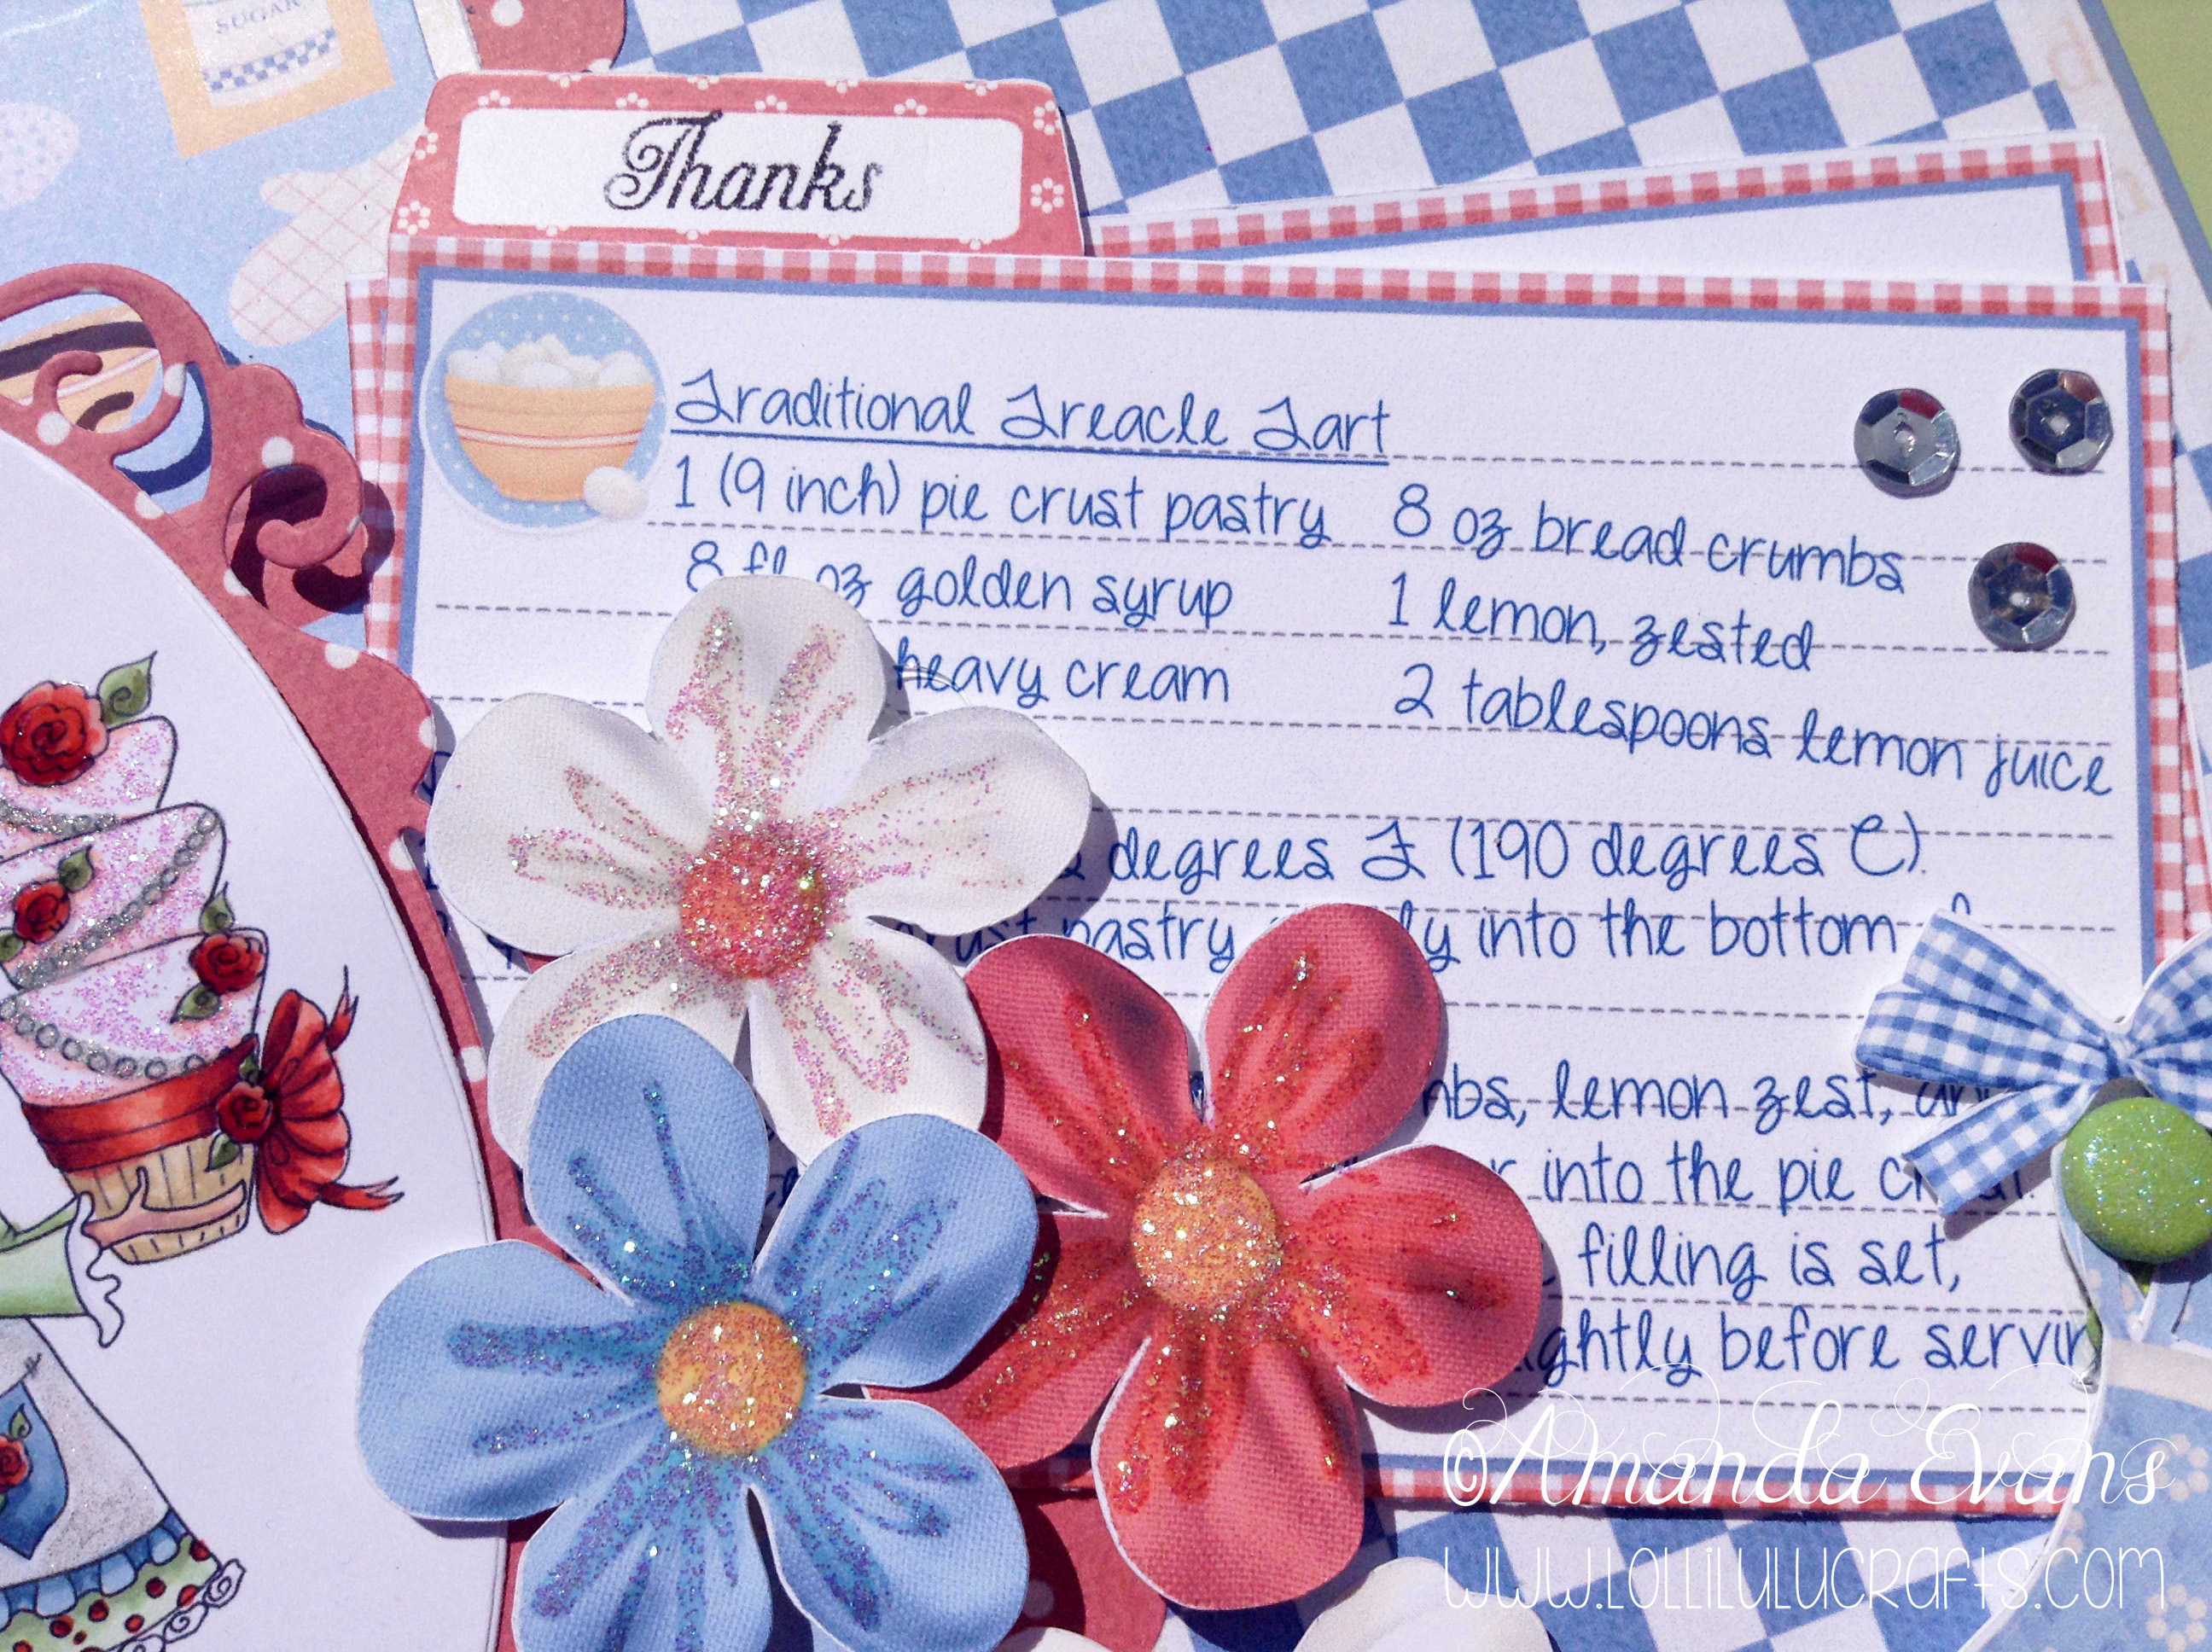
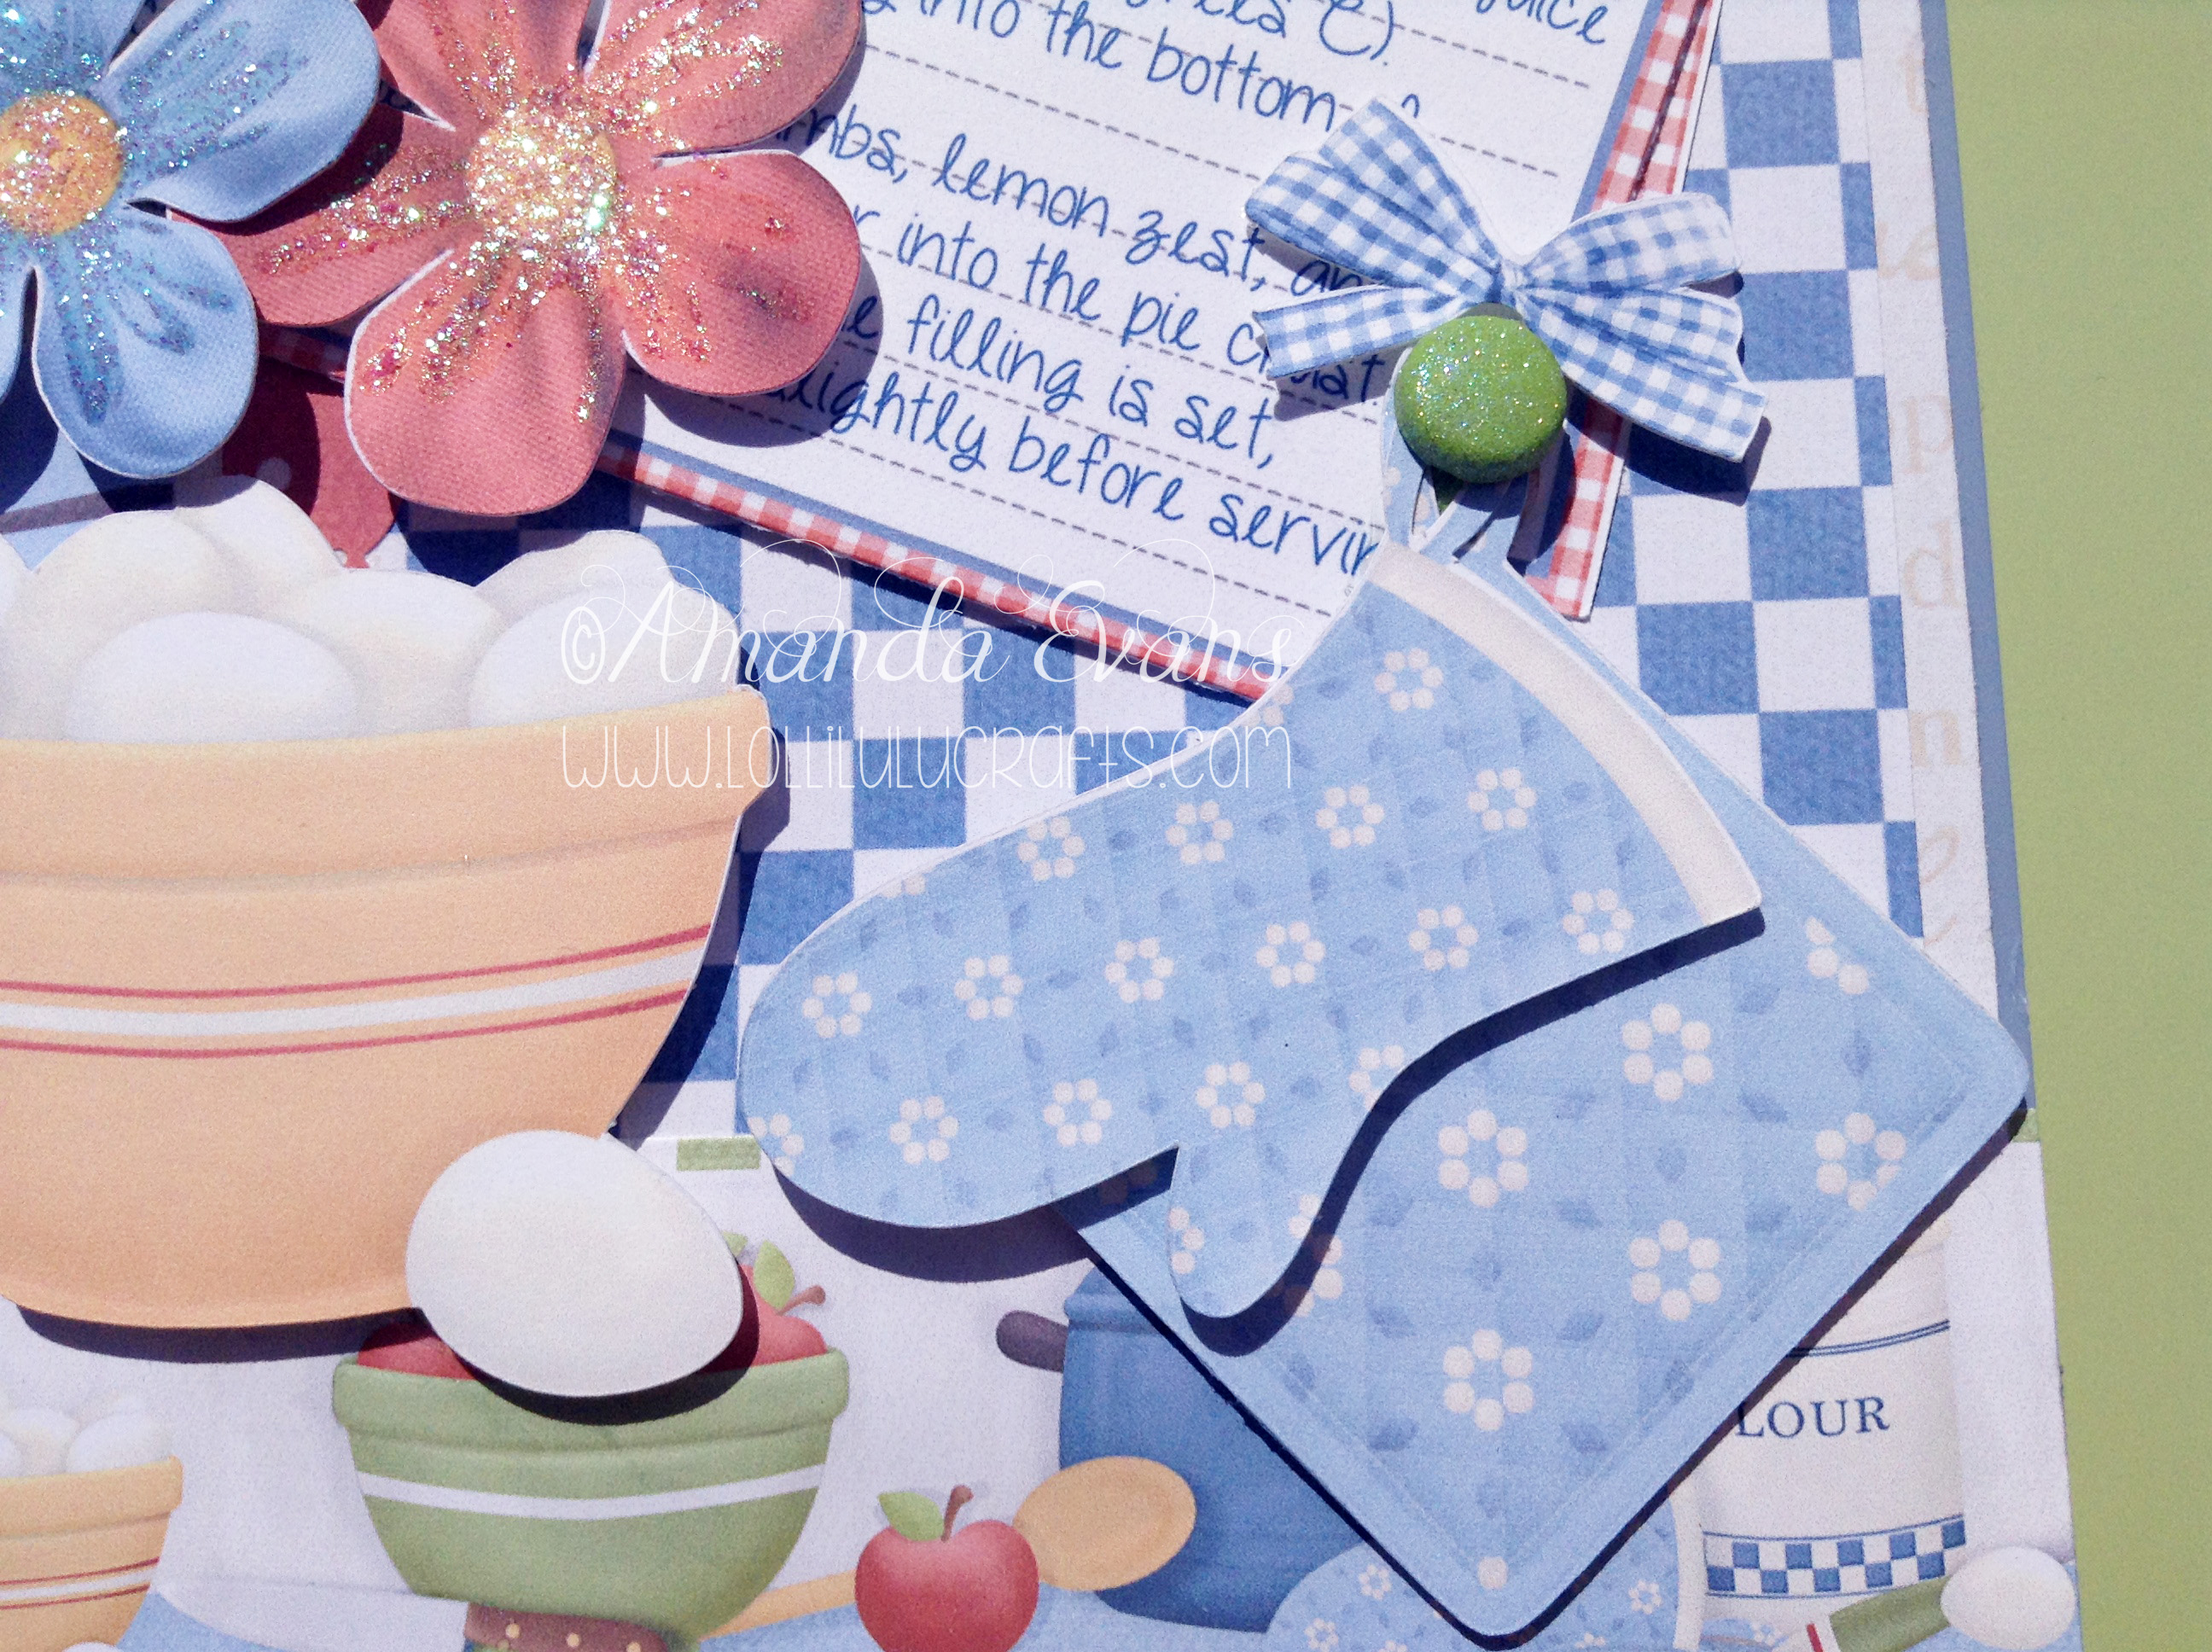
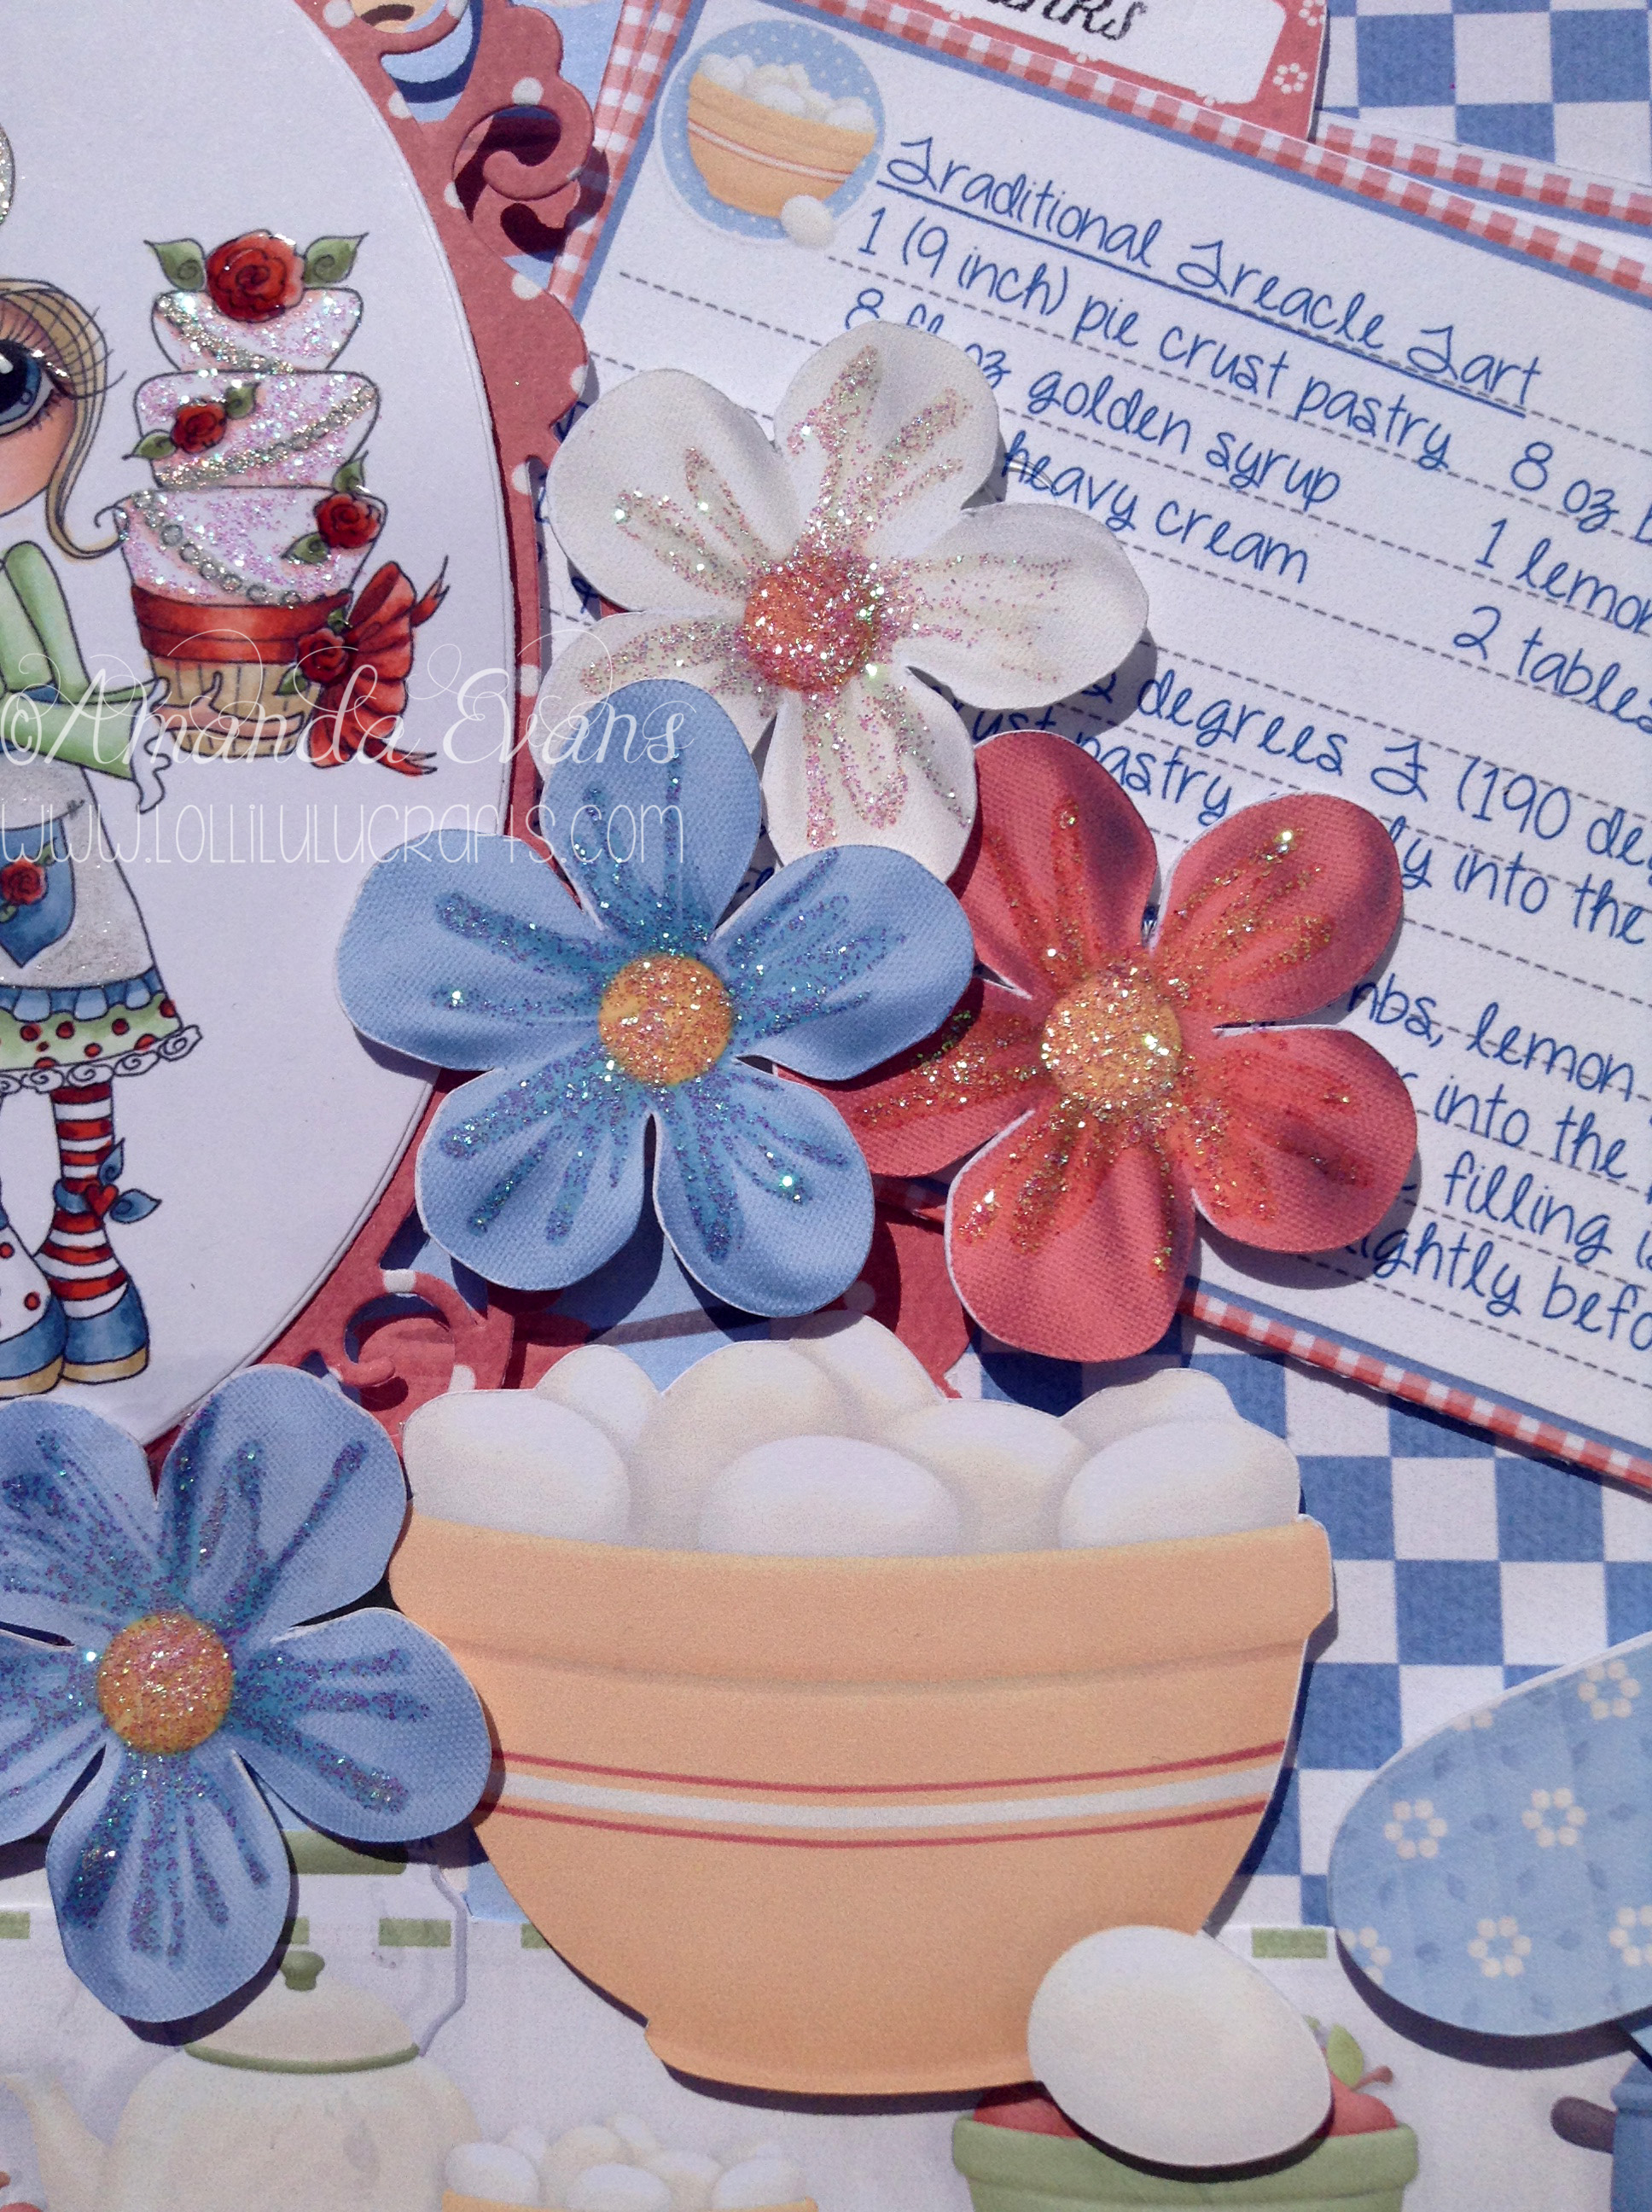
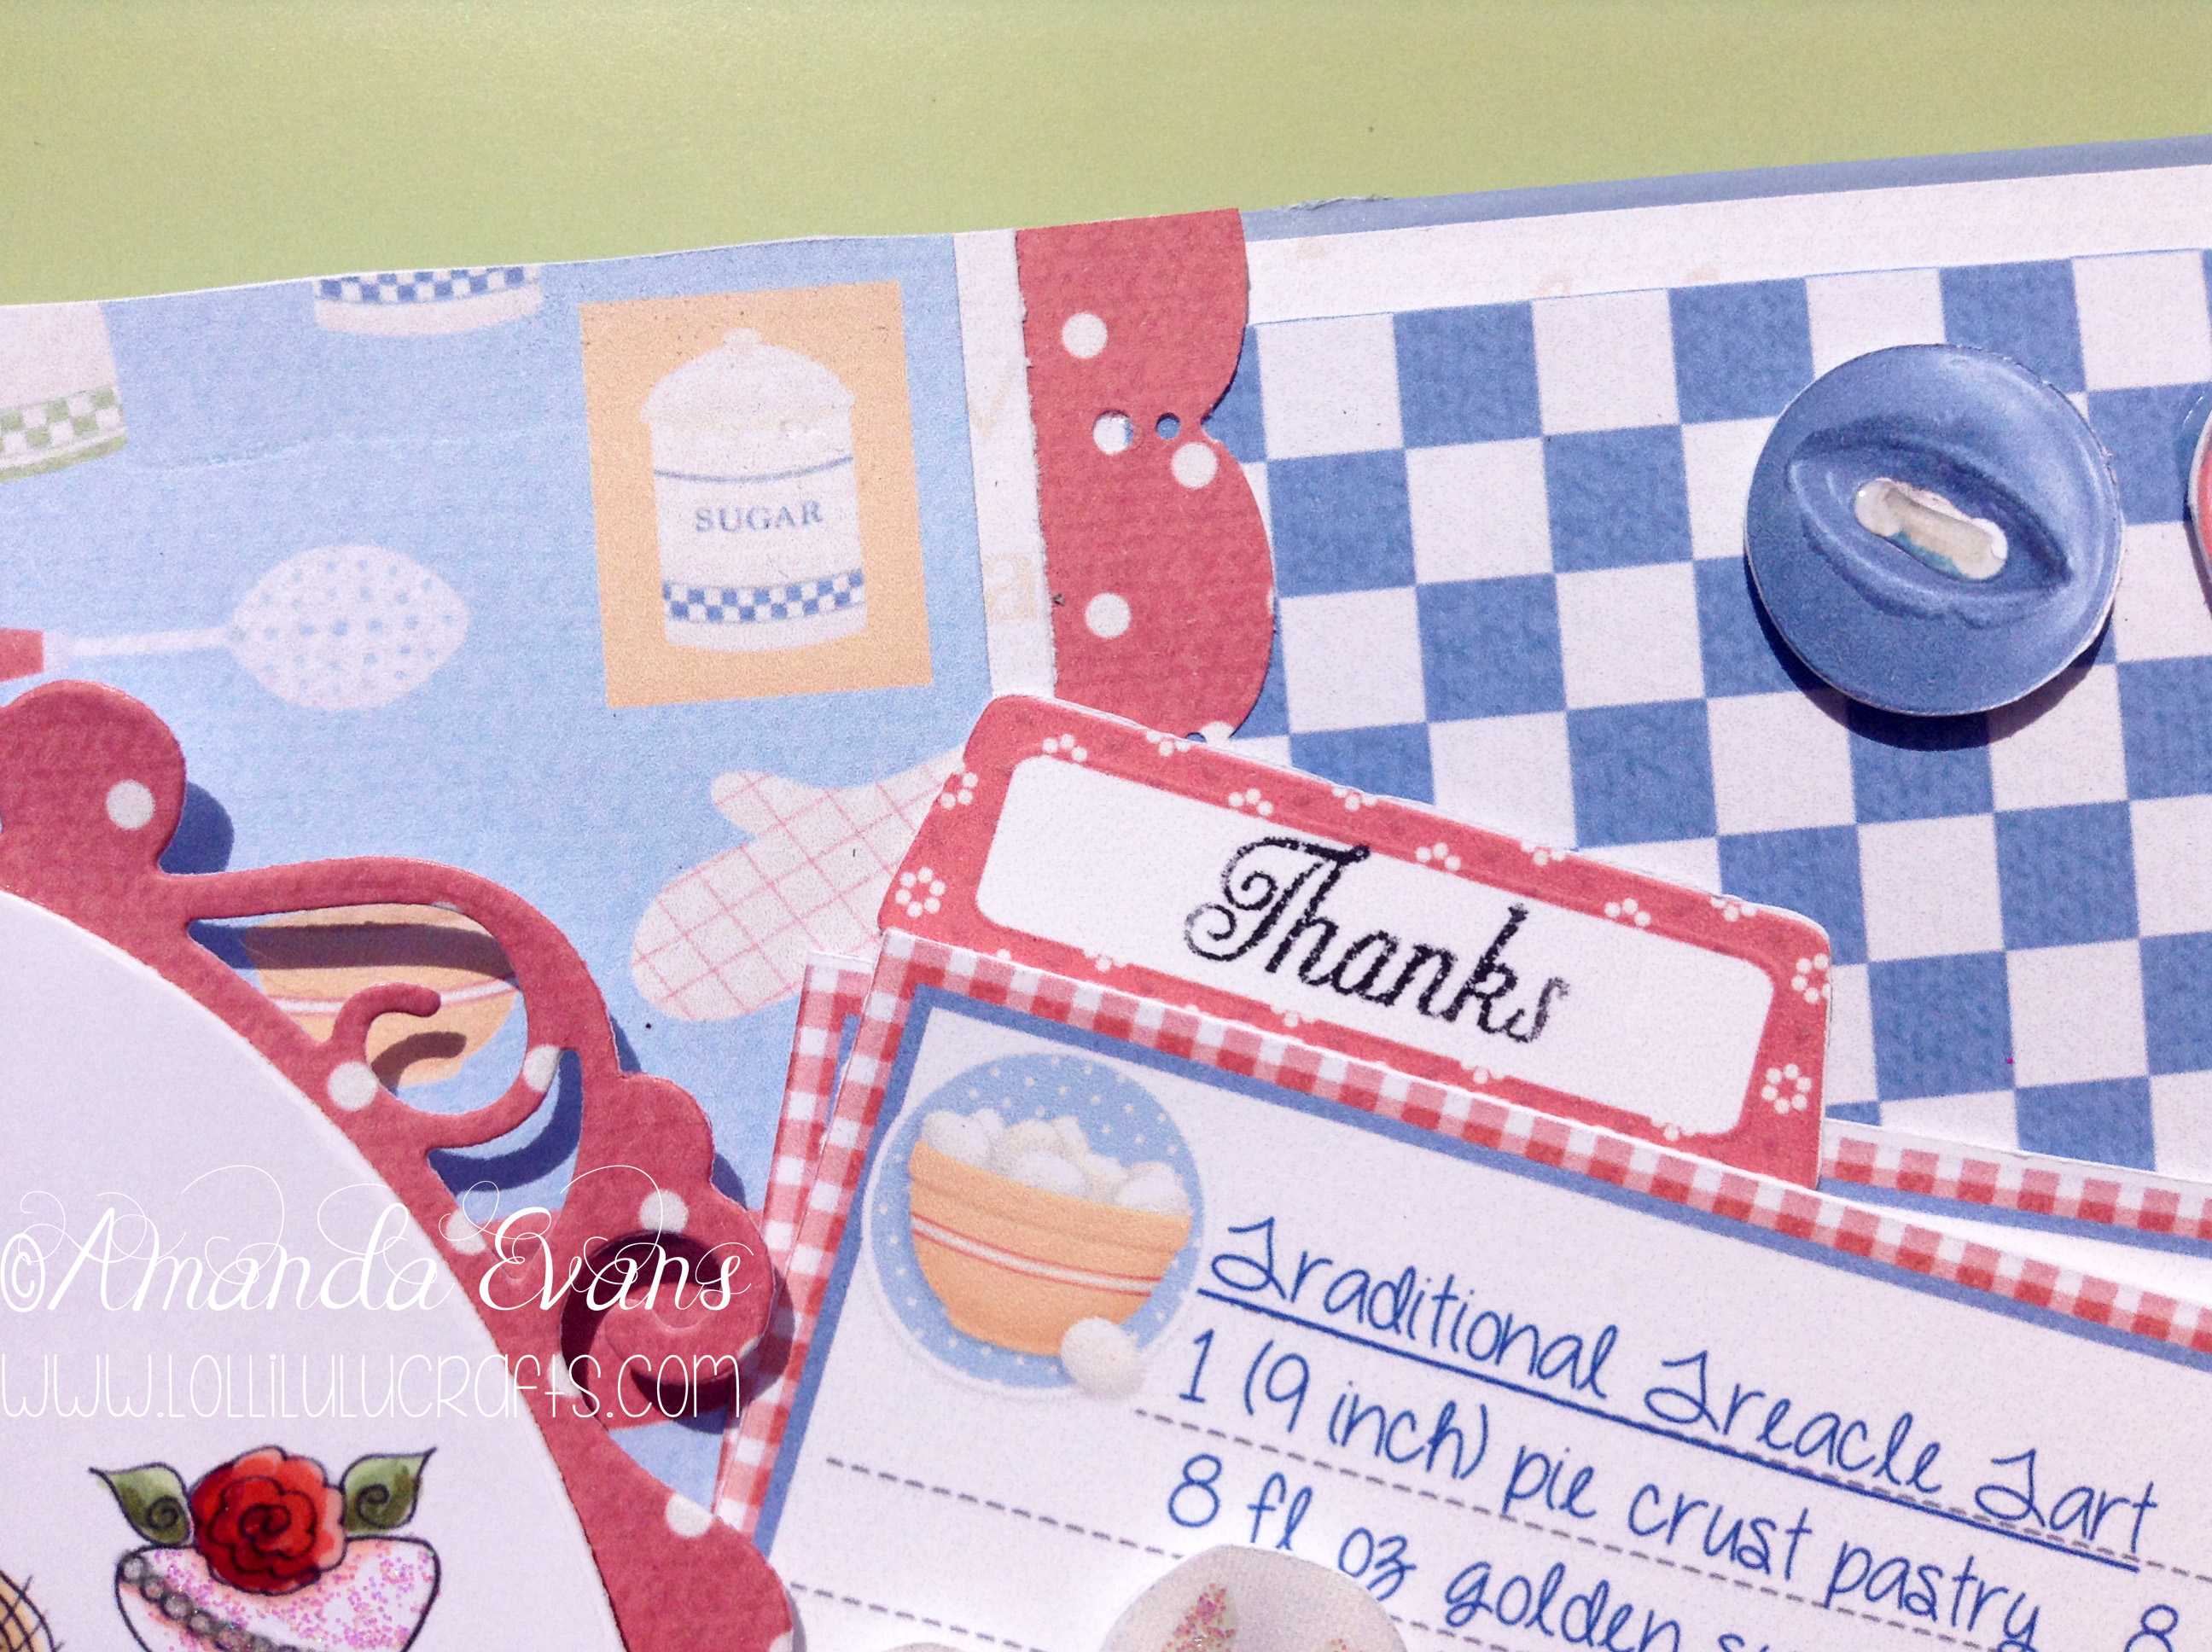
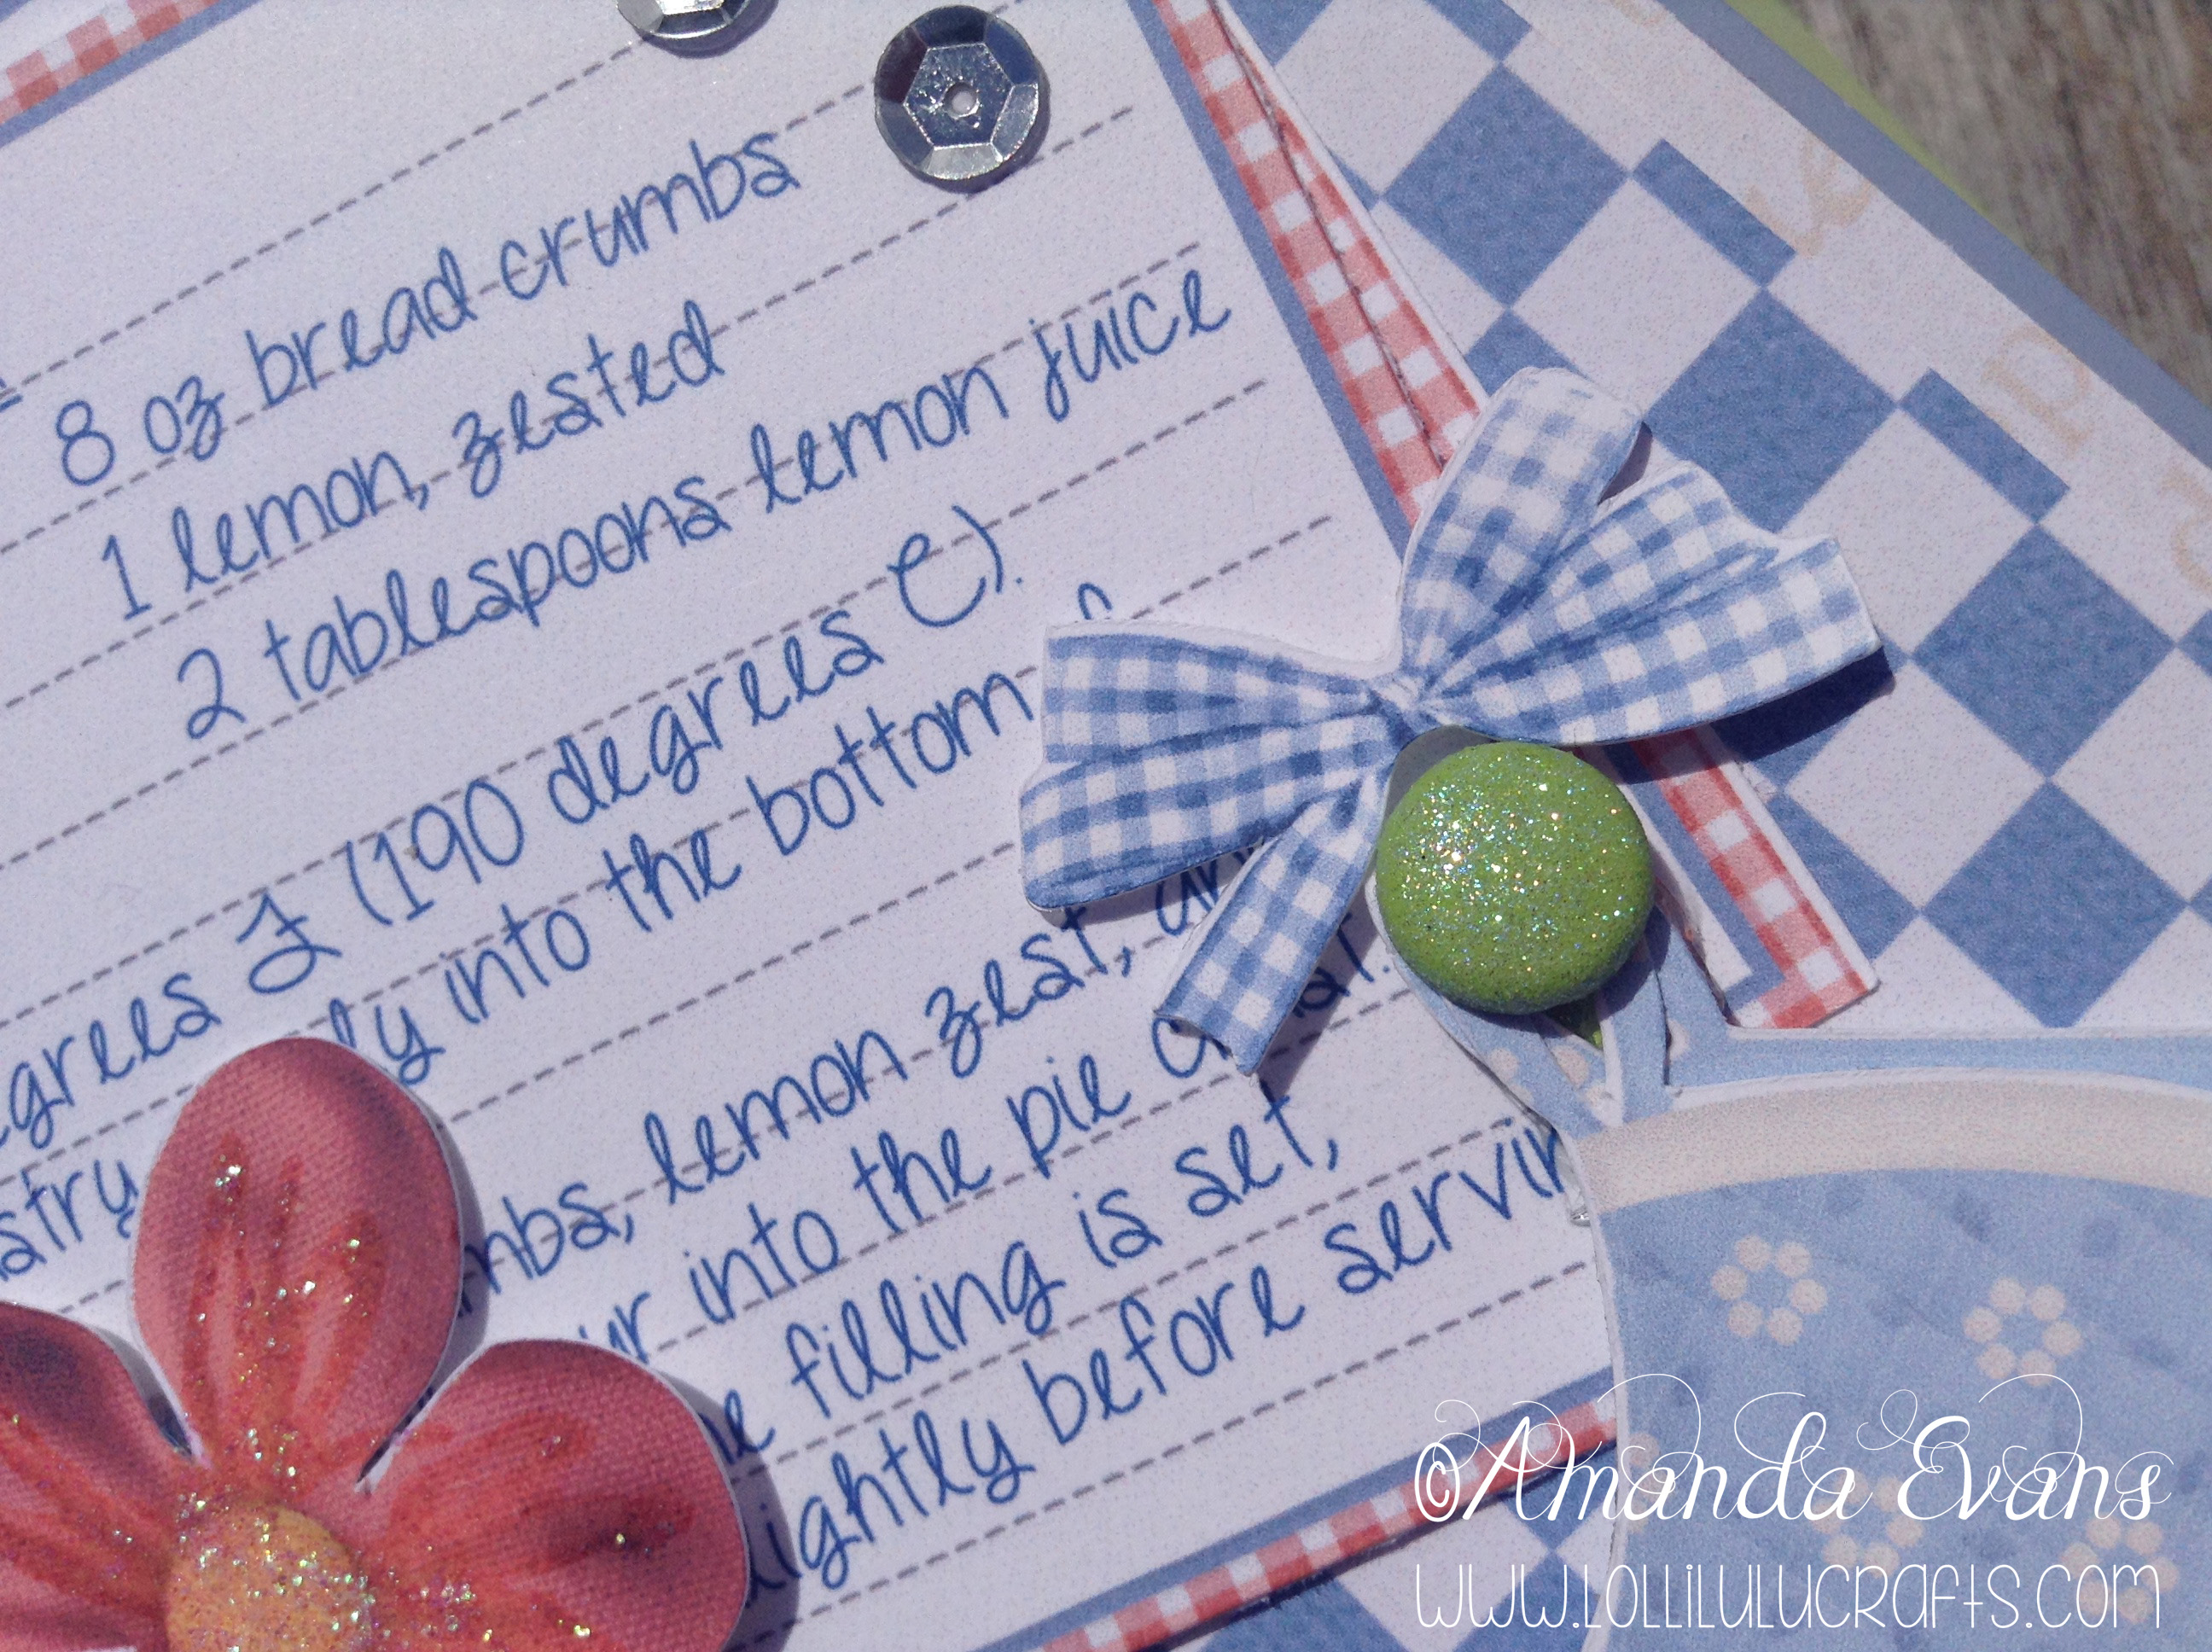
I then highlighted using Stickles, Glossy Accents and my clear Wink of Stella pen. I cut the image out using a Sizzix Oval die and then using a Tonic die cut out an Oval Frame from a piece of the Nitwits paper I had printed:
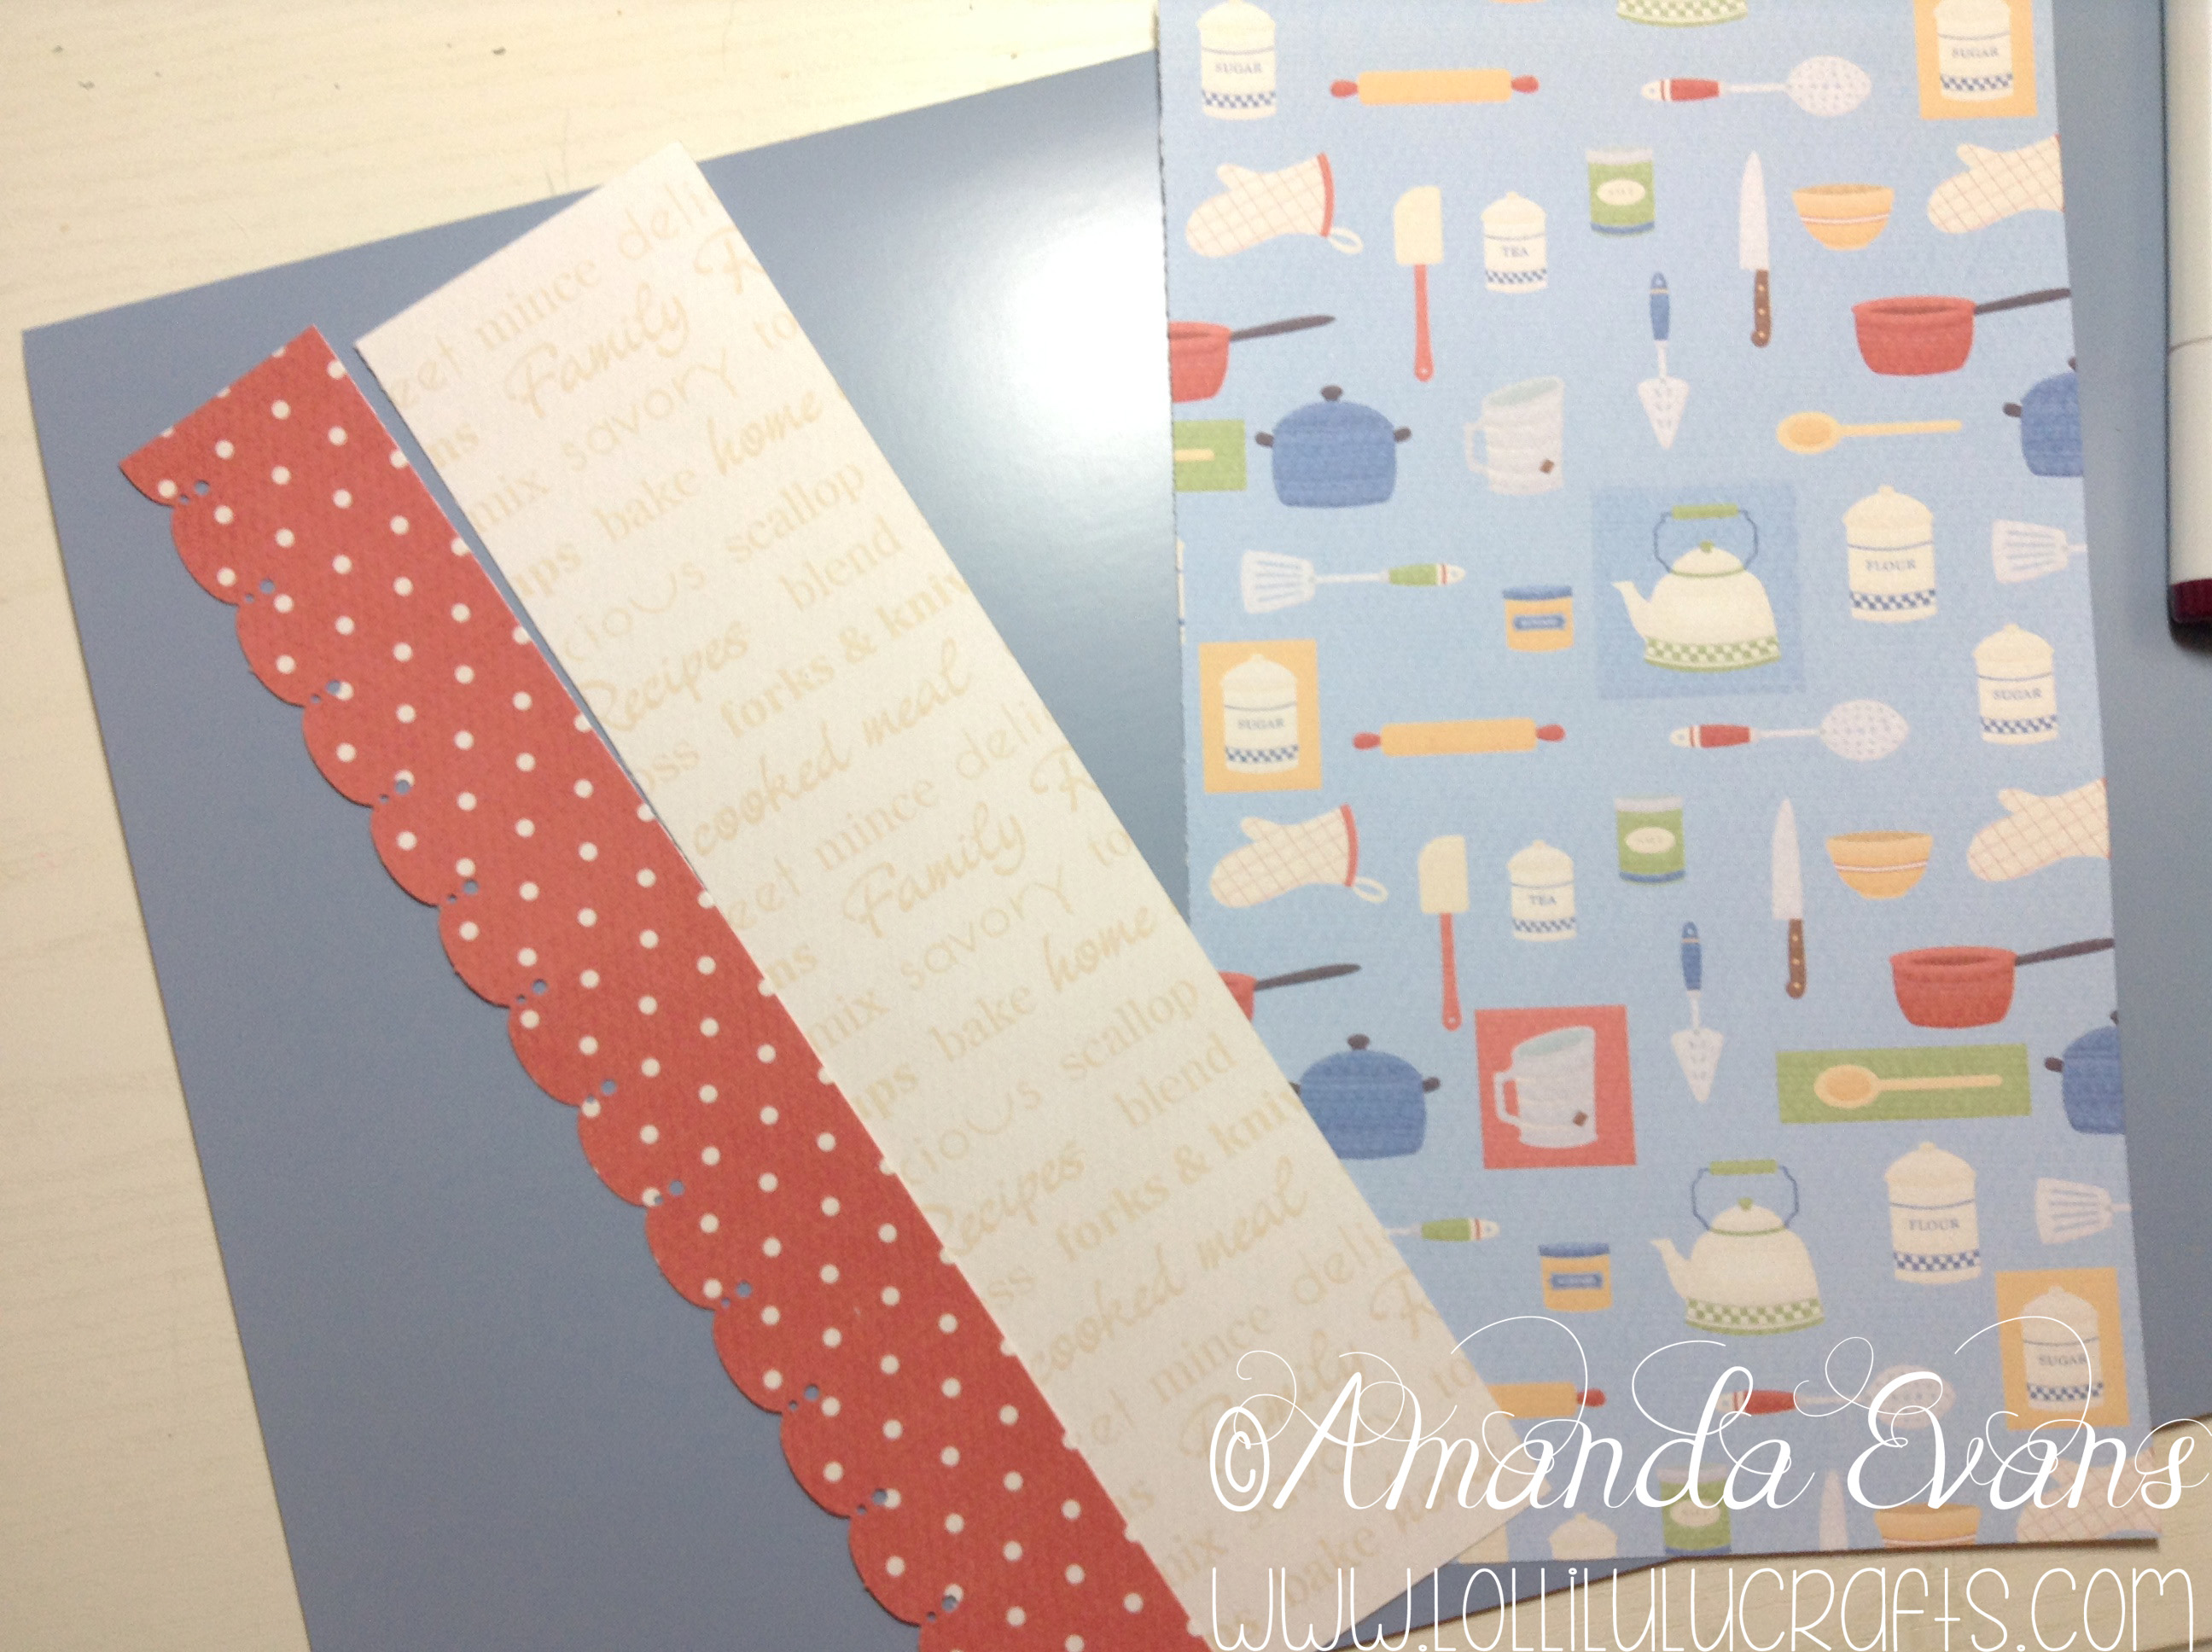
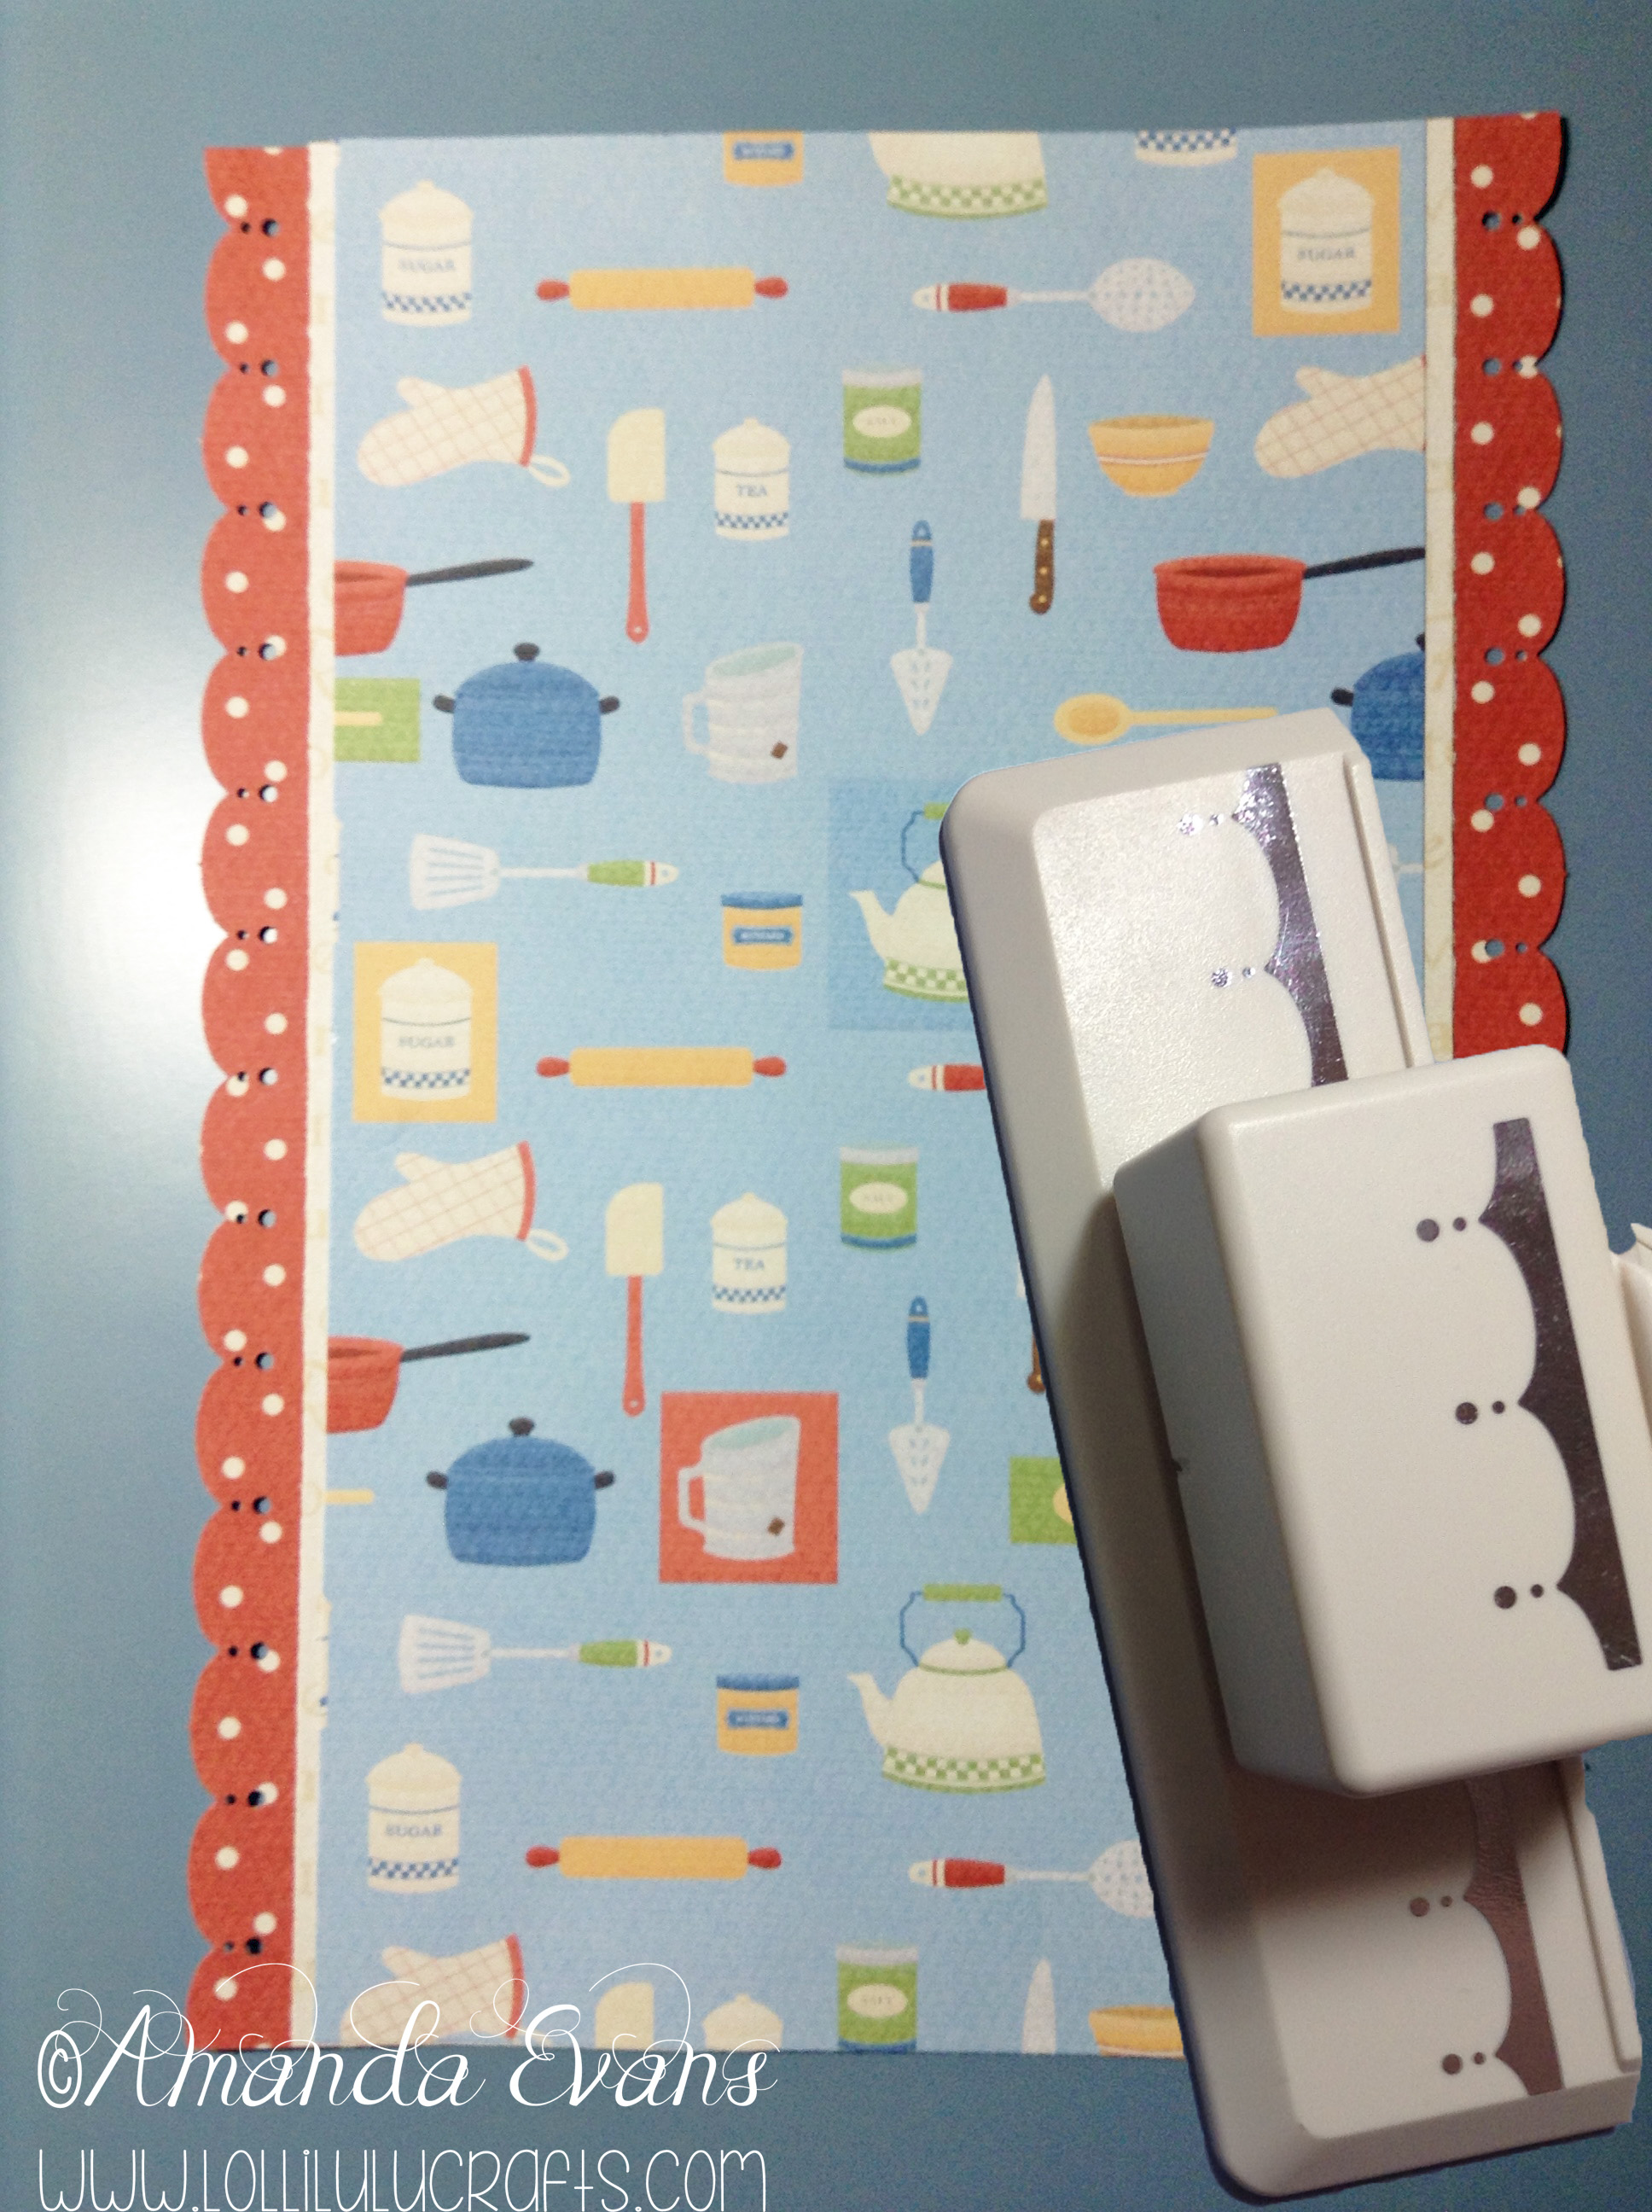
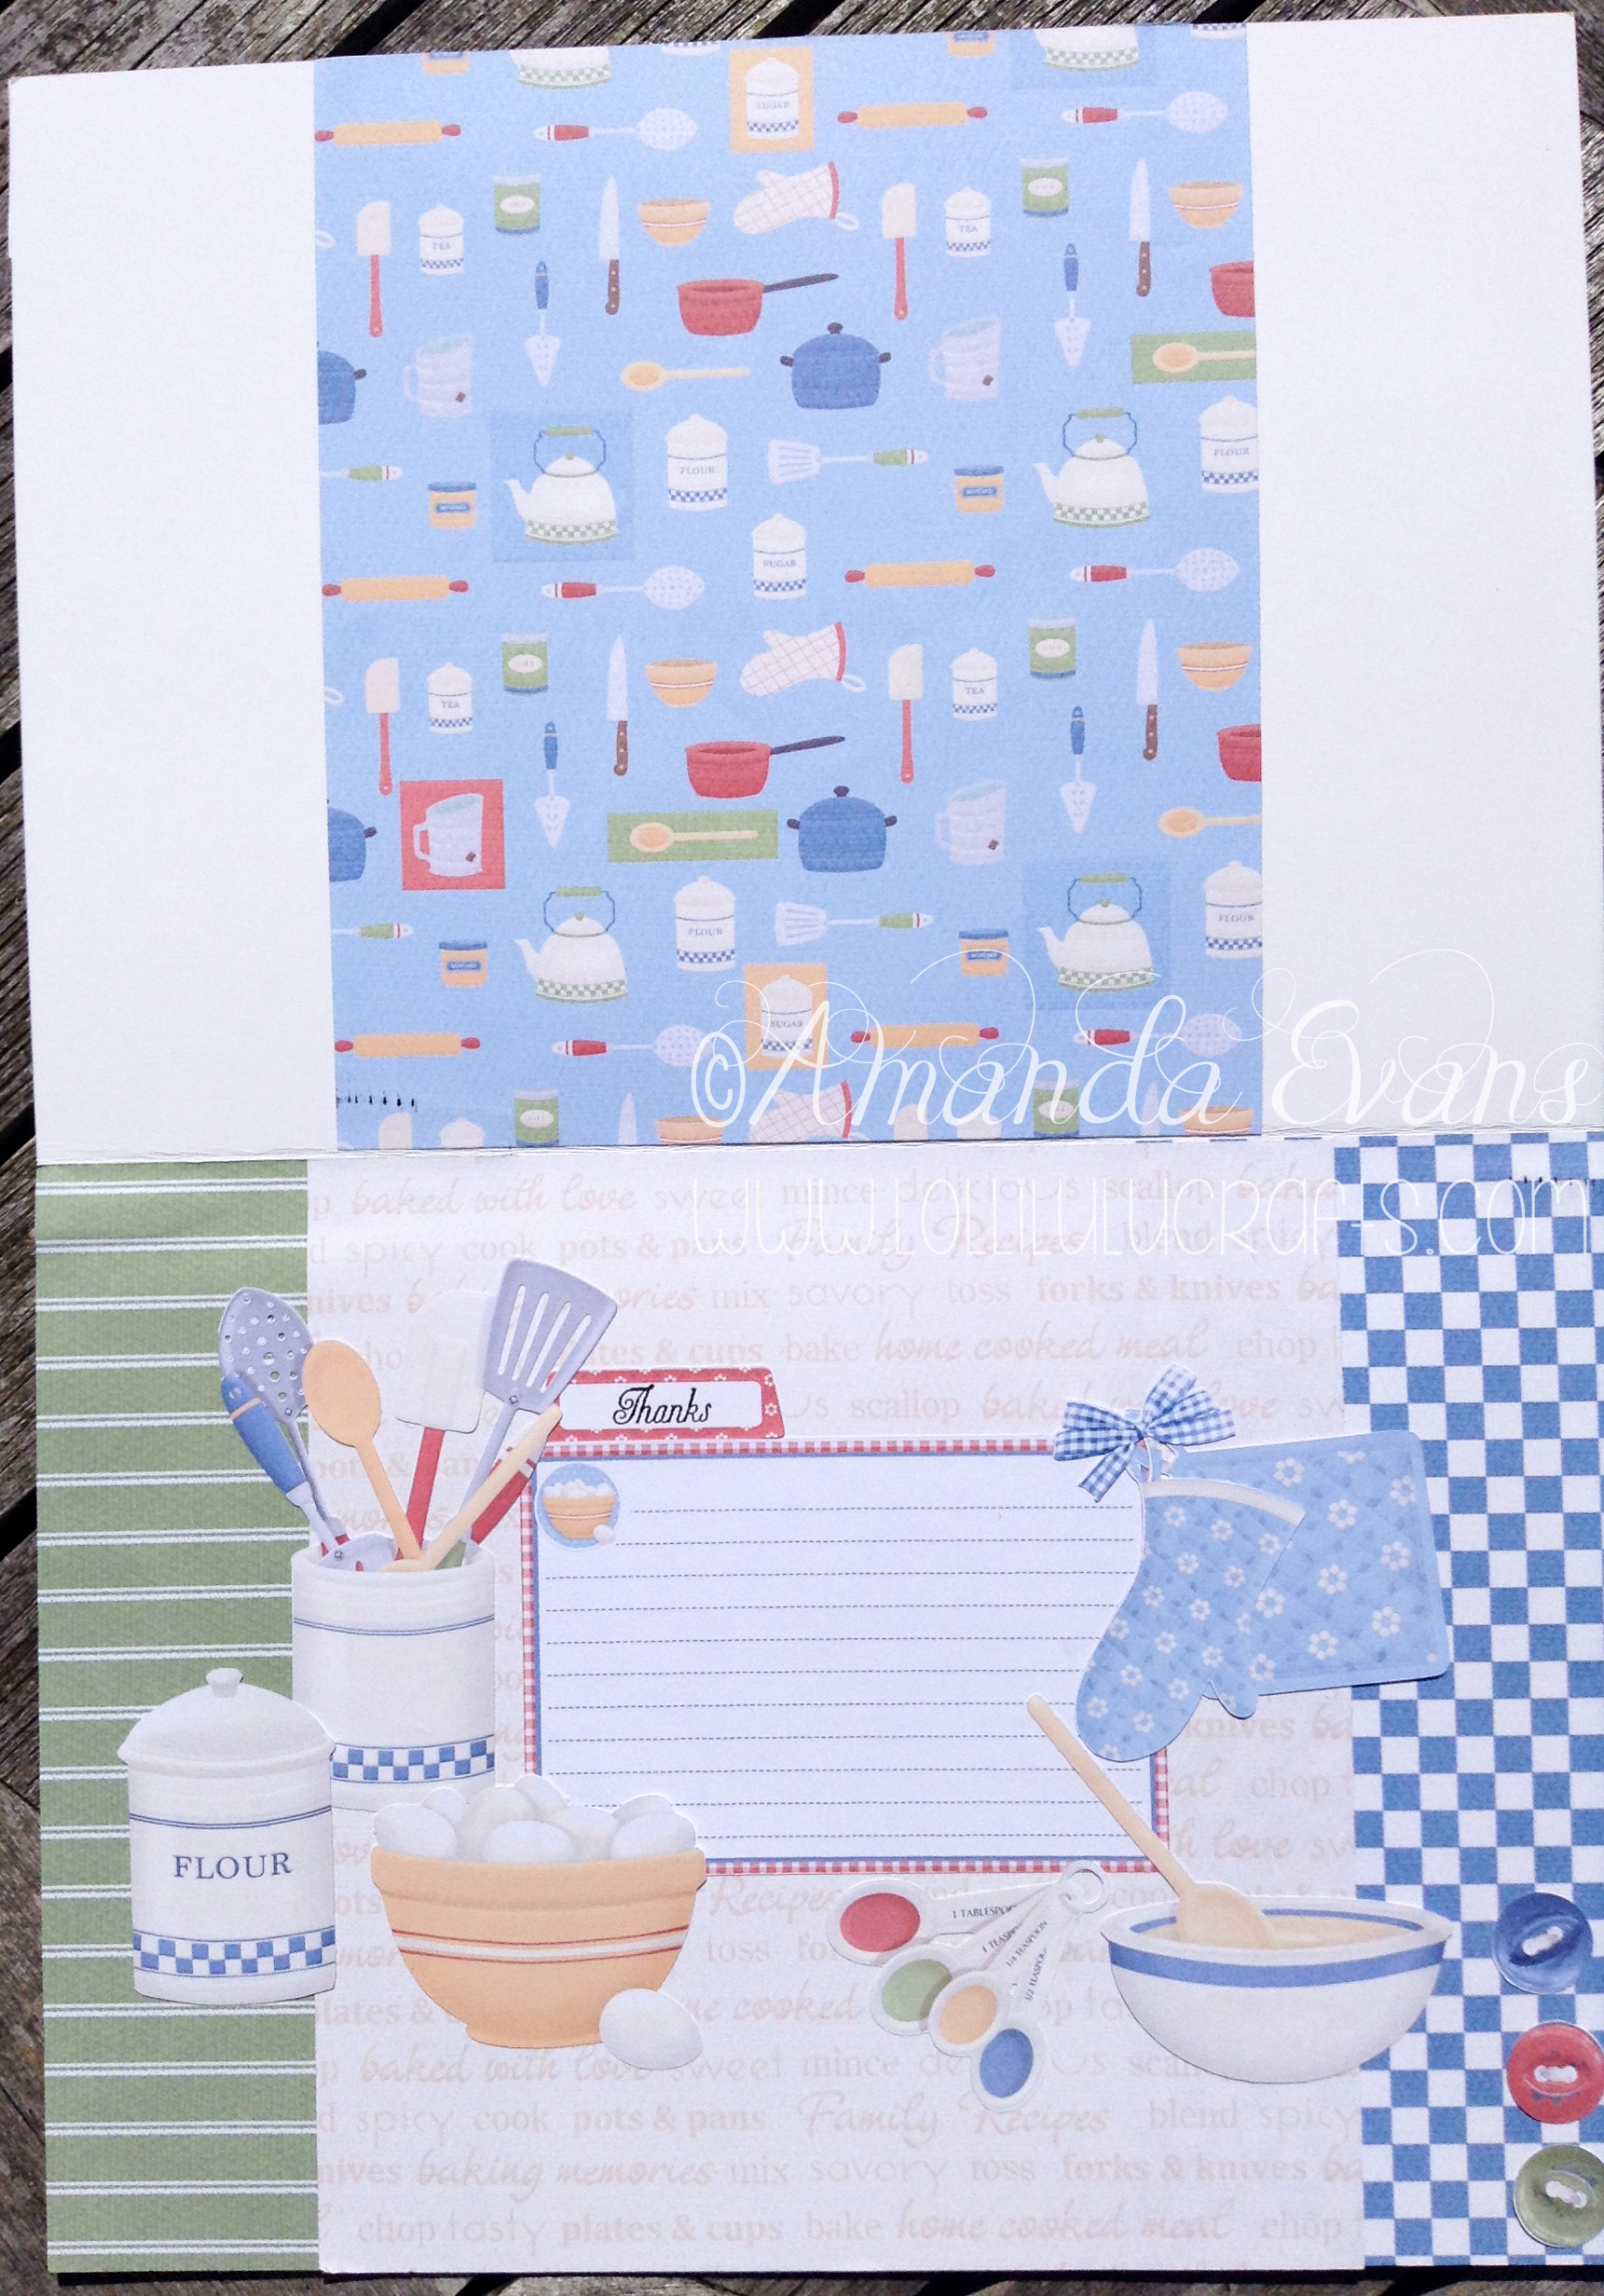
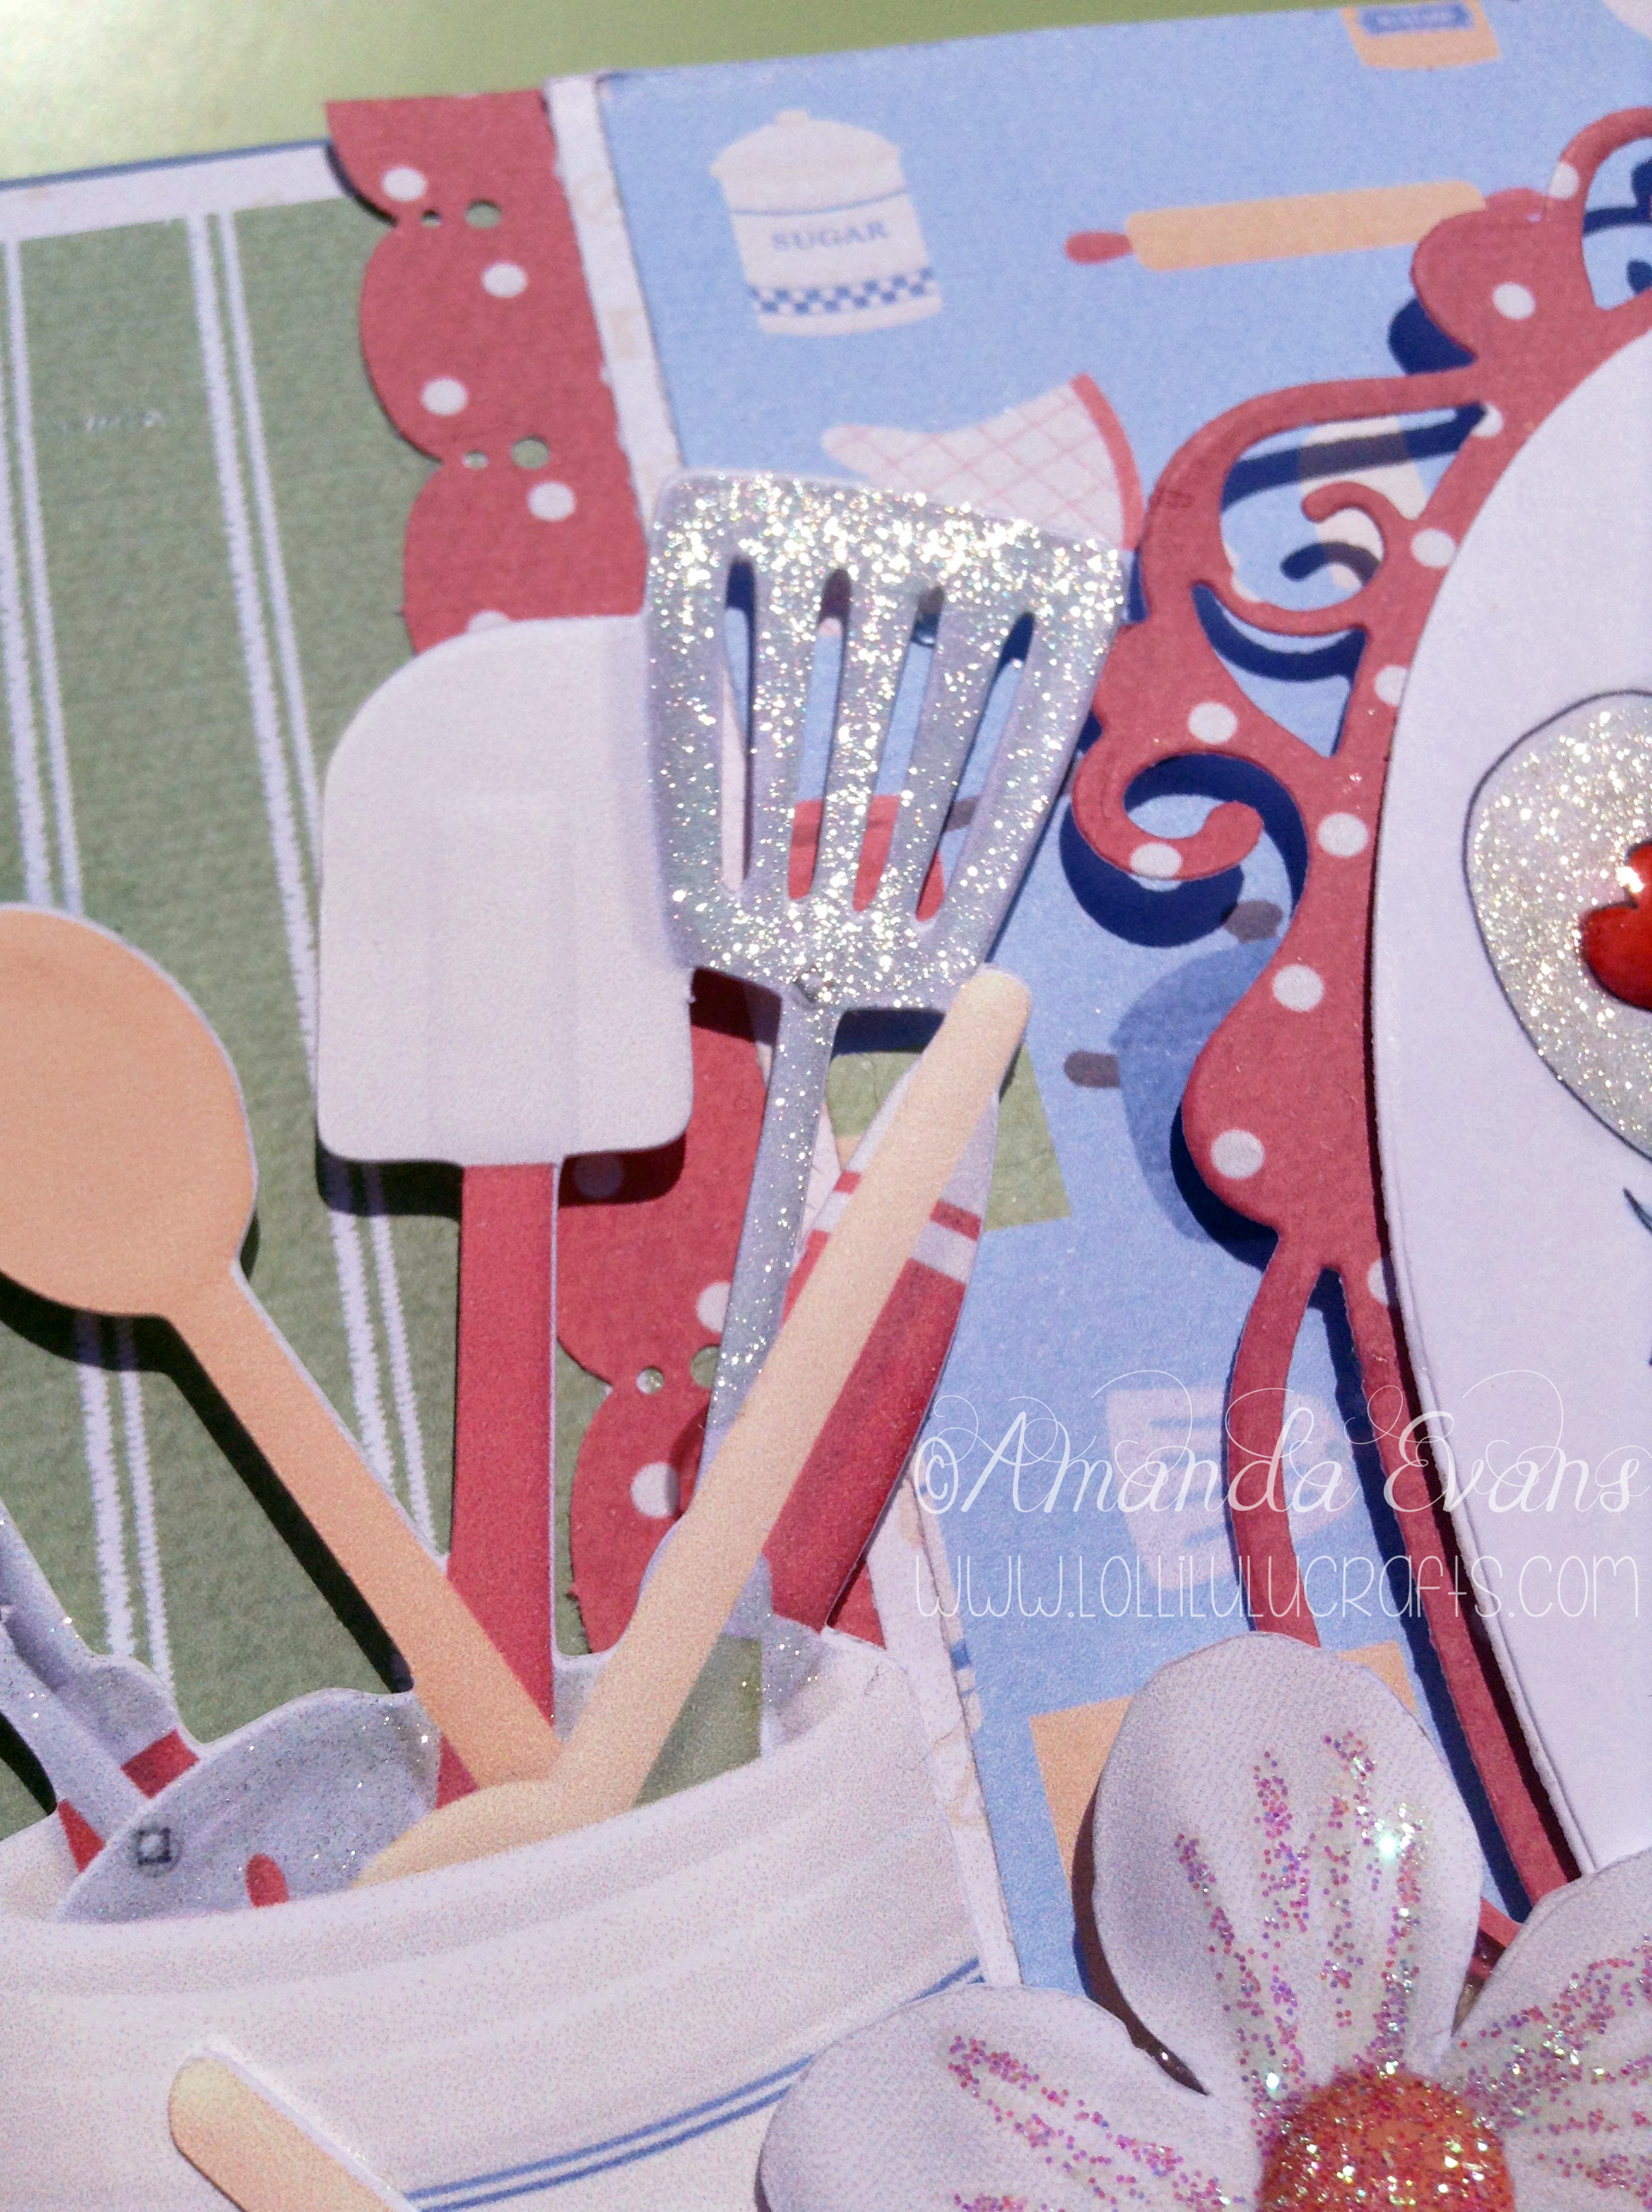
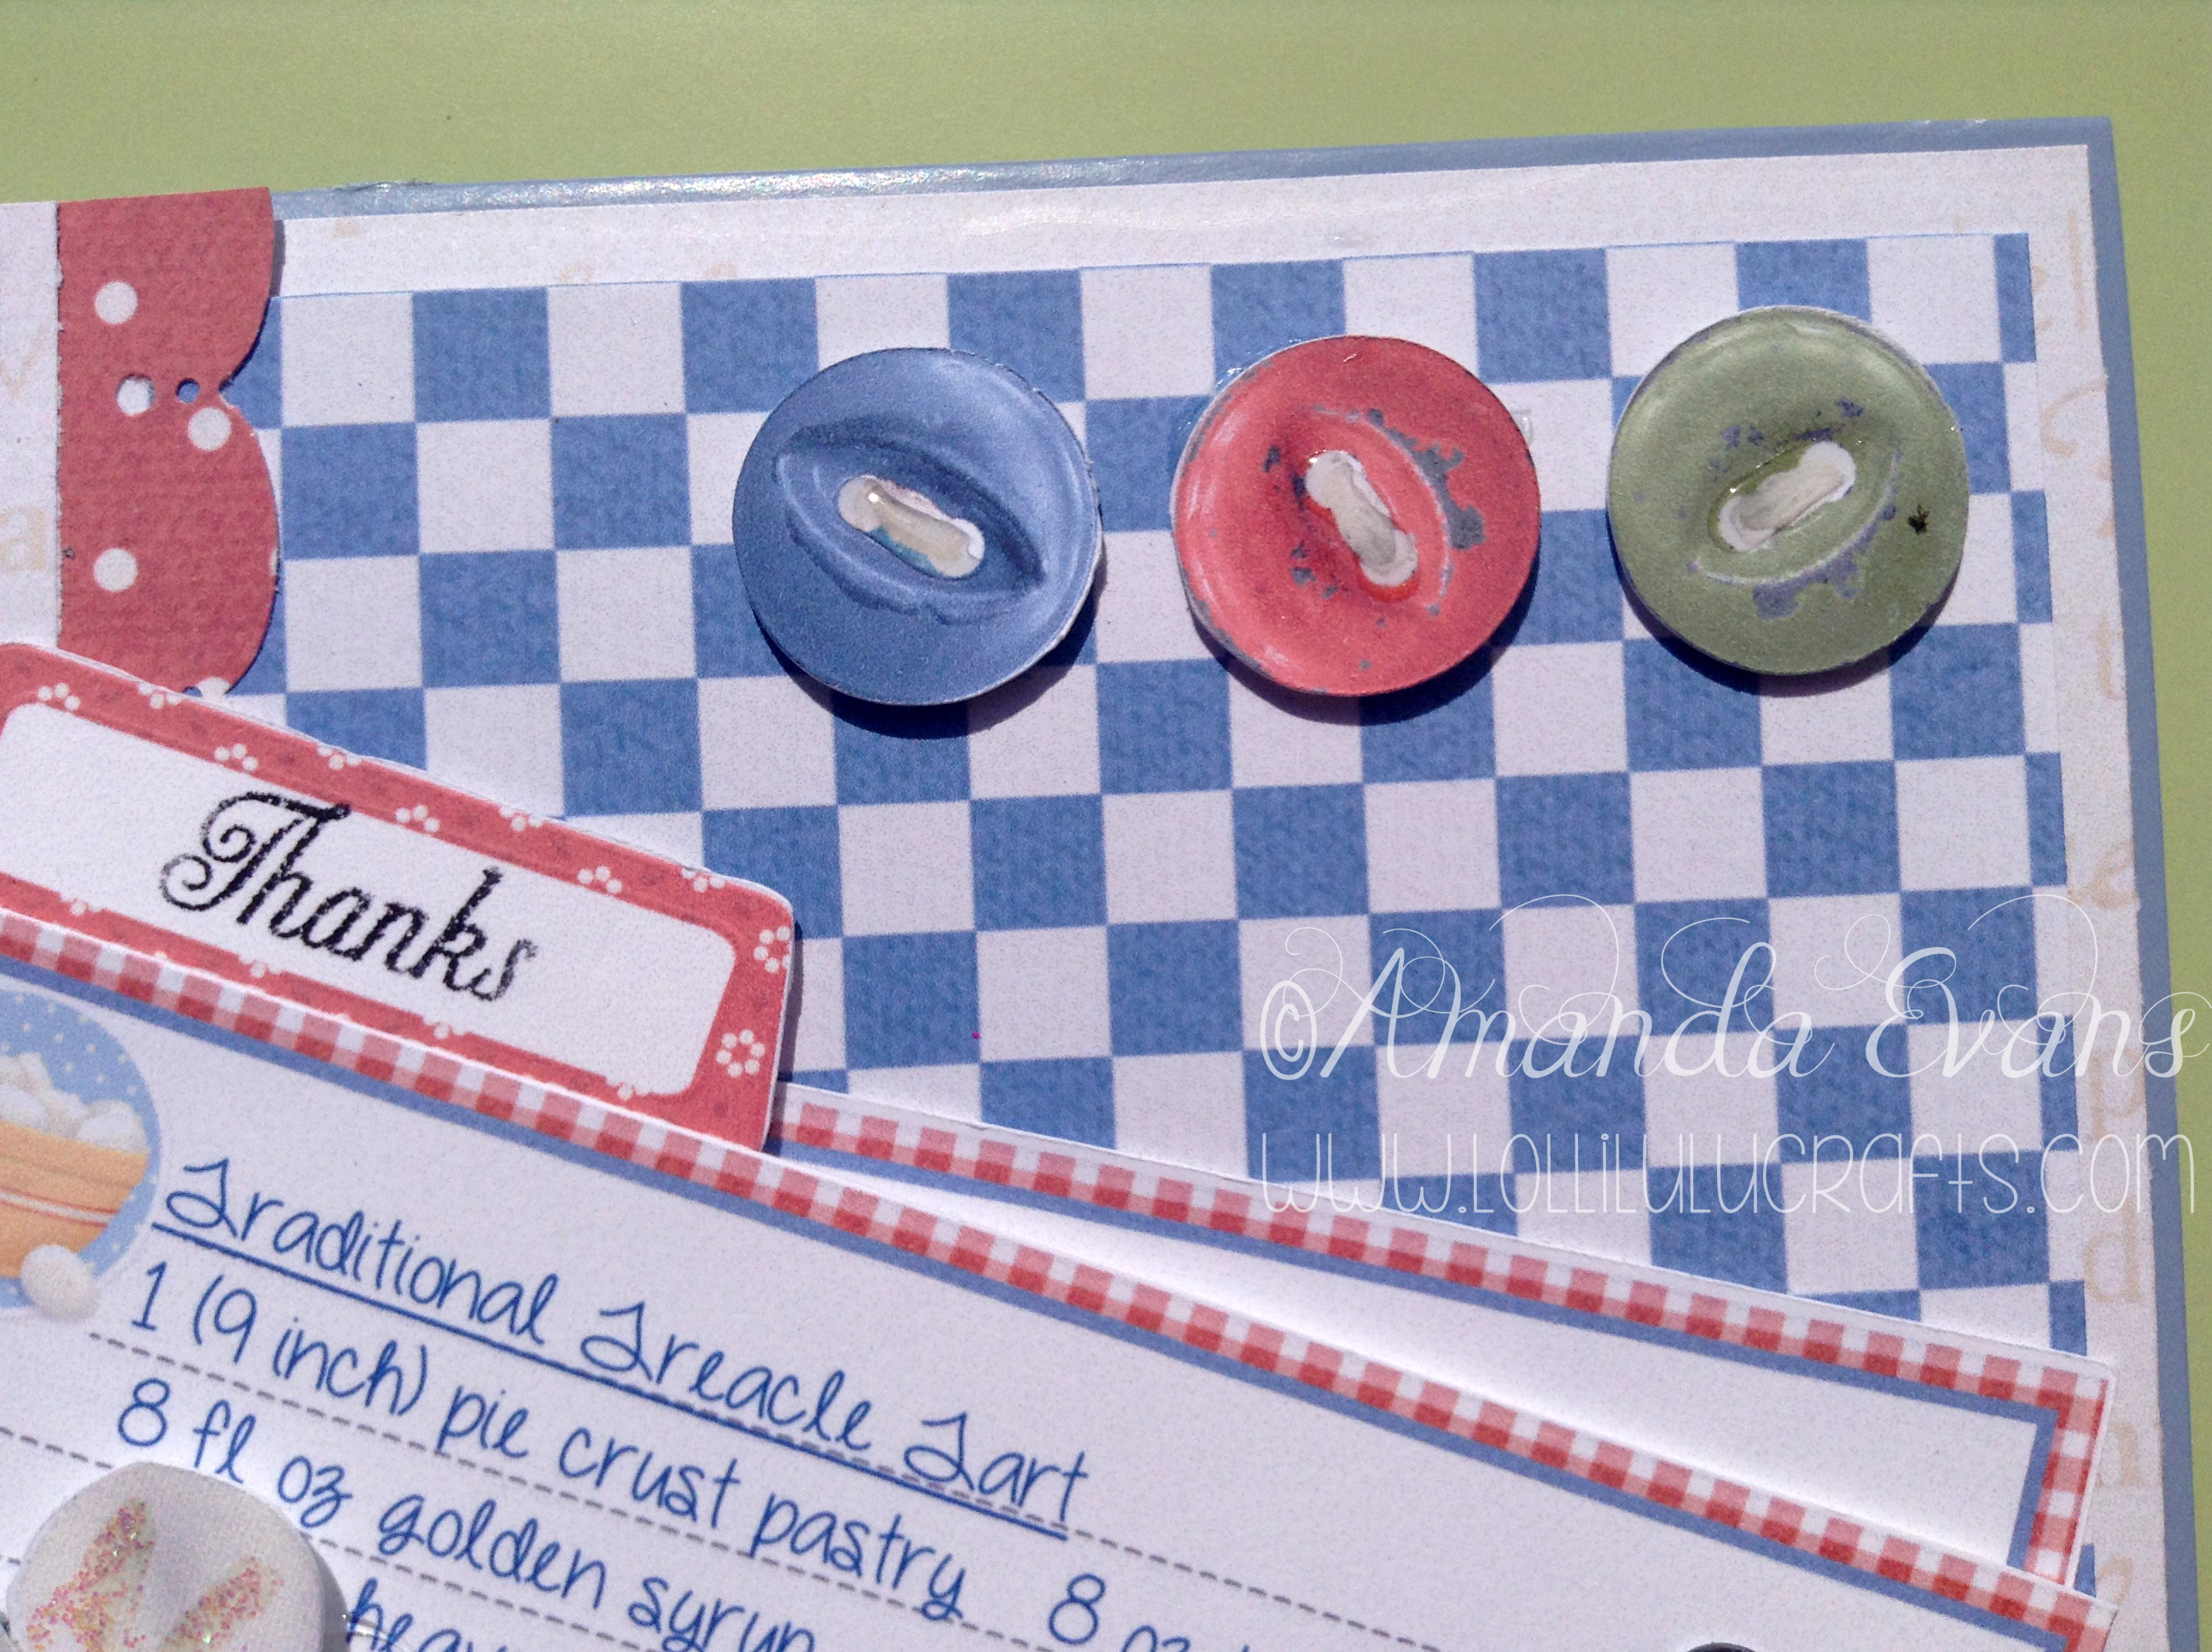
I then started putting out the Nitwits paper as described in the video and used the lovely Martha Stewart Punch to highlight the sides of the centre layer of paper:
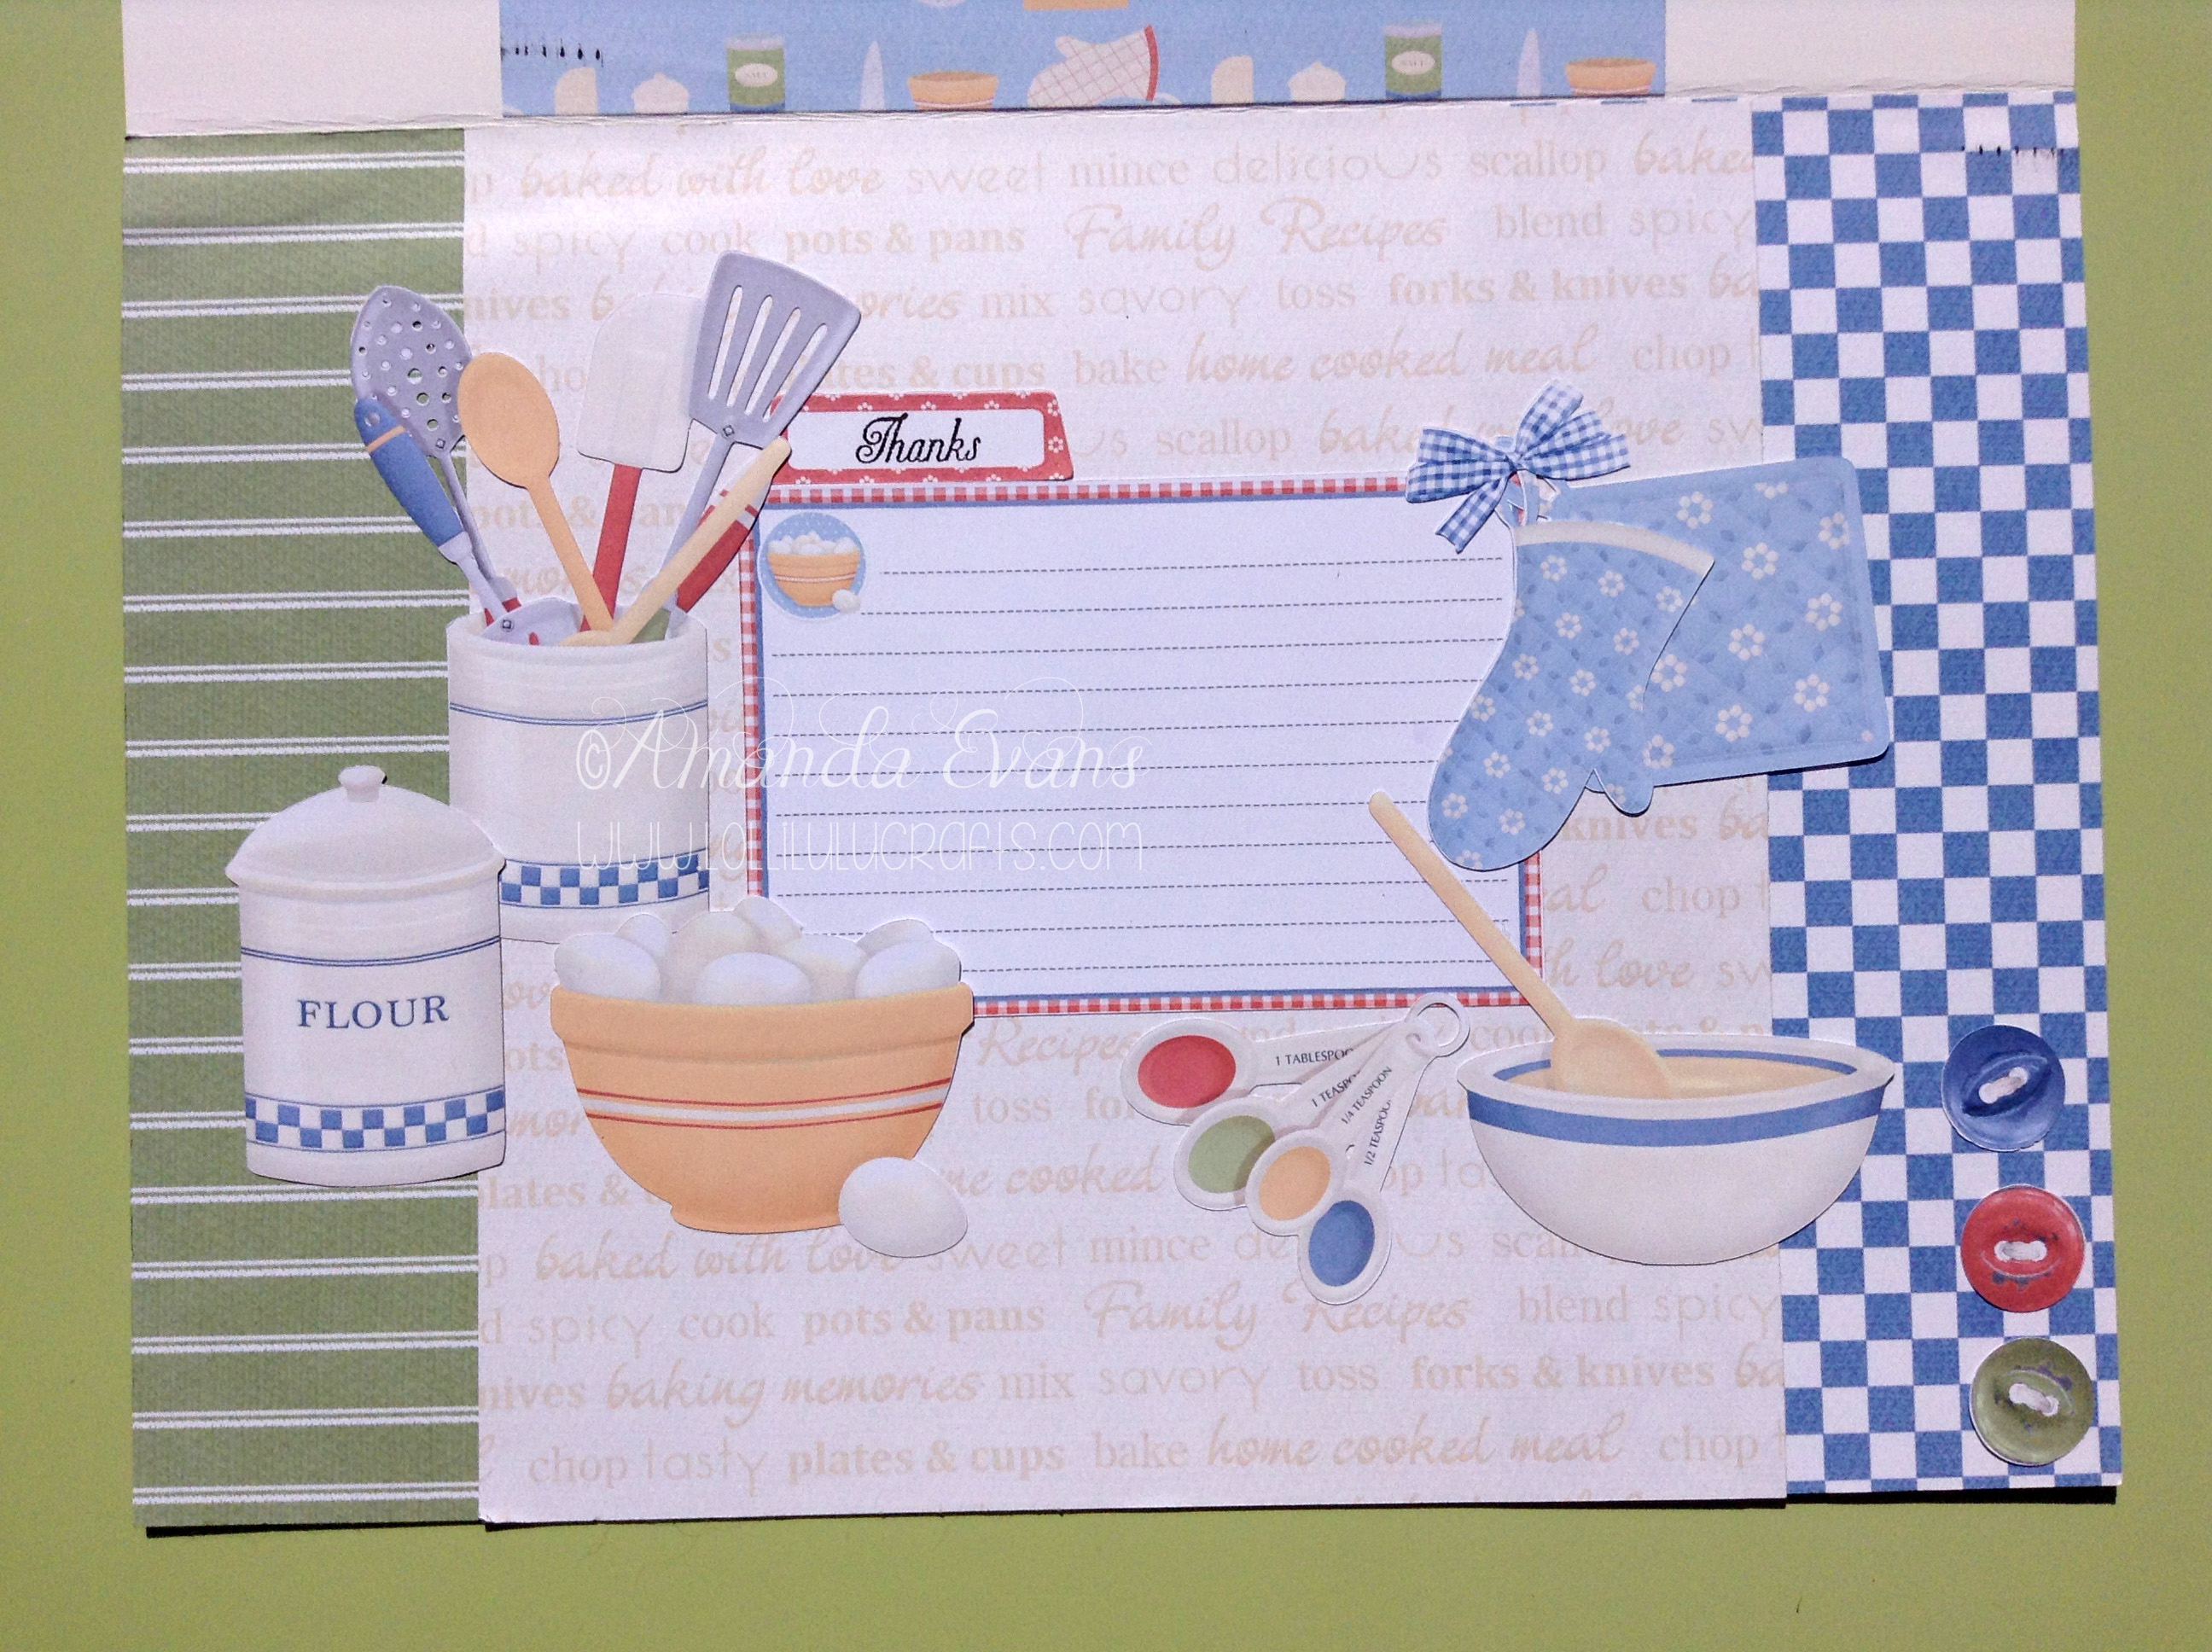
After take some time to work out the exact position of the paper I stuck these layers down flat ready to add all the elements that I had cut on my silhouette:
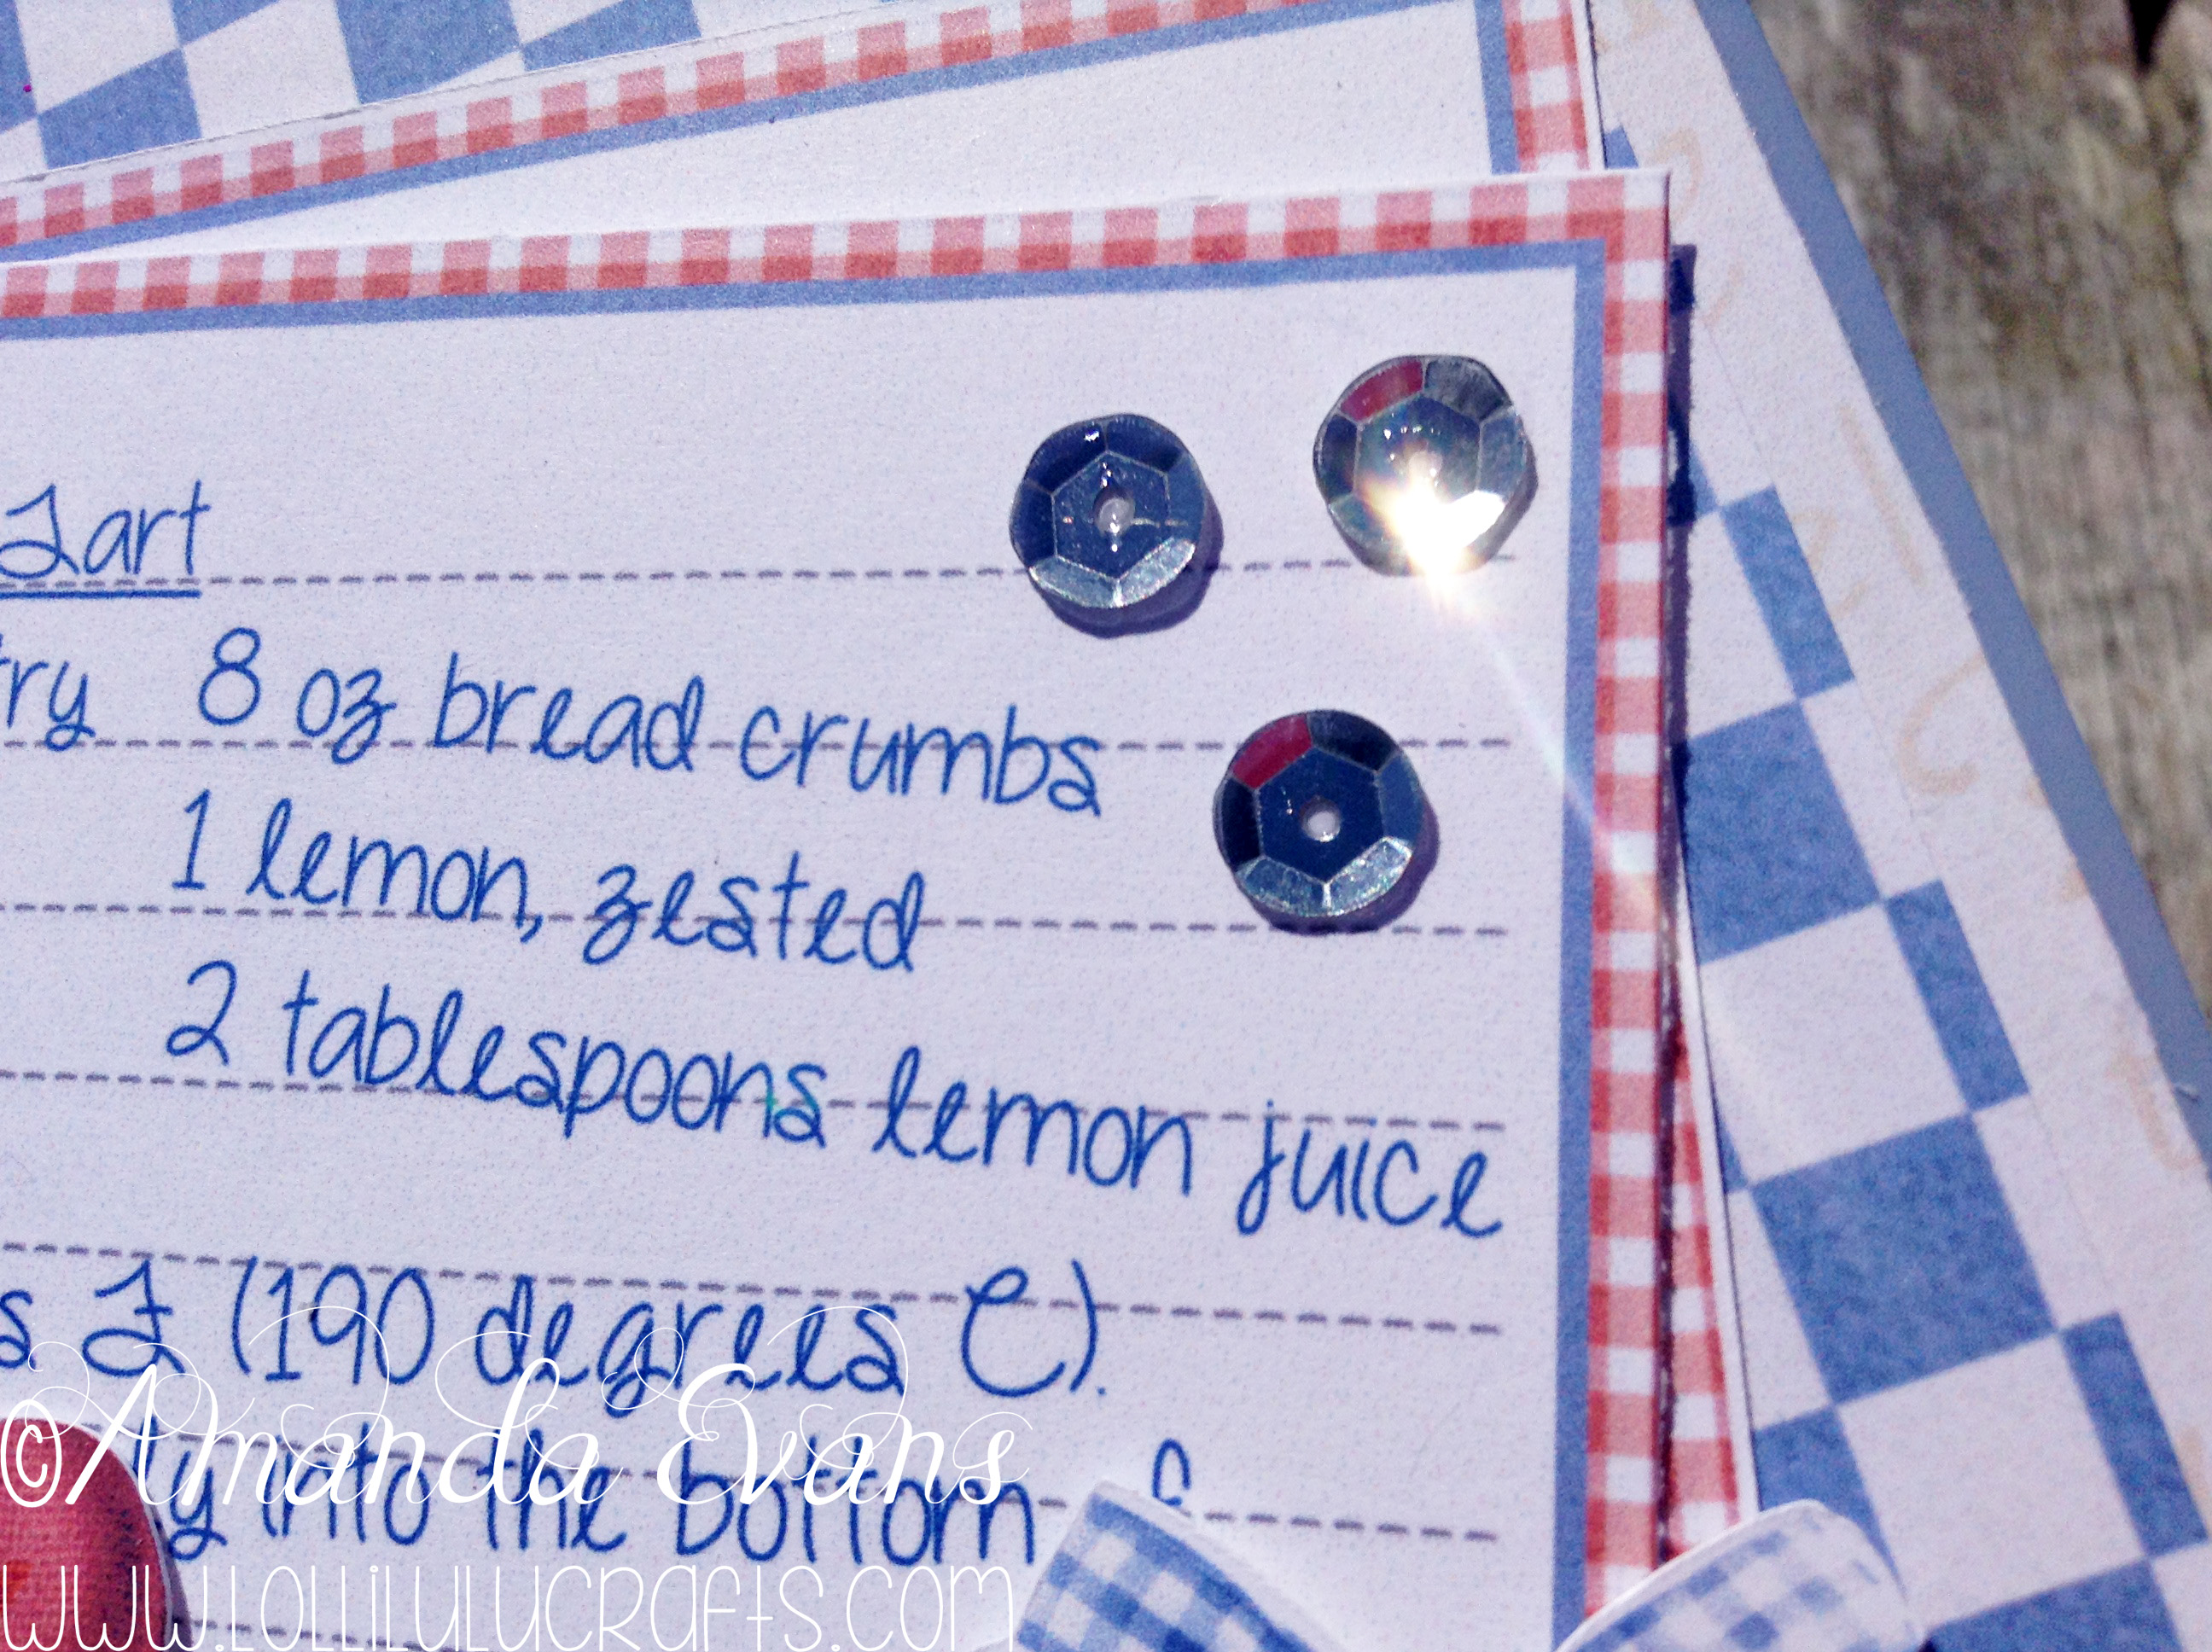
So here are some close ups of the finished card and I hope you think the finished card is fab and that is proves the benefit of understanding the print n cut feature. But it is important to remember that you can use this feature for simple cards as well as a way to make your crafting easier.

I hope you have enjoyed and below you will find all the previous Silhouette Seminars if you want to catch up. Have a great craft day,

Previous SS:-
The other Print n Cut video I did that goes into a lot of detail about the high pass filter etc etc:

Amanda this was quite an involved project. Lots of goodies and doo dads that I just love. A lot of details and the whole card has a very rich texture and face on it. so many things to look at and admire. Love the little girl and your handling of her. As a matter of fact the whole card rocks. Someone with this machine will really learn a lot of how to use the silhouette. this is a great lesson for them to have and save for future reference. So much to take in that it will take some time to absorb it all. Great teaching lesson Amanda..You’re really going like a bomb. Fantastic and very interesting. Great lesson too. Impressive and a lot of work. applaud your undertaking.
pat
Thank my lovely Pat and yes in a way it was involved but if you just take the one little bit that the lesson was actually about it was just taking that and doing it many times over til I had all the pieces to put on the card. All I wanted to show here was that this is another kind of simple one layer cut. Thanks as always for your lovely comments x