


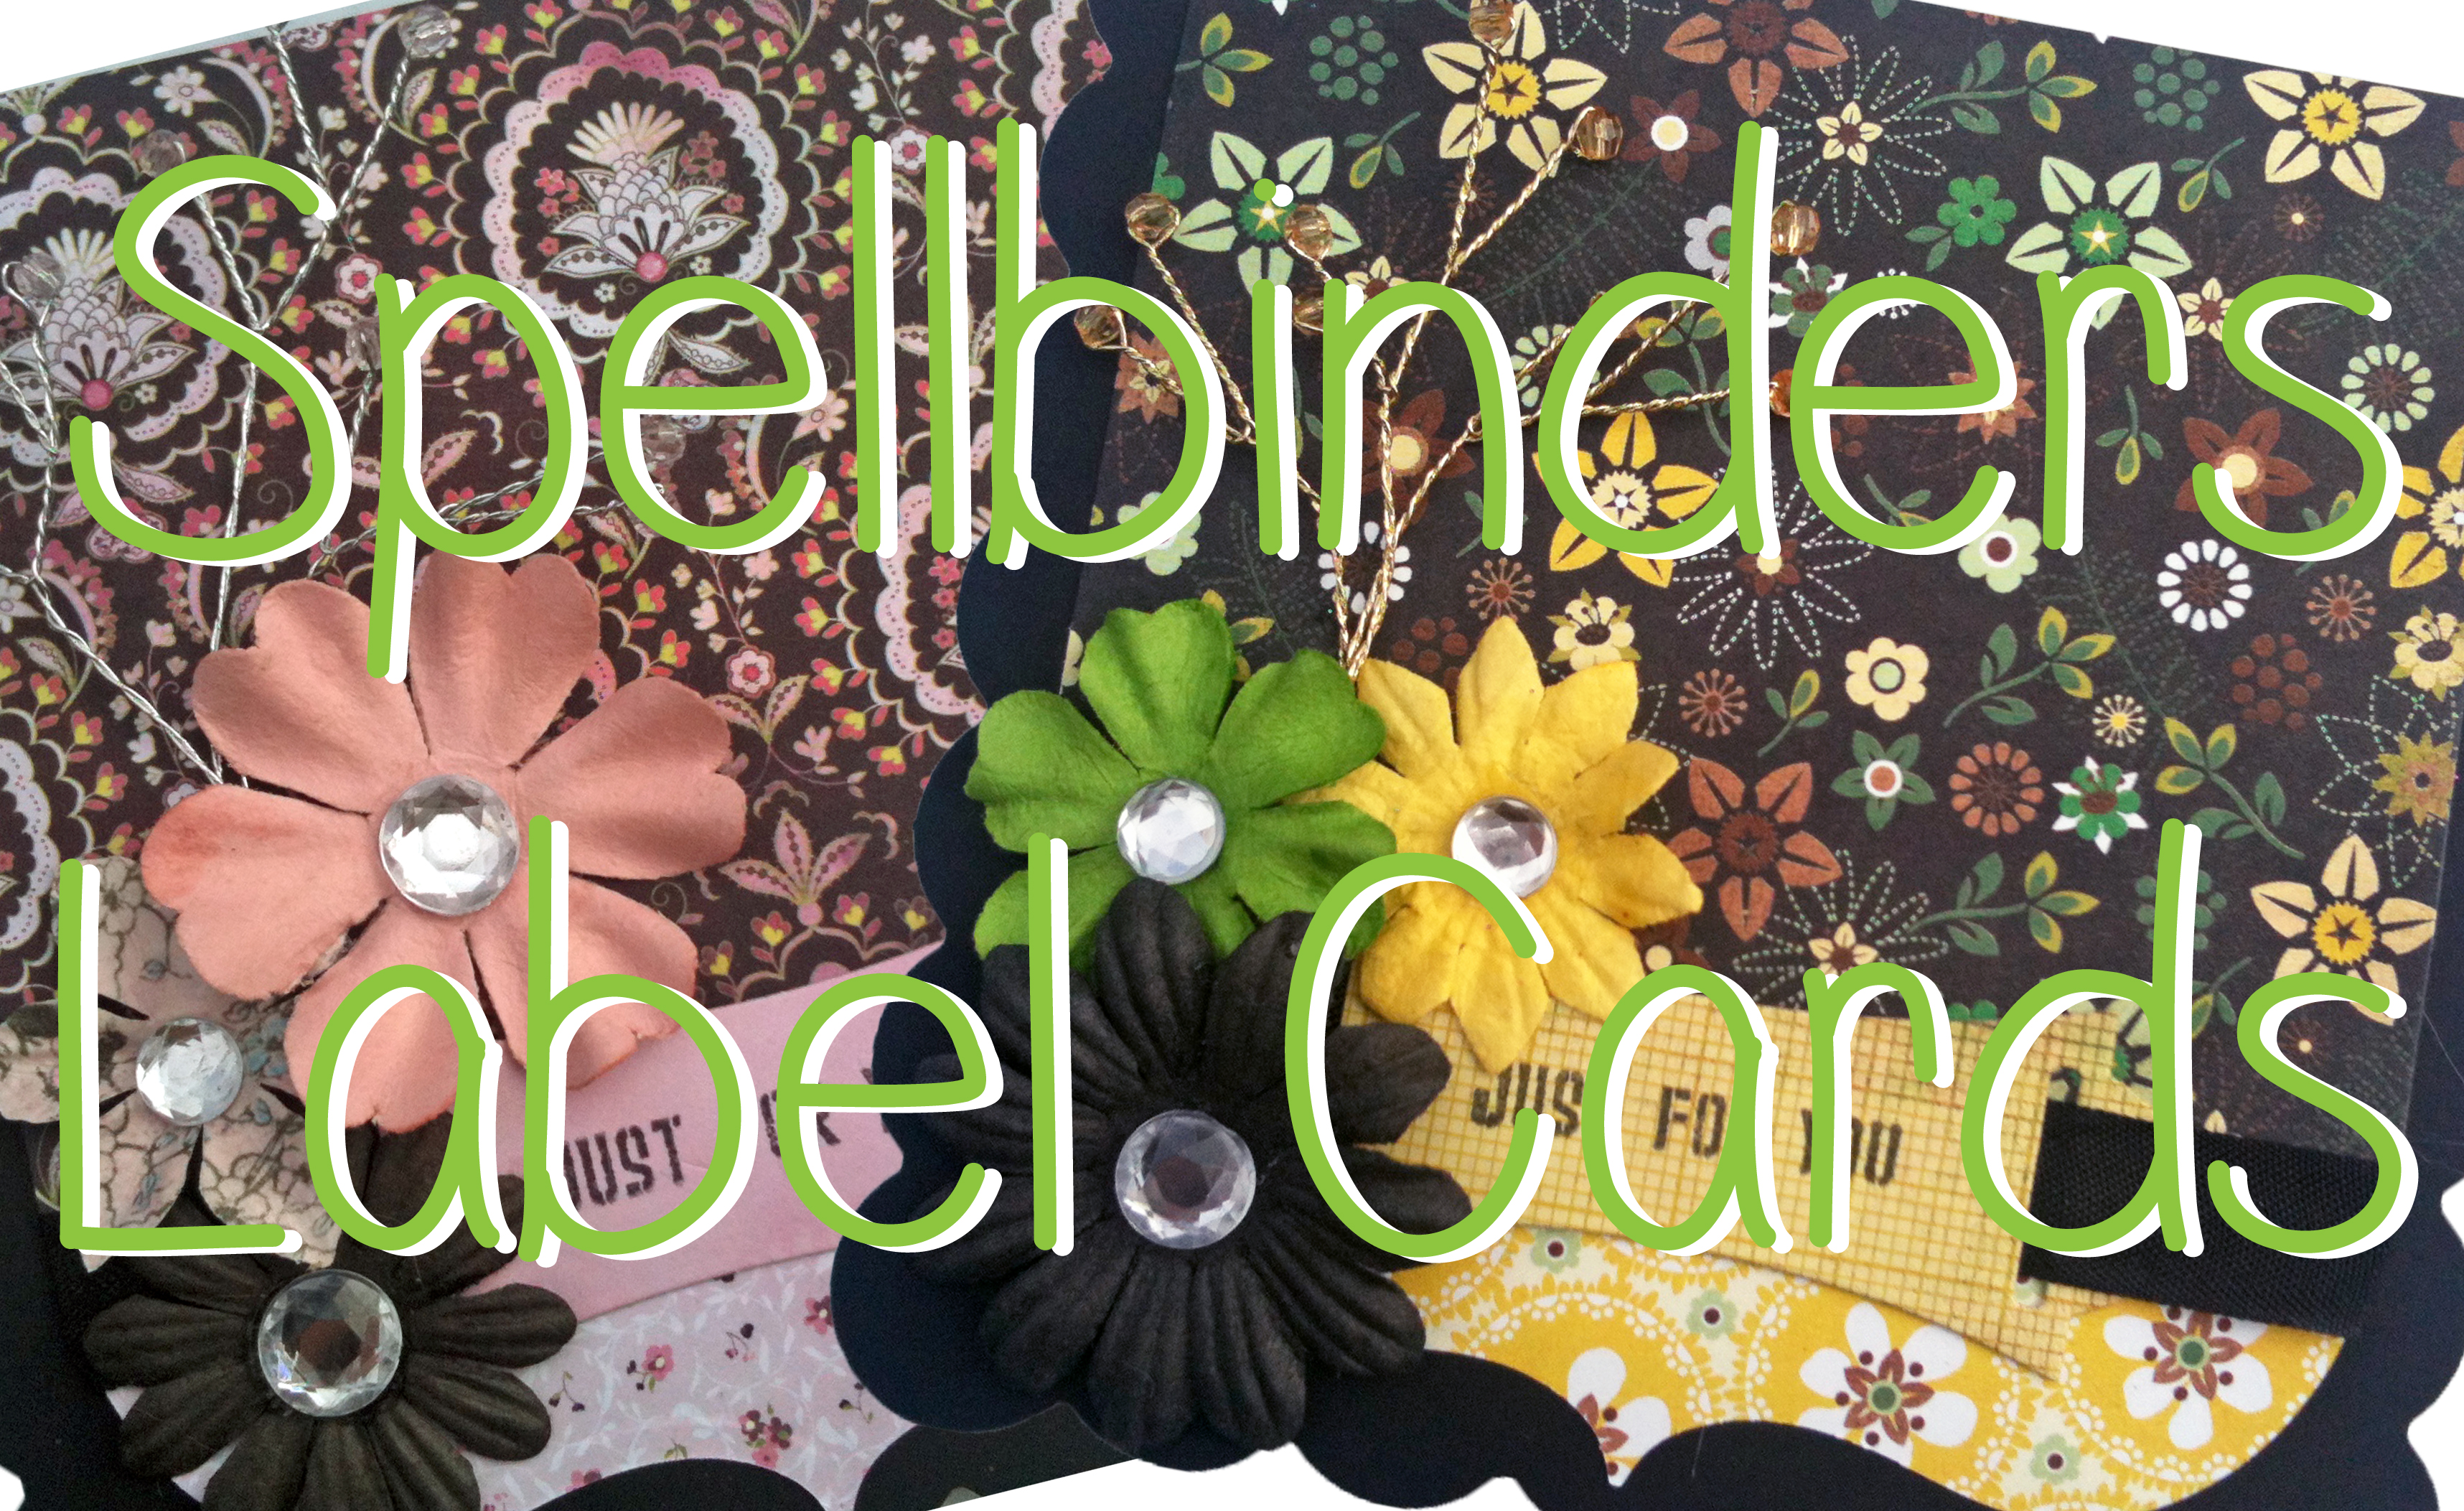
Hiya, today I have not one, not two but FOUR cards for you, big bonus eh! lol! So these were made using the fabulous Spellbinders dies and although they are all essentially the same, I liked the design of them so much, and they were pretty simple to make, that I decided to make a few.
So when making these four cards I made the first one, liked it then made the other 3 however for simplicity I will talk through as if I made all four in one go instead of one then three!
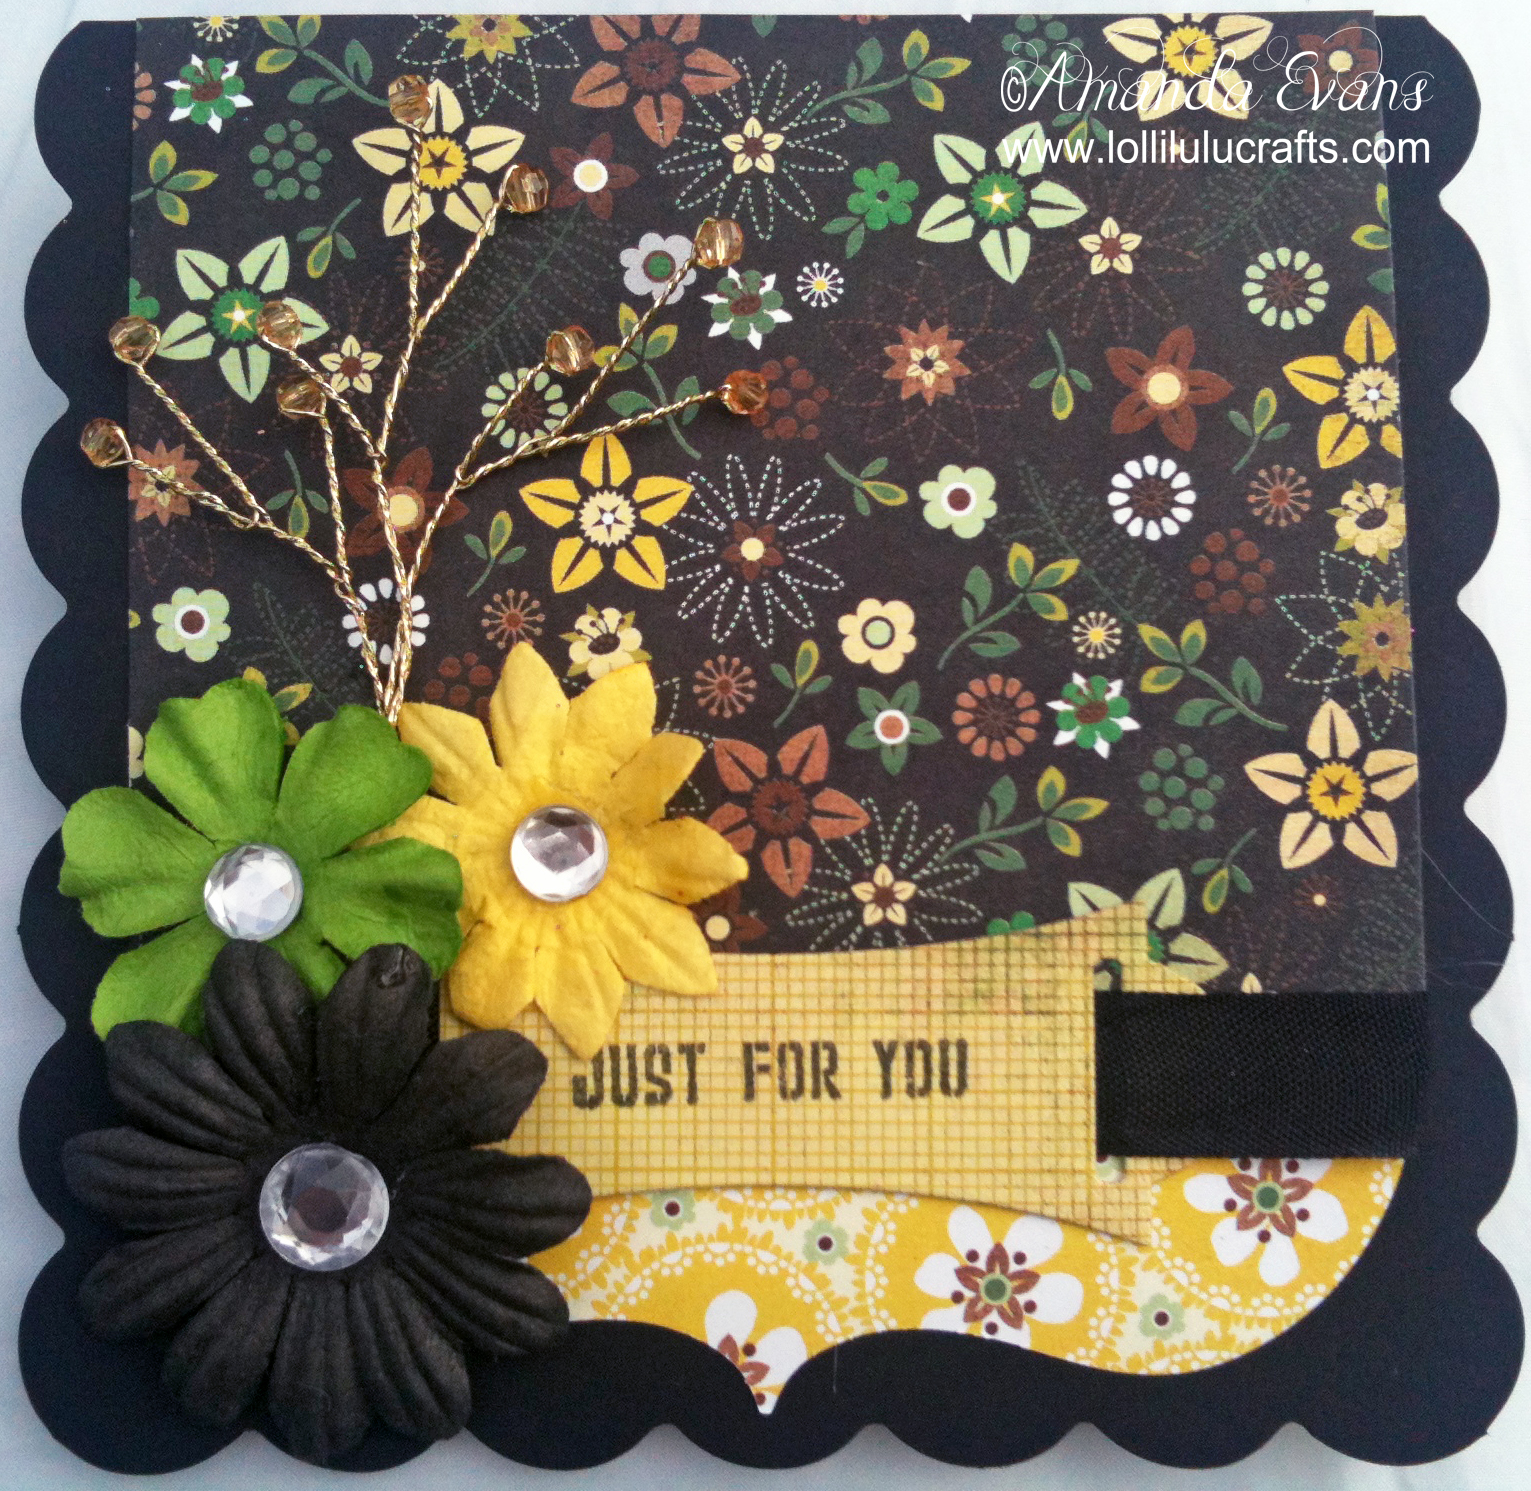
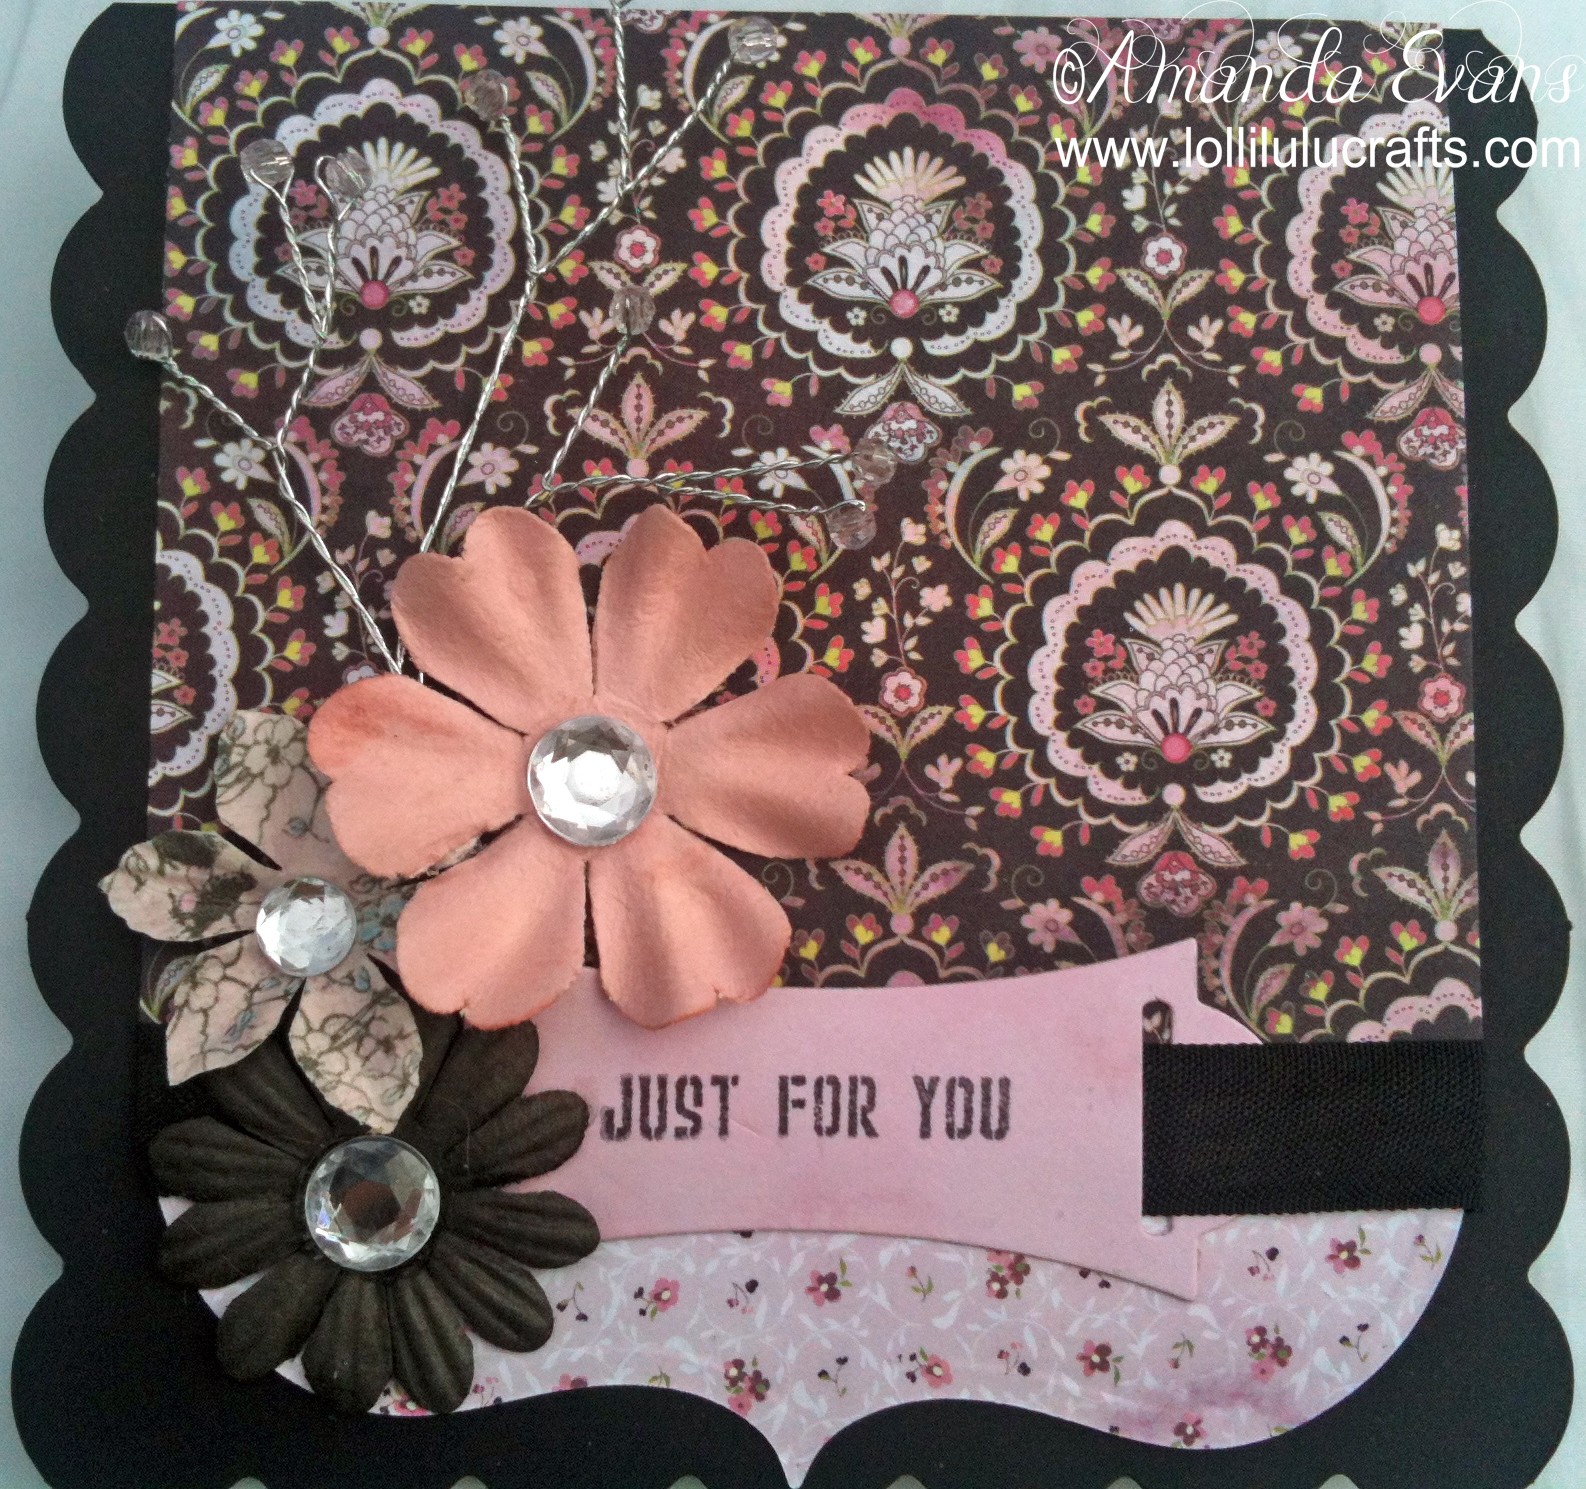
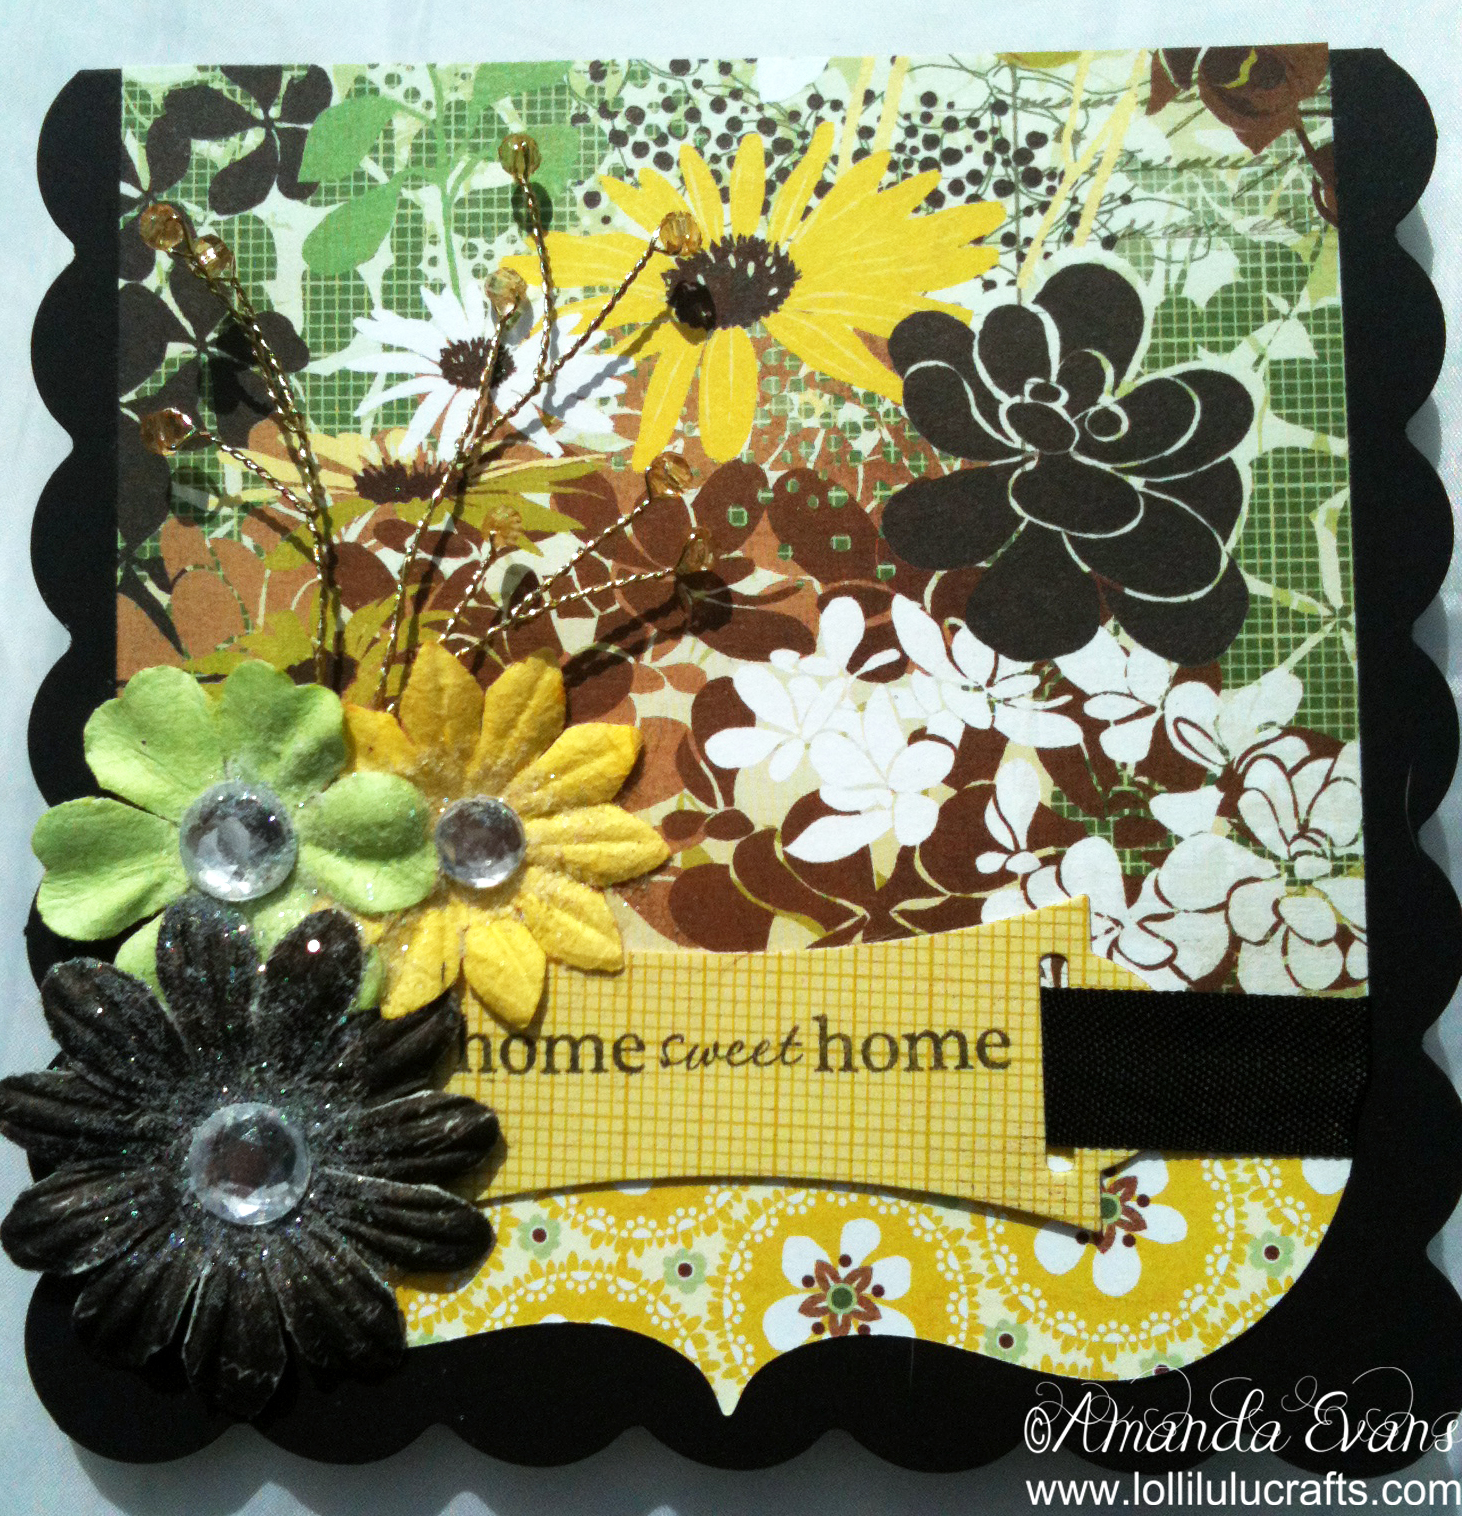
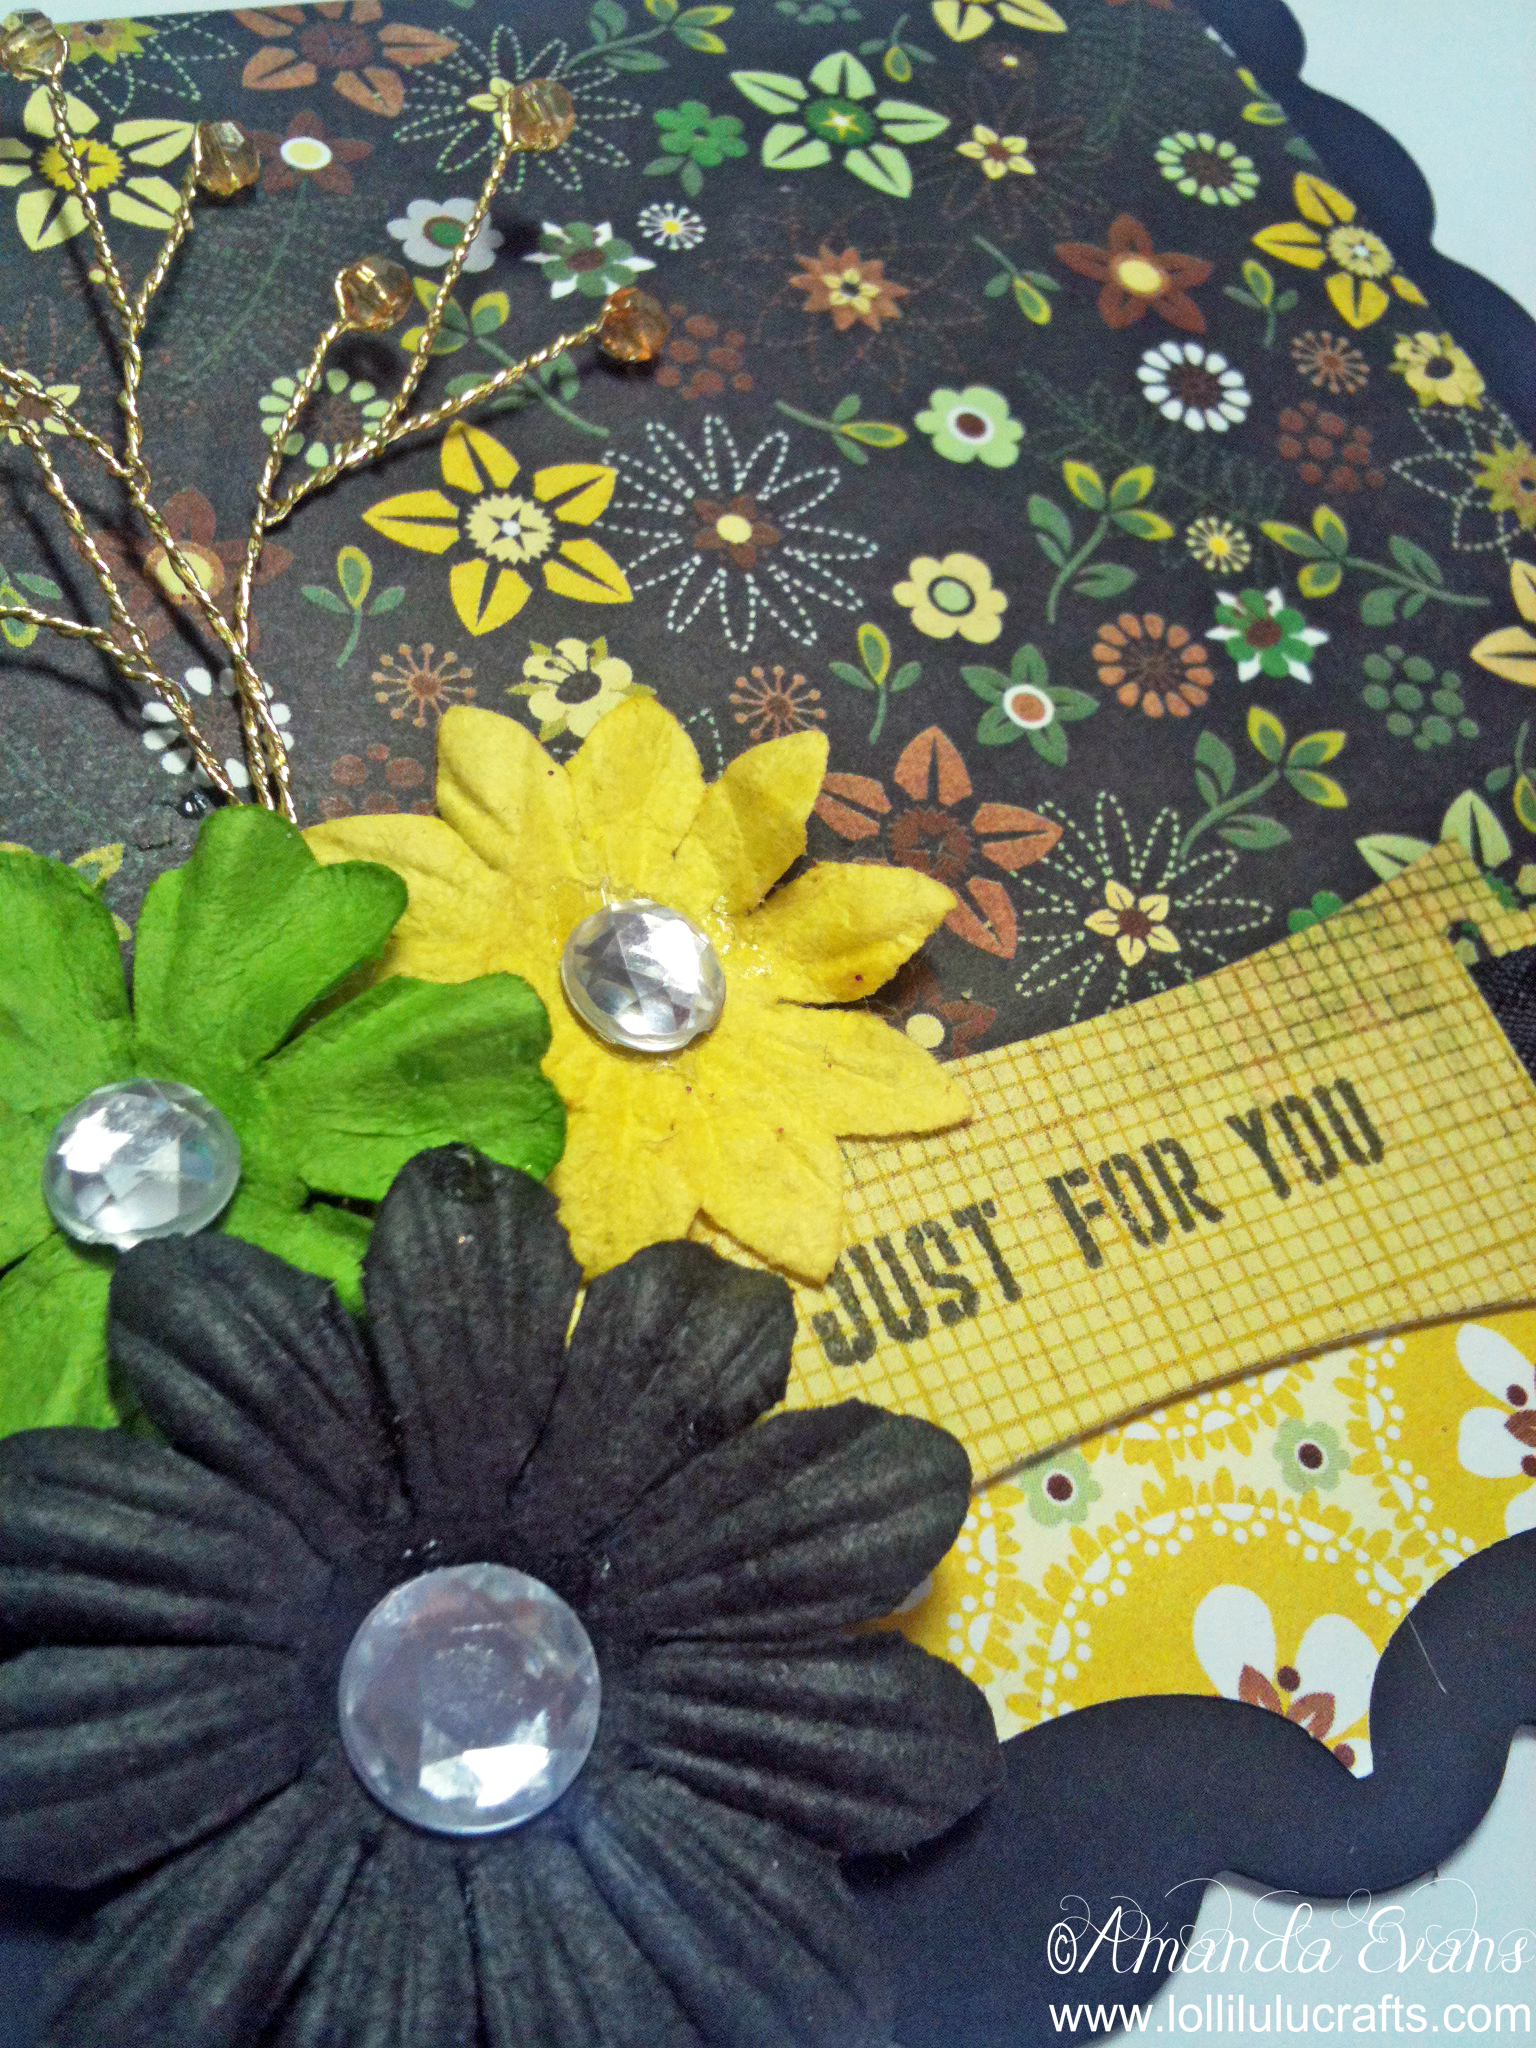
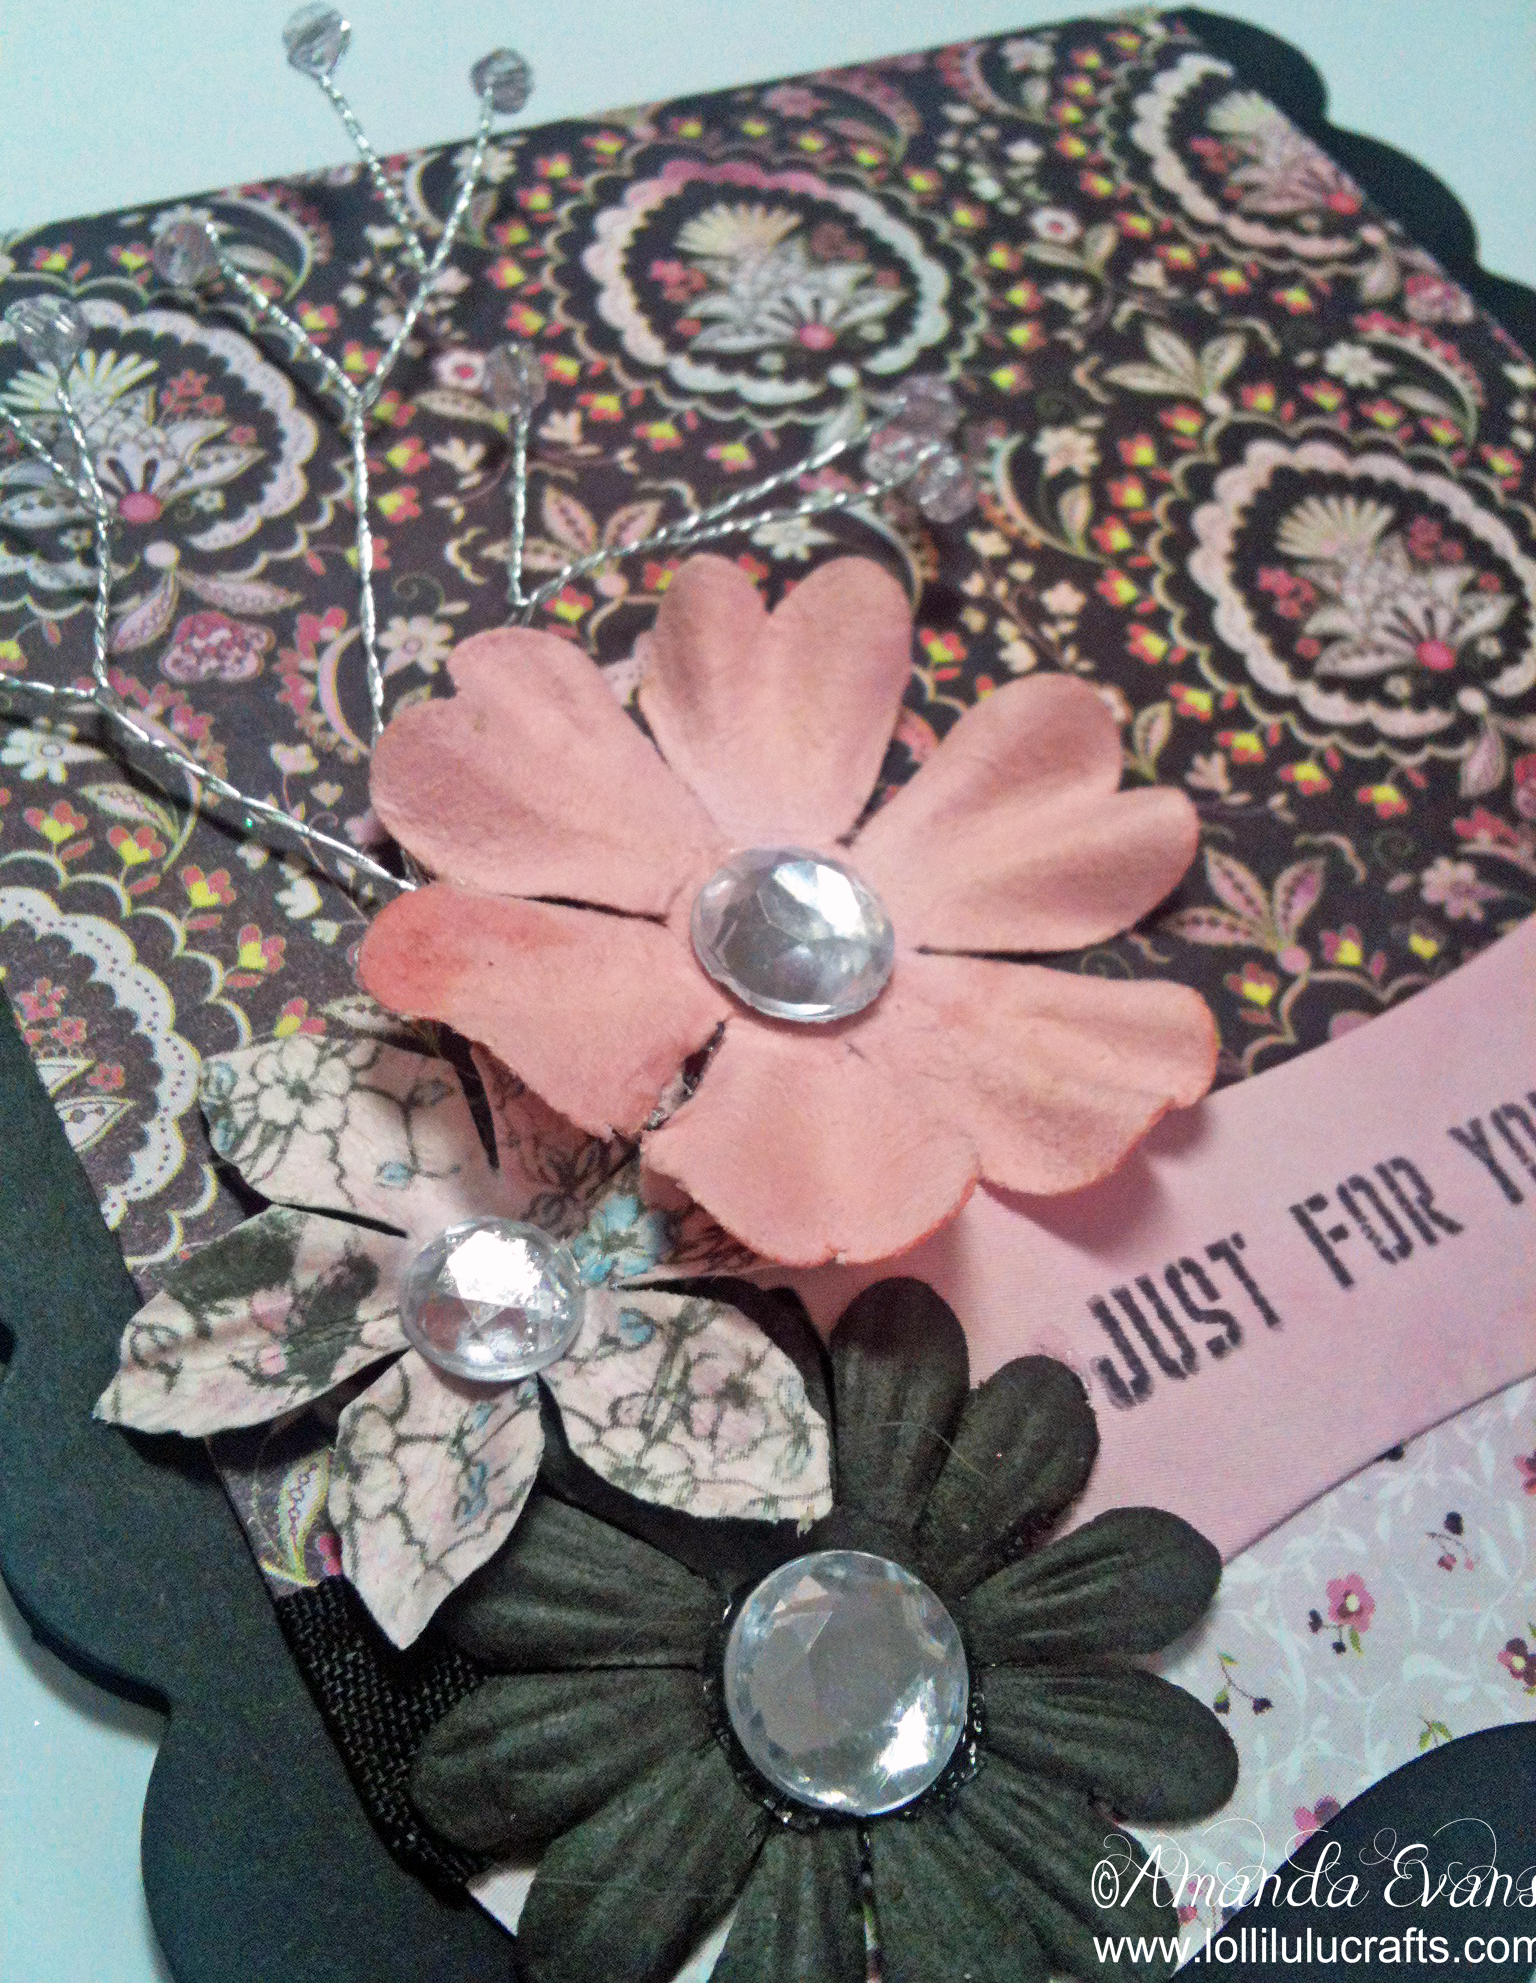
So I started out with four pre-scored pre-scalloped black card bases of 5″ x 5″ square. I think a square card of whatever size is probably my favourite card shape. Anyway next I picked out some Basic Grey patterned papers. Please don’t ask me which ones these are from as I love Basic Grey and have lots of little pads which then get used and broken up and so I have no idea what comes from where – sorry! I then cut two yellow Labels 1 Spellbinders square dies and two in the pink tones. Now clearly that gives the label shape on all four sides which I didn’t want, I only wanted at the bottom.
Next I took the other patterned paper for each and cut it to approx 4 1/2″ to 4 3/4″ wide. I can only say approx as I really went by eye as I just wanted it to sit side to side within the scallops nicely. I did not cut the height yet. I then attached the appropriately coloured label 1 die cut to this piece of patterned paper. I only worried about how it looked at the bottom and to the right hand side. If the left did not marry up it did not matter as this will be hidden by flowers.
I then die cut my slider tags x 4, stamped my sentiments and slide through each a piece of black binding already cut to length, once through I centered the tag and wrapped the seam binding and tag around our paper at the point of the join between the two pattern papers, holding it in place by sticking it down on the back.
Next I stuck the patterned paper and binding etc to the front of the card but only really paying mind to the bottom edge being correct. Once that was stuck I carefully trimmed off the excess paper from the top of the card. You can see from the photos that that piece matches up exactly with the top of our card base.
Finally I added the embellishments of flowers and crystal sprays to our card on the left hand side which then covered any discrepancies in the Label 1 cut and the width of our card and patterned paper. As only the right side shows it means you can make it look perfect. And that was it on two of the cards, on the other two I just added one more thing – a dusting of glitter to the flowers eh voila! our finished four Spellbinders Labels Cards :-


So I hope you enjoyed taking a look at these cards and as always I would love you to leave me a comment below, but for now hugs and have a great craft day,


Are you going to put this on a you tube? I’d love to watch it being made.
I didn’t film these but I can make them again and film it if you like? it wouldn’t prob go up til January now as all my slots are allocated but if you don’t mind waiting I am happy to do it for you – let me know ? x
pretty cards Amanda , just my style.. anything floral!
thank you glad you liked it 🙂