


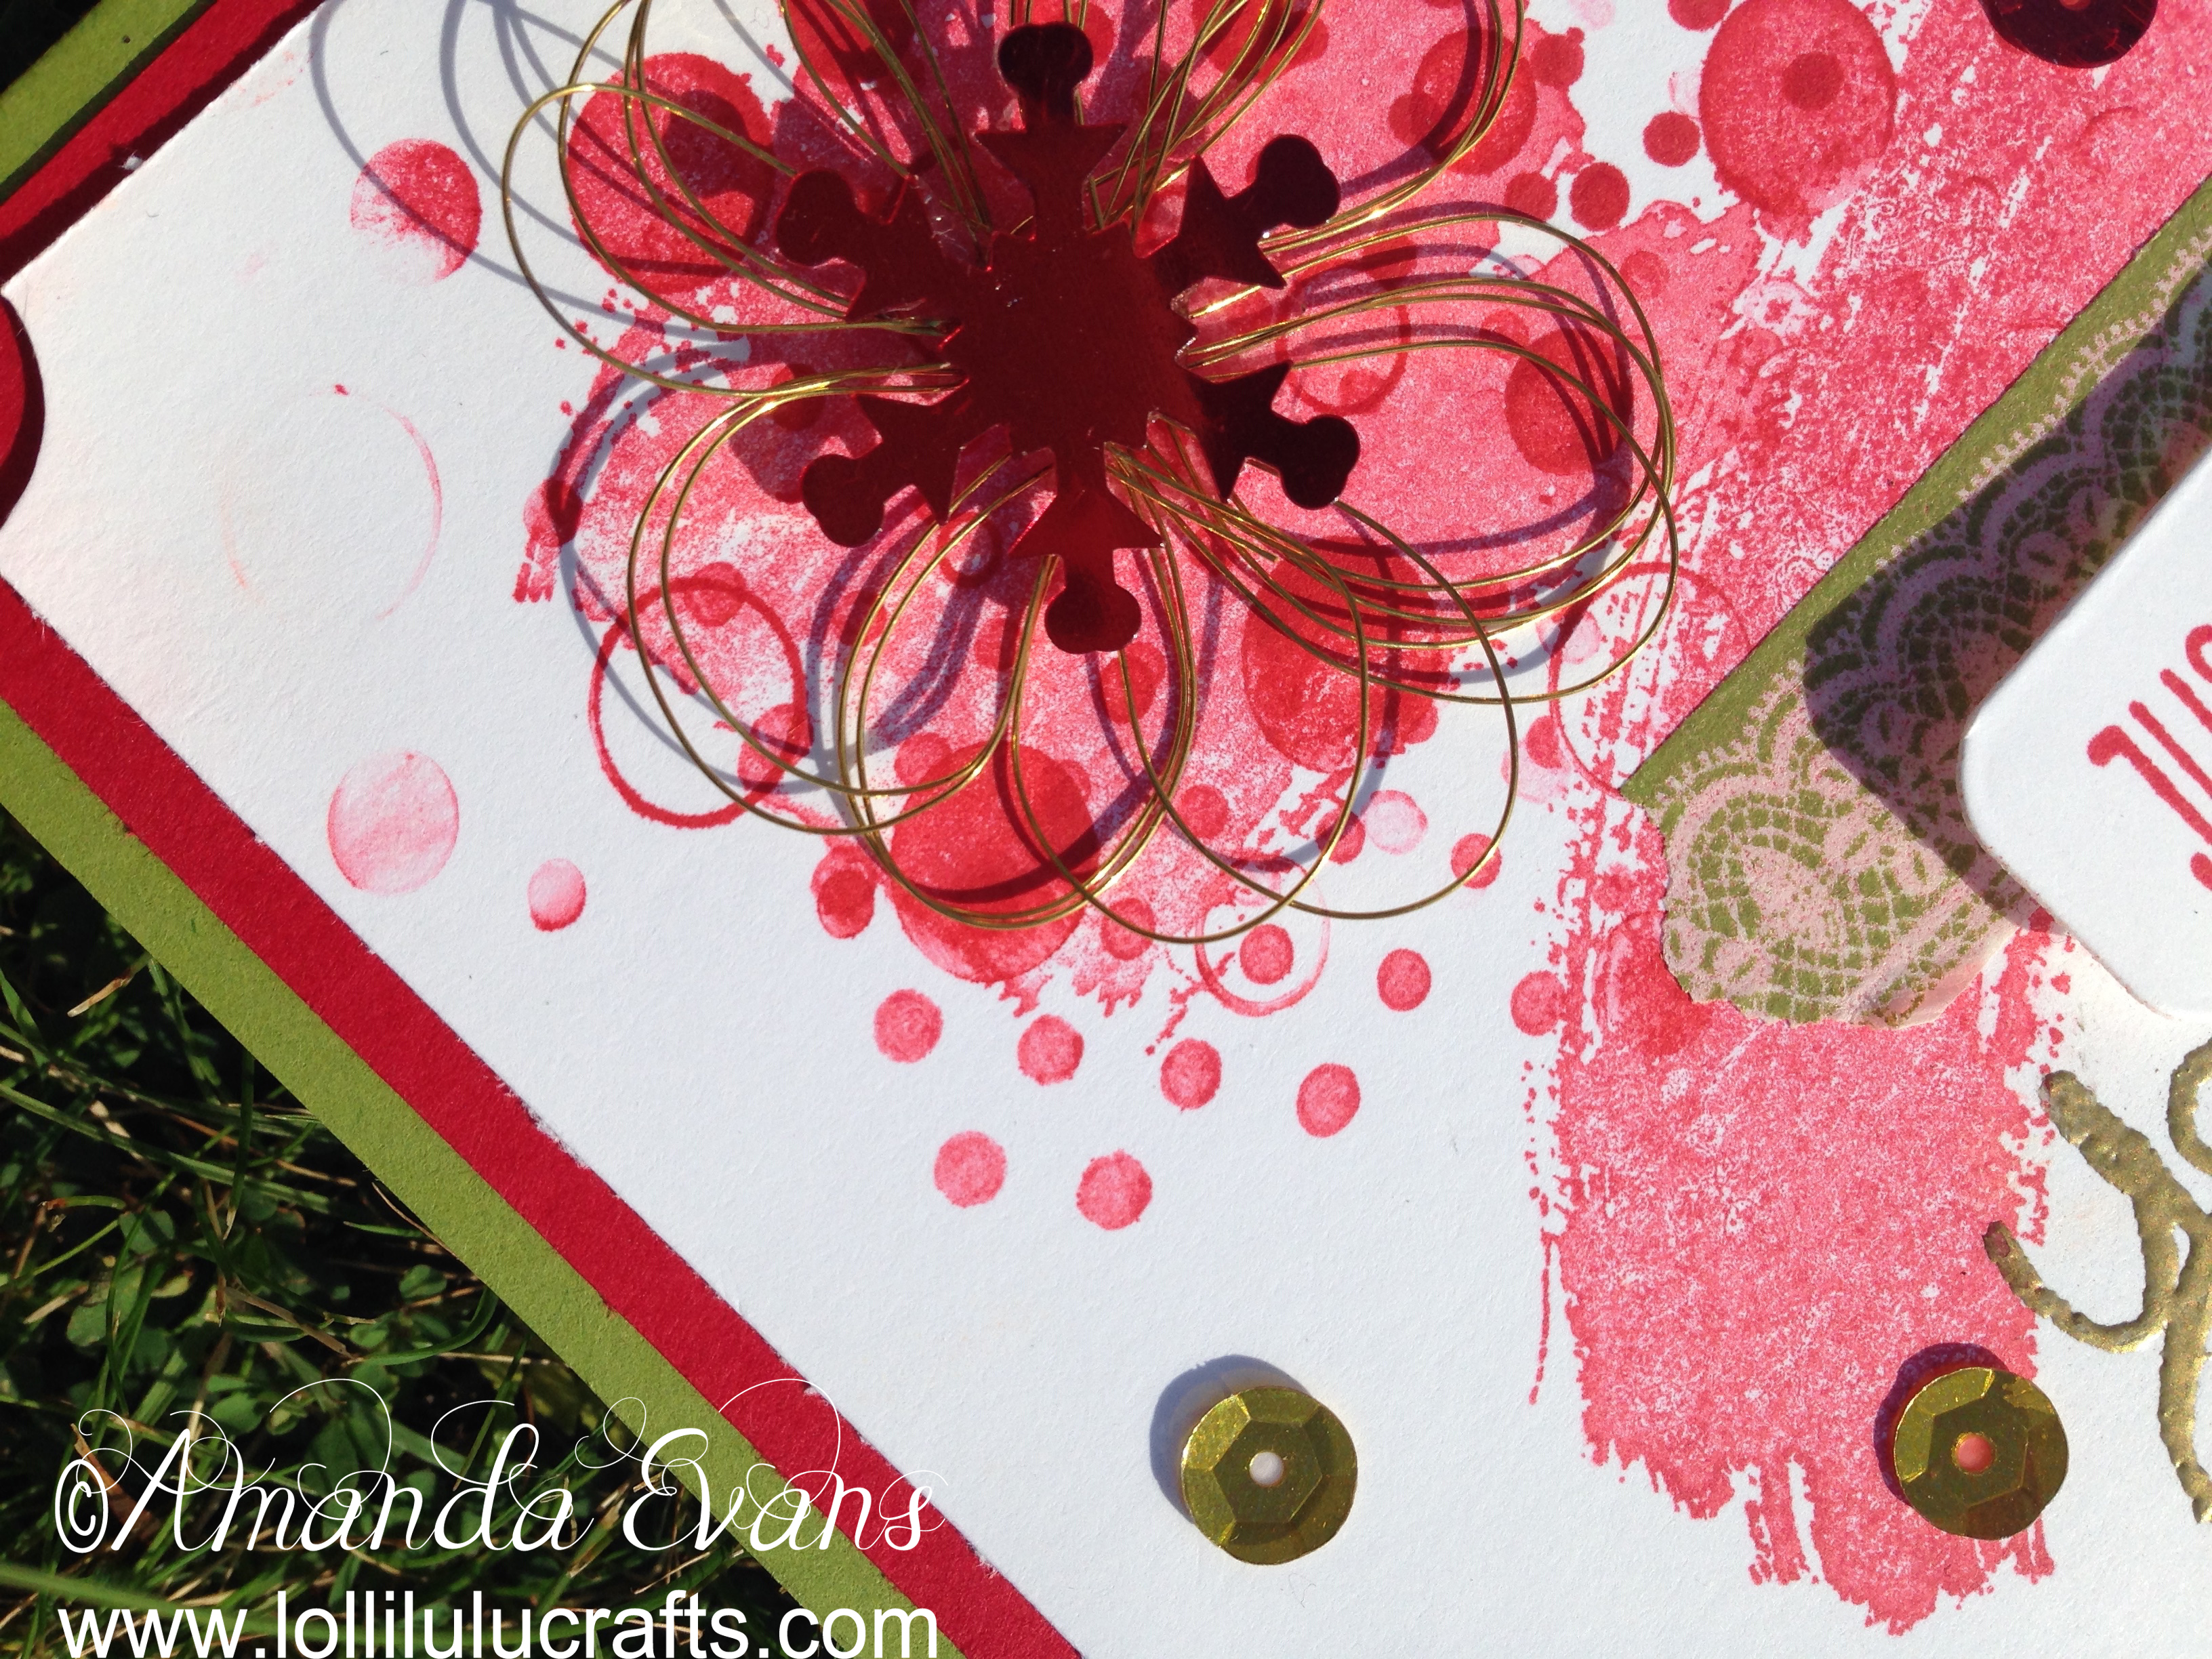
Hiya, today I have the card I made that inspired Monday’s Video Halloween Card. Like before this one is made using the fabulous Work of Art Stamp Set but this time we used Mossy Meadow and Real Red Card and Ink which made it into a fabulous Christmas Card.
I just love this Work of Art Stamp Set and as I said on Monday both cards were inspired by the card in the Stampin Up Catalogue:
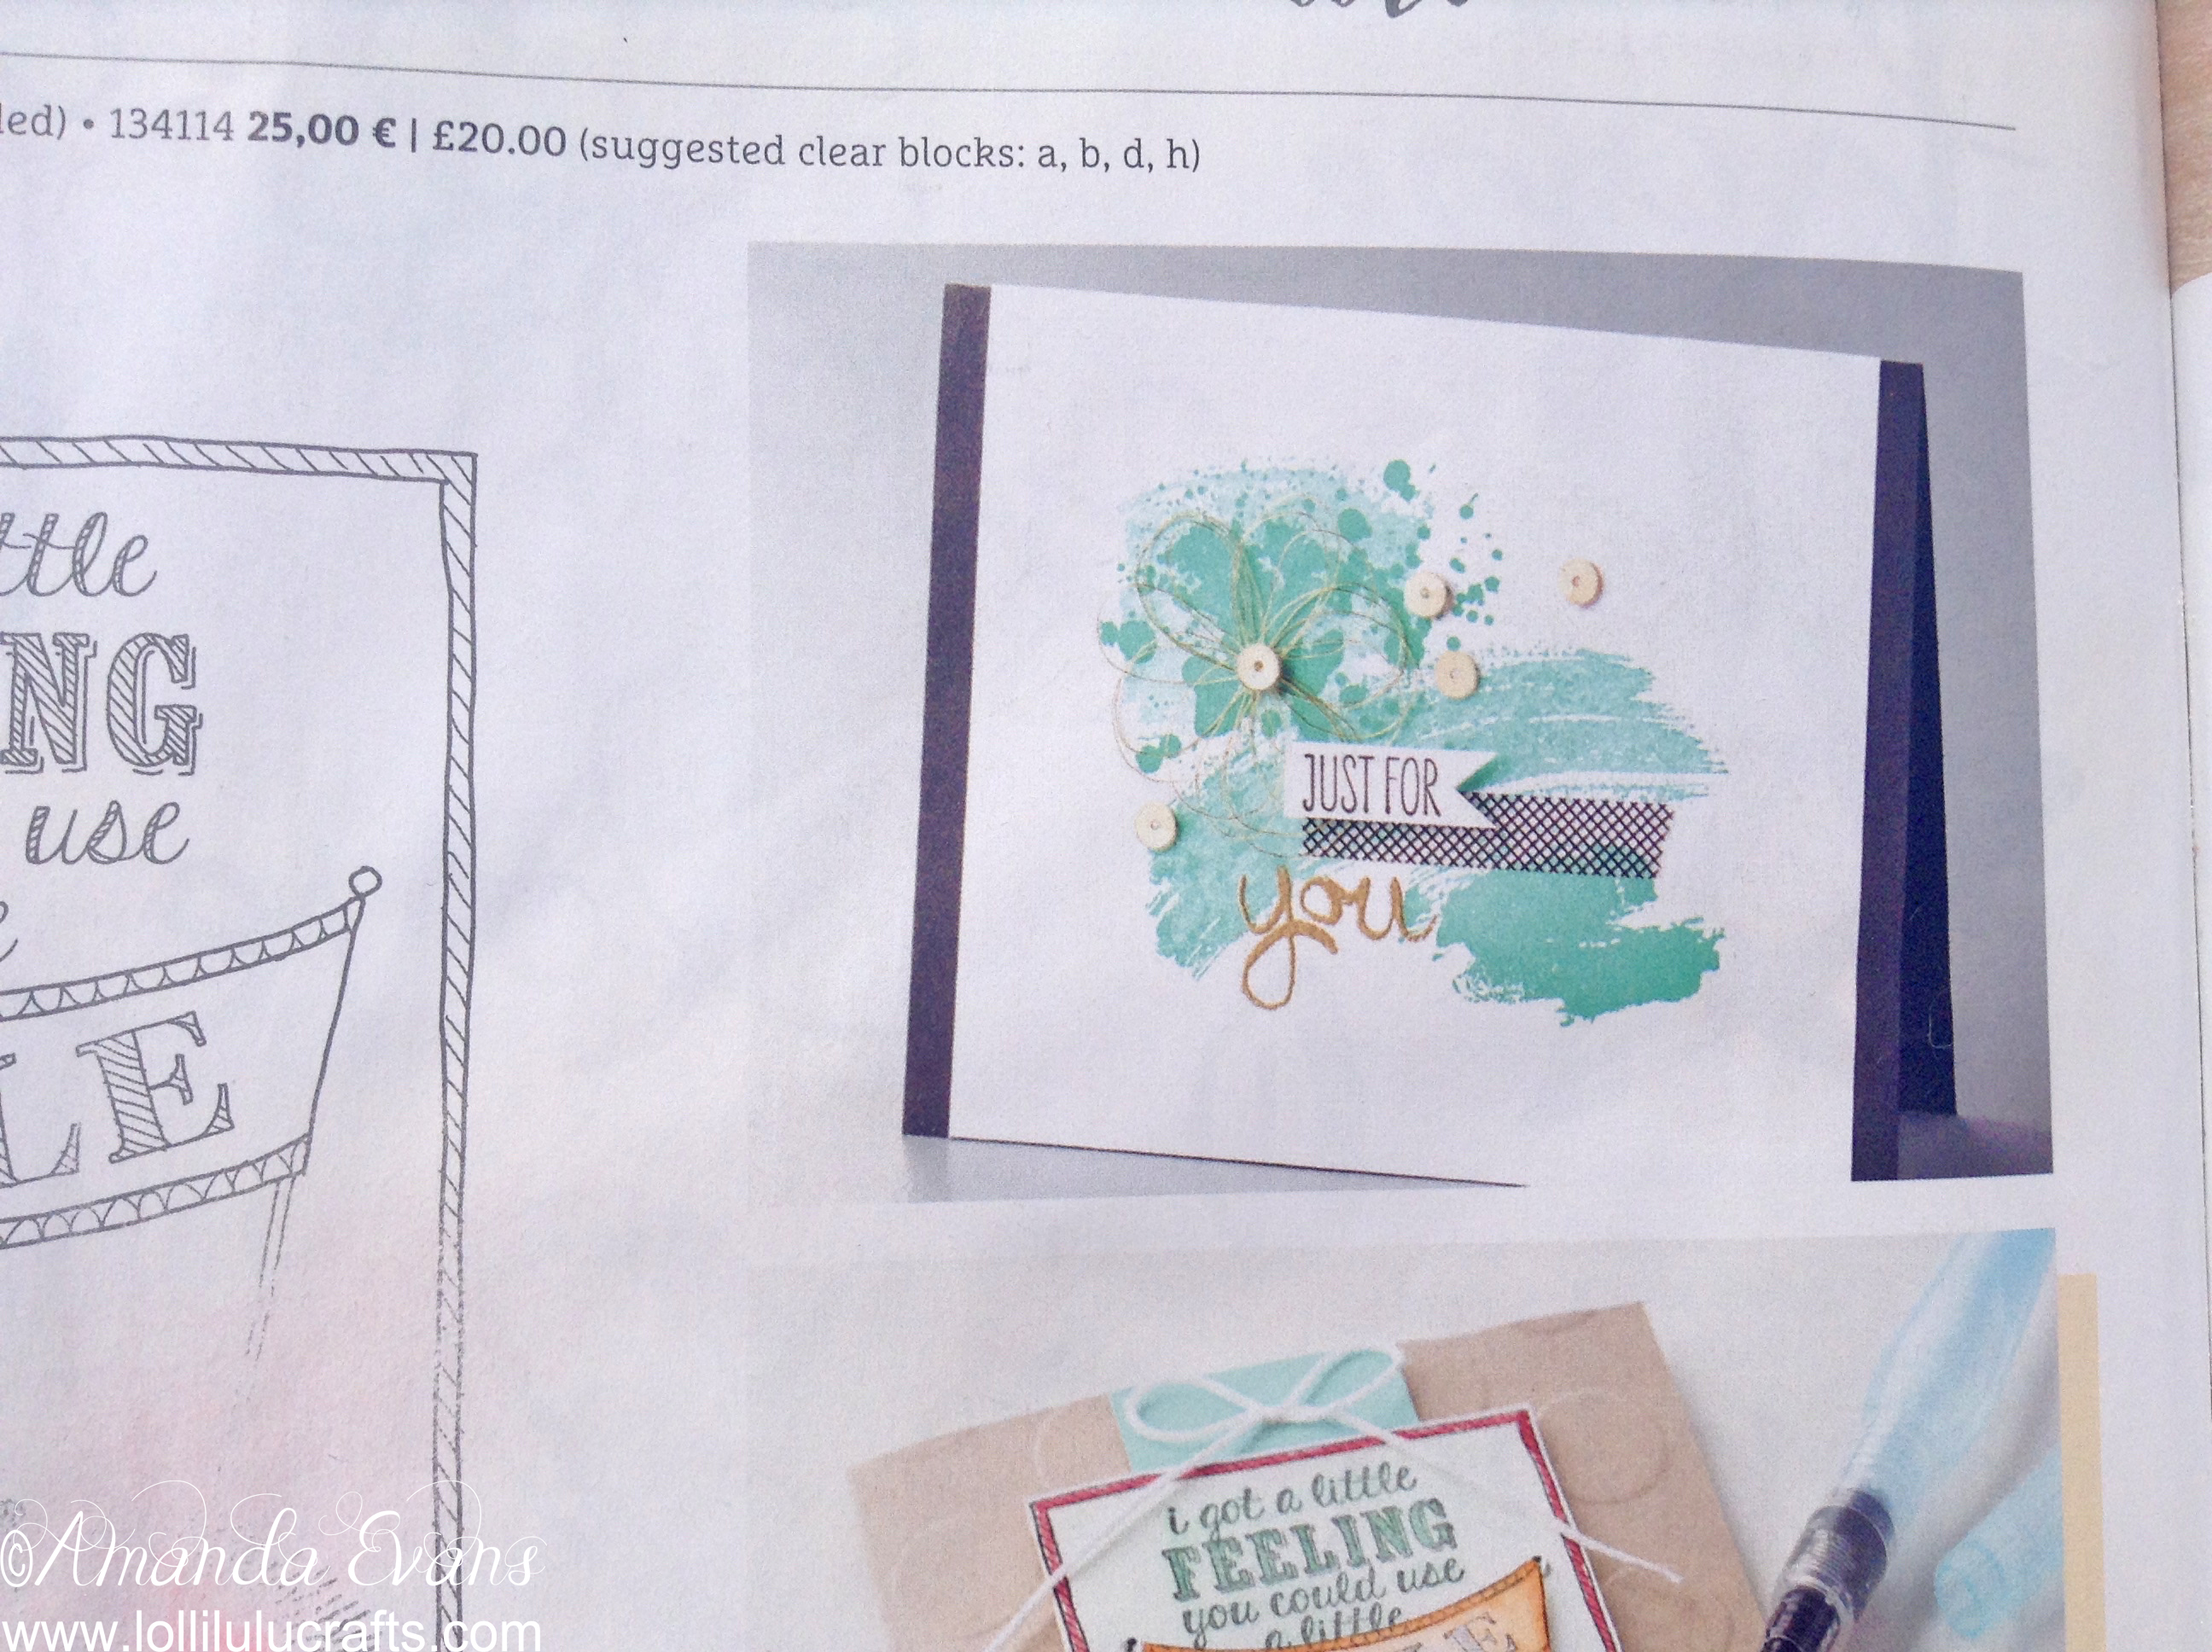
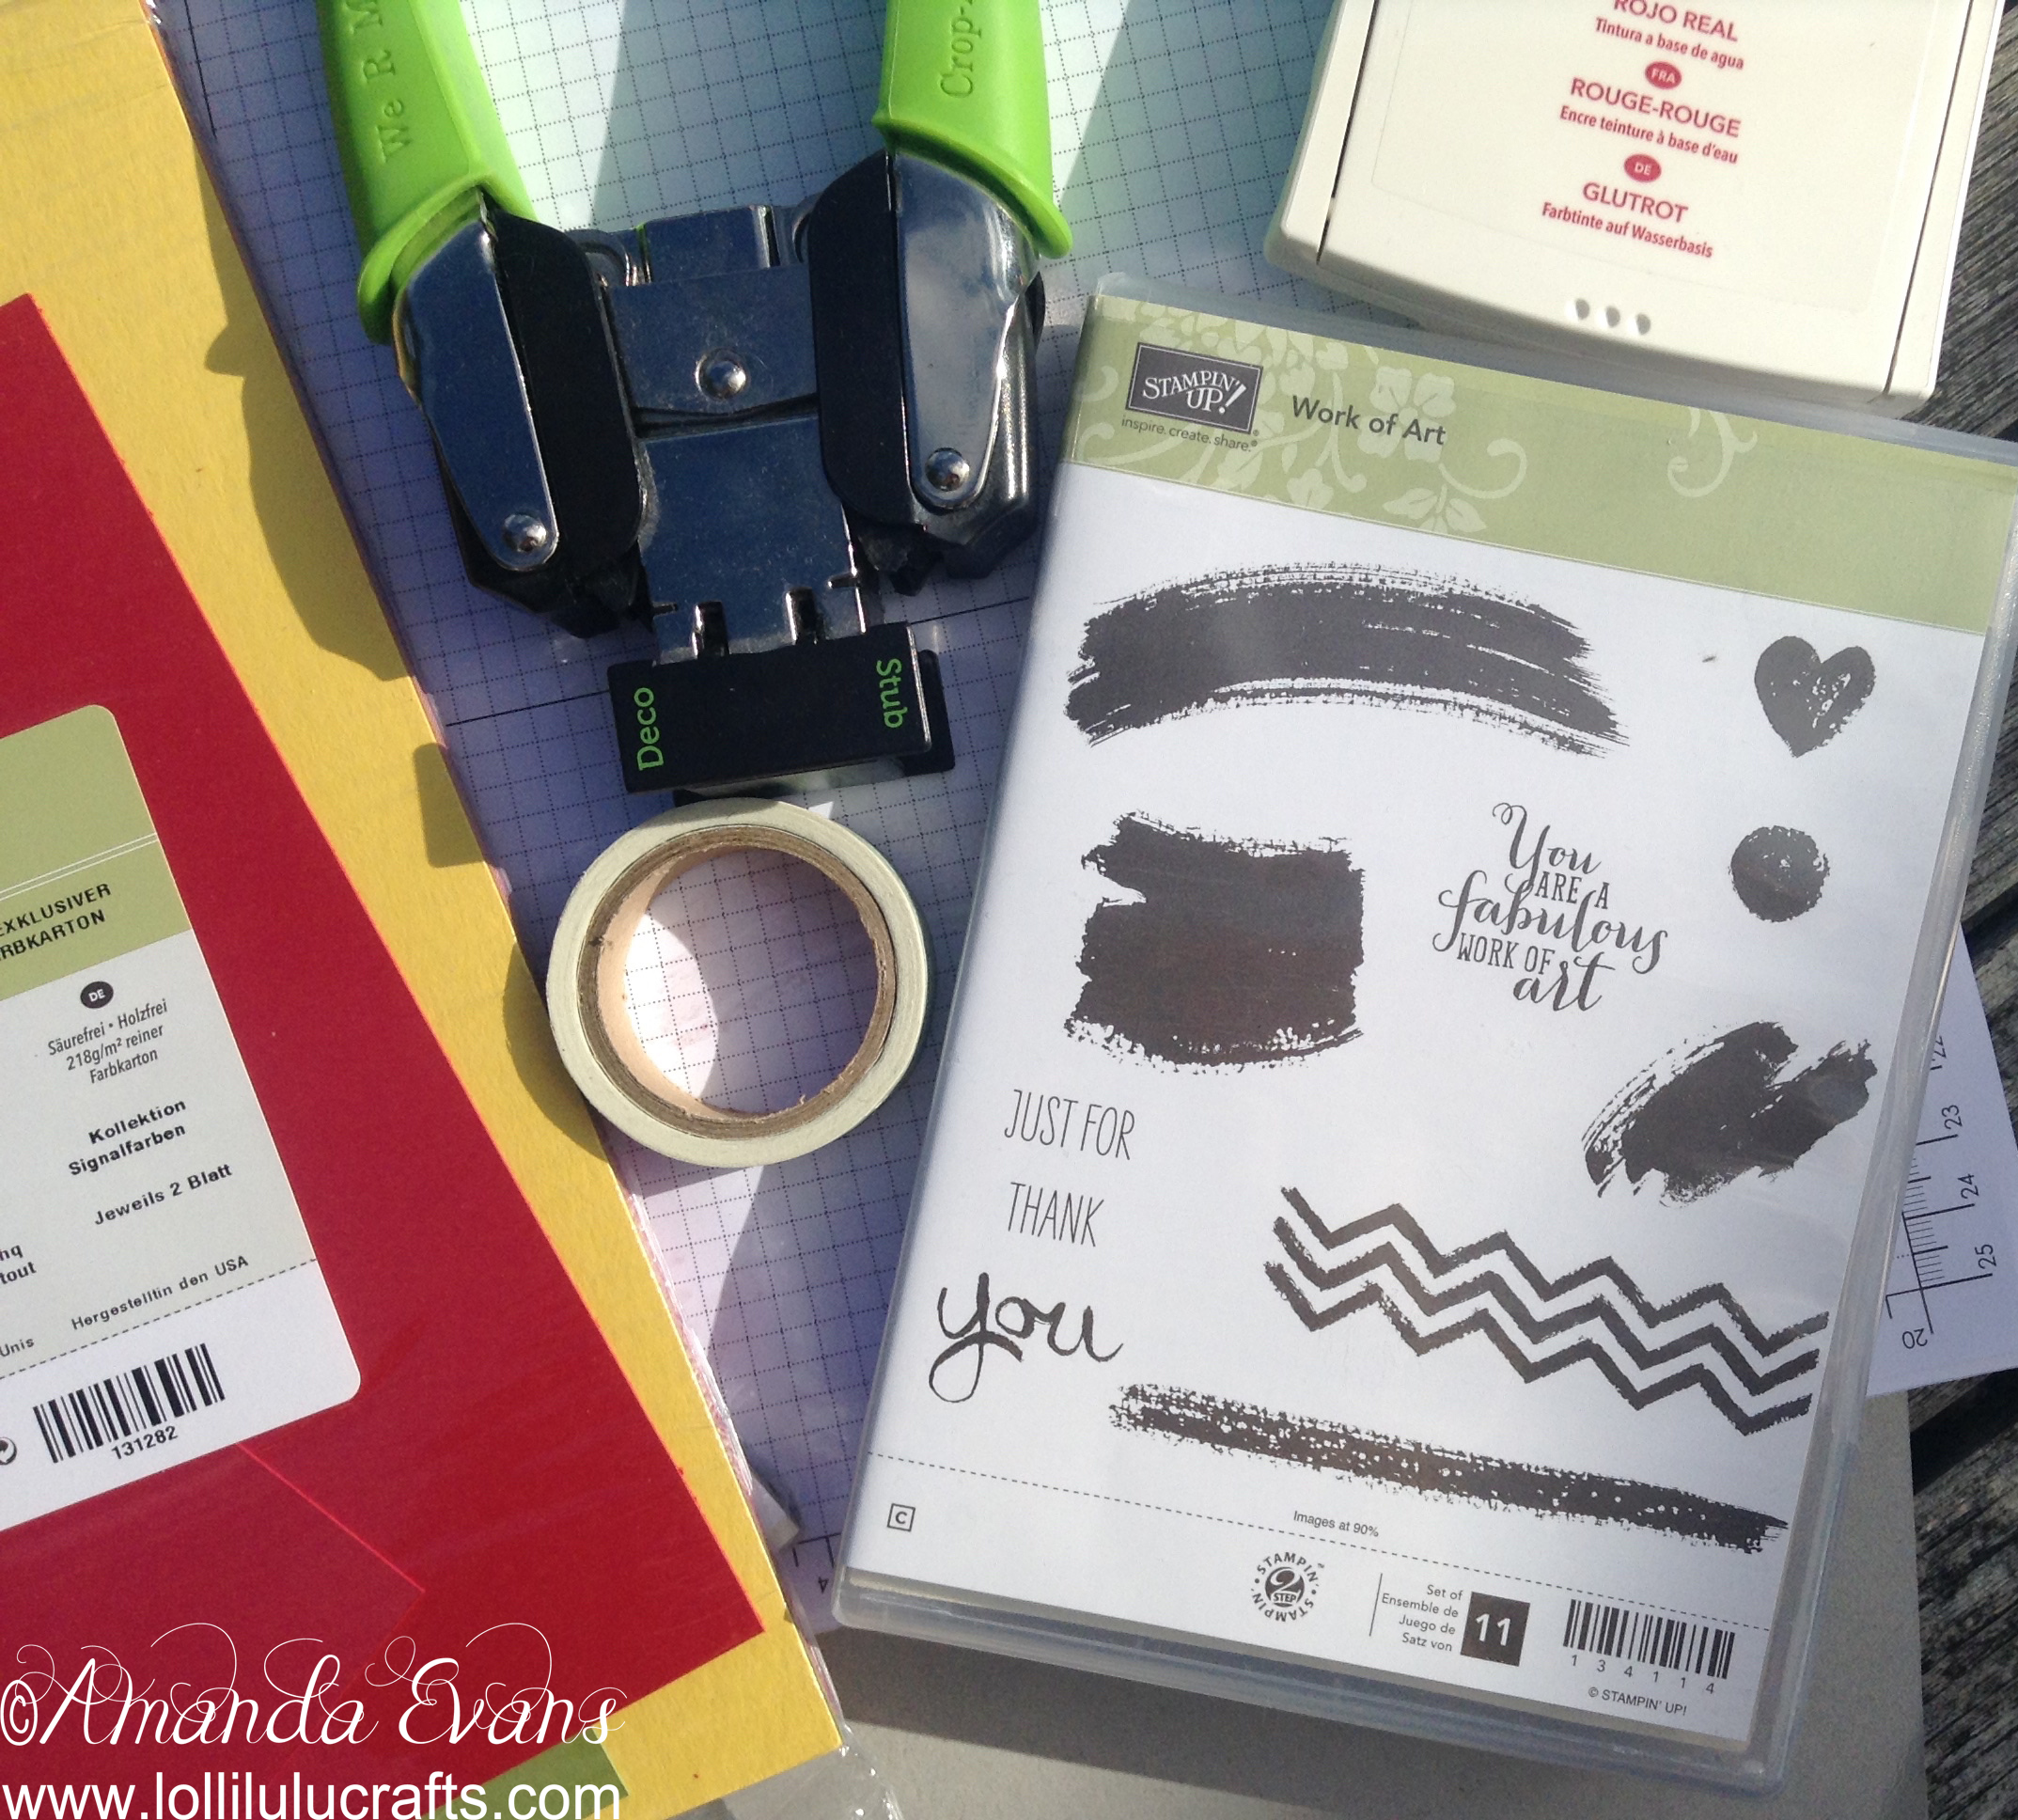
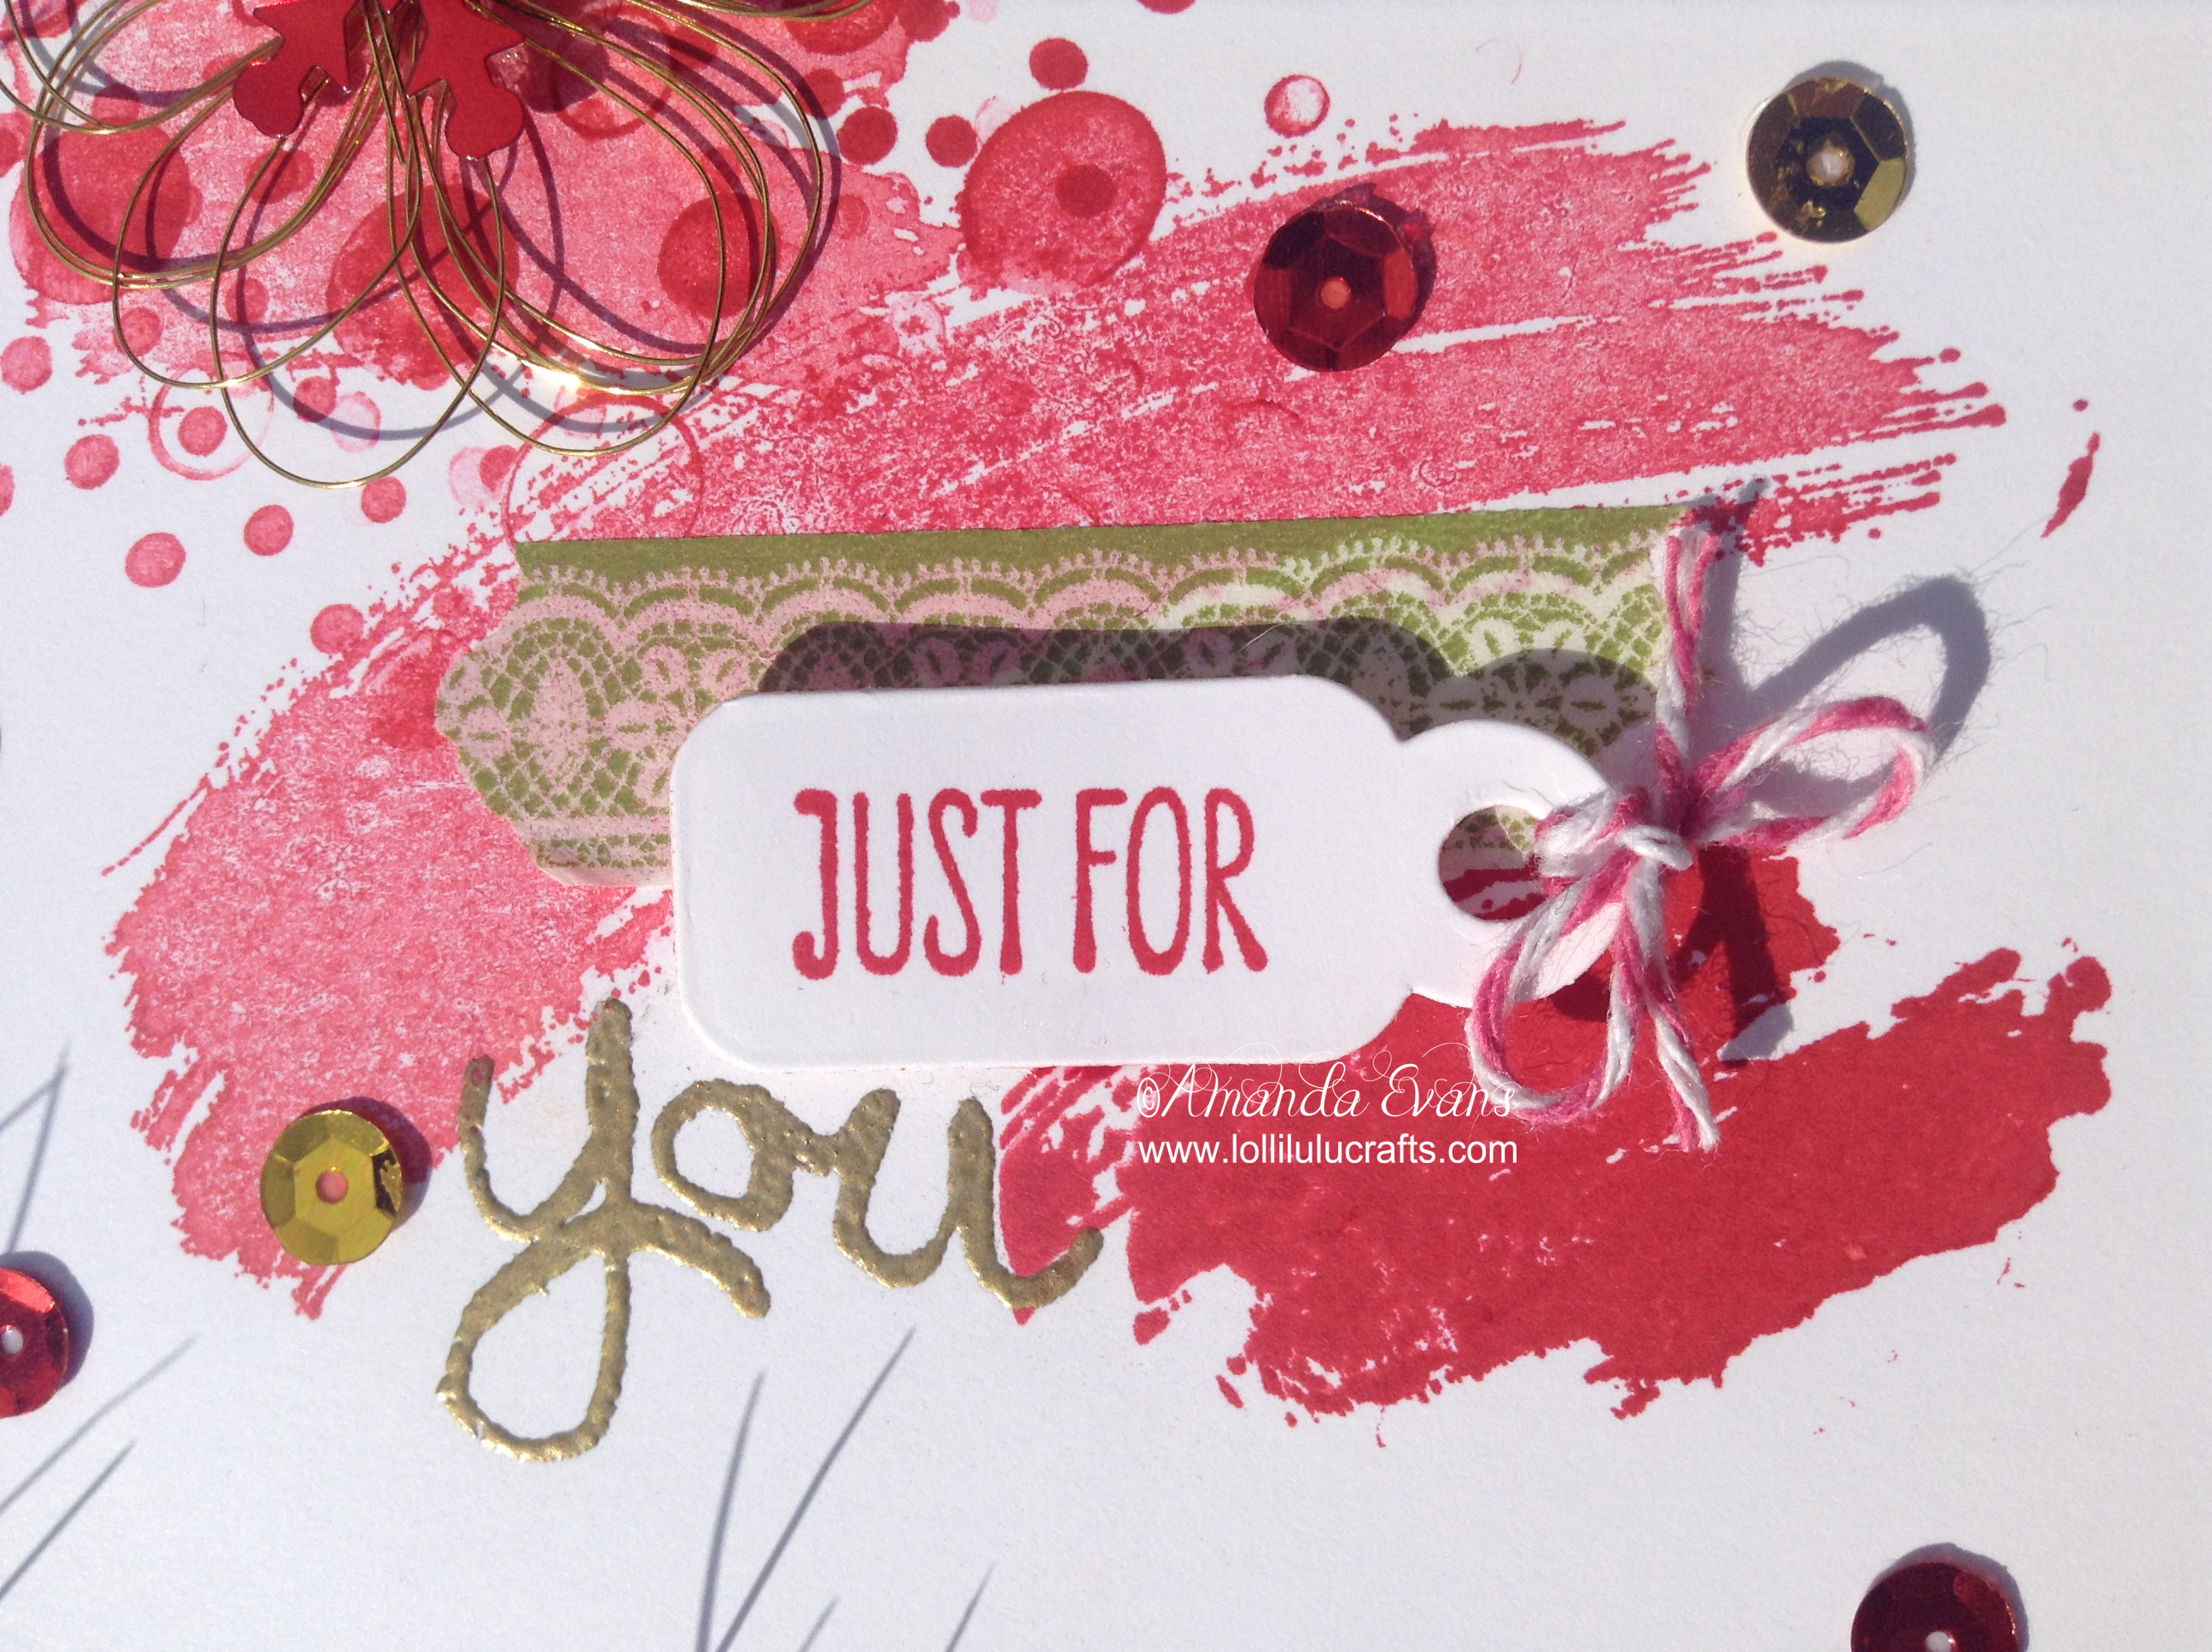
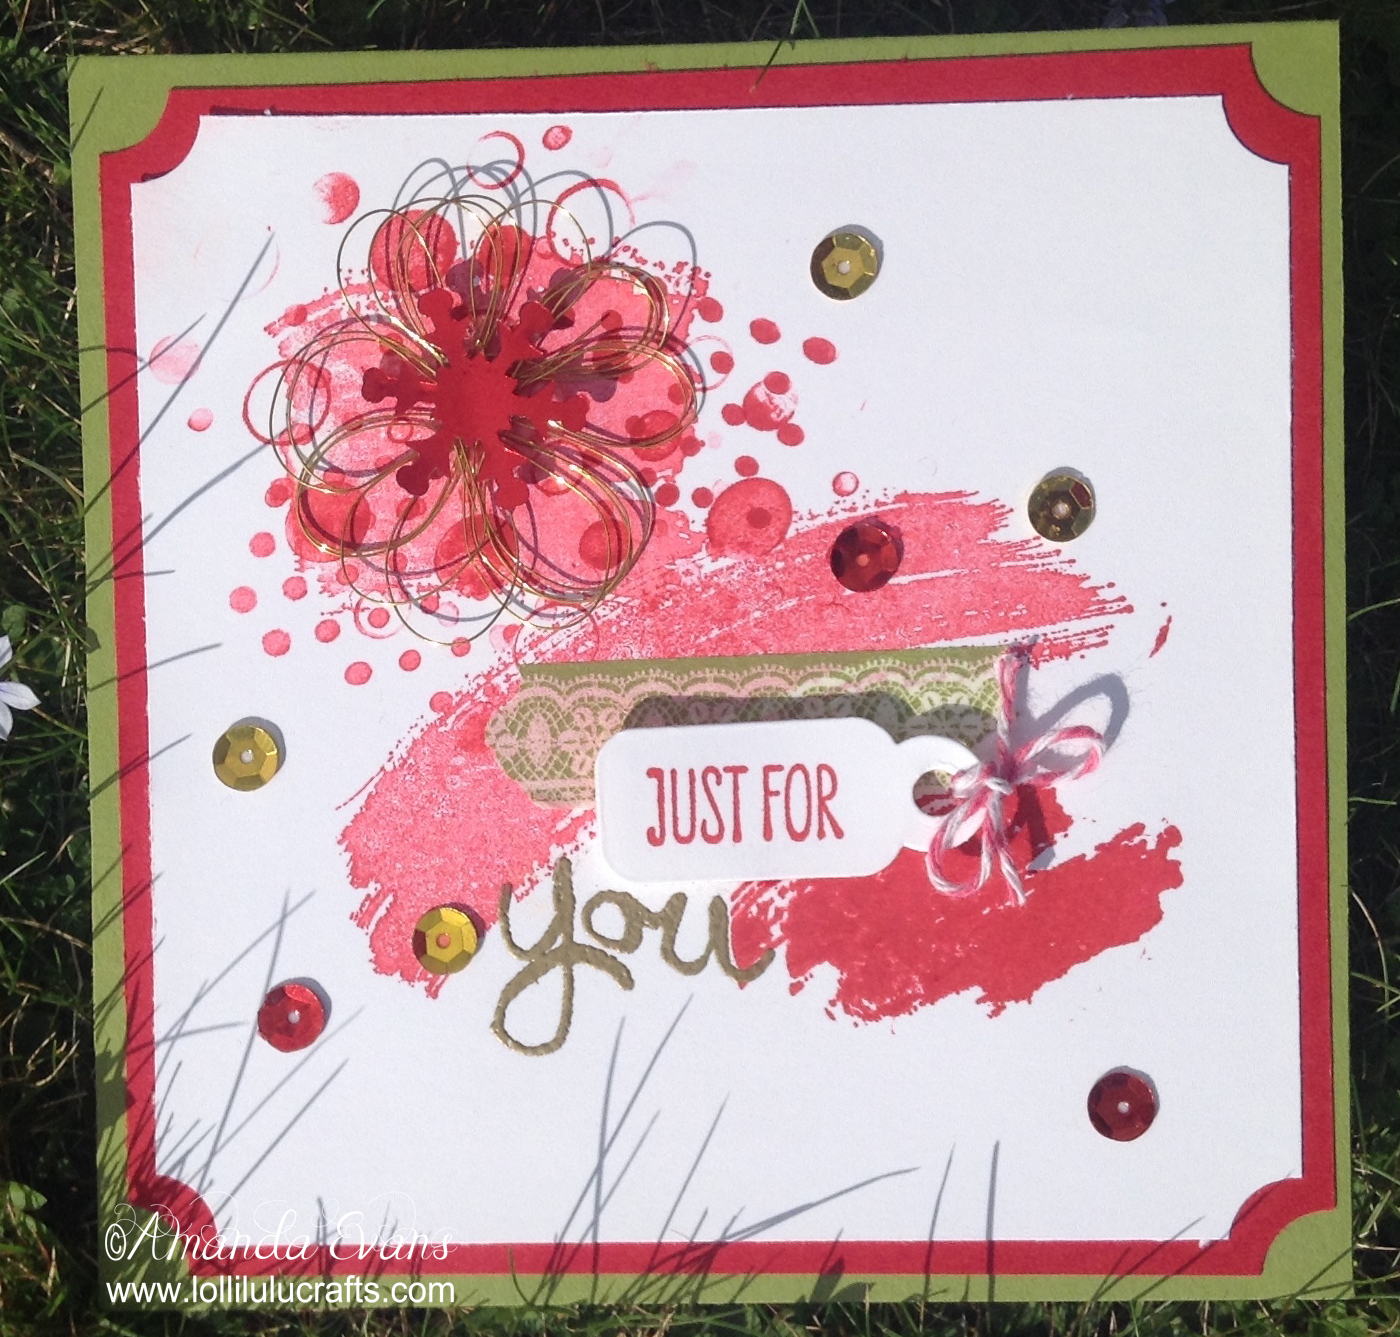
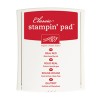
I have actually shown them to you out of order as this was the card I made first then I went onto make the ‘Halloween’ style card. So we started out with a piece of Whisper White card cut at 4 1/2″ x 4 1/2″ and onto this I stamped in this case just using the gorgeous real red, and achieving different strengths of colour by stamping off onto the stamp pad either once or twice depending on the effect I wanted.
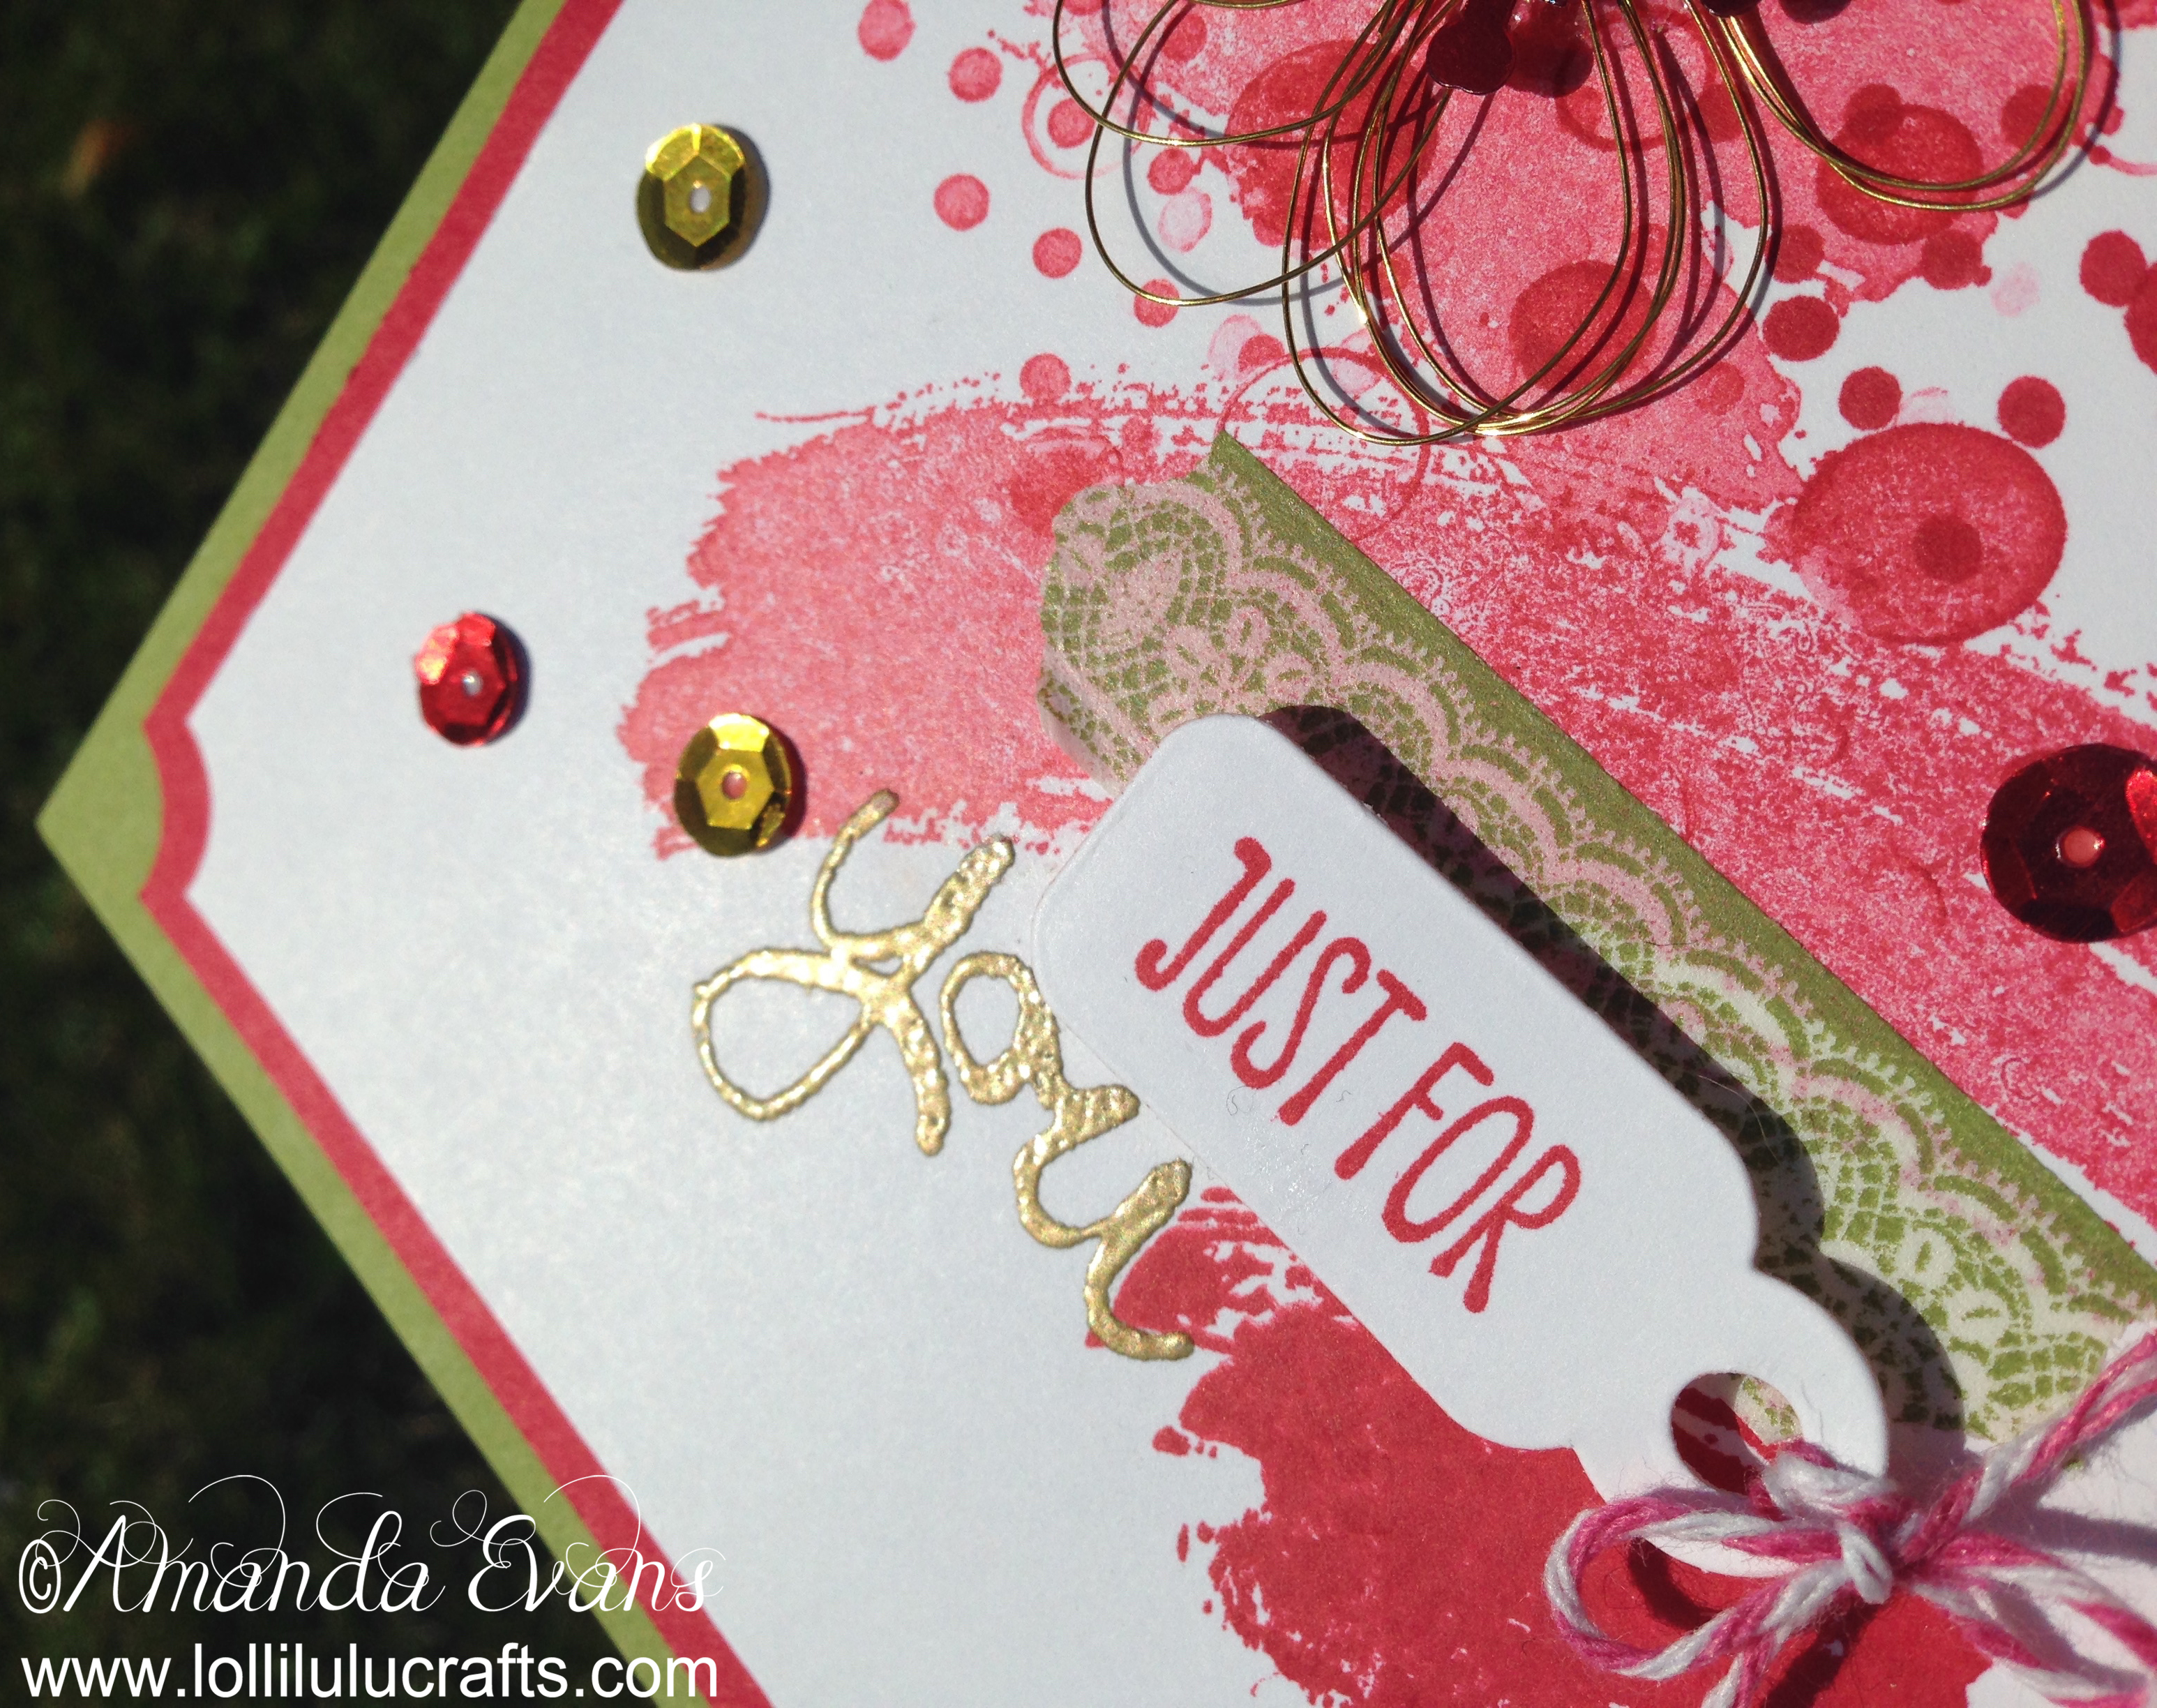
Next I stamped my sentiment one part onto a spare piece of the Whisper White and one onto my Stamped design using my Perfect Medium and Gold Embossing Powder. I really liked the finished effect of the embossed sentiment.
Next I added my small piece of Washi Tape which I had chosen to match in, although it wasn’t Stampin Up, with my Mossy Meadow card. I then set my stamped piece aside while I made my card base as the next parts to be added to the stamped piece were 3D and I thought it better to have it all stuck together before adding that.
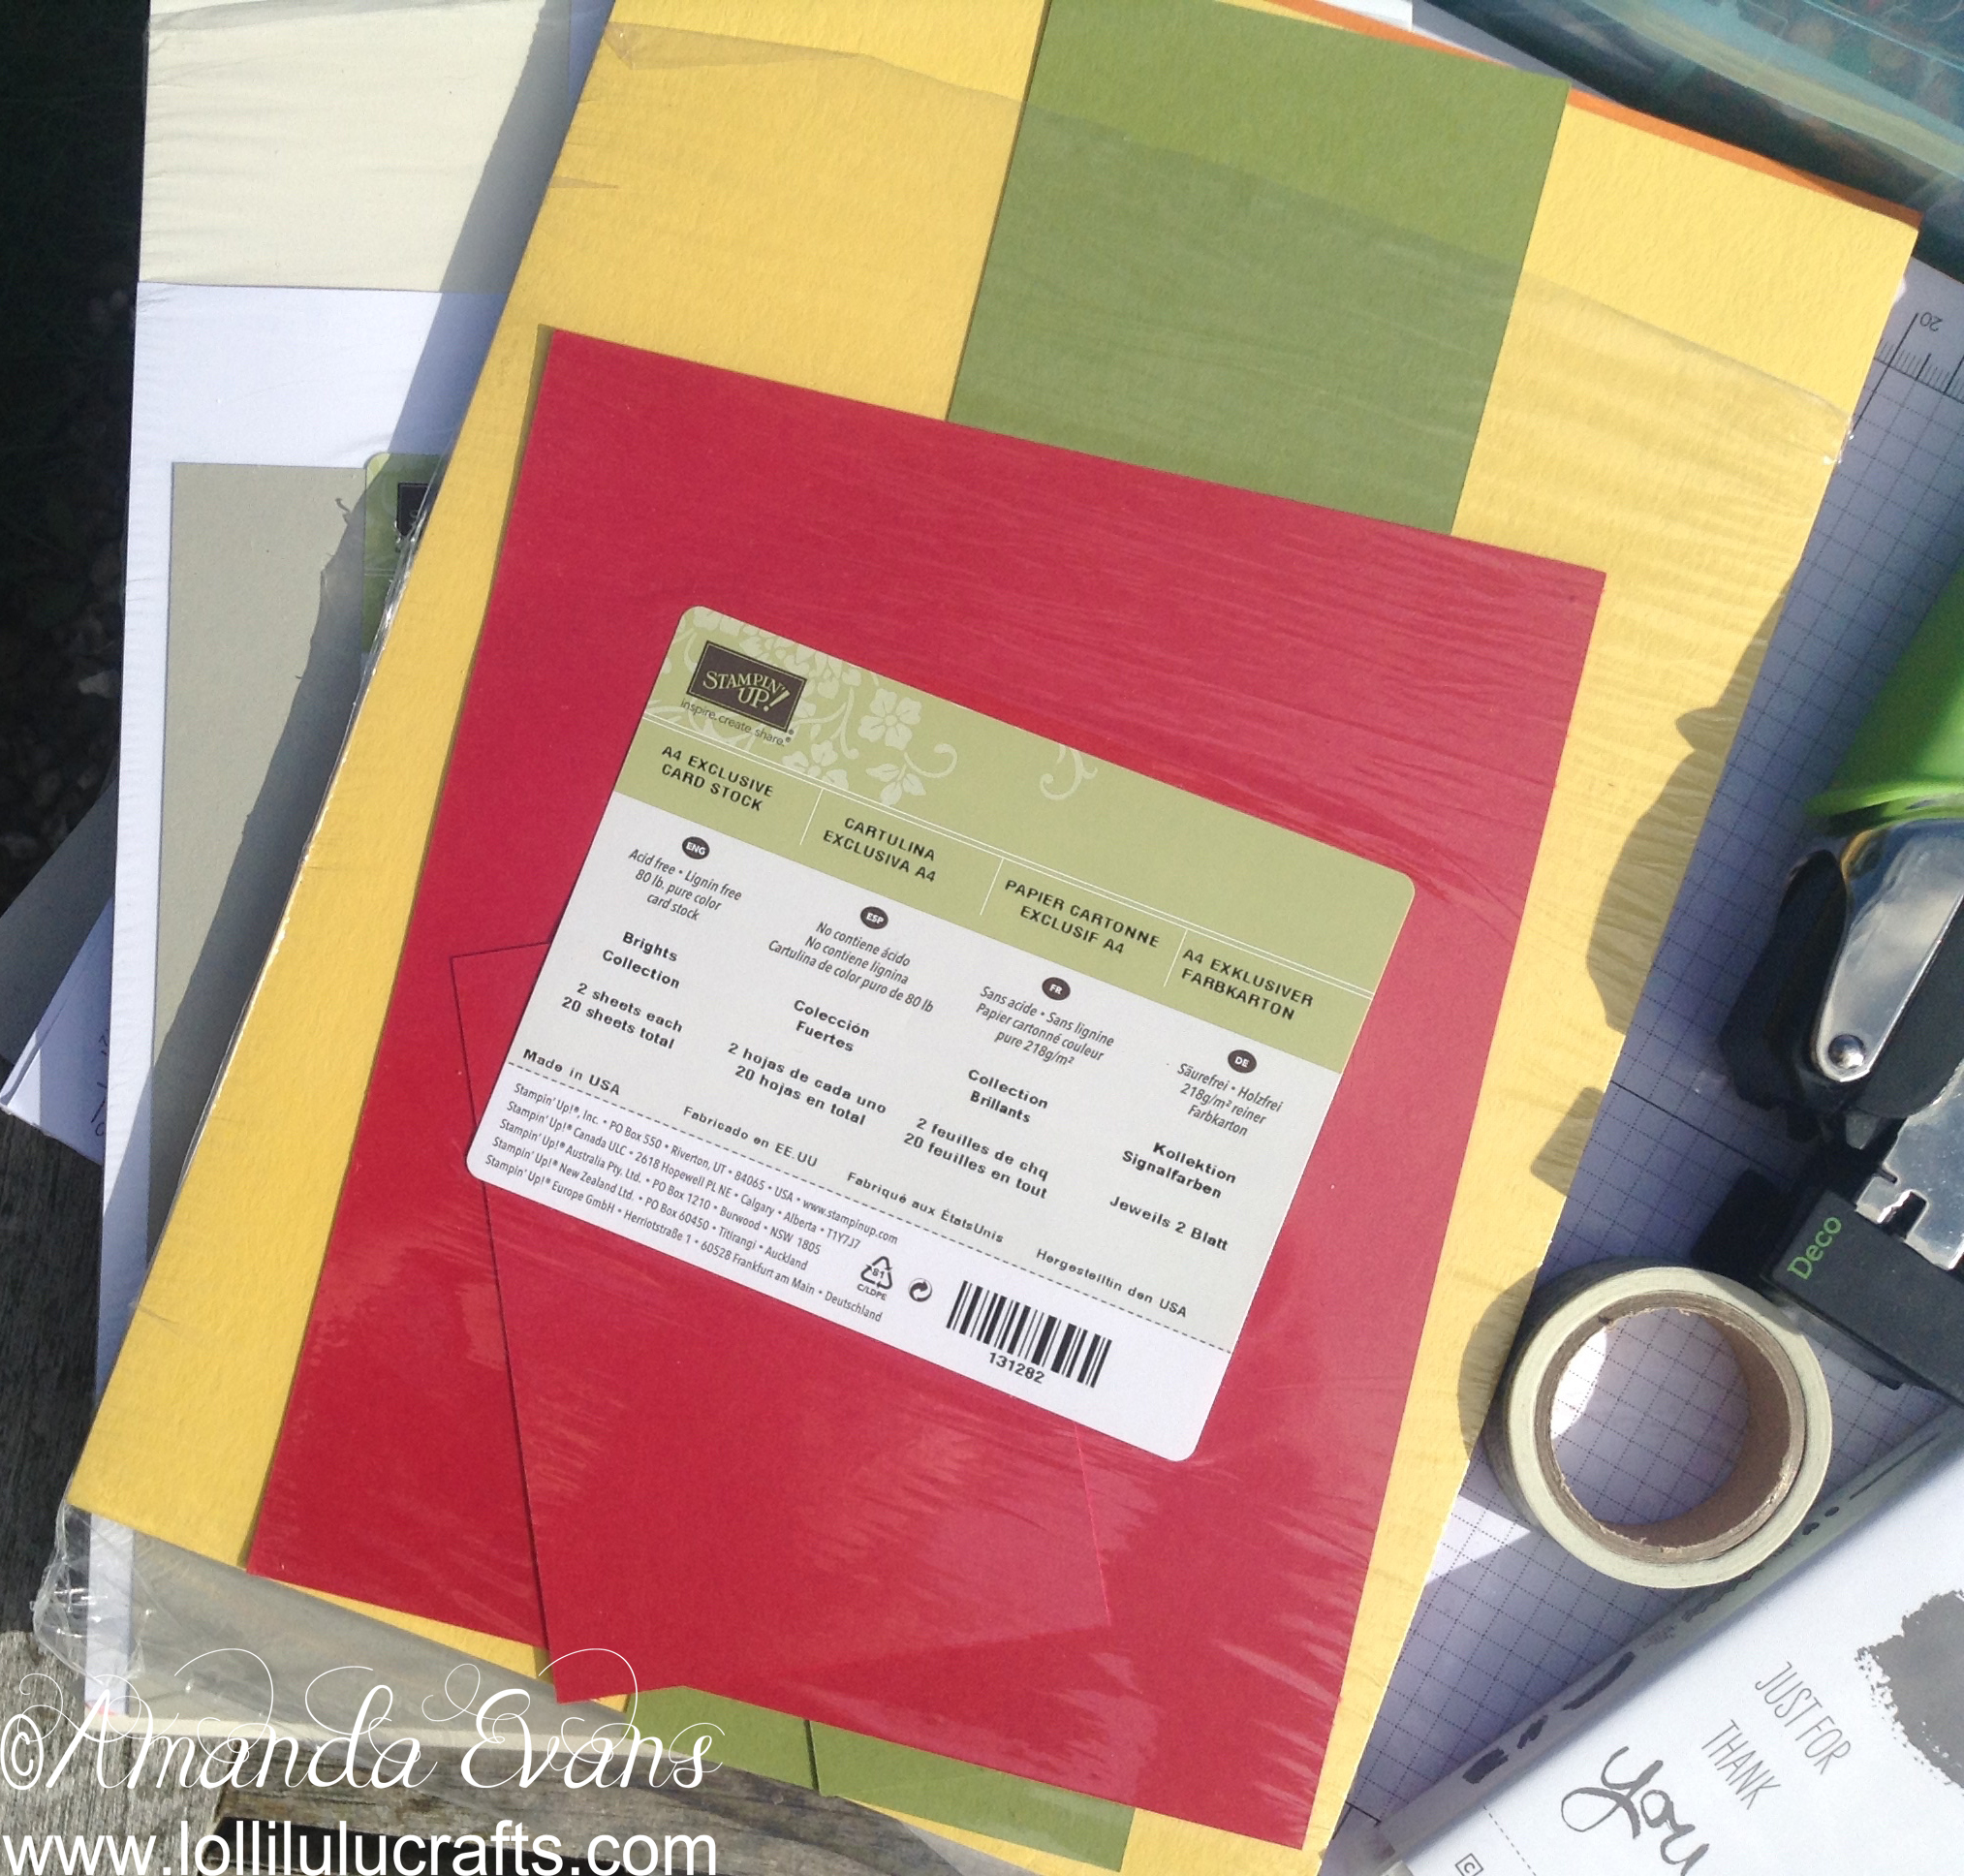
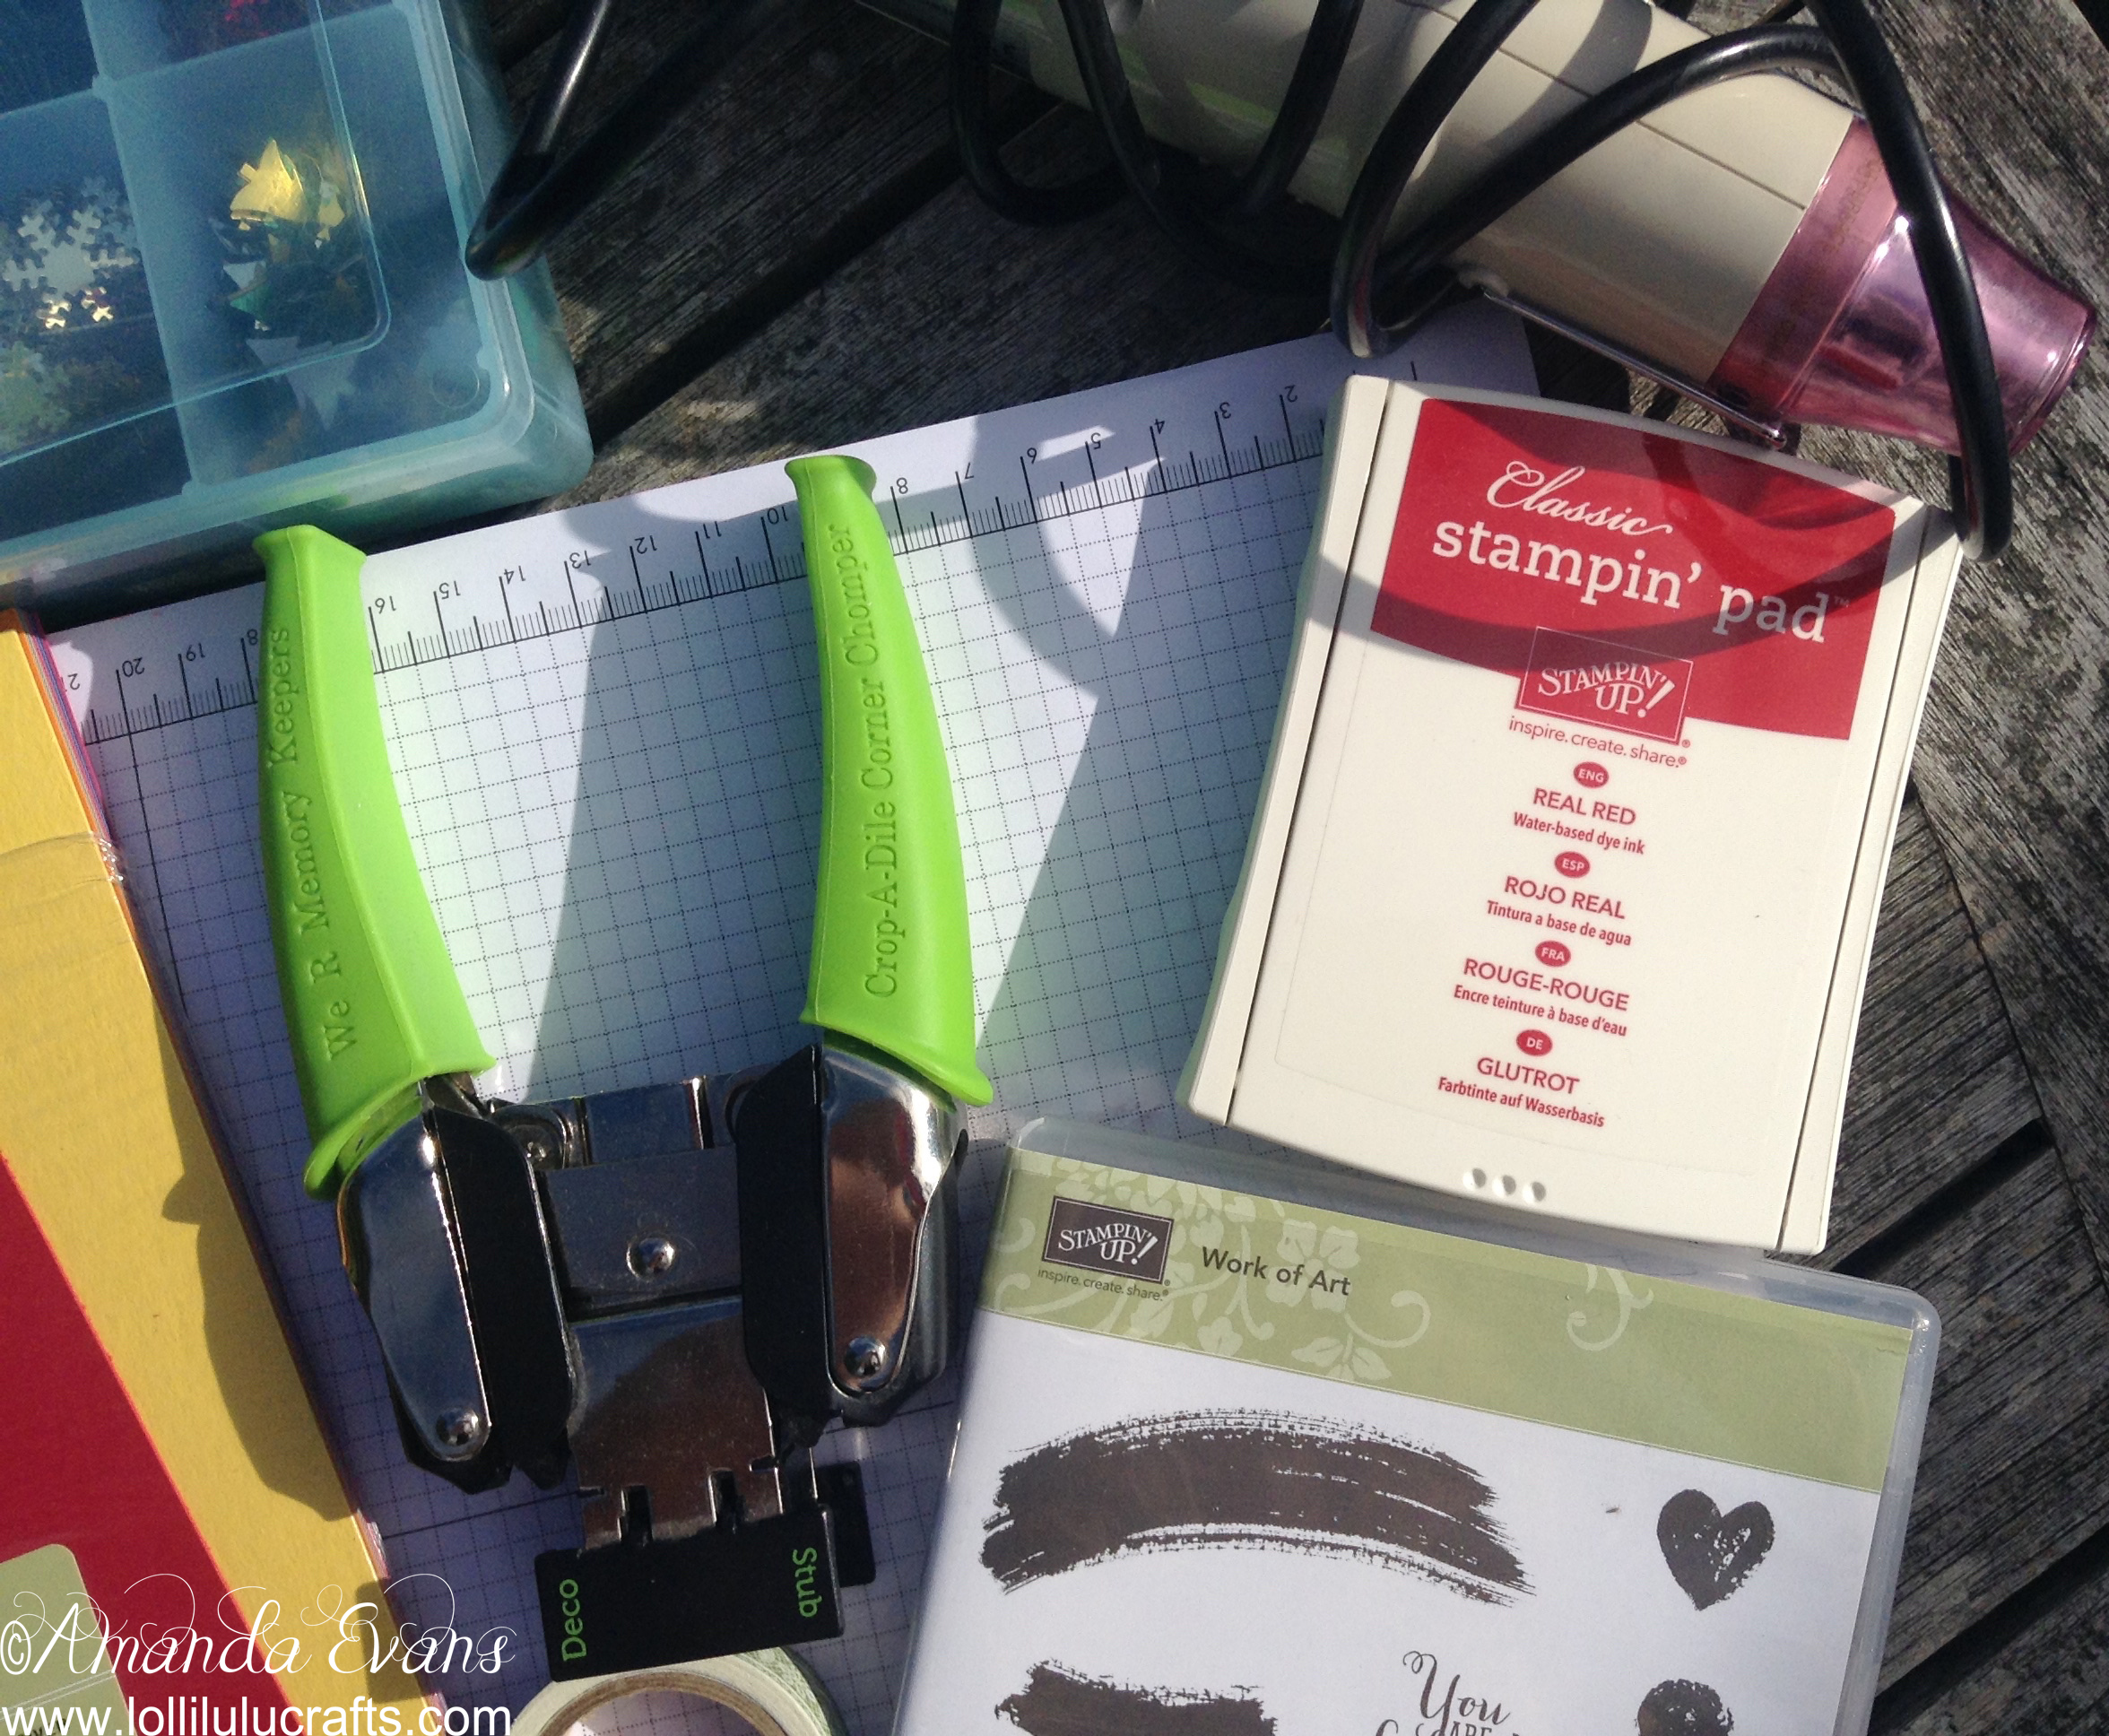
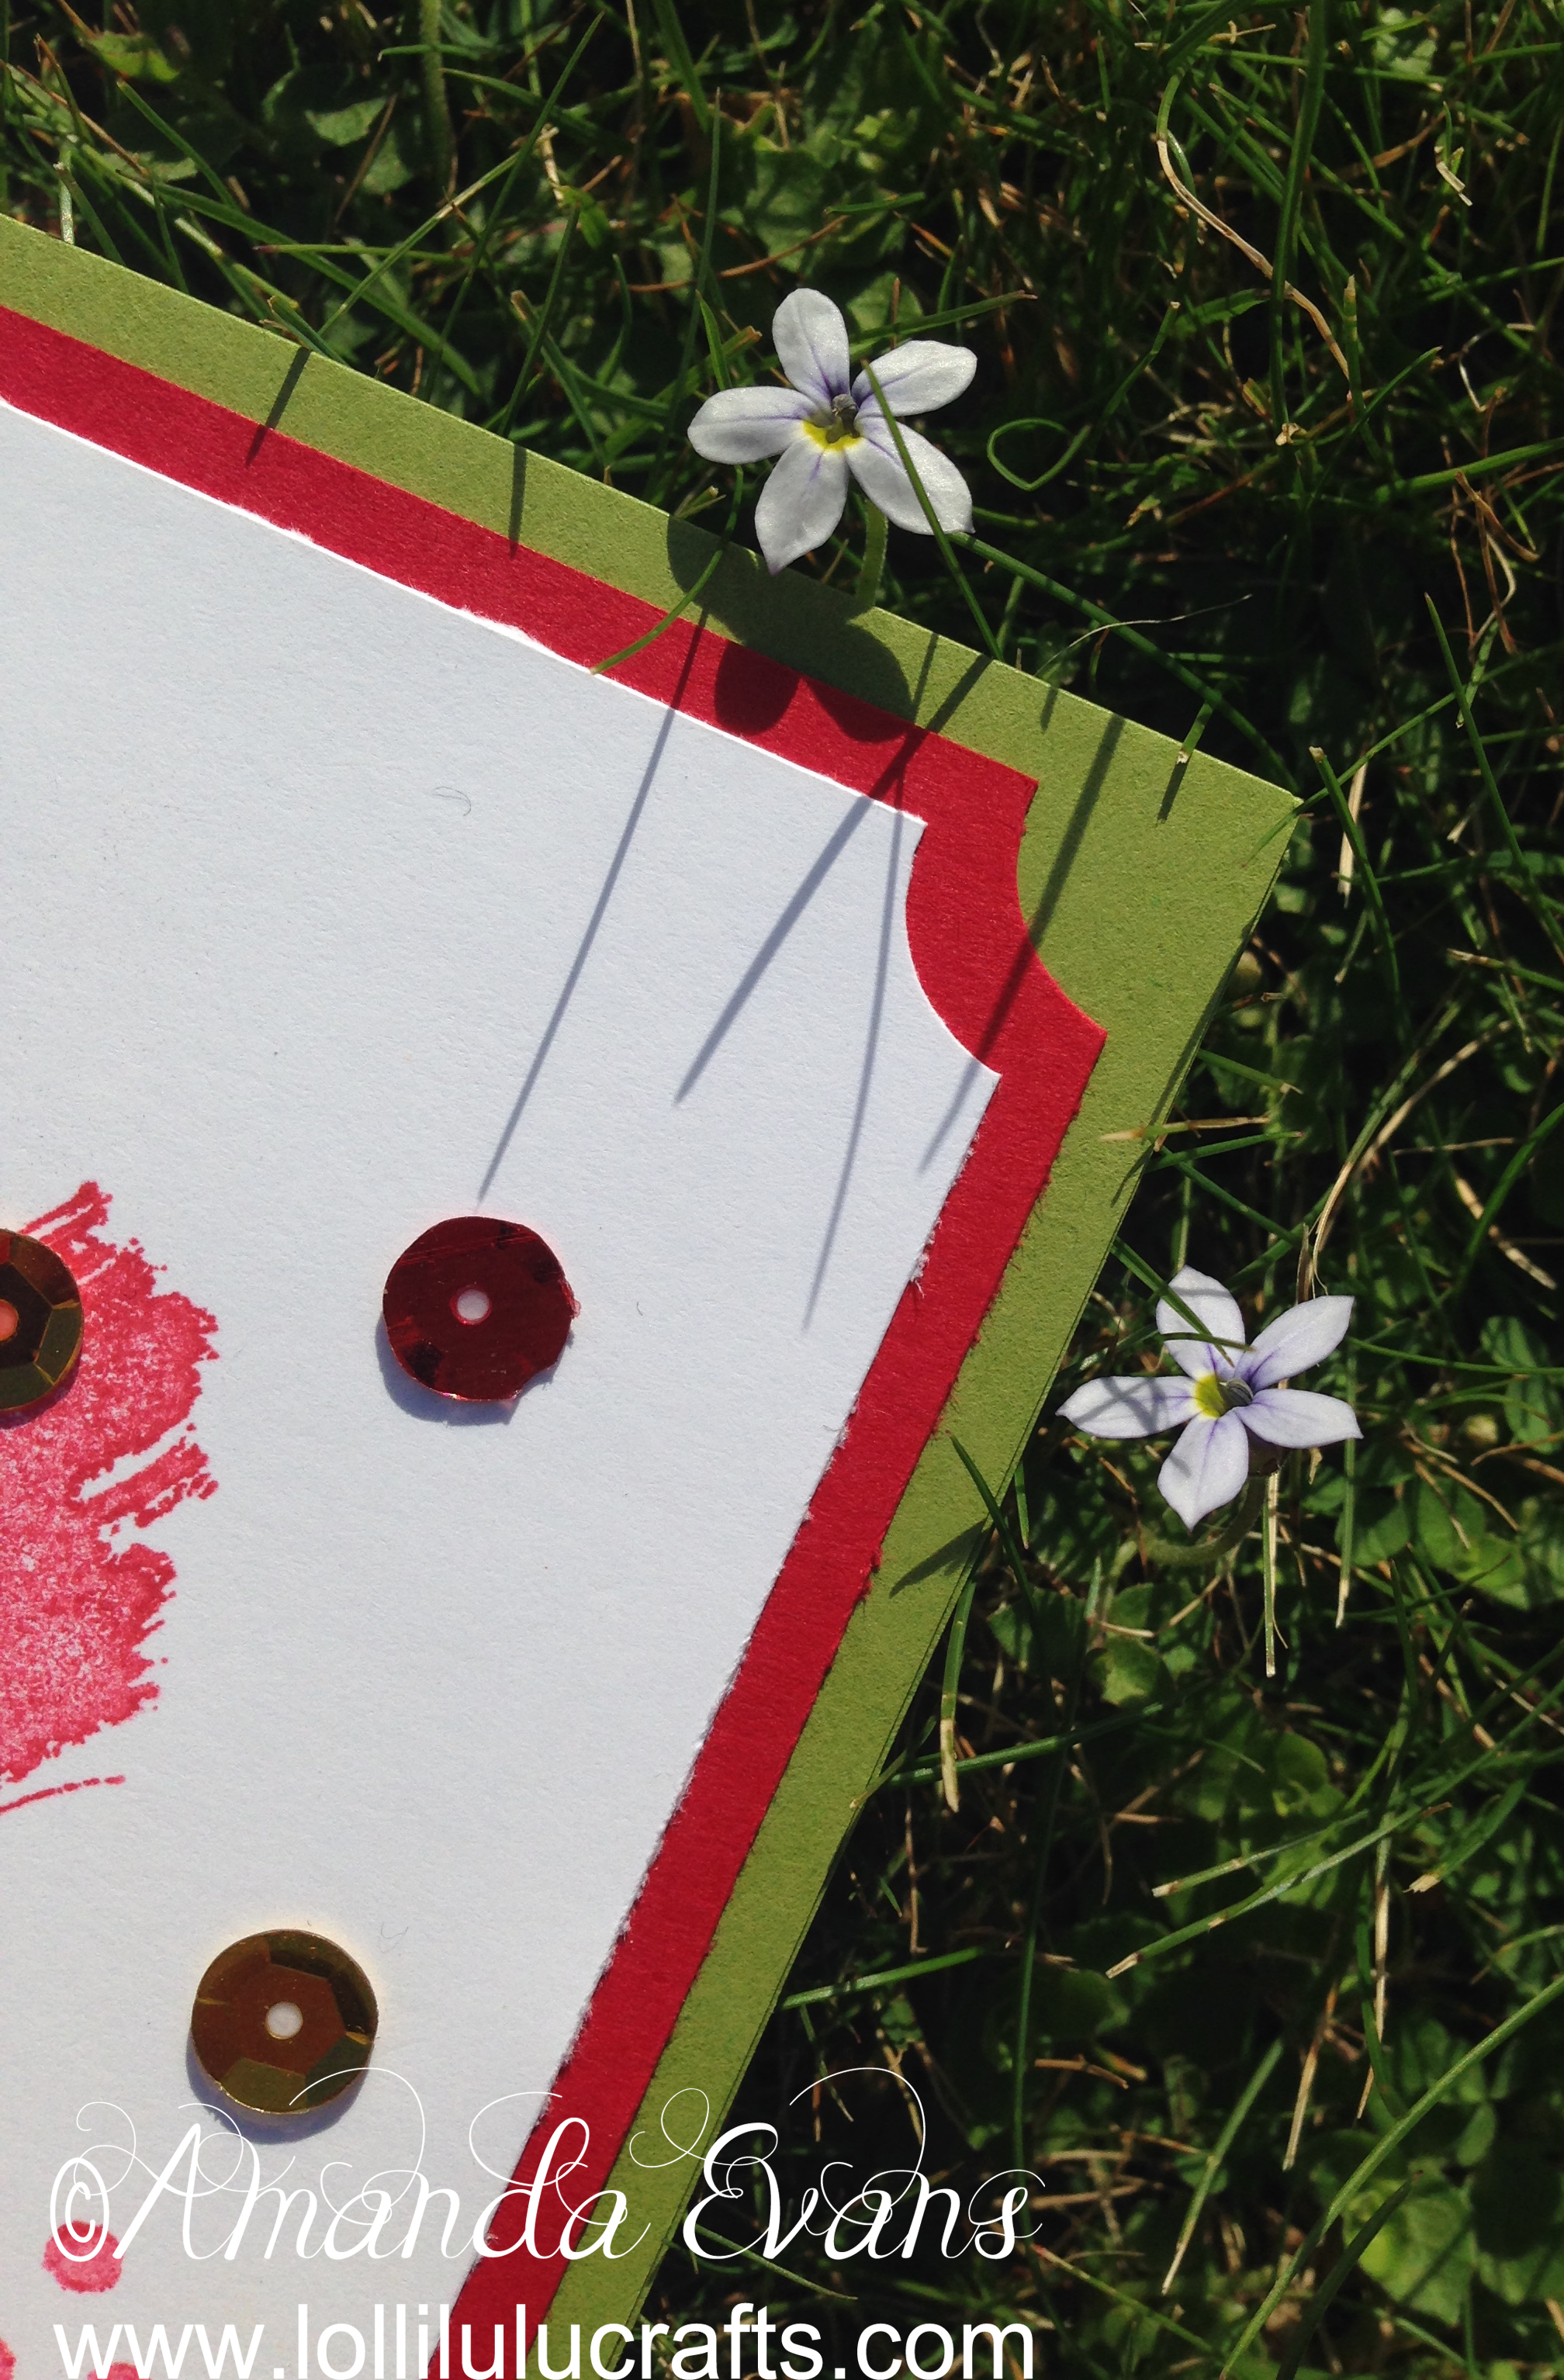
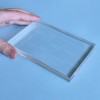
So I then cut a piece of Real Red Card to 4 3/4″ x 4 3/4″ and then before layering that with my Whisper White Stamped piece I took my Stub Corner Chomper and ‘Chomped’ a Stub Corner on both layers. I then matted one onto the other.
Next I took the Mossy Meadow and cut it to 5″ x 10″ and then scored it on the long side at 5″ to create a 5″ x 5″ card base. I decided to leave the corners as they were on this piece and so then just stuck the Real Red and Whisper White Stamped Mat to the front of the card.
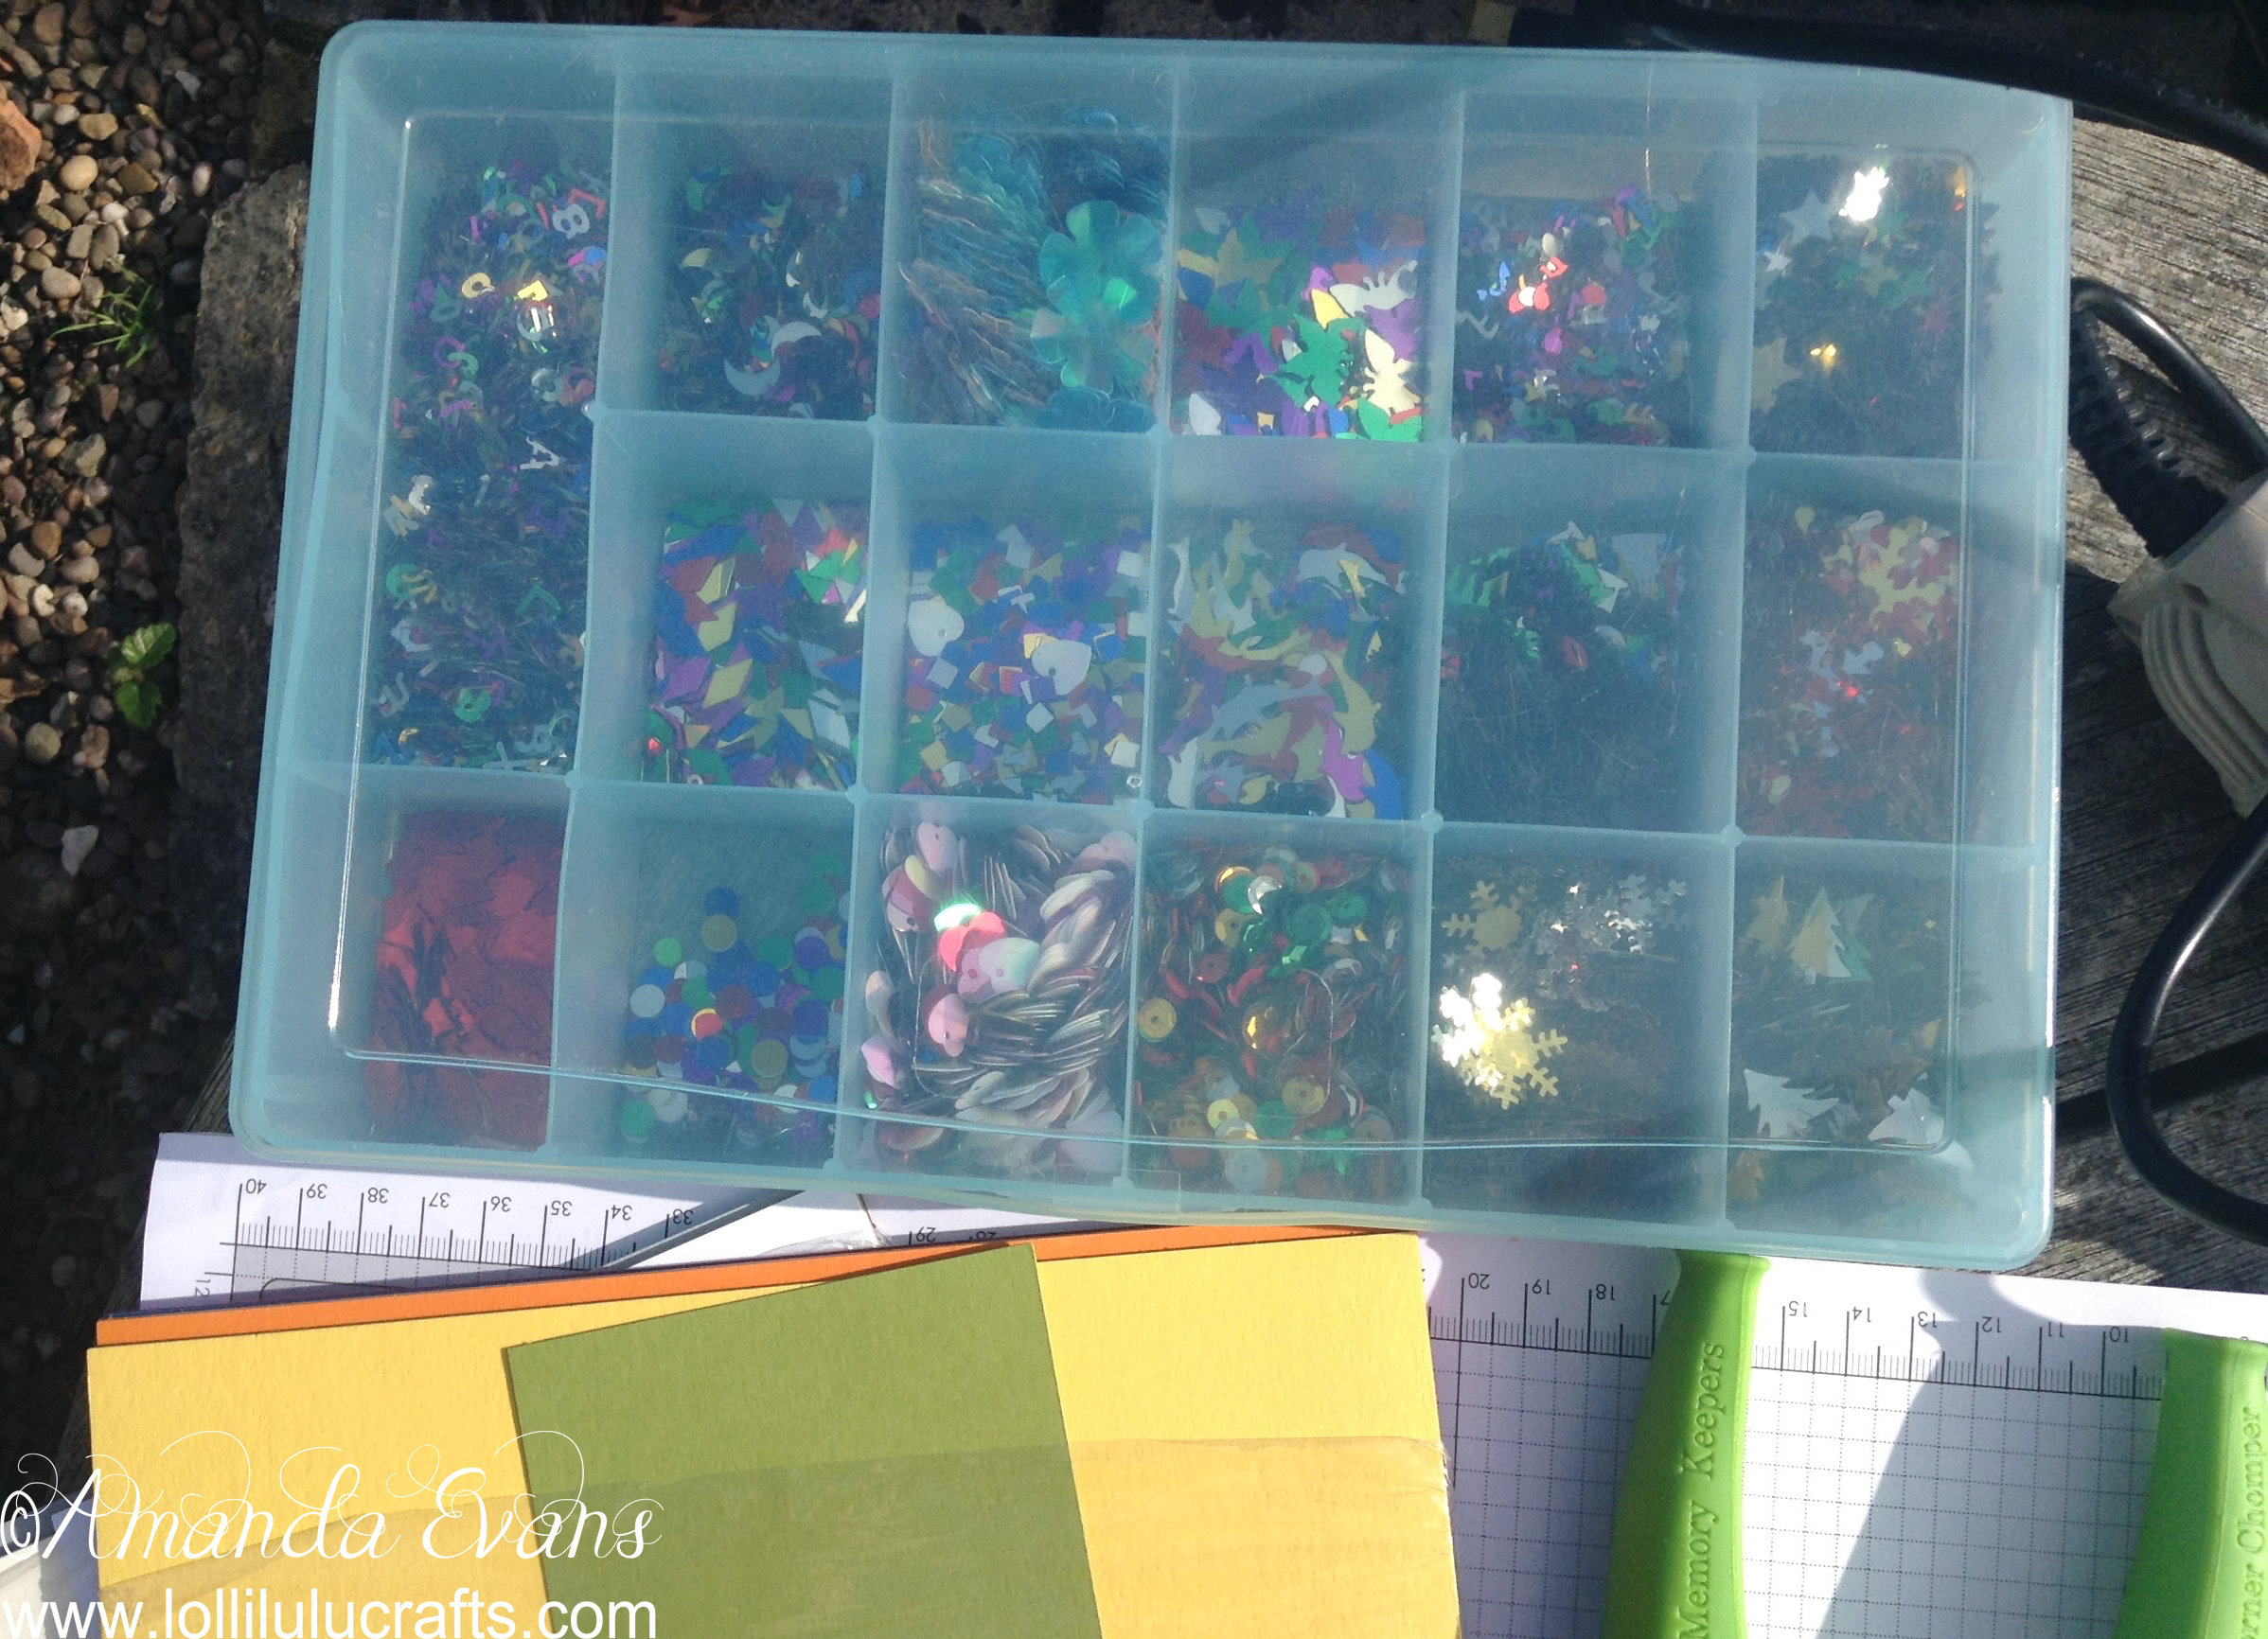
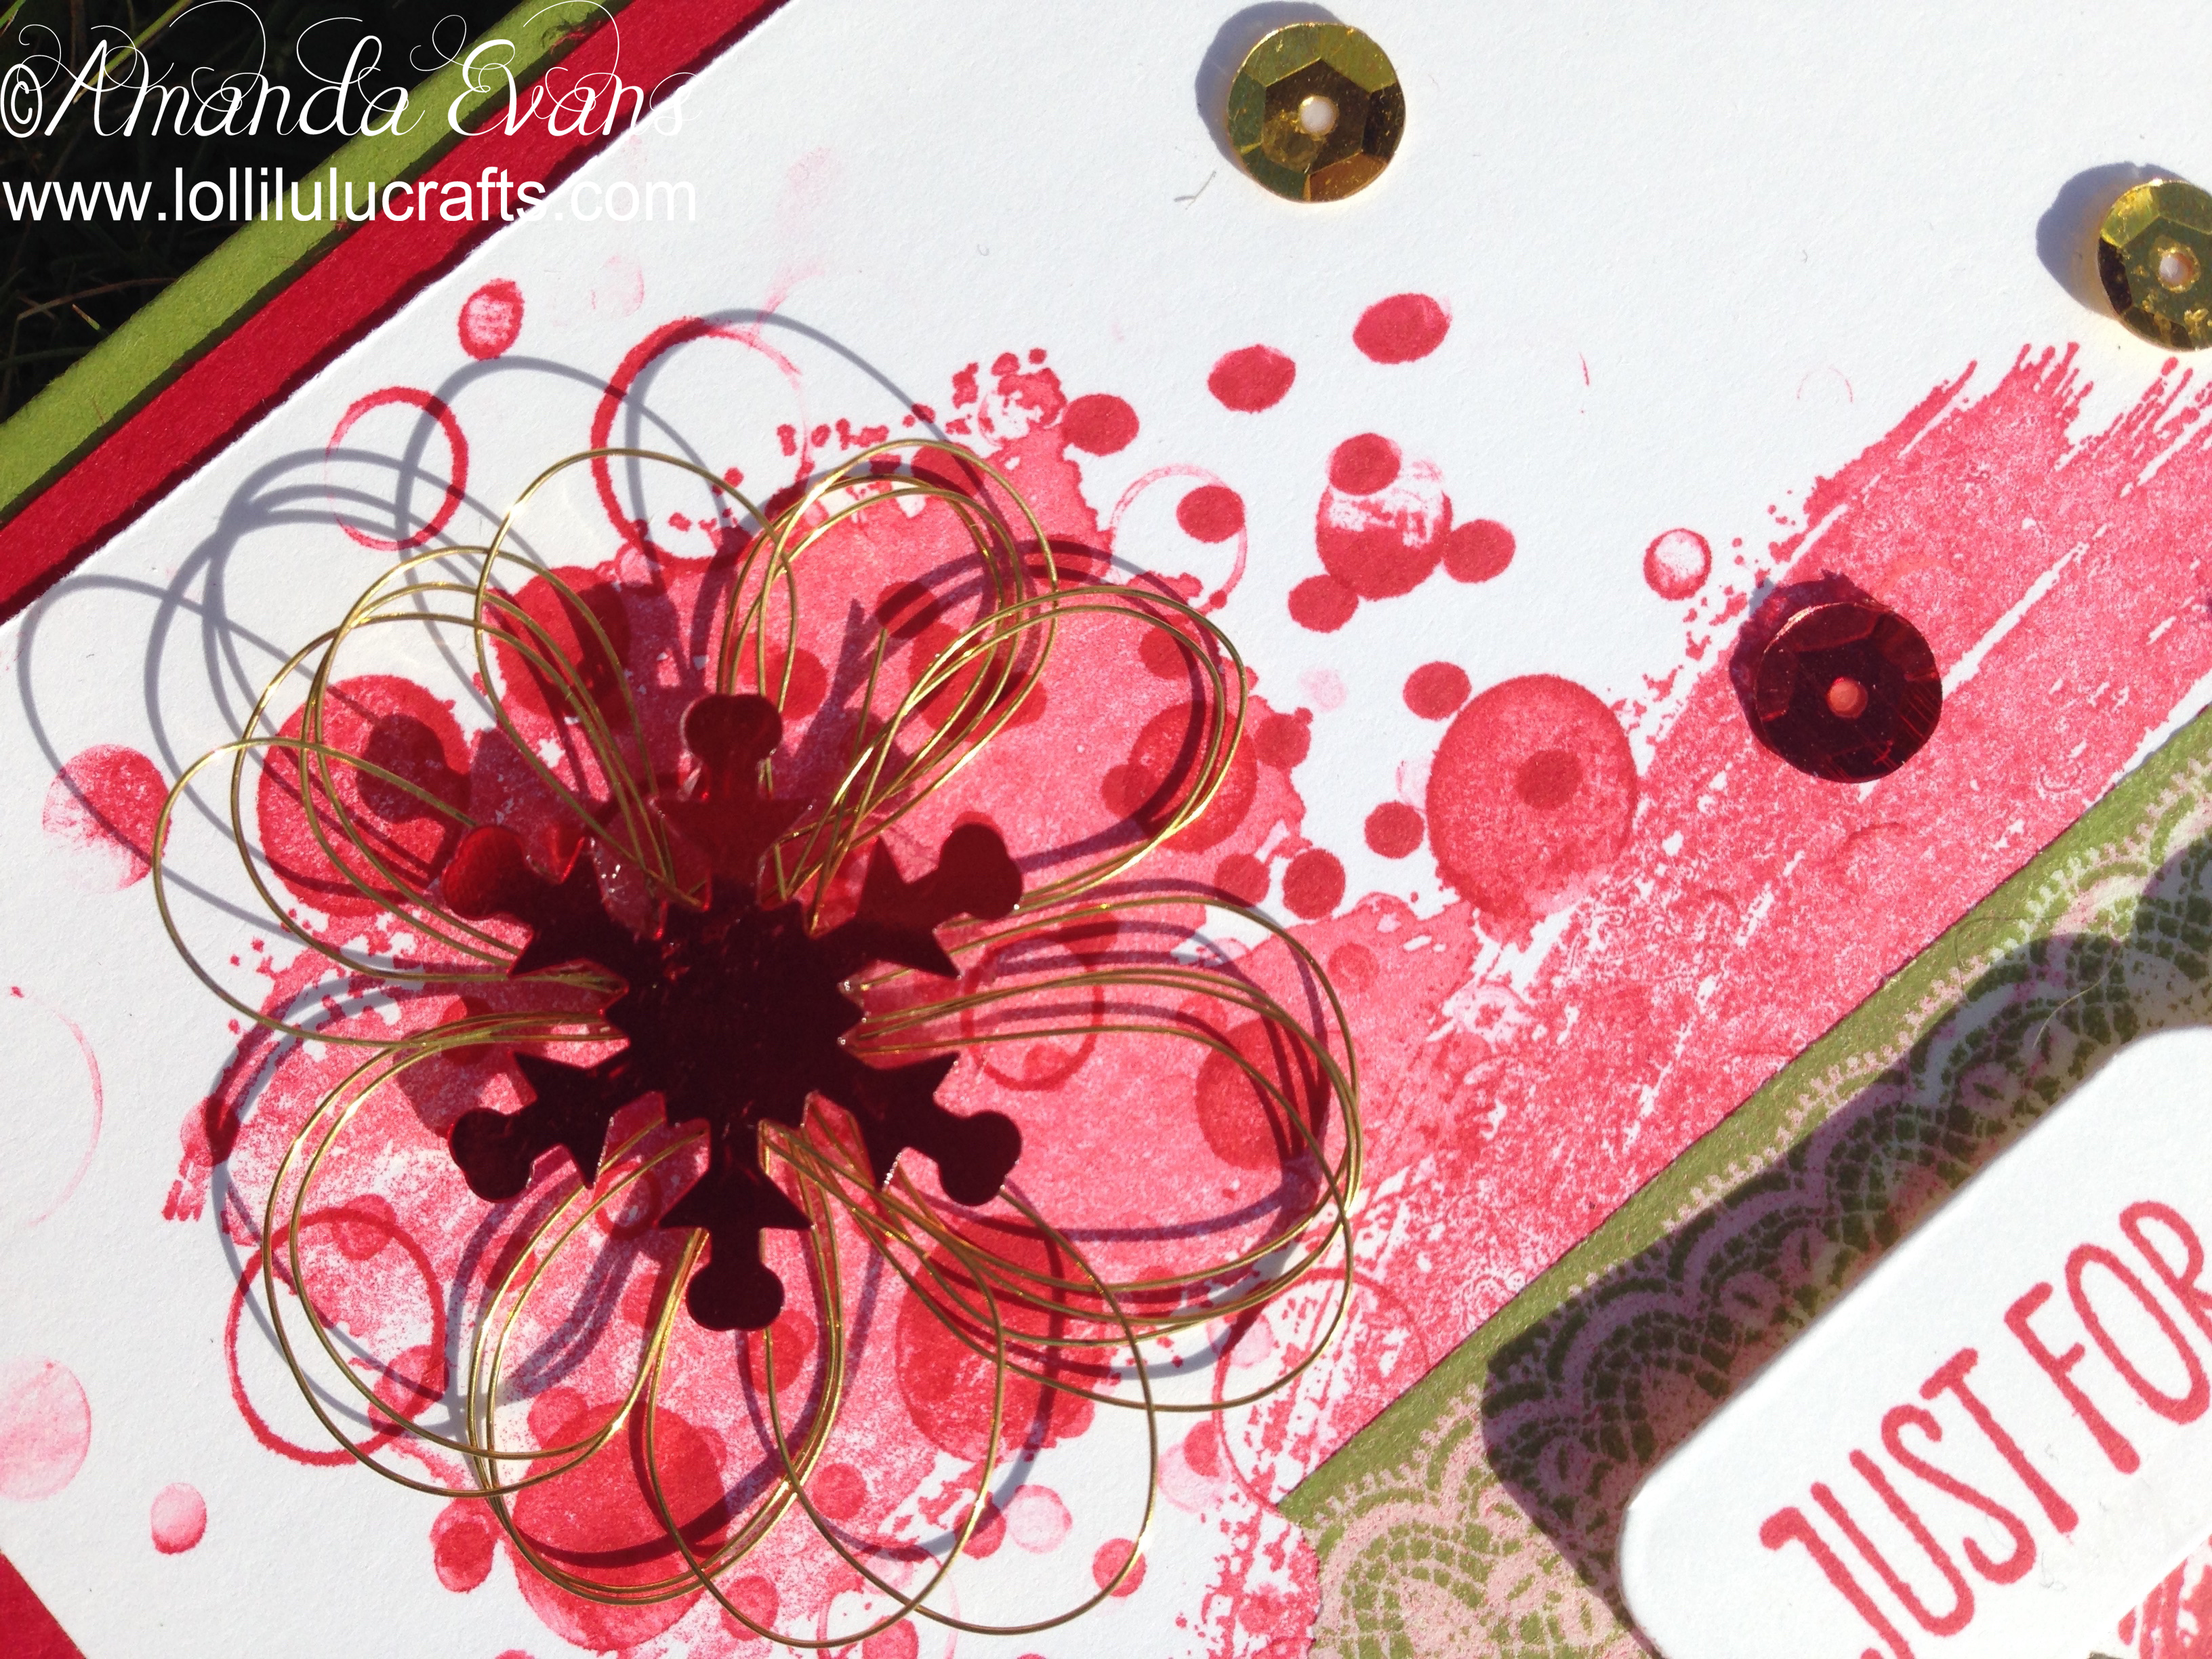
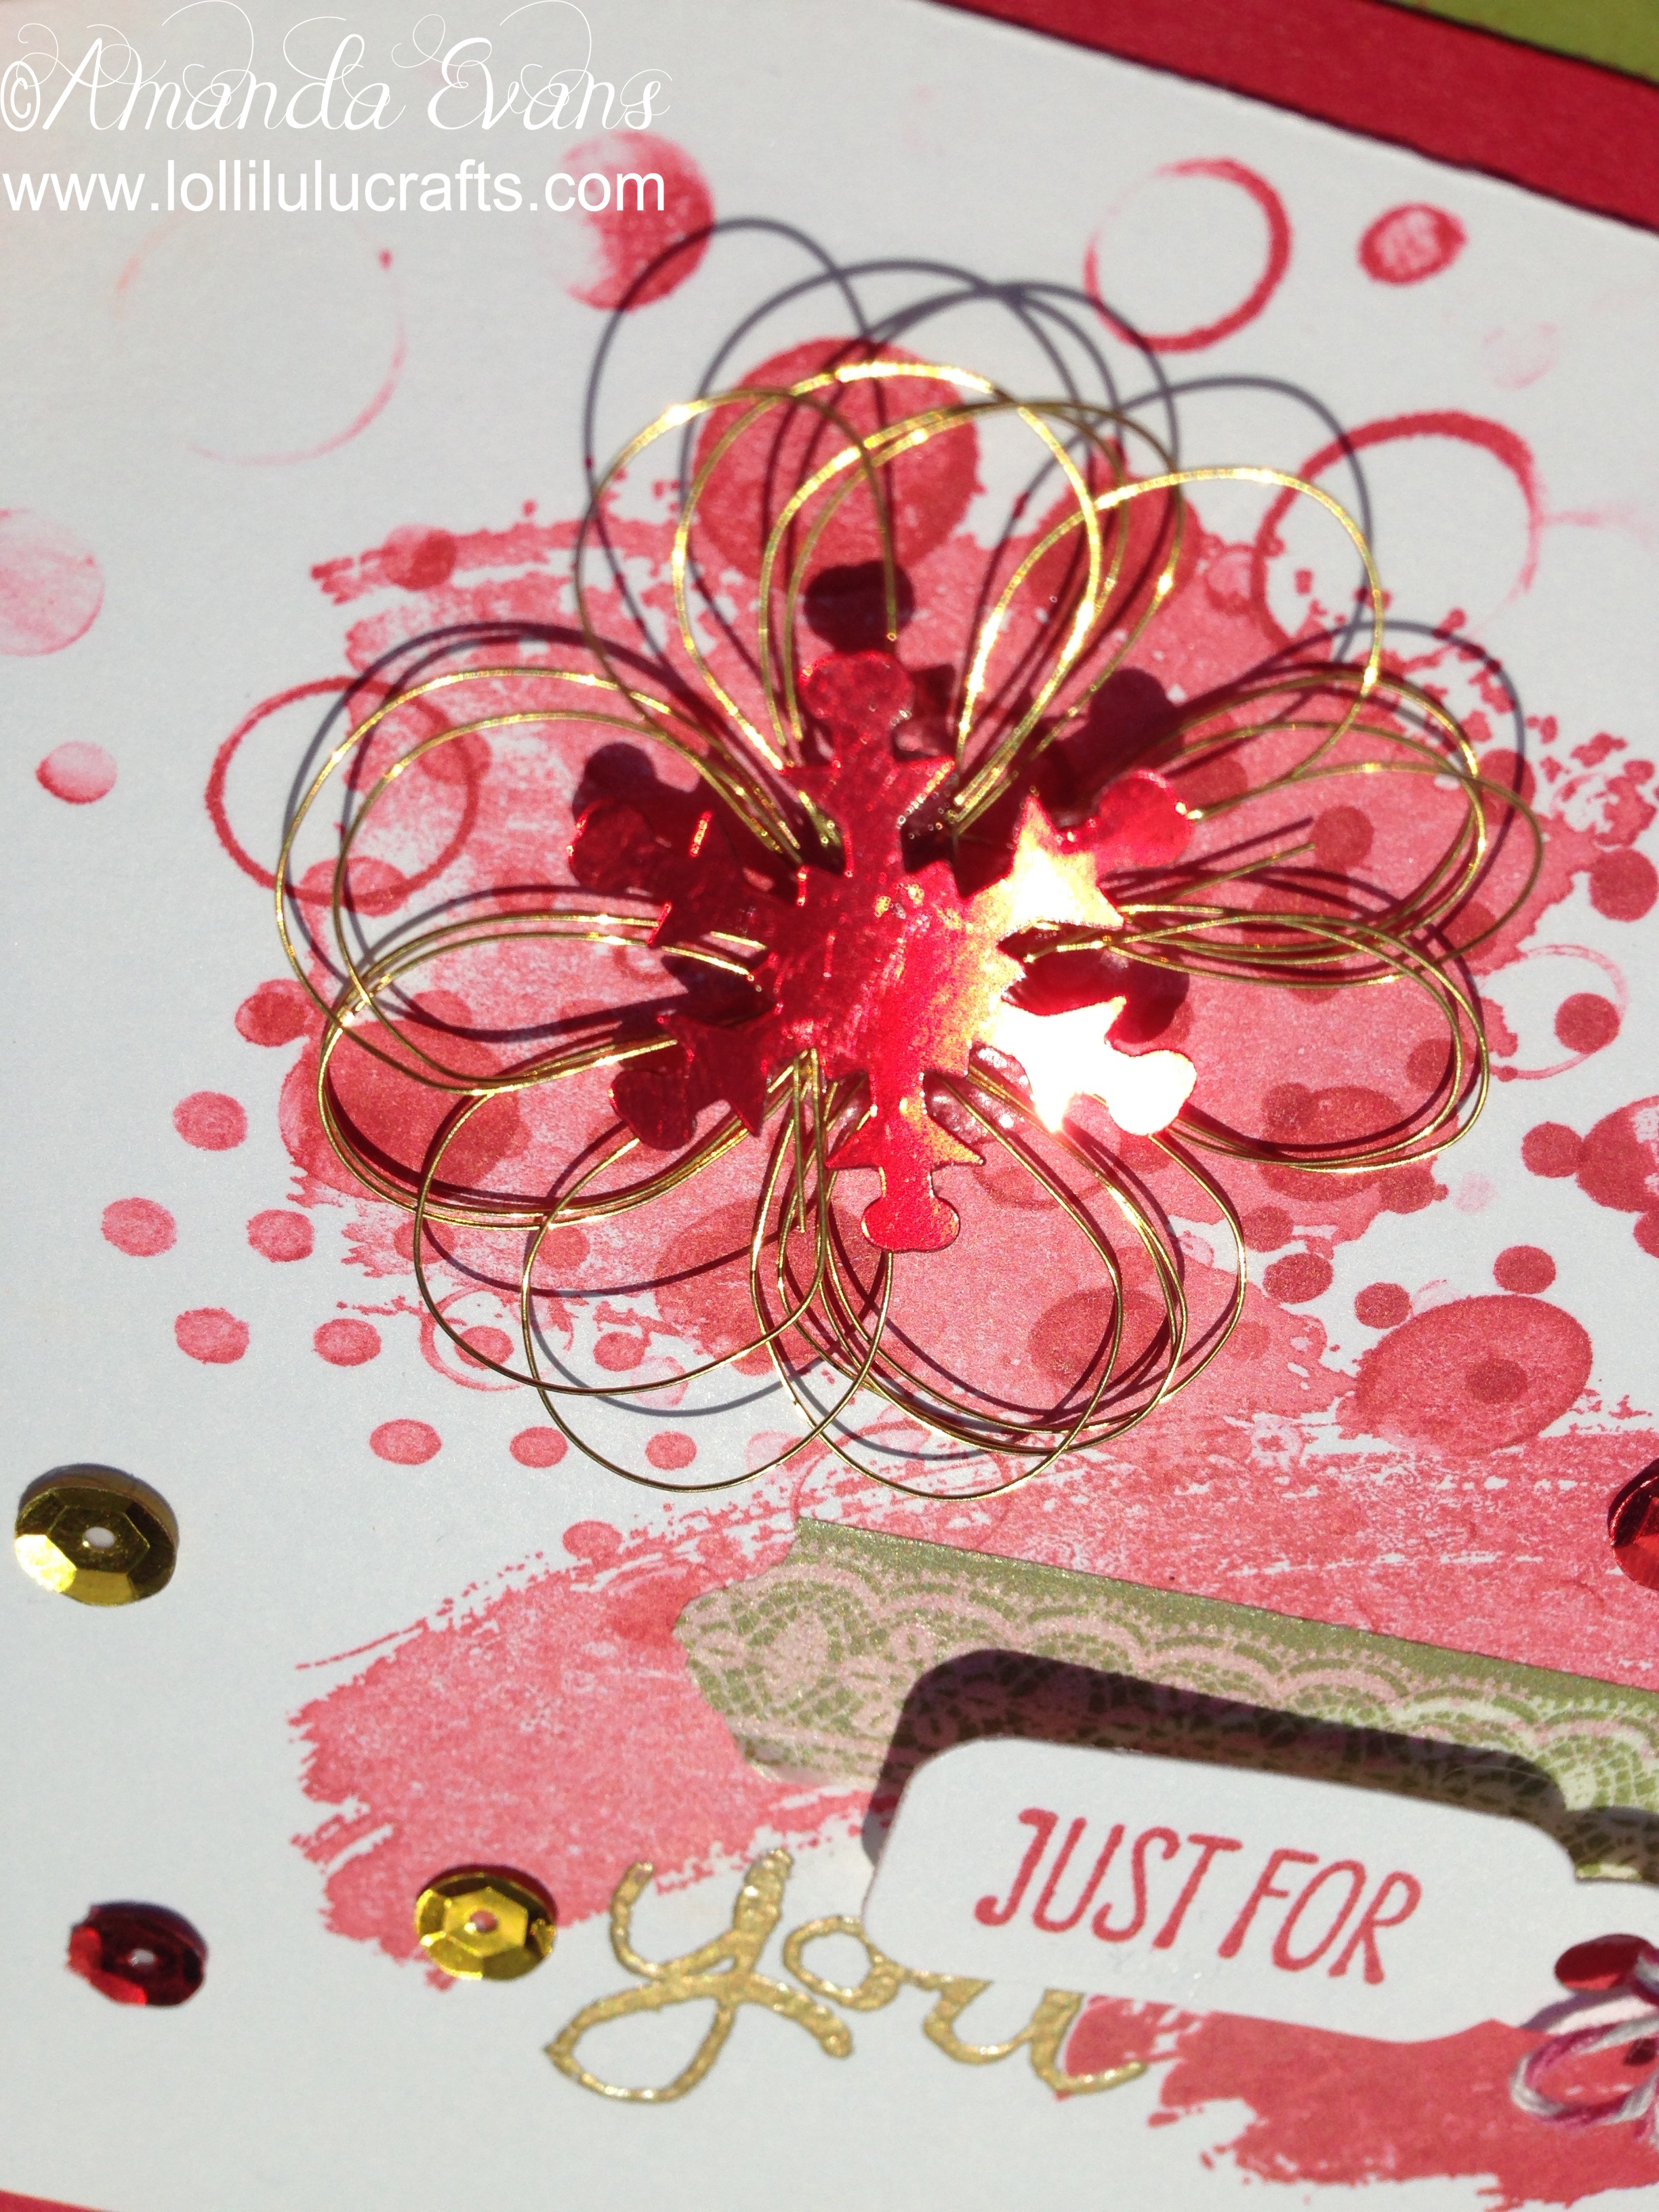
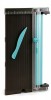
Then I took some Gold Fine Wire which was already looped and twisted in the centre, I think they just do it like that for storage and sale but it proves very handy for me here as all I had to do was gently spread the hoops around to create a flower look. I then attached this to the card with 3D Glue Gel, and into the centre I attached a Red Holographic Snowflake. Finally to finish I randomly added some Red and Gold Sequins and that was our completed Stampin Up Work of Art Christmas Card

So I hope you have enjoyed taking a look at both of these cards. If you want to go back and see the video then click this link HERE and it will pop you over to that post. But for now hugs and have a great craft day,
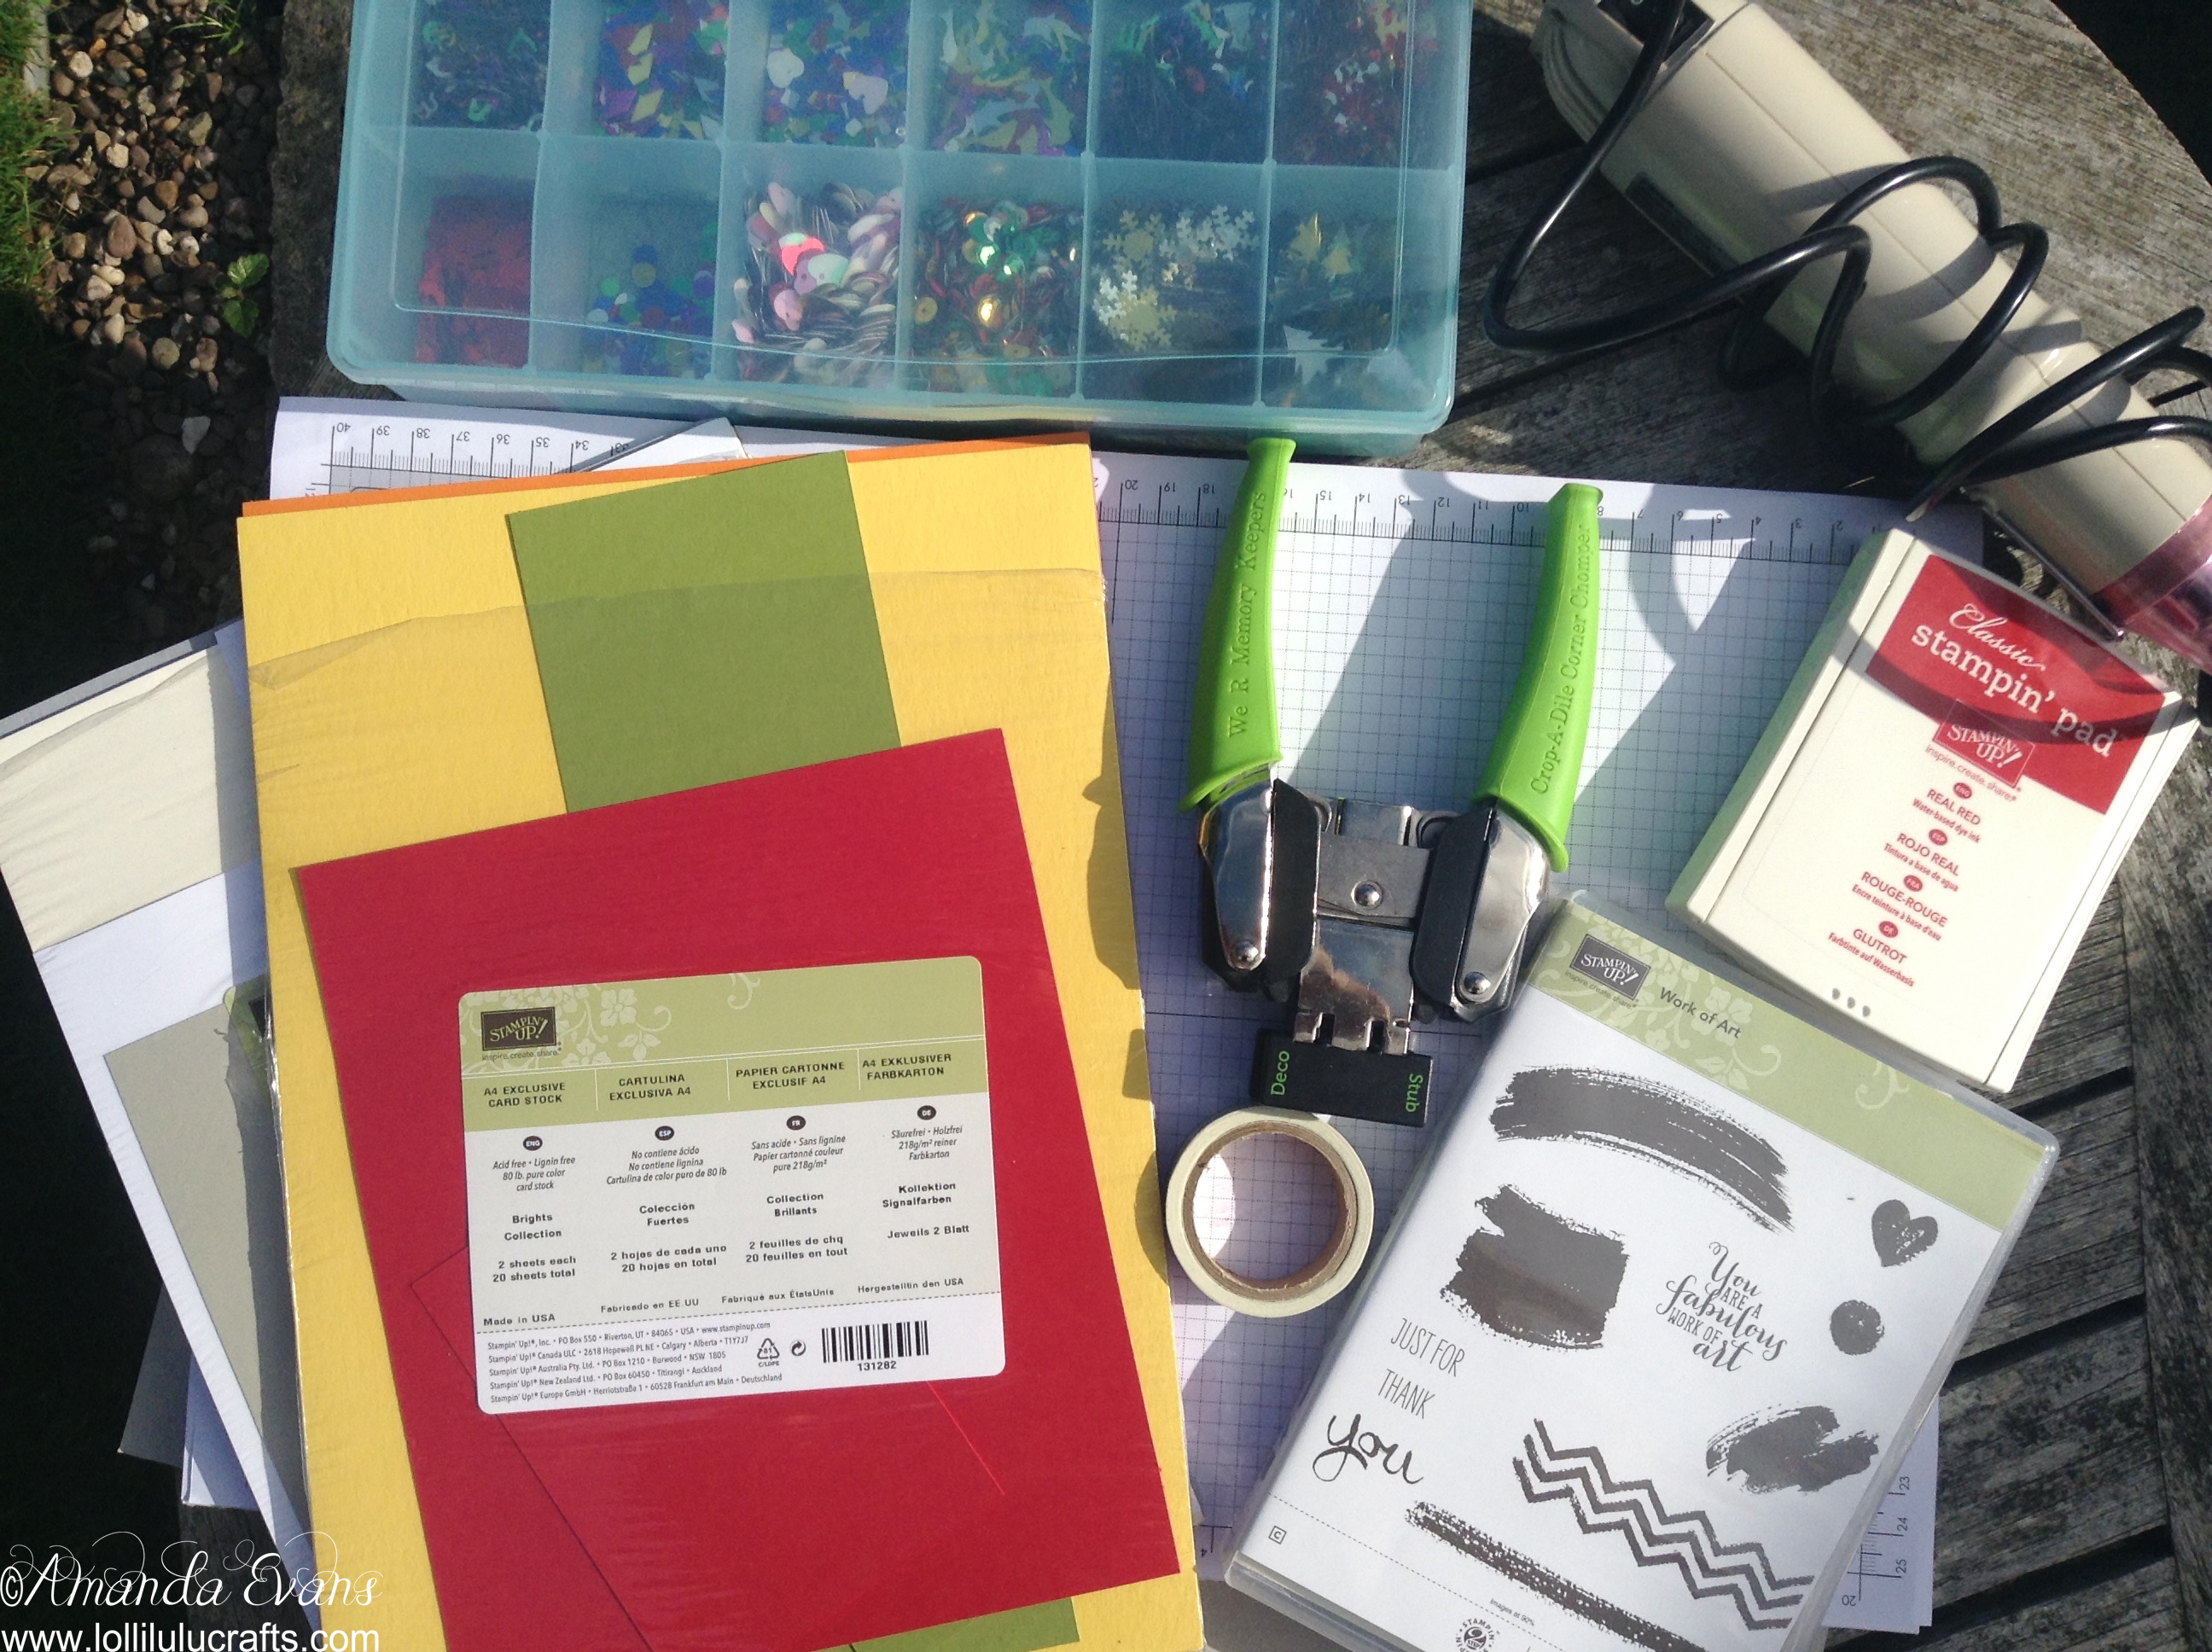
●▬▬▬▬▬ ●SUPPLIES● ▬▬▬▬▬●
Below are the products featured in today’s Video. Some products can be purchased from multiple stores so I have given each store different letter codes. Click on the letters below the picture to go to a favourite store: Simon Says Stamp (SSS), Dick Blick (DB), Cricut (C), Scrapbook.com (SB) and Amazon (AMZ)


●▬▬▬▬▬ ● DISCLAIMER ● ▬▬▬▬▬●
Affiliate links are used. For affiliate information and policy please see the Policy page.

That was very pretty u