


Hiya, now I just adore House Mouse and it’s been awhile since I’ve shared any House Mouse Cards with you so today I have for you a cute House Mouse Wedding Card that I actually made a little while back now. Although even if you’re not into house mouse you may find that the actual style of the card inspiring as it could be used with any topper design.

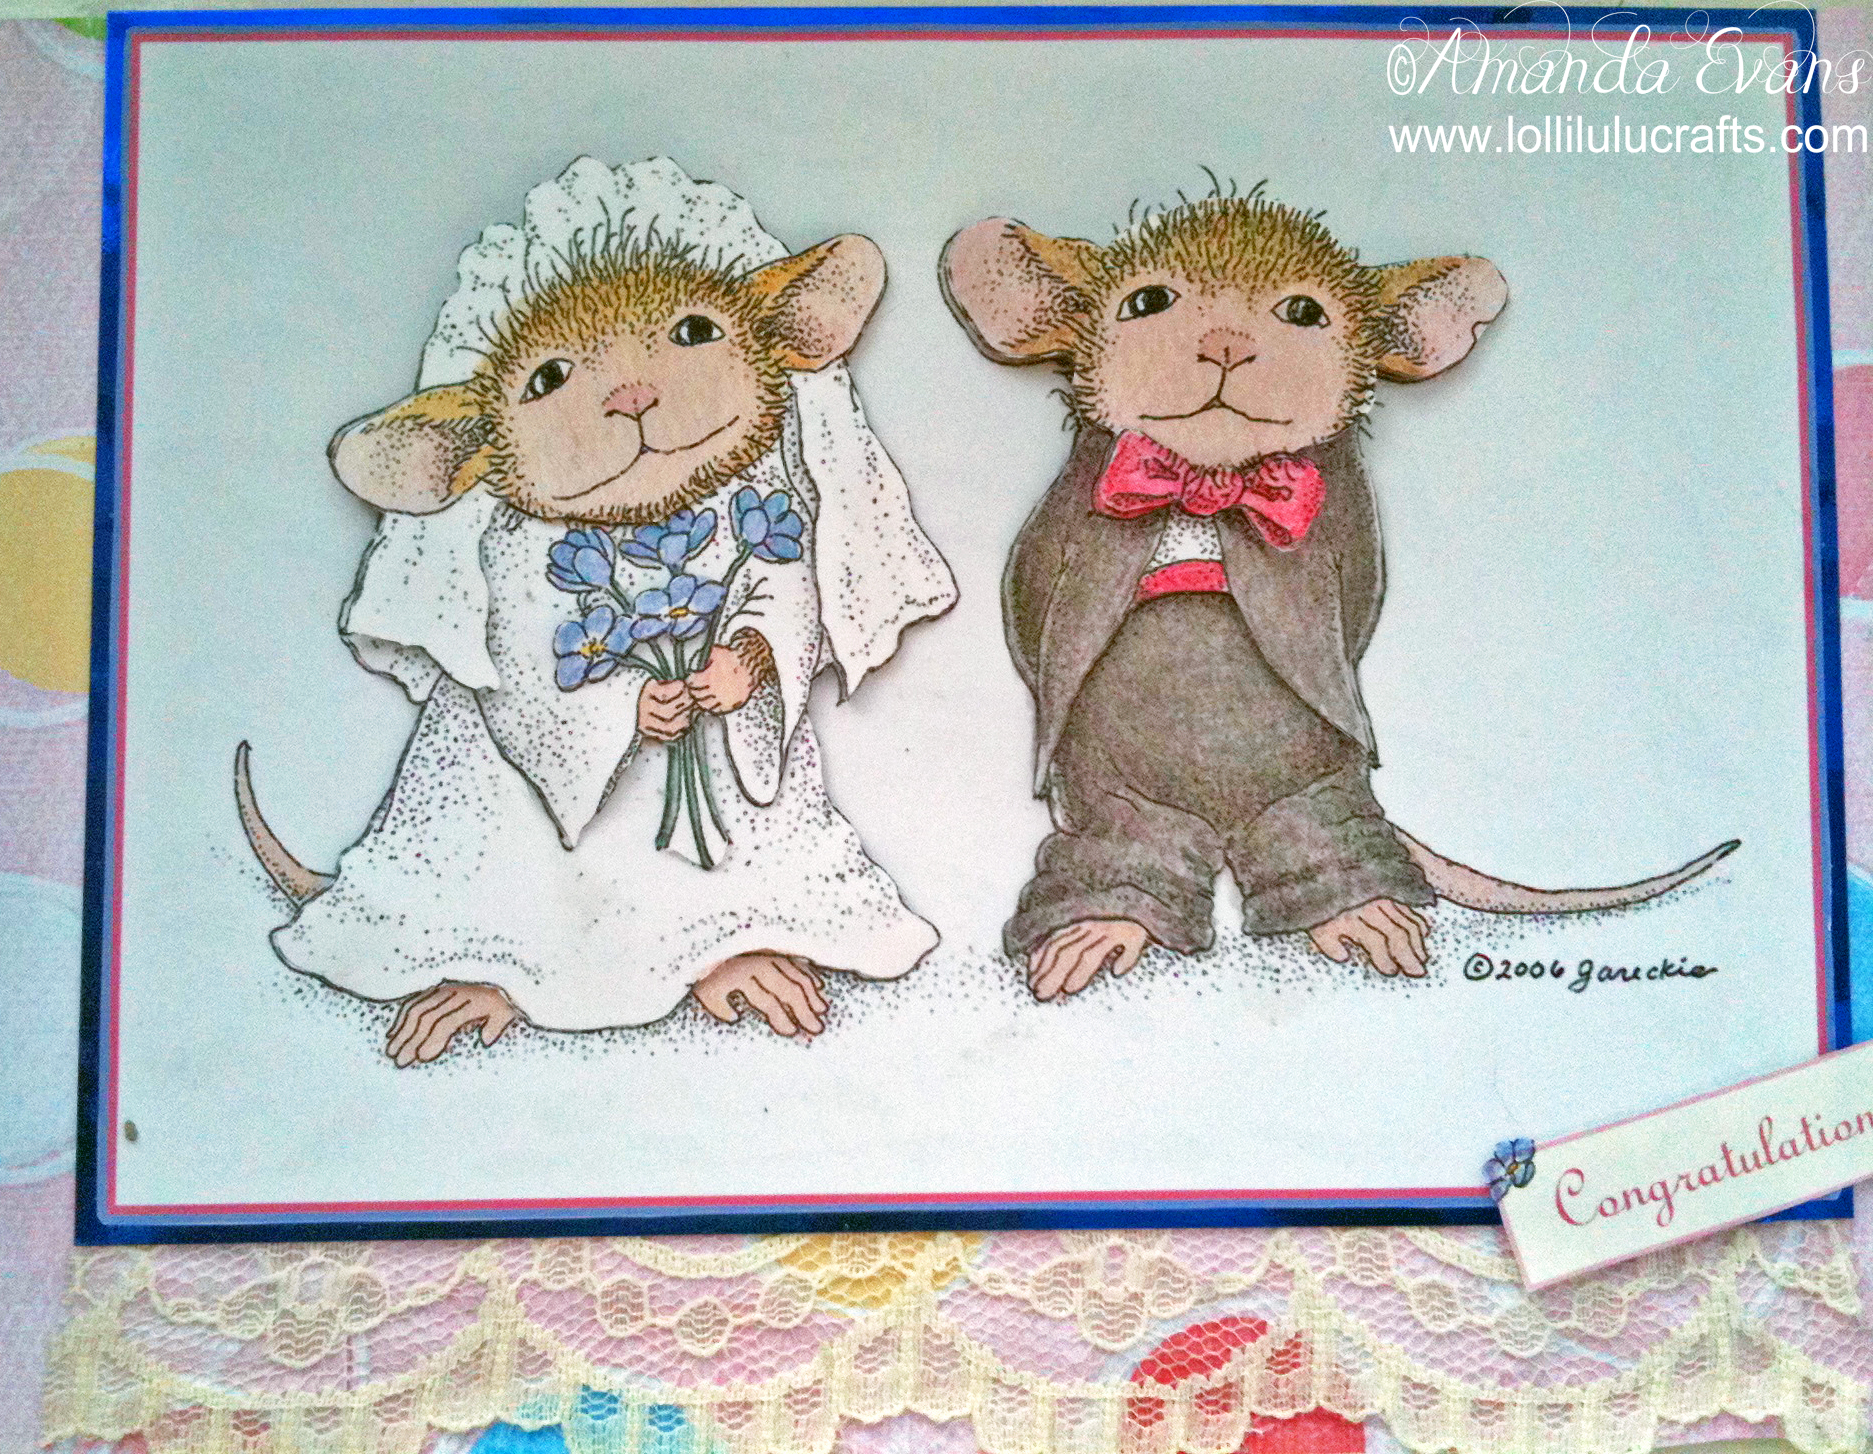
For today’s card I used one of the pre-printed decoupage House Mouse sheets from Joanna Sheen. They are printed on this gorgeous silk paper with all the decoupage elements printed on there also, however it is not pre-diecut so my first job was to cut out all my decoupage elements. Once that was done I took the base layer and gradually constructed my decoupage topper using my pinflair glue so that I was able to add shape to my decoupage pieces for added dimension. Once that was completed I put it to one side to completely set.
Next to the card base. I really didn’t know what I was going to do on my card base at all, it certainly started out as something quite simple and at each stage a little more was developed and ideas formulated. It was most definitely a card that was made with no plan at all! lol!
I started off working backwards in many ways because I started by looking at the size of my topper and matting and layering that up onto a red pink piece of card stock, then a pastel blue and finally a gorgeous blue mirri card stock. From that I determined that my topper would fit onto an A5 landscape card but I didn’t want to do just a plain A5 card. So I decided to create a kind of gatefold card made using two A6 cards used as portrait cards opening in opposite directions to create the gatefold front. However I would obviously need some way to hold the two back pieces together so I simply took an A5 card and cut it in half and stuck this onto the two back pieces of our A6 cards. This then created a landscape gatefold card.
You would have noticed however that the finished card the “gates” do not actually meet, this is because I cut some of the front off each side using a deco edged trimmer blade. I think this created a really nice effect for when it was closed because not only could you see through to the design on the inside but you also had the space to create the lacing effect to make it look like the back of a brides dress.
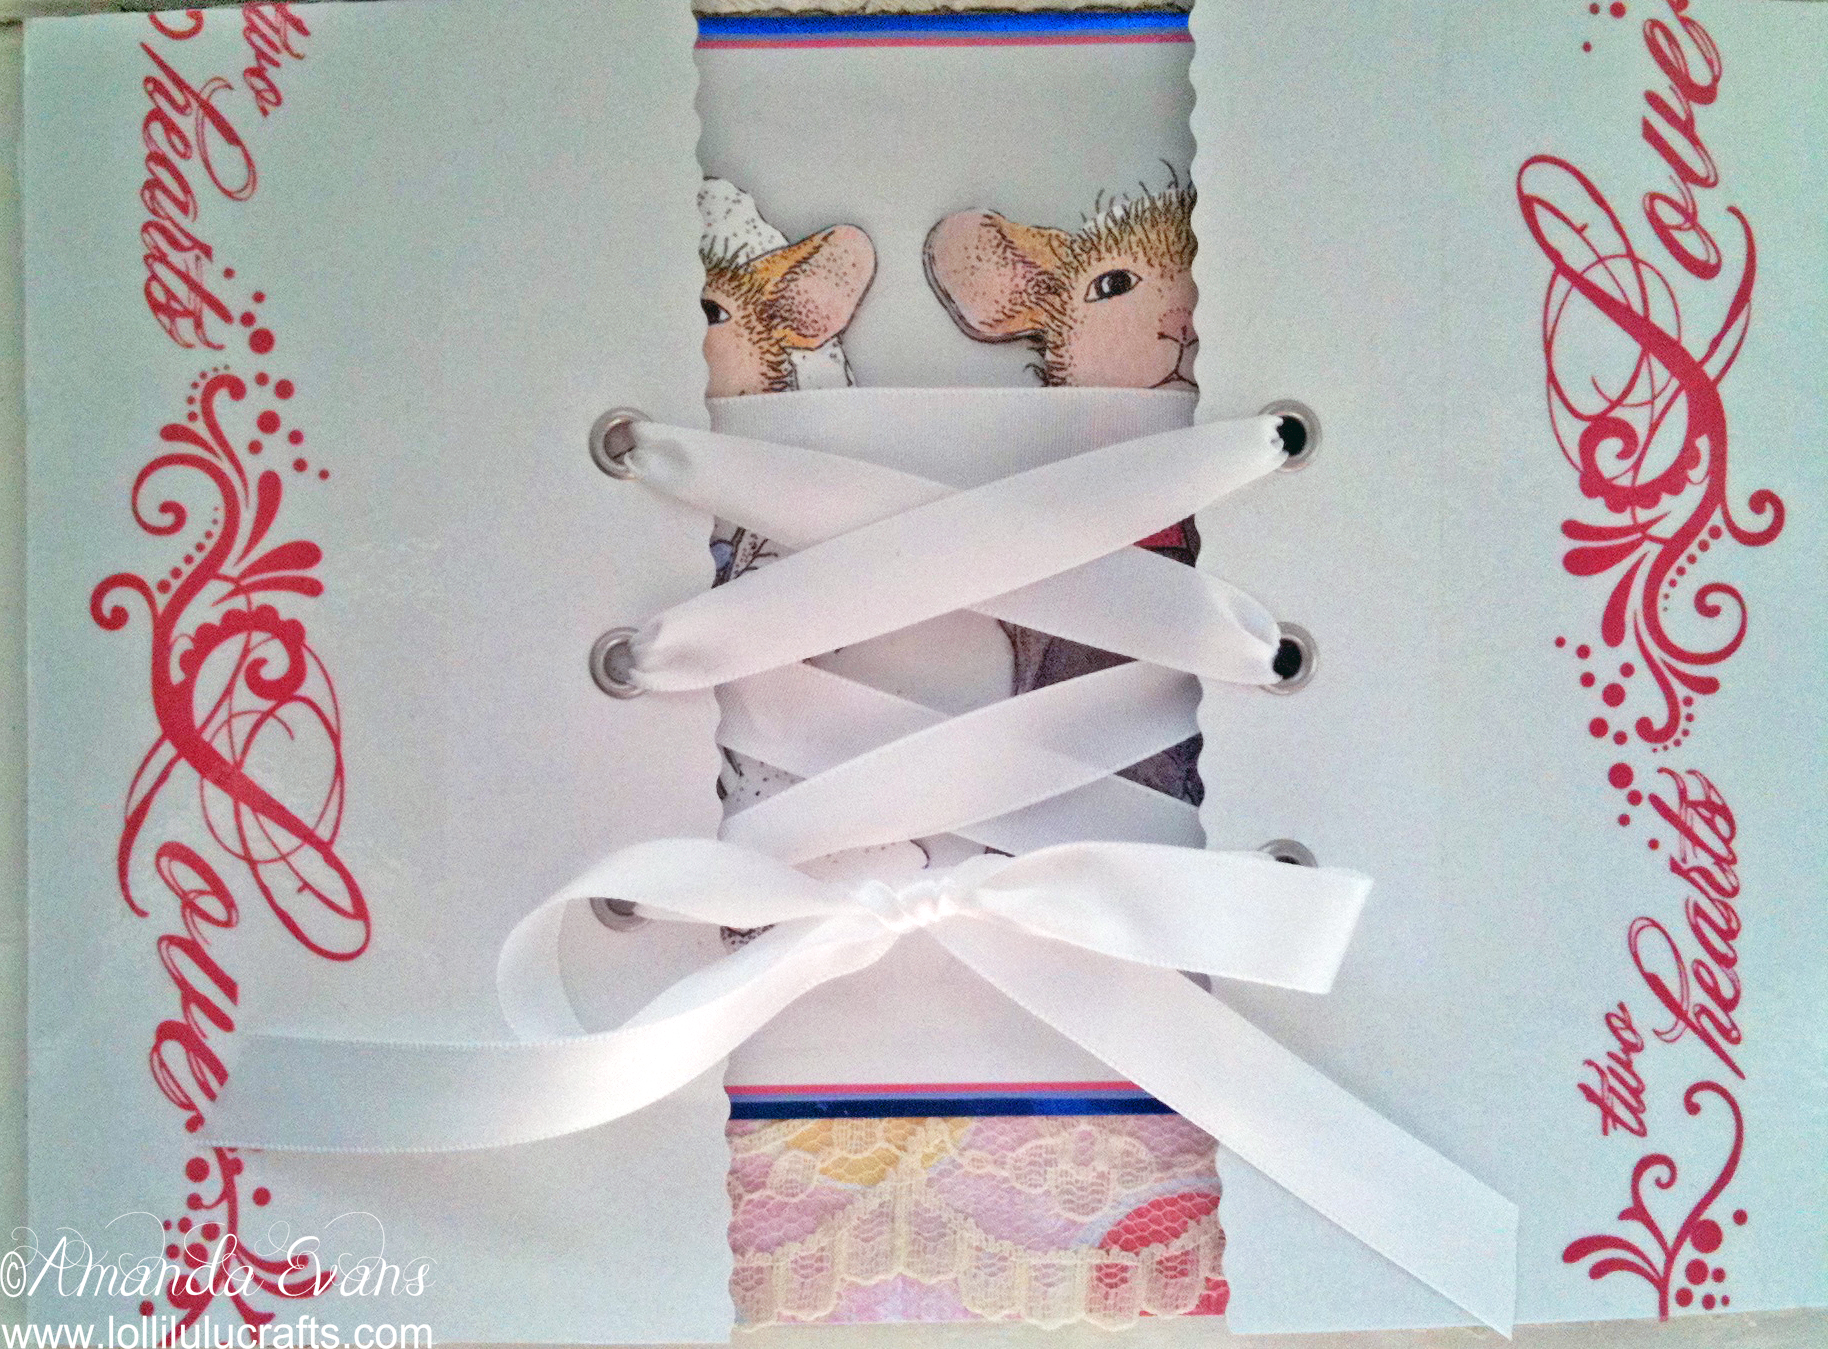
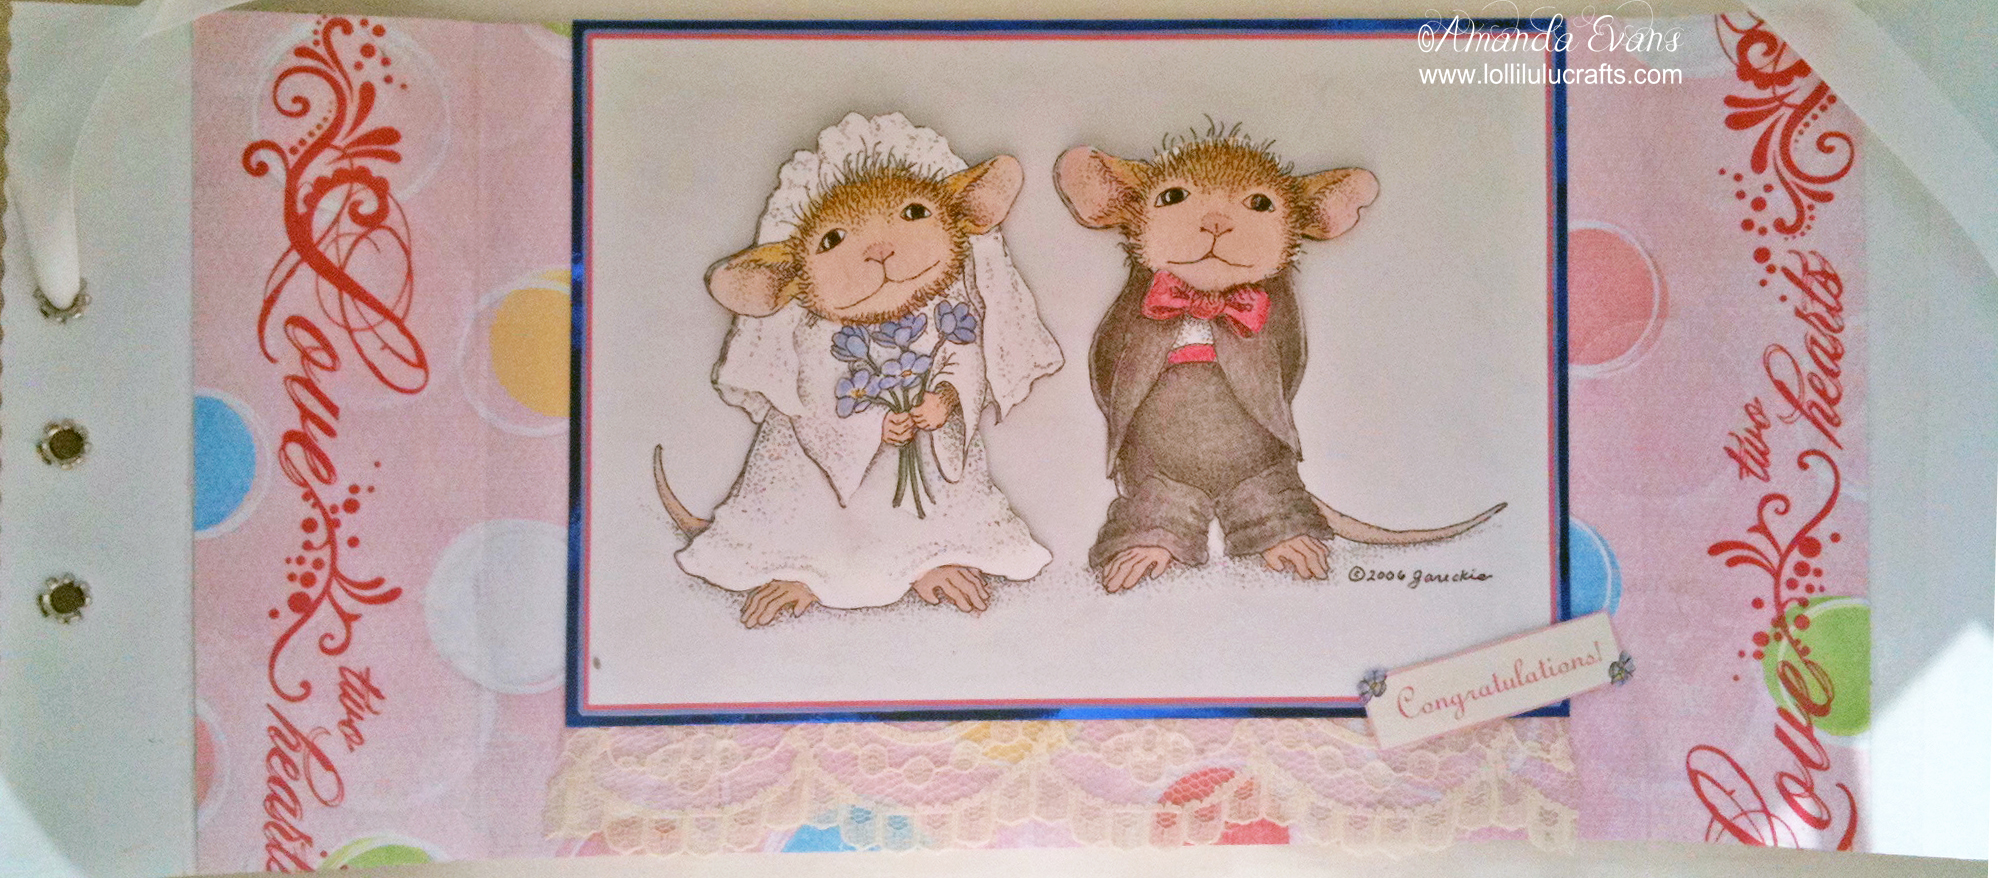
So having created a basic card base I then added three holes on each side of a gatefold using my crop-a-dile and added eyelets to all six holes. Next I added my coloured patterned paper on the inside of my card, followed by the topper under which I added some lace to the bottom edge just to make it seem a little more bridal.
Next I added some Anna Griffin clear love border sticker to the front of the gatefold and also on the inside of my card.

And finally I added white silk ribbon through my eyelets to act as the lace up for the front of my card.
So That’s it are finished House Mouse Wedding Card and I think it turned out really nicely especially considering it was completely unplanned from start to finish! LOL! Apart from the house mouse I think my favourite part is the ribbon lace up which really is so like the back of a bridal dress.
Anyway I hope you’ve enjoyed taking a look at this card with me, I’d love to hear what you think but for now hugs and have a great craft day,

