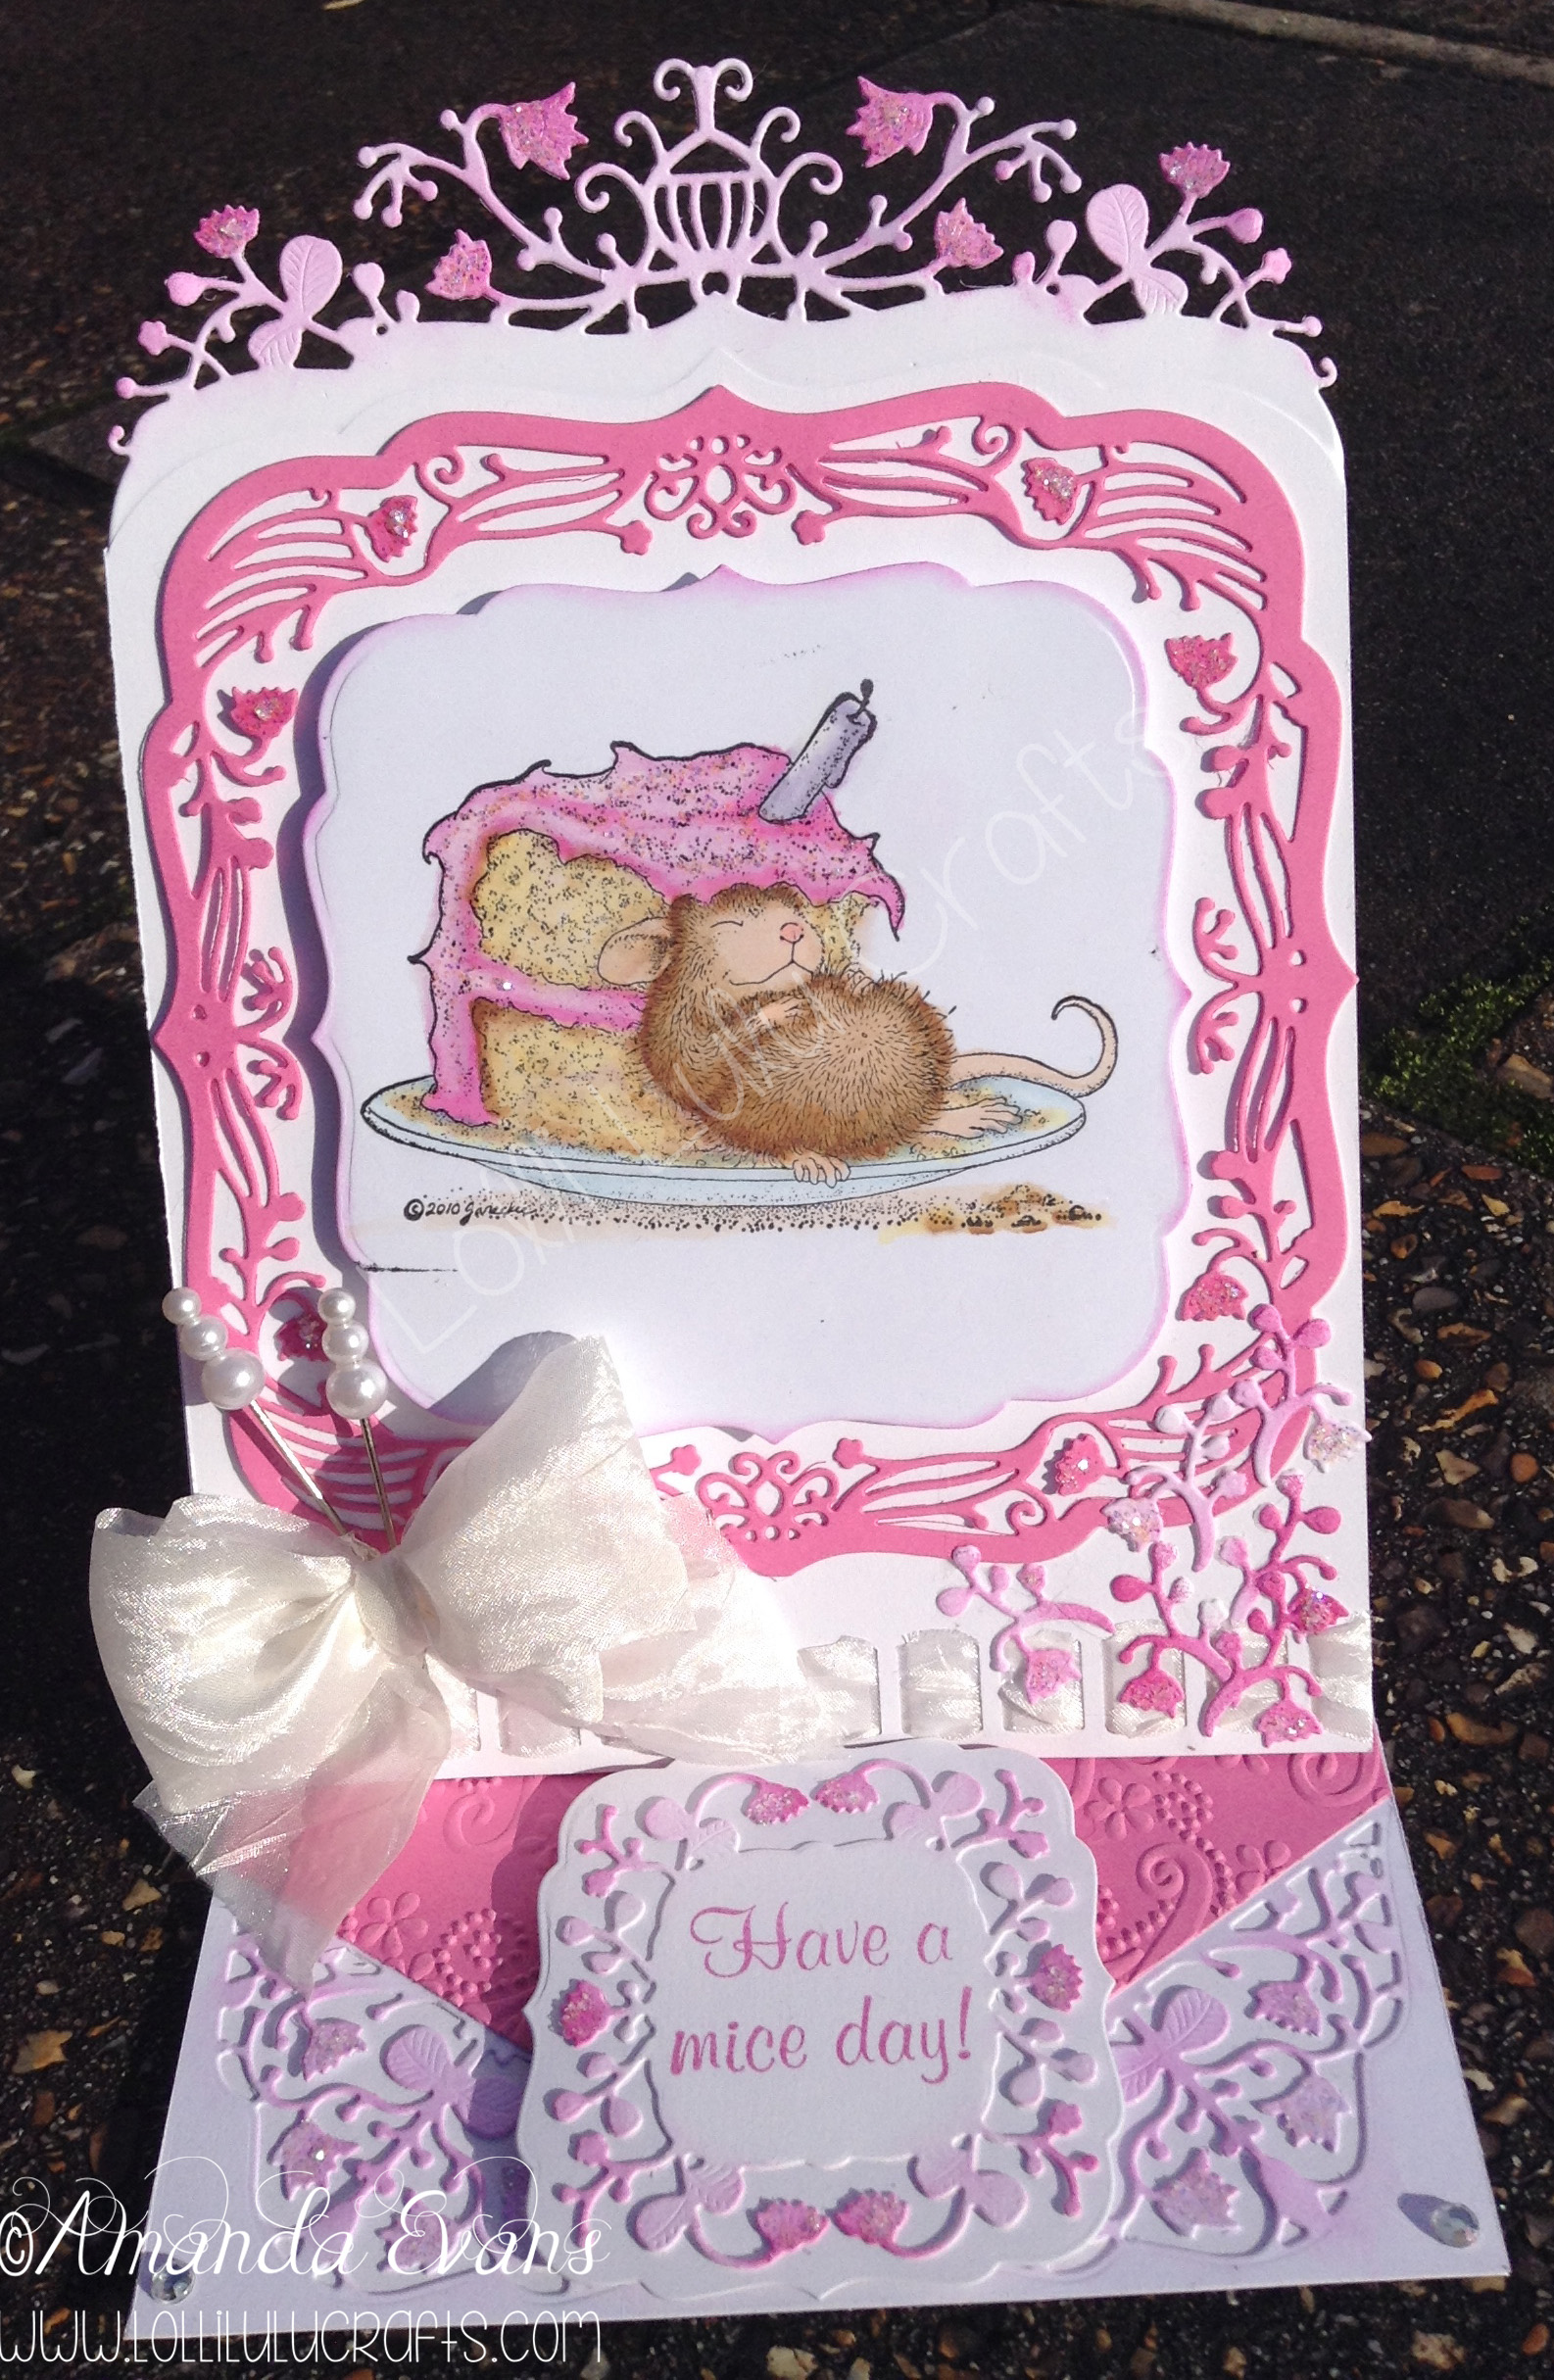
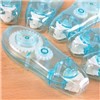
Hiya, today I have such a pretty card for you even if I do say so myself. It is completely different to what I intended in so many ways and yet I can see the original design that was in my mind peeping through. Originally I was going to take the House Mouse image I had coloured – and had no idea what I was going to do with and had just left in my coloured images box ready for inspiration to strike – and was going to cut on my Cricut an Easel Card with a fancy shaped top to it. But I think that is probably where the similarity stops. So here is my House Mouse Cake Lace Card for you, then I will take you through step by step exactly how I made it and finally I will finish up with a whole heap of photos of the finished card for you, and don’t forget to click on the image so you can enlarge the image:-
So now onto how I made the card:-
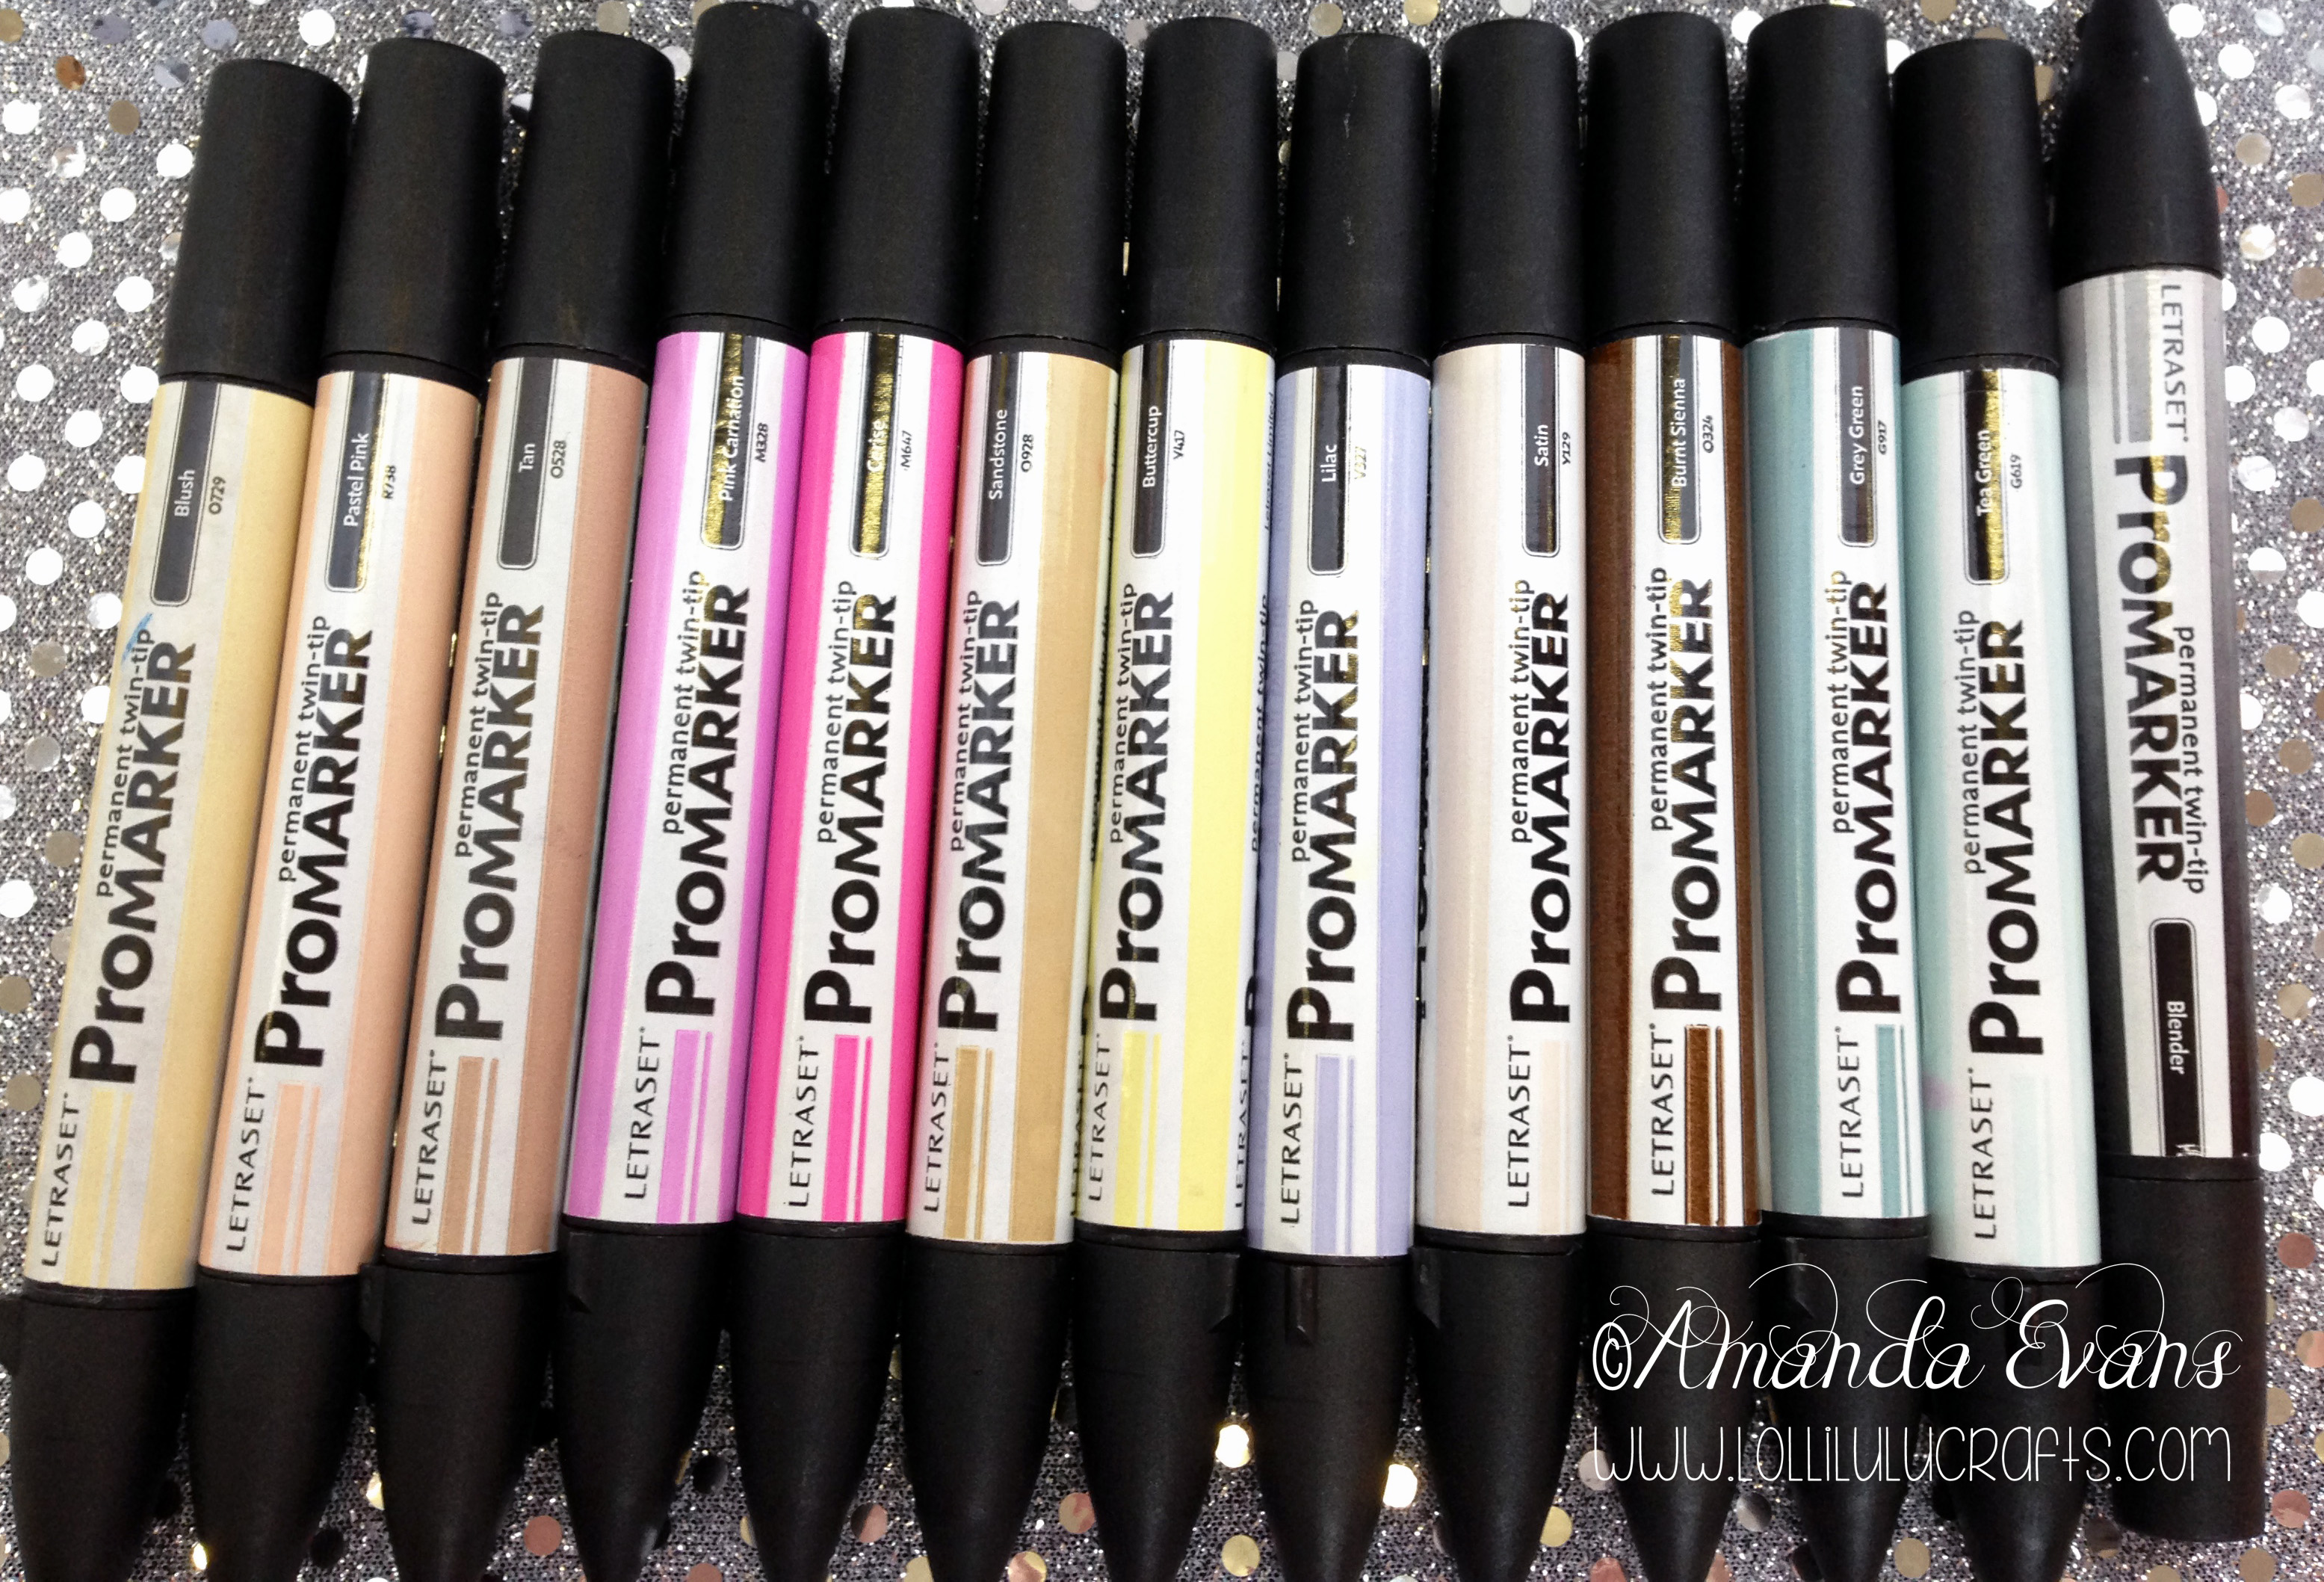
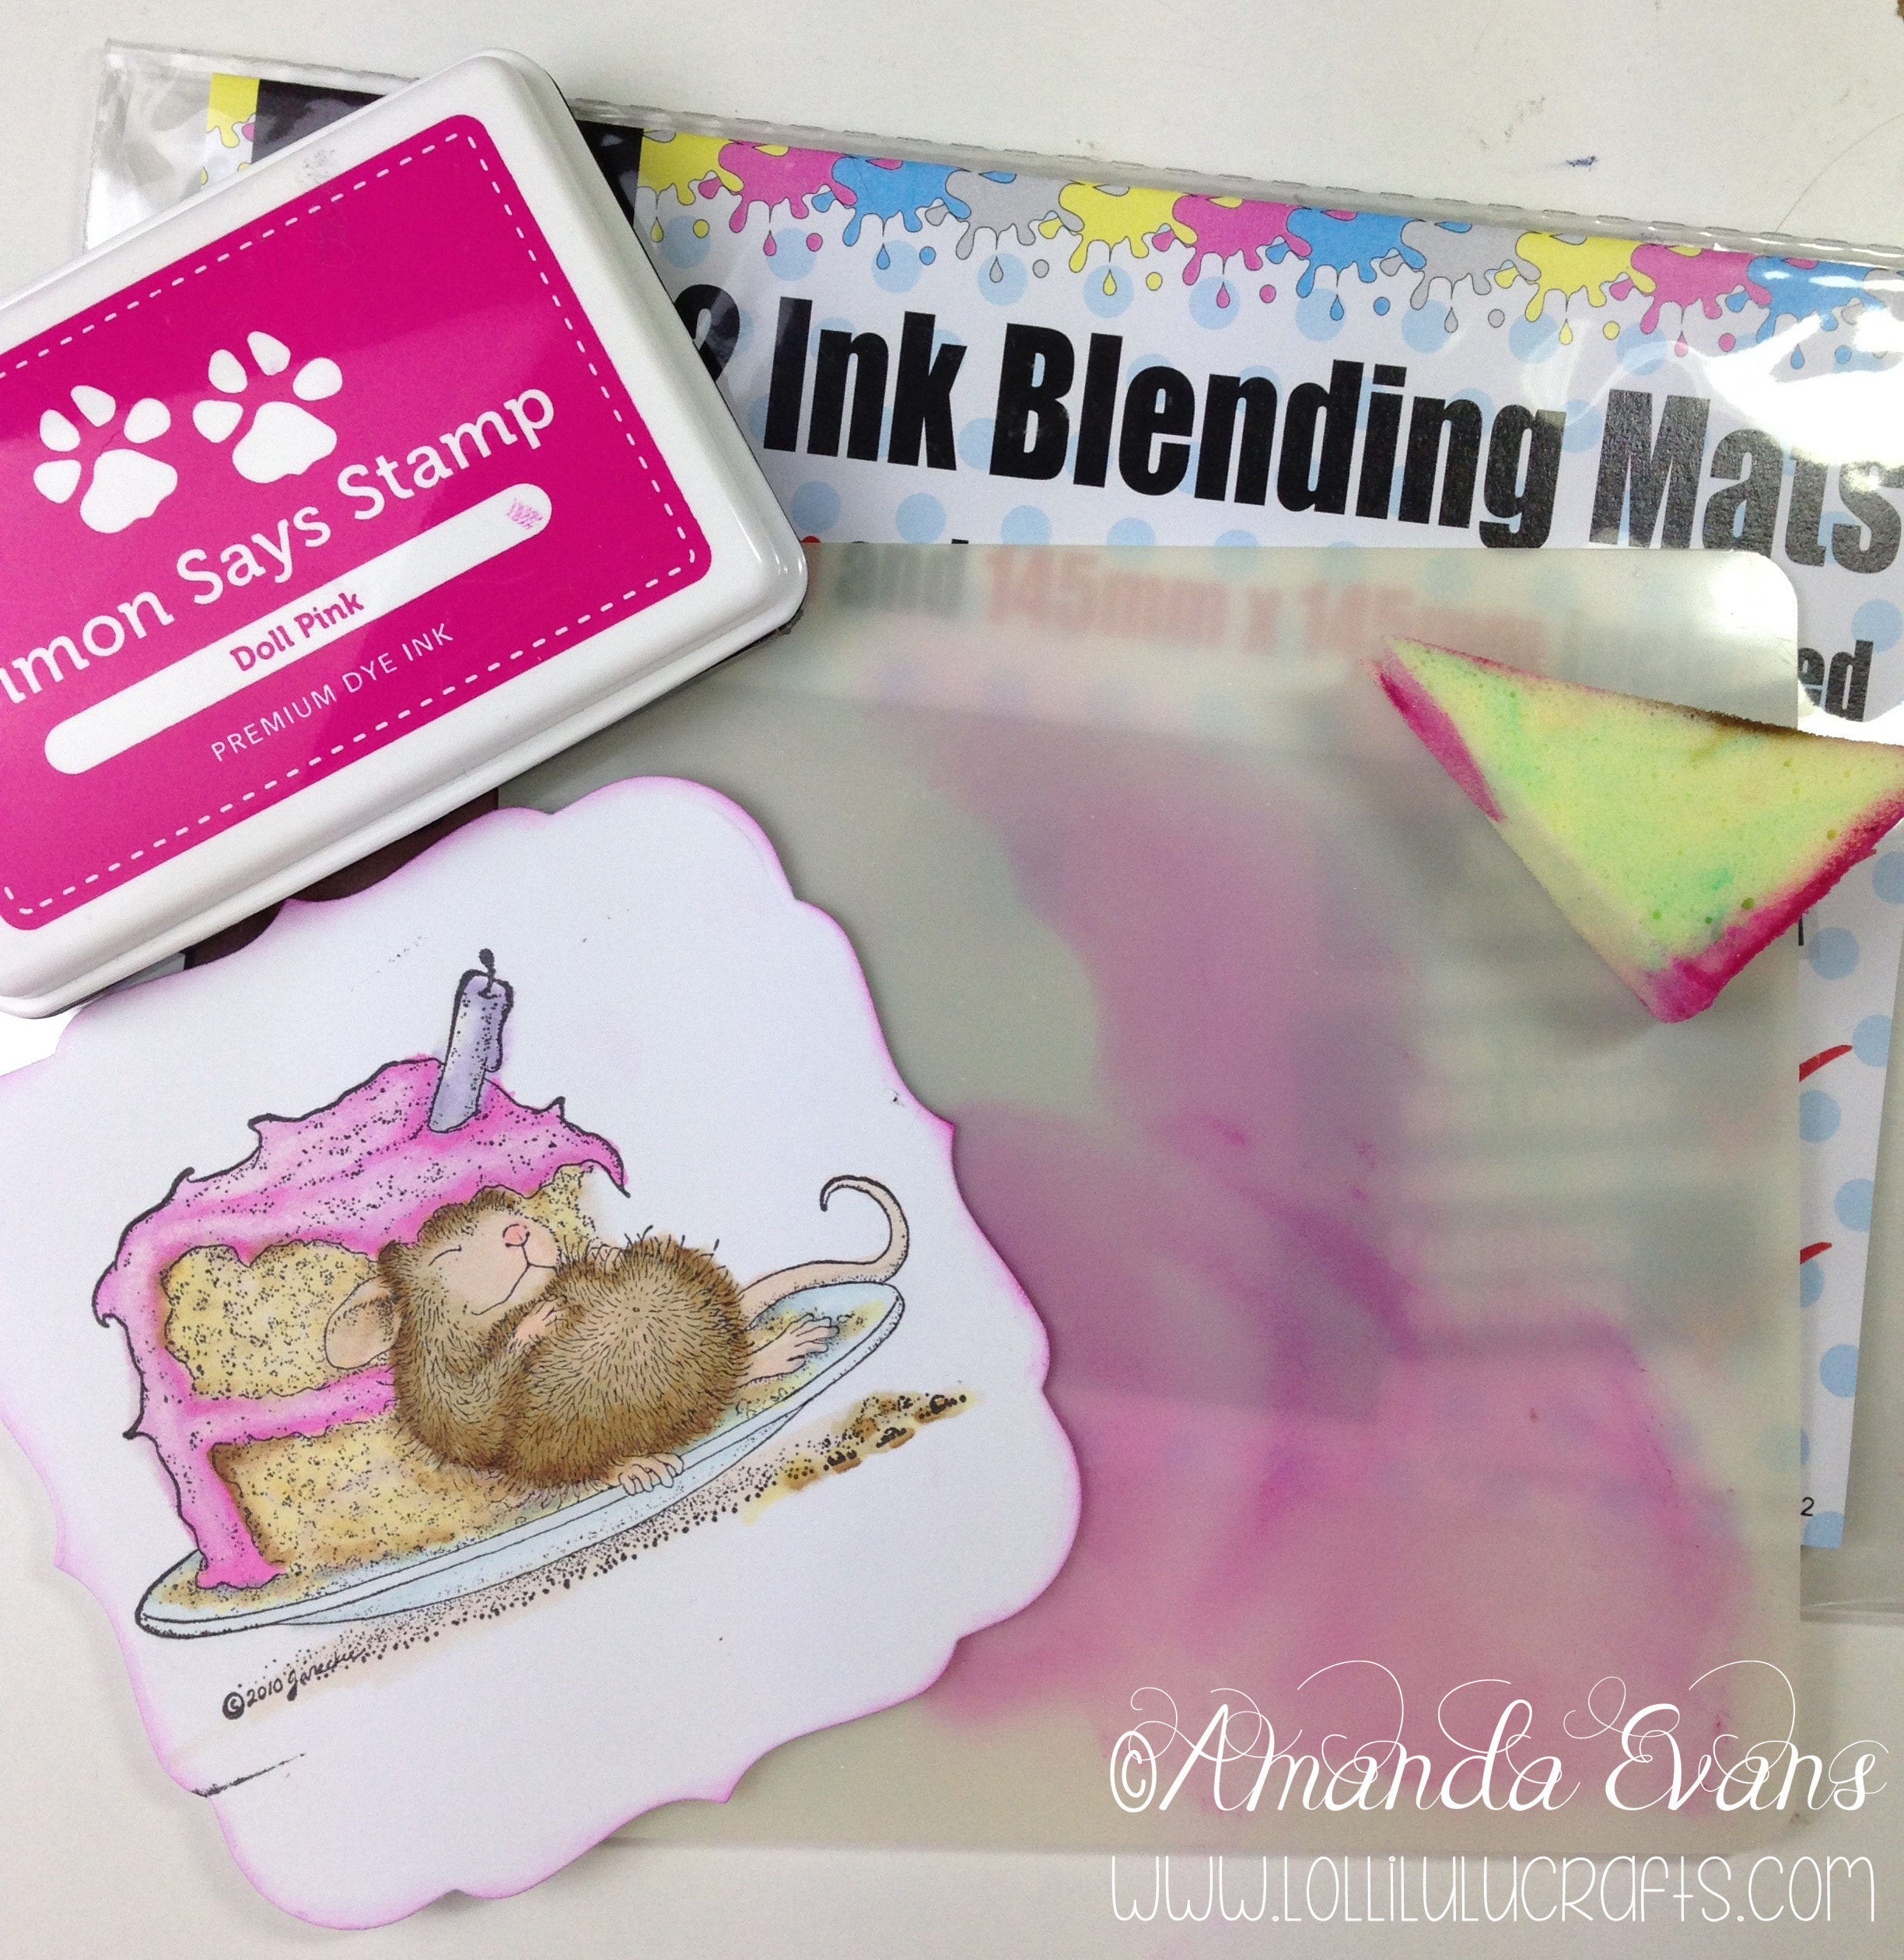
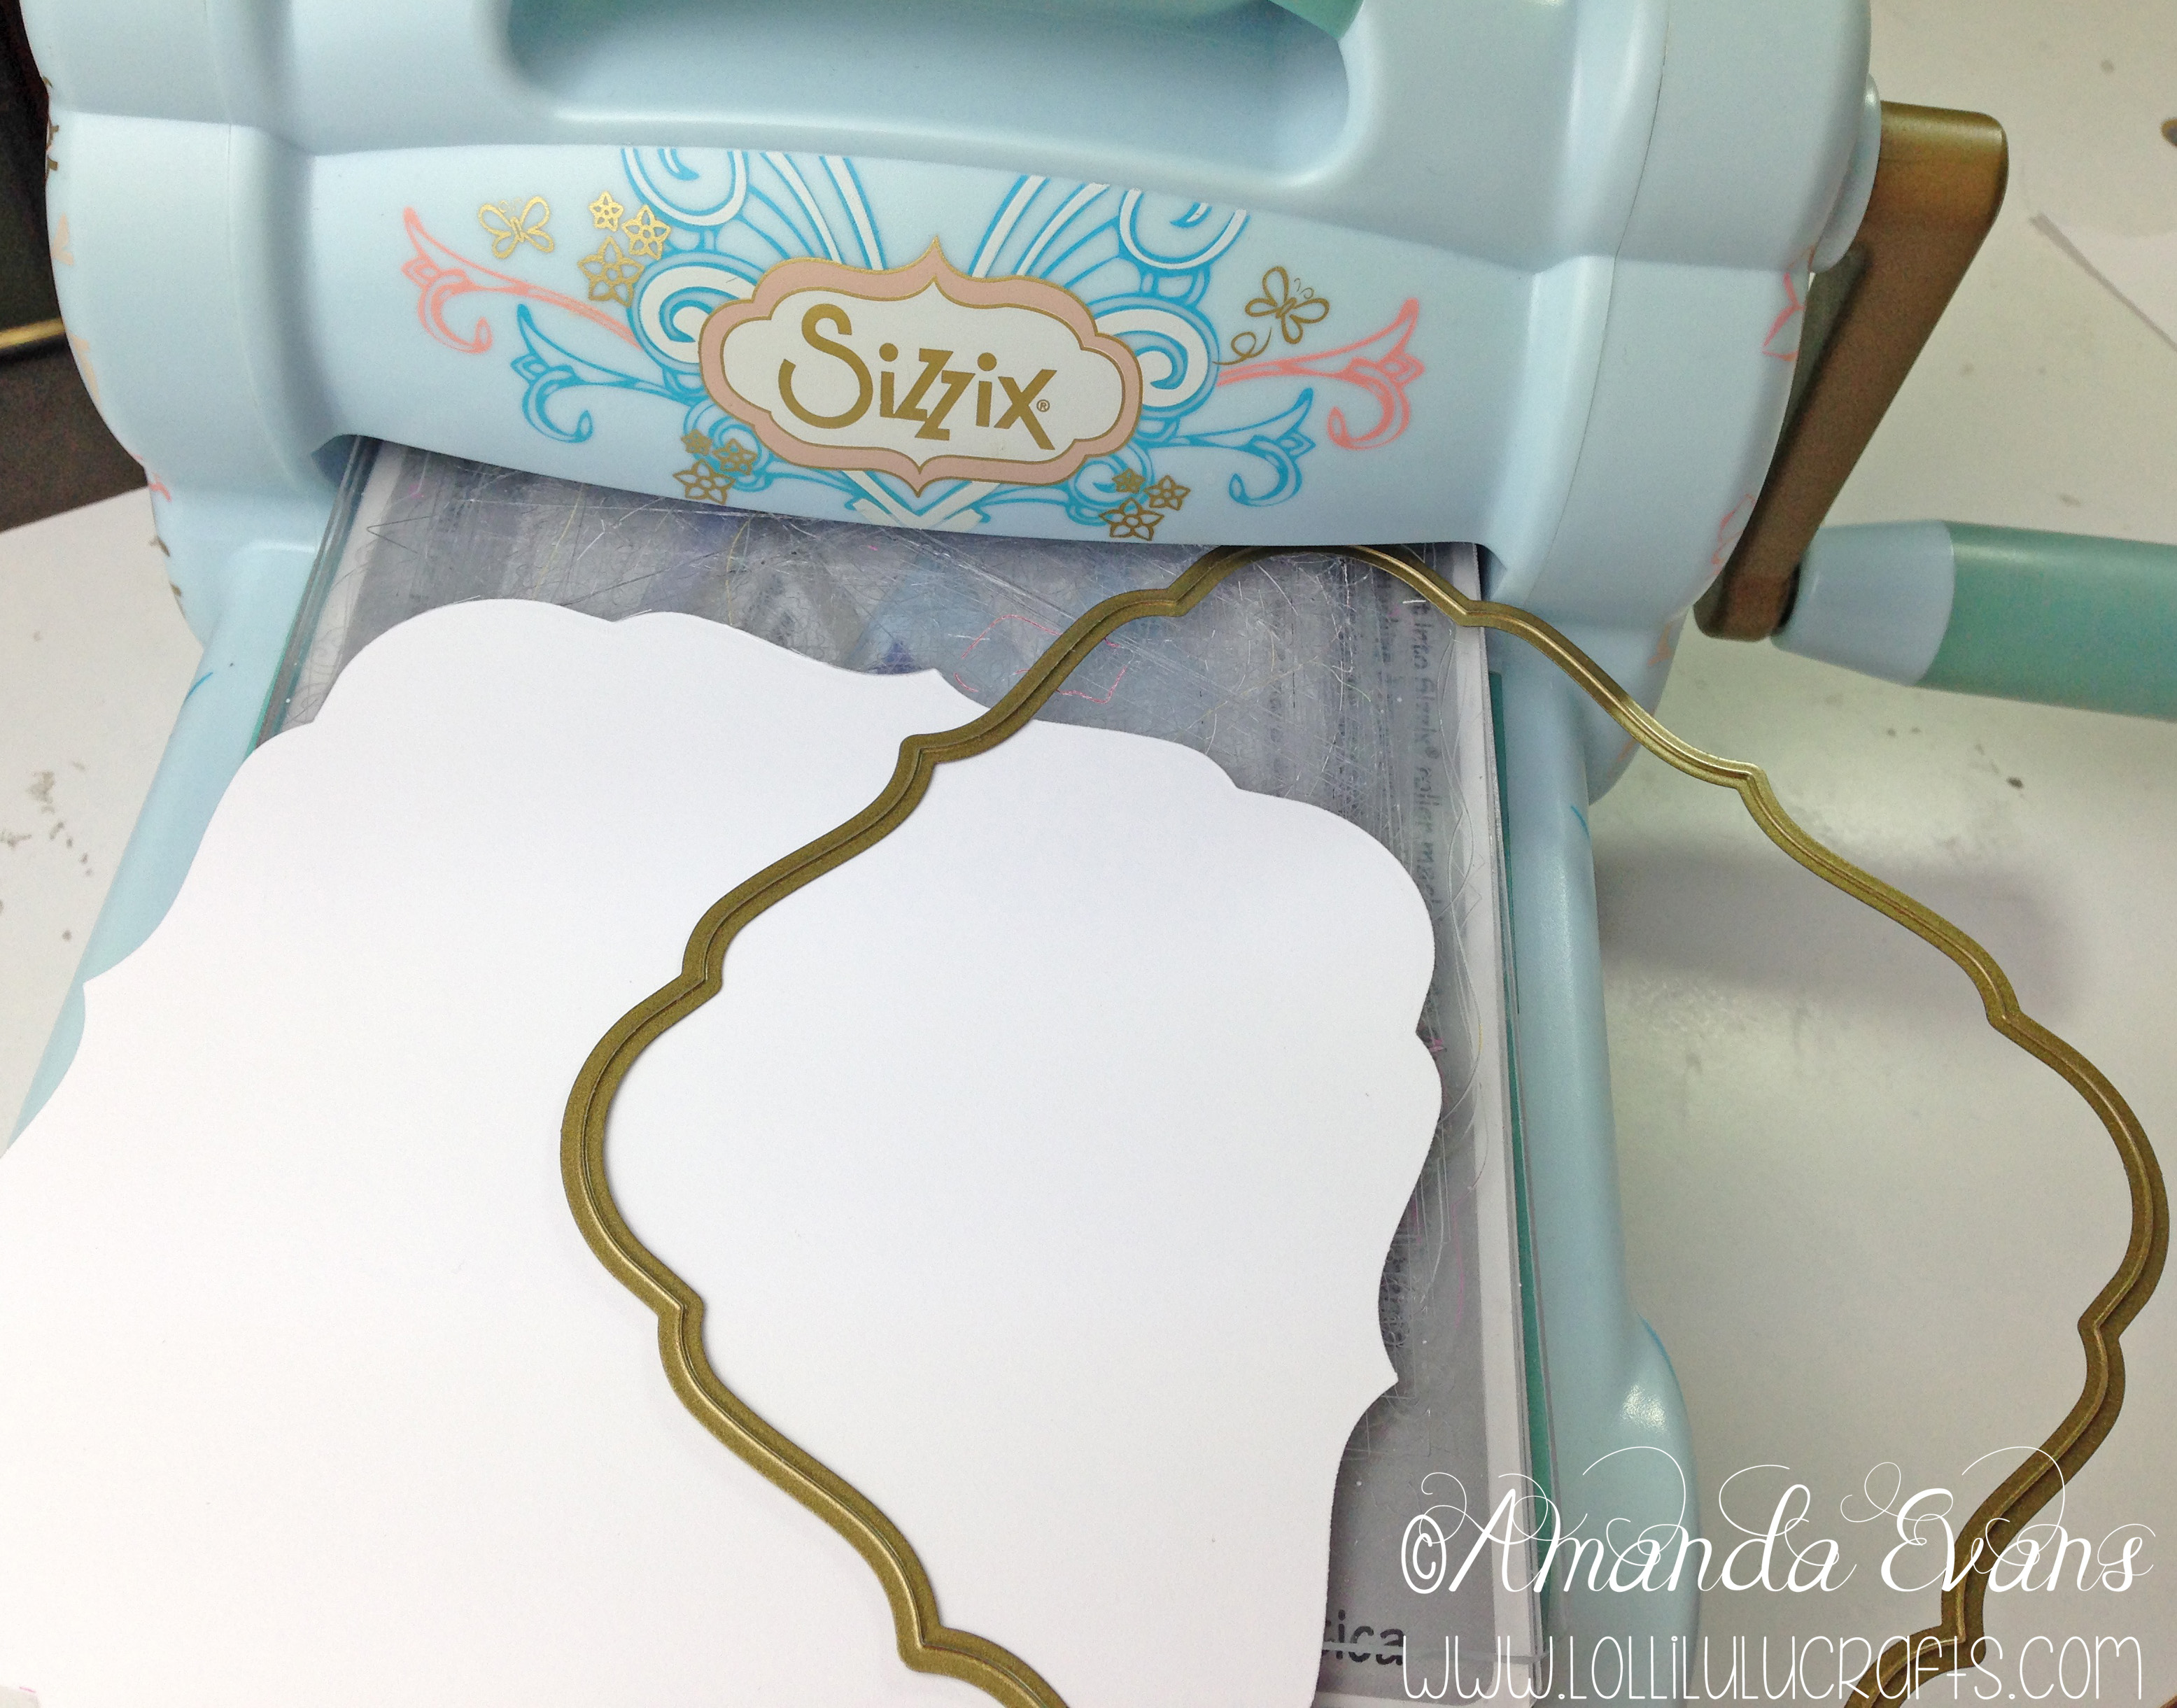
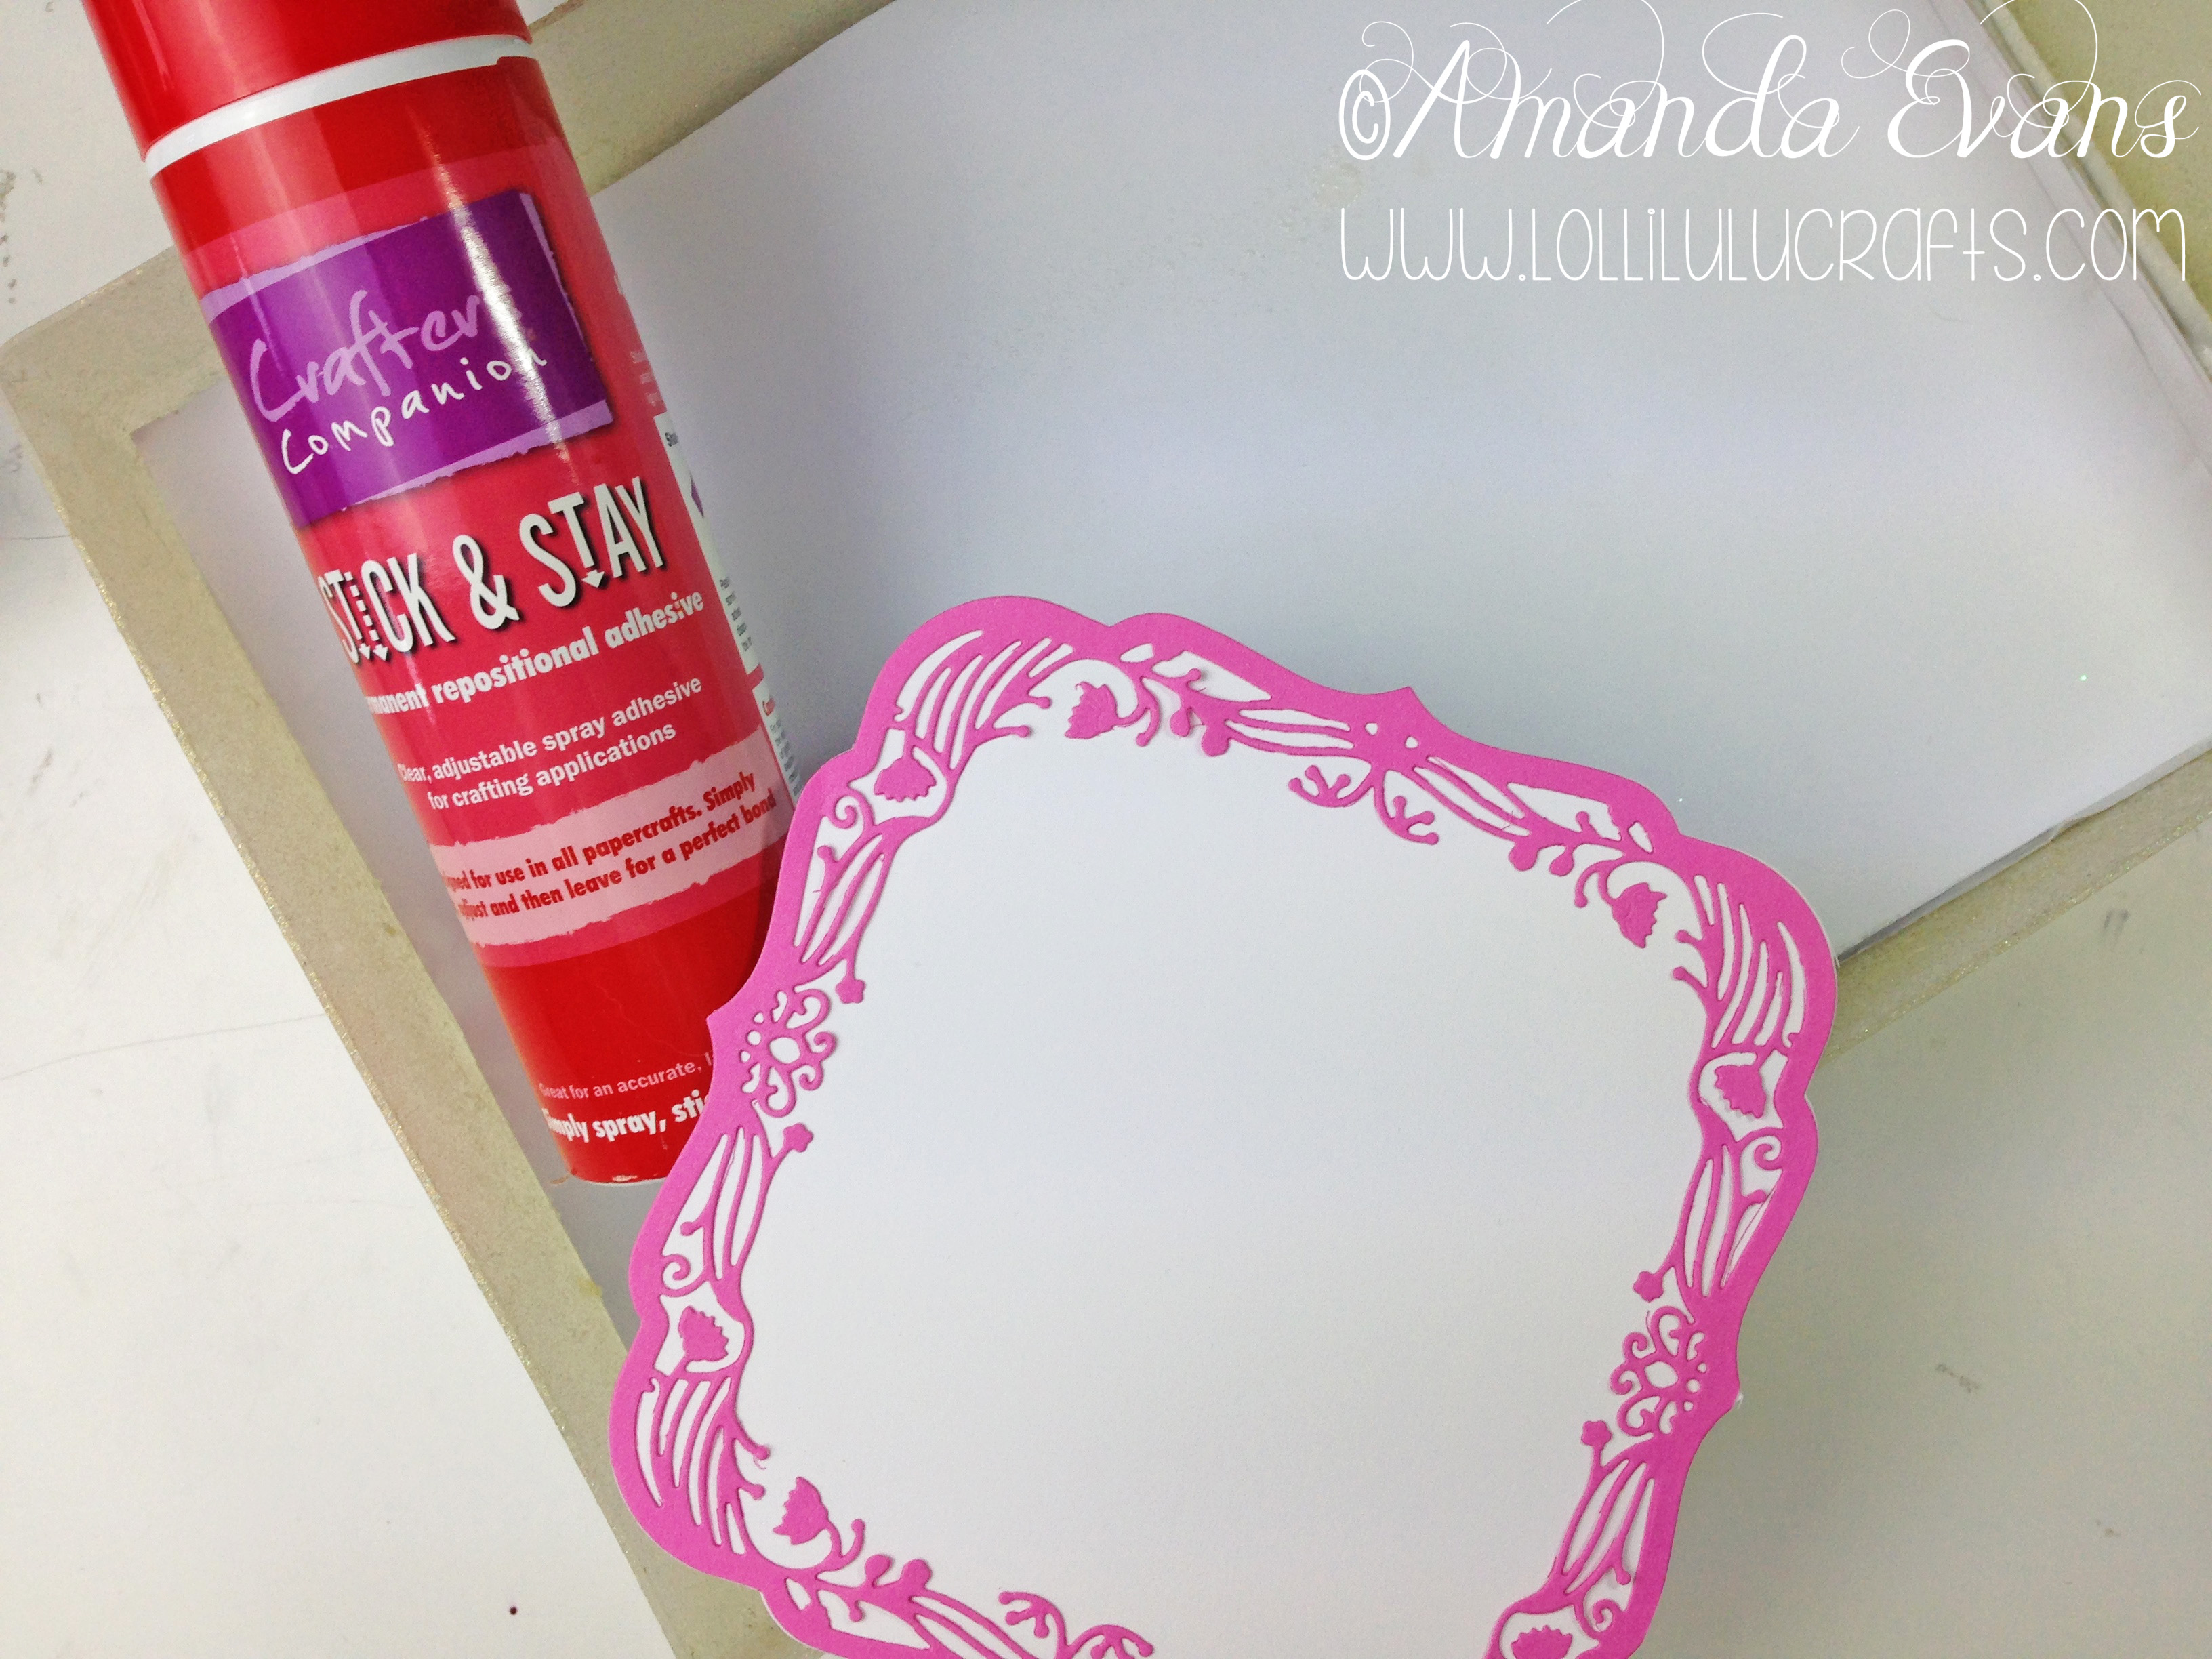
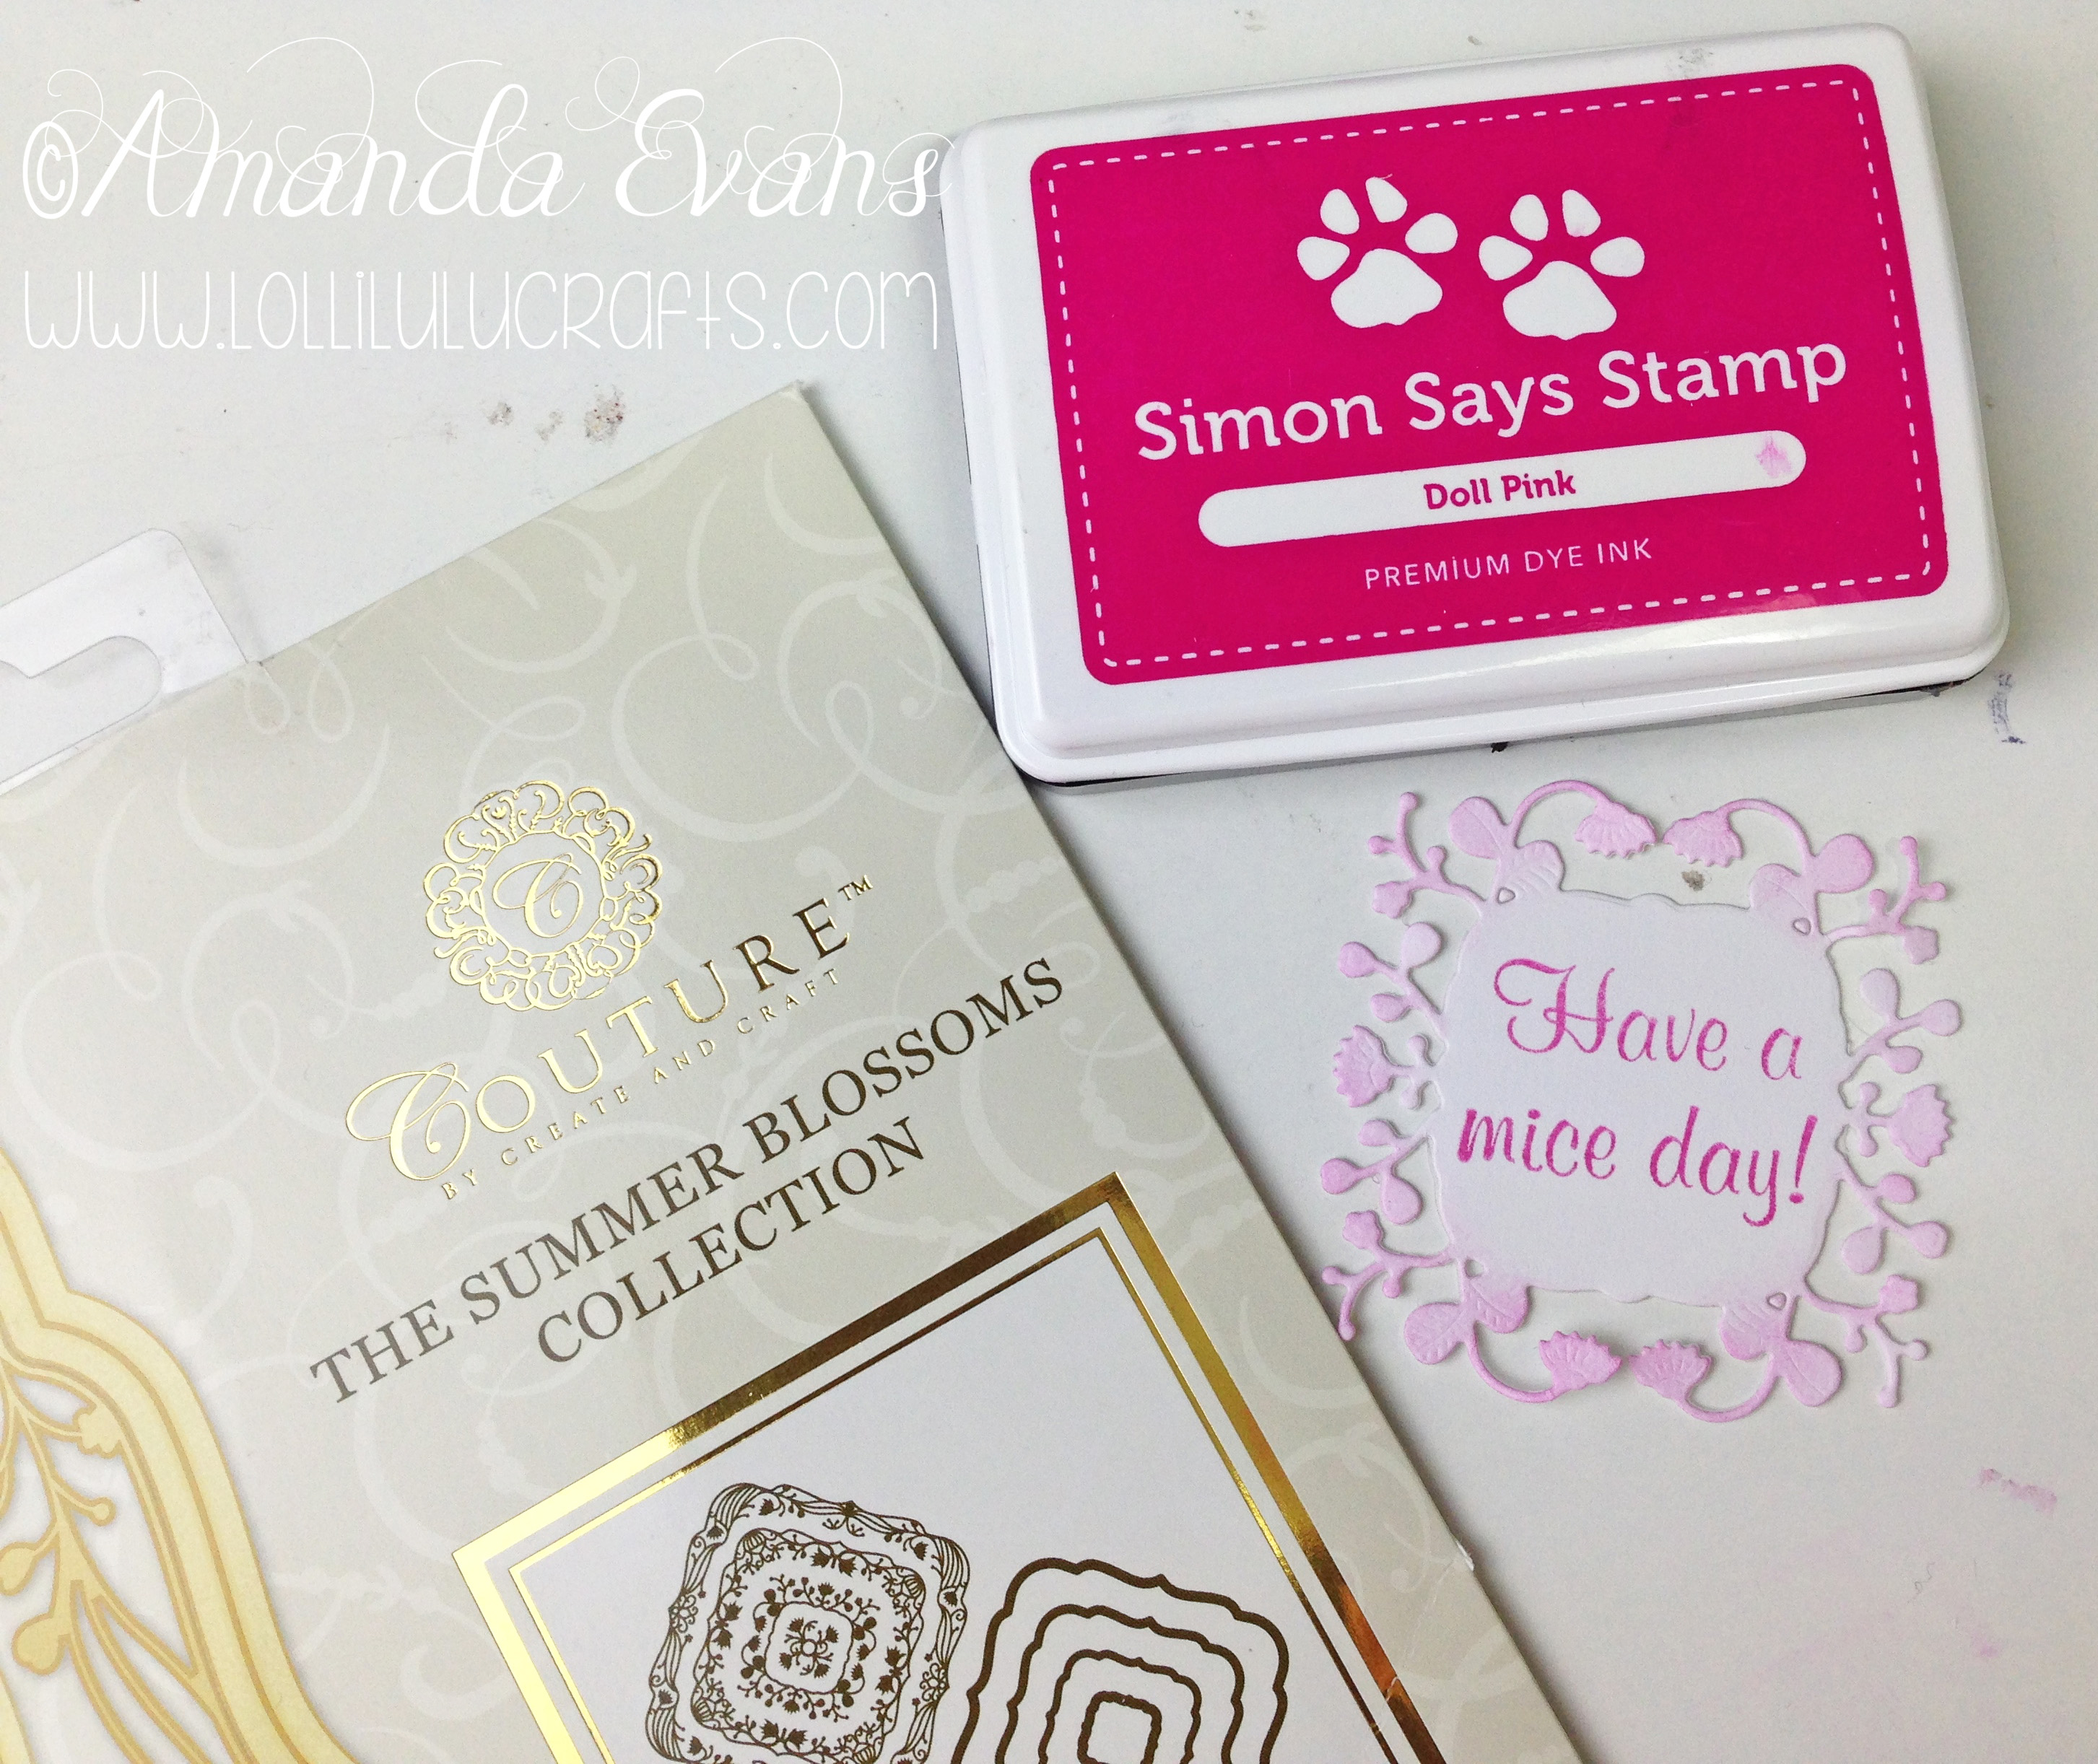
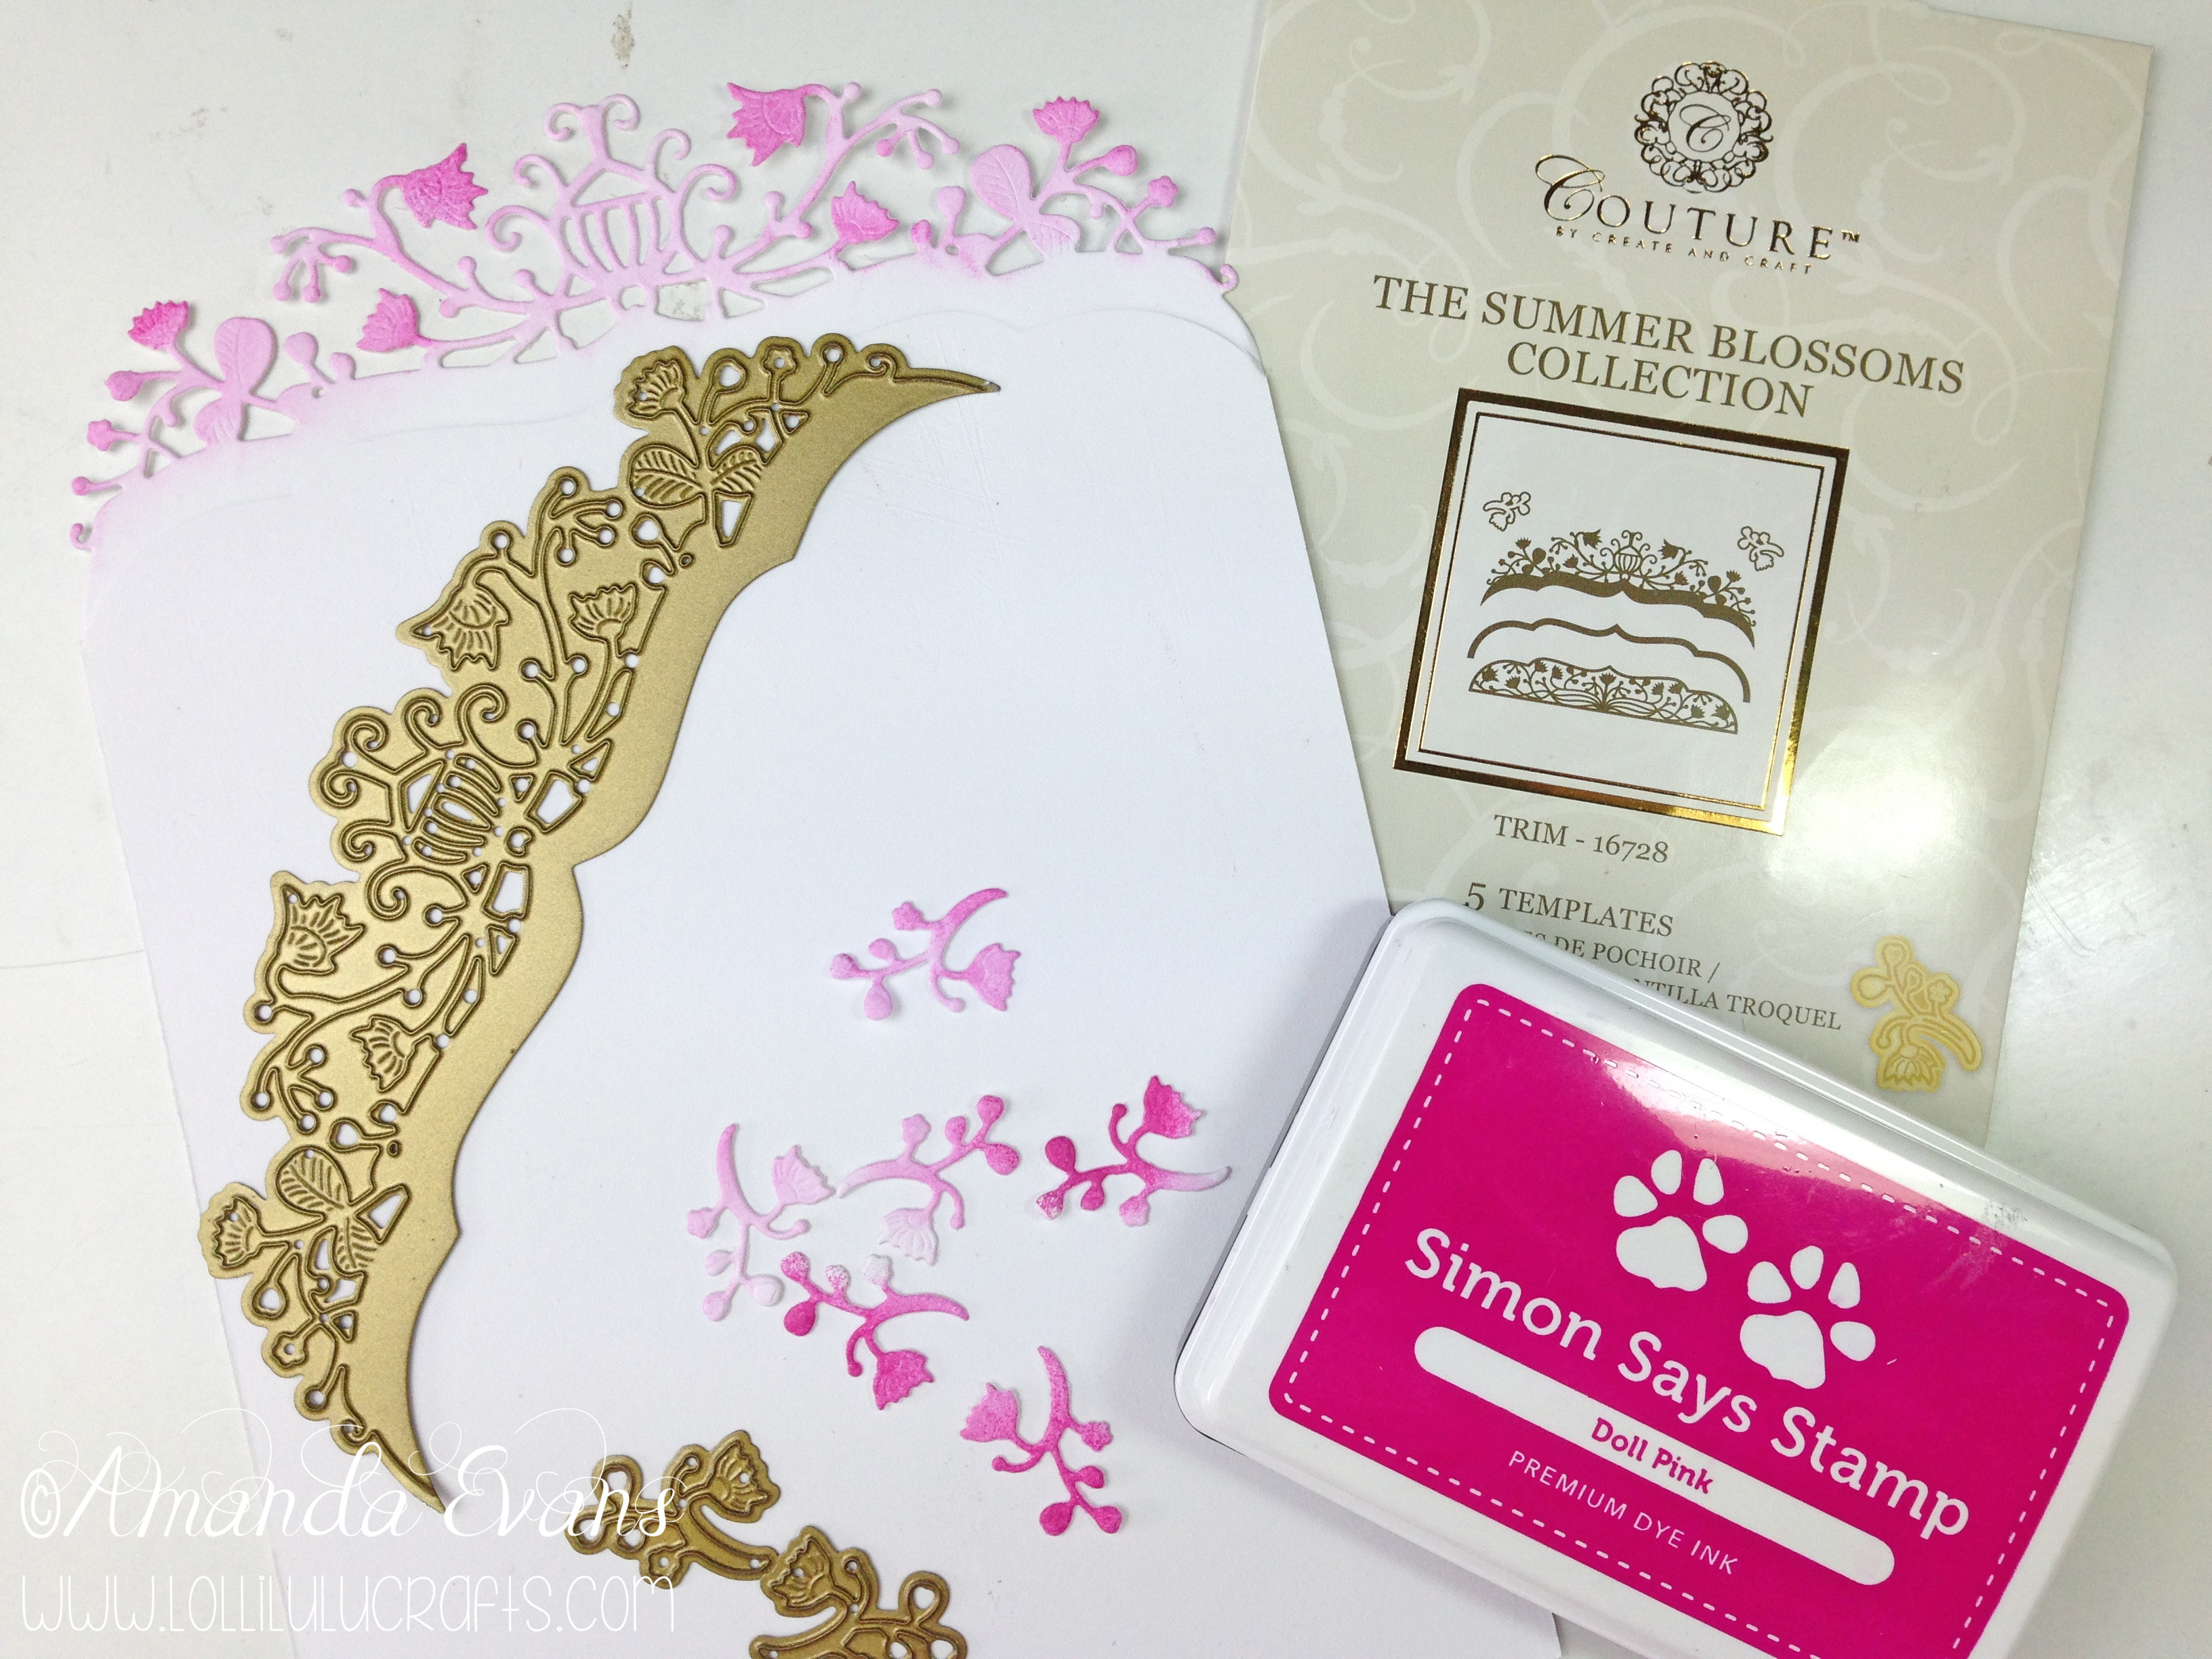
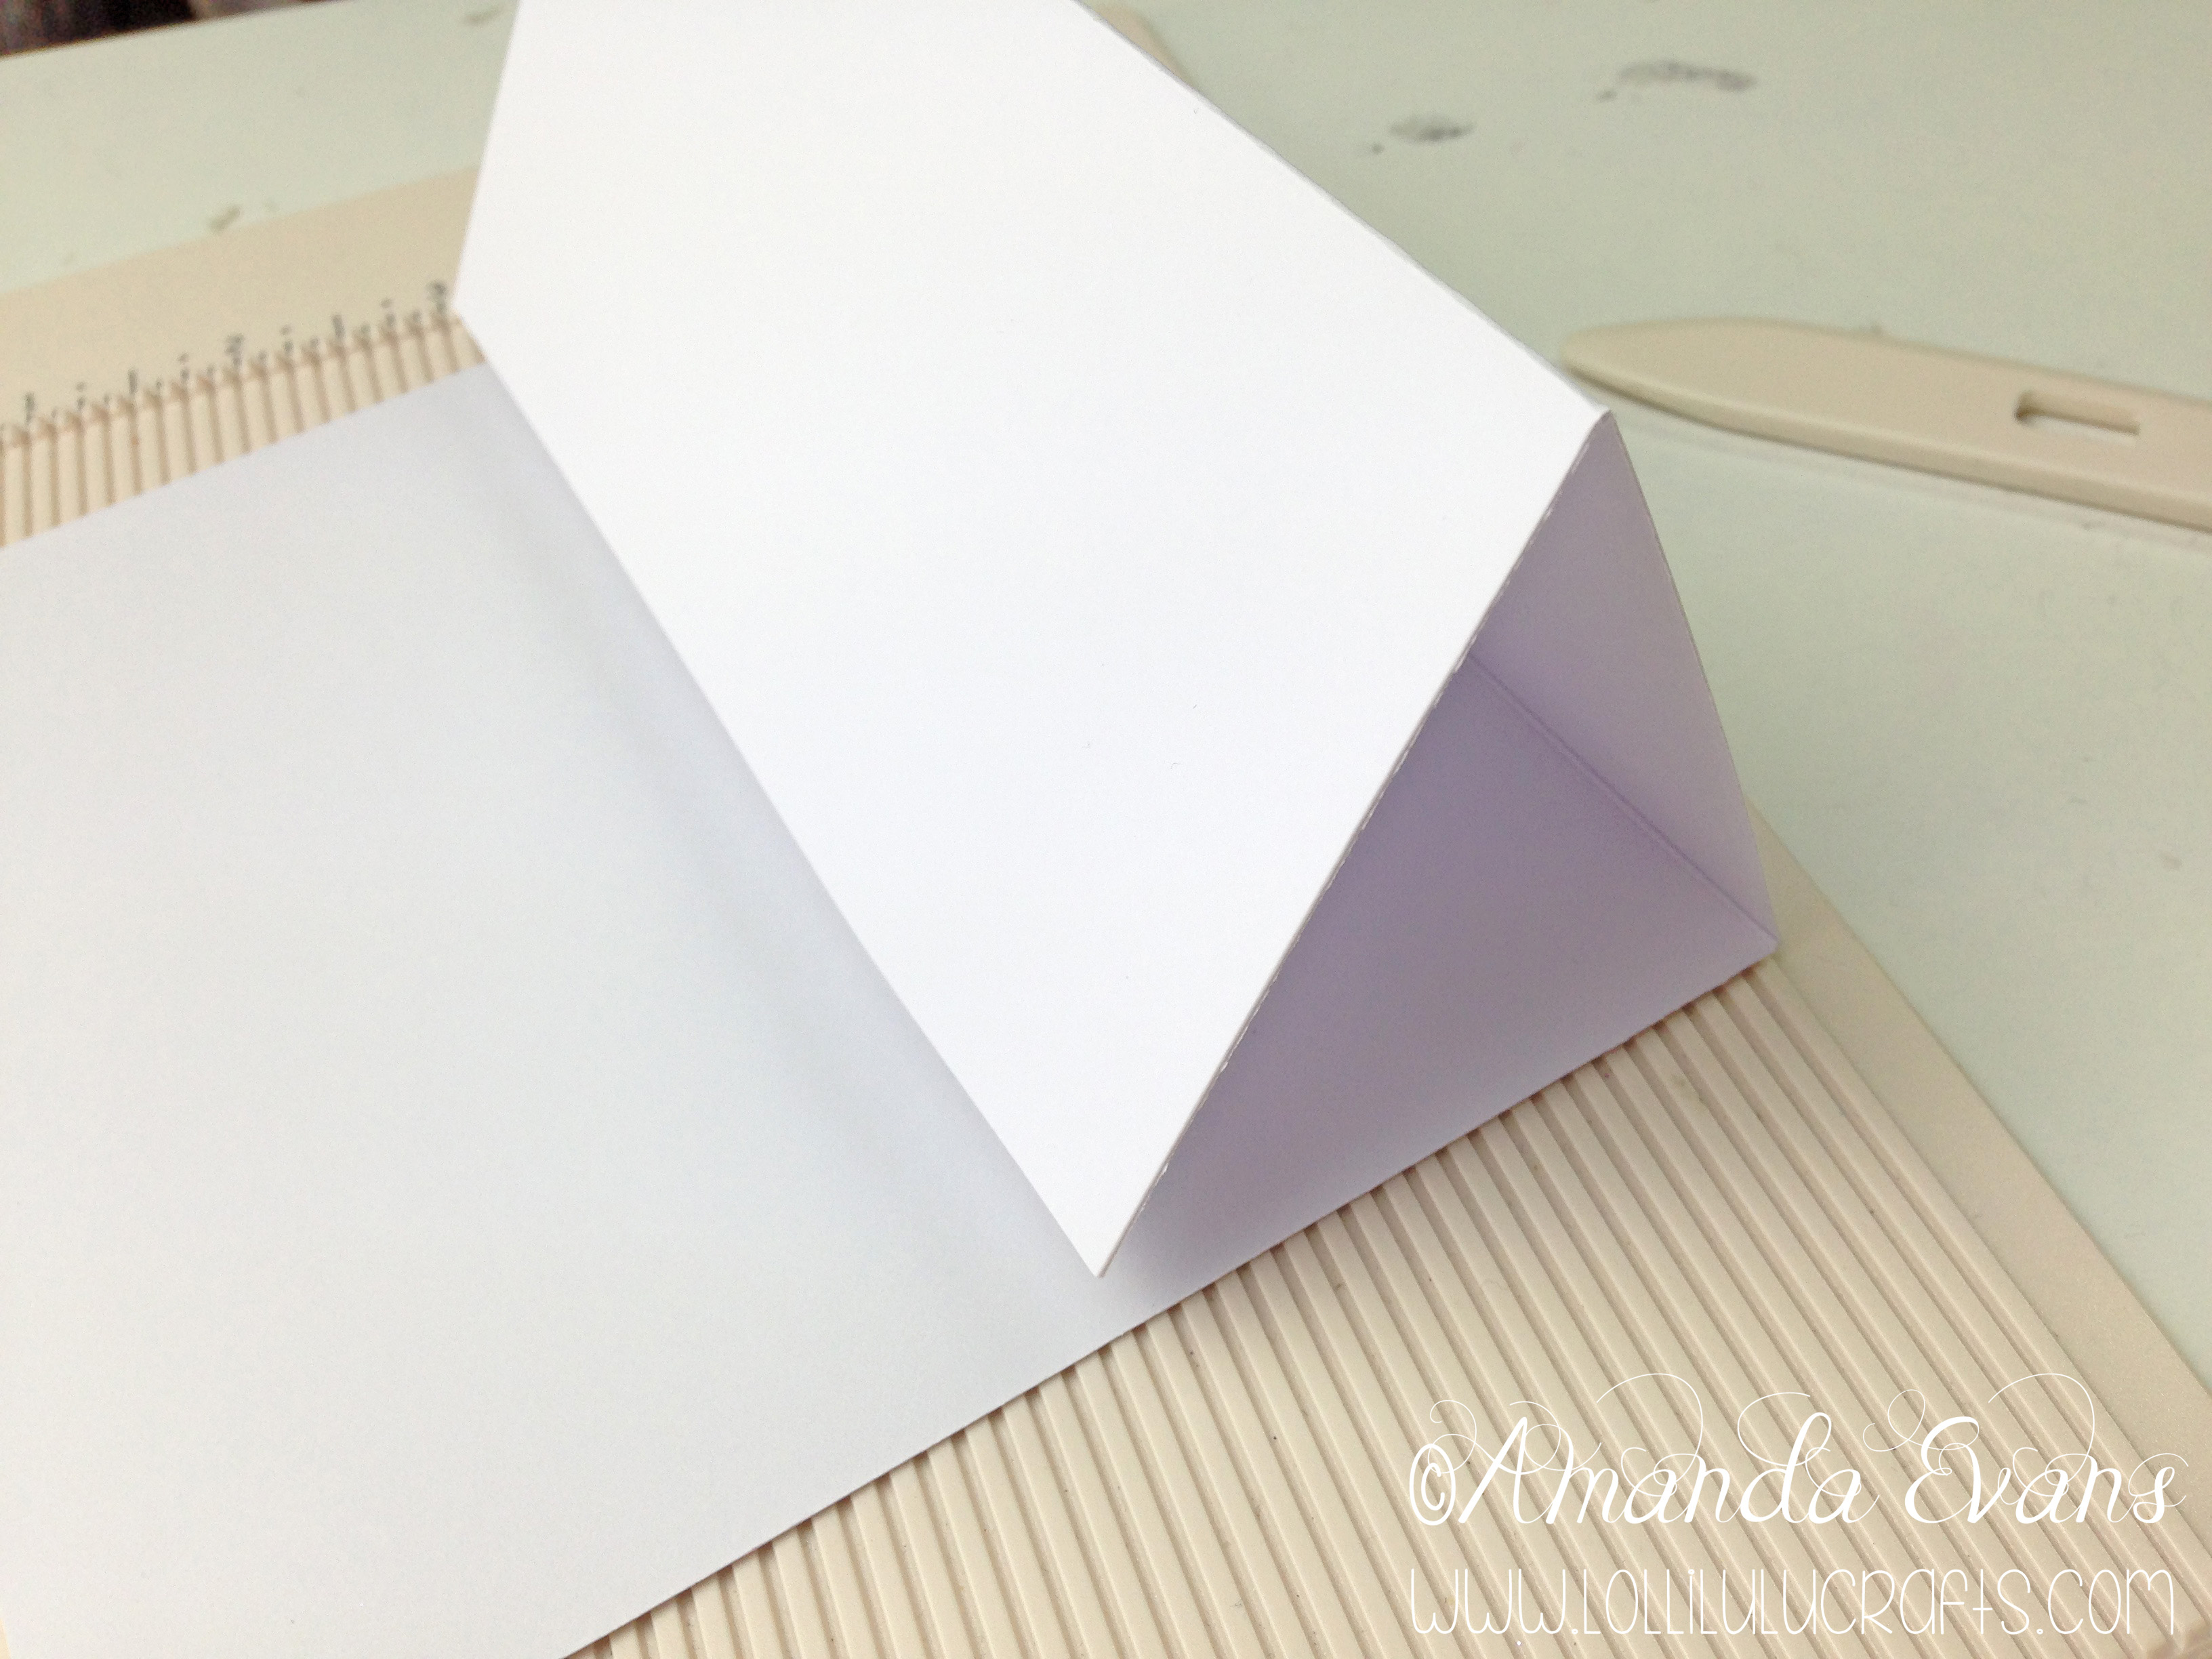
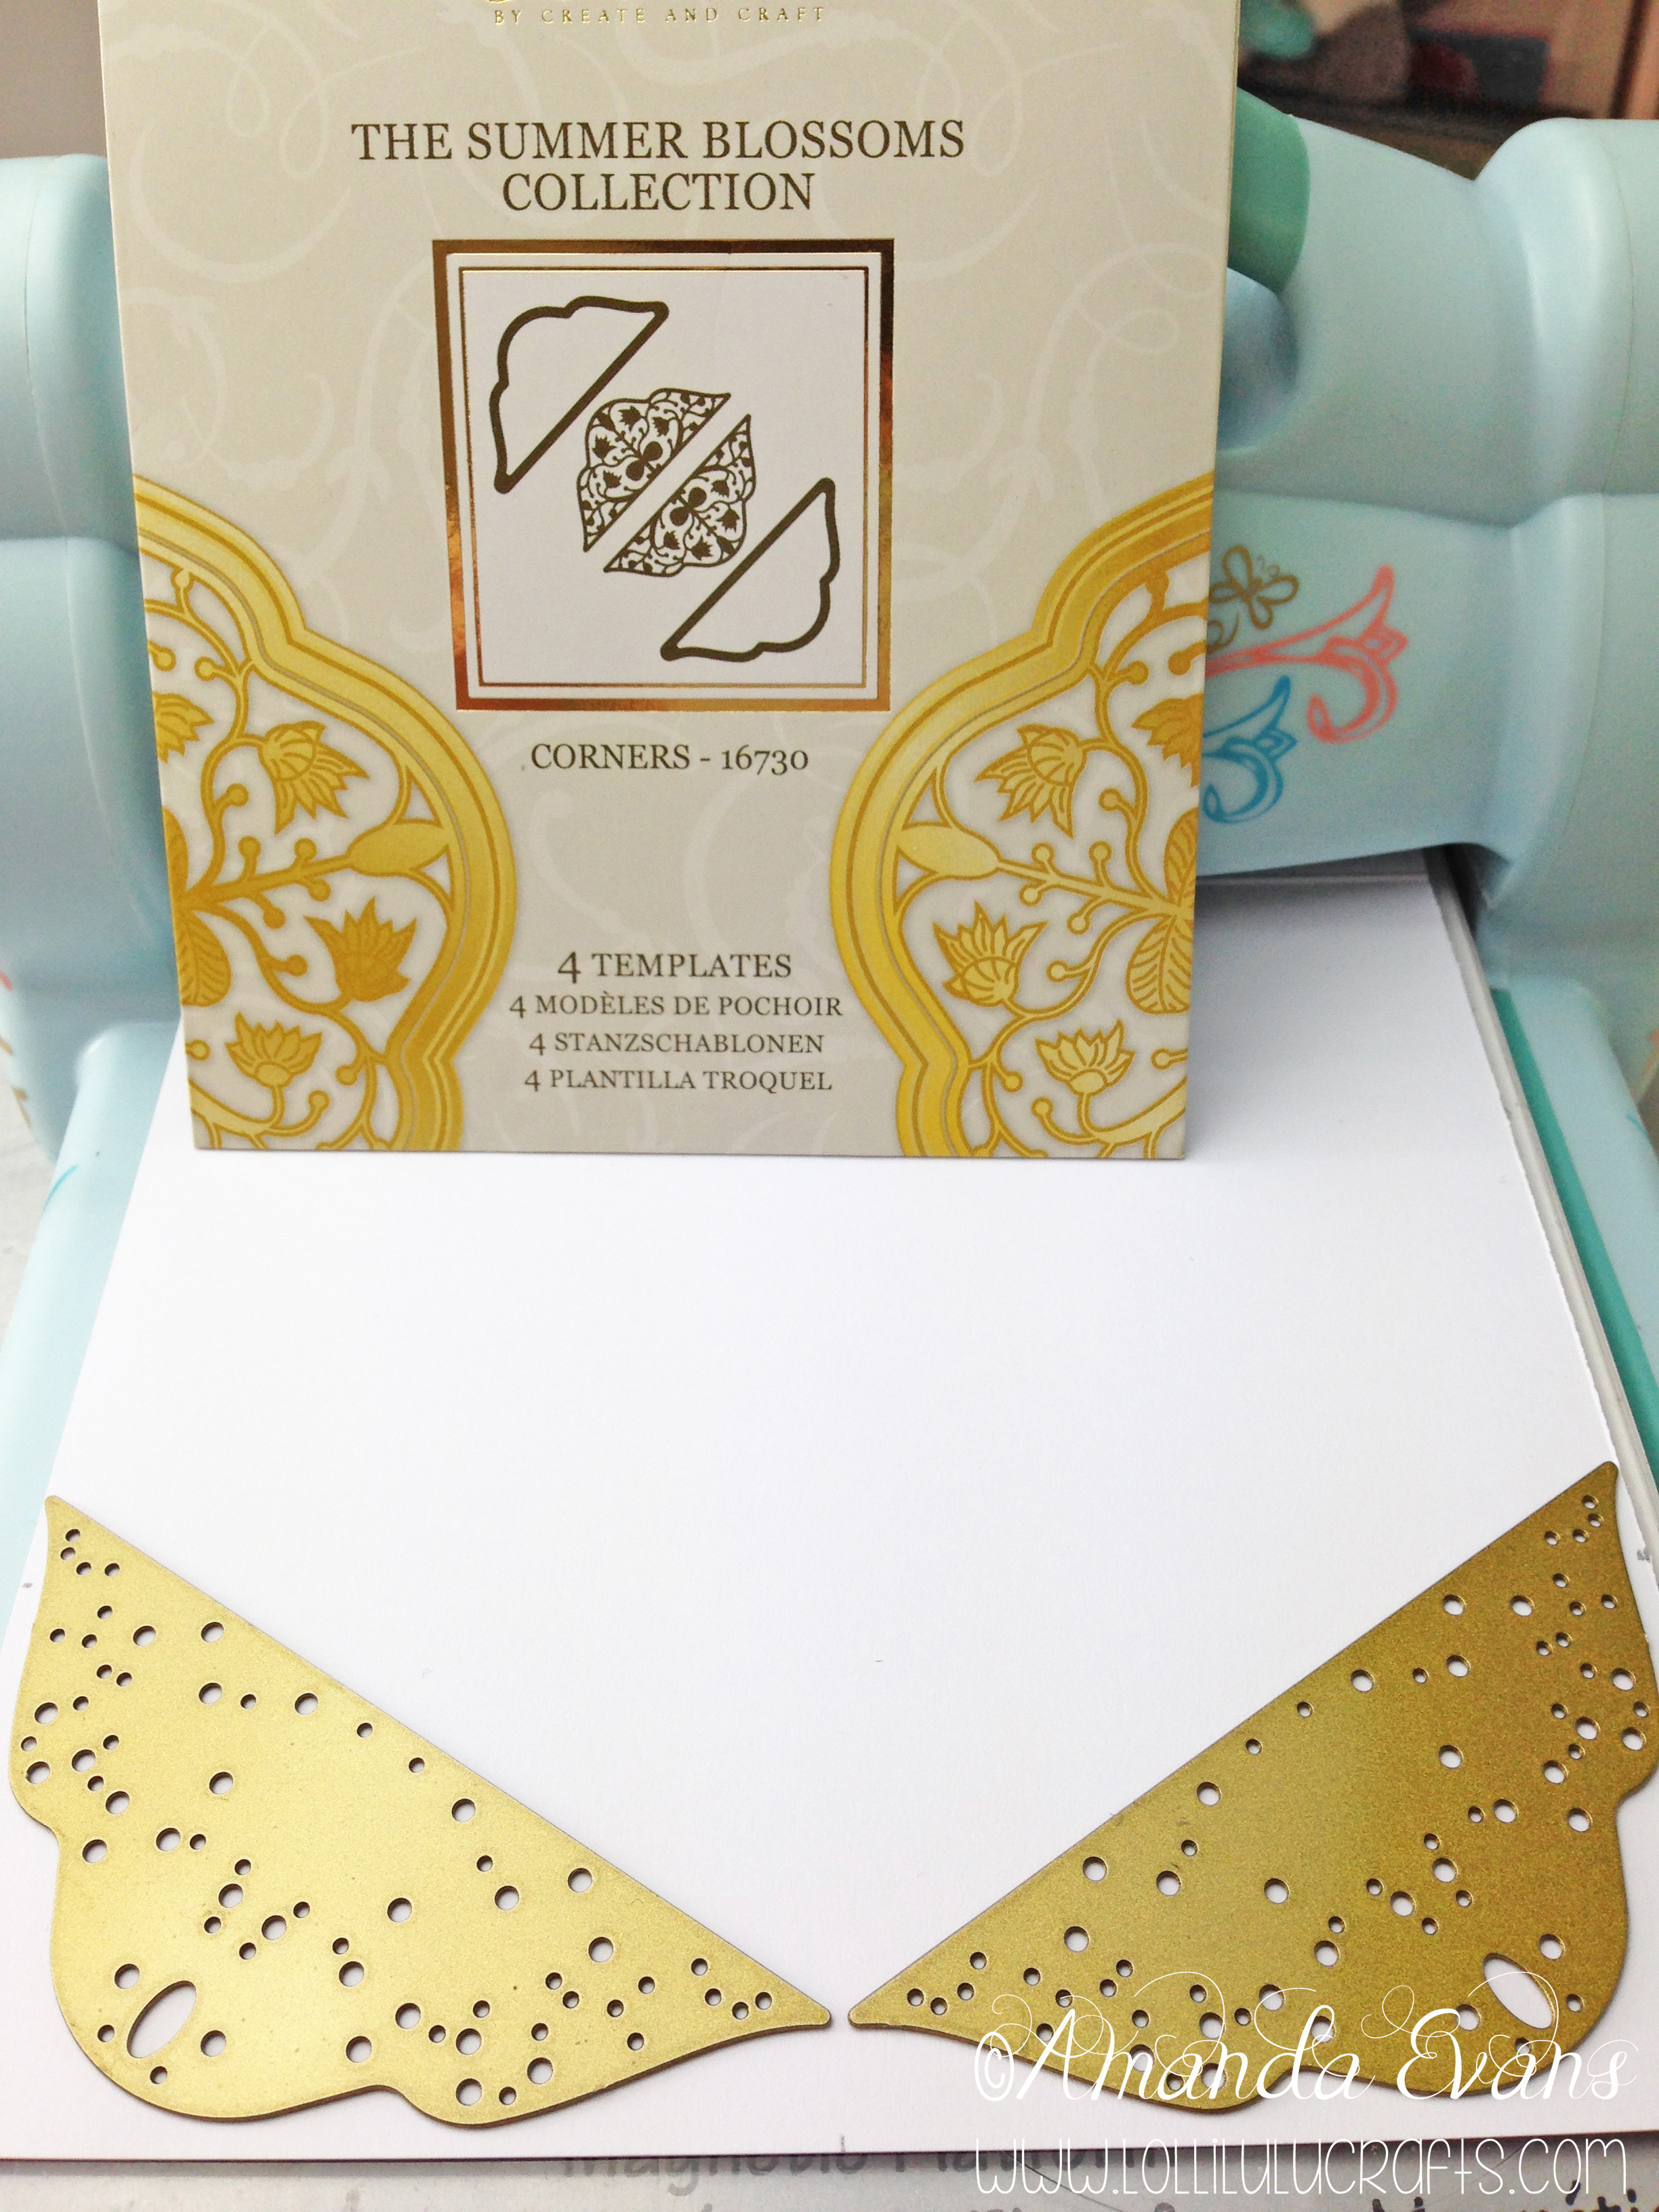
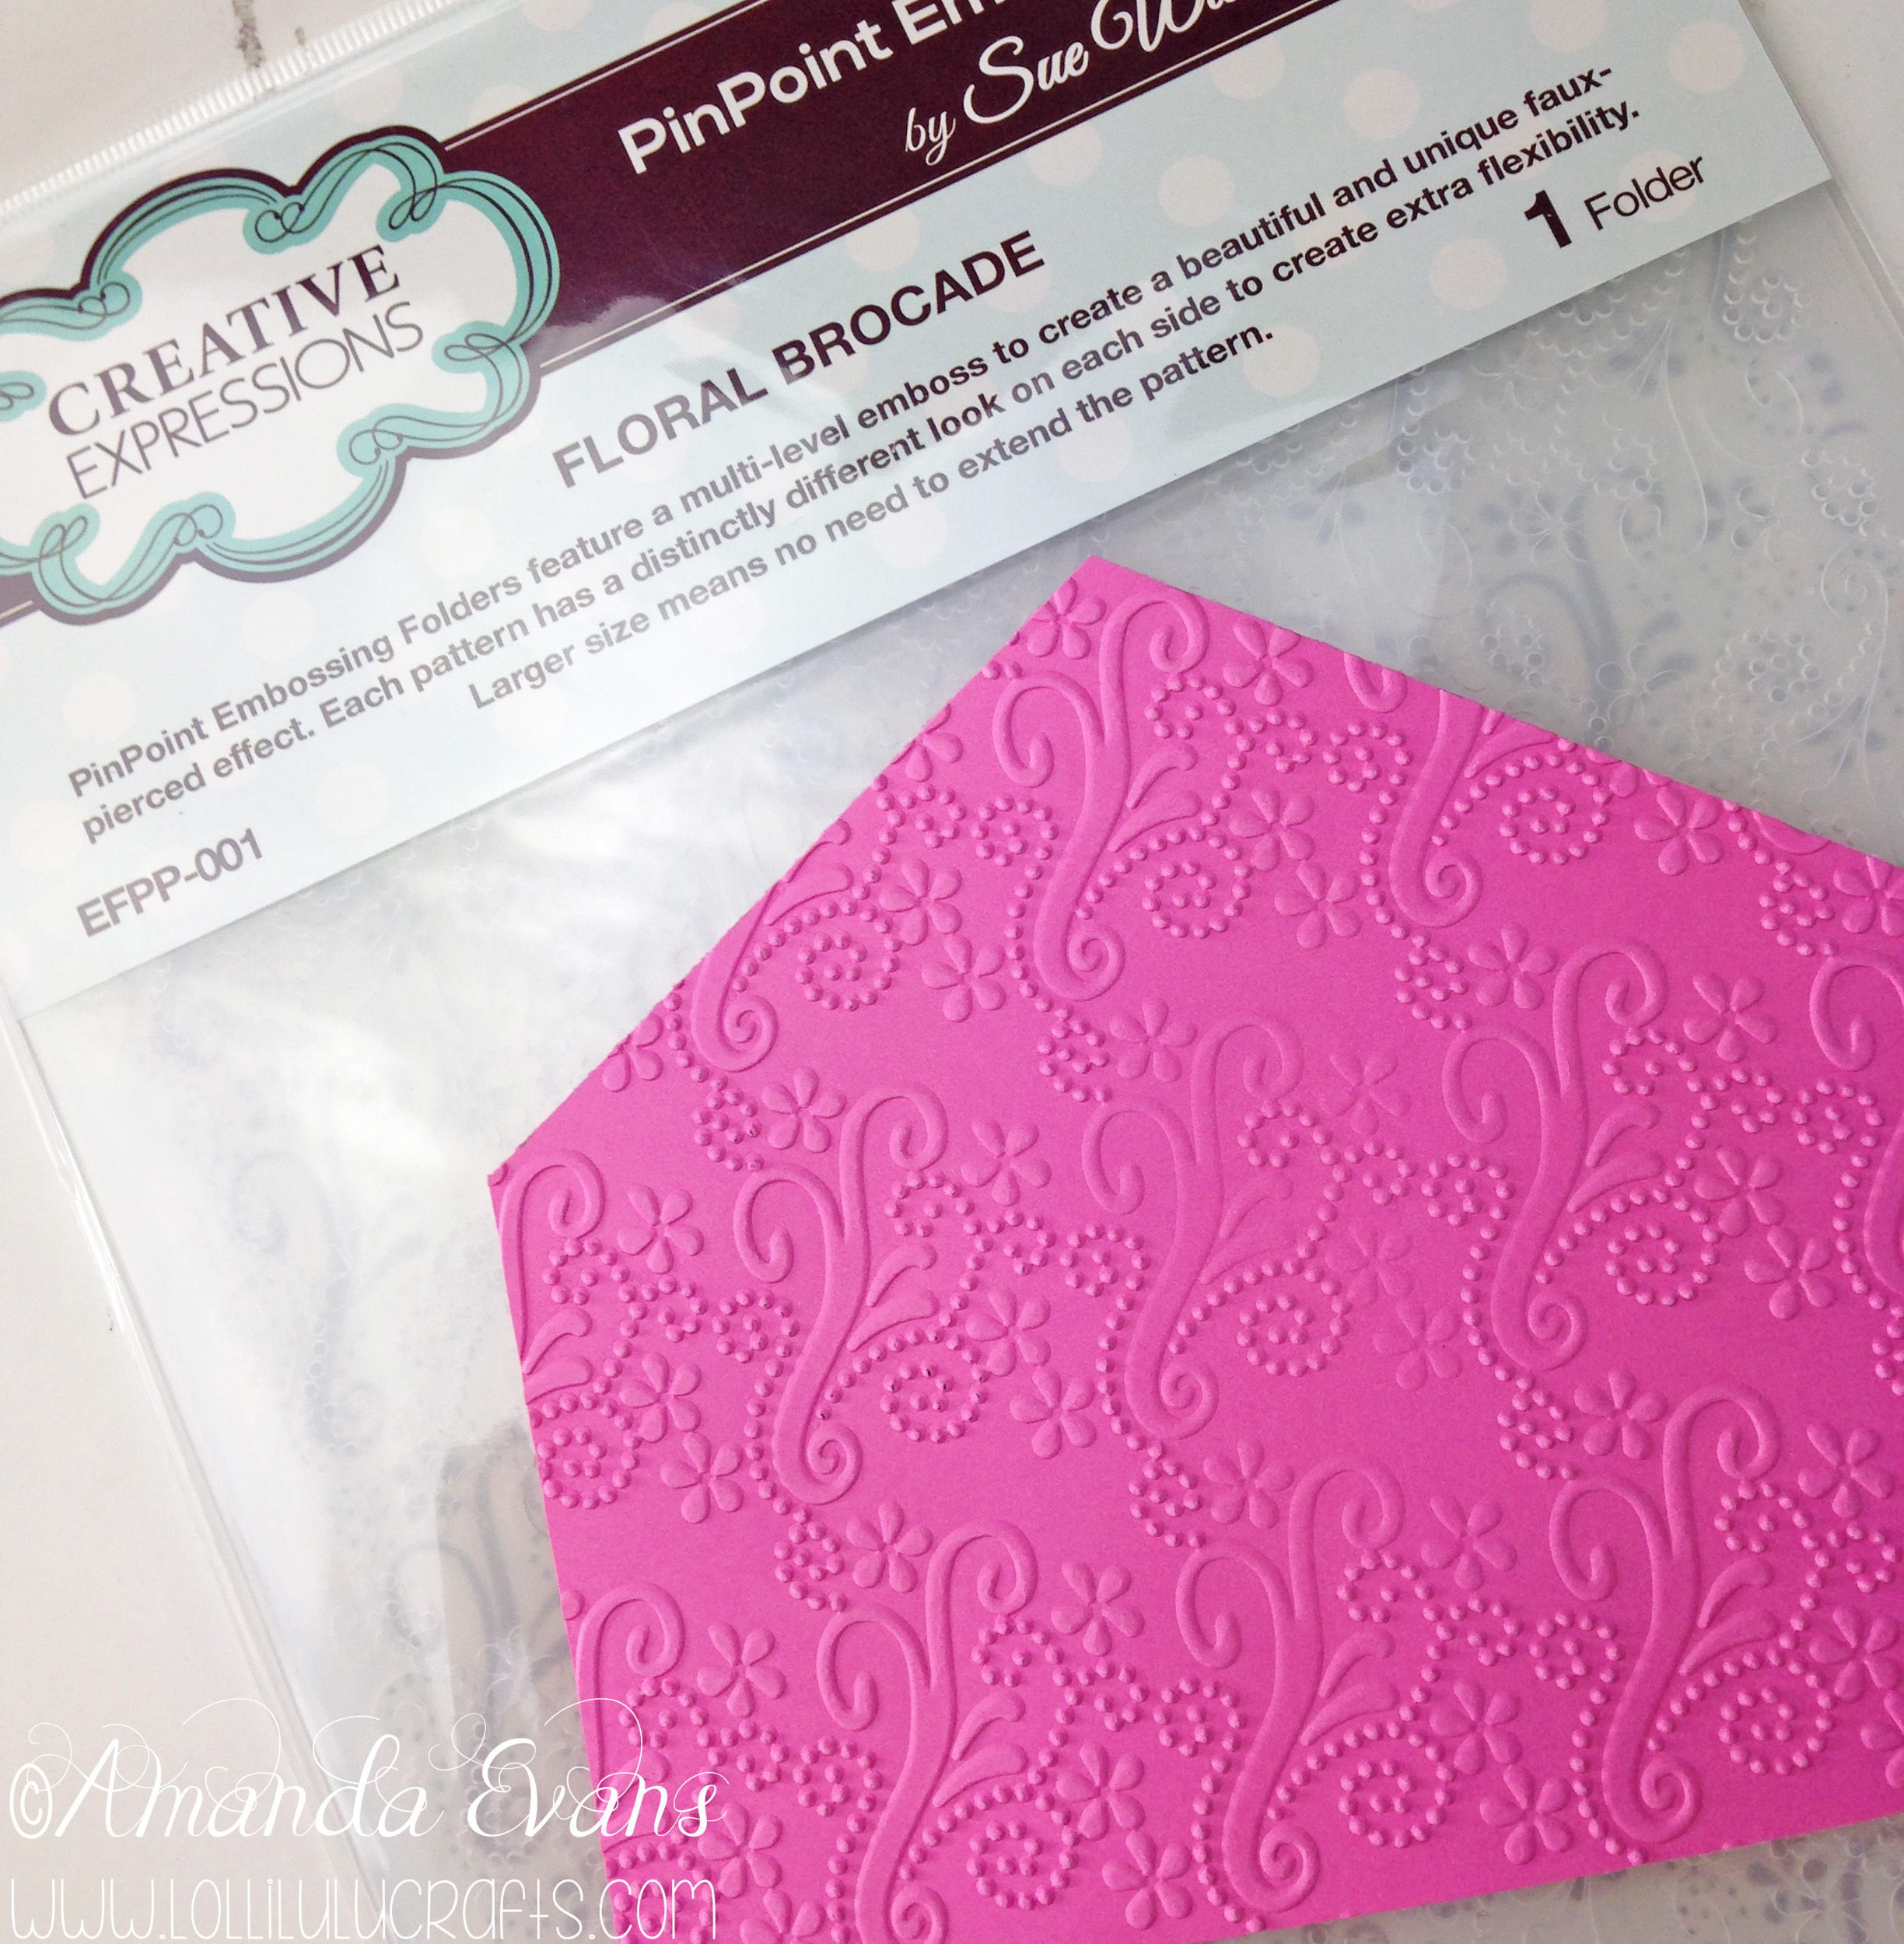
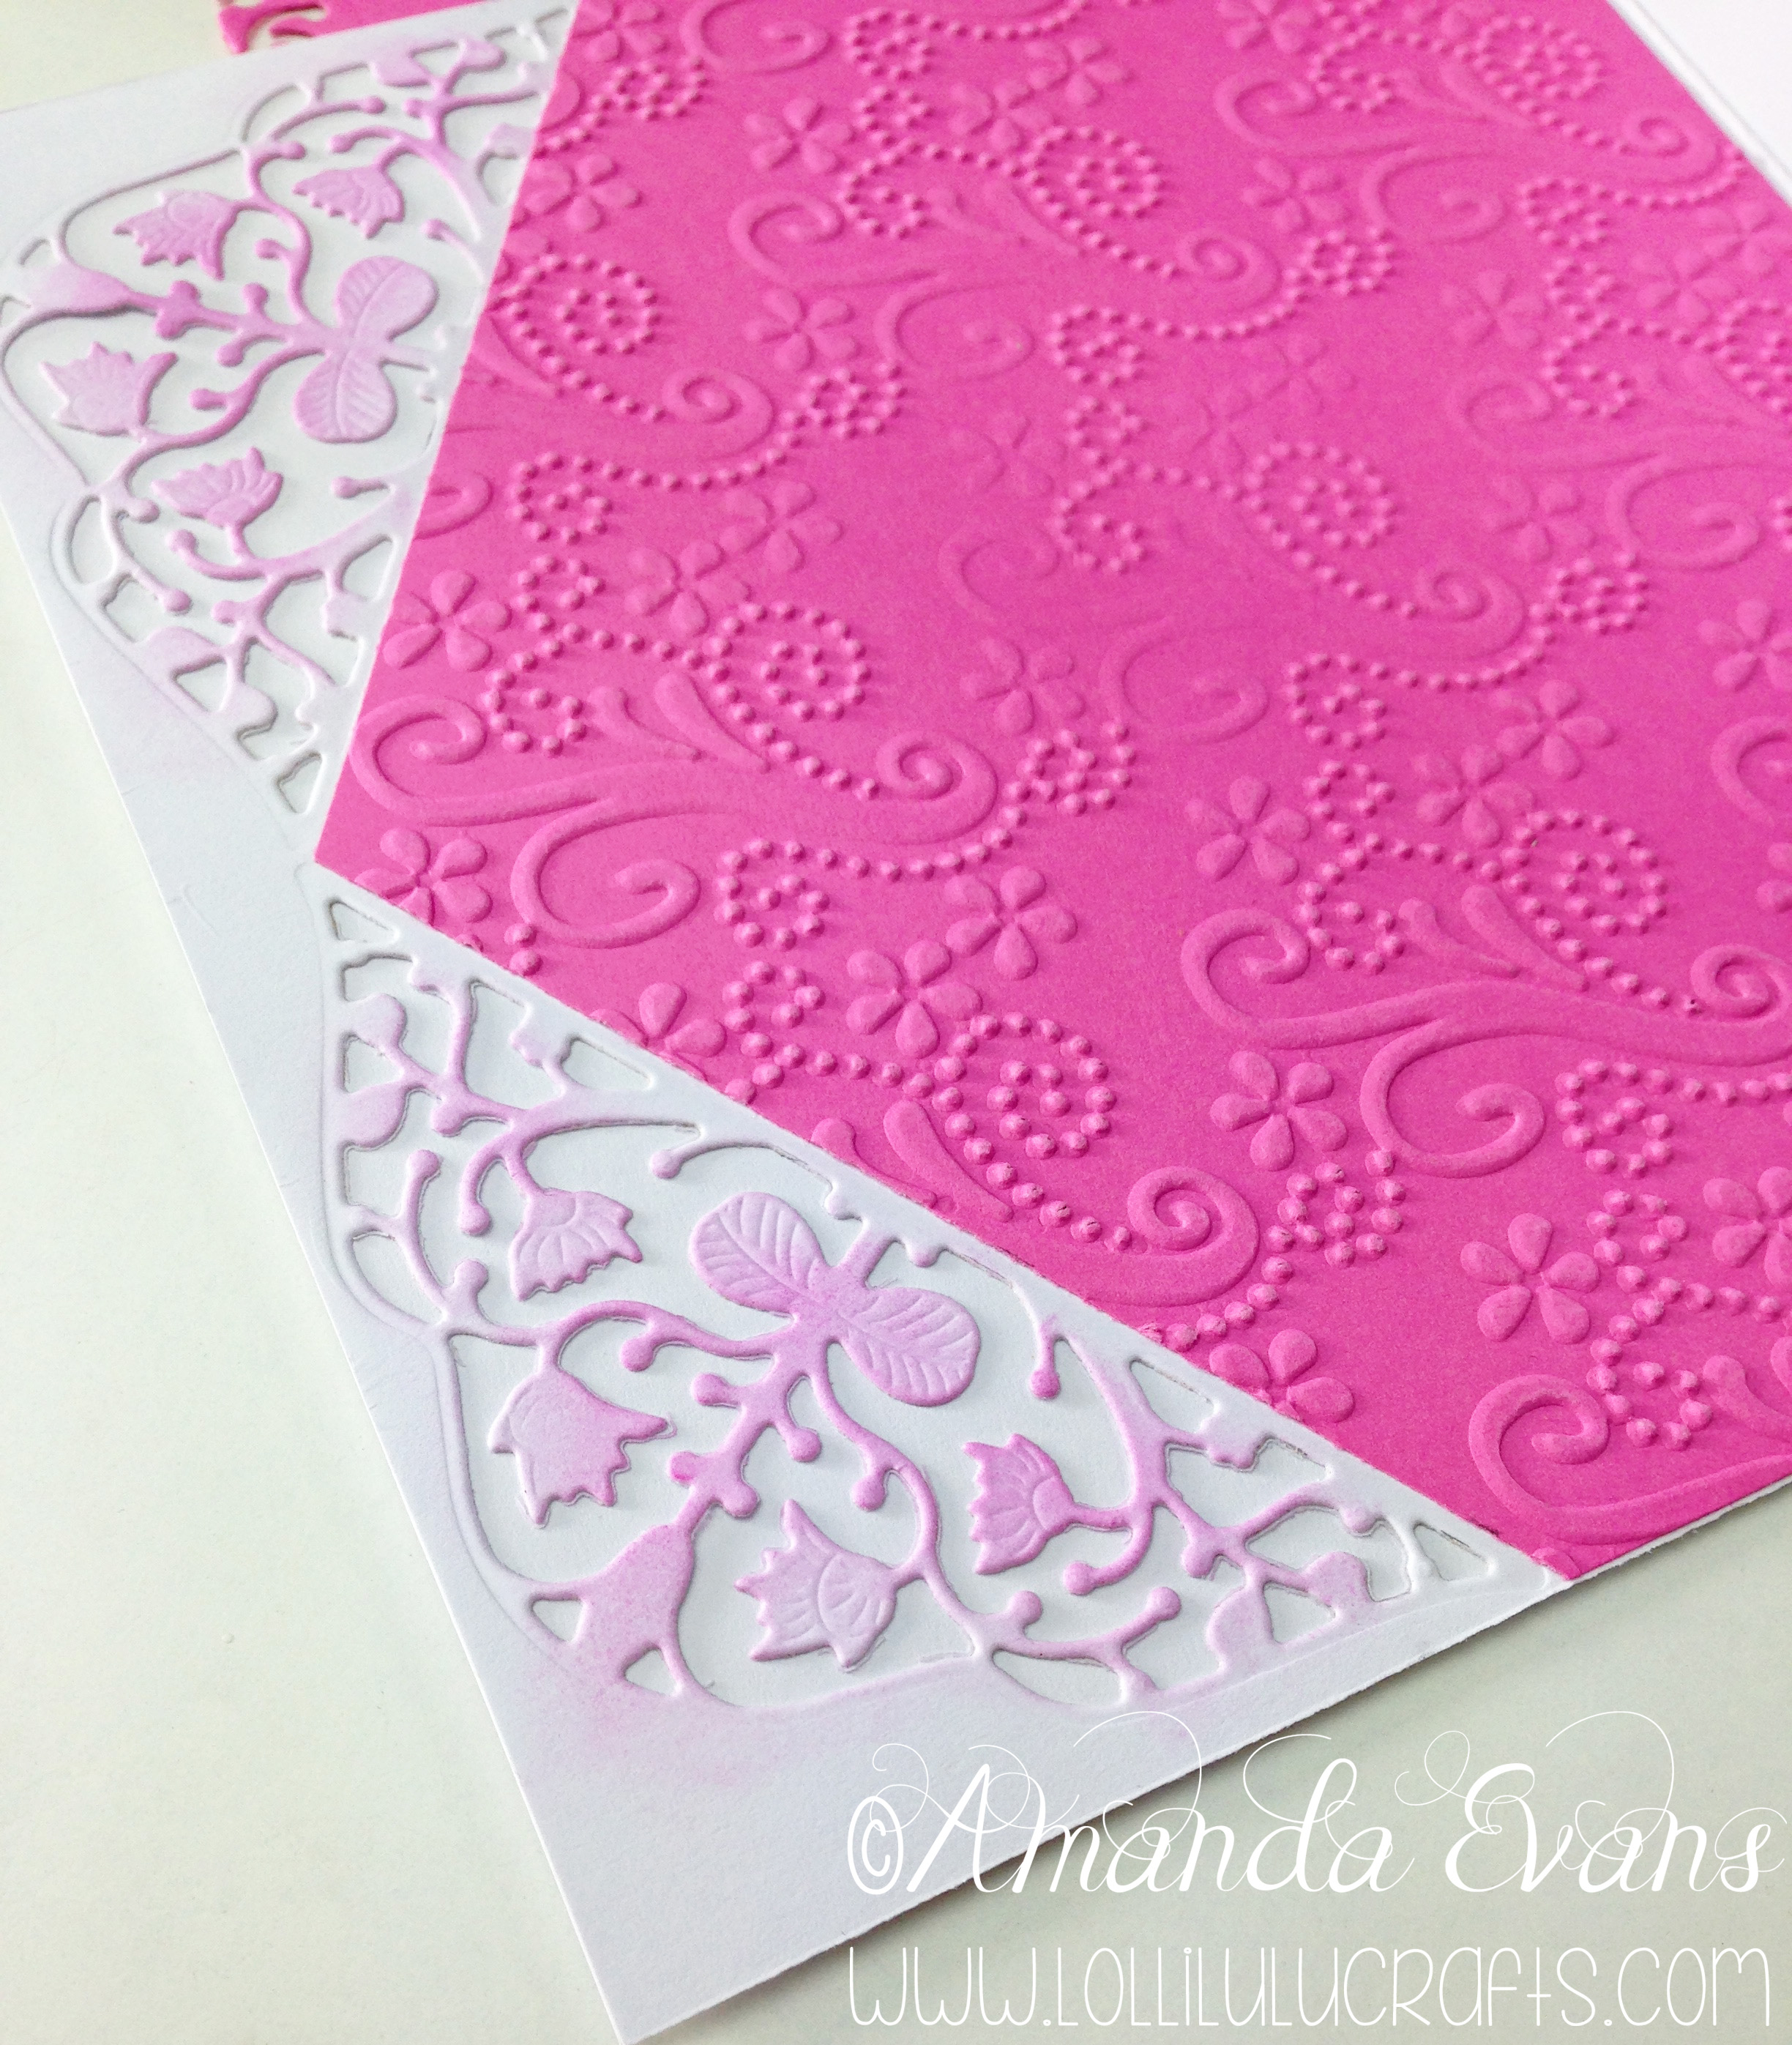
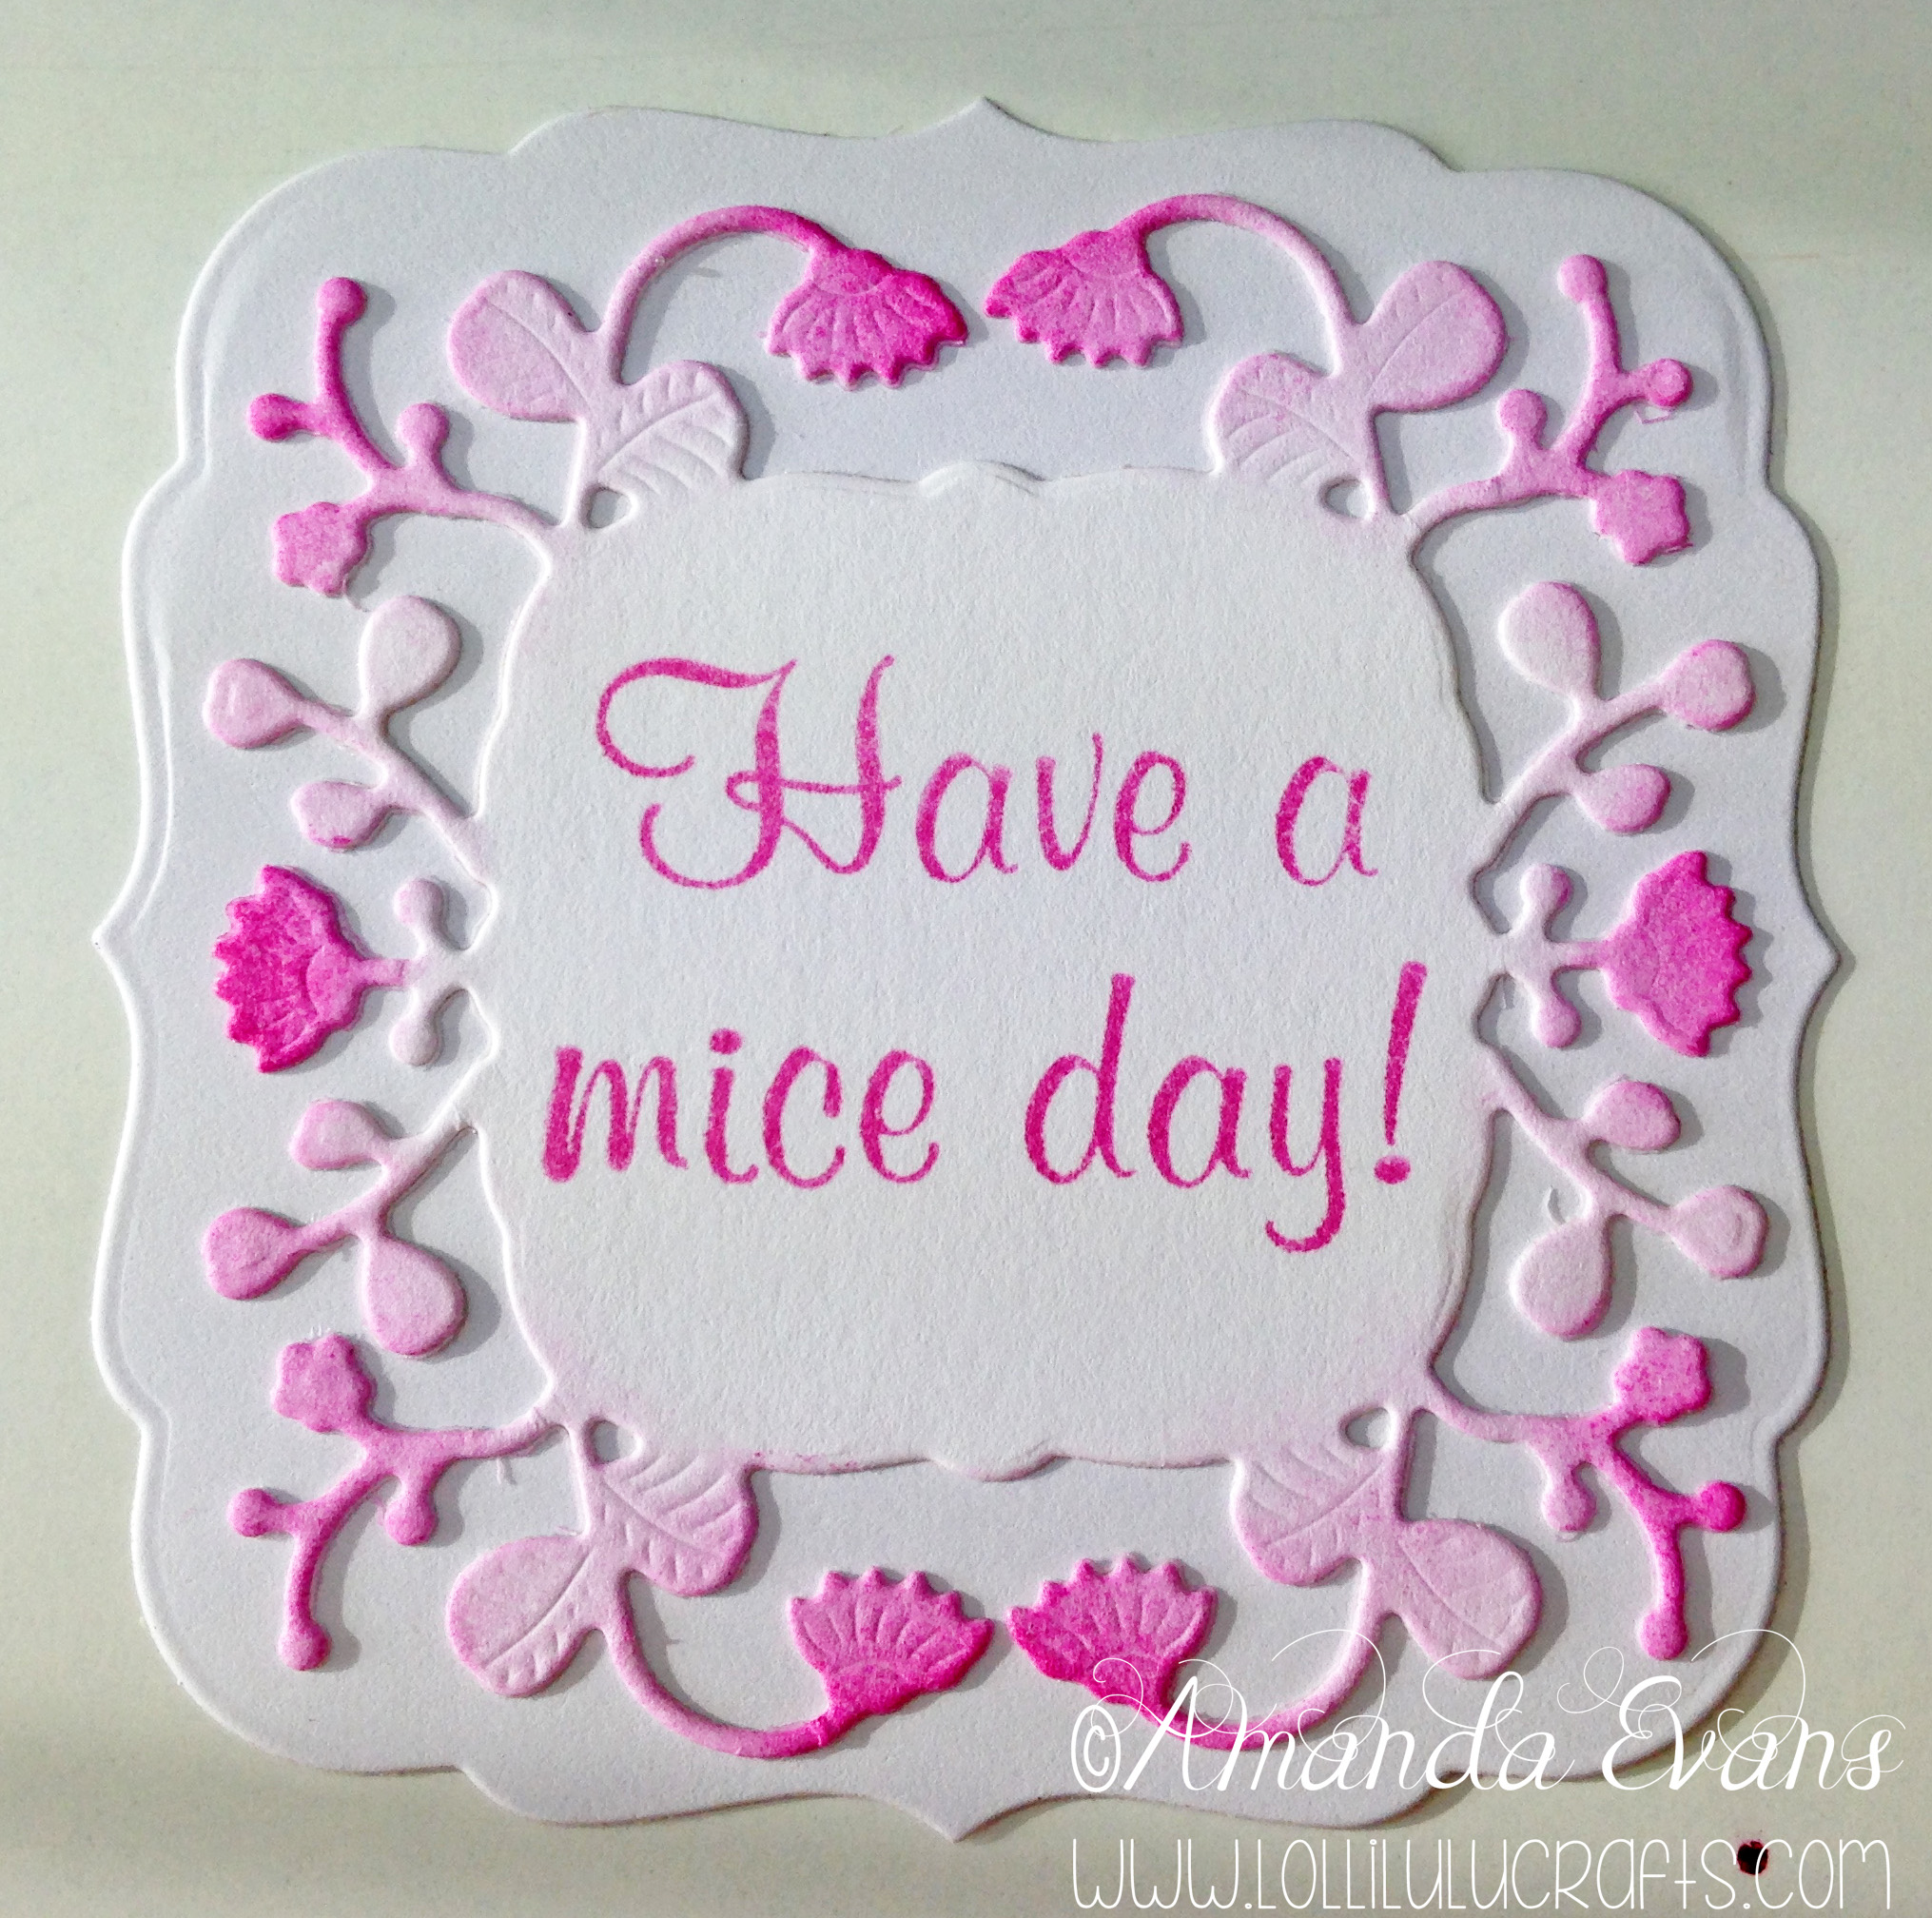
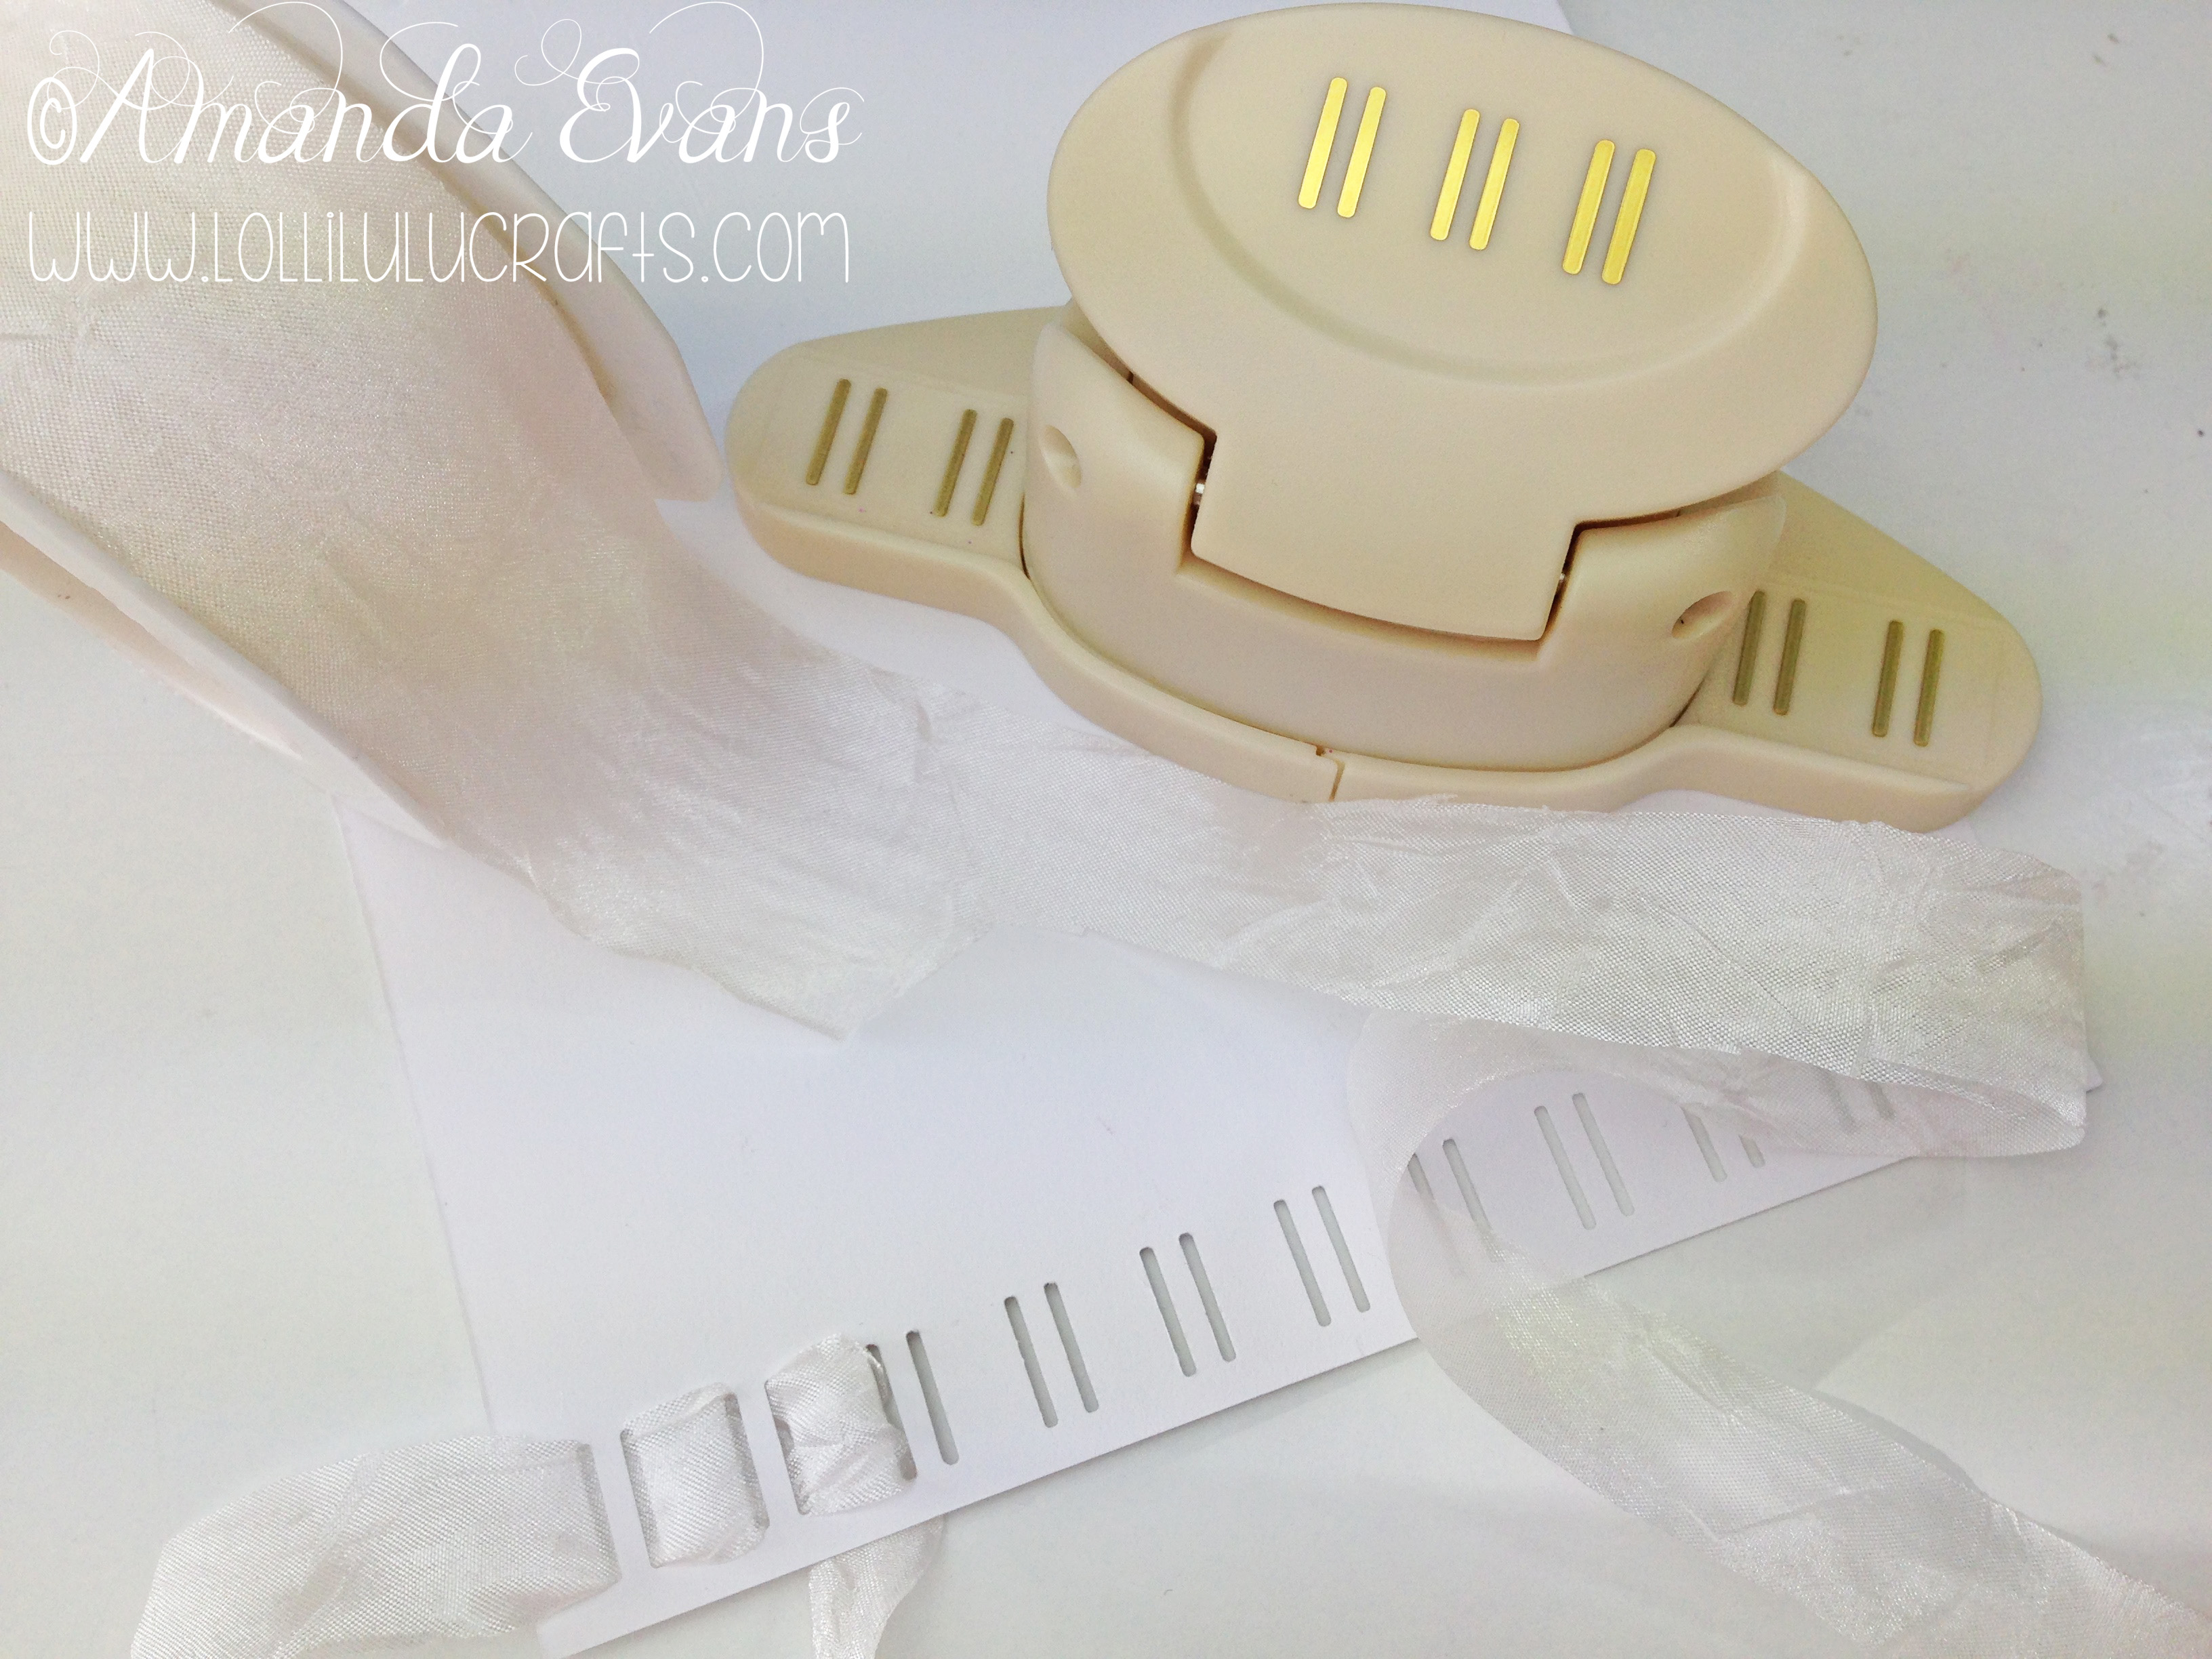
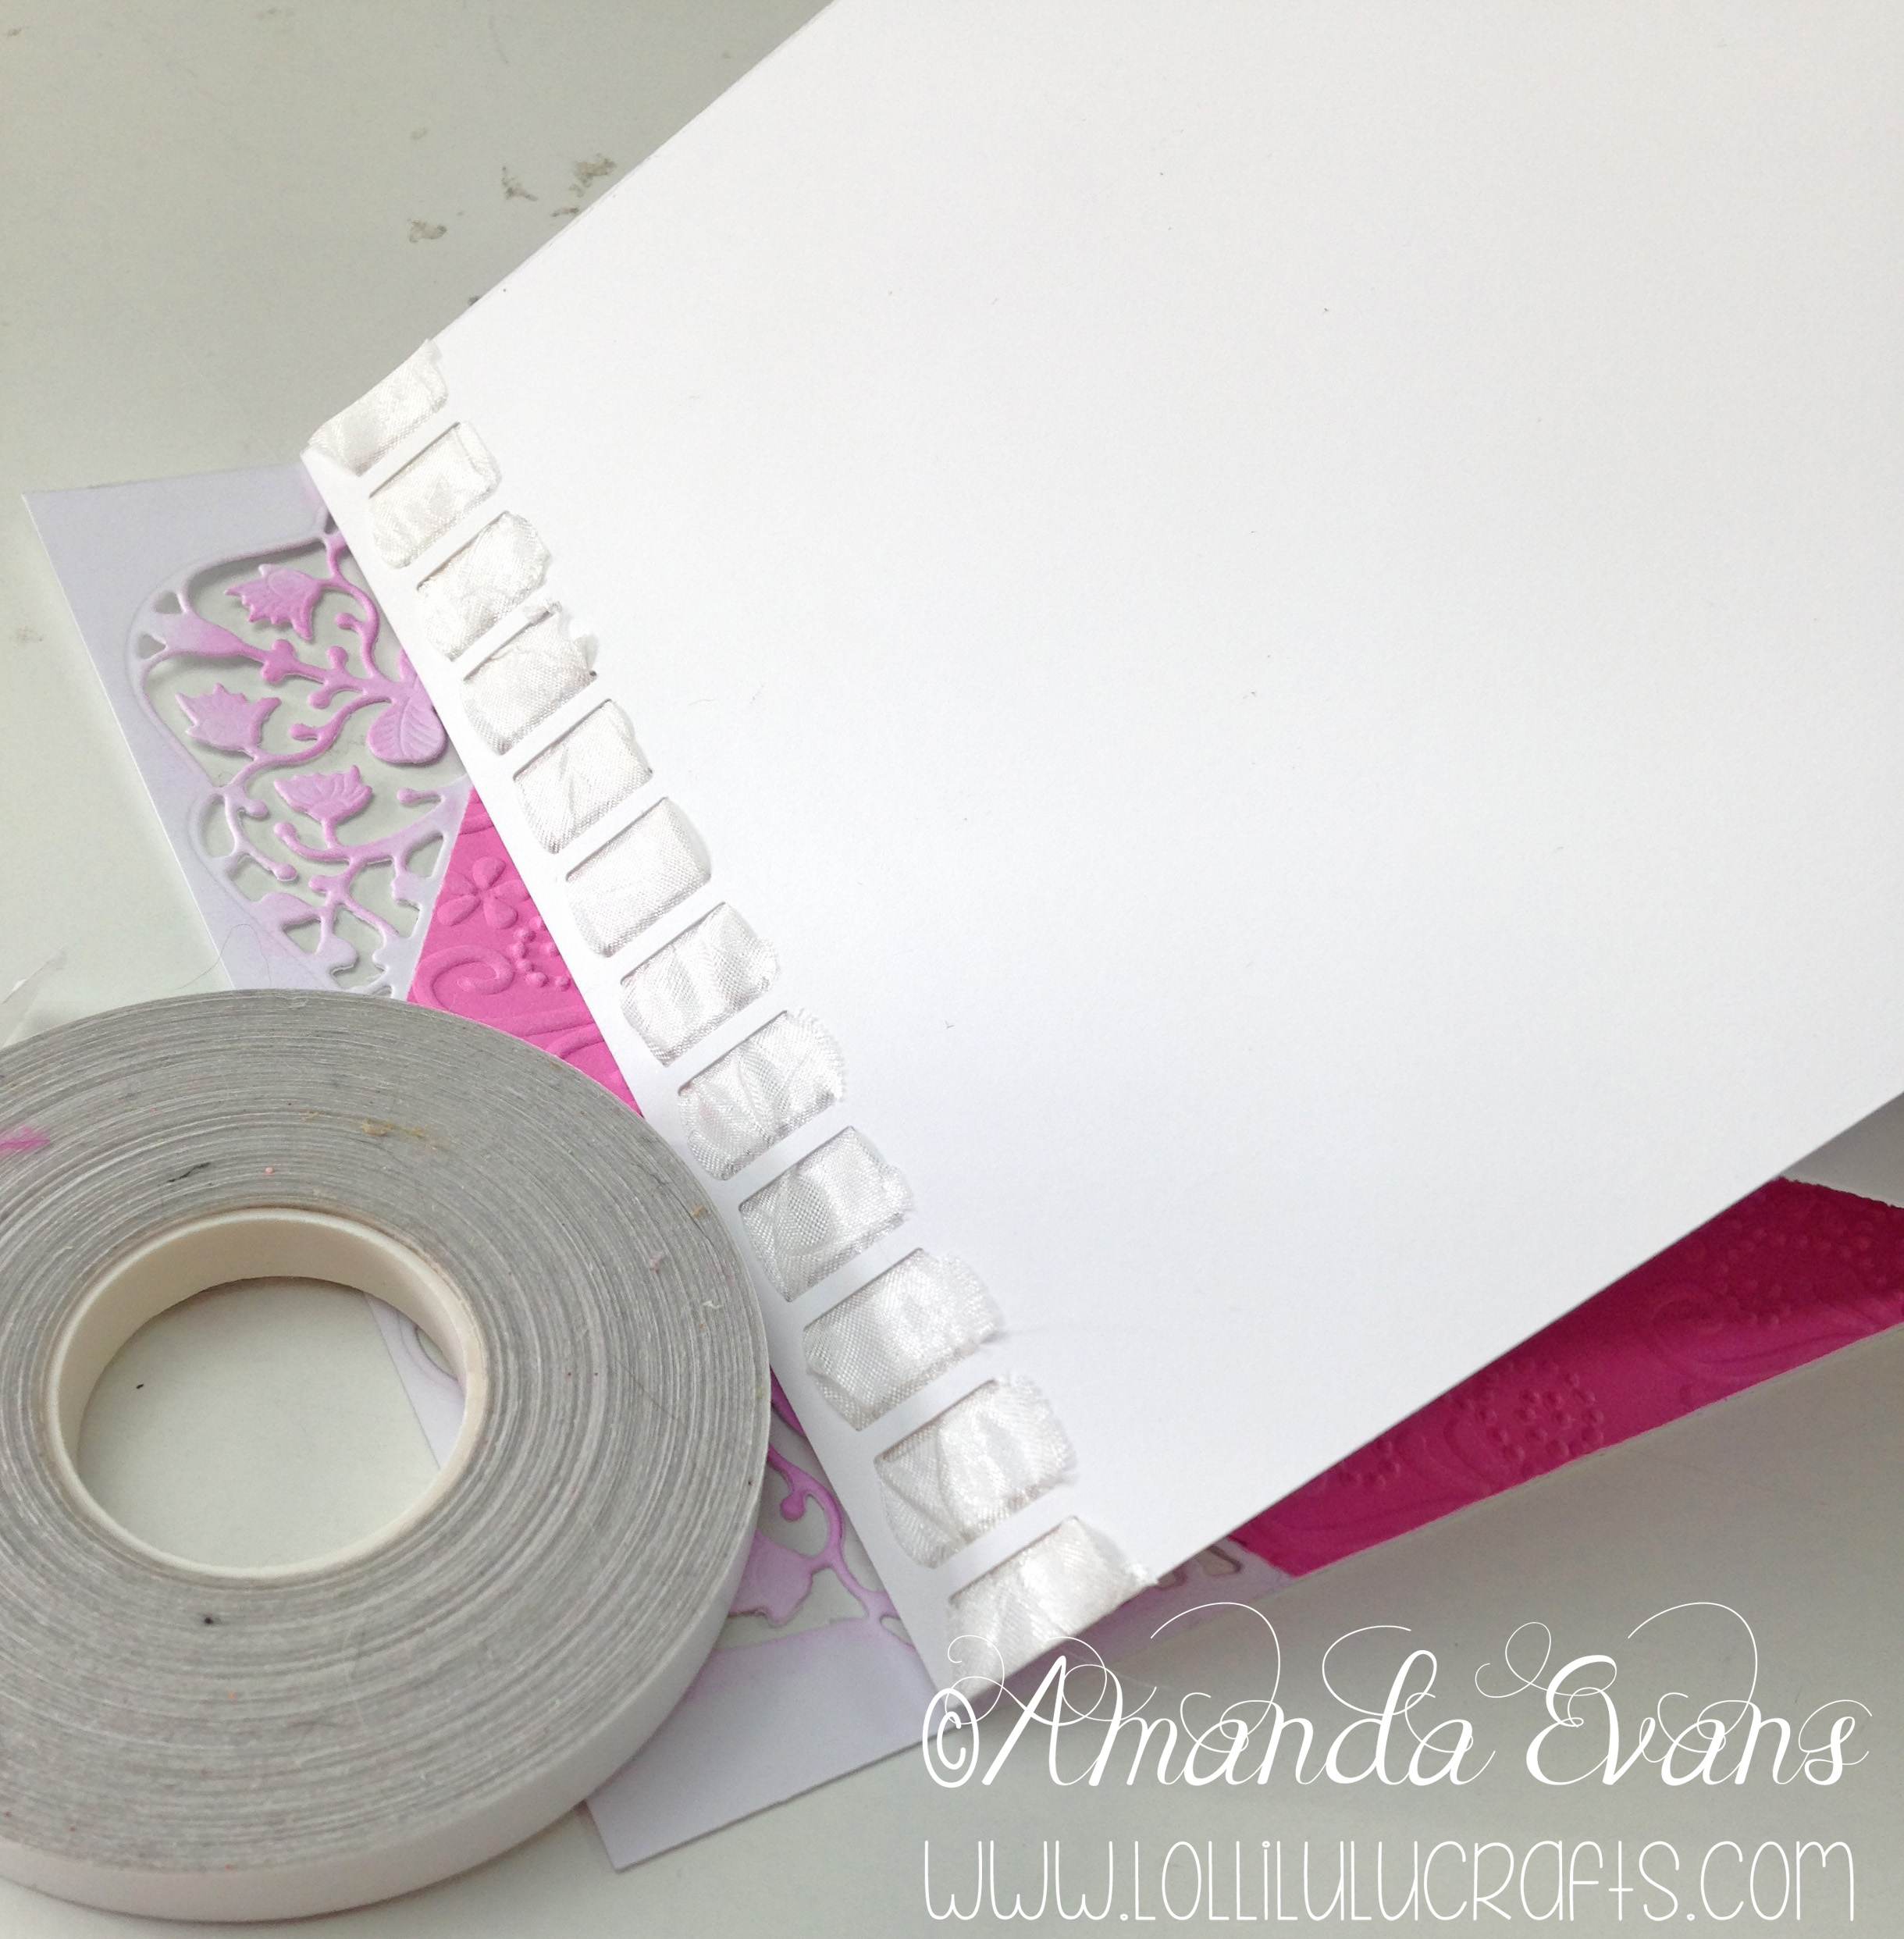
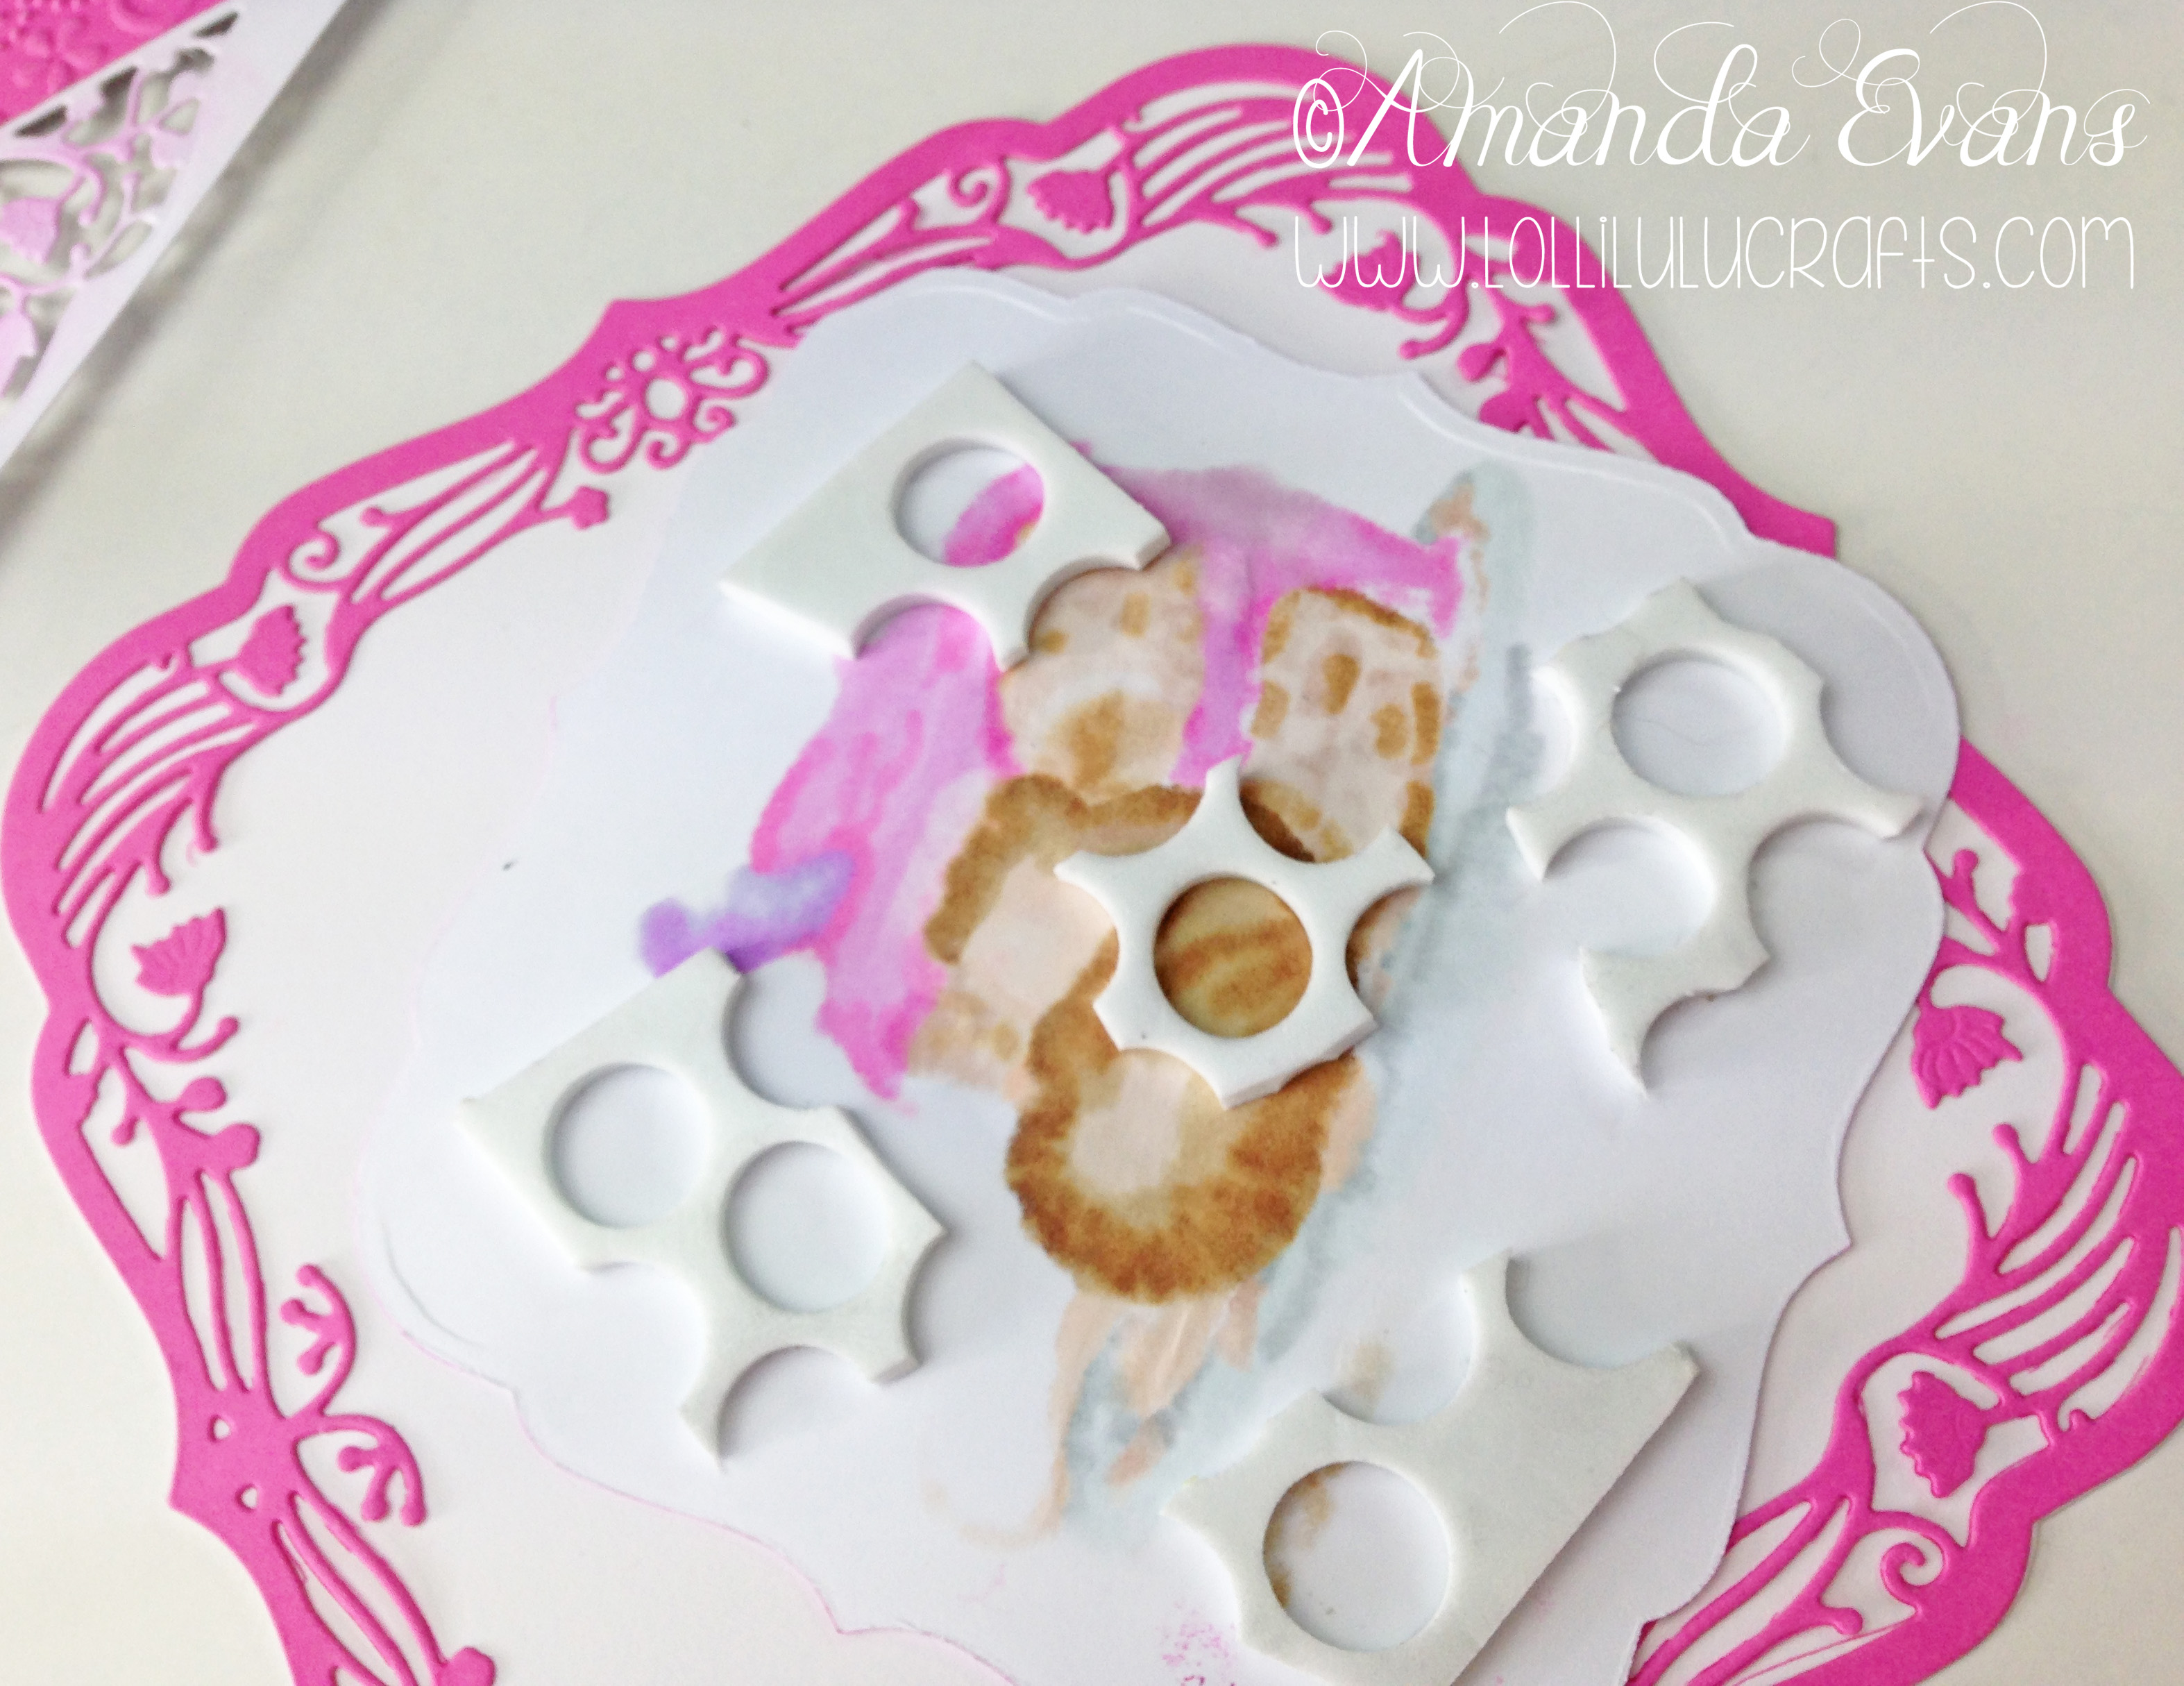
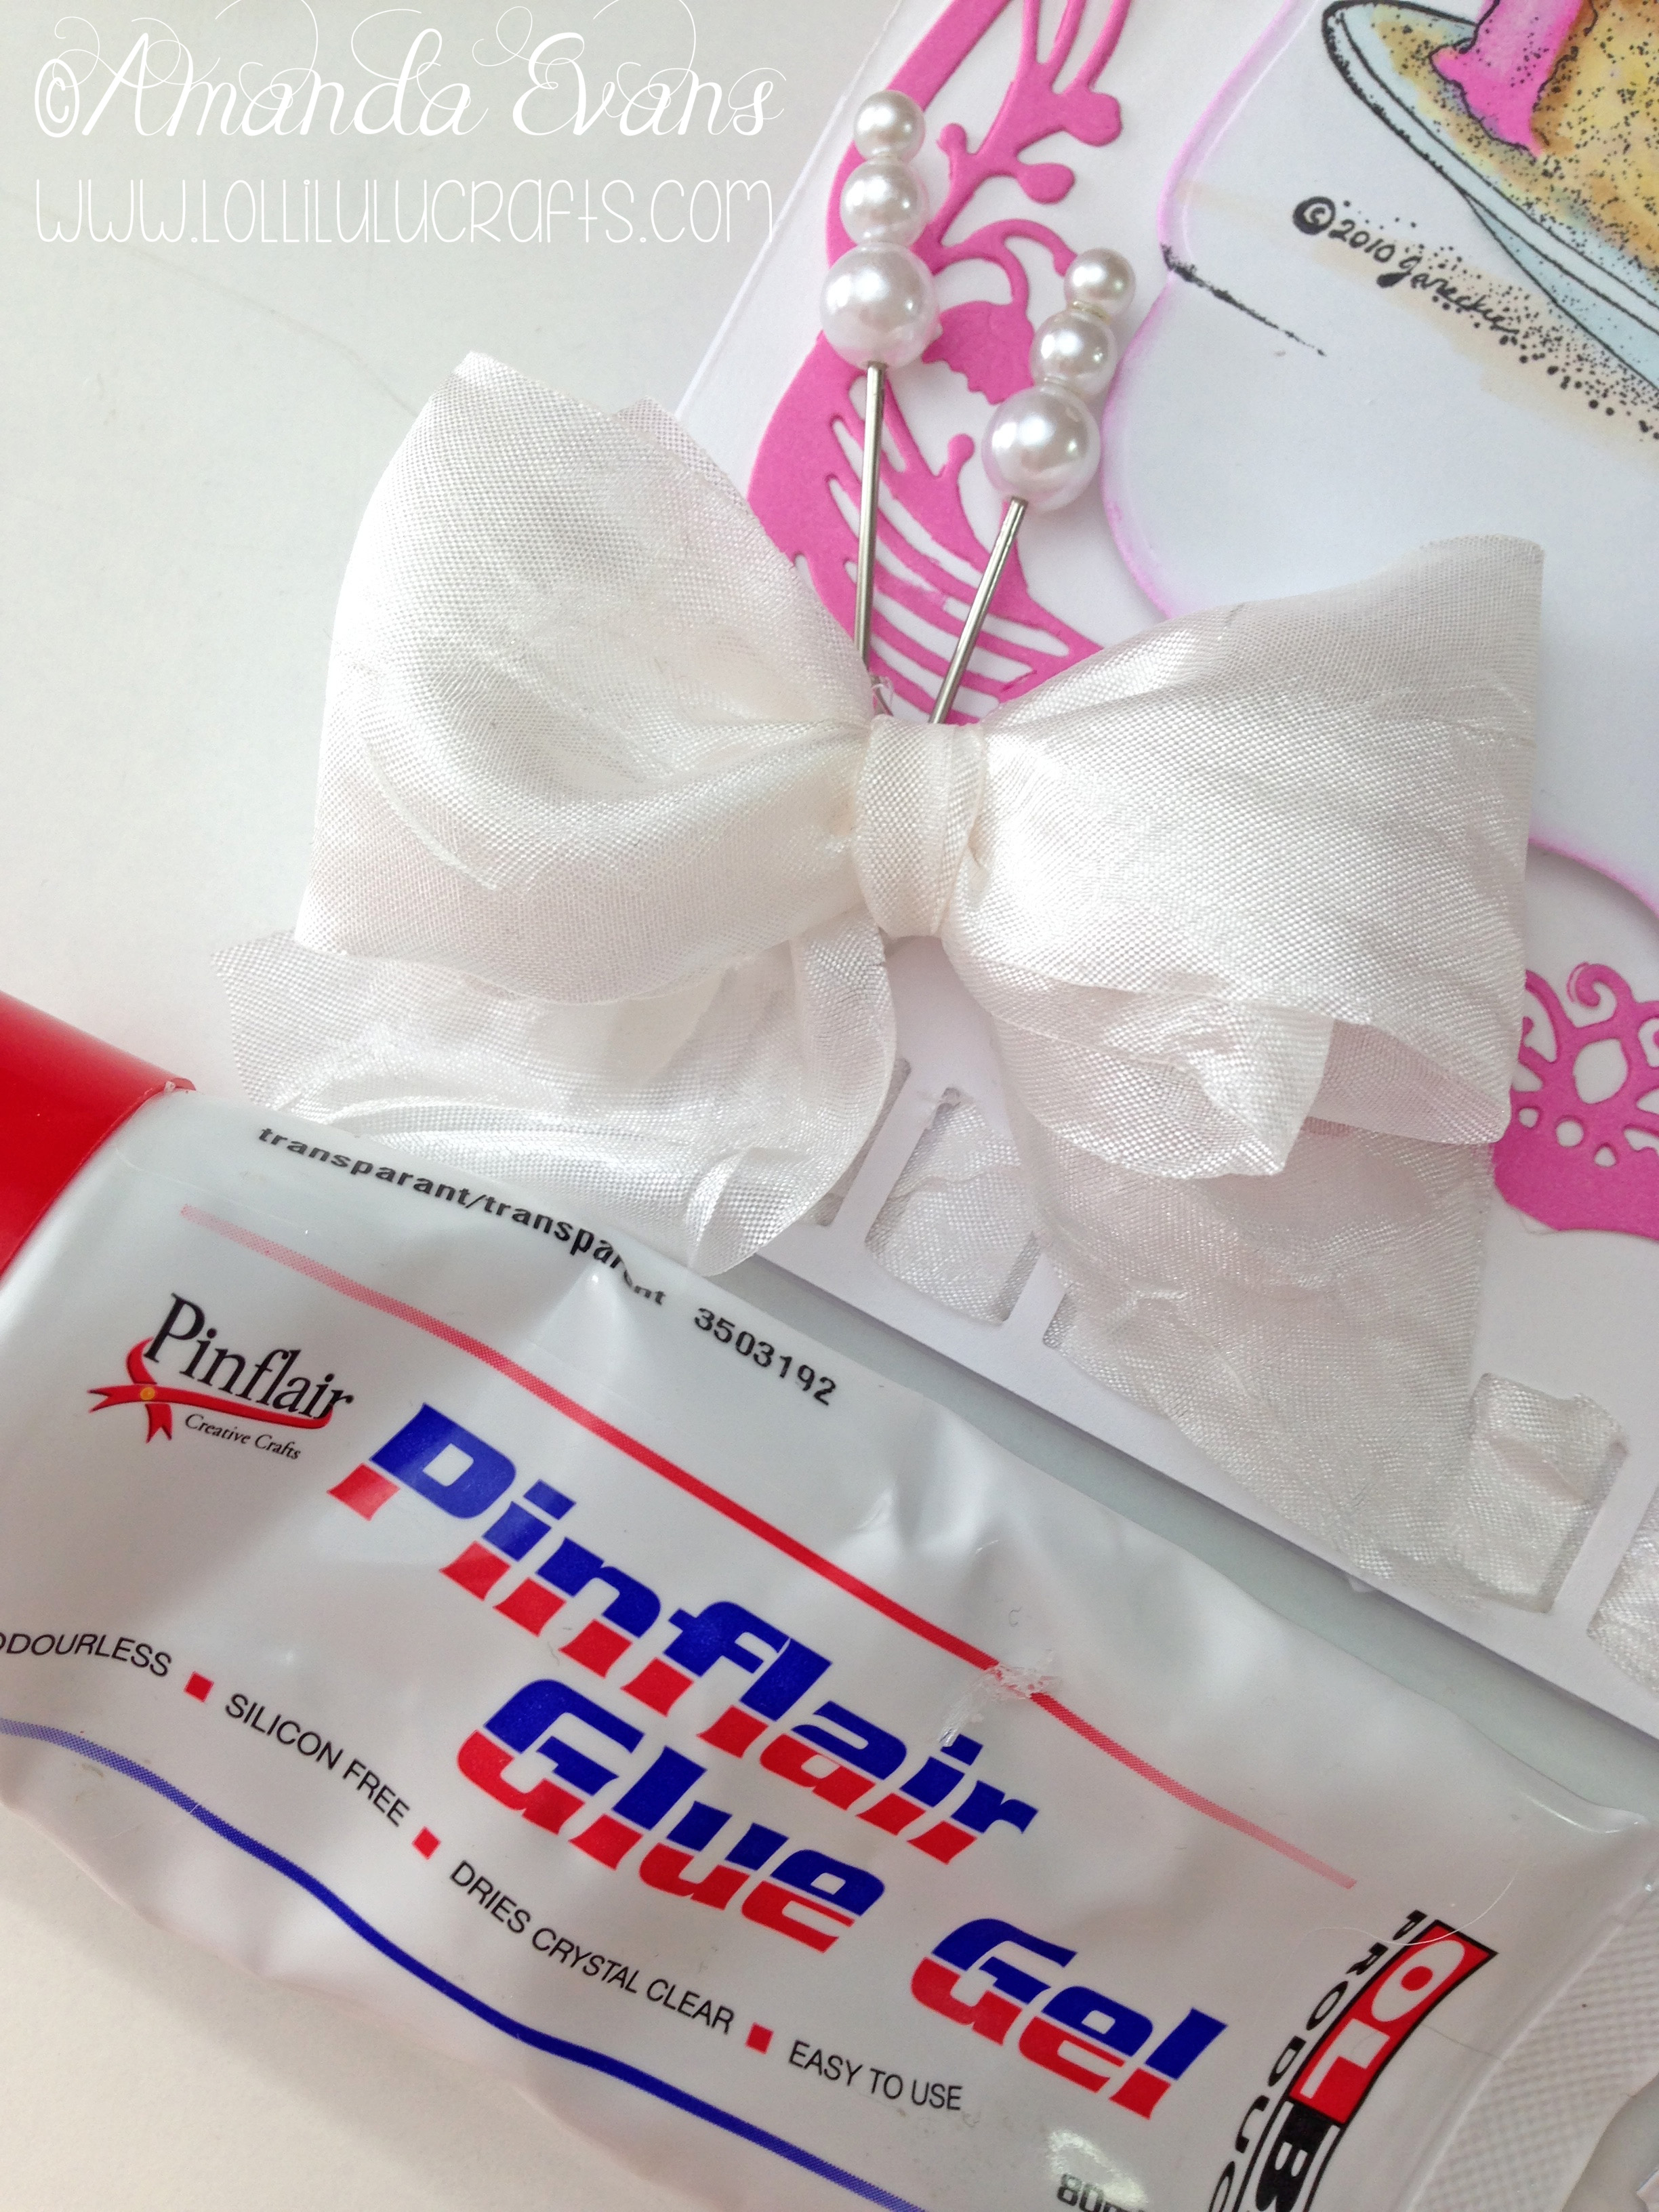
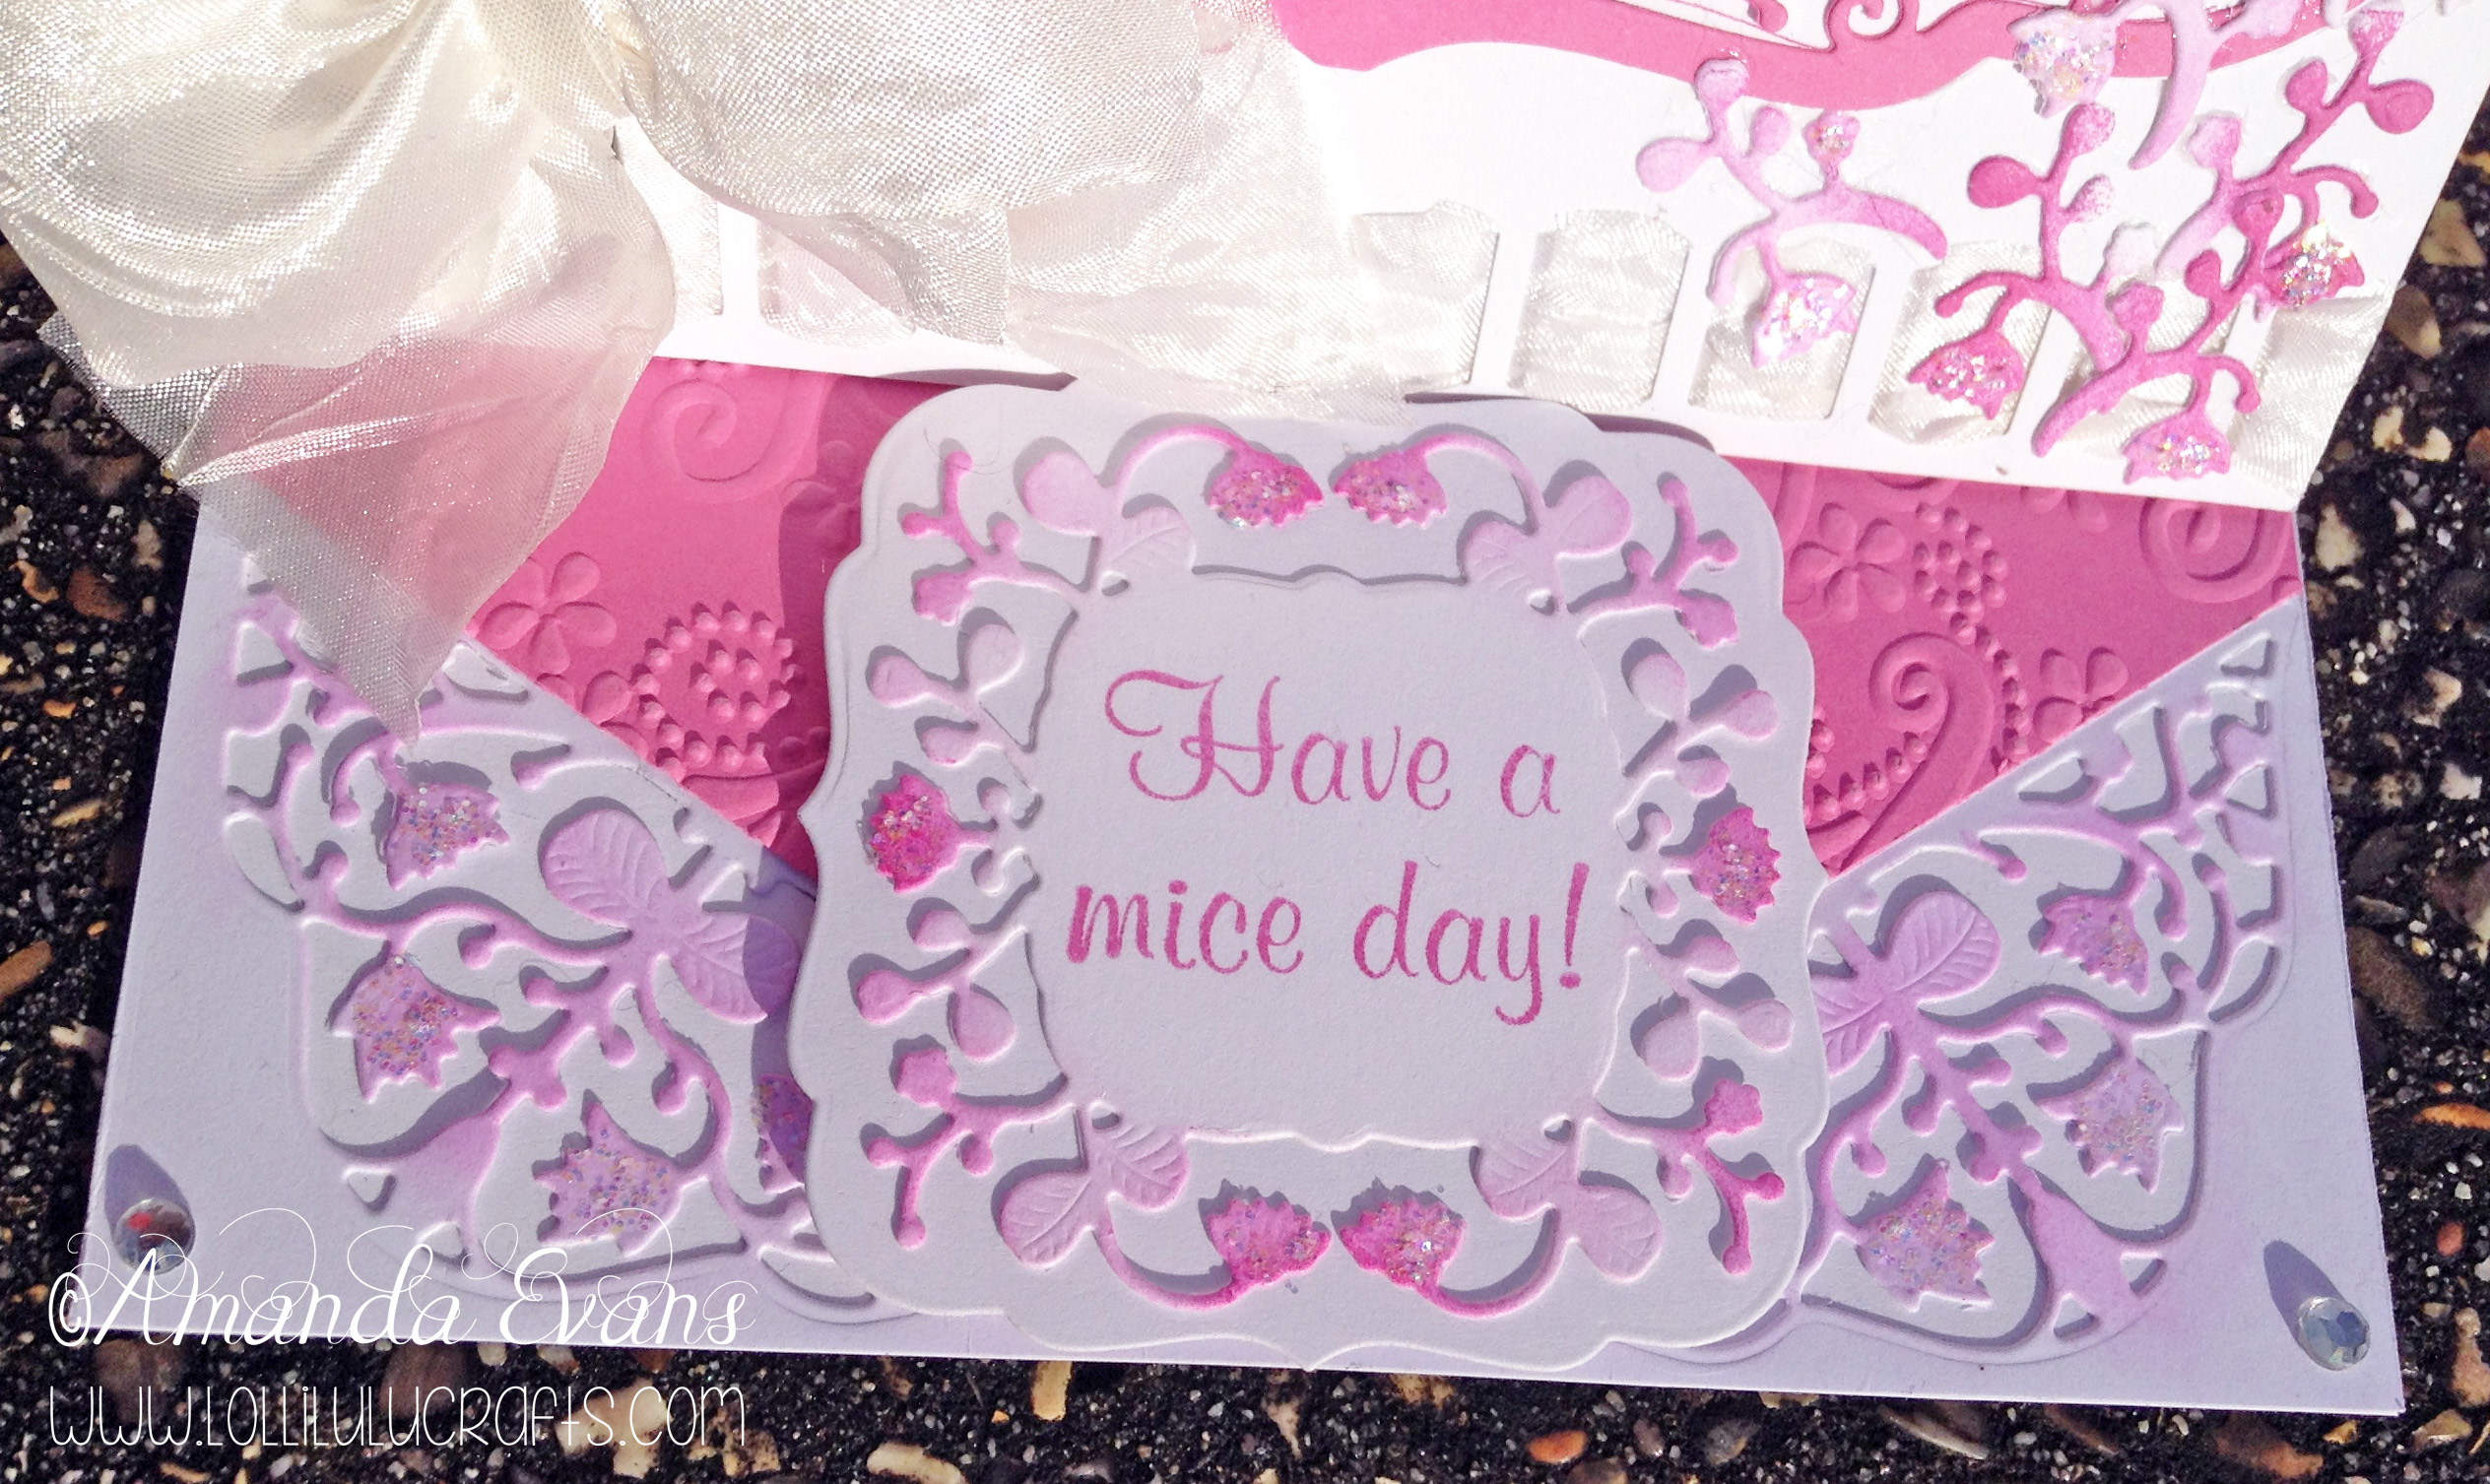
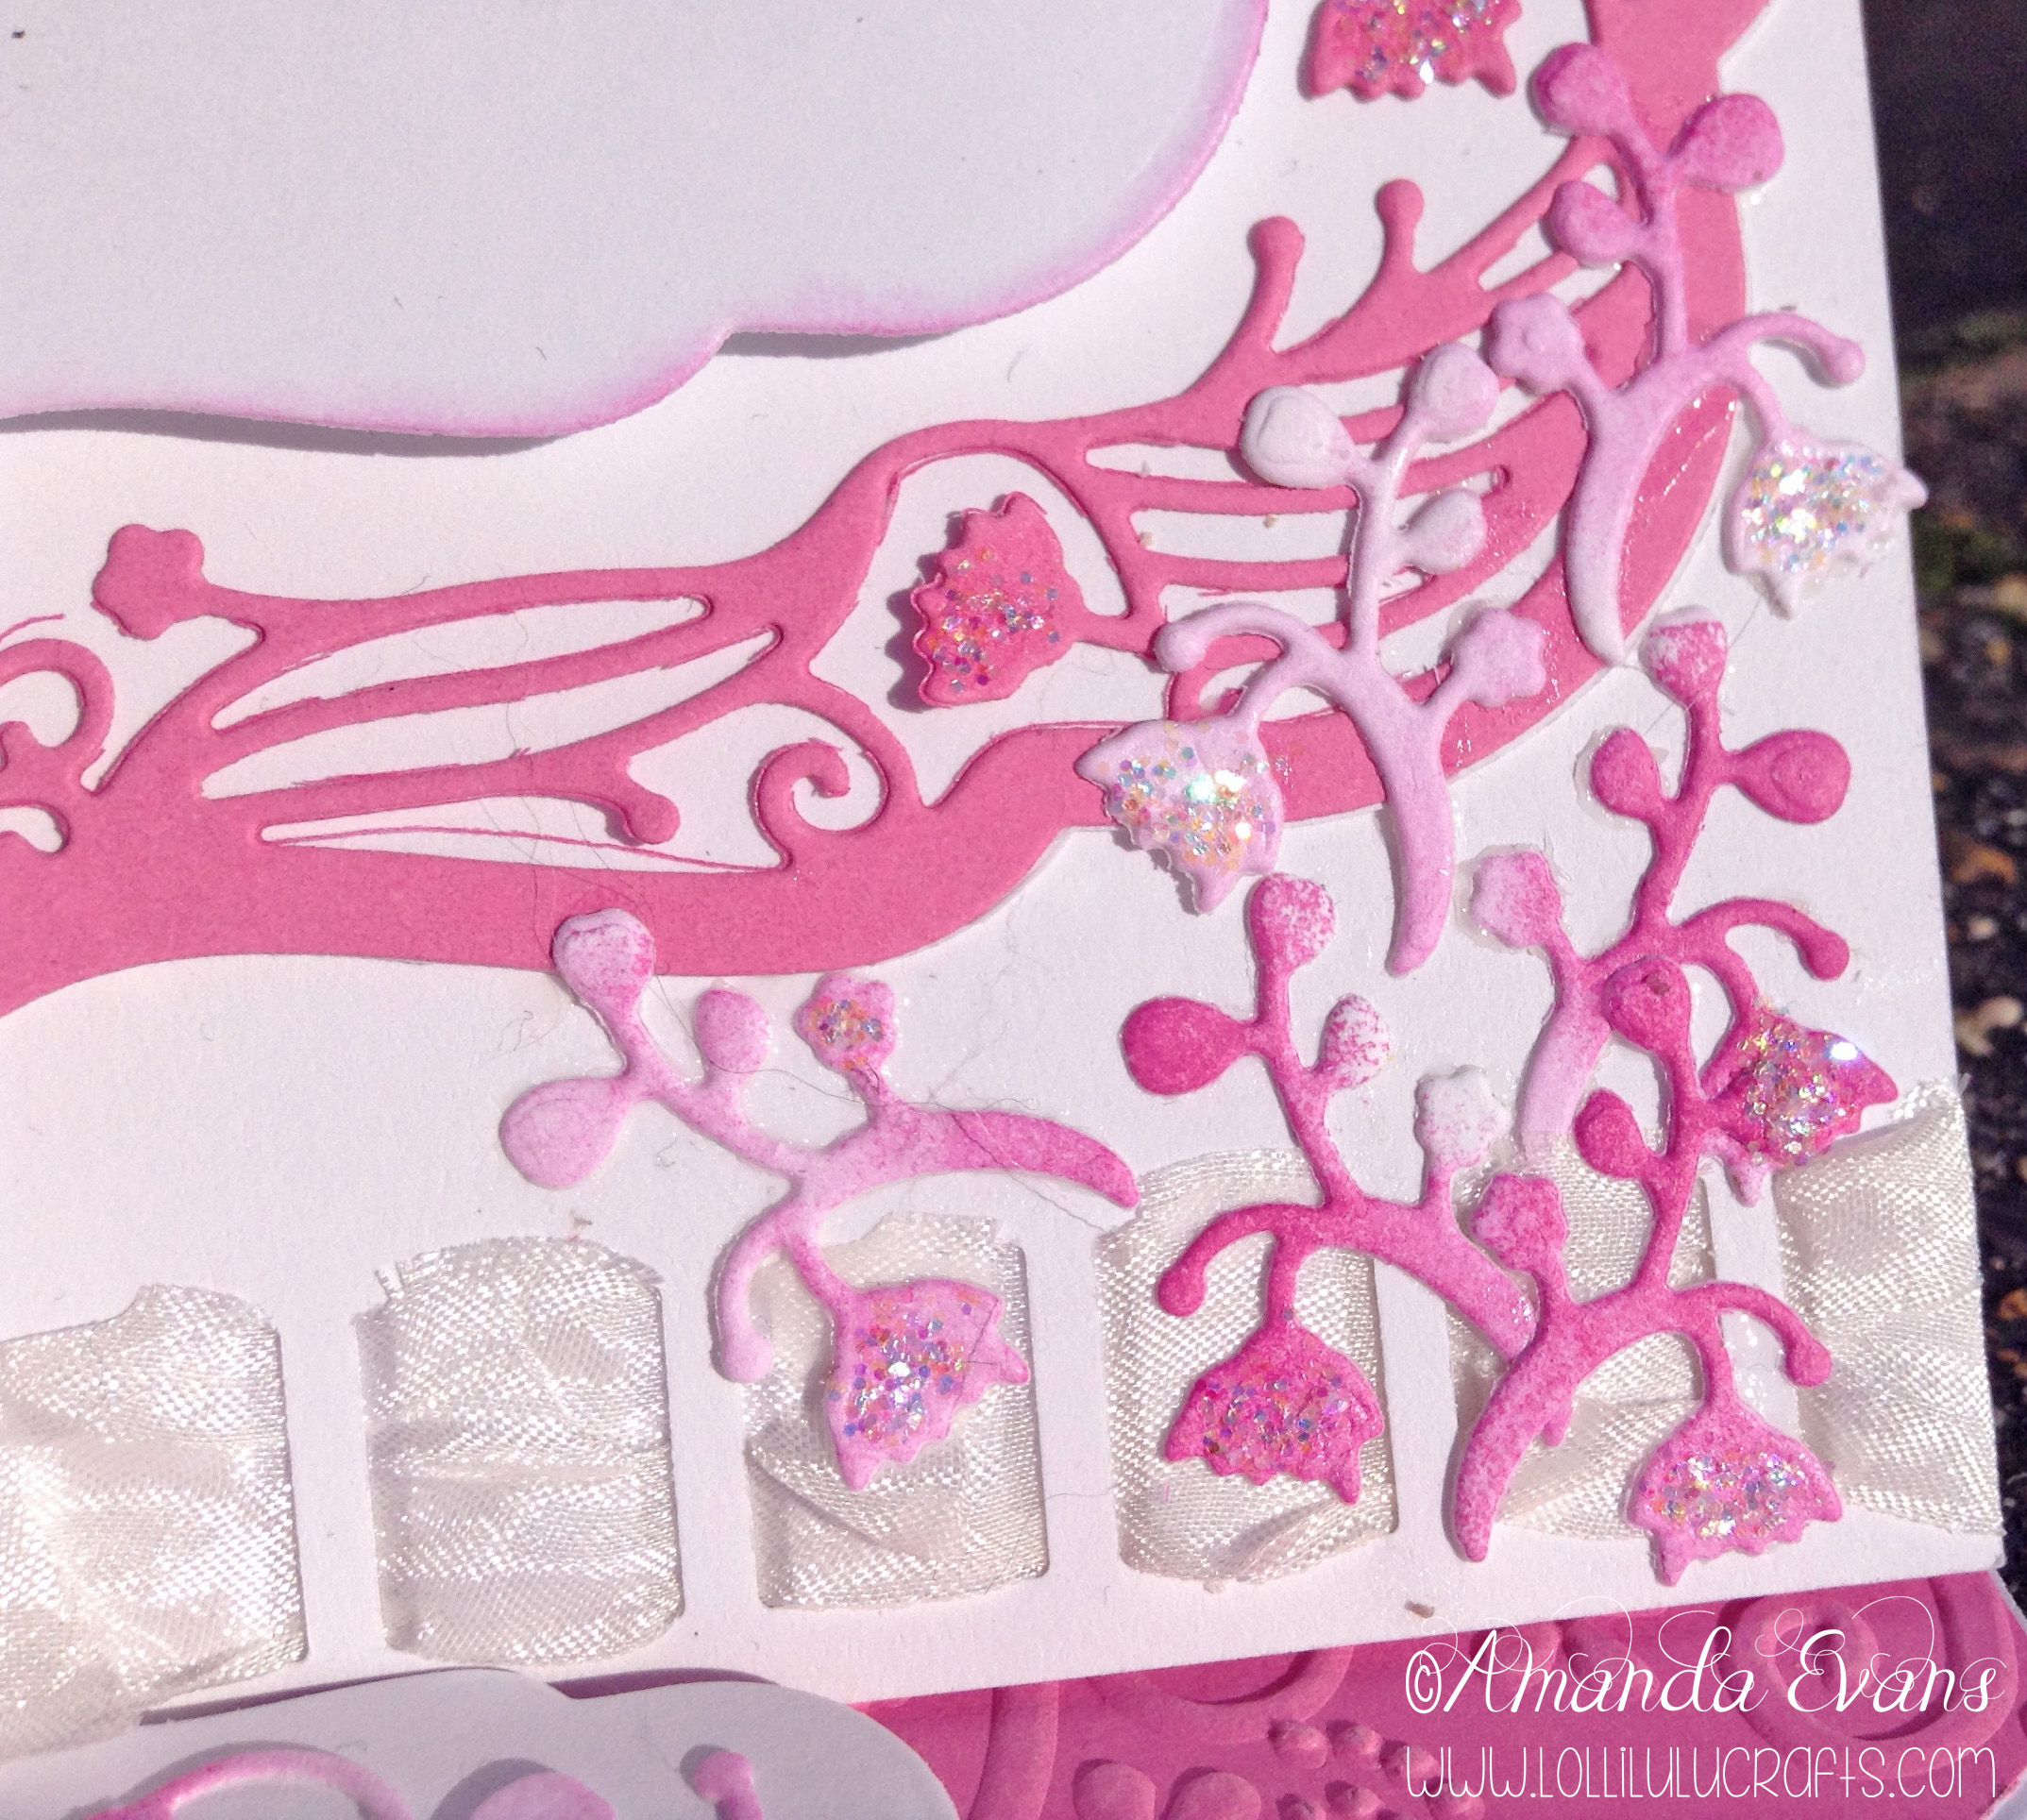
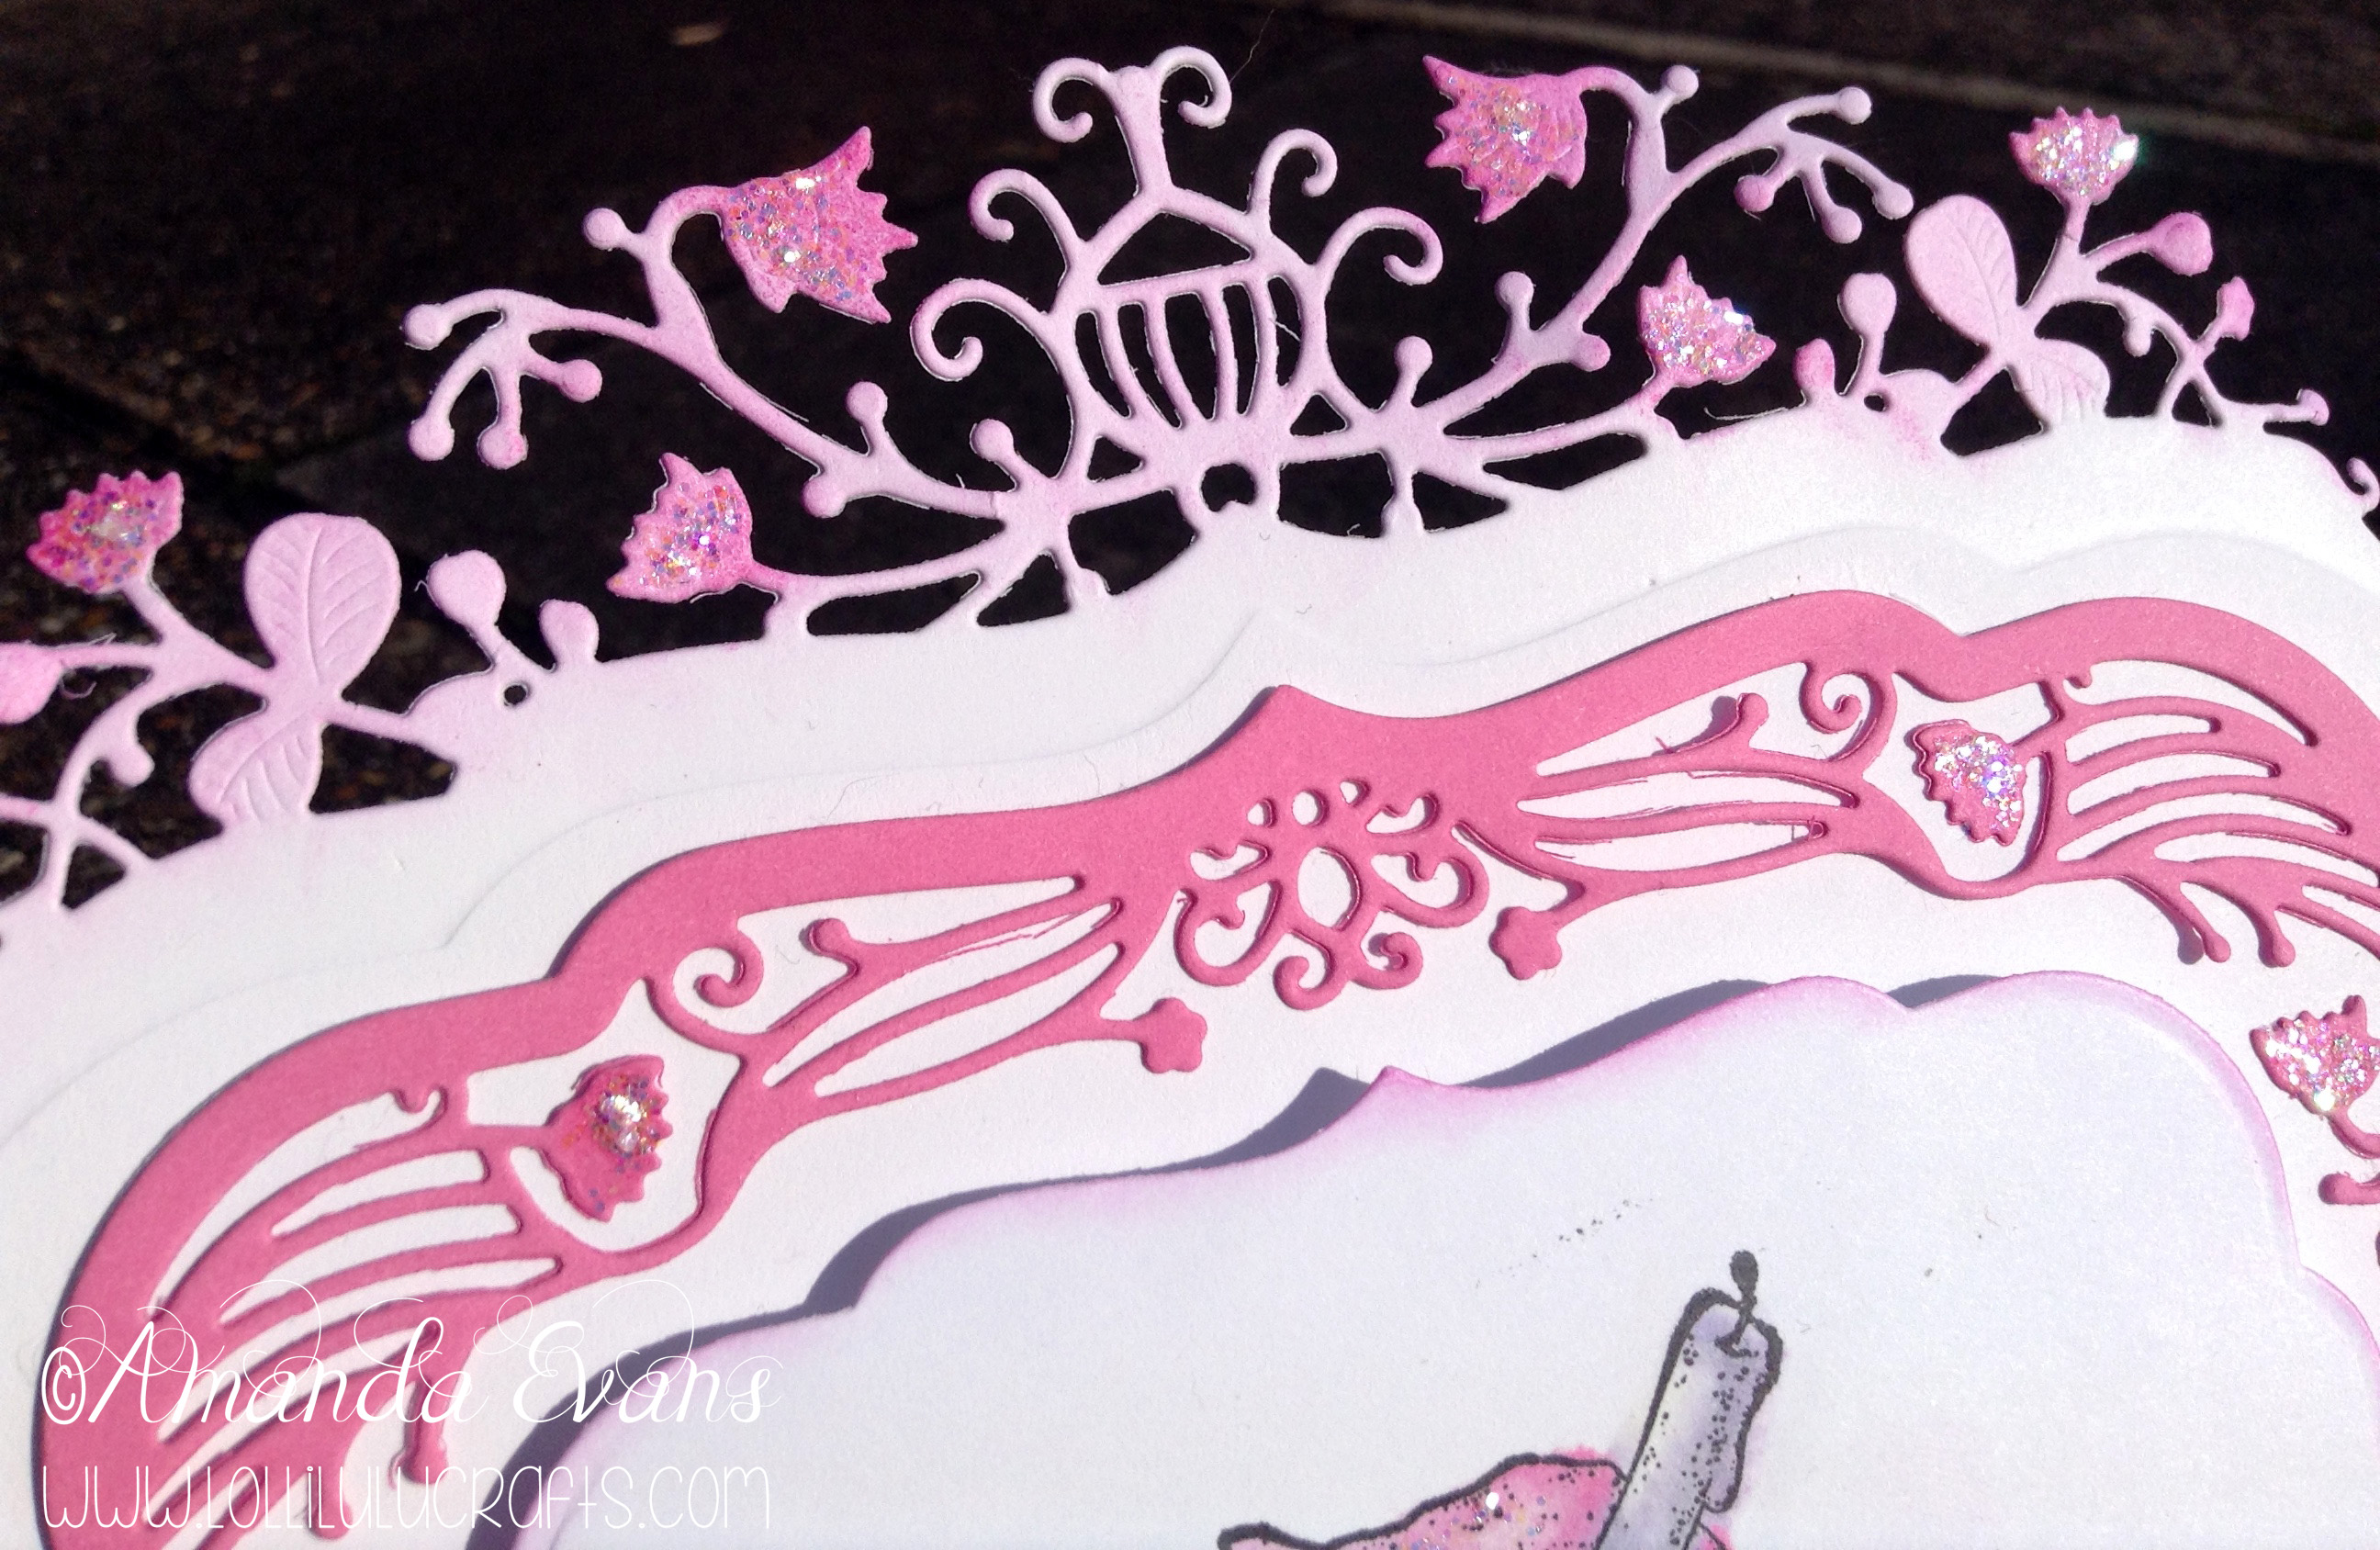
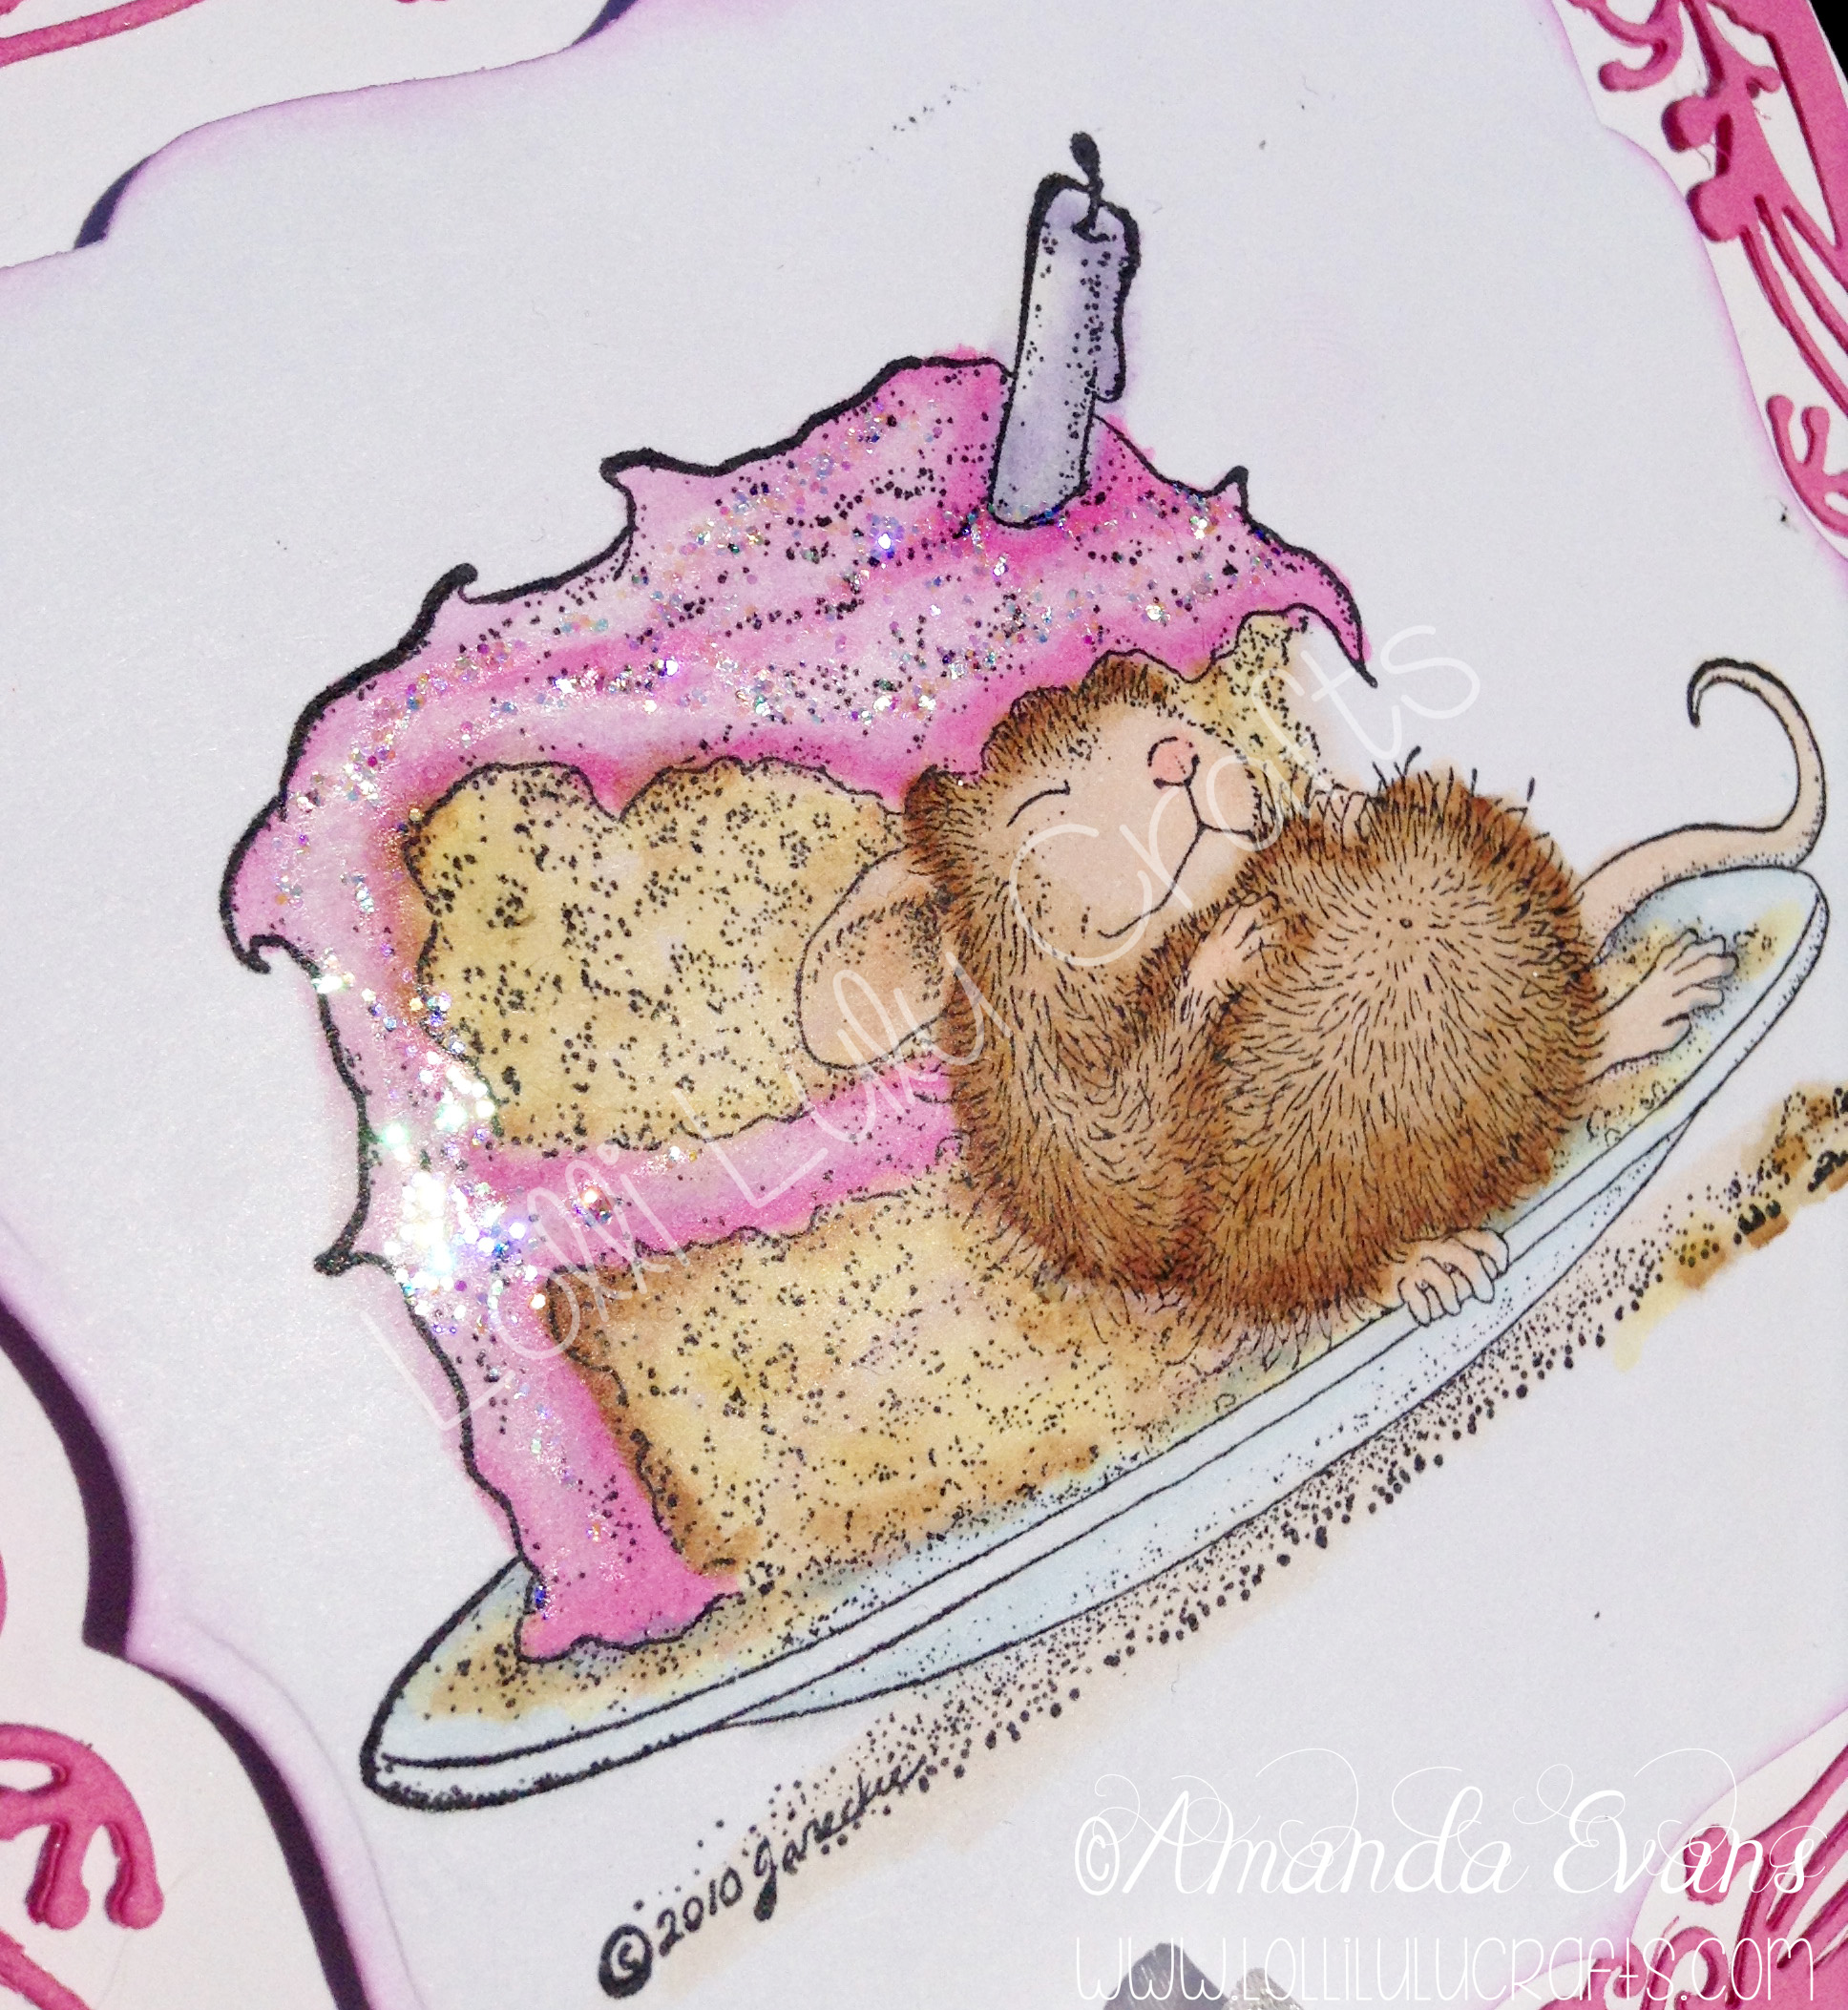
1. Stamped and Coloured Image using my Pro Markers2. Die cut my image using the new Create & Craft Couture Range of dies. The dies used today were all from the Summer Blossoms collection3. Using Doll Pink Simon Says Stamp Ink, I inked all around the edges of my die cut image. I used a sponge wedge and my ink blending mat to help achieve a really soft blend.4. Using the same die collection, which incidentally are made by Spellbinders with exclusive designs for Create & Craft, I cut a frame from a pink piece of card taken from my American Crafts 6 x 6 smooth card rainbow pack.5. Using the edge die that is the same size as my decorative frame’s outer edge, I cut a shape from white American Craft card. I used my Teal Sizzix Big Shot and Magnetic Plate for all the die cutting on this card as it holds everything exactly where I need it to be without having to use tape. The dies in this collection are so intricate but the cuts literally just fall out the die.6. Using Crafters Companion’s Stick and Stay and a spray box (a plastic box with paper in the bottom, that can be changed when needed, that I use for all my spray adhesive and glitter sprays) I sprayed the pink die cut and then stuck it to the white piece of card to create this mat.7. Next i stamped the sentiment from the House Mouse stamps onto a piece of white card using the SSS Doll Pink. I then die cut around it using another set of dies from the Summer Blossoms Collection of dies, lastly just inking the edge again in the Doll Pink.8. I then cut a piece of white card stock 6″ x 8 1/2″ and die cut the top of it using the TRIM set from the Summer Blossoms Collection. I then inked the floral part of the die cut in the SSS Doll Pink again, making the blossoms a little darker to add dimension. I had some scrap card that I had used for patting the excess ink off my sponge before I used it, so I took that and the little flower dies, also in this same TRIM die set and cut a few of these out from that scrap card. I think it made some really nice little flowers.9. Taking a white 6″ x 6″ card blank I scored the front at 3″ and folded to create my Easel base.10. I felt the base would be a bit plain in comparison to the top, even after I would add the Easel stopper. So I got another set of dies from the Summer Blossoms collection – CORNERS and popper one in each of the front corners on the flat part of the Easel Card This is the part that sits on the table top.11. I then wanted to add a pop of pink to the base so I cut by hand, and just working the exact shape of the point by laying the pink card onto the white card and marking it where the CORNER summer blossoms die cut aperture ended. And then cutting the point so it would fit nicely between each corner die cut. It is not possible to give dimensions for this as it completely depends on where the CORNER dies are positioned. I then thought a little texture would look really nice so embossed the pink card using the Floral Brocade embossing folder – soon to be available in my store 🙂12. Having stuck the pink piece down to the base of the card, I felt that the corner die cuts were getting lost so added a piece of the American Crafts card underneath the whole of the bottom of the card. I used the spray adhesive again to be sure the die cut piece would stick nicely. I was then happy with how it really popped the floral die cut and the pink inking.13. Having added the card behind the corner die cut and seen how nice that looked, it inspired me to do the same for my sentiment and stopper piece. It worked well not only visually but also giving the stopper more strength to hold the Easel in place and less risk of this piece getting damaged.14. Going back to the 6″ x 8 1/2″ piece of card that we die cut the top of. I then decided to use my Anna Griffin Ribbon punch across the bottom and thread through some of my Crushed Silk ribbon which I had cut done the middle to make a little thinner so it would go through the punched holes. Once i finished threading it through I just used my tape pen on the back to hold the two ends of ribbon in place.15. Using double sided tape for extra strength I attached my tall piece to my easel base.16. Using 3d foam I added my image to my original pink framed mat. I then added that whole mat and layer to the Easel front just under the delicate die cut top. It works really well like that as all the shapes go together since I used dies all from the same collection. I attached it flat to the Easel as I did not think it needed to be 3D’d too.17. I had previously made a bow from the silky crush ribbon and now added it to the corner of the Easel front using my Pinflair glue gel, I then popped in a couple of pearl stick pins just to finish that off.18. Next I added this Sentiment piece, using 3d foam to the centre on the base of the card, between the two corner die cuts. to act as my Easel card stopper.19. Lastly I added those little flower die cuts into the opposite corner to my bow just to add a little balance to the Easel topper – visually not as in weight lol! And the very very last thing was to add a little stickler to all the blossoms,
So that is all the steps I took to make this card and now to the finished card, hope you like:-
As you can imagine it did take quite a while to make, but that said I so think it was worth it and I was so pleased with the end result. I love all that feminine lacey look, and actually really reminds me in style to a Tattered Lace die cut card. Which also means there will be more like this Im sure, actually I know there is another lacy one that is in fact Tattered lace as it was made before this one and is a lot simpler, but still so pretty and I think that is a video post too. Anyway I hope you liked this card and enjoyed a step by step for a change, have a great craft day,
Ps I would like to enter this card into the following challenges:
Beautiful card. I bought ProMarkers to color my first House Mouse image. Just about the time I discovered you! I learn something new from you all of the time. You do such lovely creative work.
What an adorable card! I really like the sweet image and all the die cuts! Thank you for showing how you made it – I enjoyed that! So glad you linked up with us at Glitter n Sparkle for our Cute challenge. Best of luck in our prize draw!


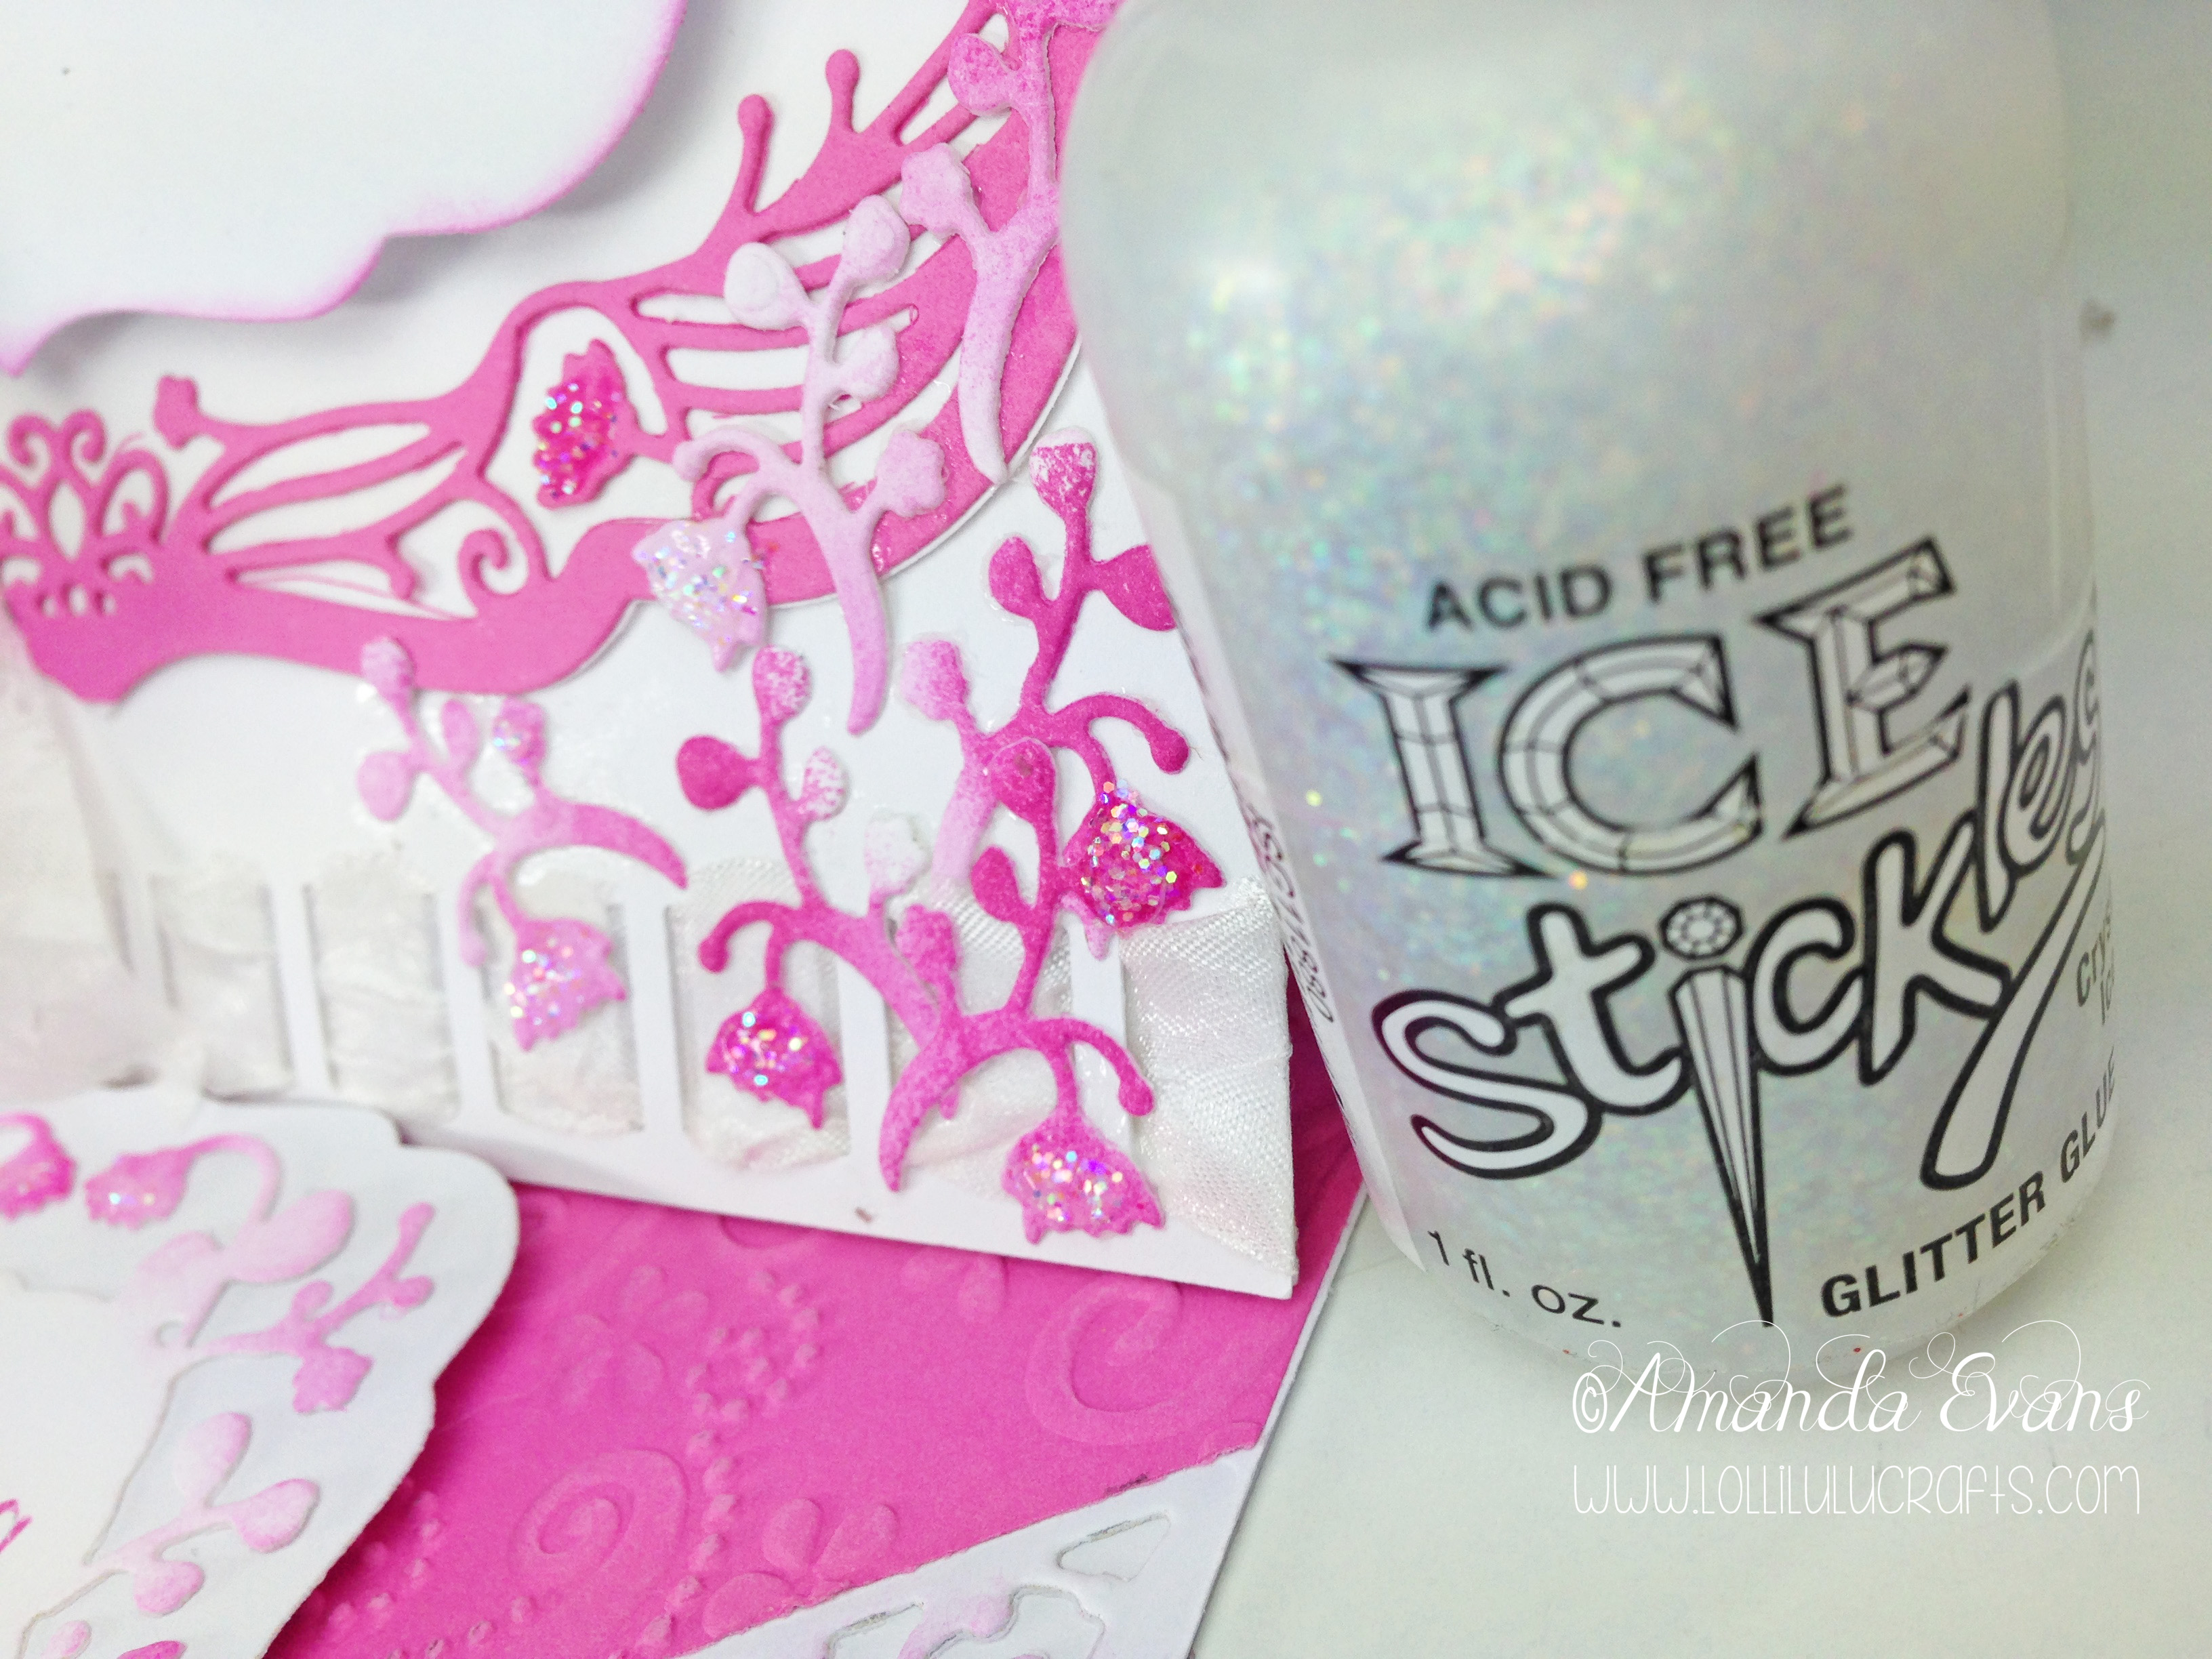


It’s wonderful Amanda, I love every bit of it and how gorgeous is that bow!
Thank you I had that bow made for another project and it didnt work so it had been sitting on my desk for ages and finally found its home 🙂
Beautiful card. I bought ProMarkers to color my first House Mouse image. Just about the time I discovered you! I learn something new from you all of the time. You do such lovely creative work.
thank you Miss Kitty Cat, hugs xx
What an adorable card! I really like the sweet image and all the die cuts! Thank you for showing how you made it – I enjoyed that! So glad you linked up with us at Glitter n Sparkle for our Cute challenge. Best of luck in our prize draw!
KT Fit Kitty
Glitter n Sparkle DT
P.S. I would like to invite you to my blog – I have candy! Come help me celebrate 200 followers! Here’s the link: http://ktdesigns2013.blogspot.ca/2014/11/lil-snowman-star-bugaboo-image-and.html
Your image is coloured to perfection and the detail in the card itself is amazing. A really stunning design.
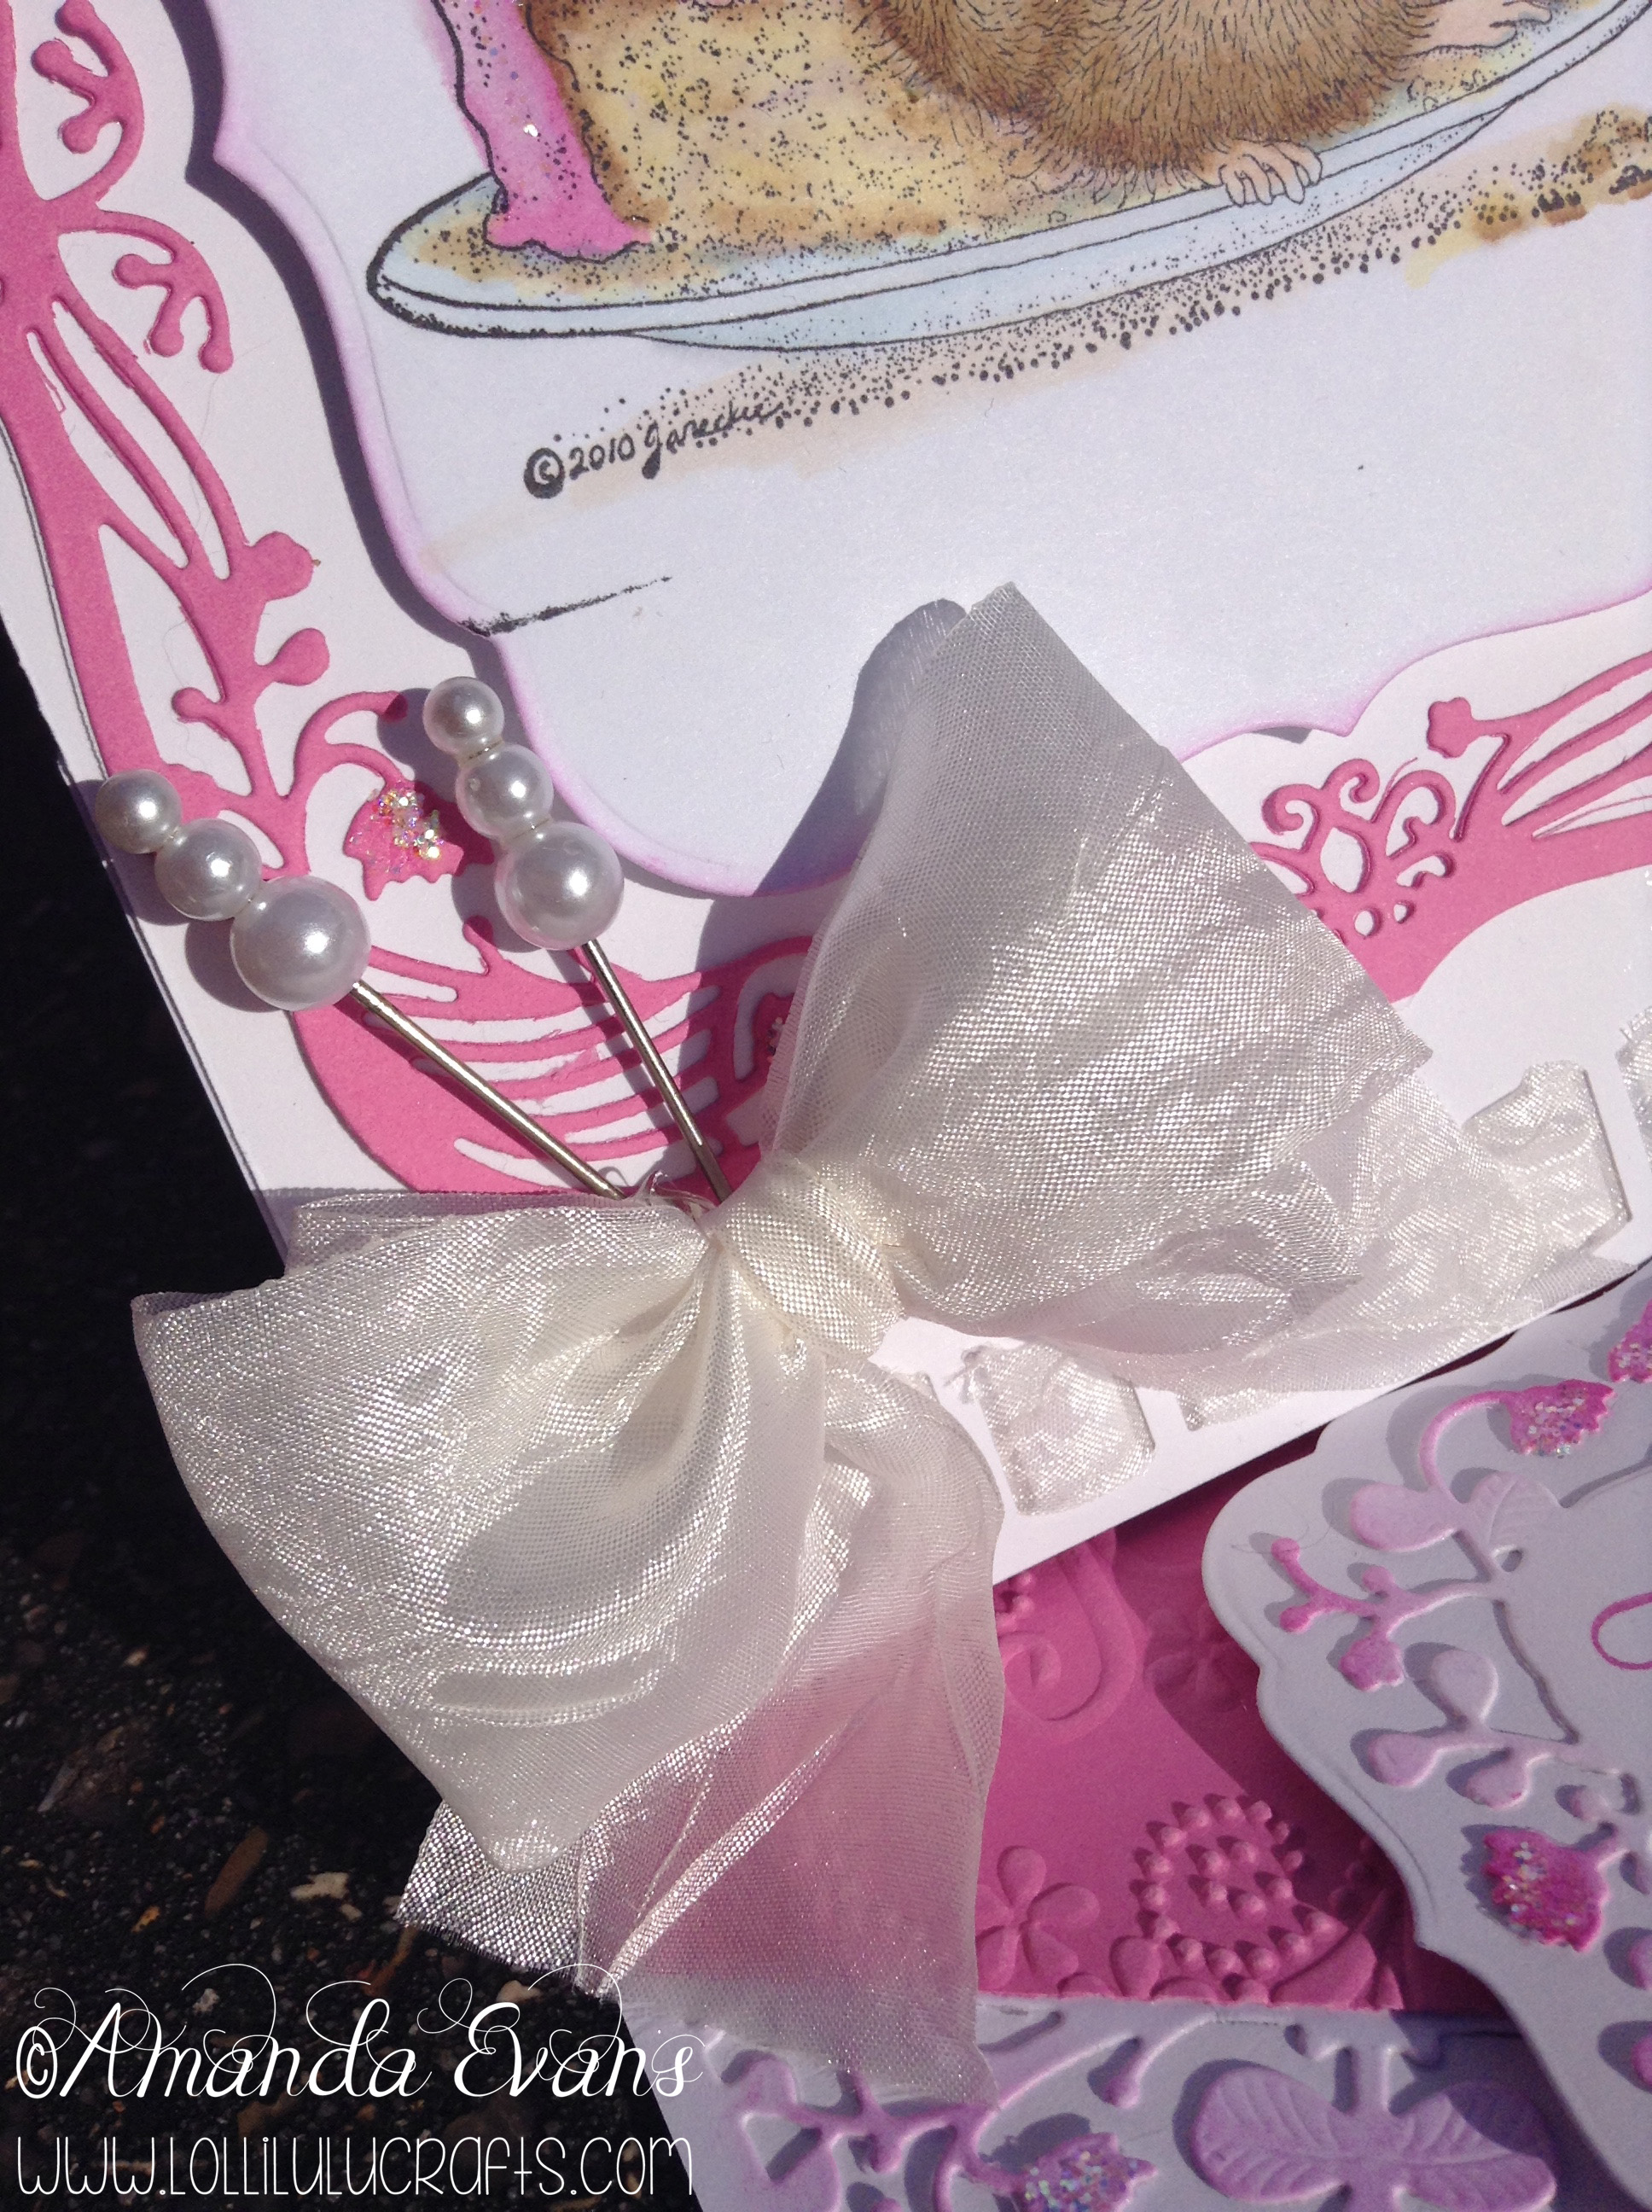
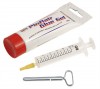
Thanks for sharing with us
Lin
Dream Valley