


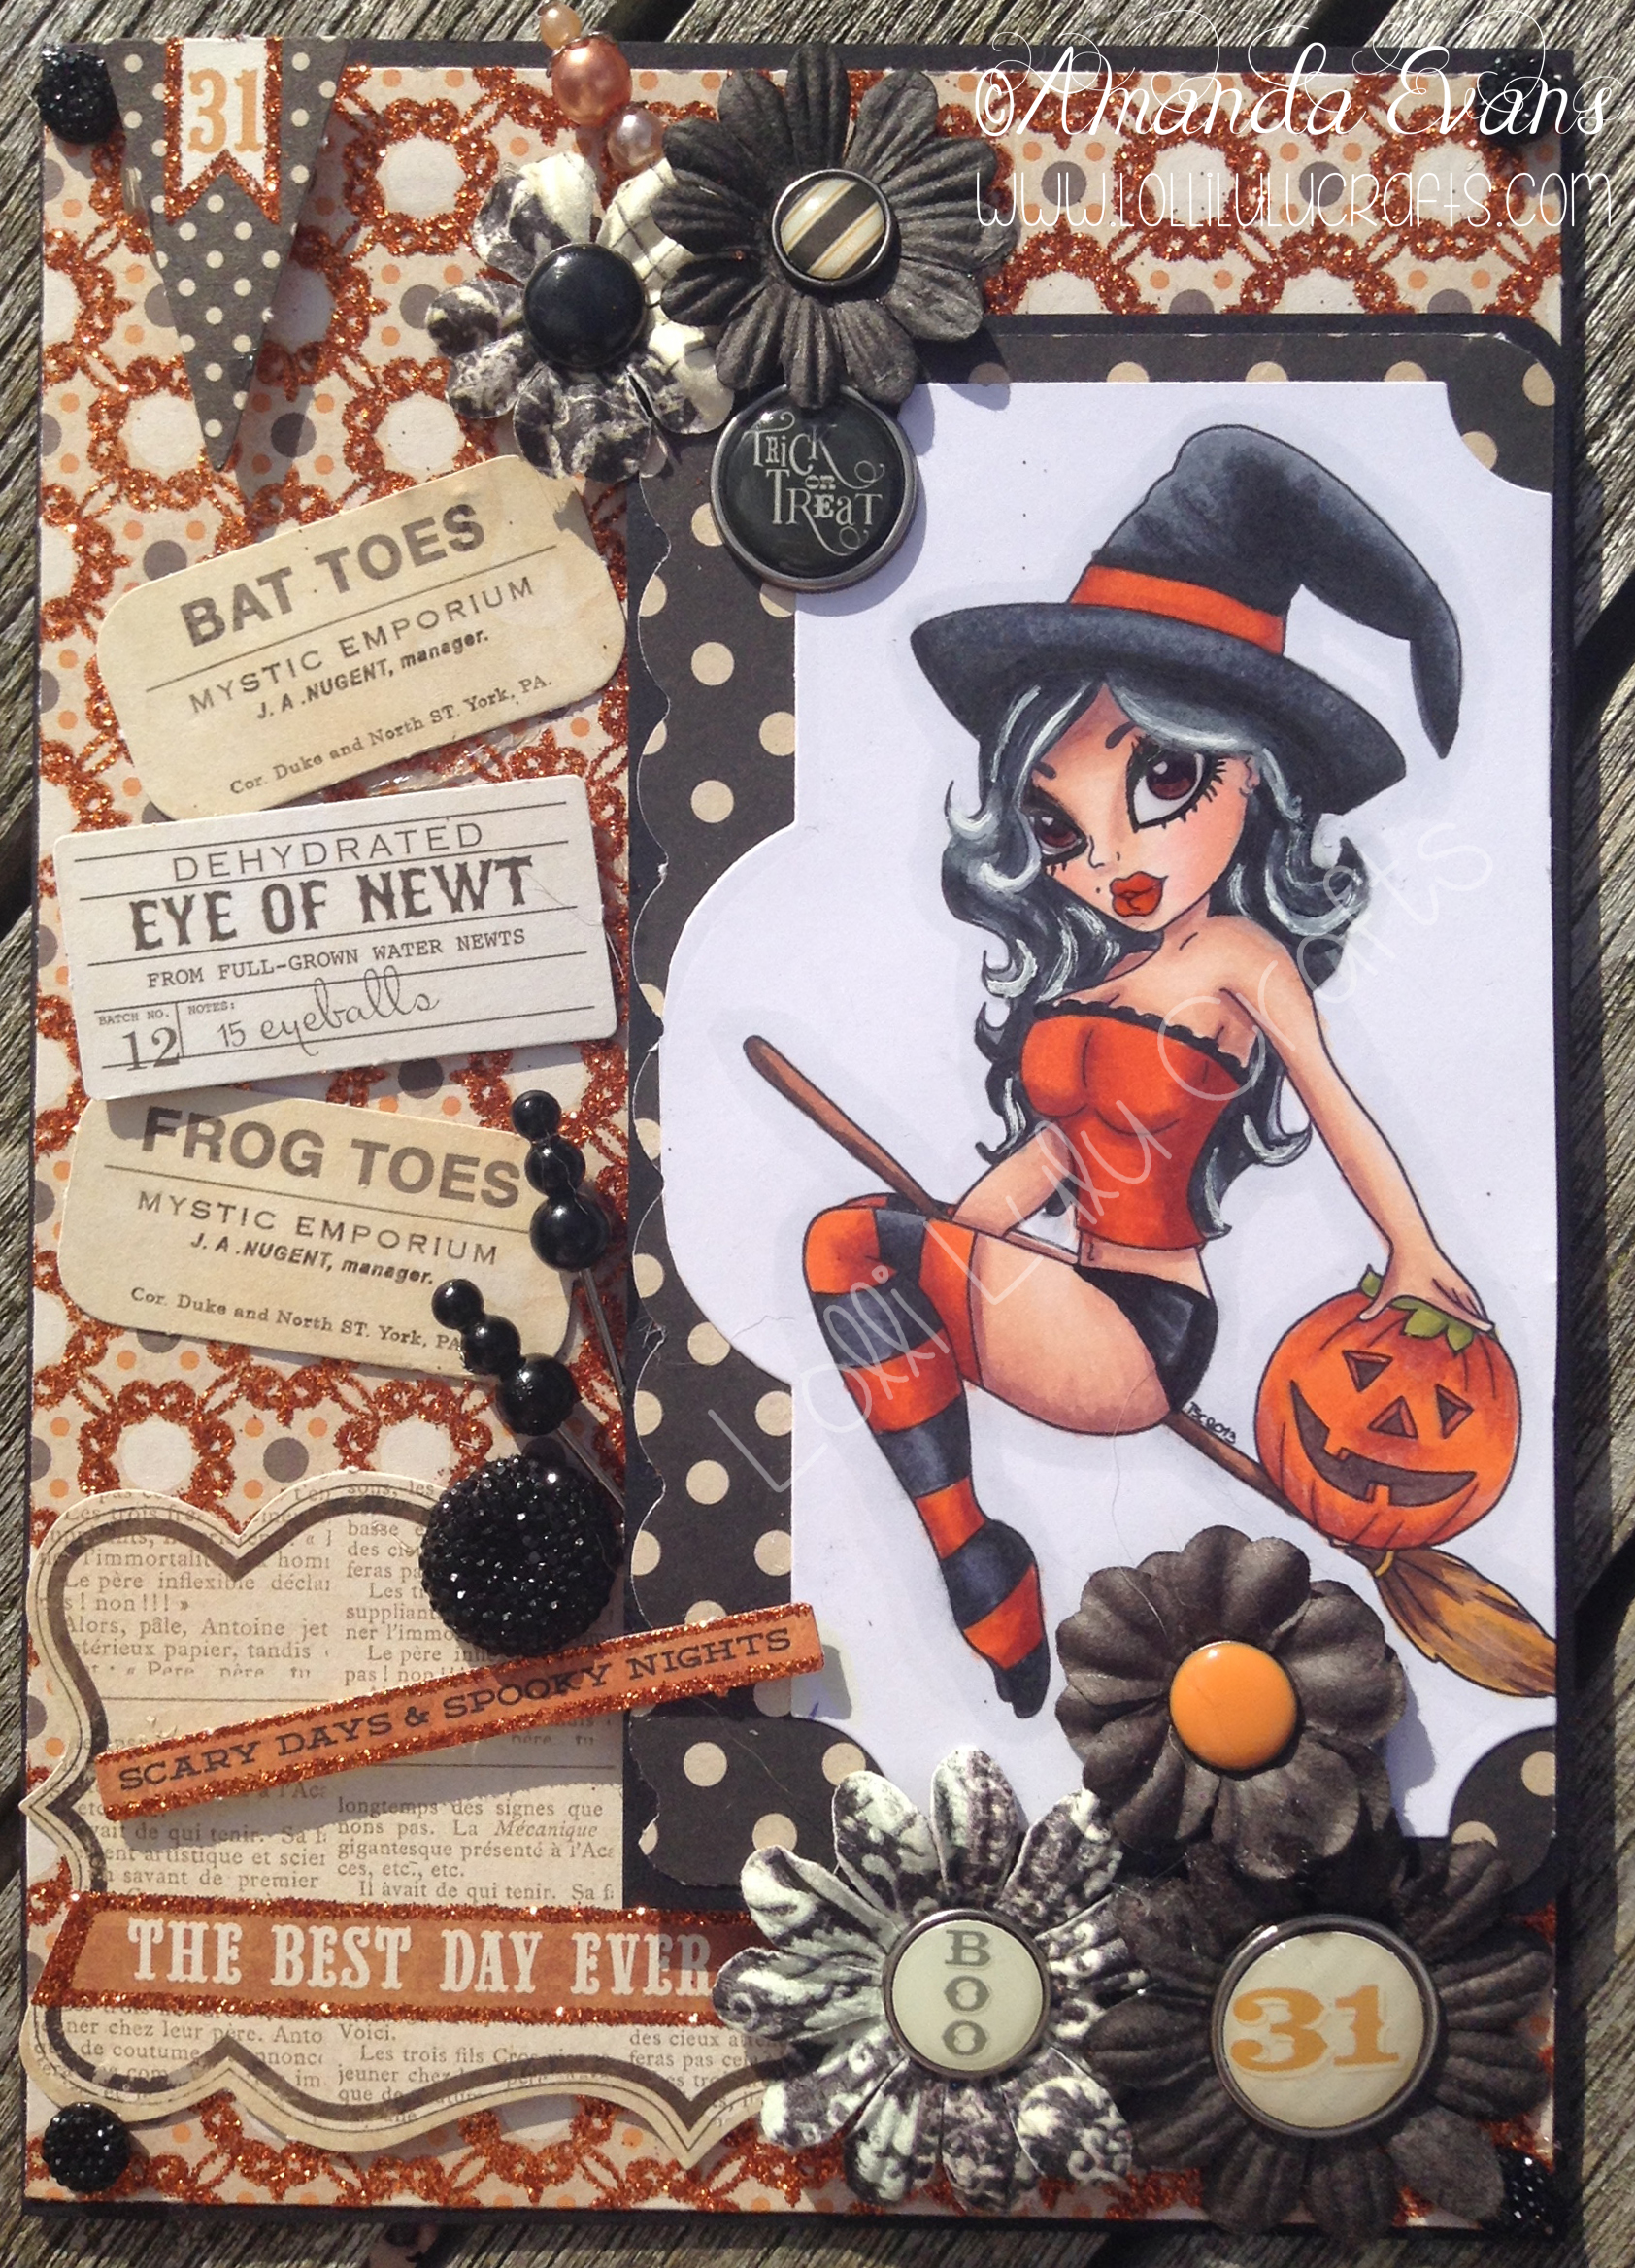
Hi there my lil’ Lolli-ettes, How are you this ‘All Hallows Eve’ Eve, ready for spooking this week? Well today we have something a little sassy and cheeky for you, my Stamping Chef Broomstick Bella Witch Card :-
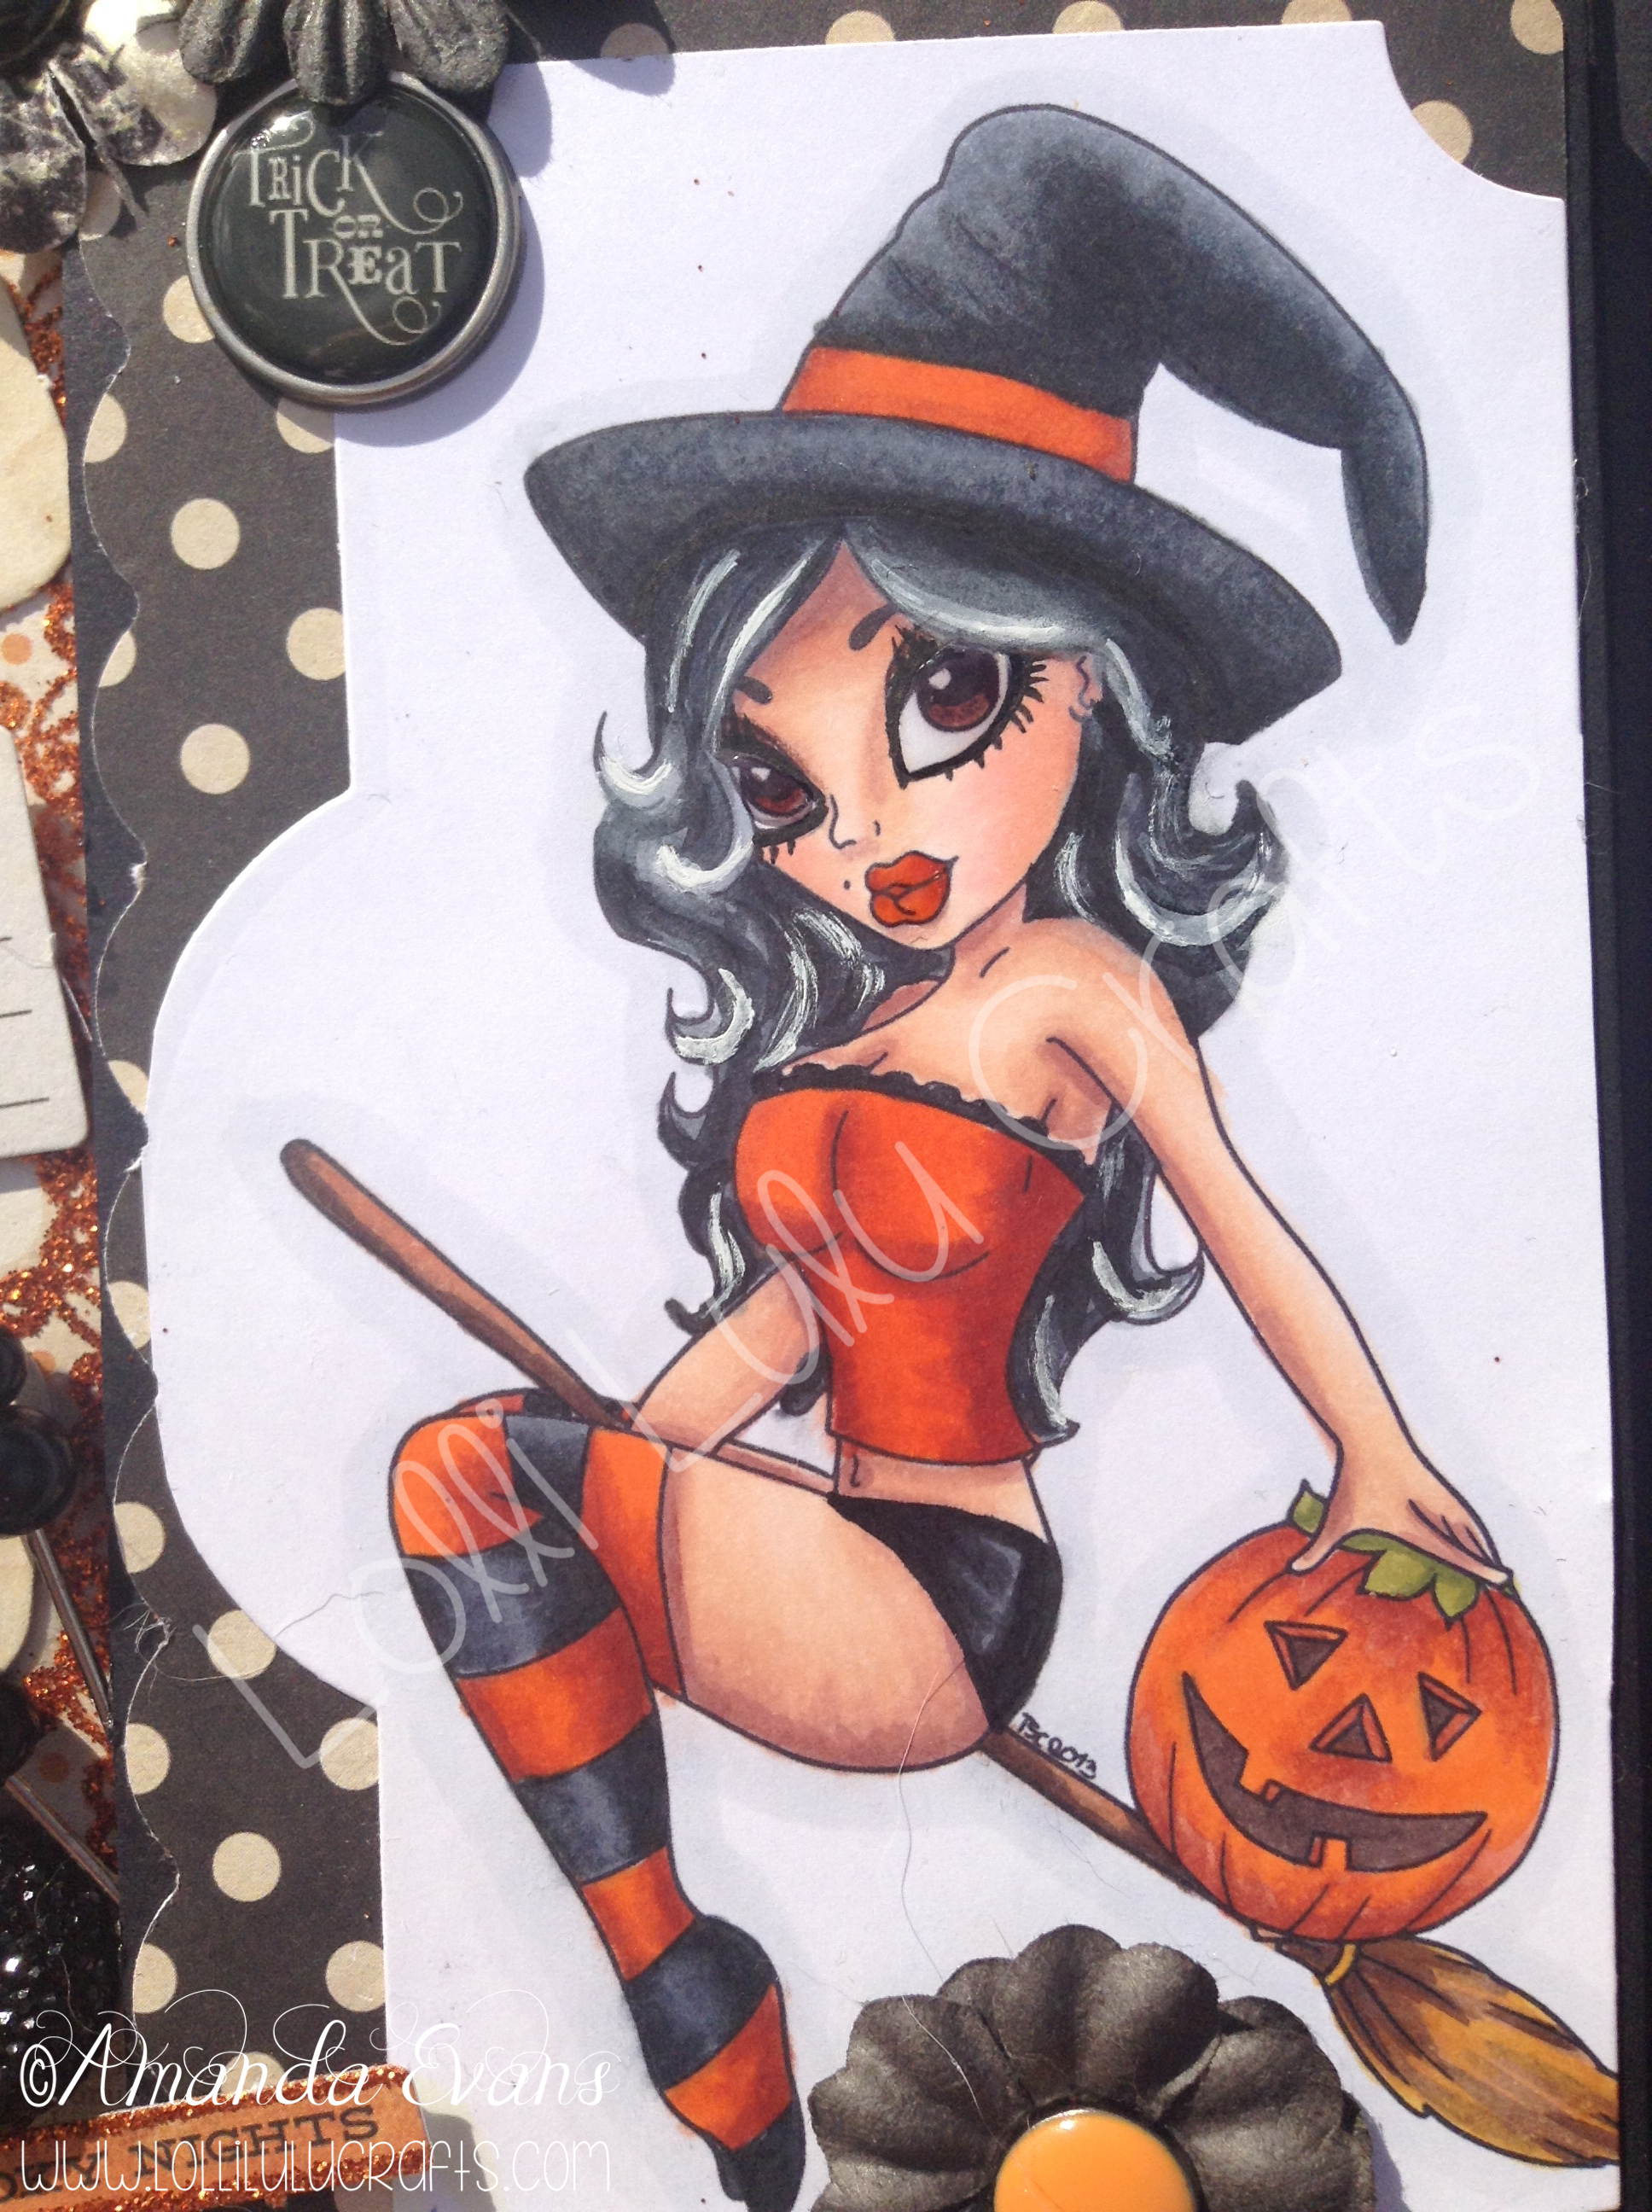
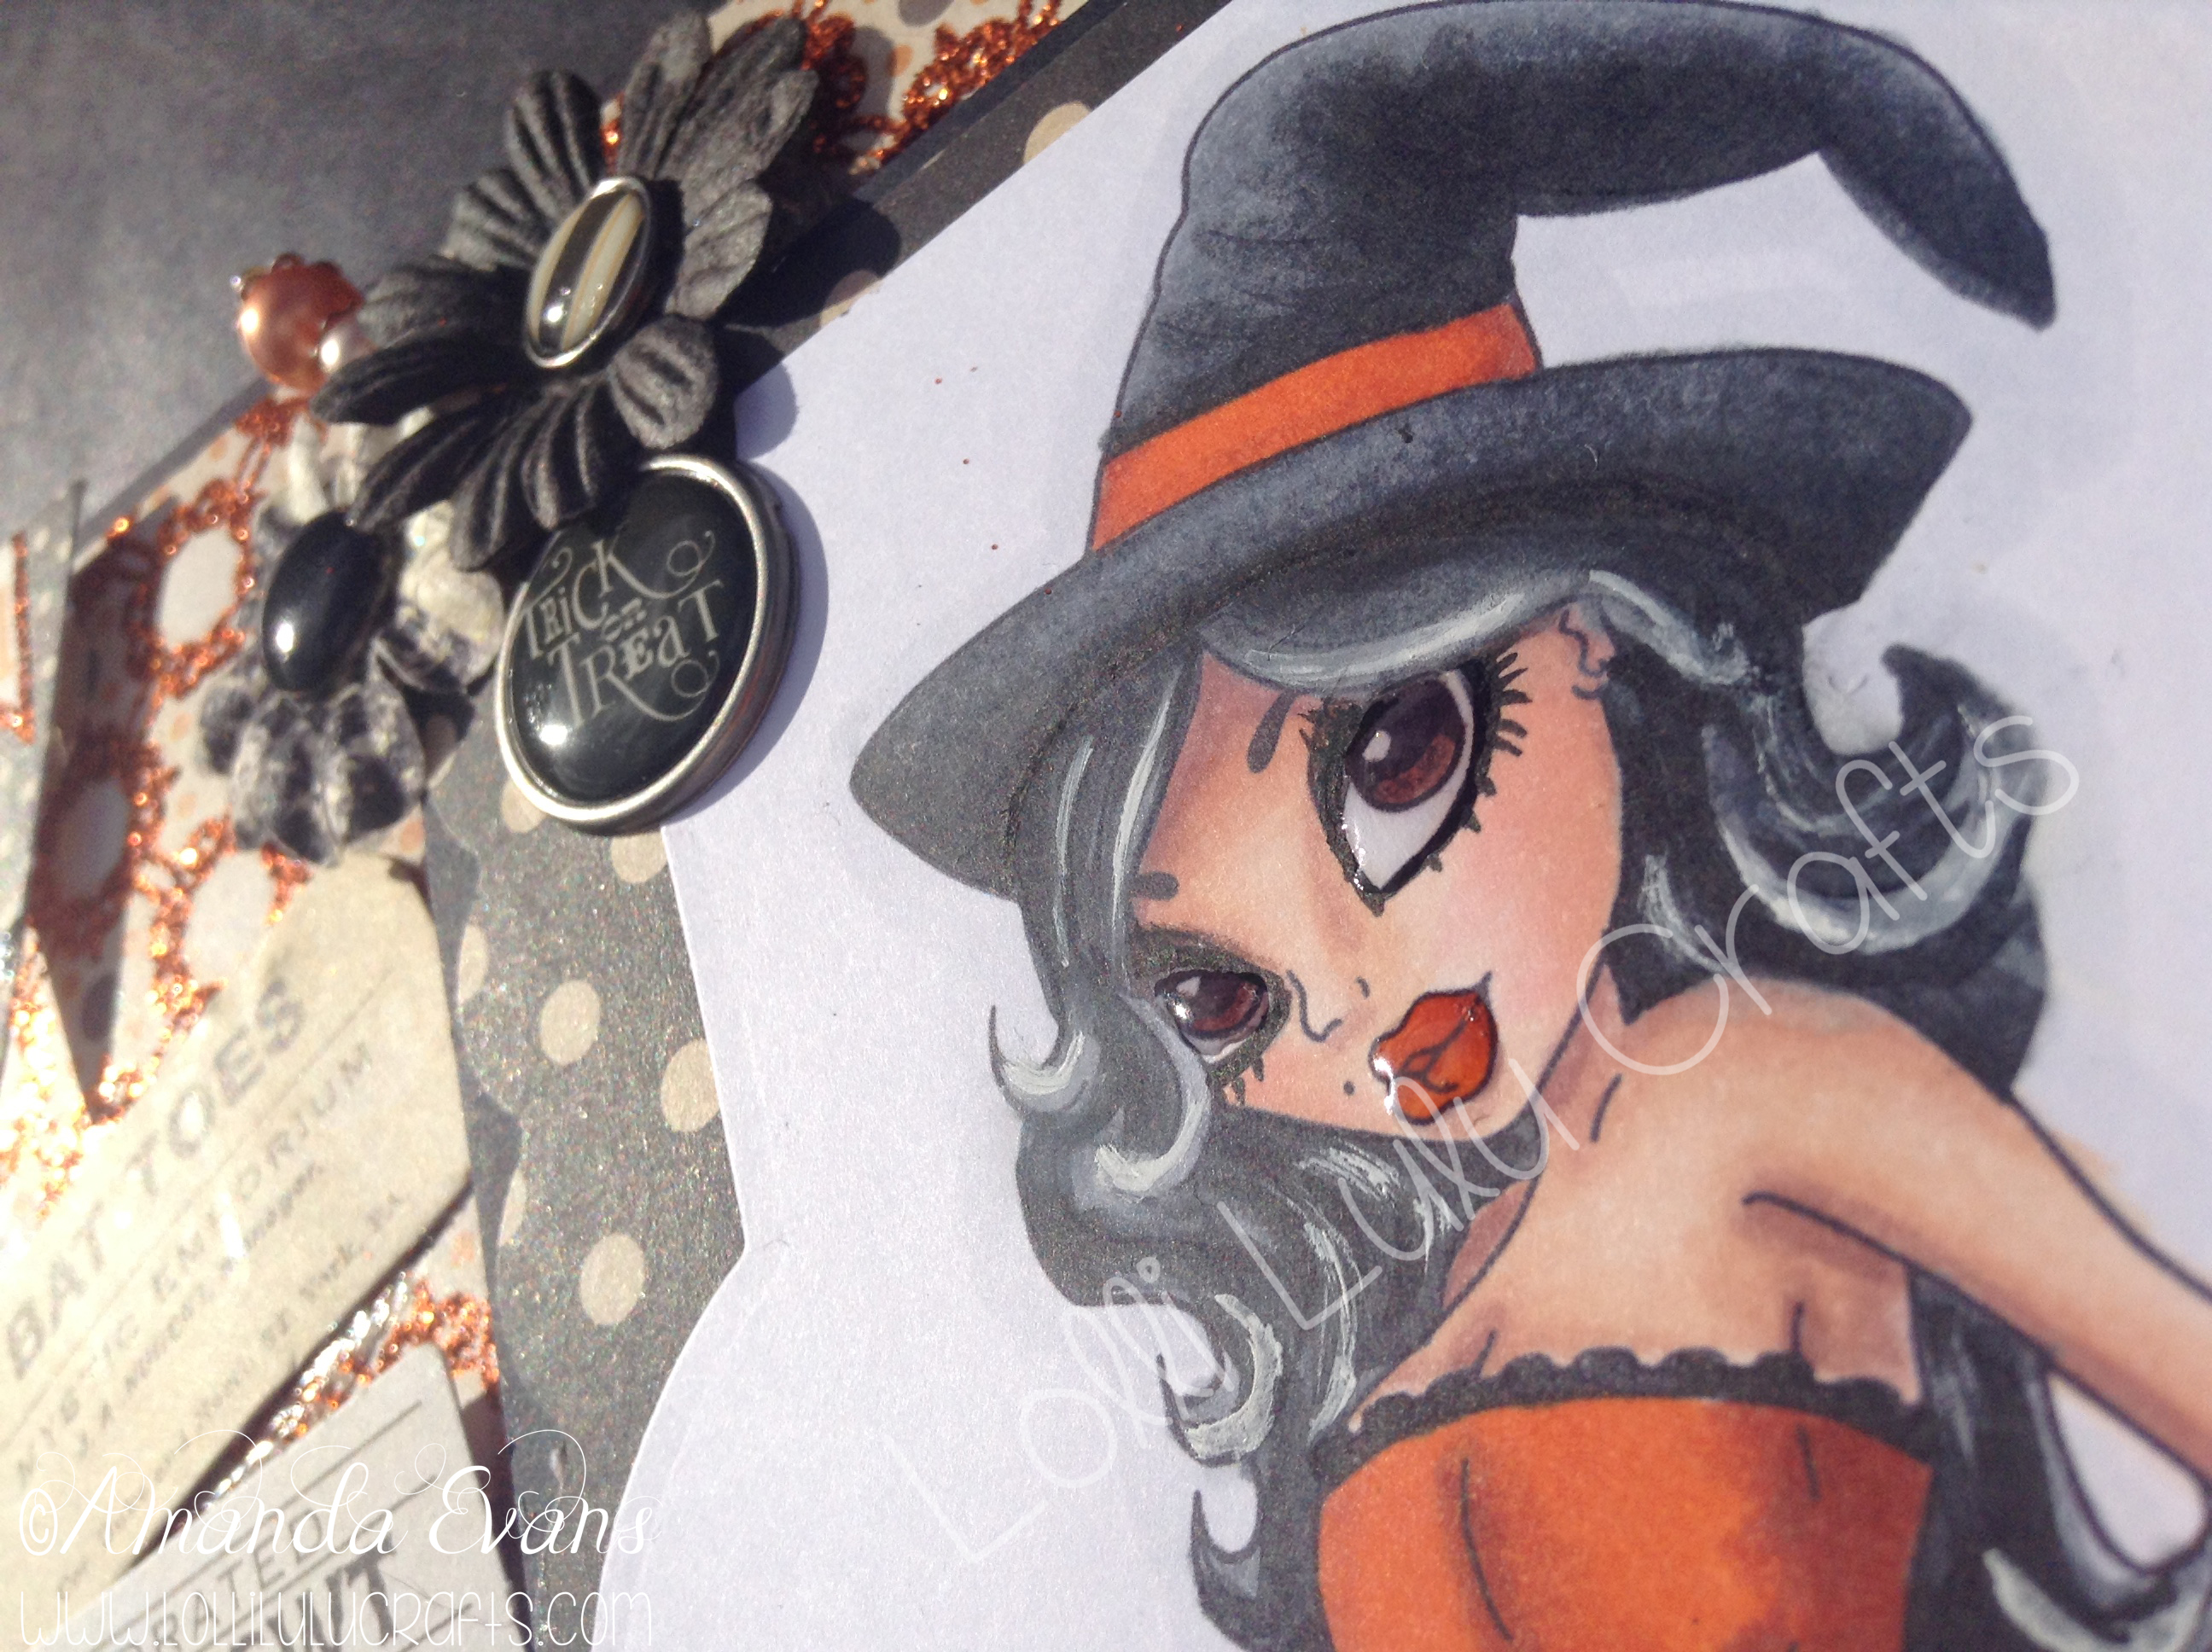
Isn’t she stunning? Sorry I know I am always so unbritish in my enthusiasm for my own work. But I really do like her and how the card turned out as a whole. I think the image is stunning and was so fun to colour. If you want to colour her too then click HERE to go buy yourself the digi and do have a look at the rest of the images as they really are fun. I like the way they manage to make them sexy and yet if handled right on your card you can make them suitable for a girls card as well as for a man. I think my favourite part of the image was how I coloured the hair – always the hair isn’t it!? lol! I do just love colouring hair – wait and see tomorrows SIS card’s video, now that little missy has a lot of hair!!! Anyway back to today. I do love colouring black, whatever it is, there is something very satisfying about colouring black if you can get it right and I feel like I have got a really good combo of colours and I have been sticking to them.
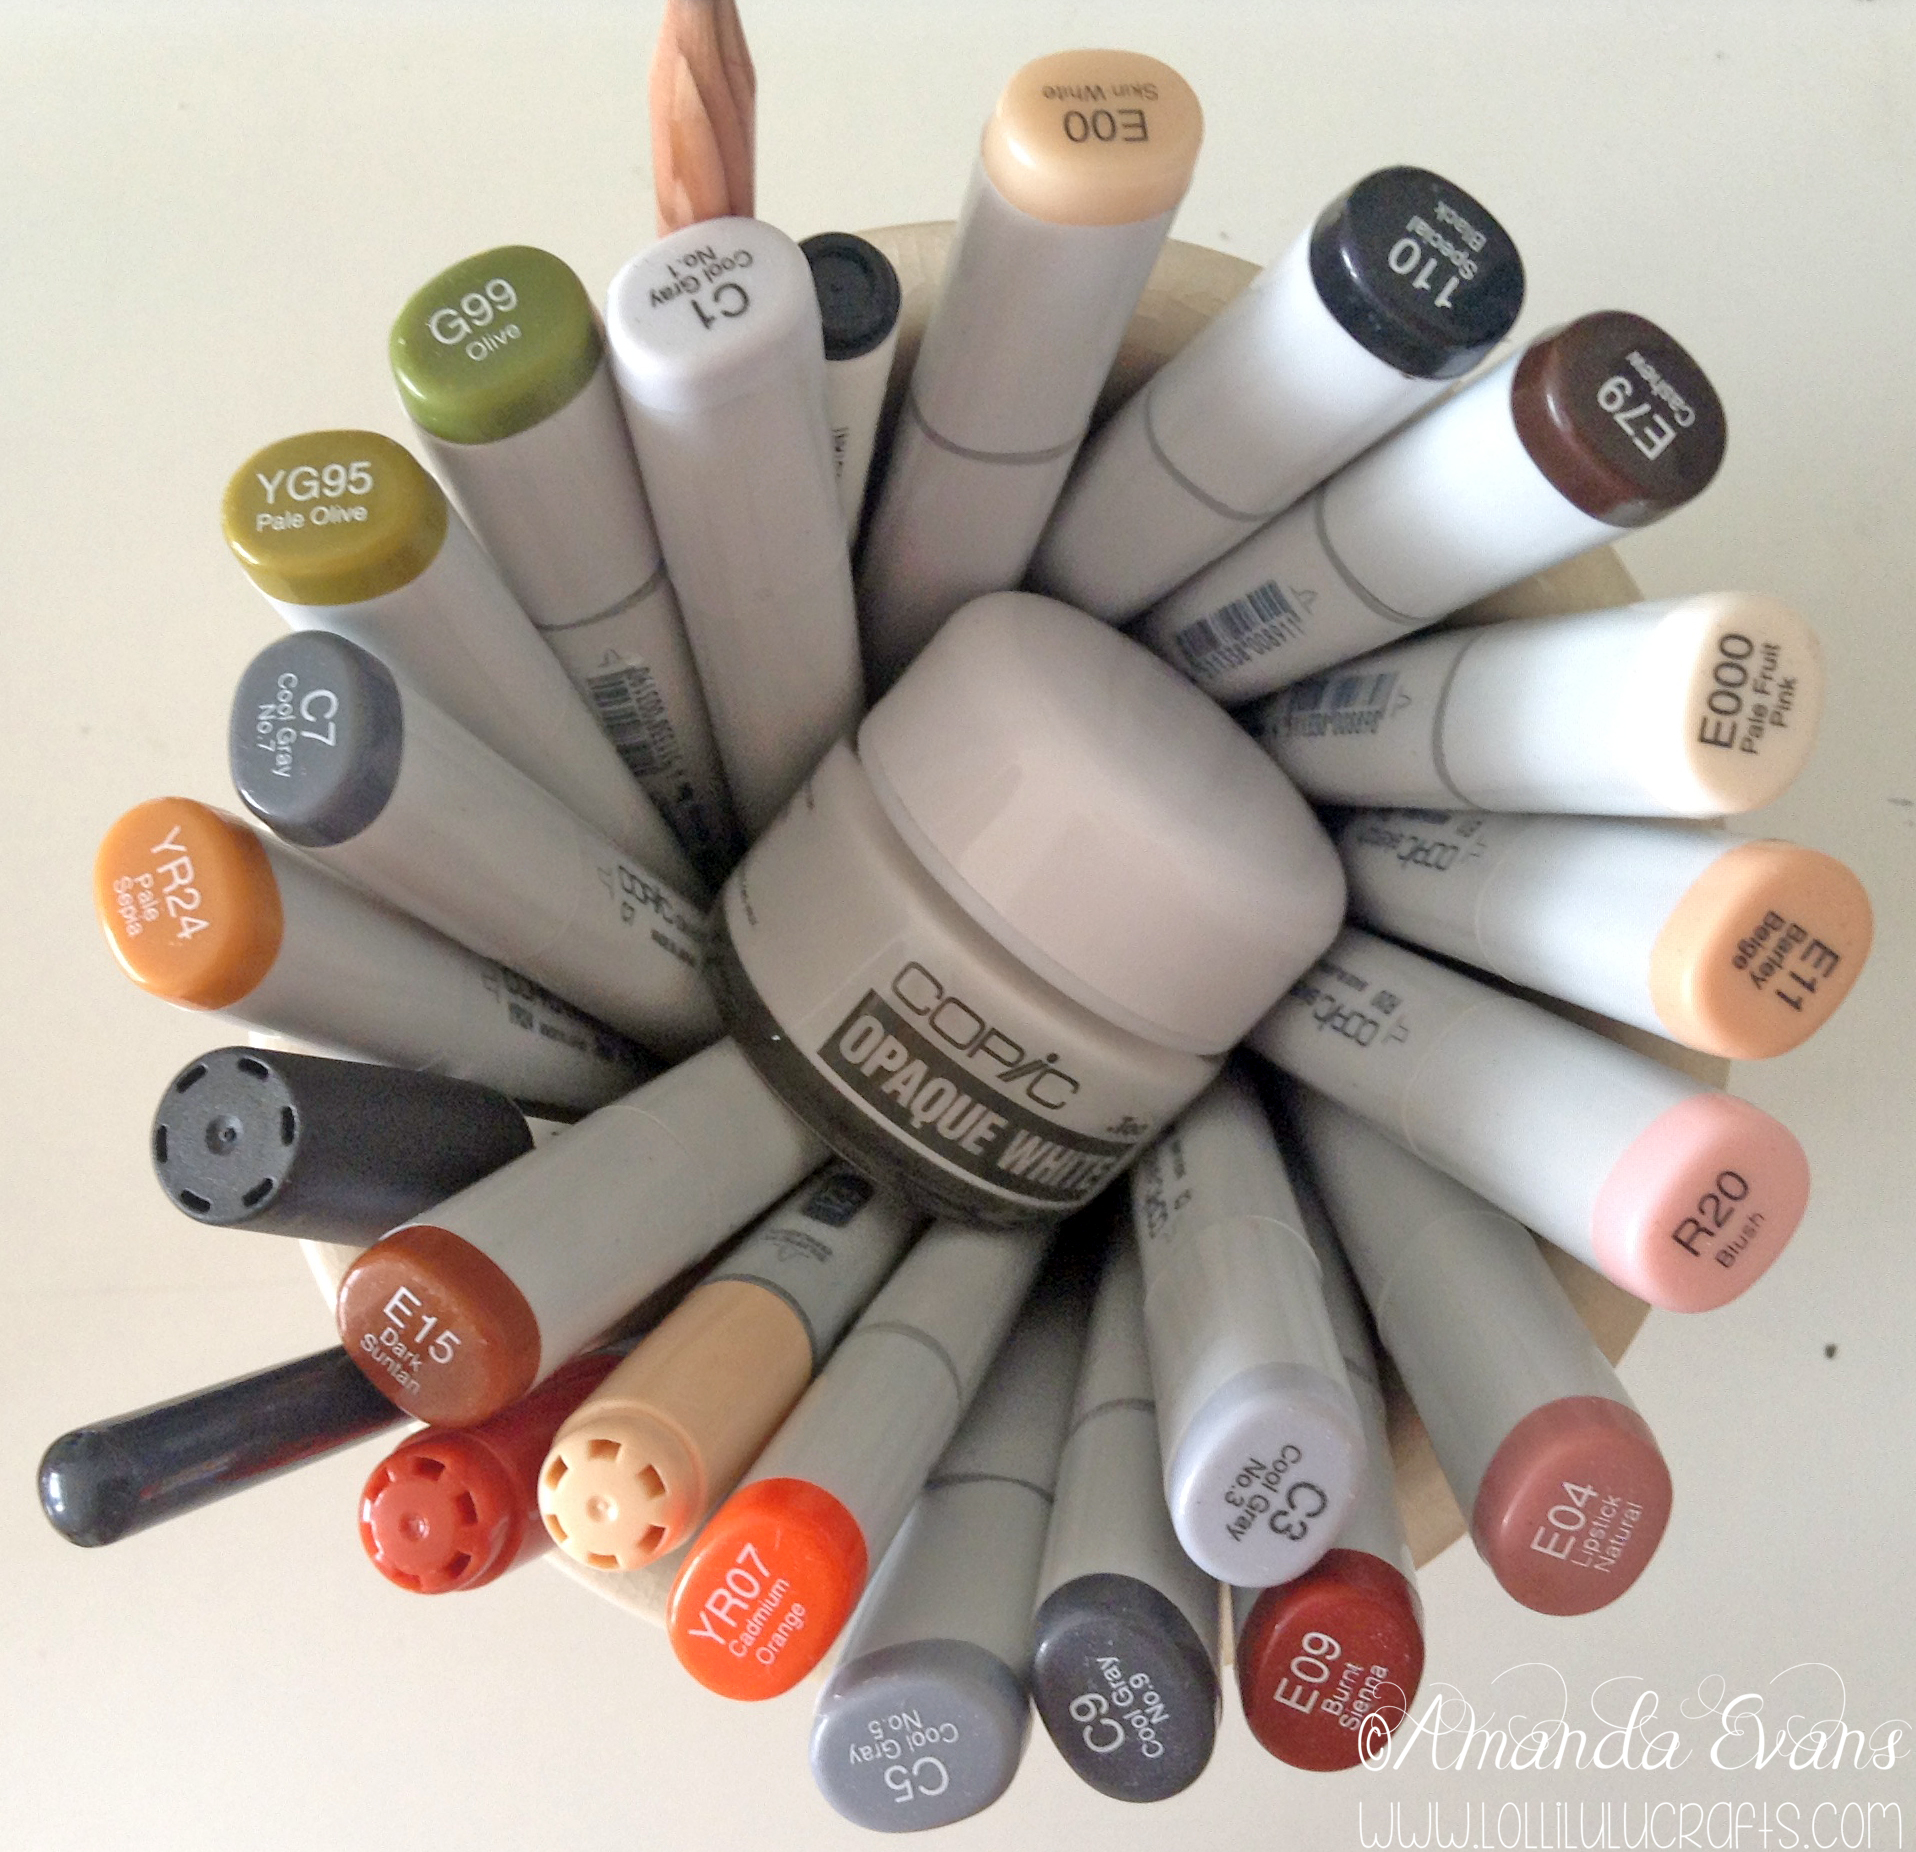
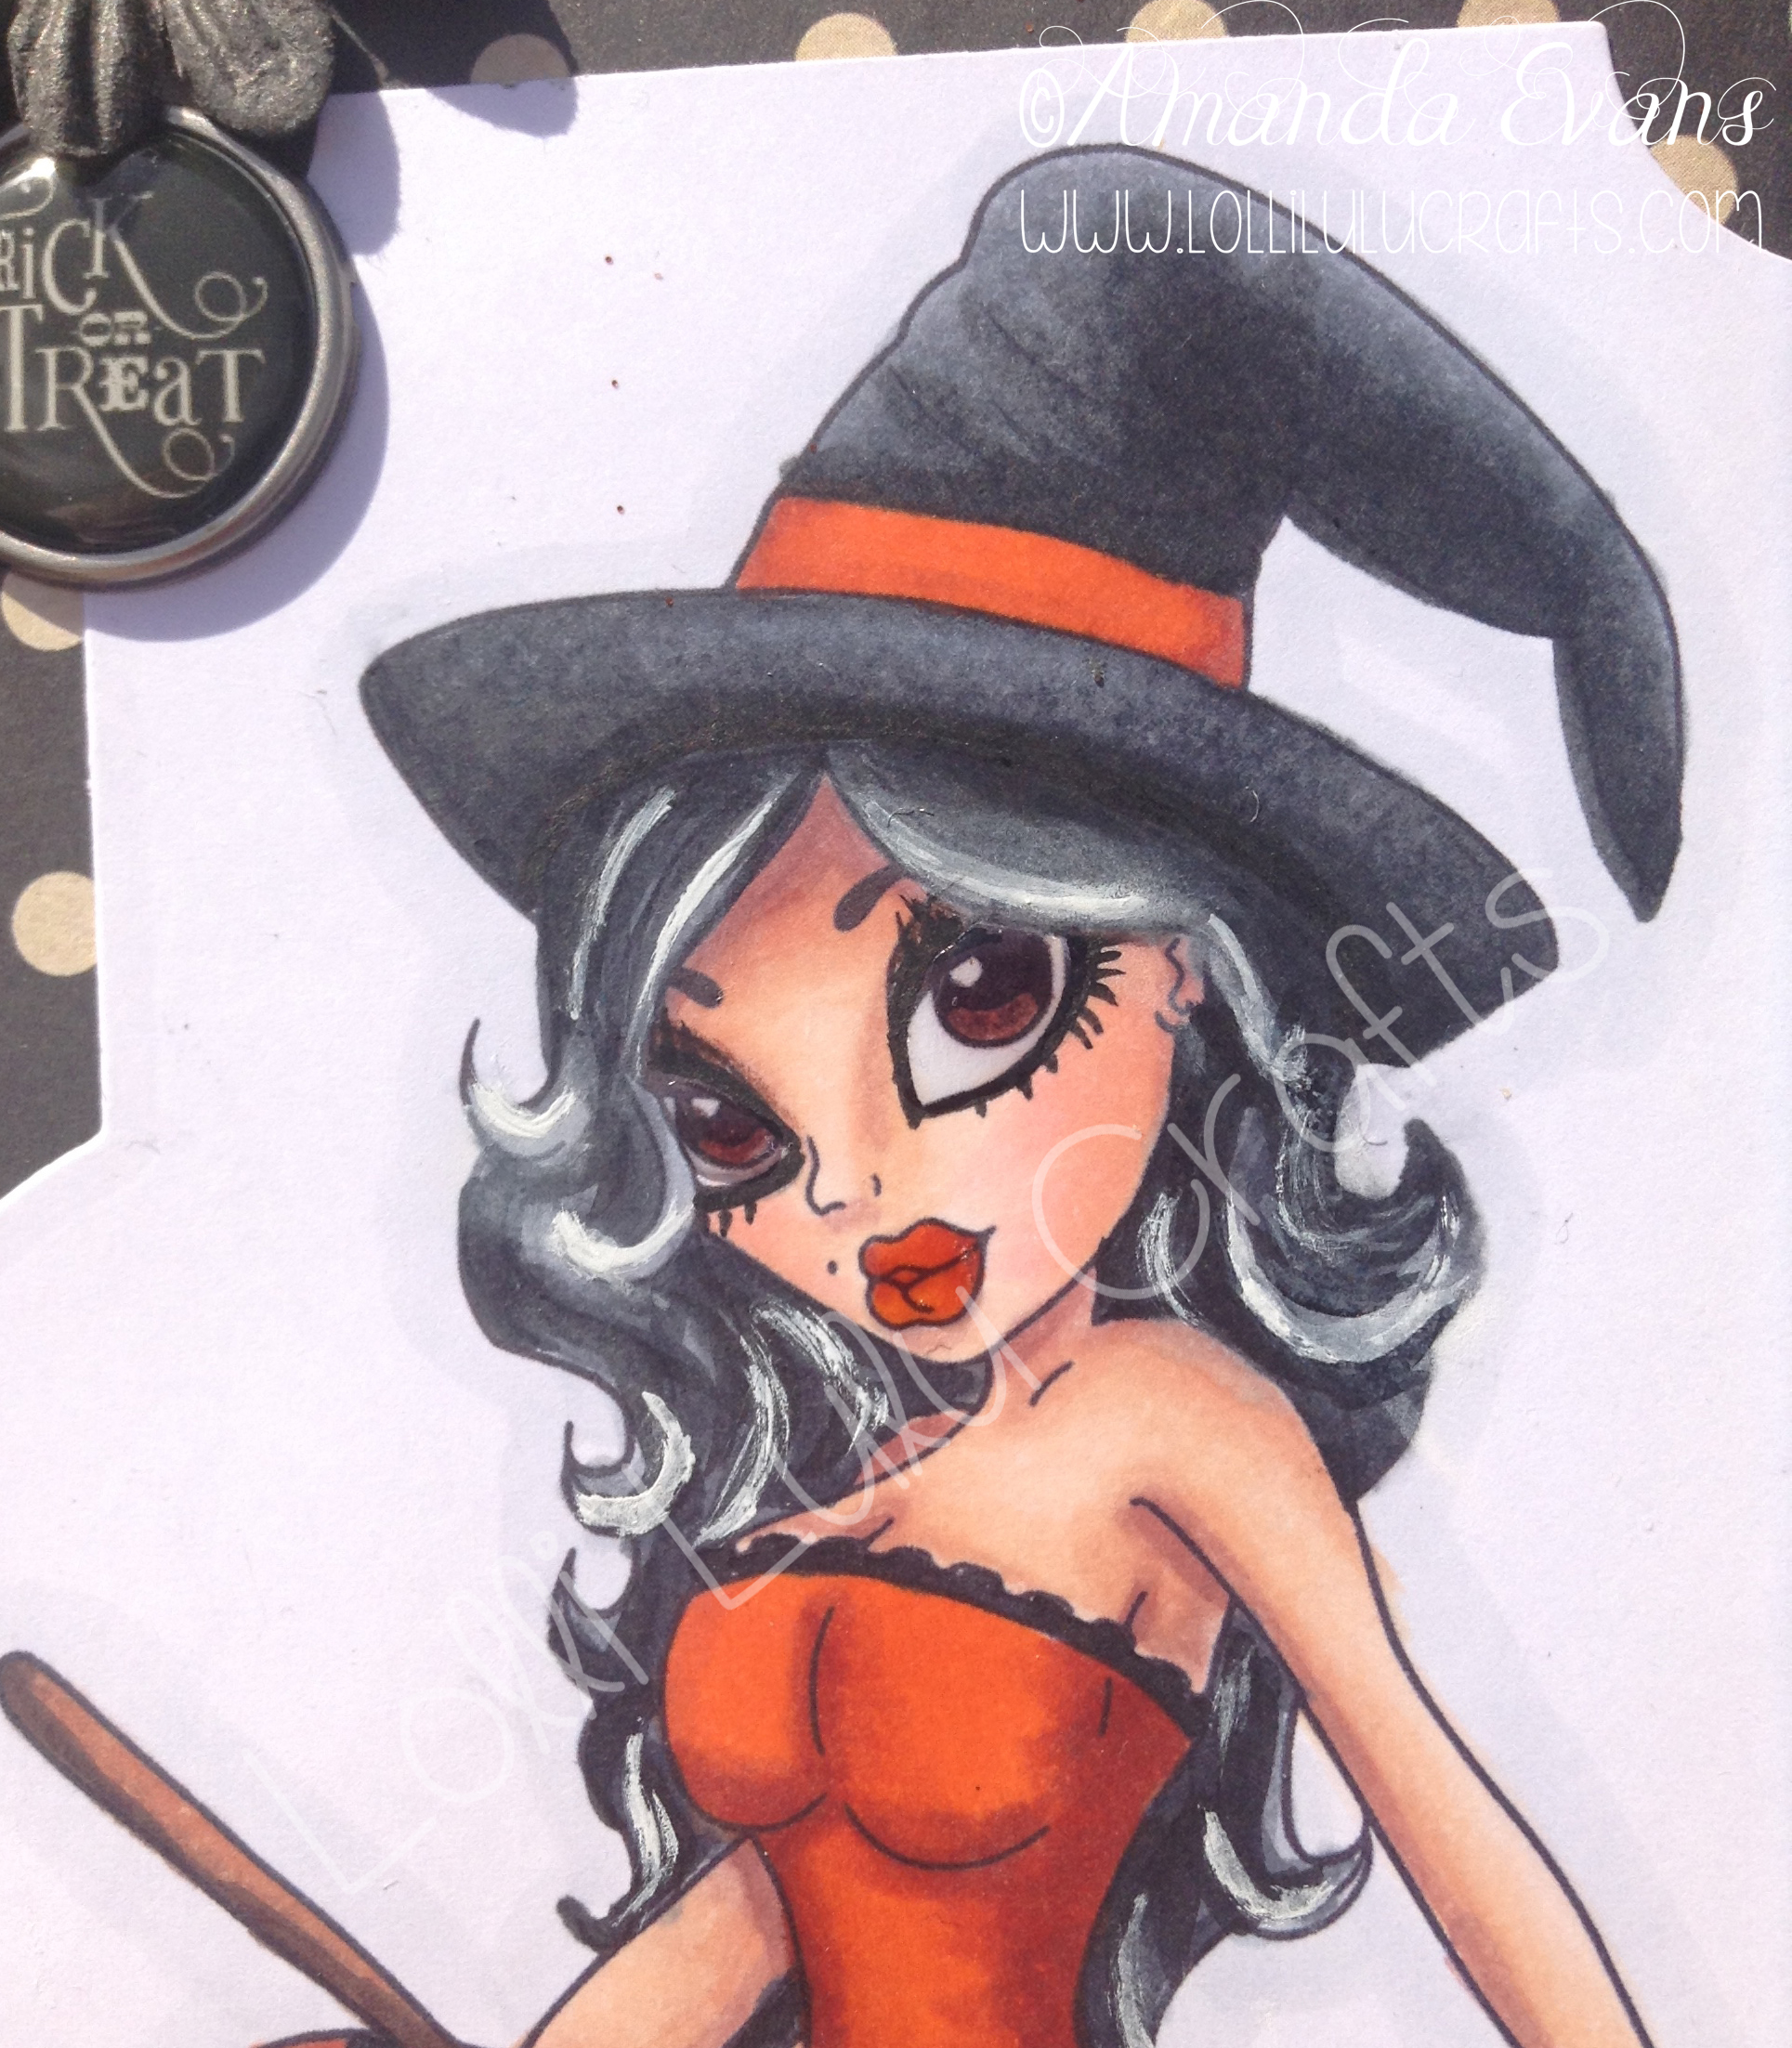
The key with black is to use little to none of actual black! I do most of my colouring using the Greys, usually a cooler tone, and then at the end I might just add in a bit of the black marker just to really make those shadows pop. If you do too much black that is all you will have, there will be no shading, shape and often no real clarity as to what something is even meant to be. However with her hair I did exactly the opposite, not on purpose but for some reason when I added the black shading, I overdid it. Only on the first side that I coloured – the left as you look at the image. I tried using the blender to take it out, which it did. I left the blender to dry and then went back to try to re-colout the area to get the accent and shadows but it just went back to mush. Not as bad as before but still not right.
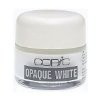
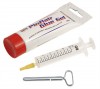
So I took my new Copic toy and a very fine paint brush and added a stroke of the white pigment paint stuff. It was awful so I quickly wiped it away with my finger and I quite liked the result. It was adding soft highlights. So I went back with the same paint brush, not re-dipped and went again. Well the paint had then started to dry on the brush by then, so I had to press a little harder to get the paint onto the paper, and voila the line that painted was this dry brush stroke that had gaps in the line and gaps going along the line too almost as if you had done several strokes, It was perfect. So I carried on and gradually added the painted lines to the hair just to add that definition and highlights. I am going to have to practice this technique because it was most definitely luck and I am not sure I could reproduce it now. I did try to on another picture but I stopped and wiped it off cos it wasnt working and I didn’t want to ruin a perfectly good image. I will practice before I go onto my ‘best’ colouring.
The other thing that I really liked on this image was her eyes. I really went to town with her ‘make up’ and I literally apply it to the image as I would to a real person. I use a pencil to add eyeshadow as I find that adds the softer look that you get with shadow I then use a Copic Fine Multiliner to add eye liner and mascara. I think it looks really fab. What do you think?
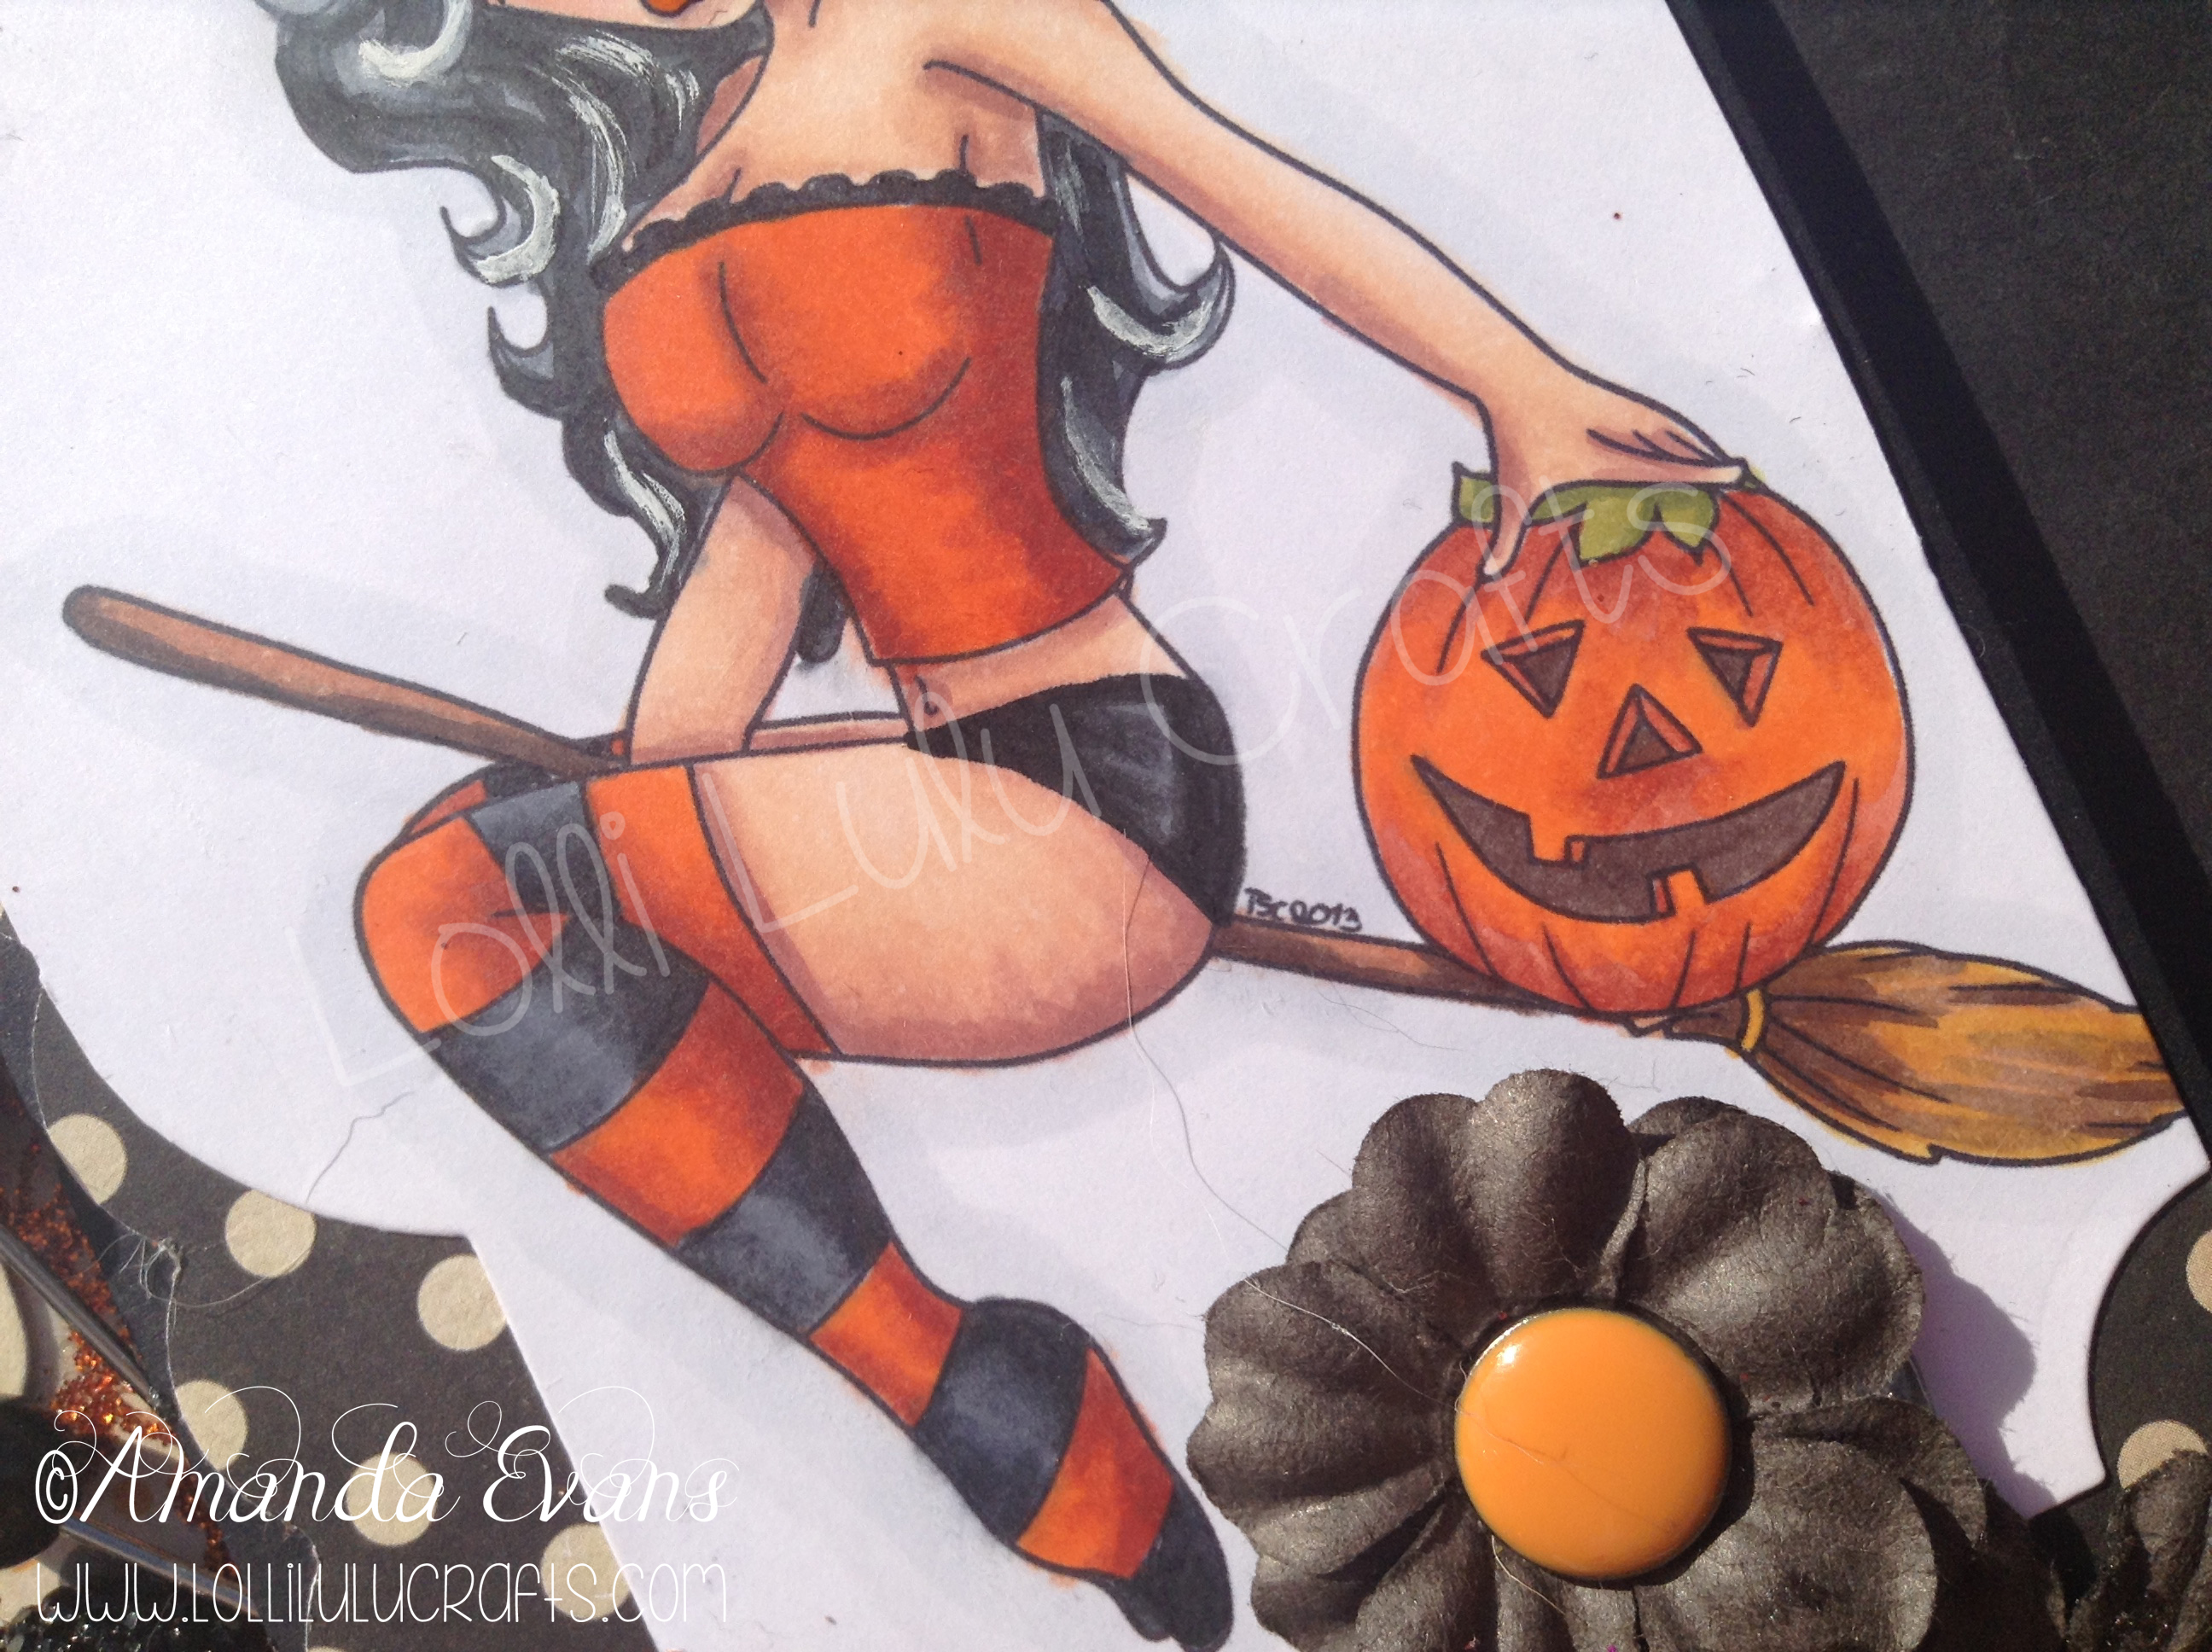
My family’s favourite bit of colouring seems to have been her socks, both Mum and Dad were fascinated about how I got them to look like they really were on her legs. Of course that is all down to the shading and keep that shading consistent from top to bottom of the sock. What you want is to make sure that the highlight is always following on from the last highlight. Ohh and those of you that do know all this already, cos I know there are so many talented colourists out there, then I apologise for stating what you will already know, I just thought for those that are new to colouring that it might be helpful to explain how I achieved that look. I guess my Mum and Dad wanting it explained made me think there might be some of you out there that would appreciate it too.
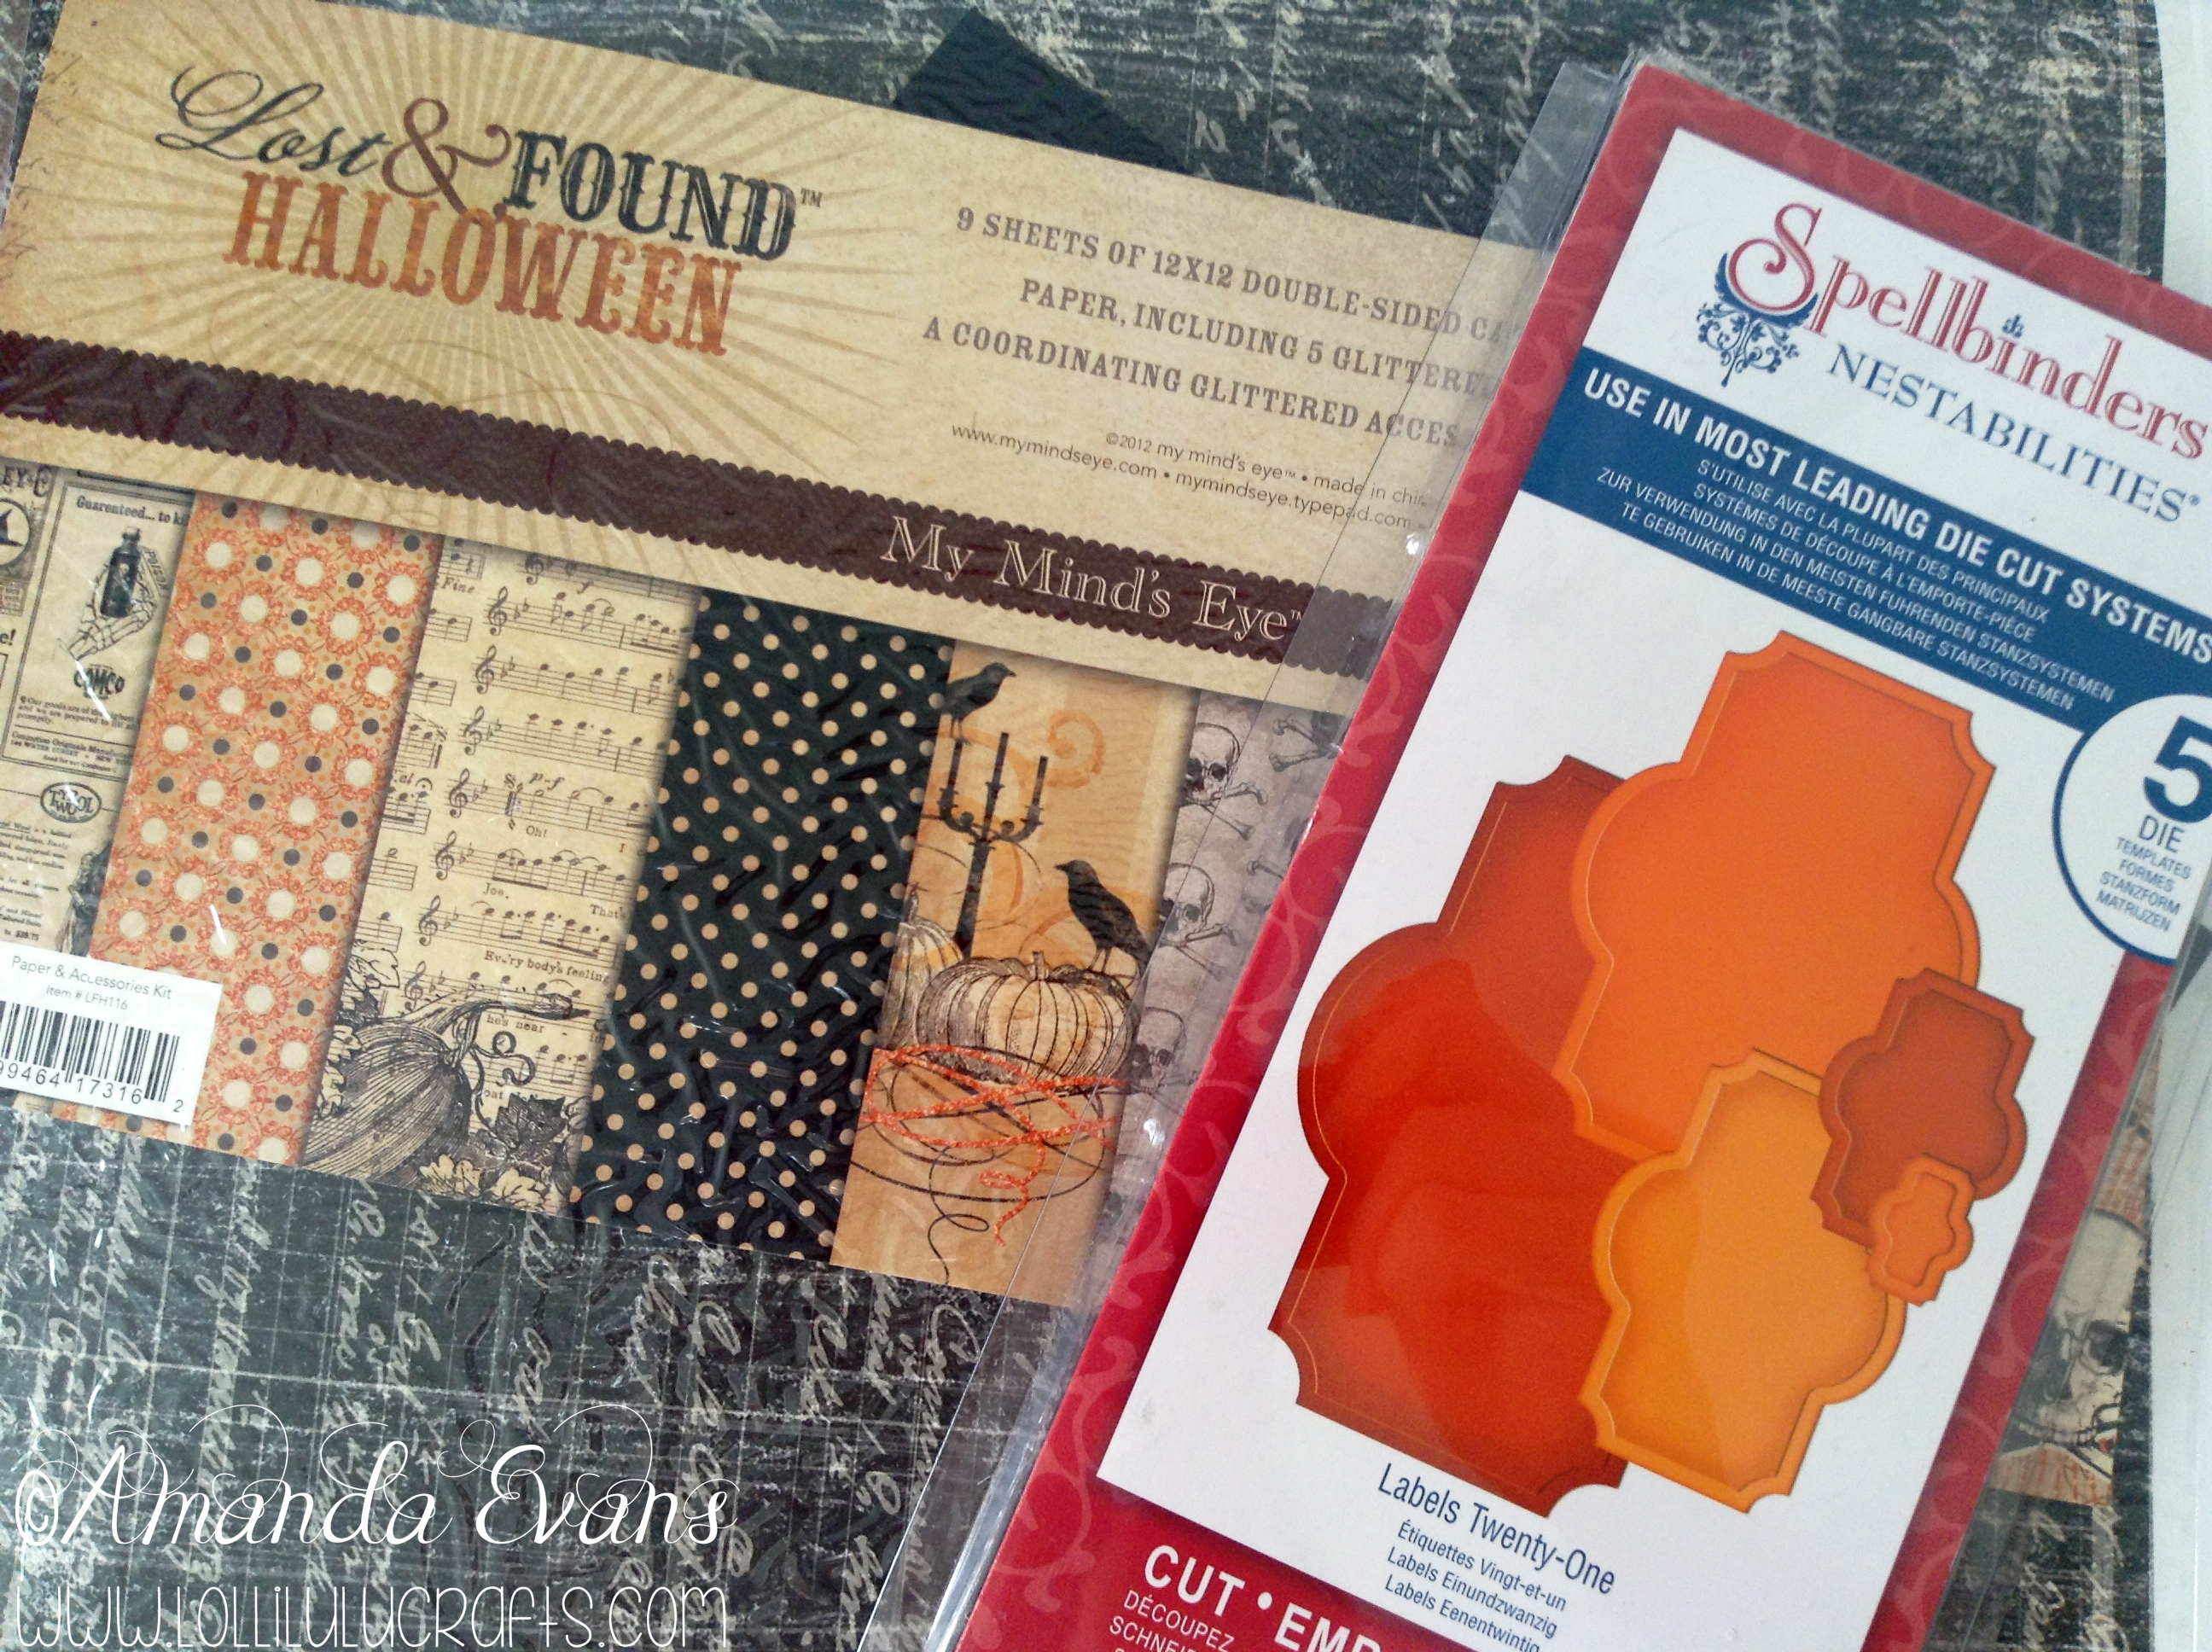
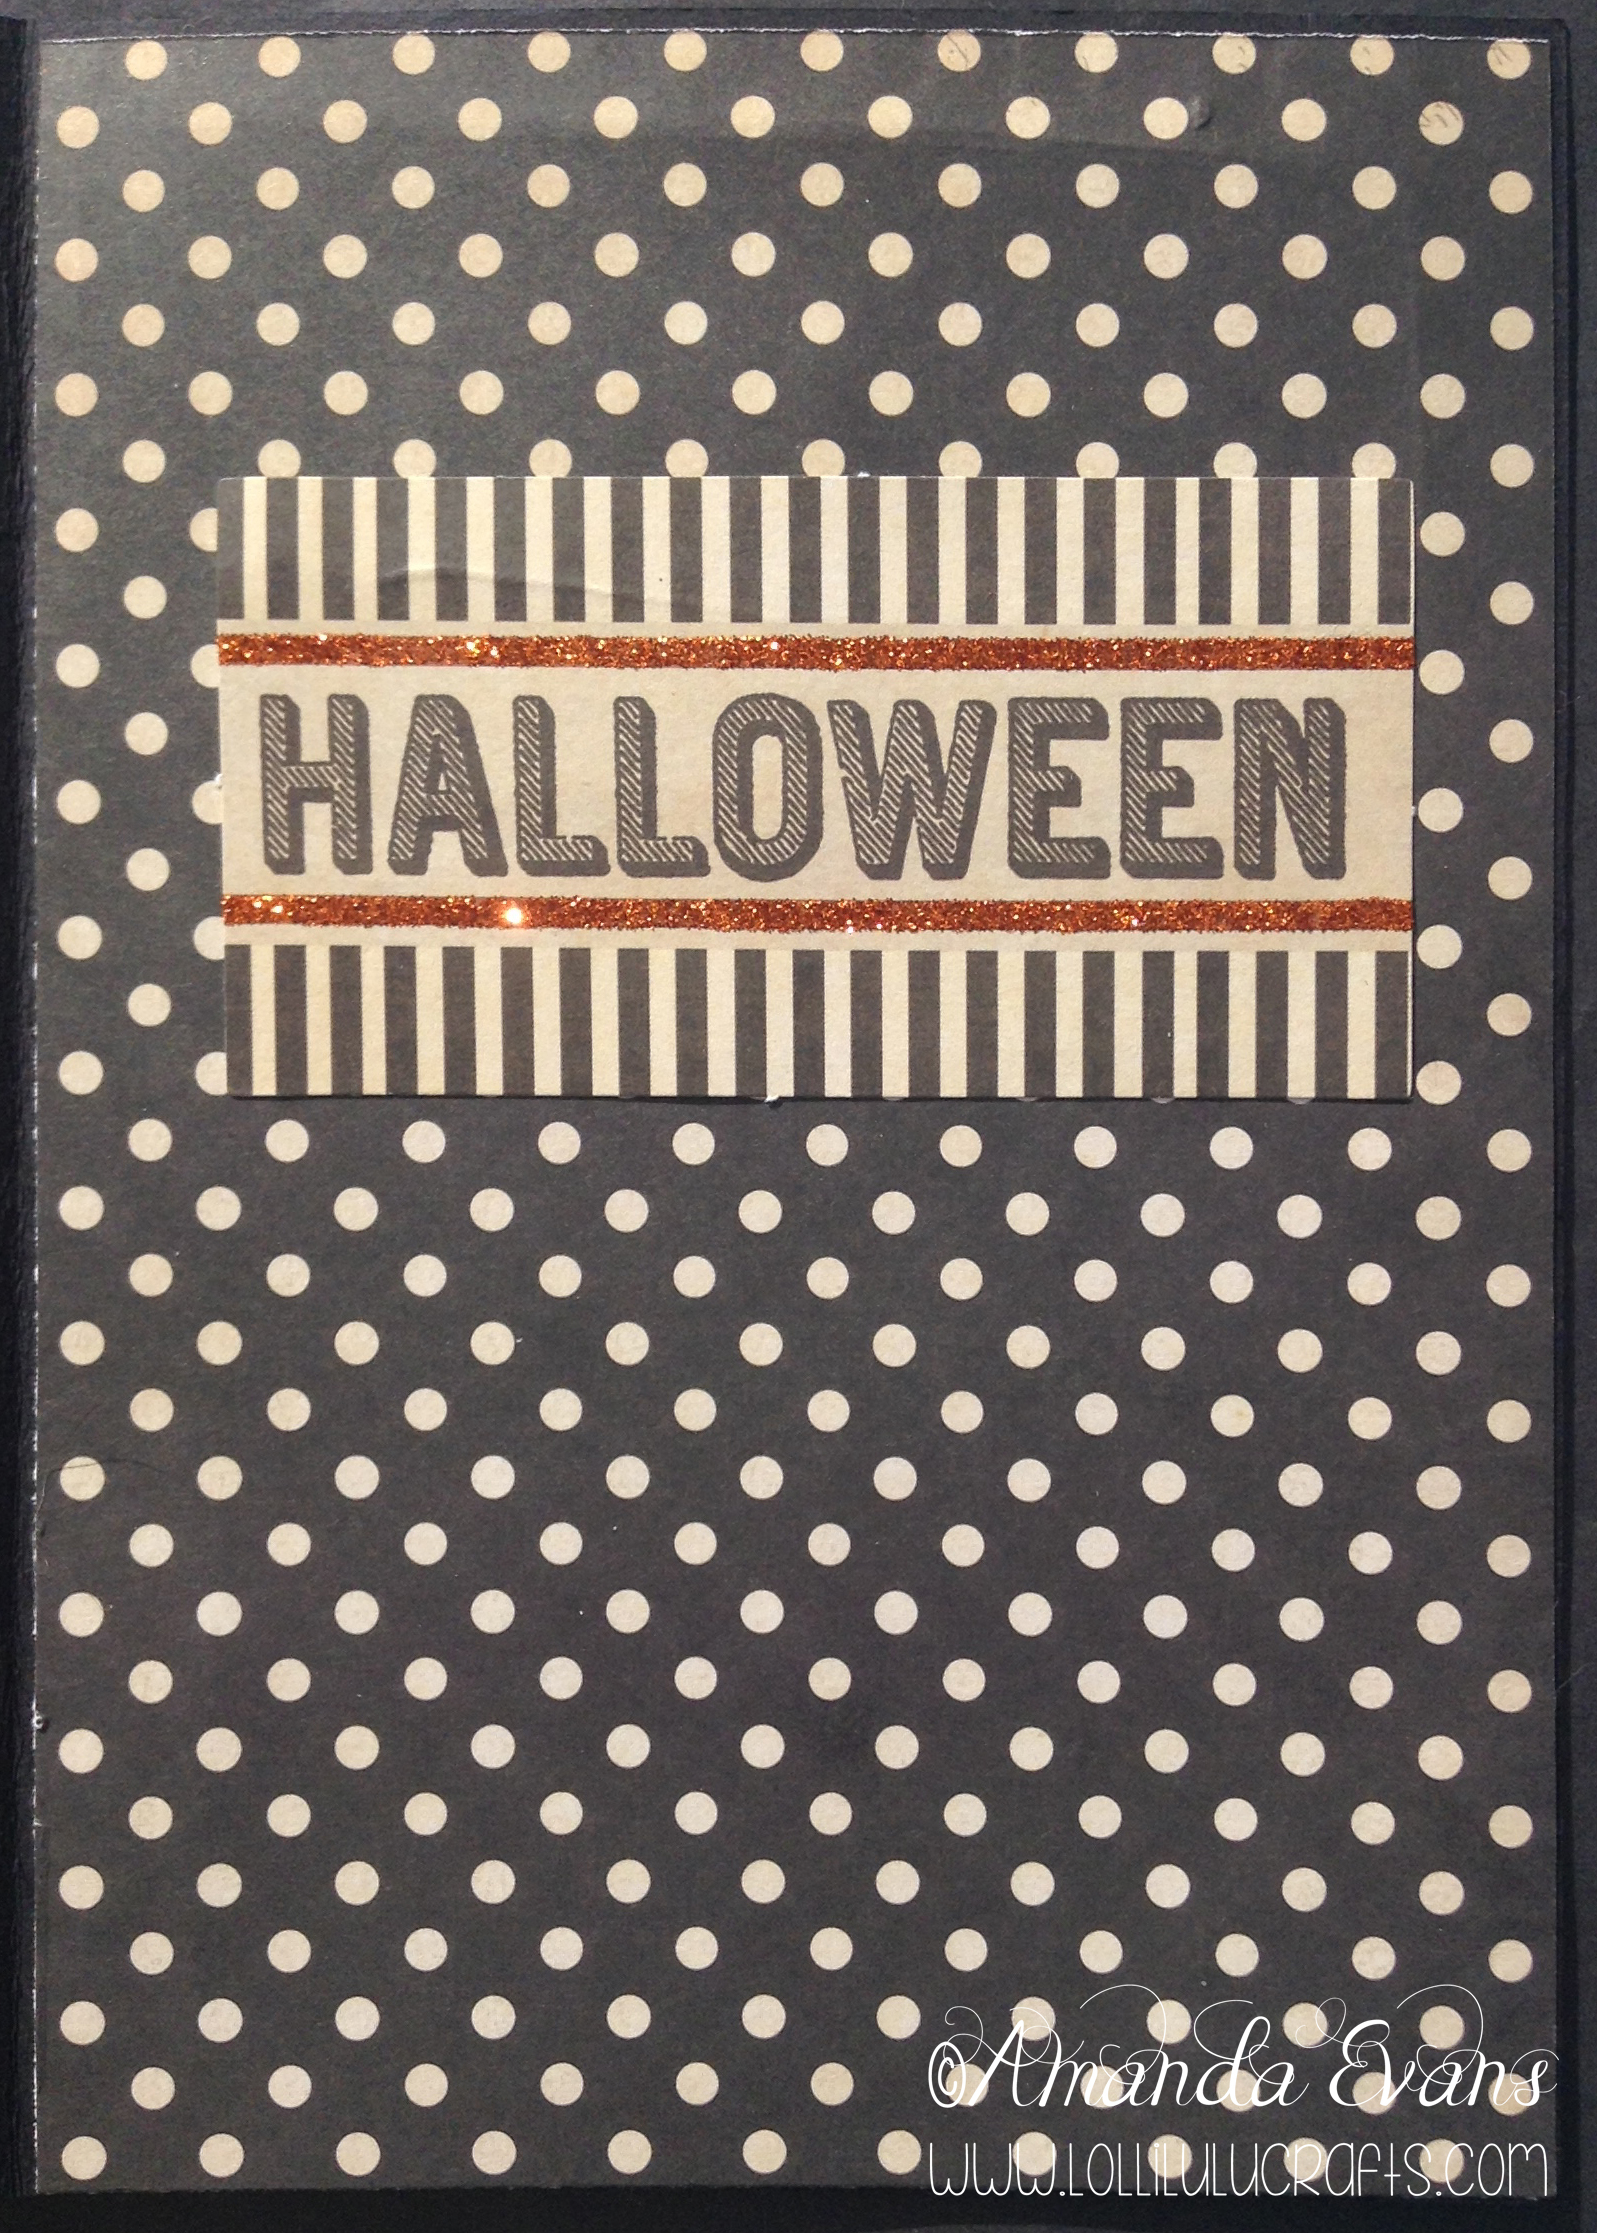
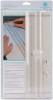
So having coloured my image I then die cut her out using the Spellbinders dies shown, and hunted down my Halloween Paper pack that had only just arrived with me. I had not realised that I had run out of Halloween paper so had to put in a rush order! phew!
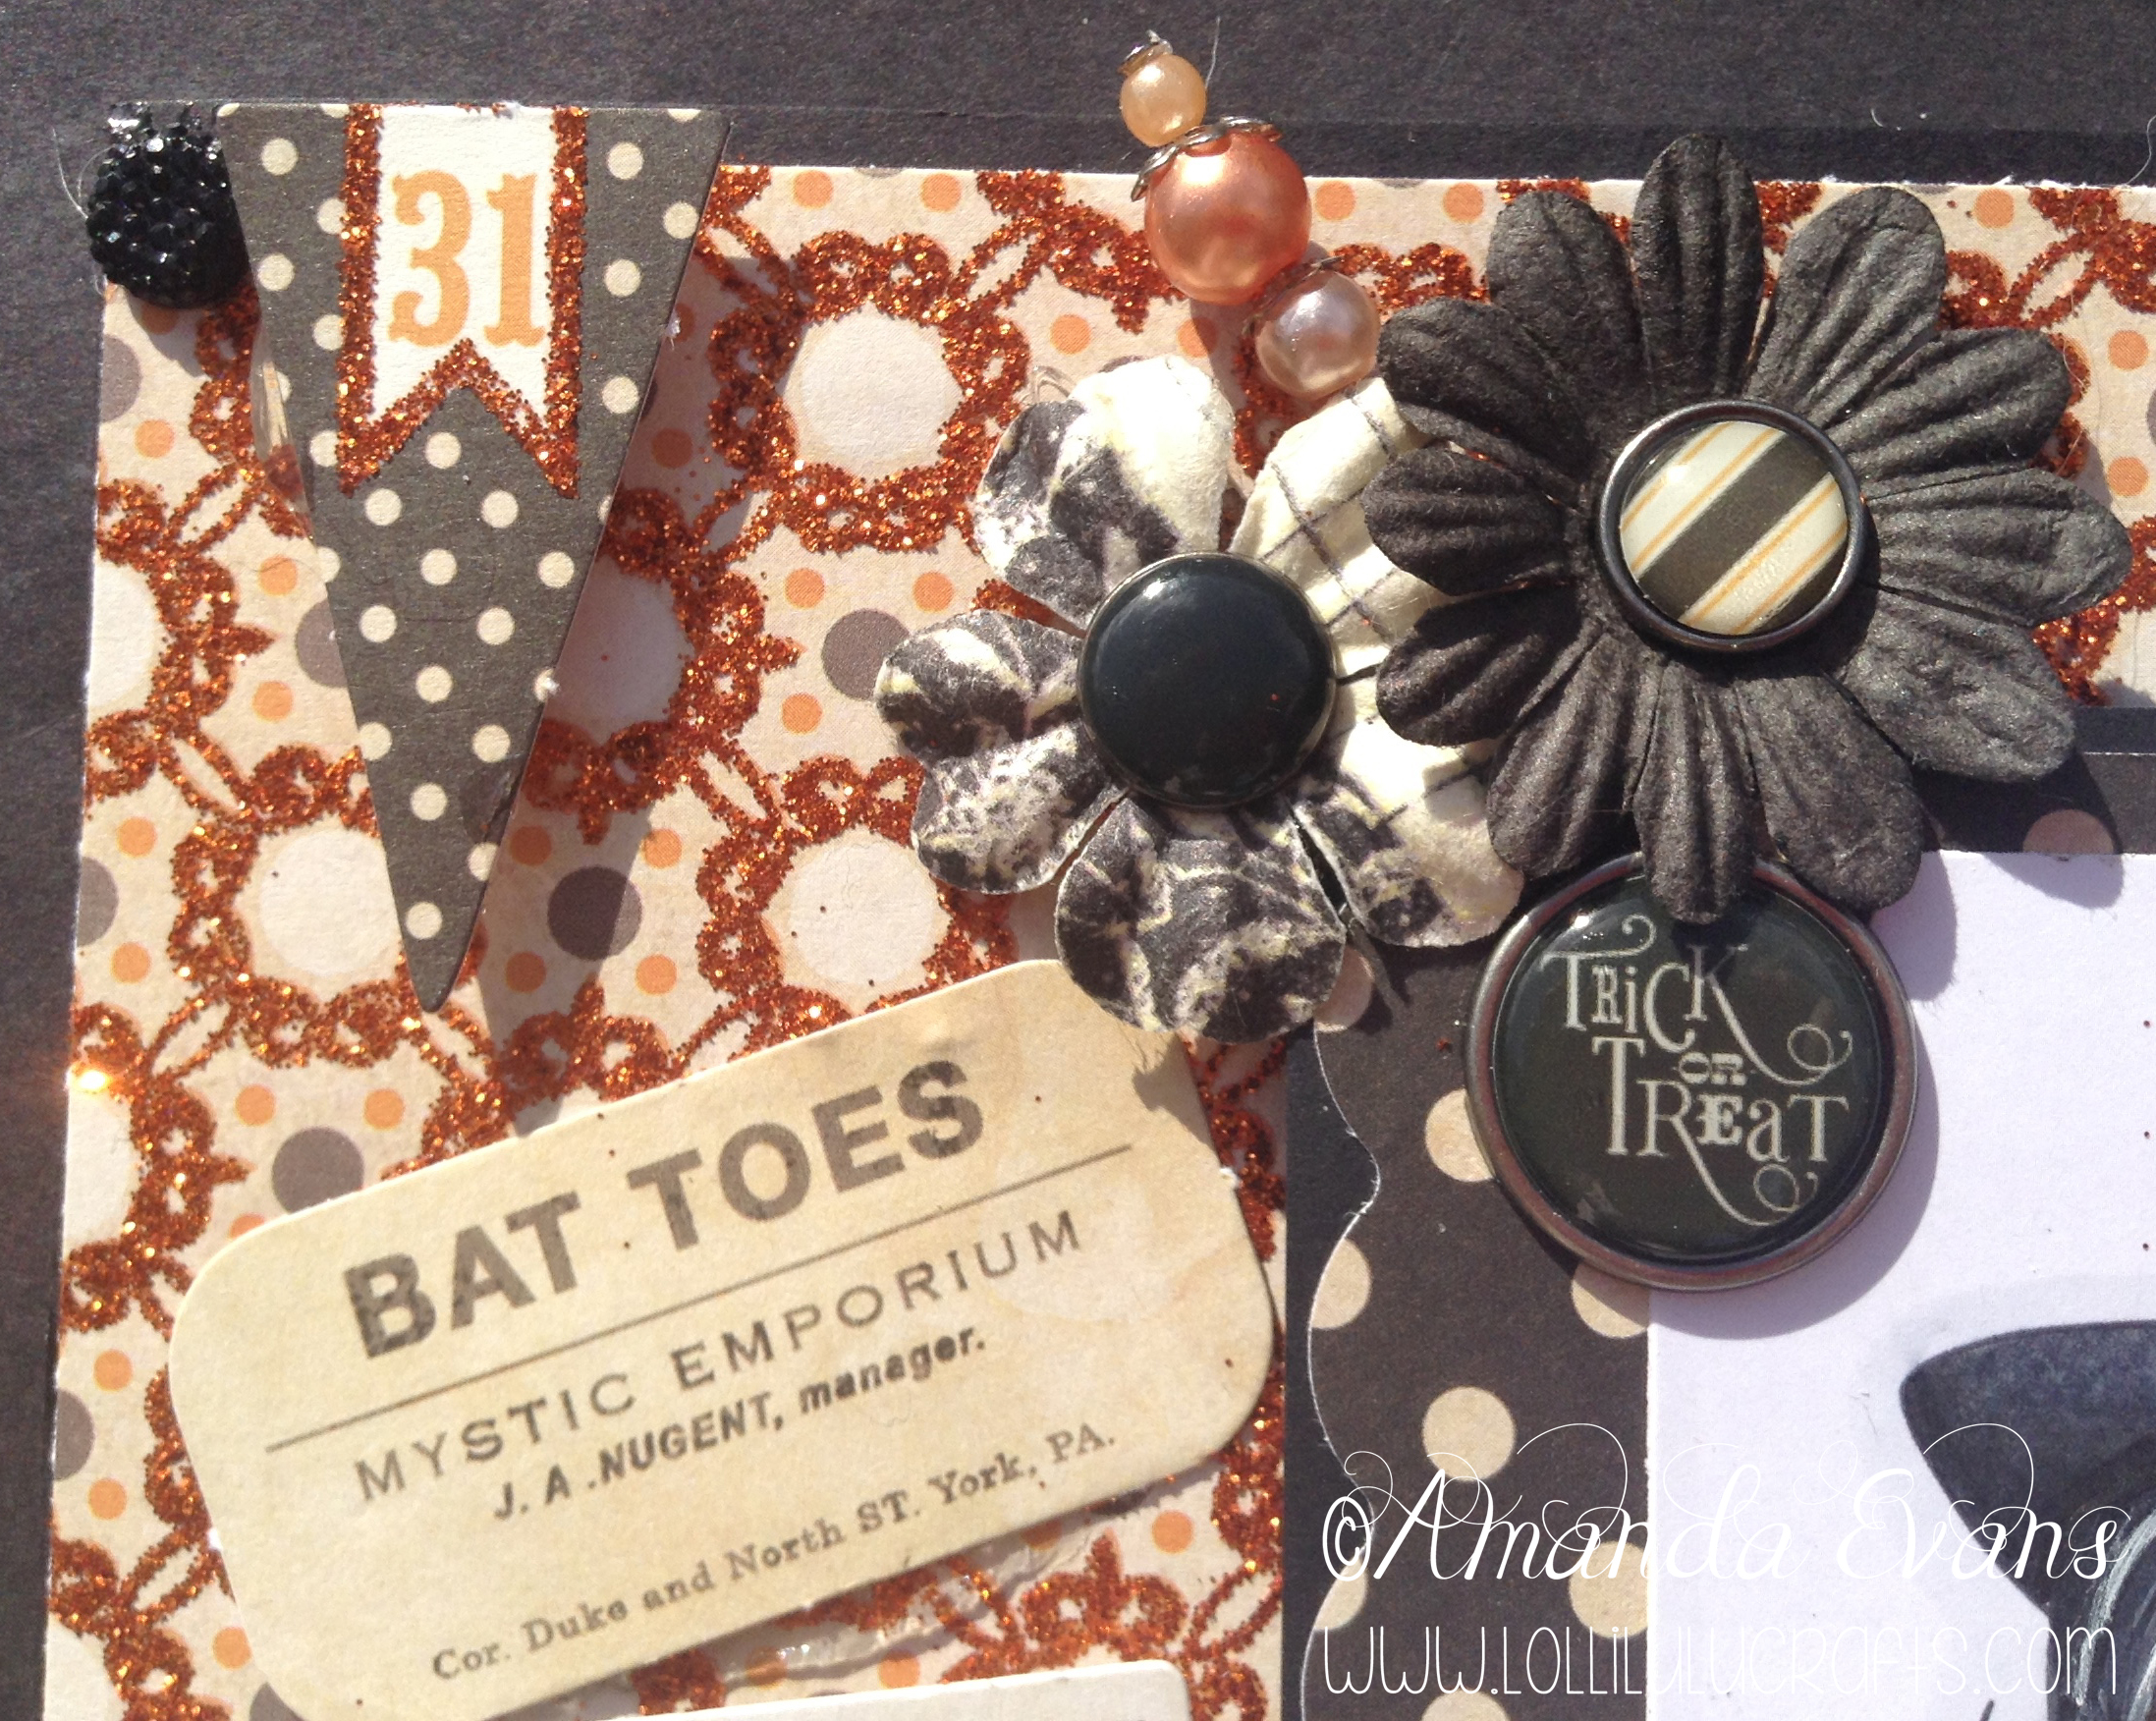
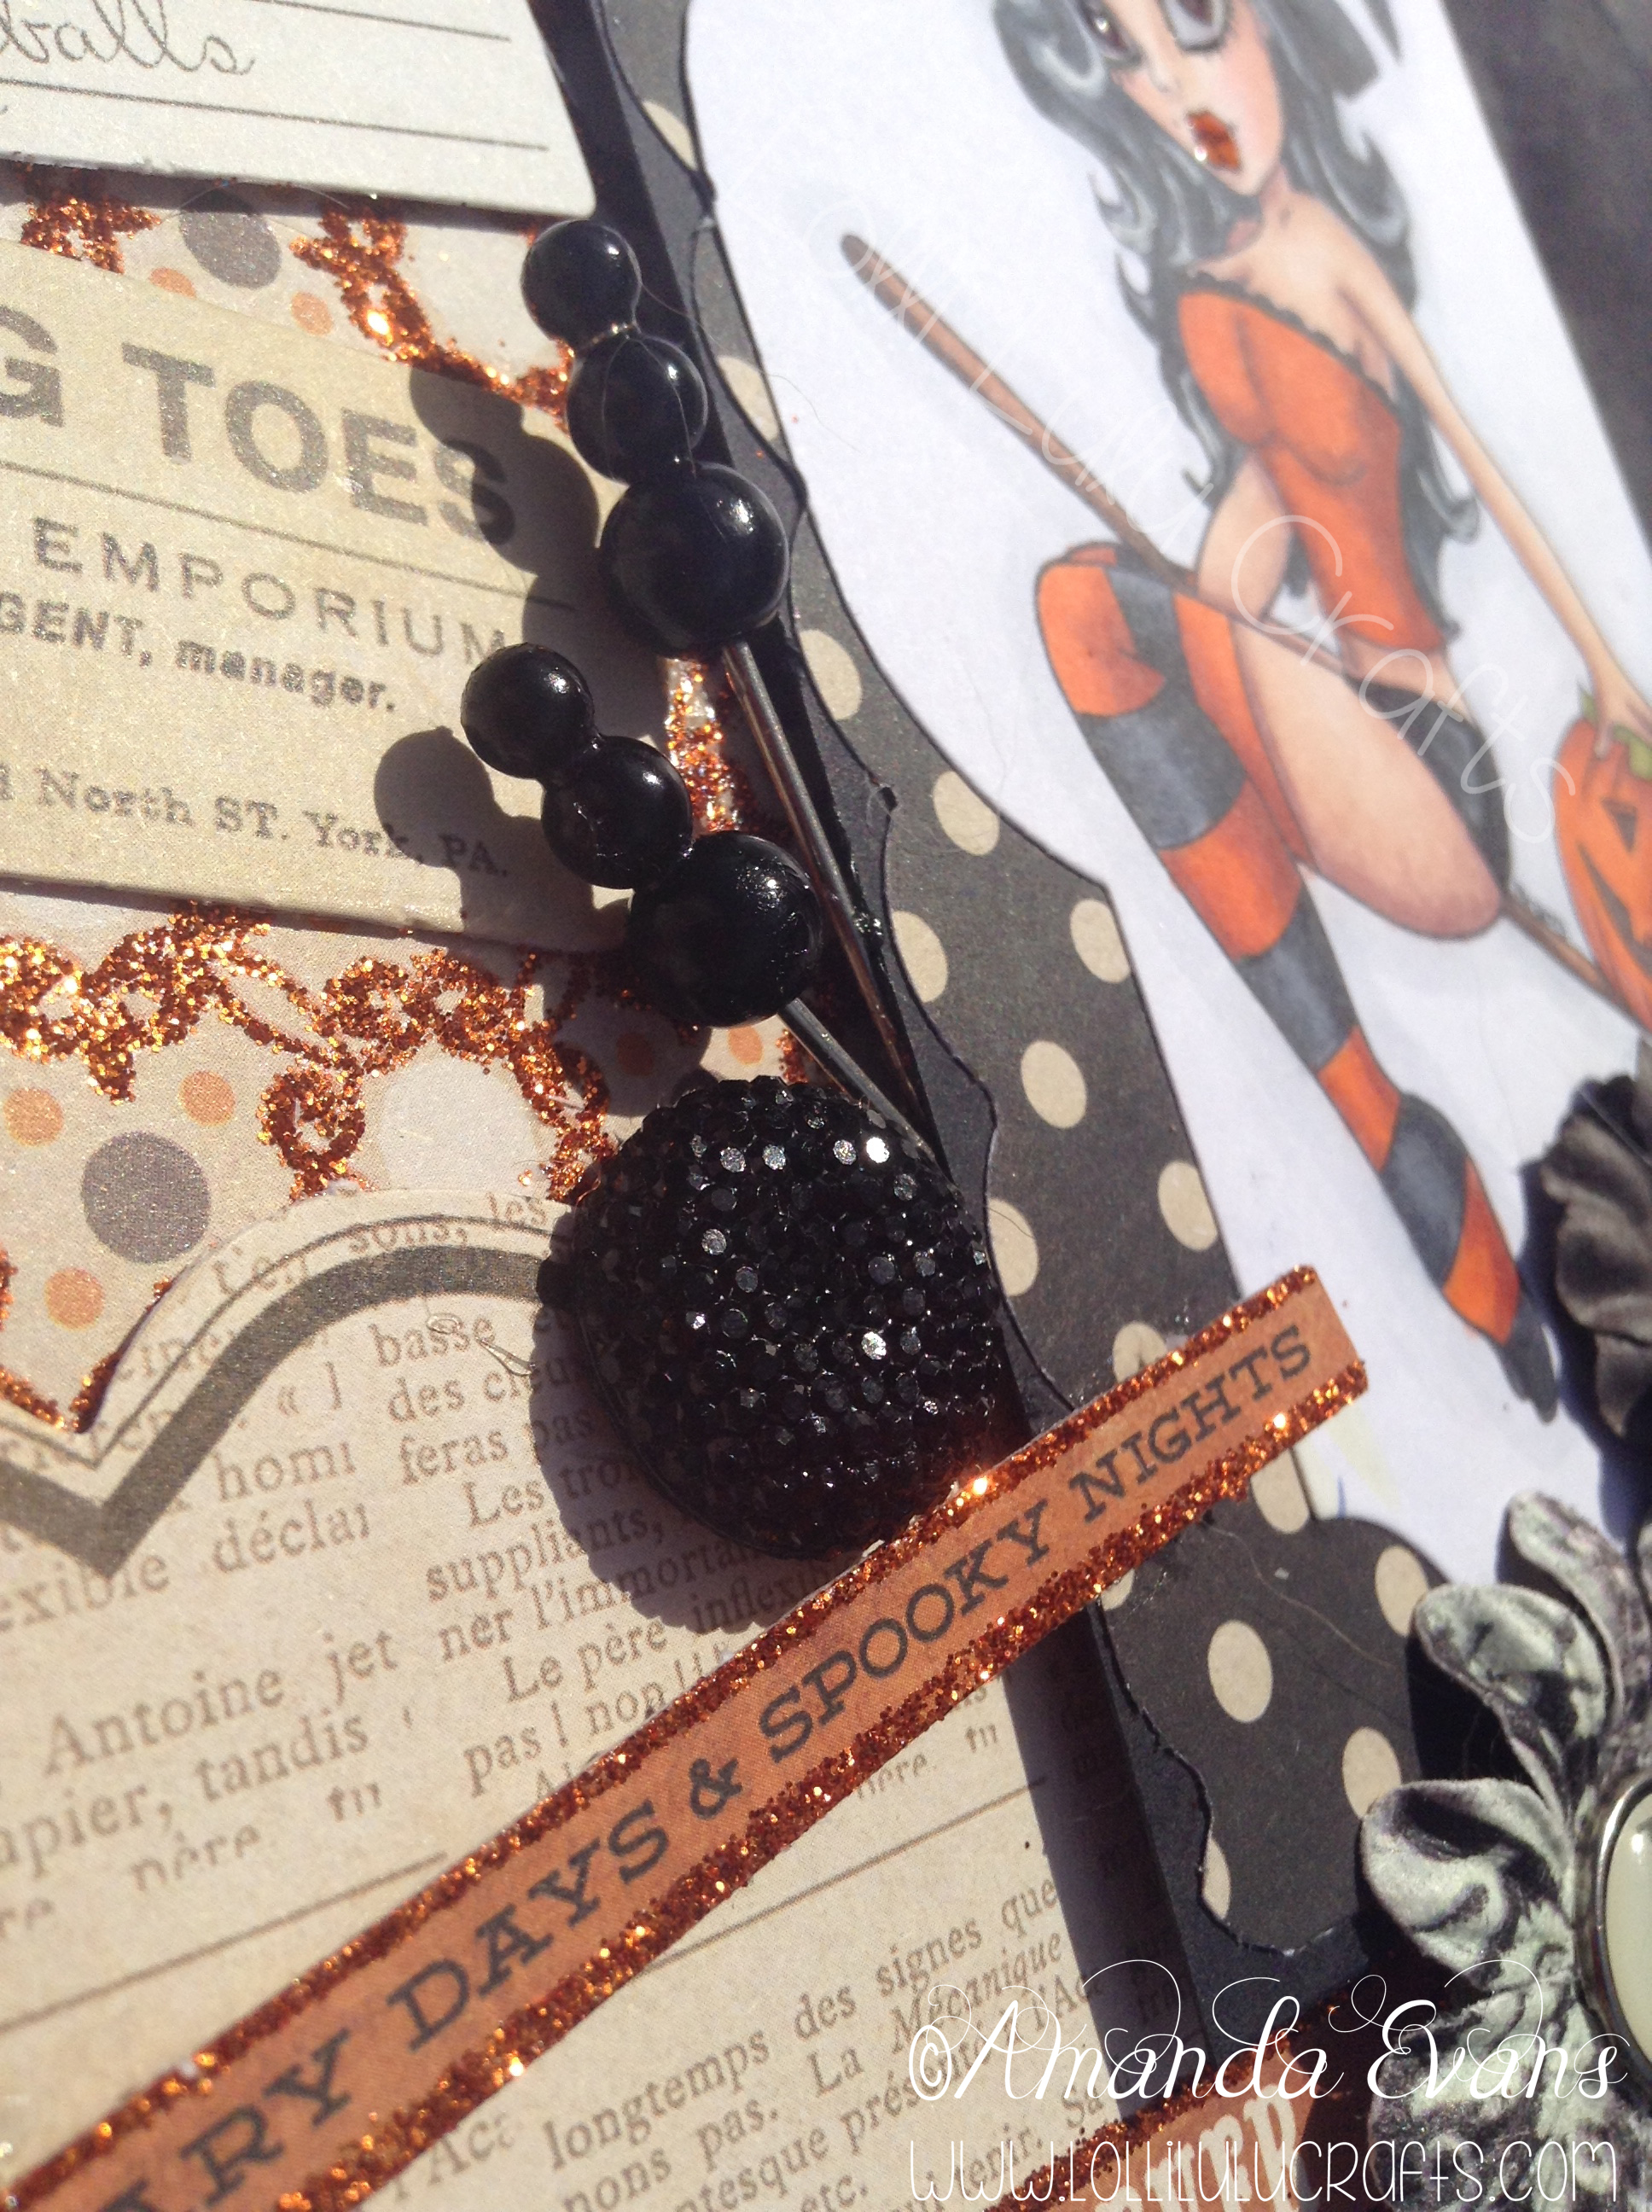
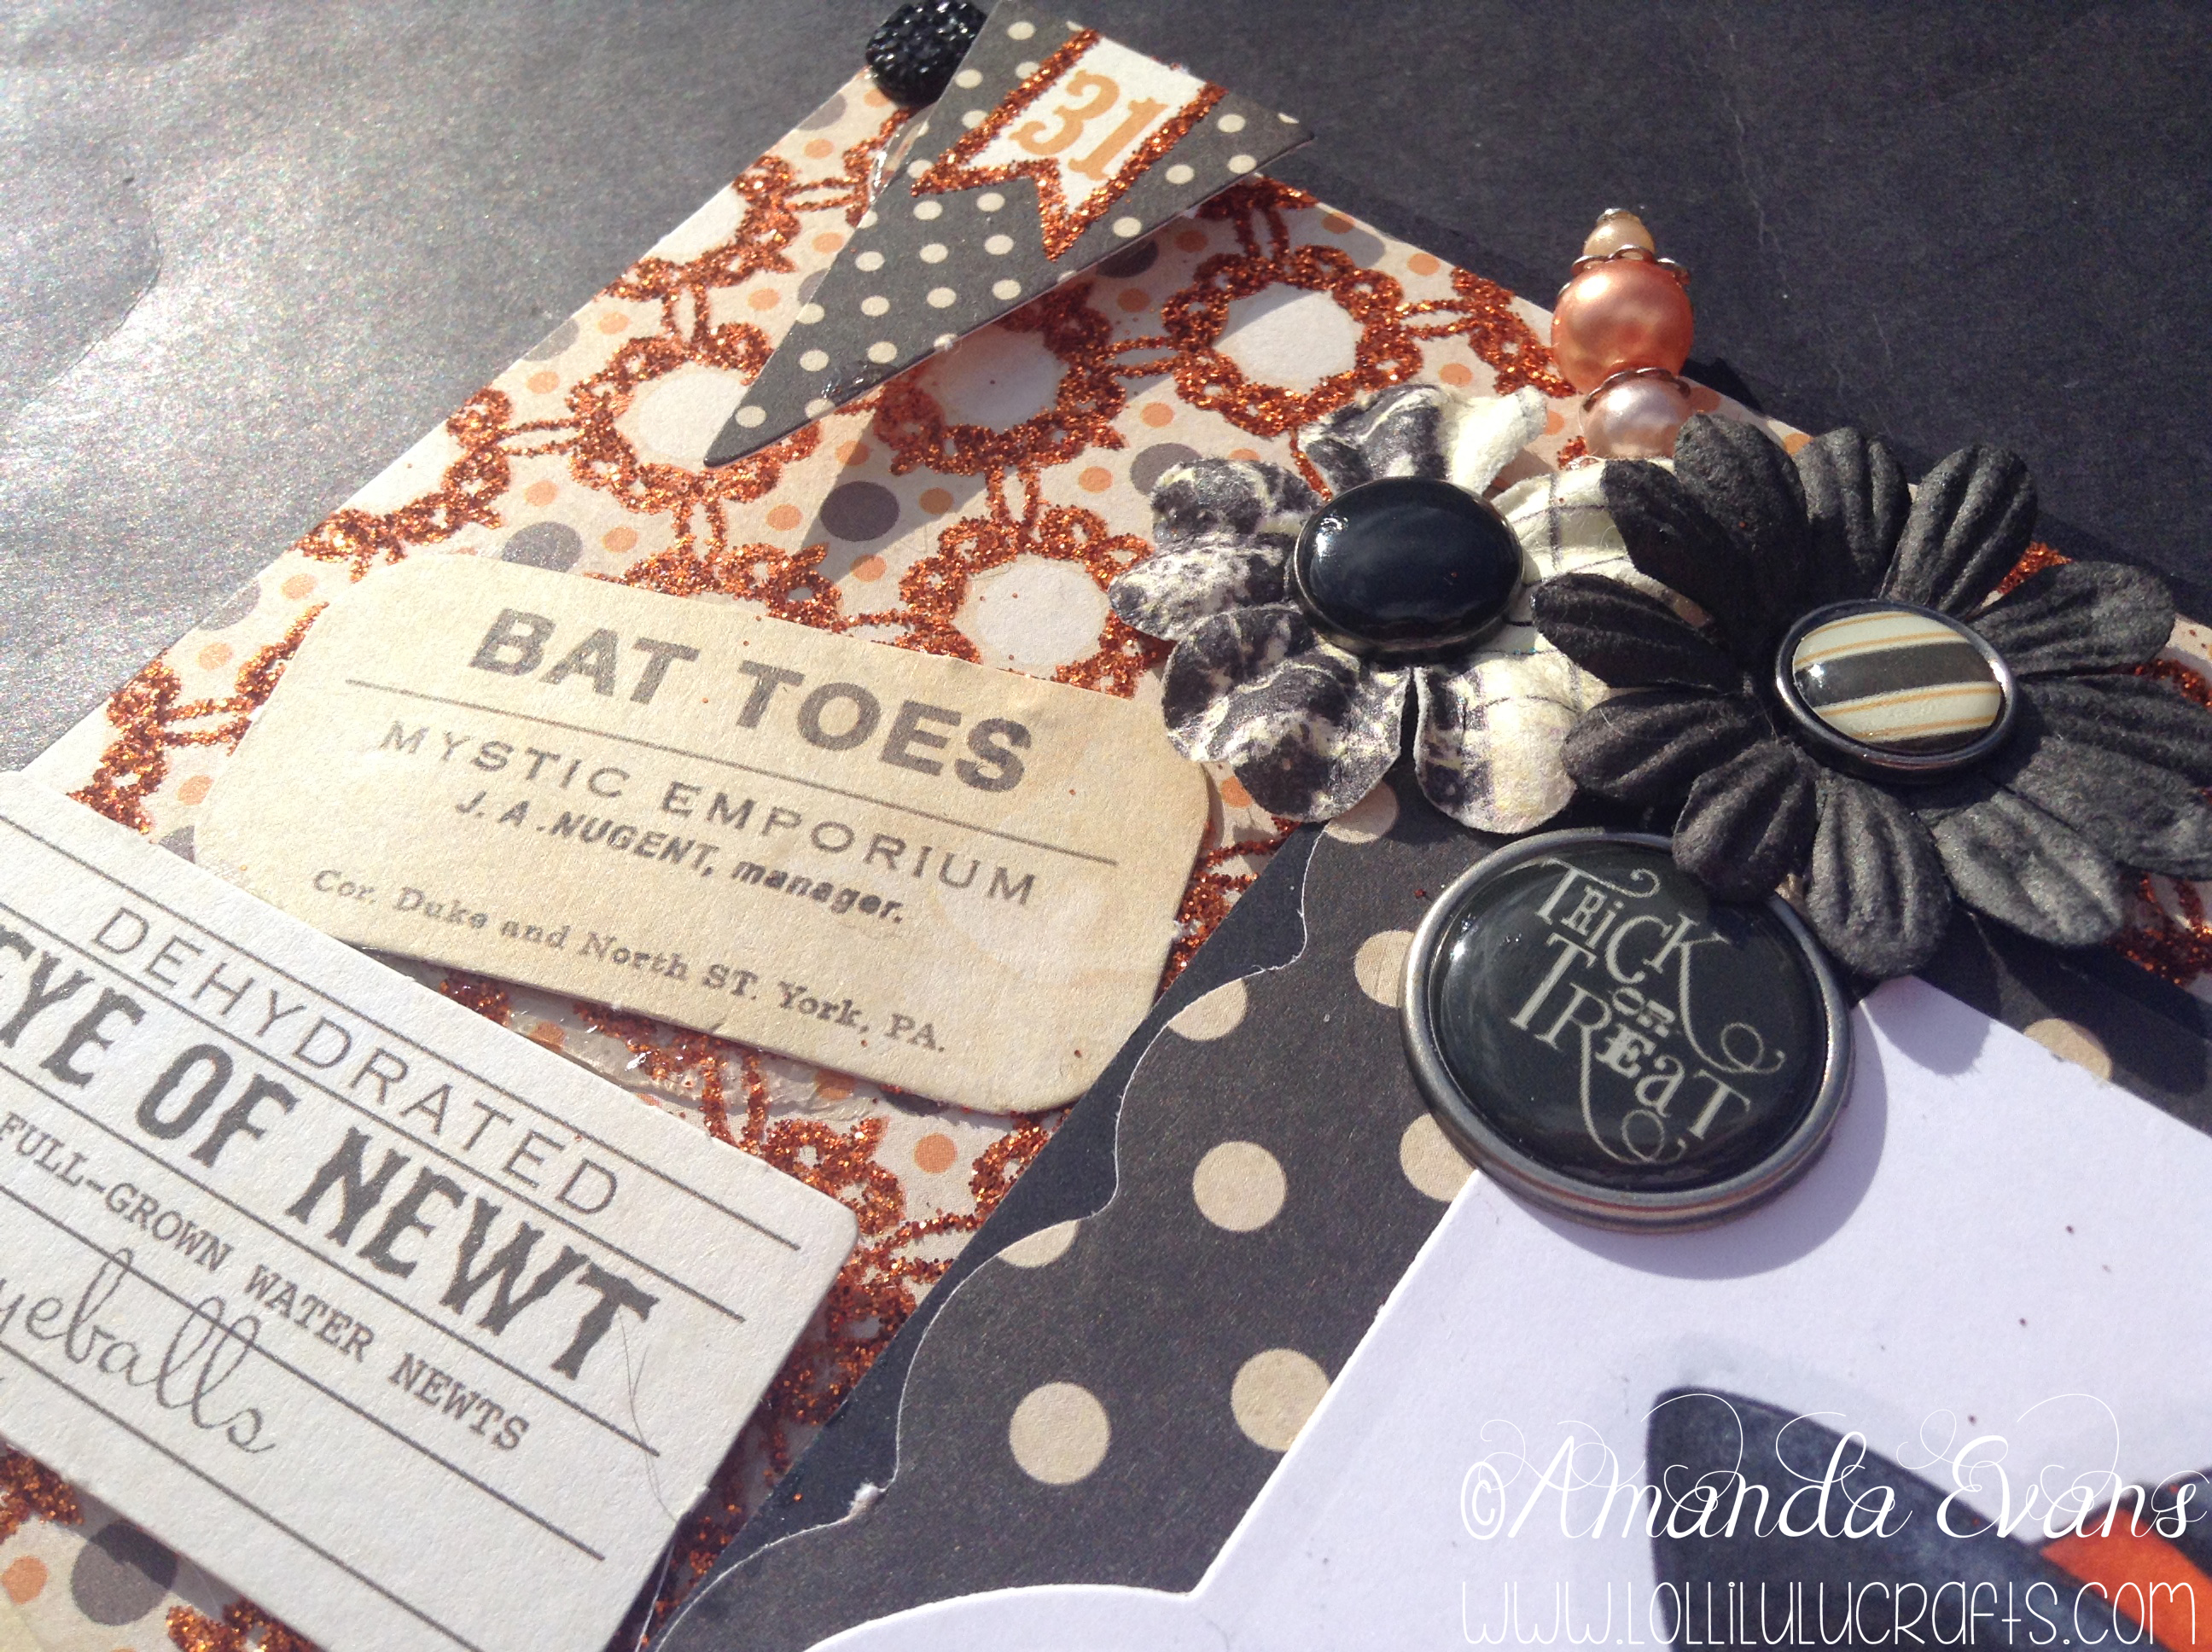
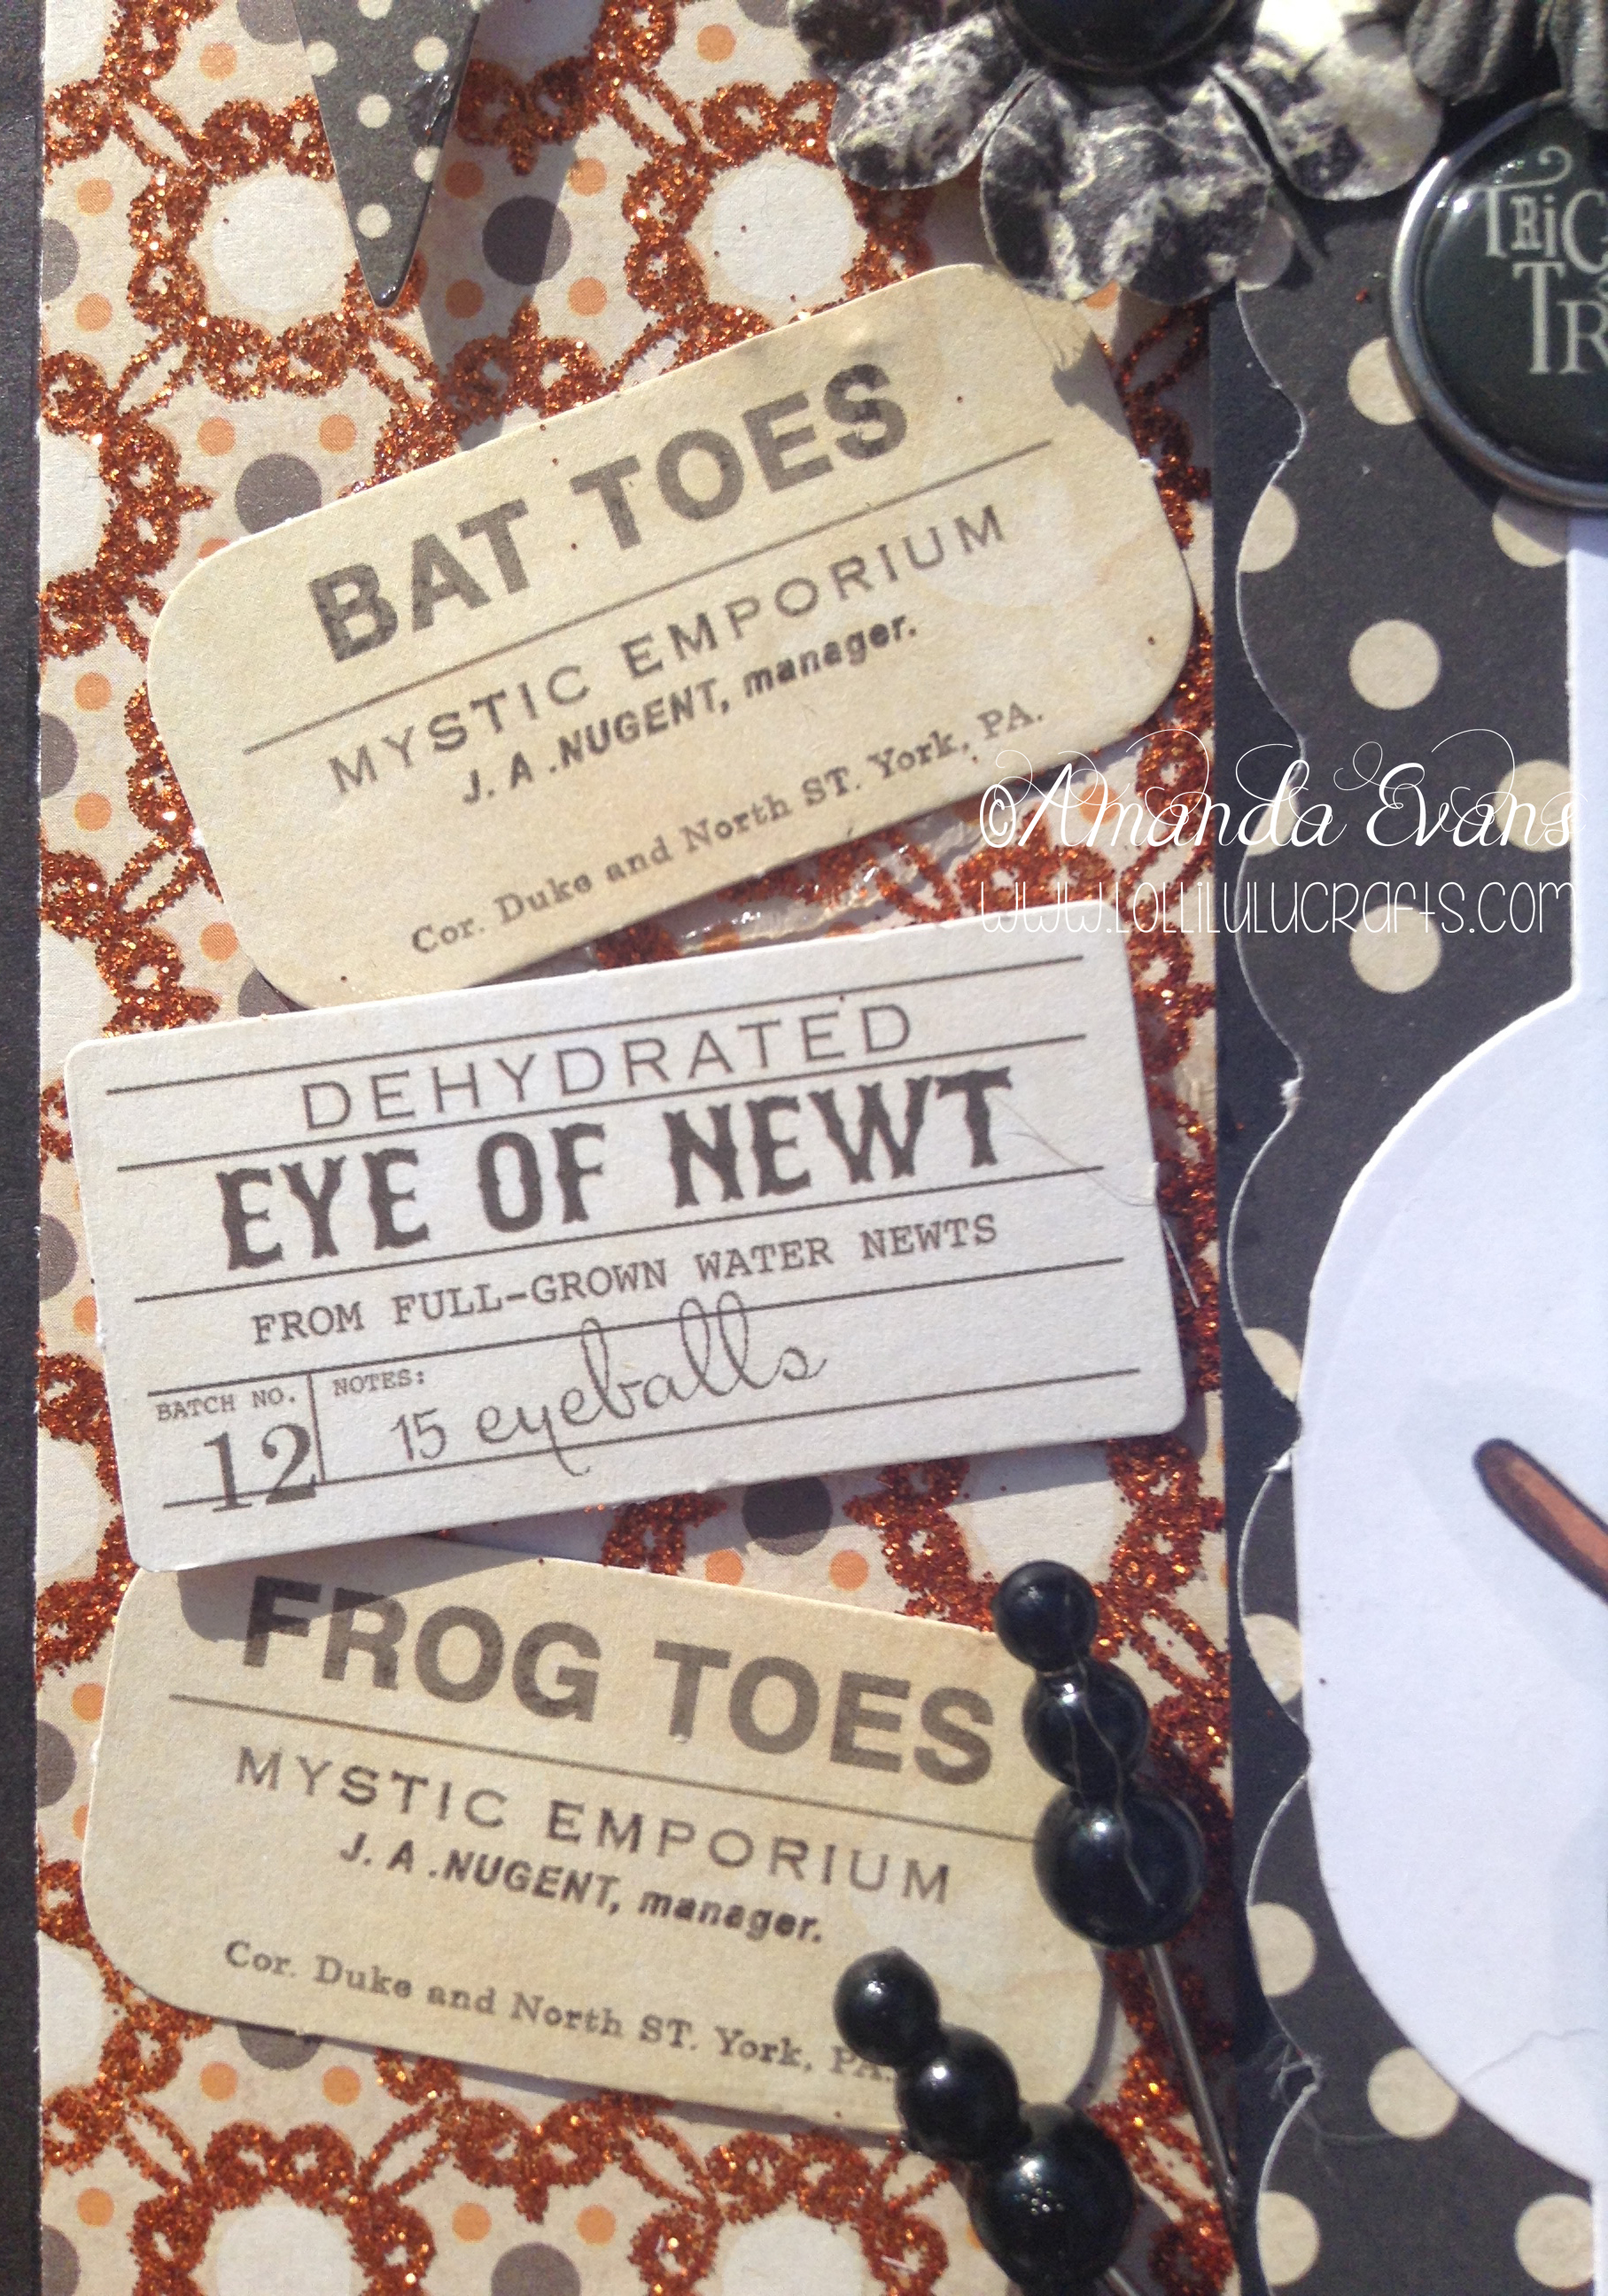
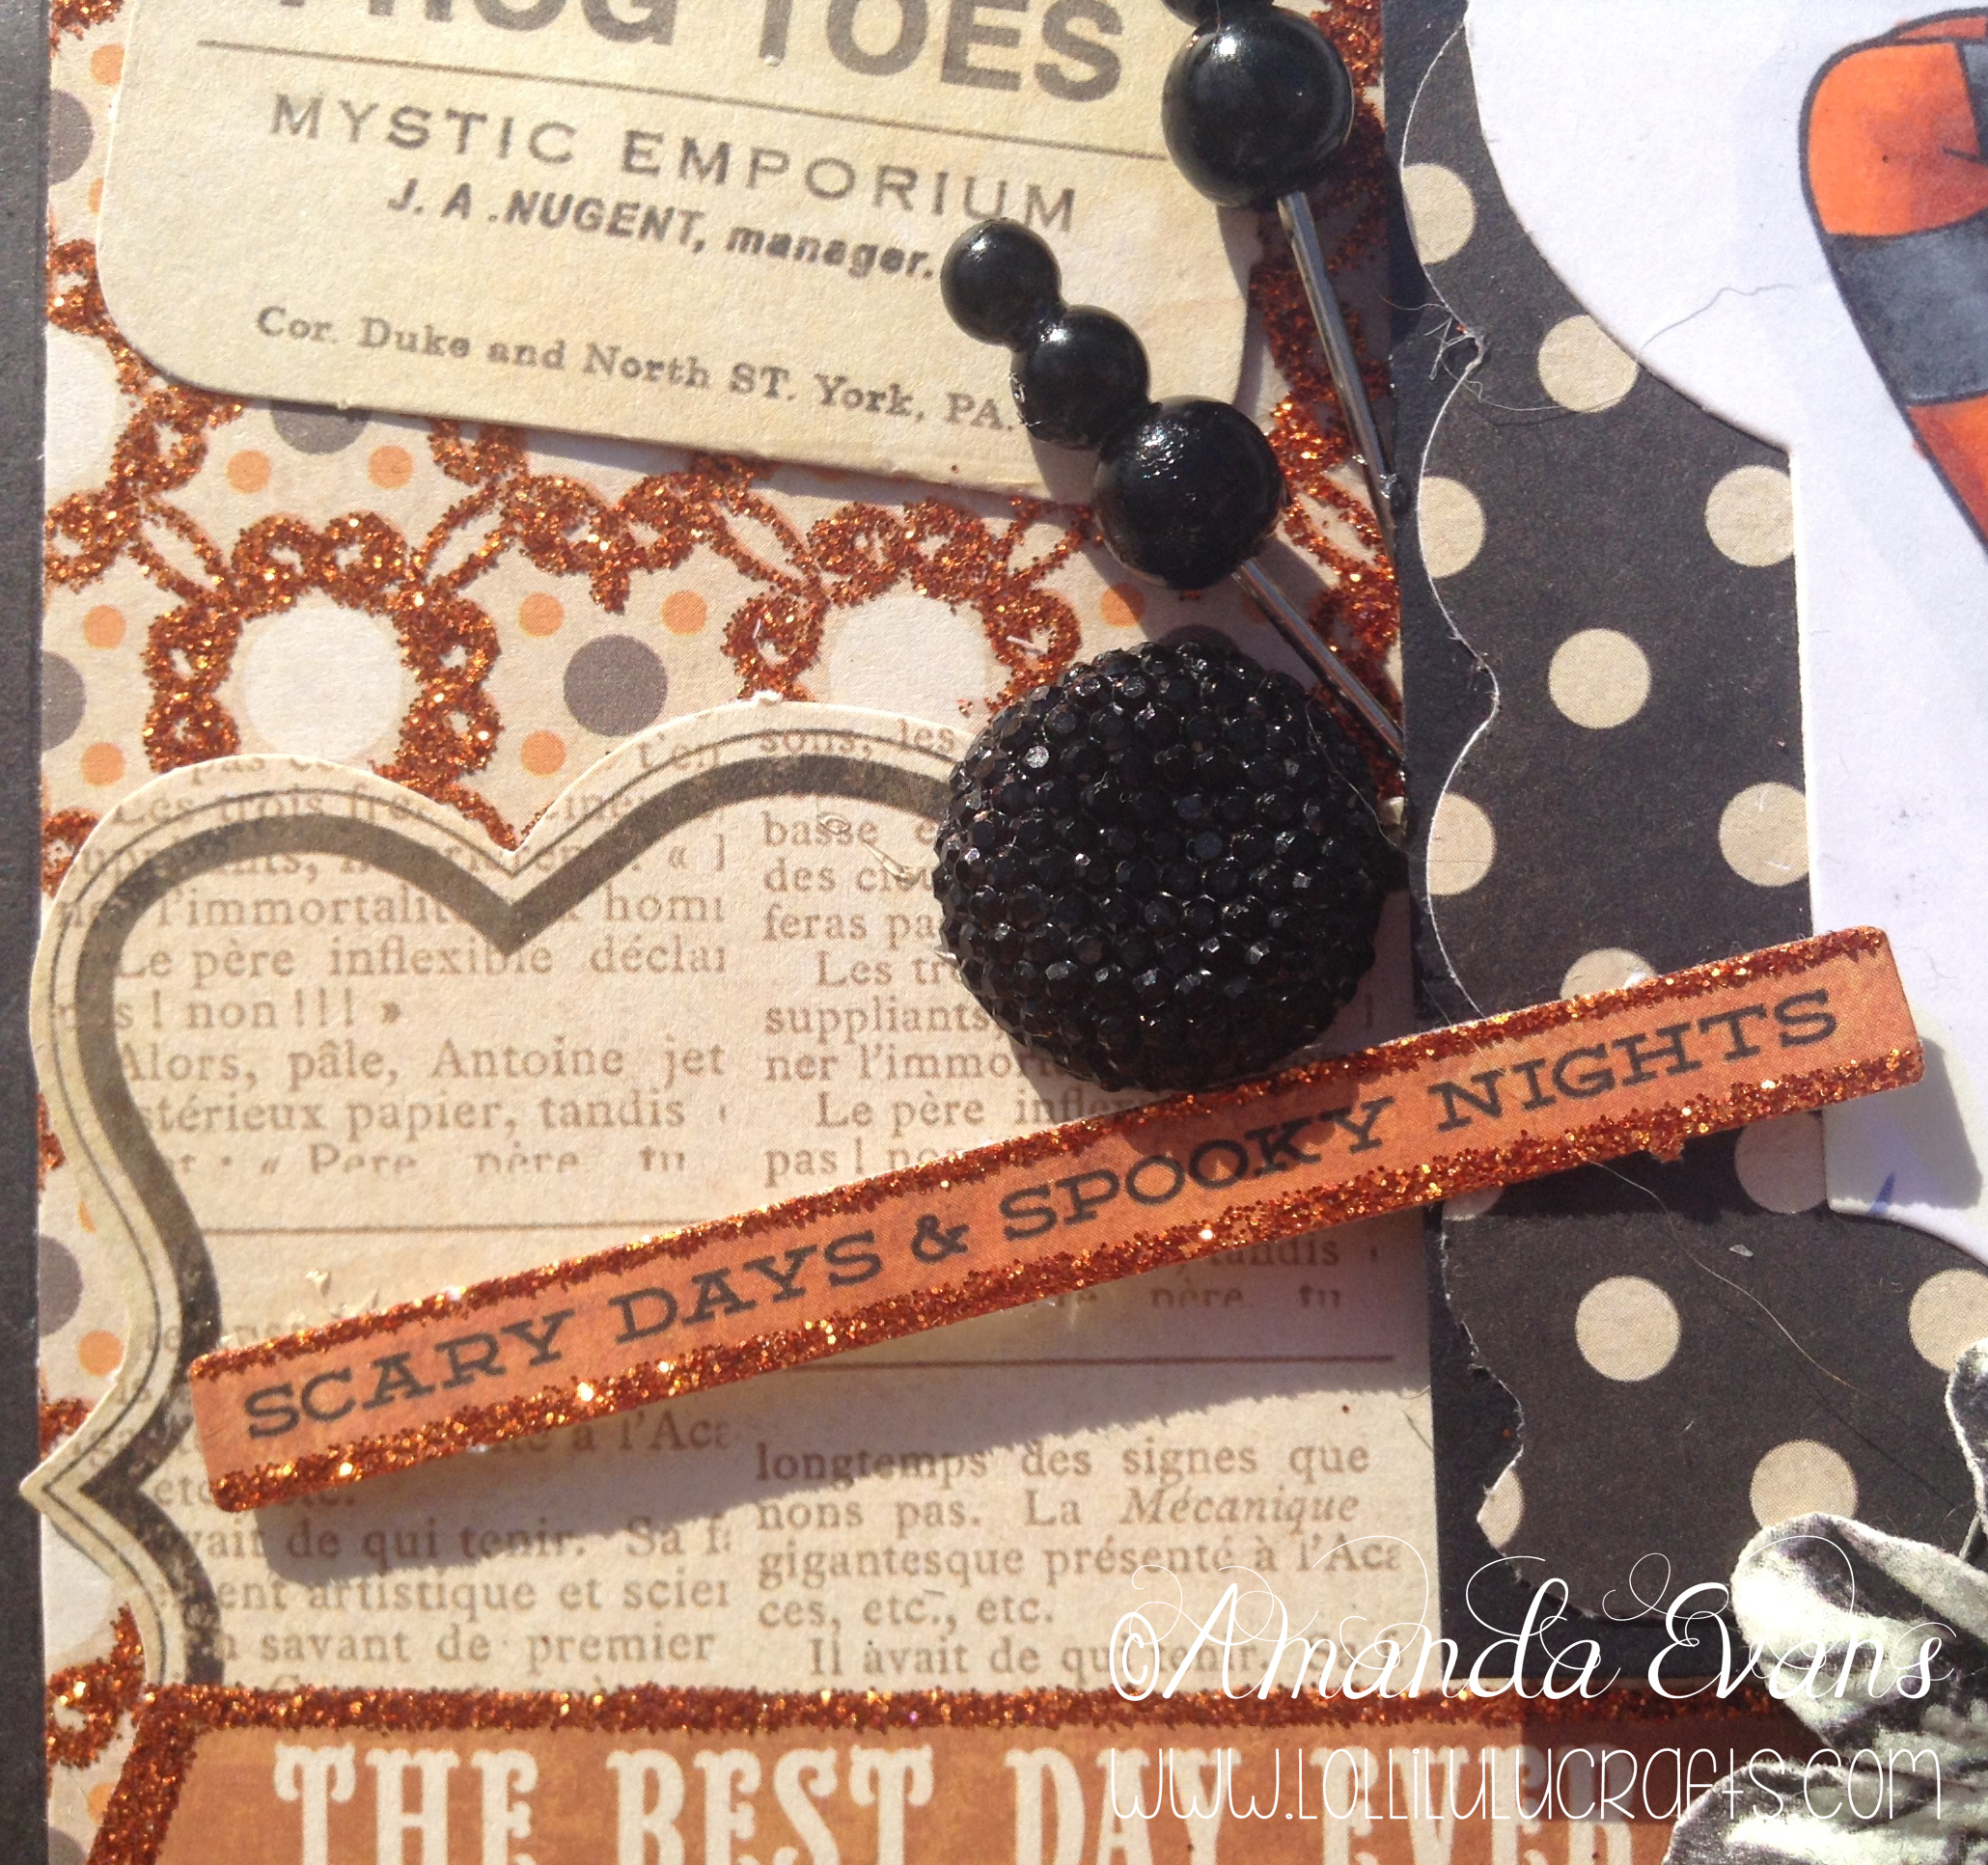
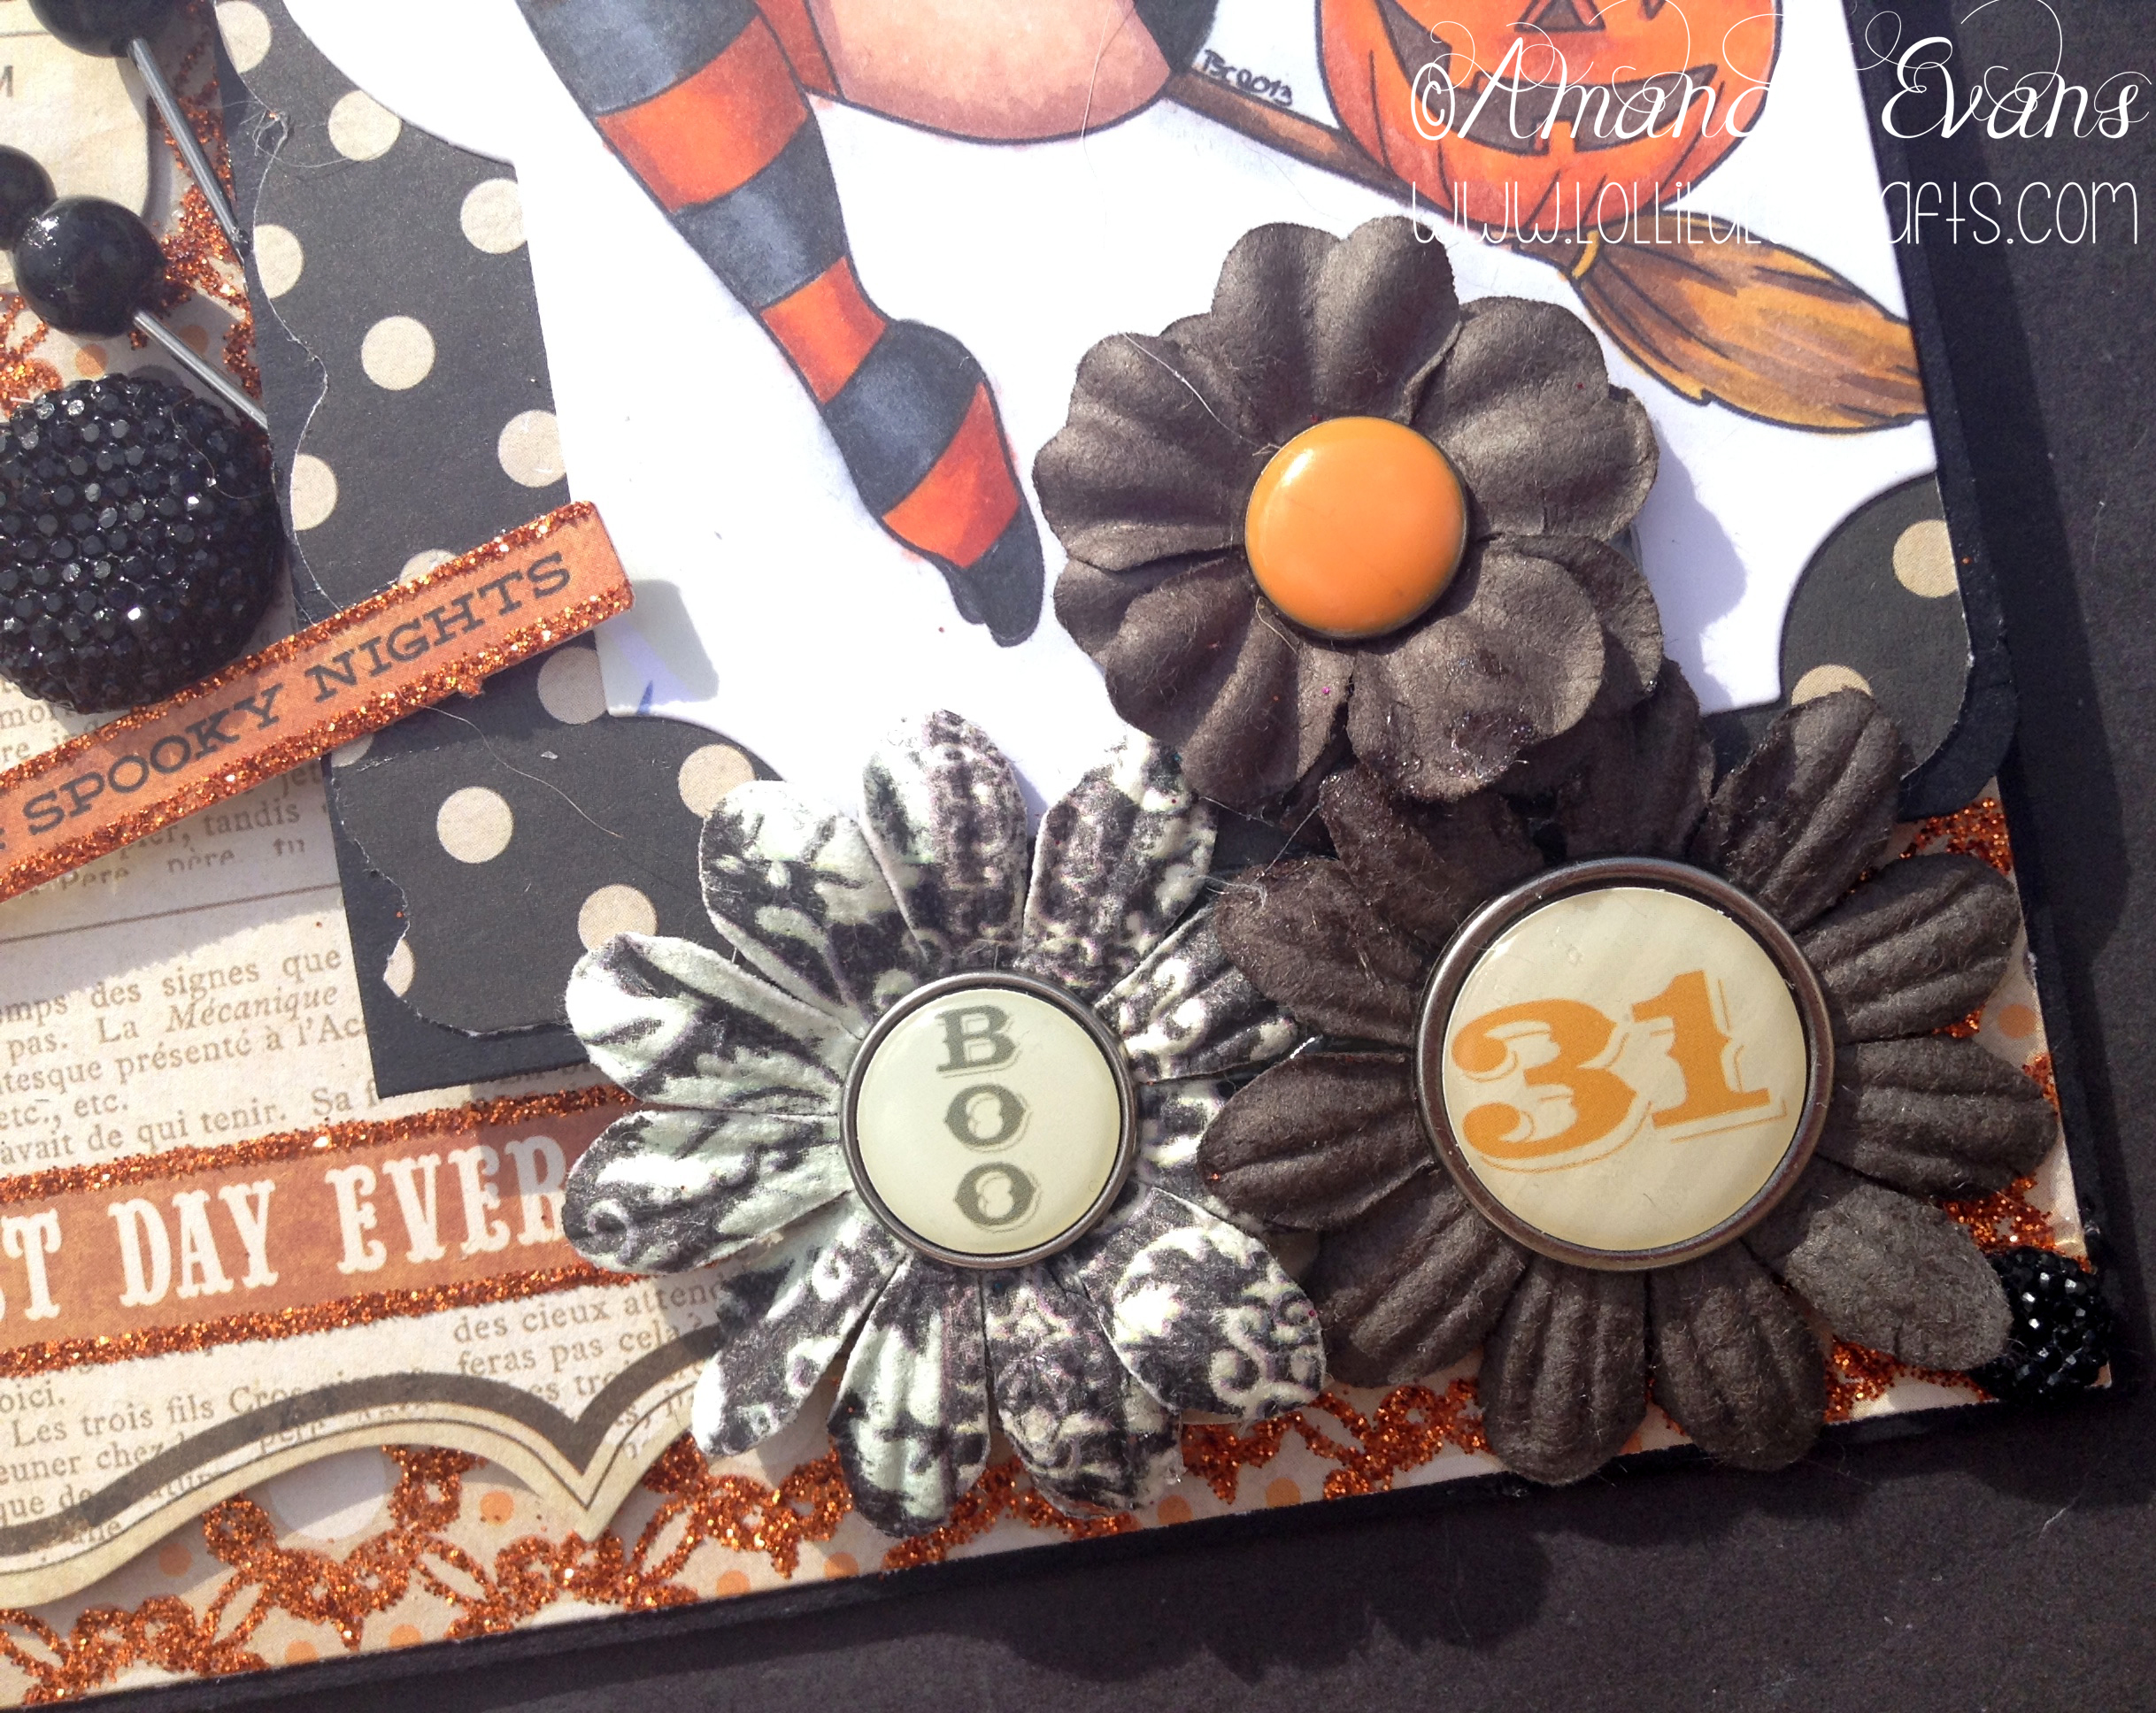
As I was fiddling around with the arrangement of my card I just could not get it how I wanted. I didn’t know what I wanted but I just knew it wasn’t right. I was happy immediately with my paper choices but it was the layout and the die cut embellishments that I was struggling with. Having played around with quite a few combinations and embellishments I popped out the three little tickets and layer them down ready to pop something else out from the sheet. But as I looked down the way that I had just put them down was perfect, exactly what I was looking for. So the next job was too make them fit on the card with the image there too. I really needed my image to the side so the tickets could be down the other side but of course if I do that then the image would hang over the right side of the card because of the shape of its die cut! I then thought what the heck and chopped that ‘bump’ of the die cut shape off my image, It then ended up with just the ‘bump’ on the left but it was straight on the other side which meant it would sit right up against the side of the card. So from then on it was just a case of slotting all the elements together and adding finishing touches such as brads in the flowers – the same collection as the paper I believe, and Dazzler Gems also on the card. So I hope you like this Stamping Chef Broomstick Bella Witch Card and here is a few more shots of it for you, to show you some of the detail, but don’t forget that you can click the images to get the large, super sized and even a slideshow :-
So I hope you have liked this card, I really enjoyed making it and I loved colouring it in the end! So hugs for now and have a great craft day,

ps I would like to enter this card into the following challenges:-


Wow, stunning project, love all elements of your card.
Thanks for joining us at Sisters of Craft and good luck.
Hugs,
Merlina
Great coloring Amanda…you really created a fantastic card and brought the little pretty witch to life.
pat
thank you, It was fun to make and colour and glad you liked her 🙂