


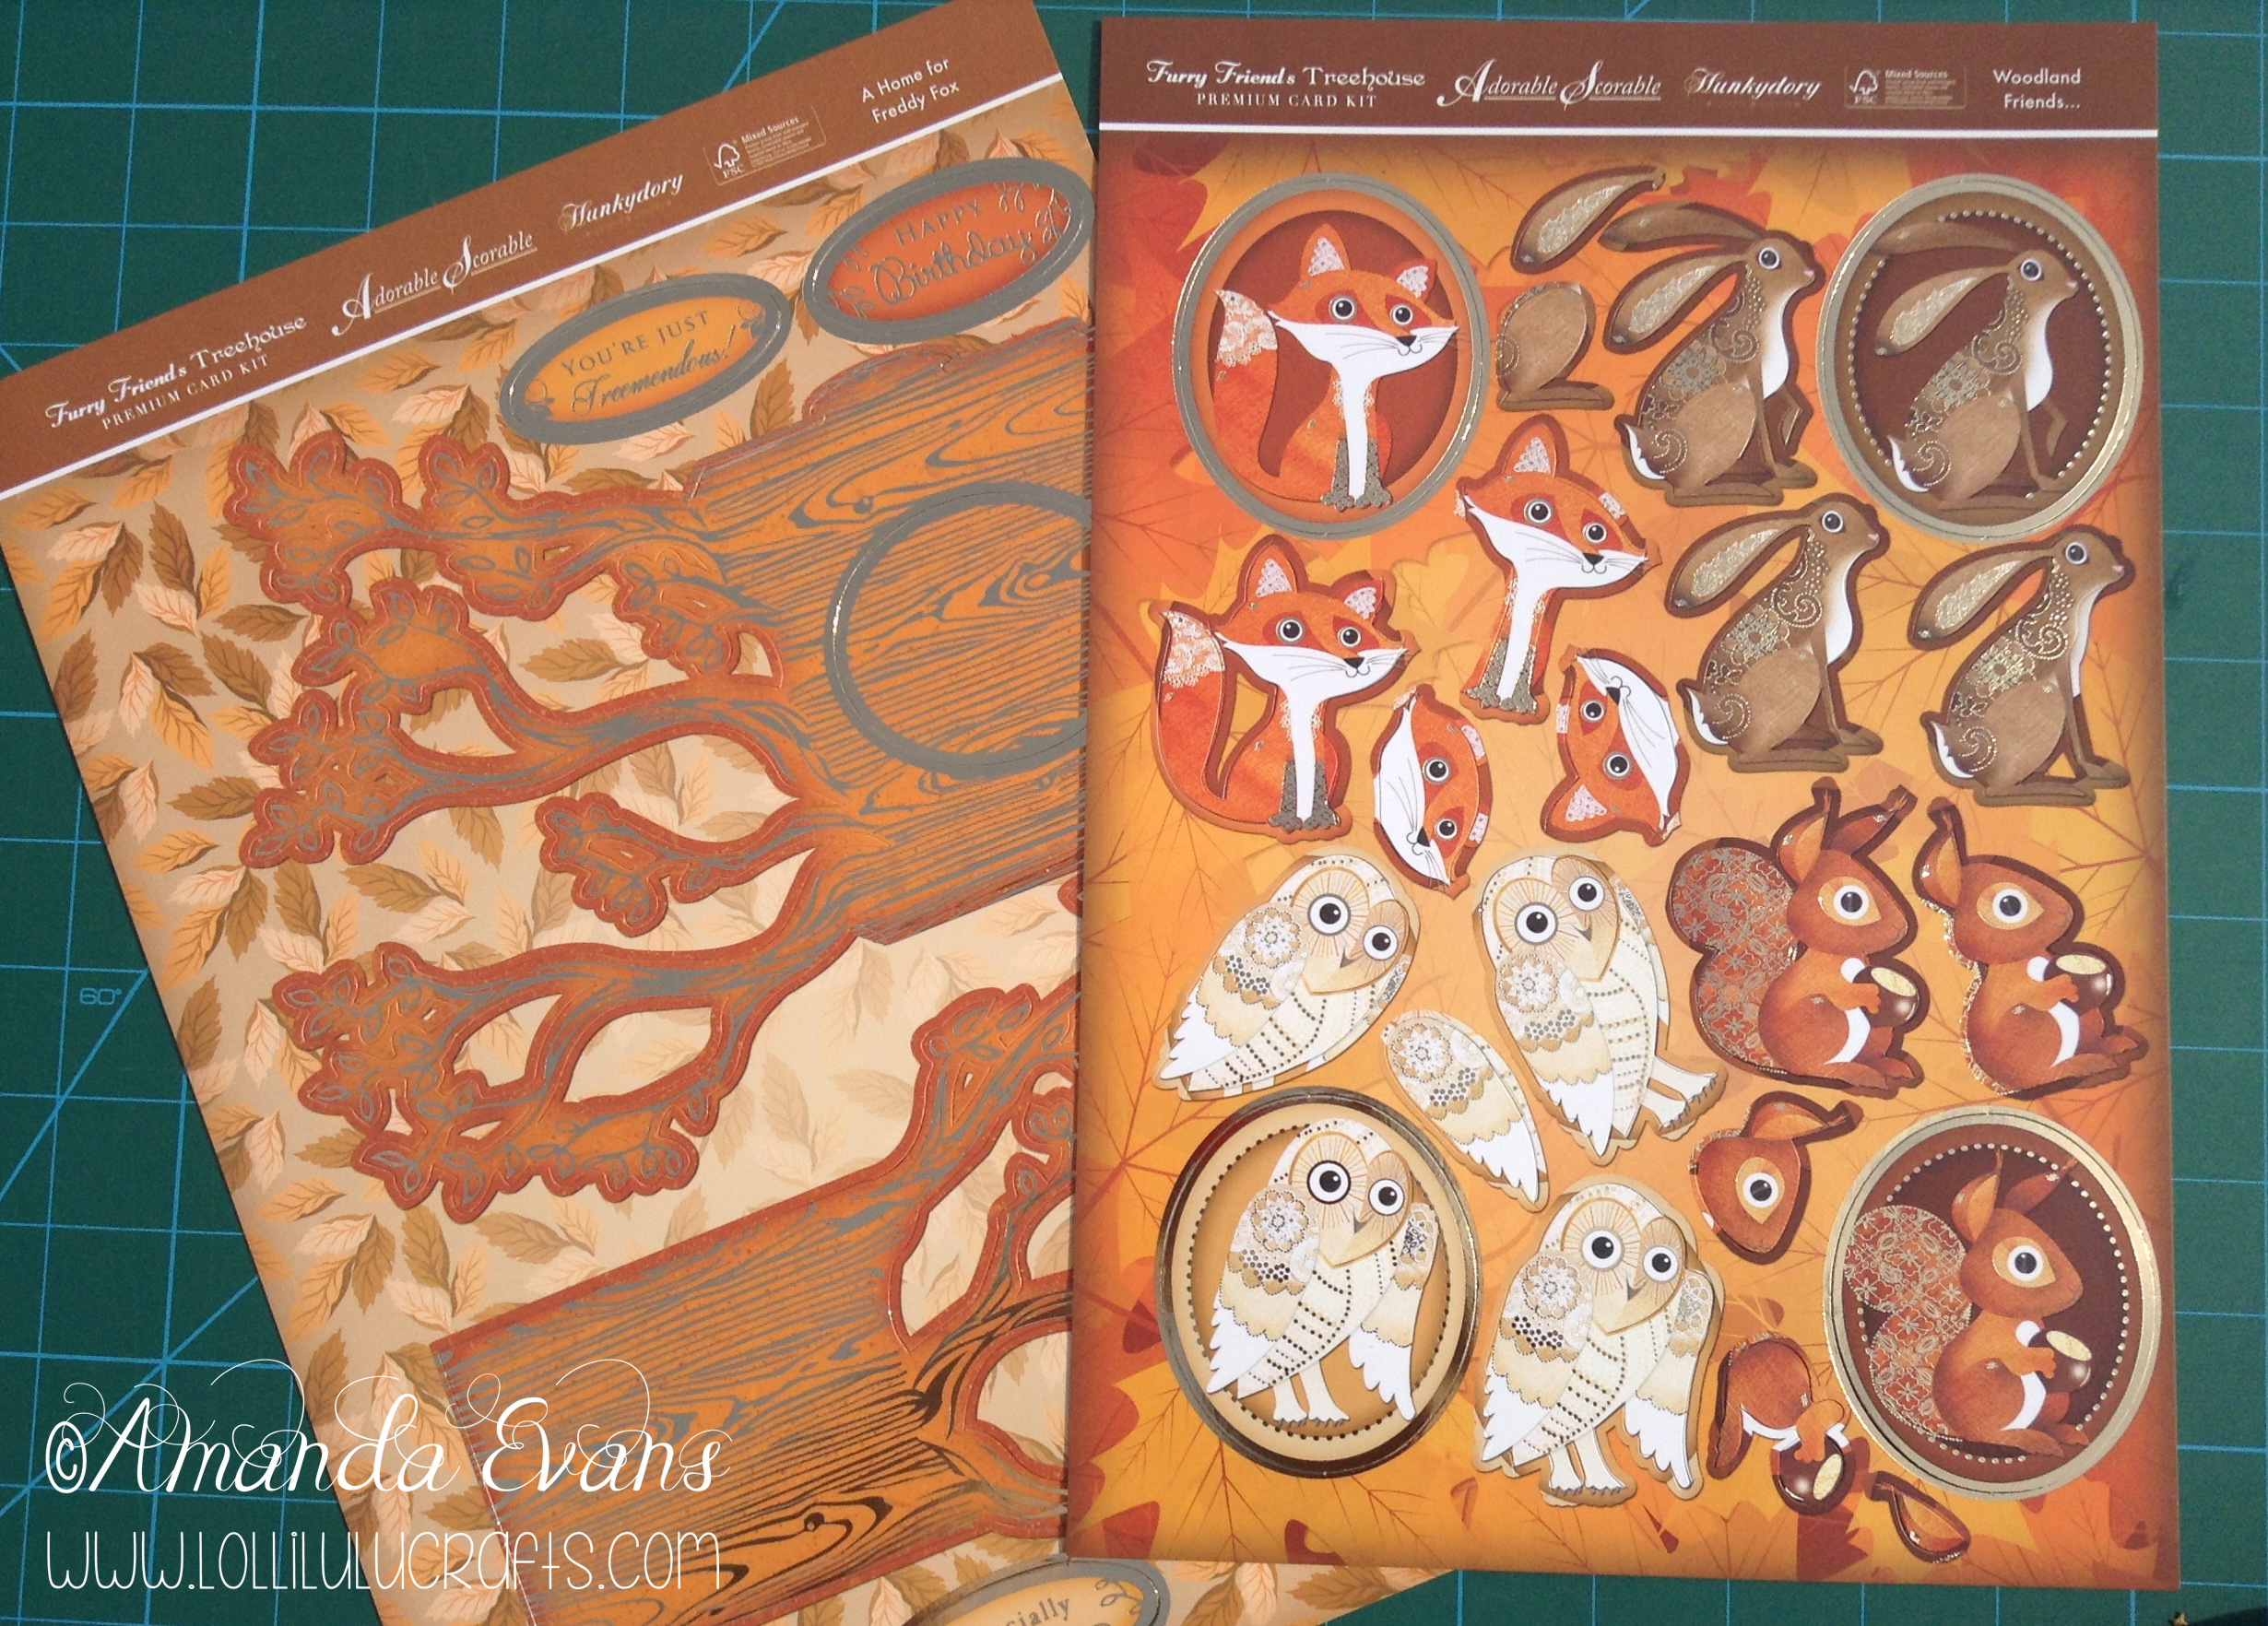
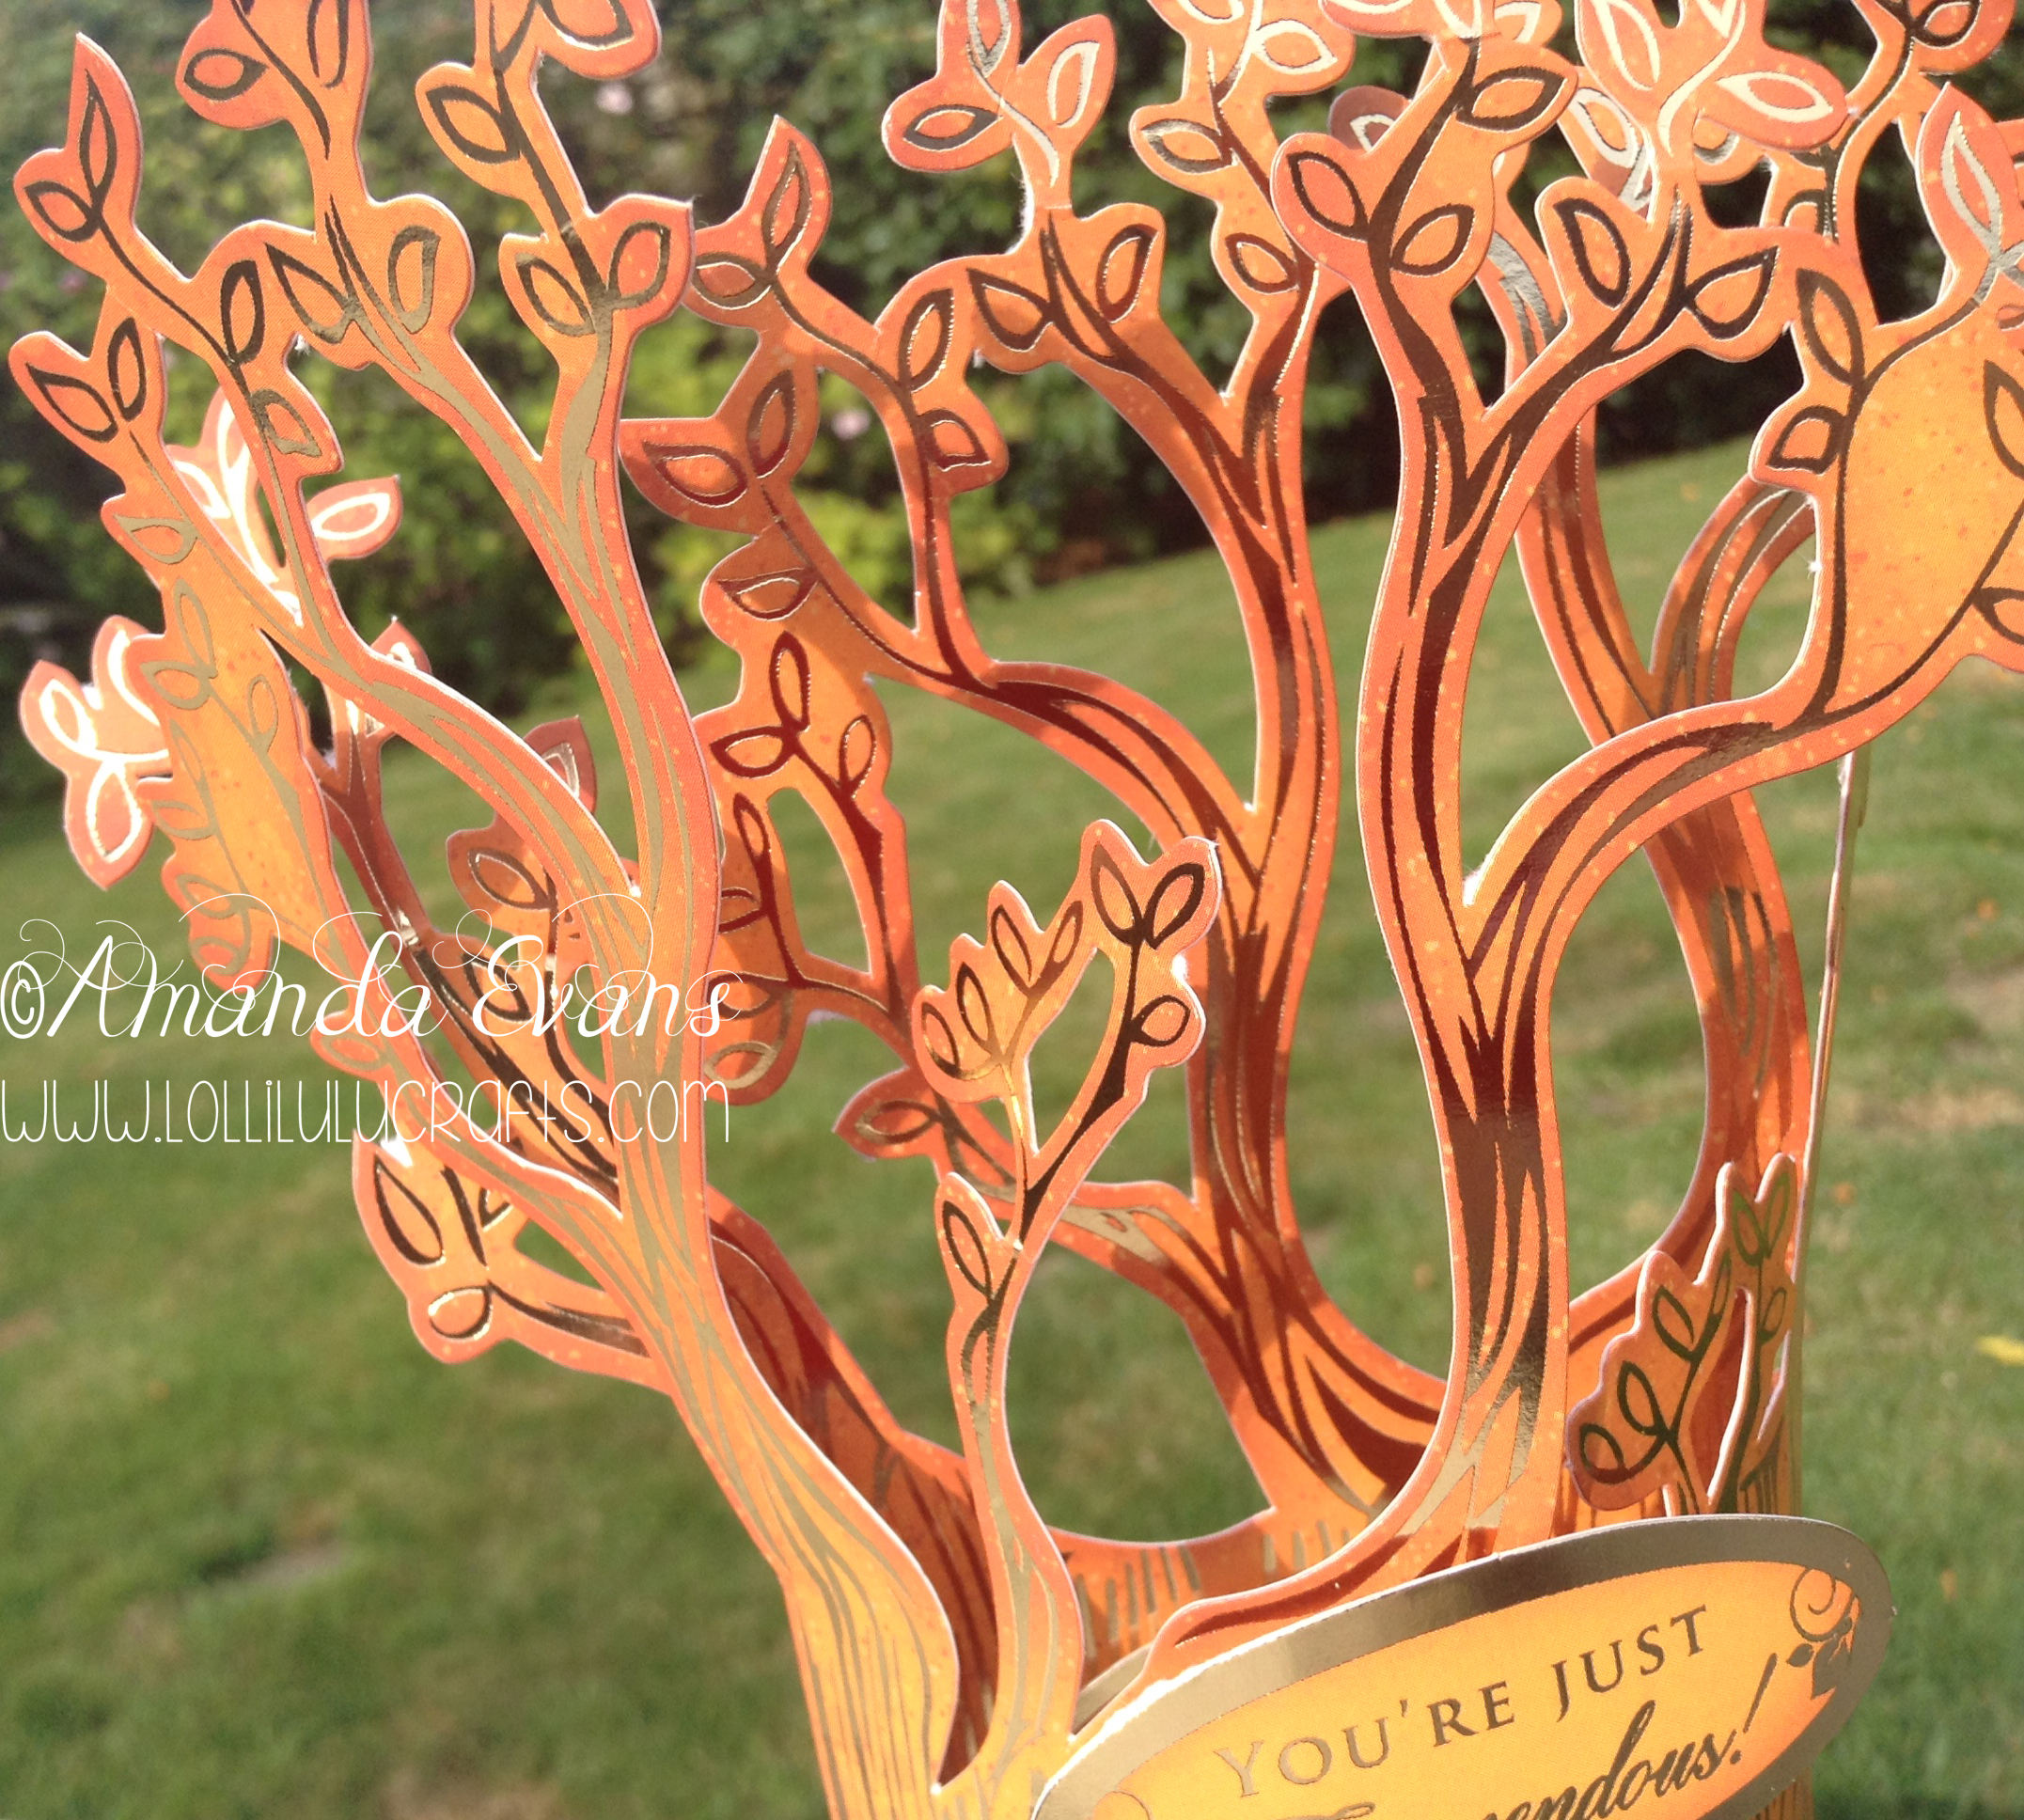
Hiya, so as promised I have made some cards with the wonderful Hunkydory Autumn Collection that I showed you last week. So today is the first in a couple of cards I have to show you and this one is the Hunkydory Autumn Tree-mendous Shaped Card that is a pre-designed cards that comes in the kit. It is a really fun card and there are 4 in the kit to be made up. Each one is slightly different as you can see below in the animal that is snuggled in the tree trunk.
1. So the first thing you decide is what little critter you want in the tree and then find the matching tree sheet. They are all labelled so it is pretty obvious which goes with what animal:-
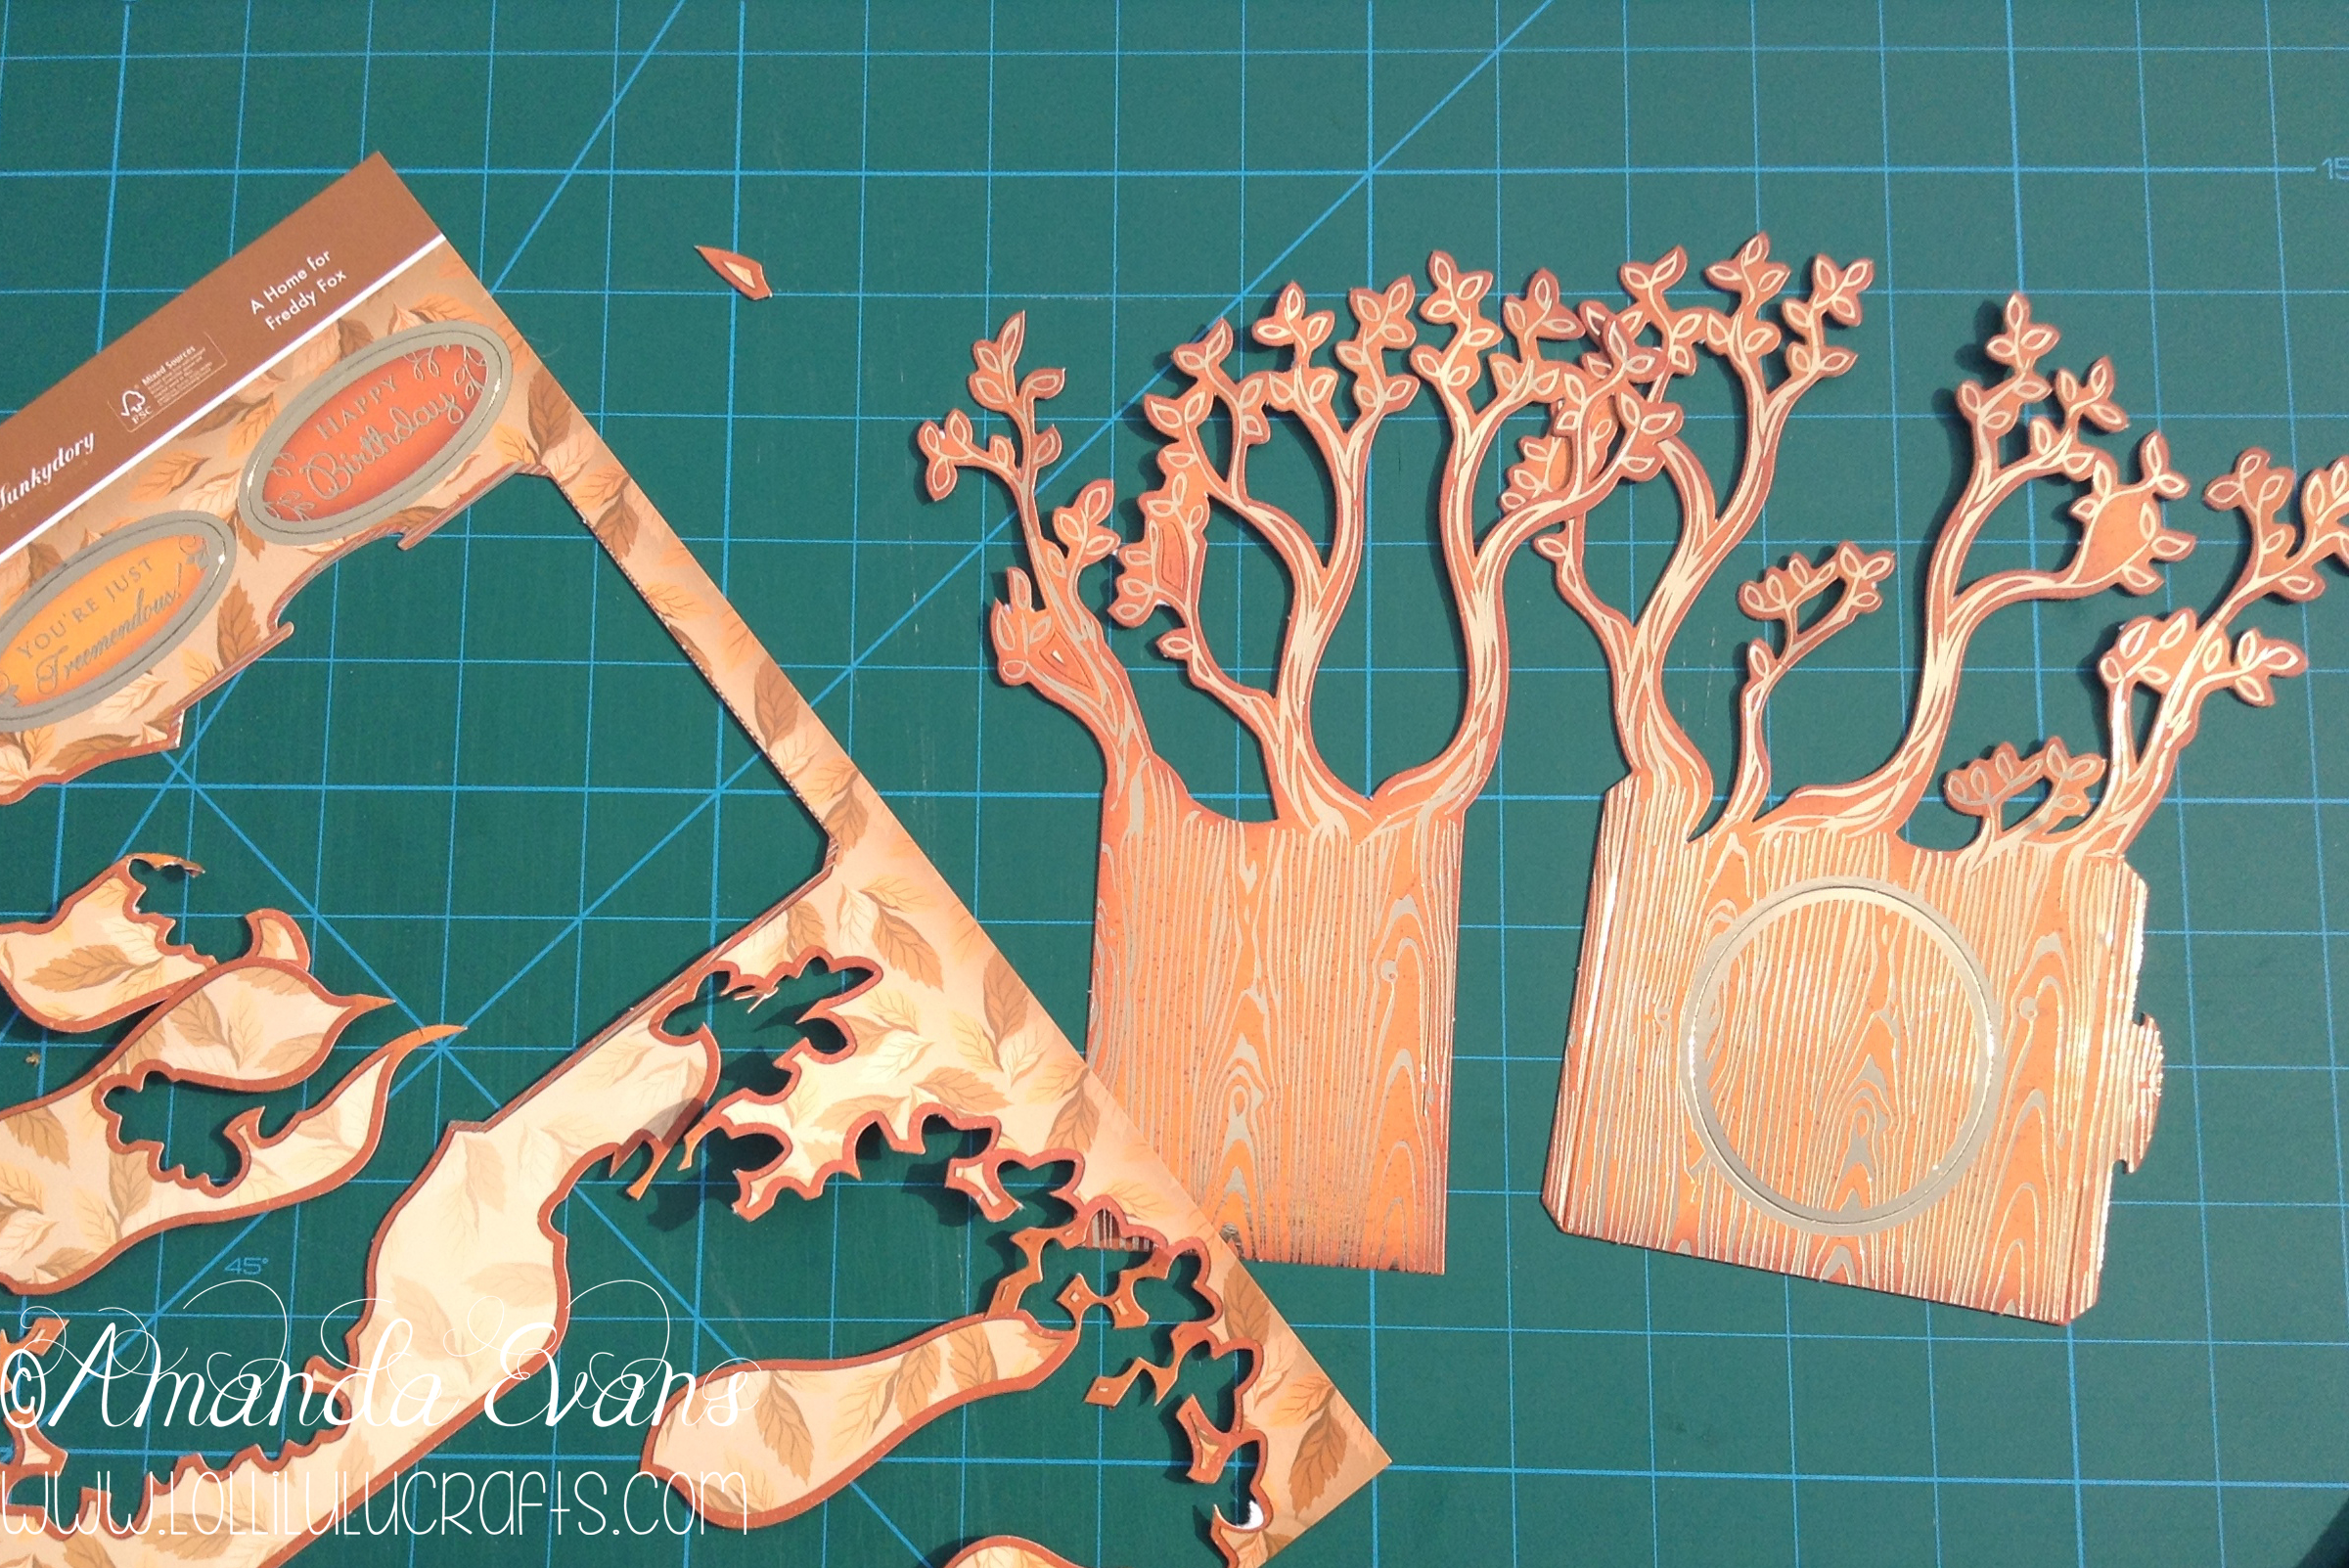
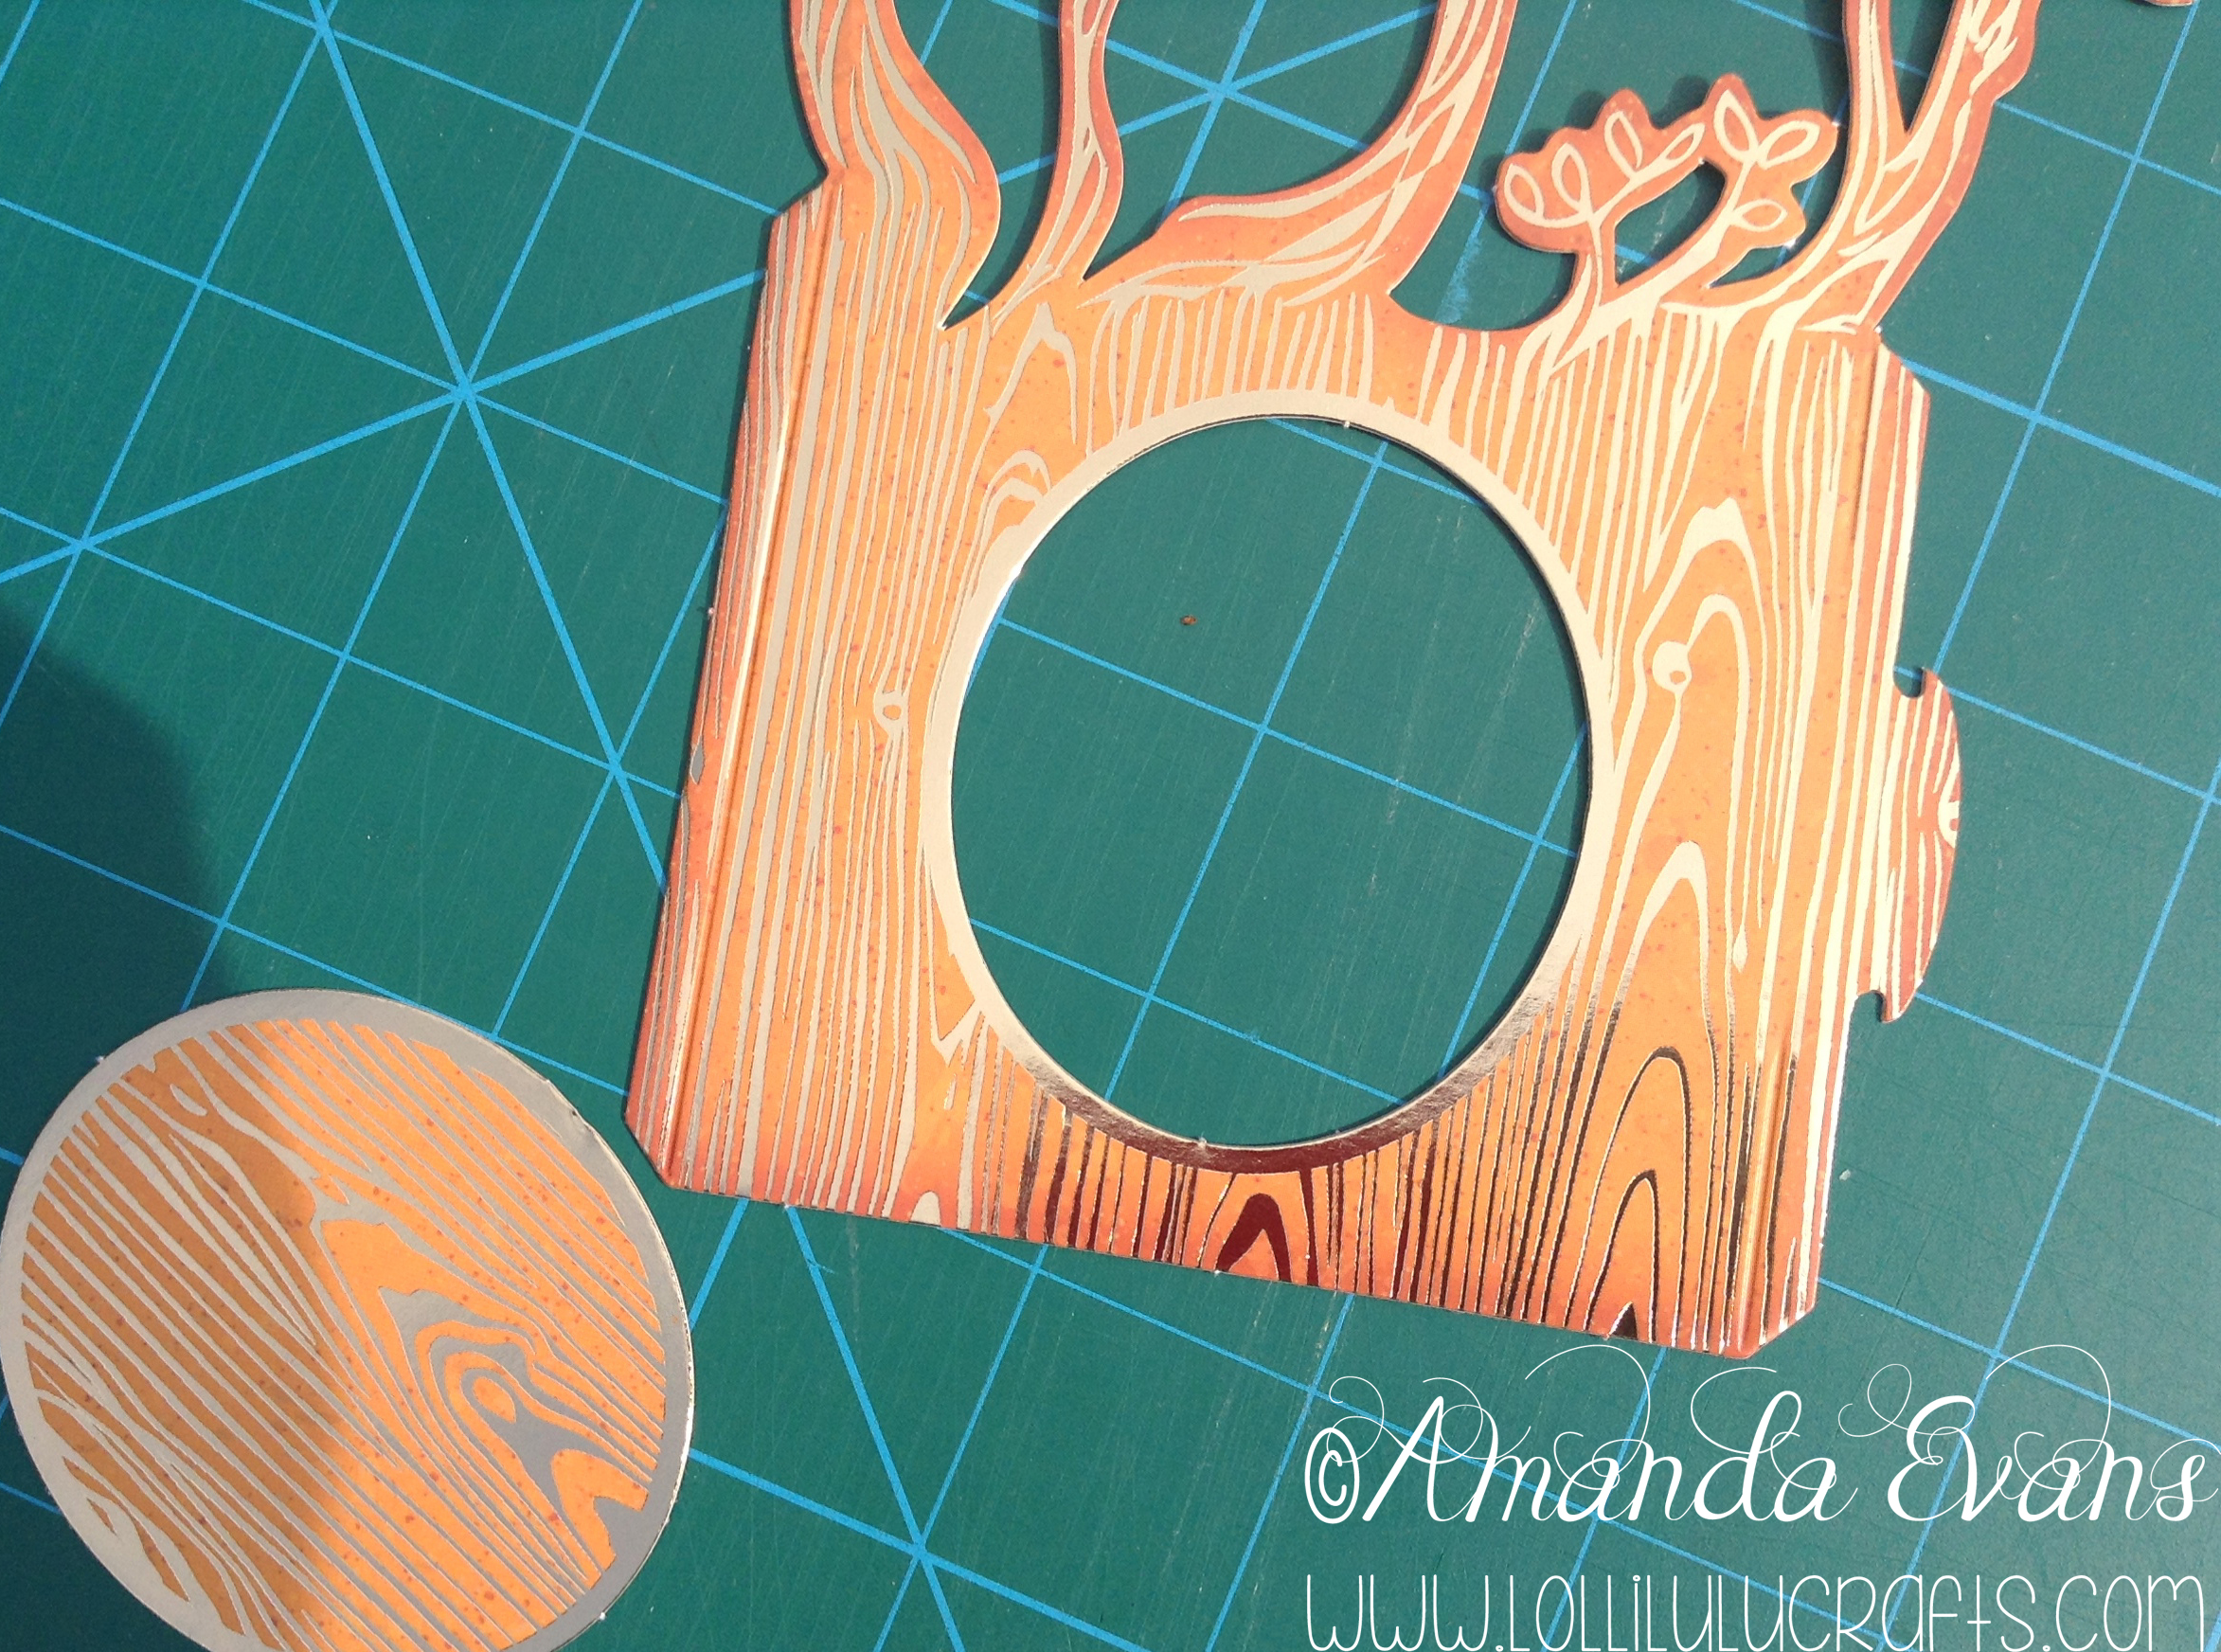
2. Pop out the tree carefully from the sheet, paying particular care around the branches. Then pop the centre out of the aperture in the tree trunk:
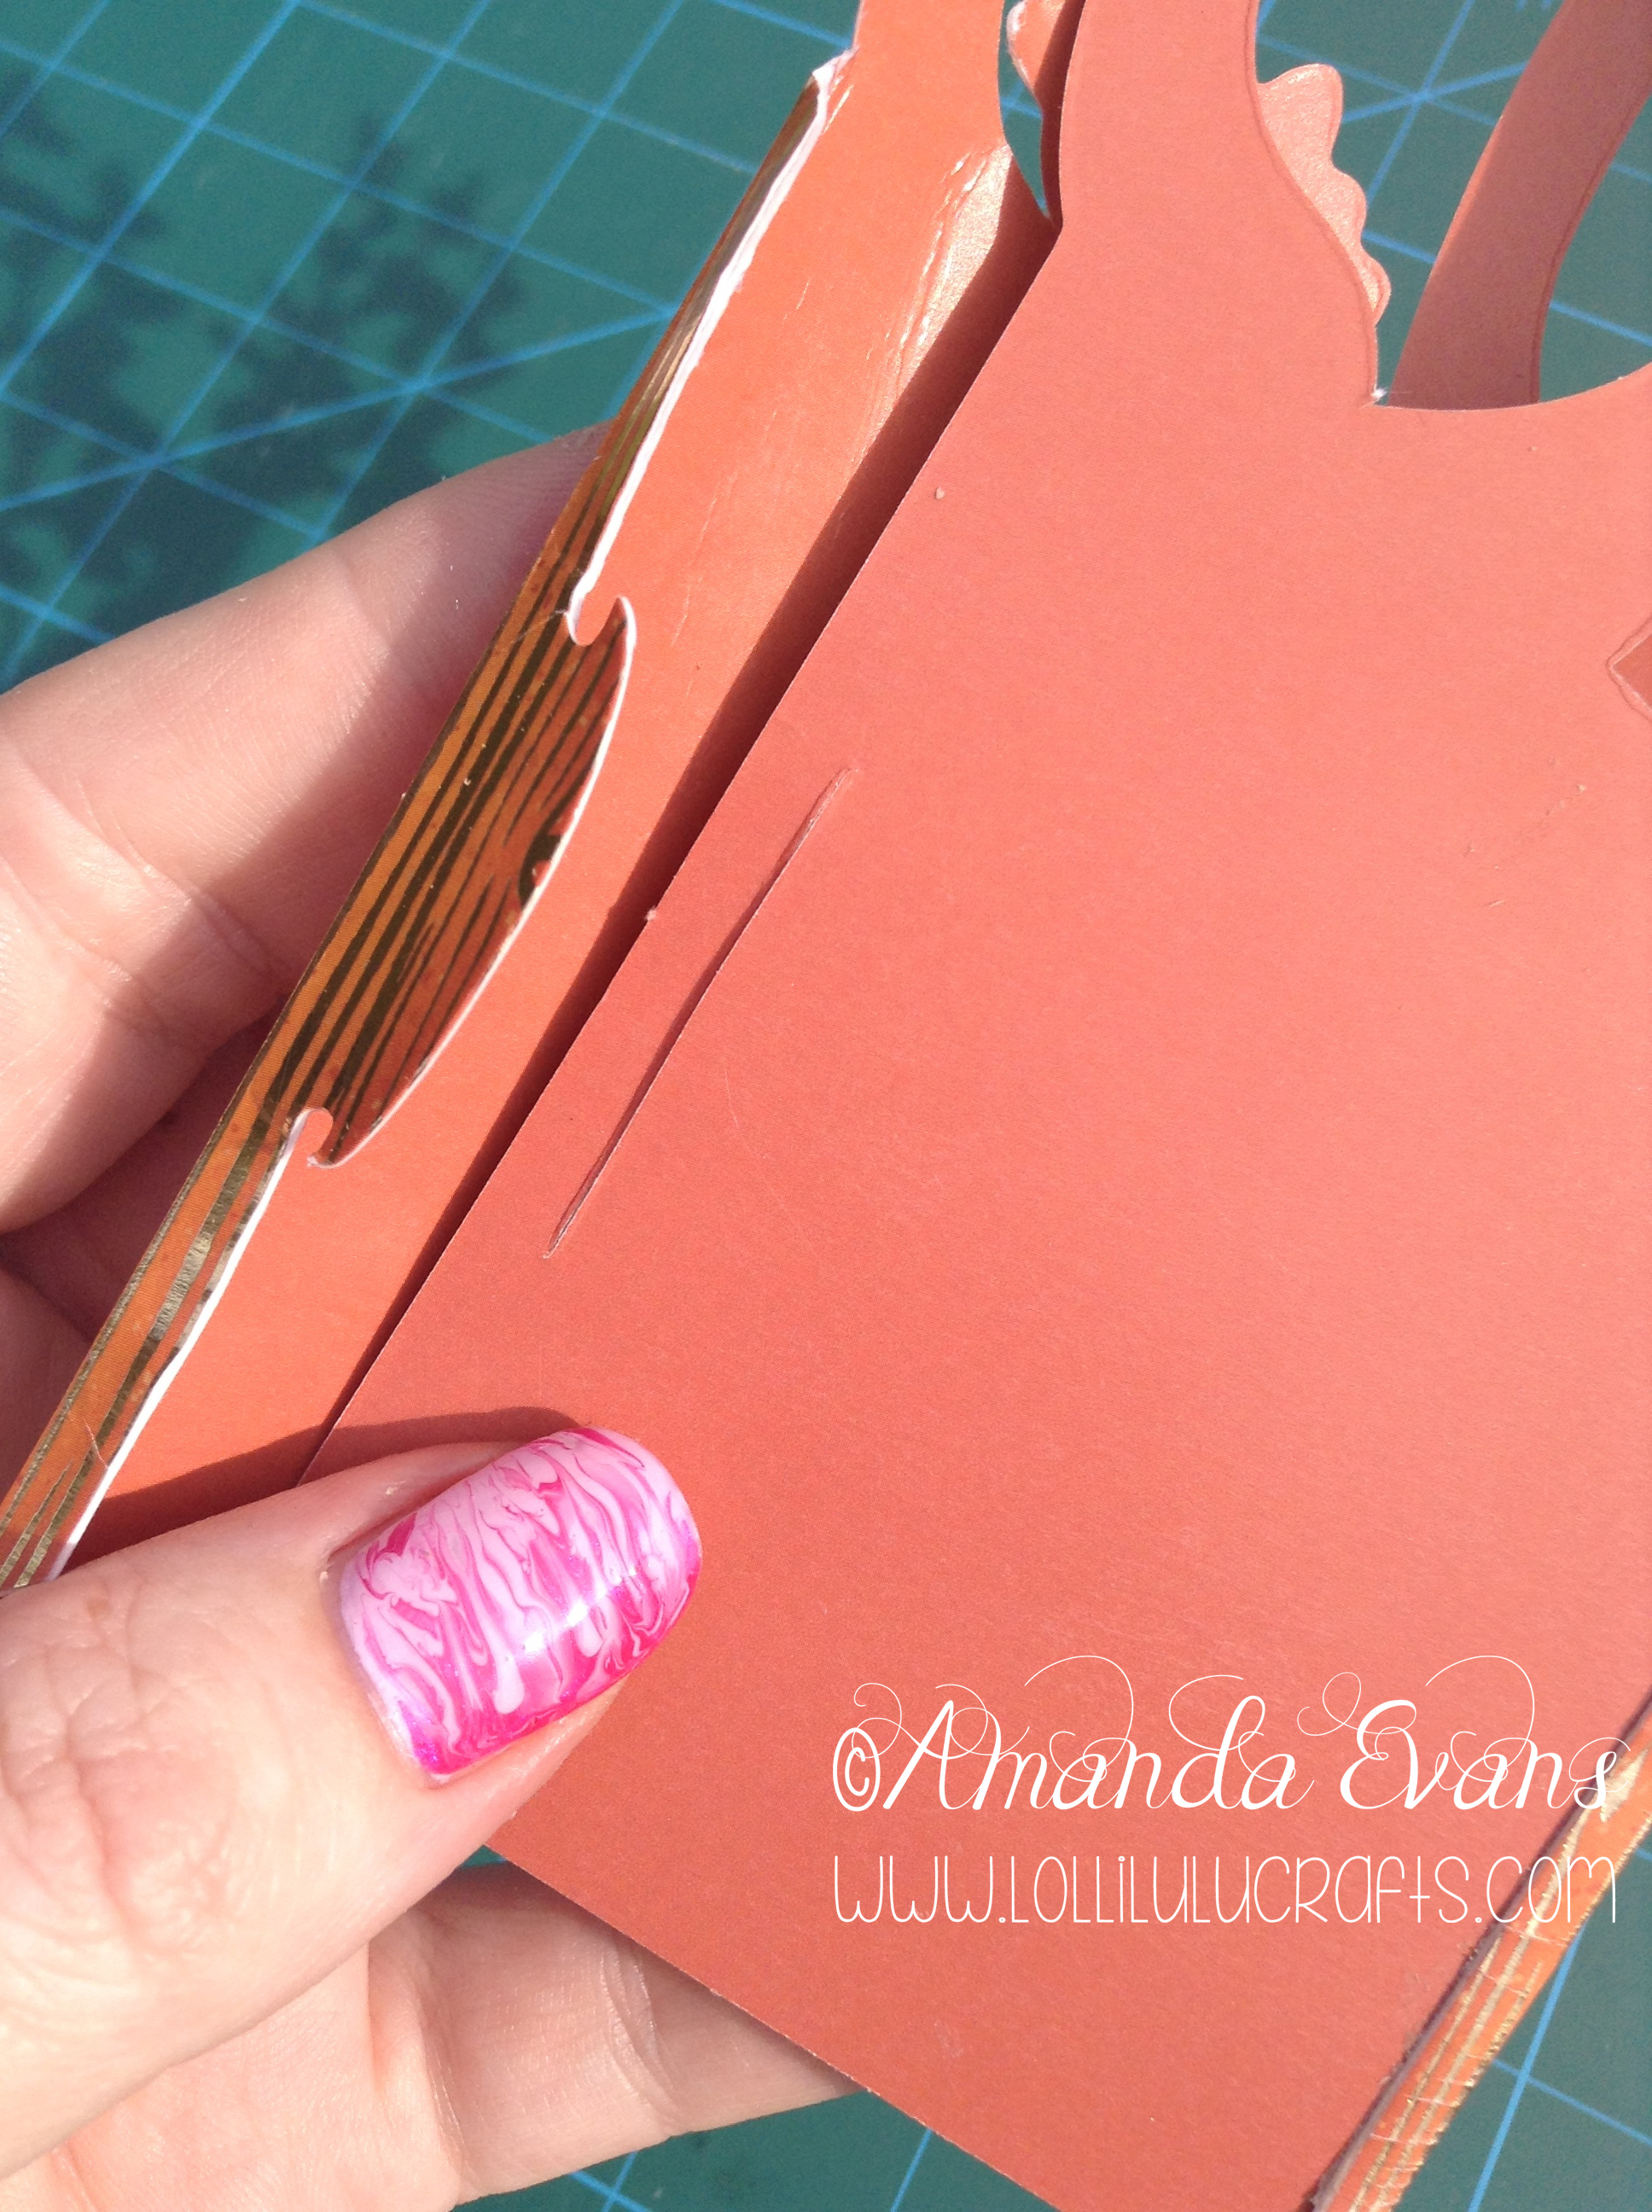
3. Next you need to score the two sides on the tree that has the aperture in. There are score lines already there but I found it better to score again and then fold. Then make sure the split on the other pier of tree is open so it is obvious to the recipient when the receive the card, as it will arrive to them flat packed and they then put the tab in the slot to make the 3d card:-
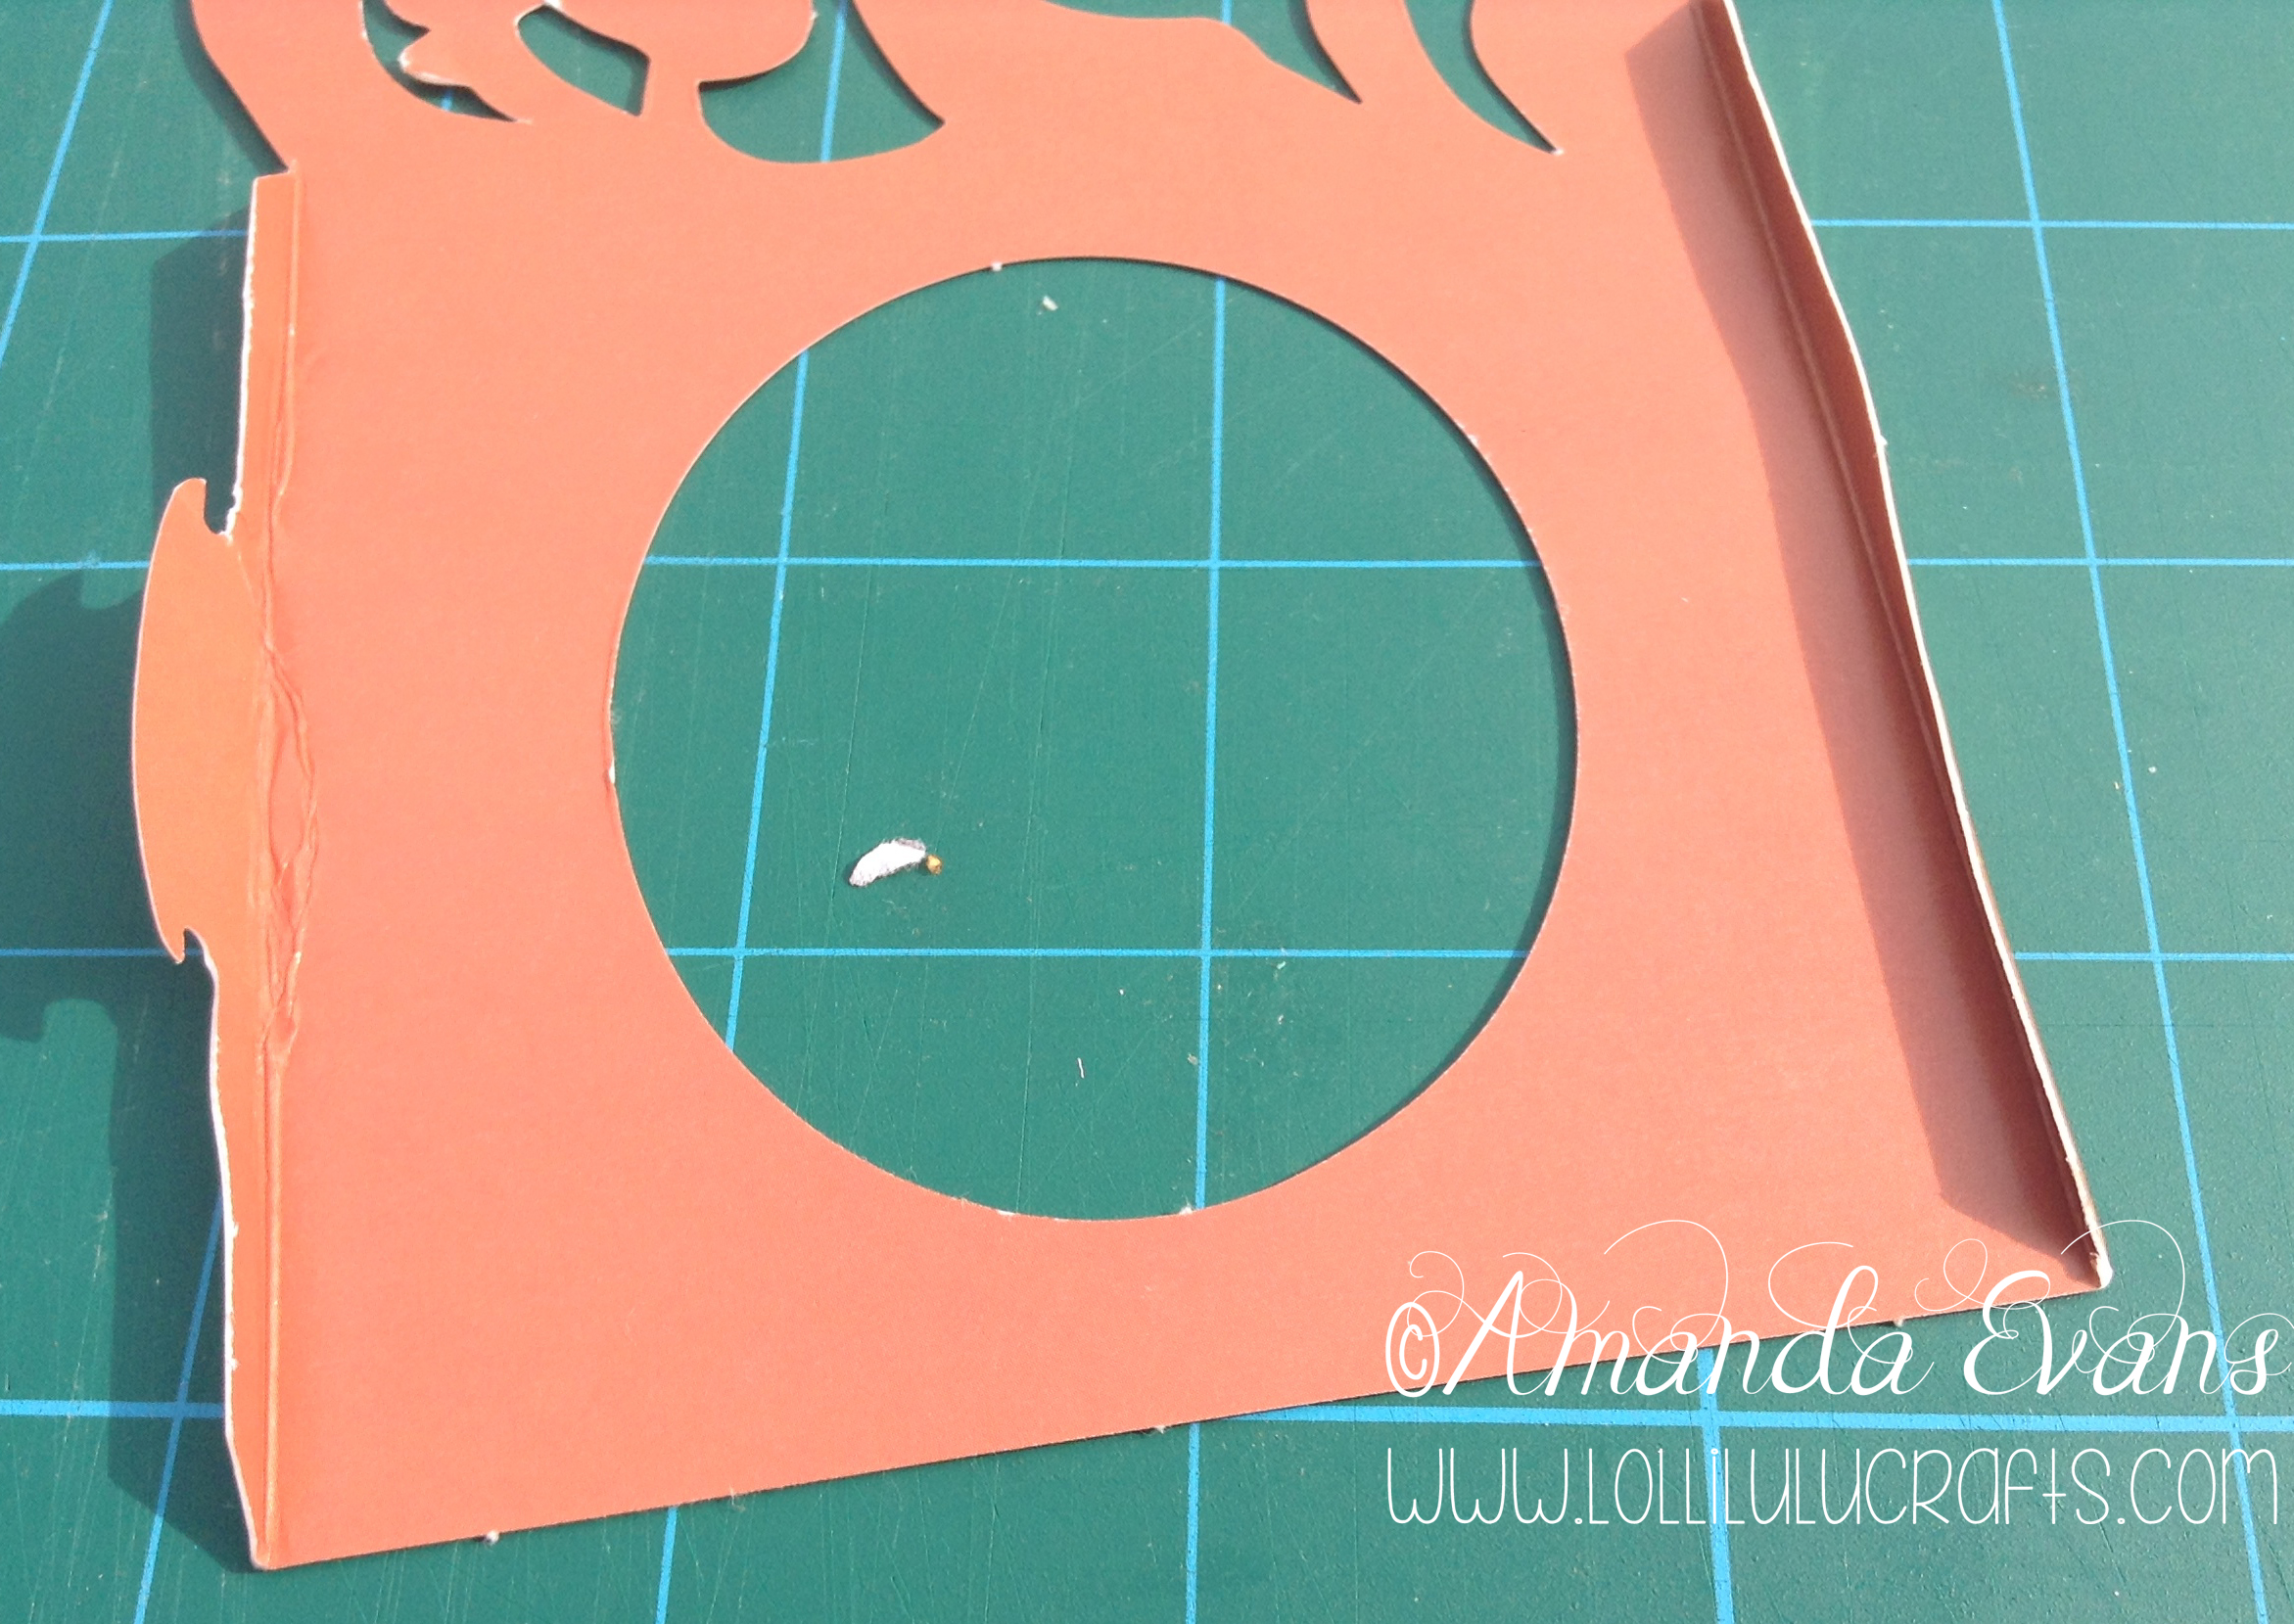
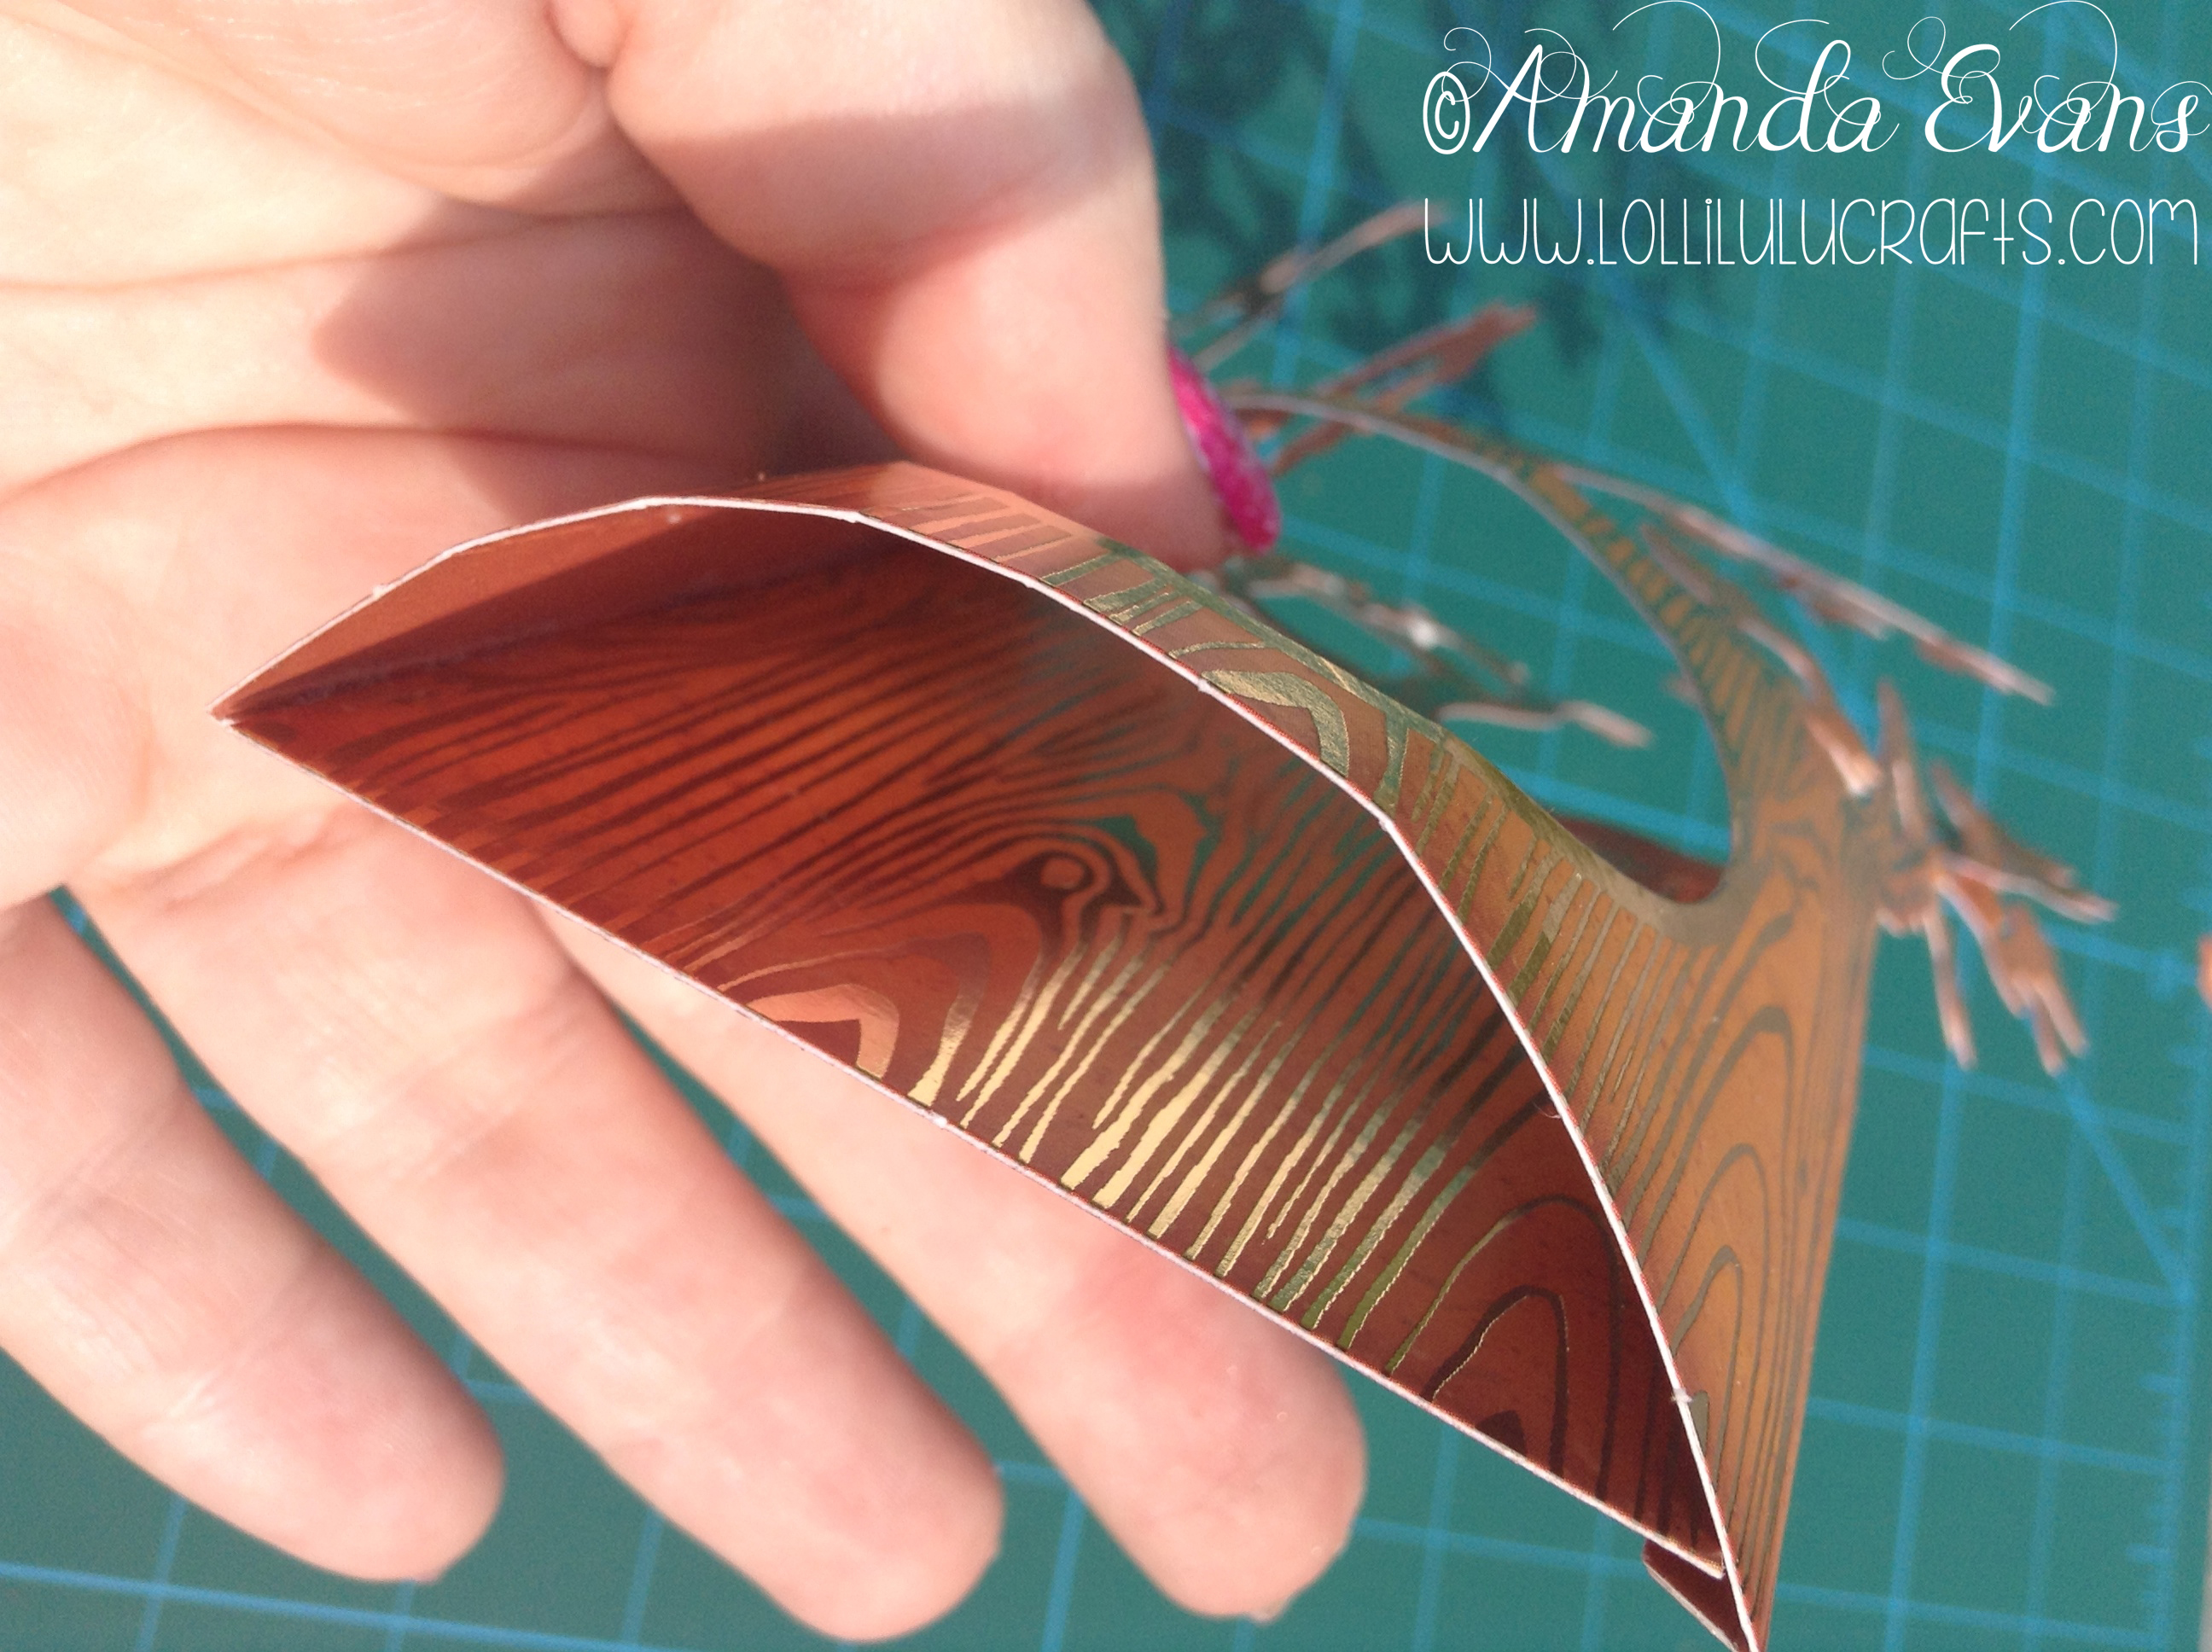
4. Then gently curve the aperture part of the tree, Use your score tool, with the tree cupped in your hand and gently rub over the card side to side, be careful of the aperture.
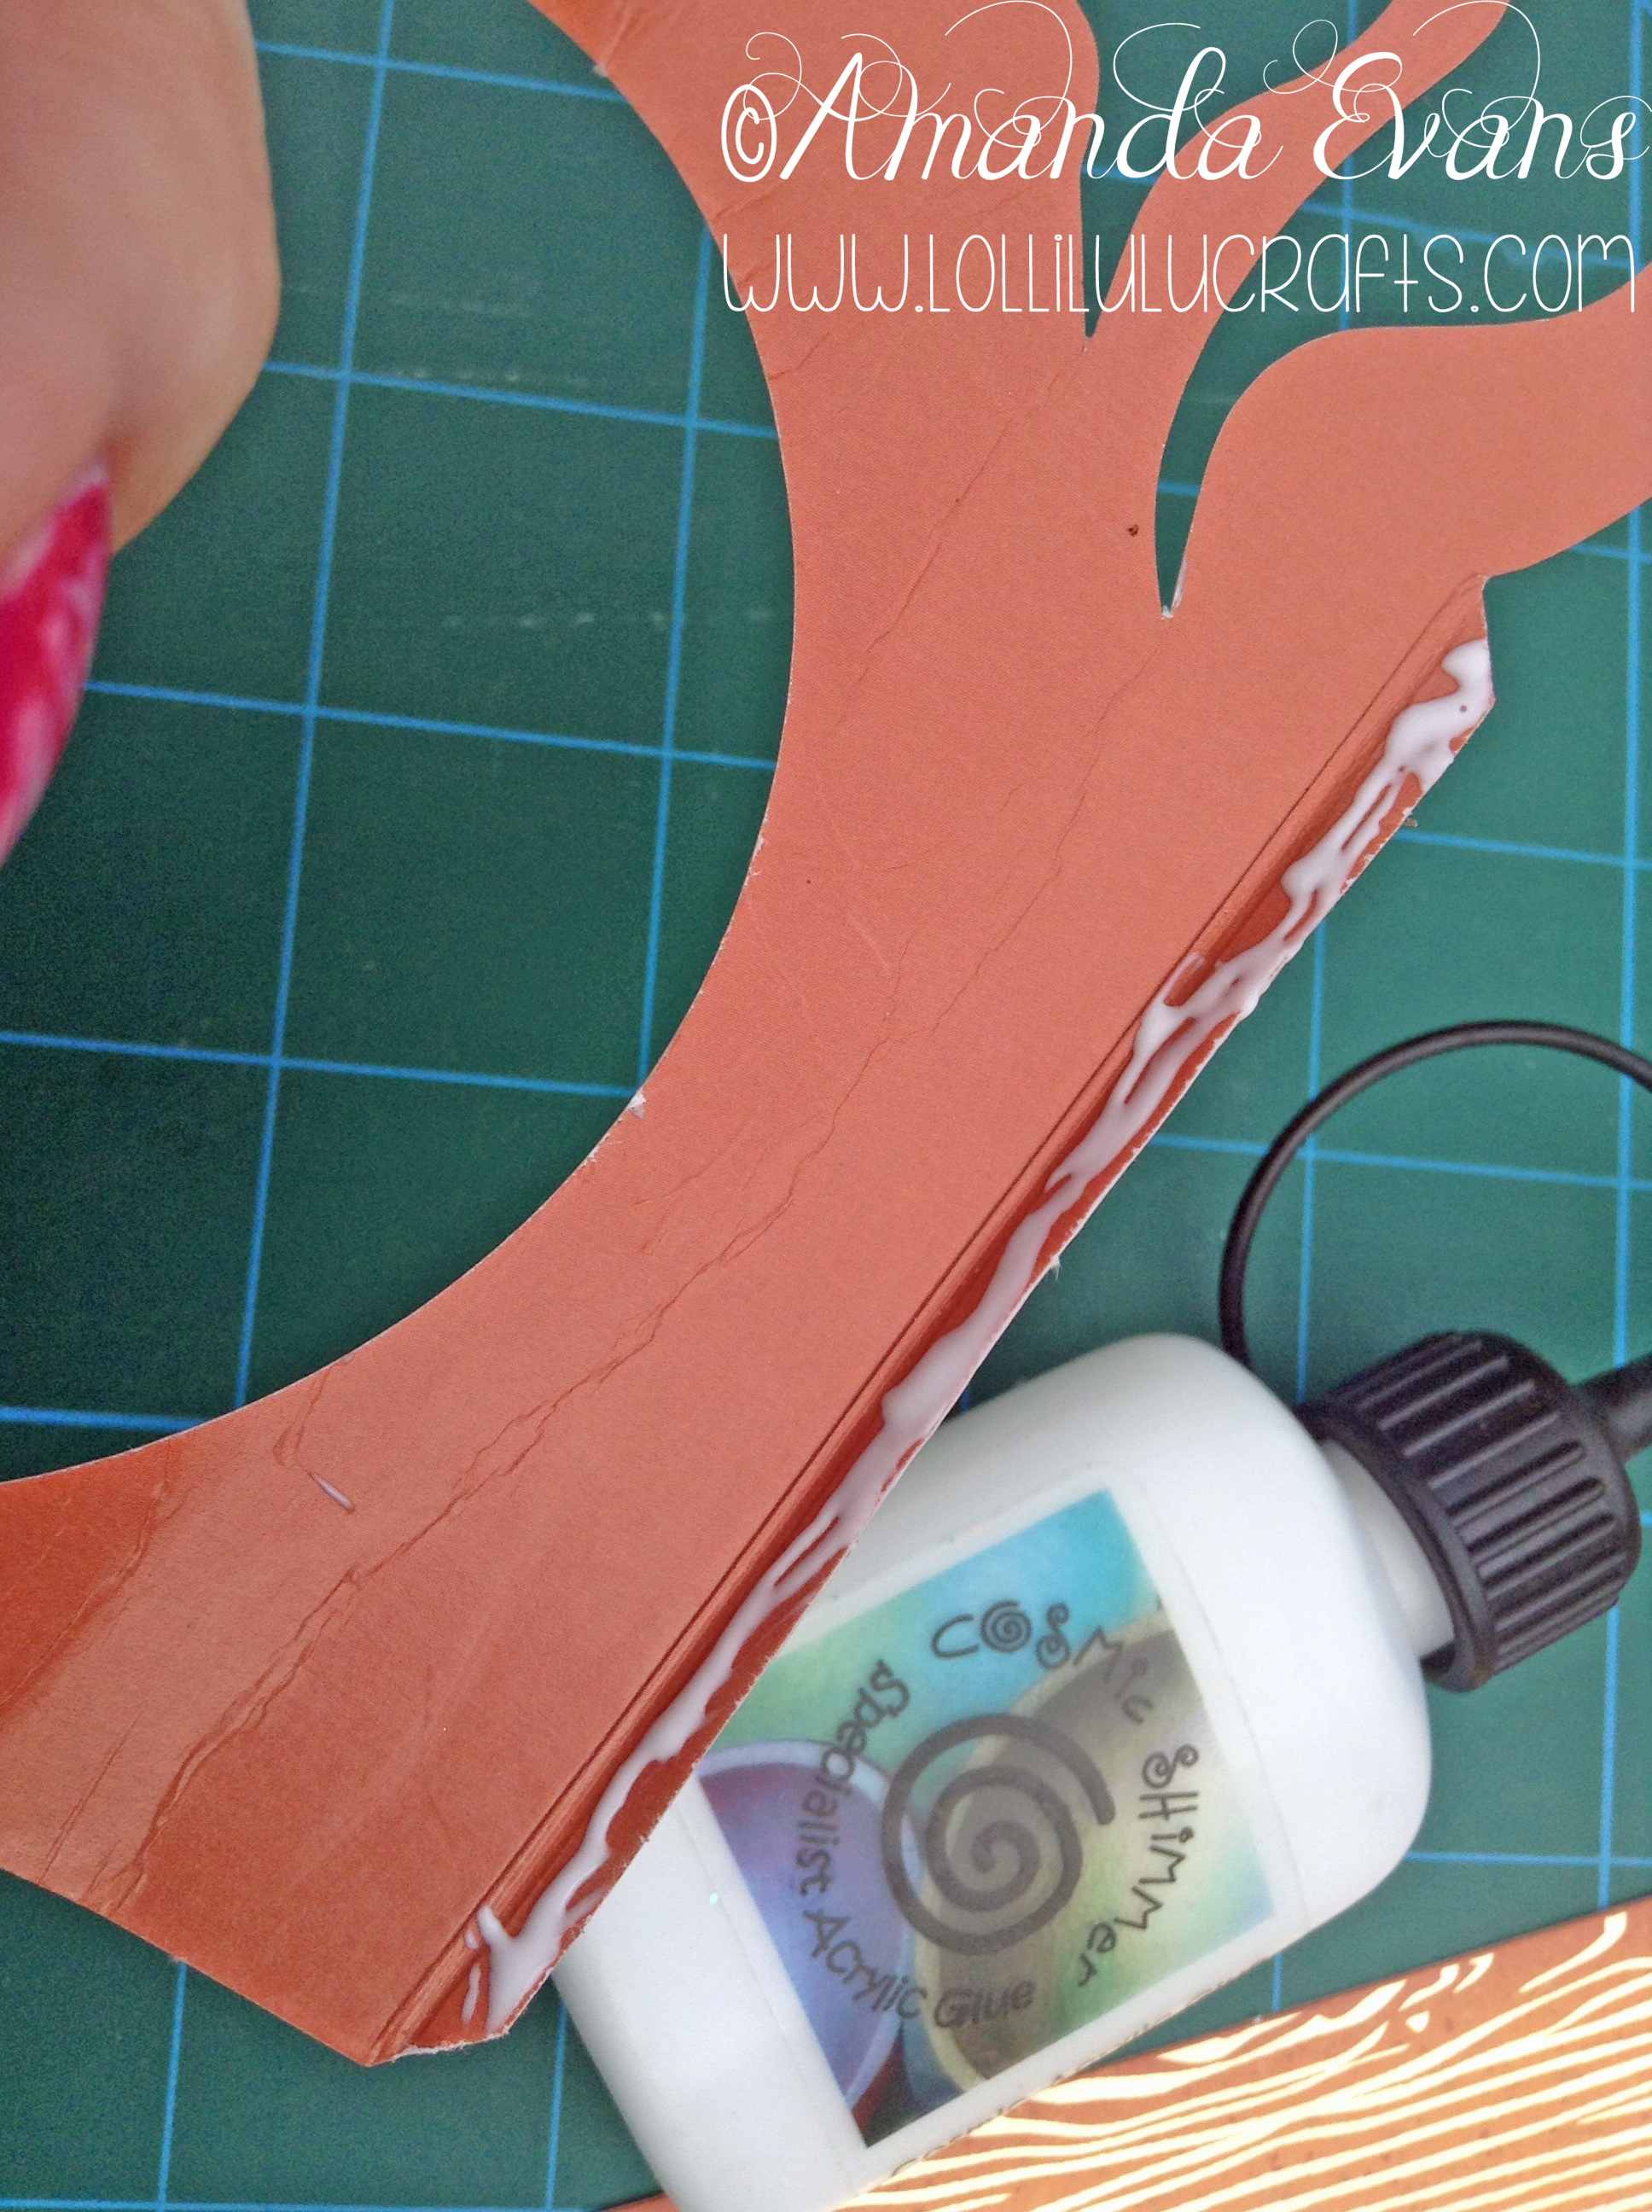
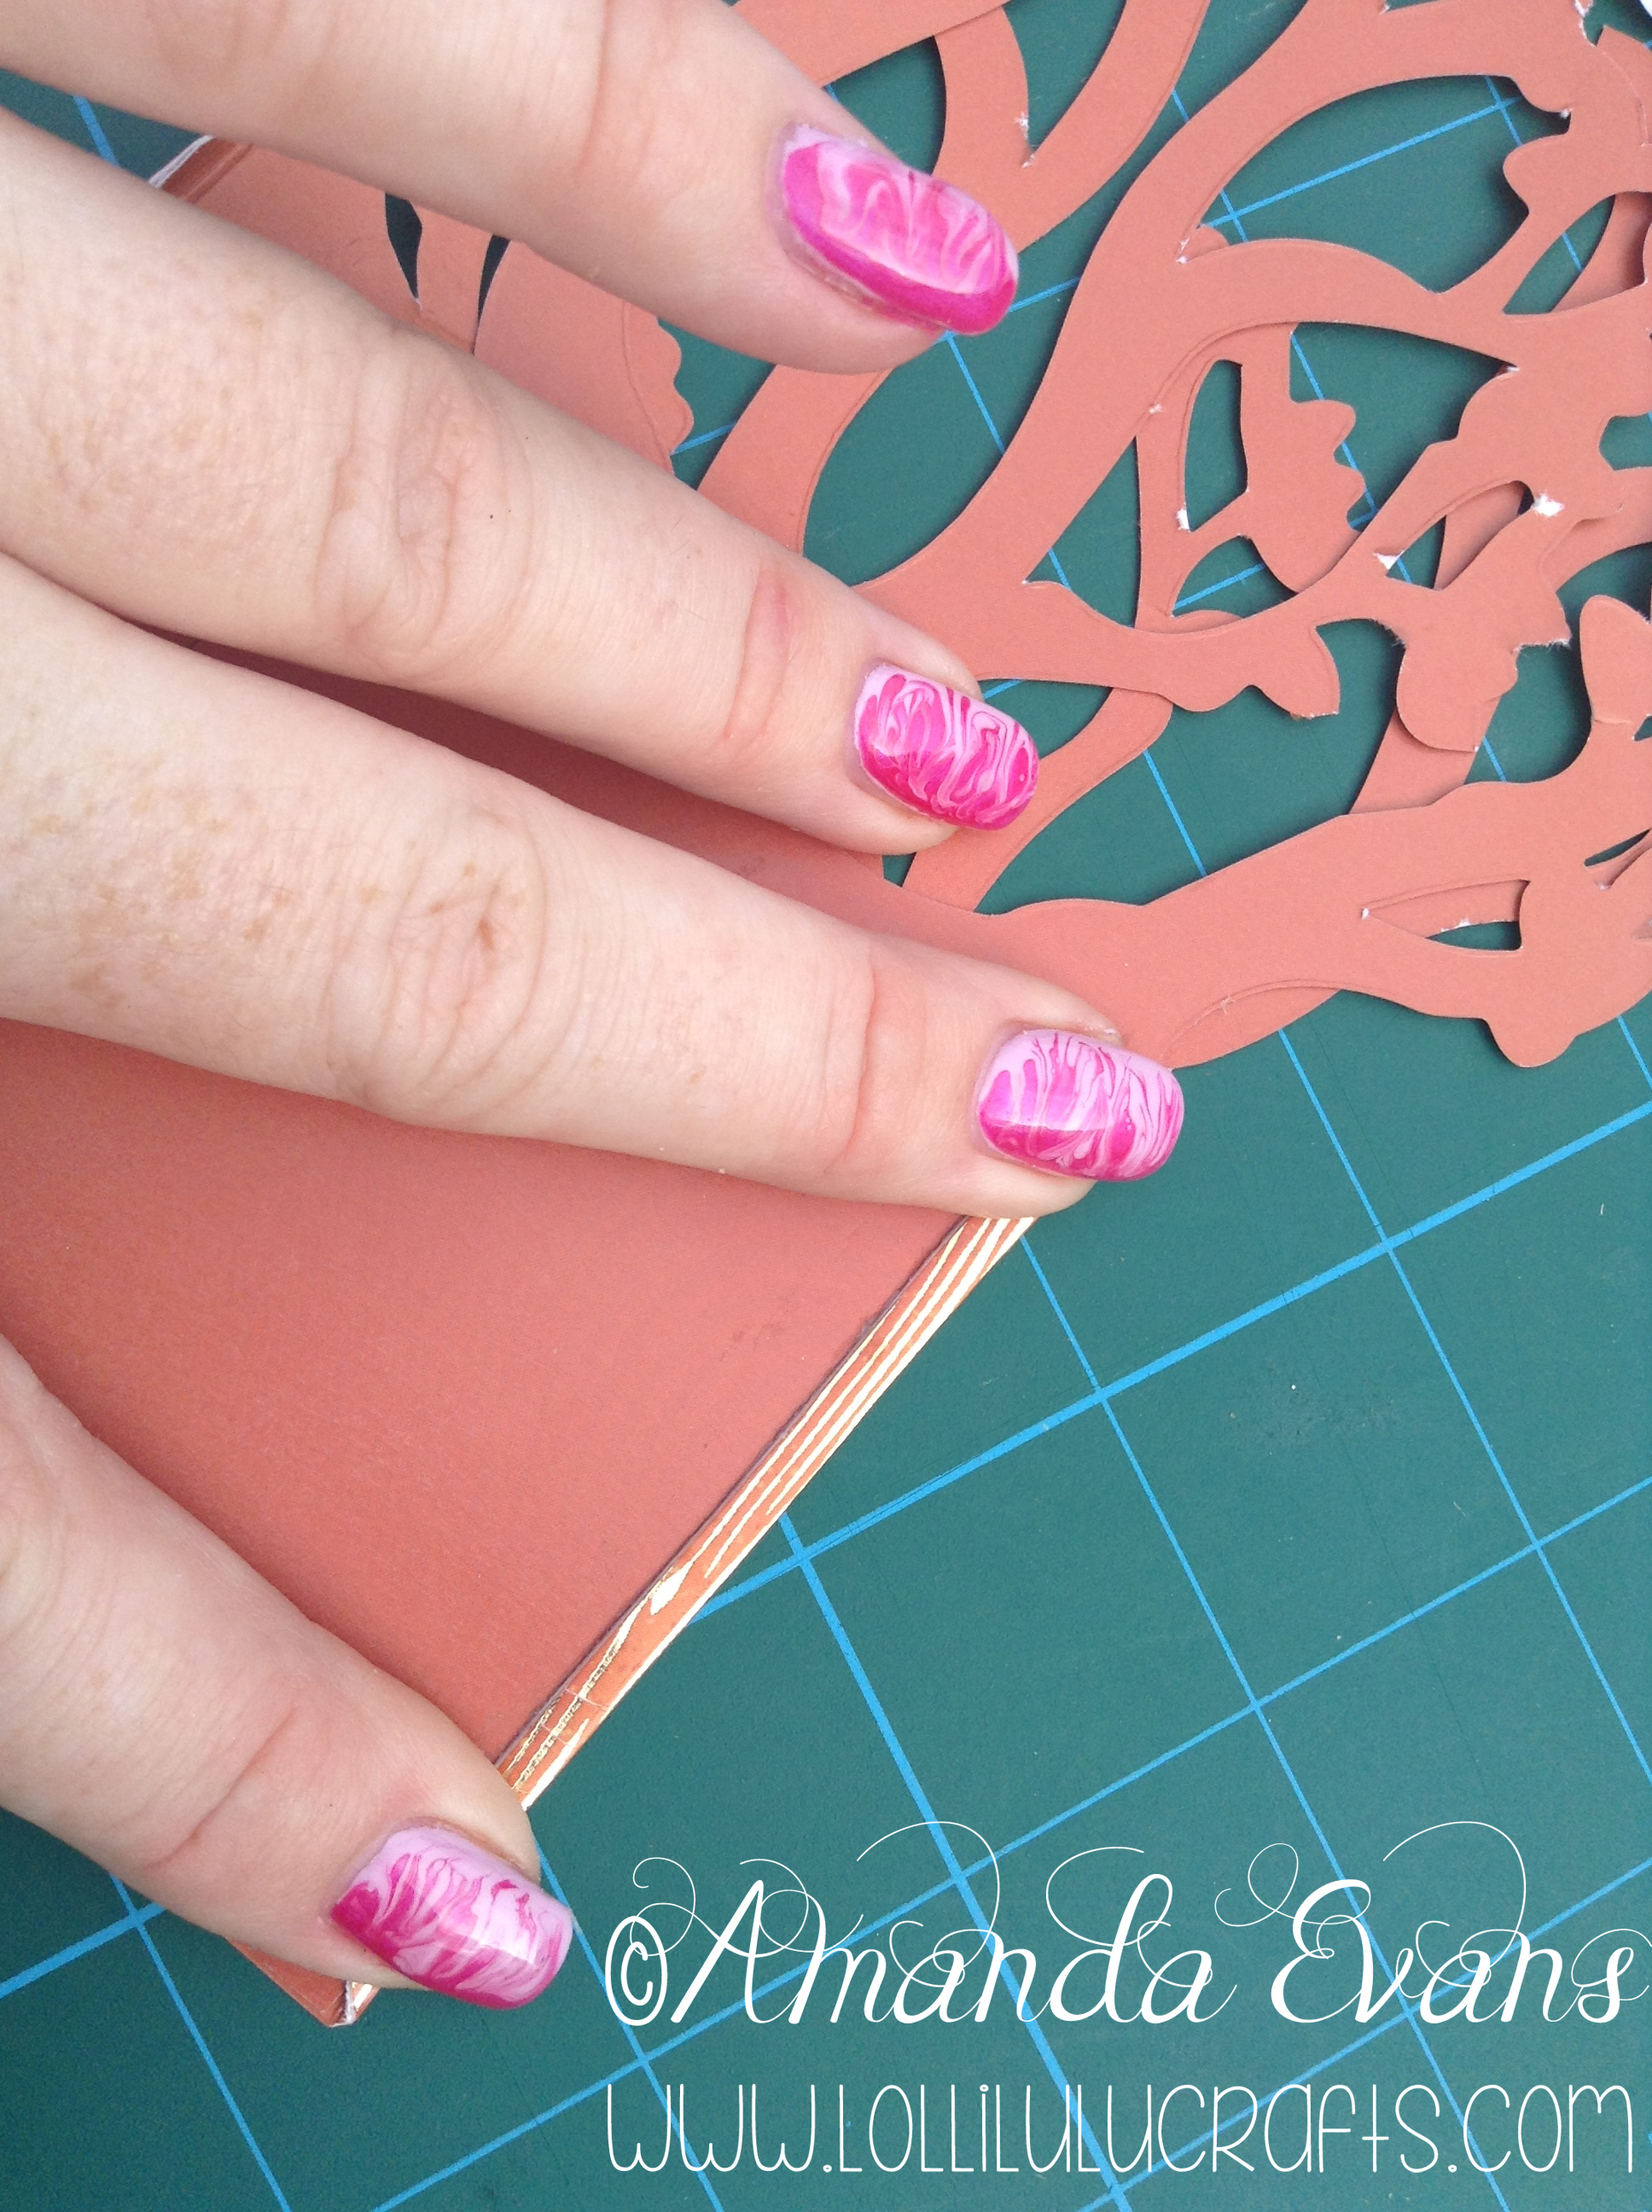
5. Next put some adhesive along the small flap that doesn’t have the tab and attach it to the back of the other piece of tree. I used my Cosmic Shimmer as it dries clear and strong:-
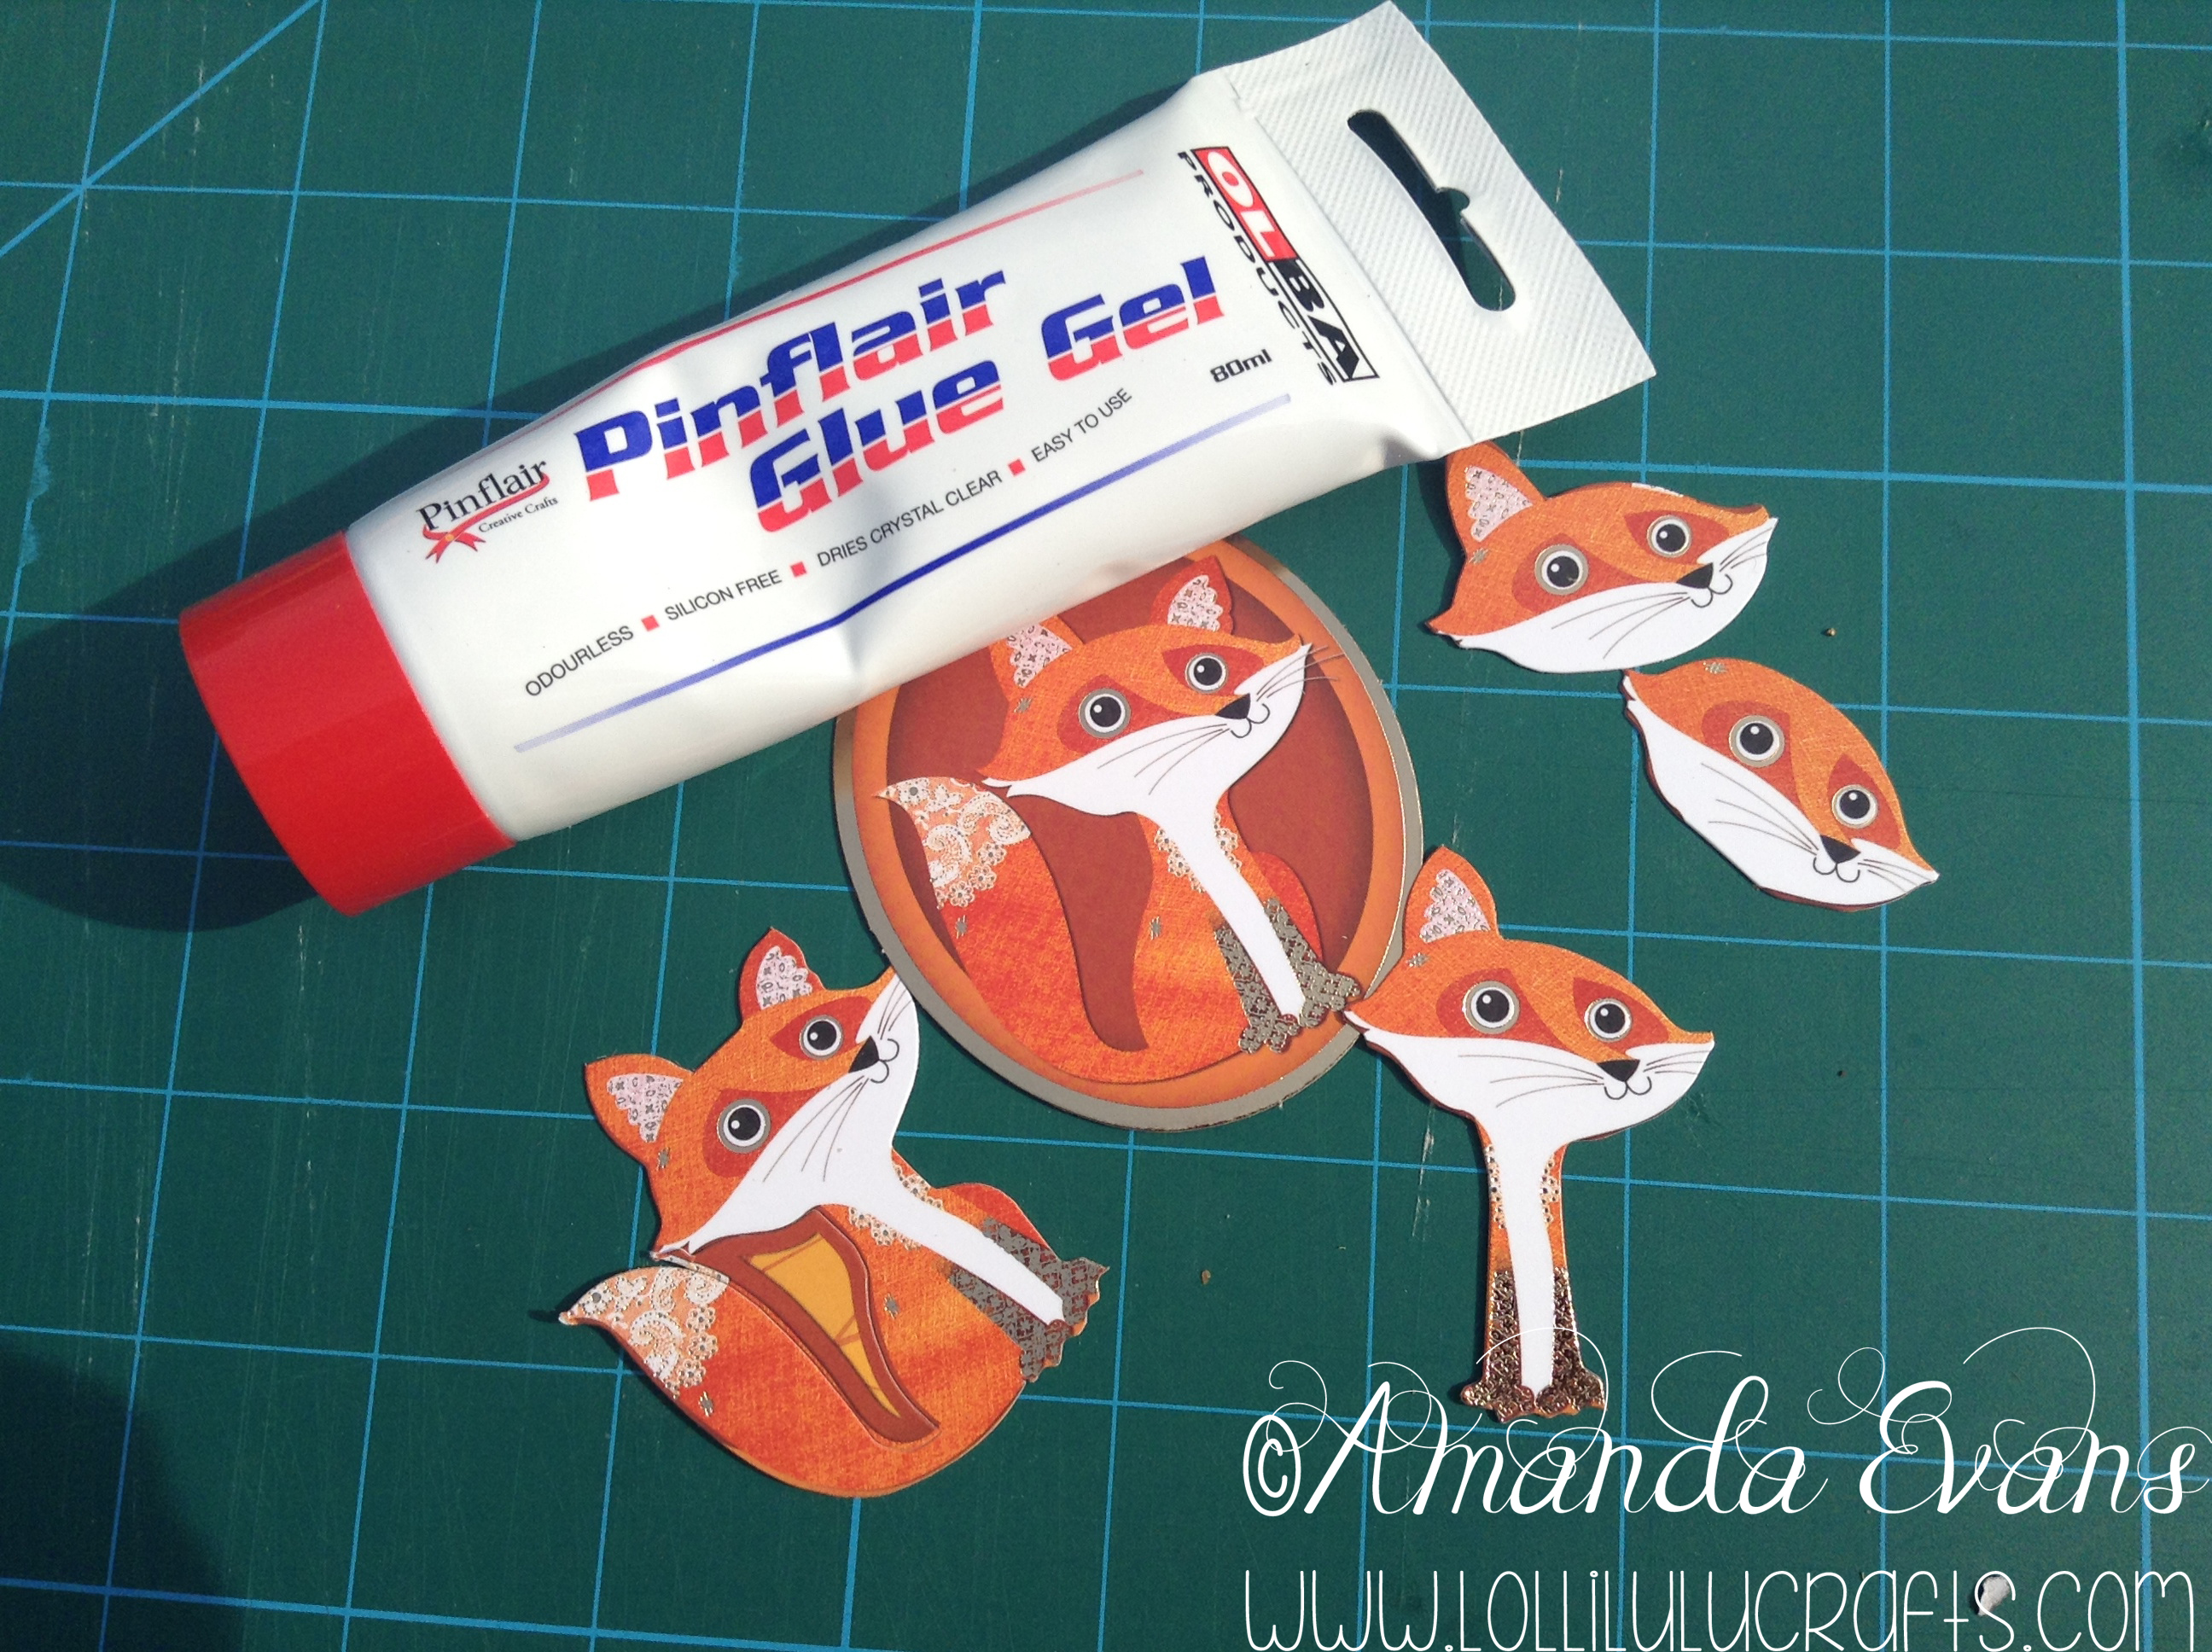
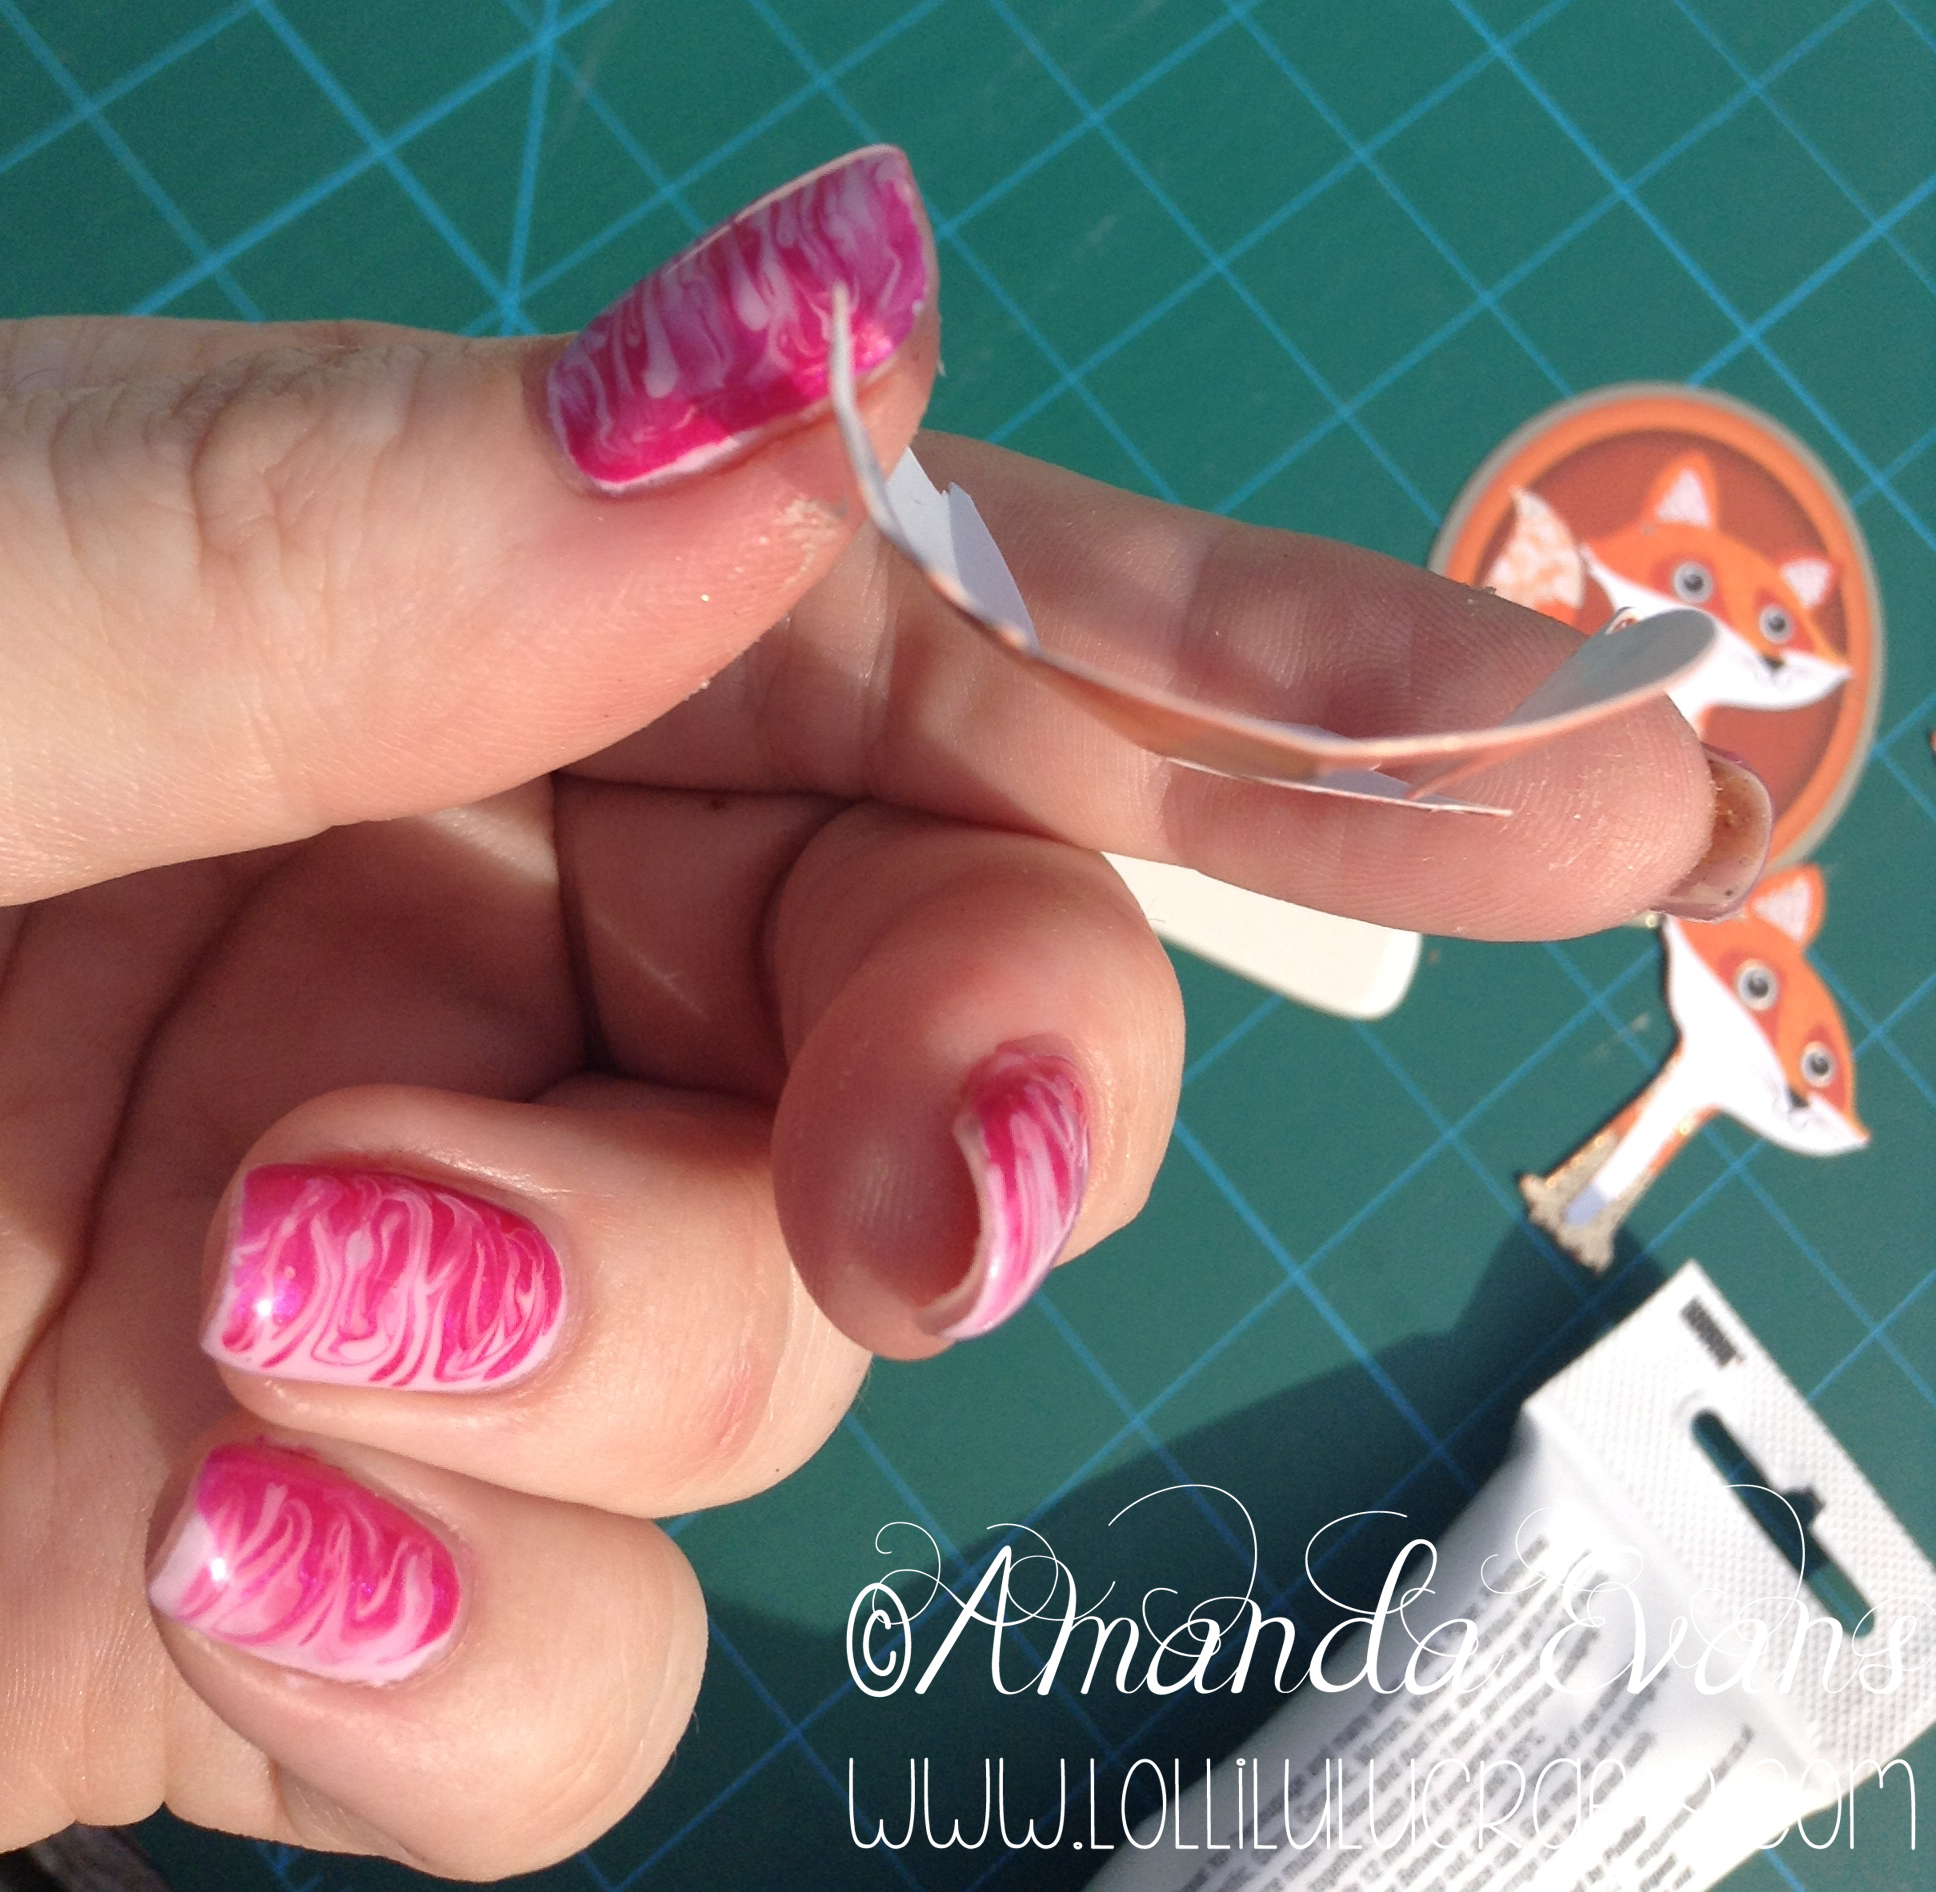
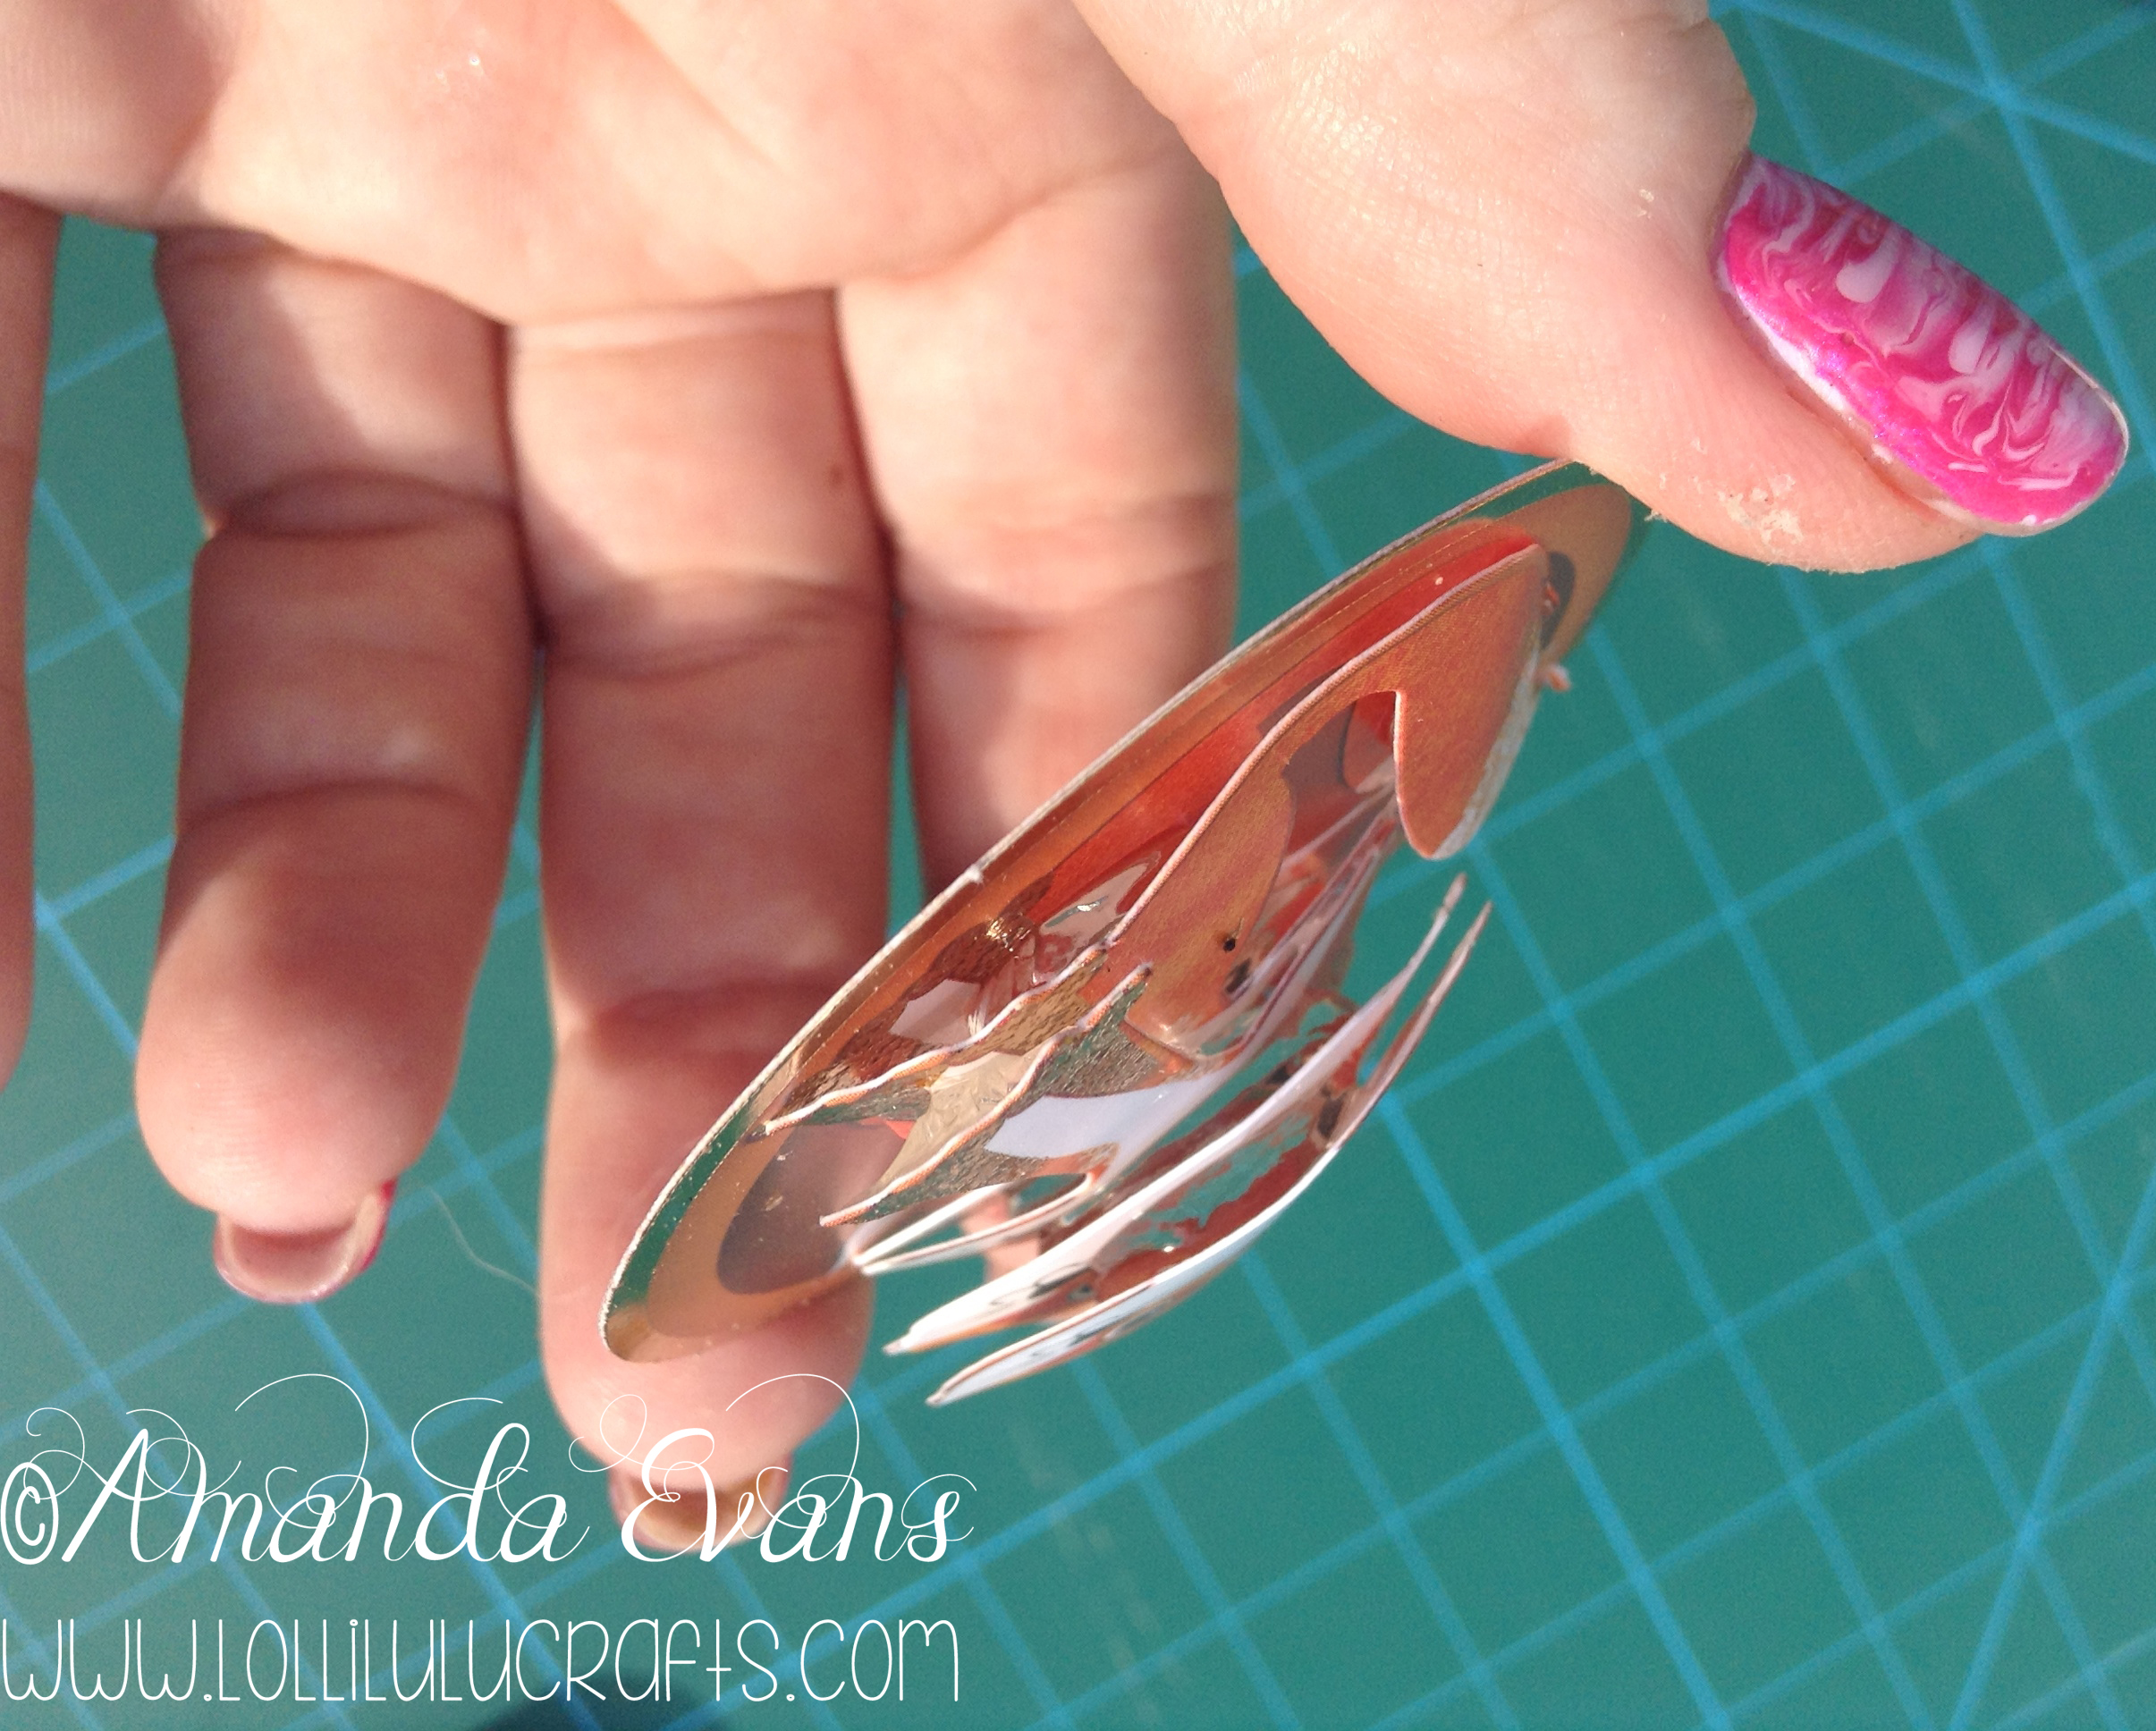
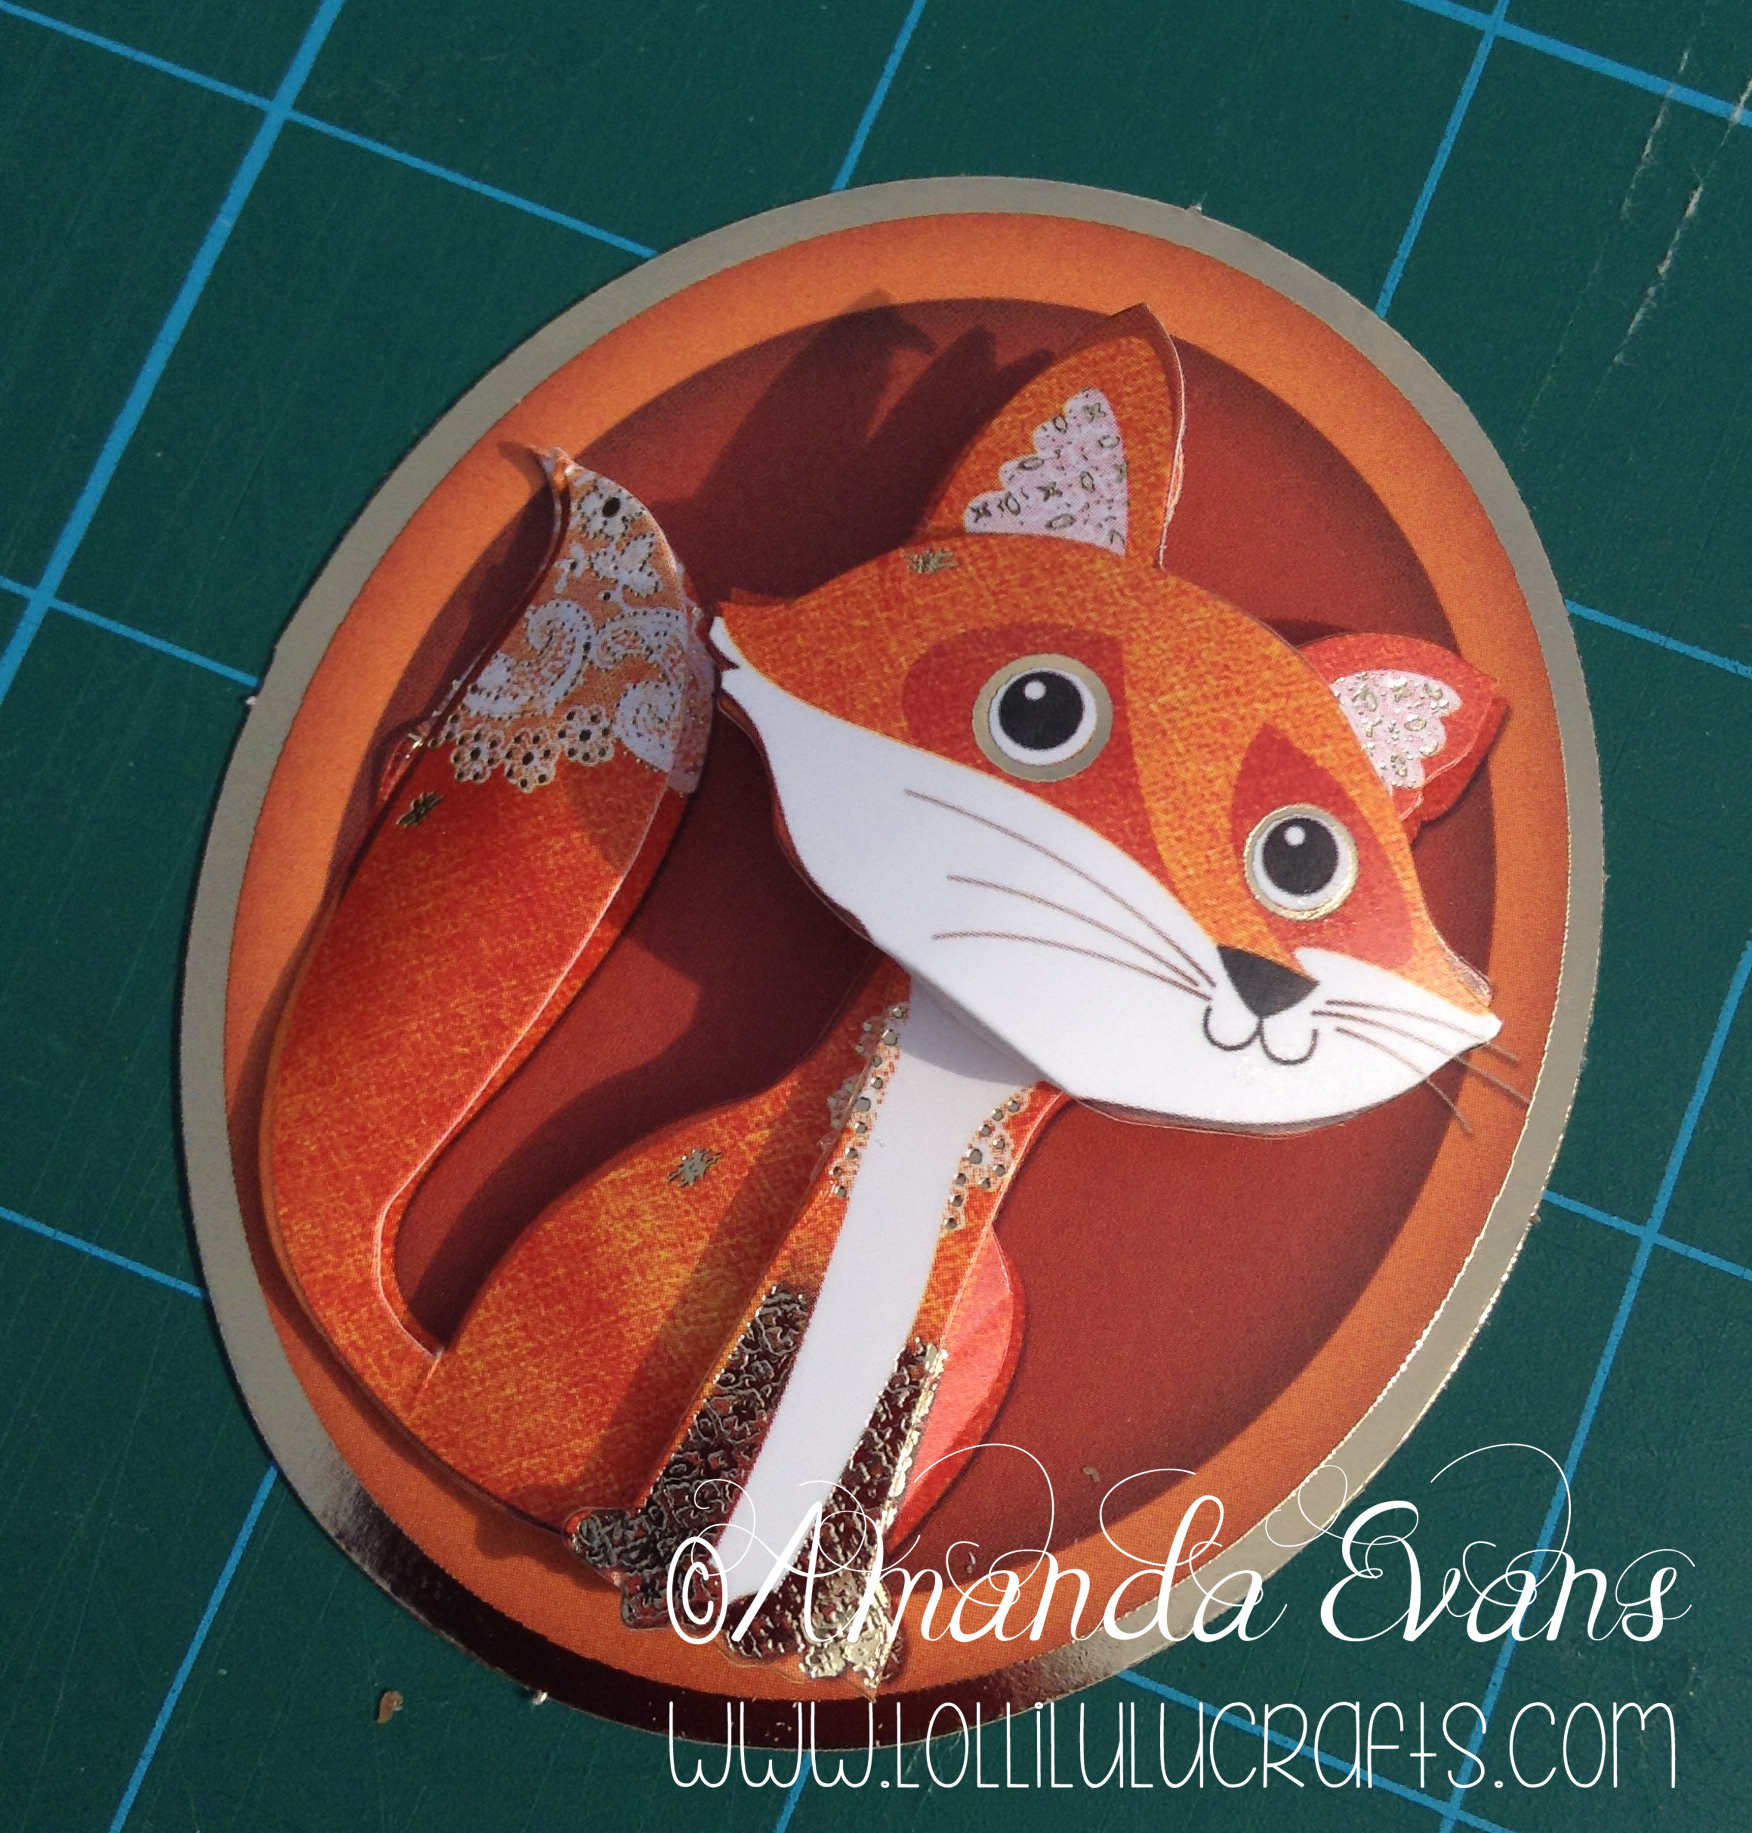
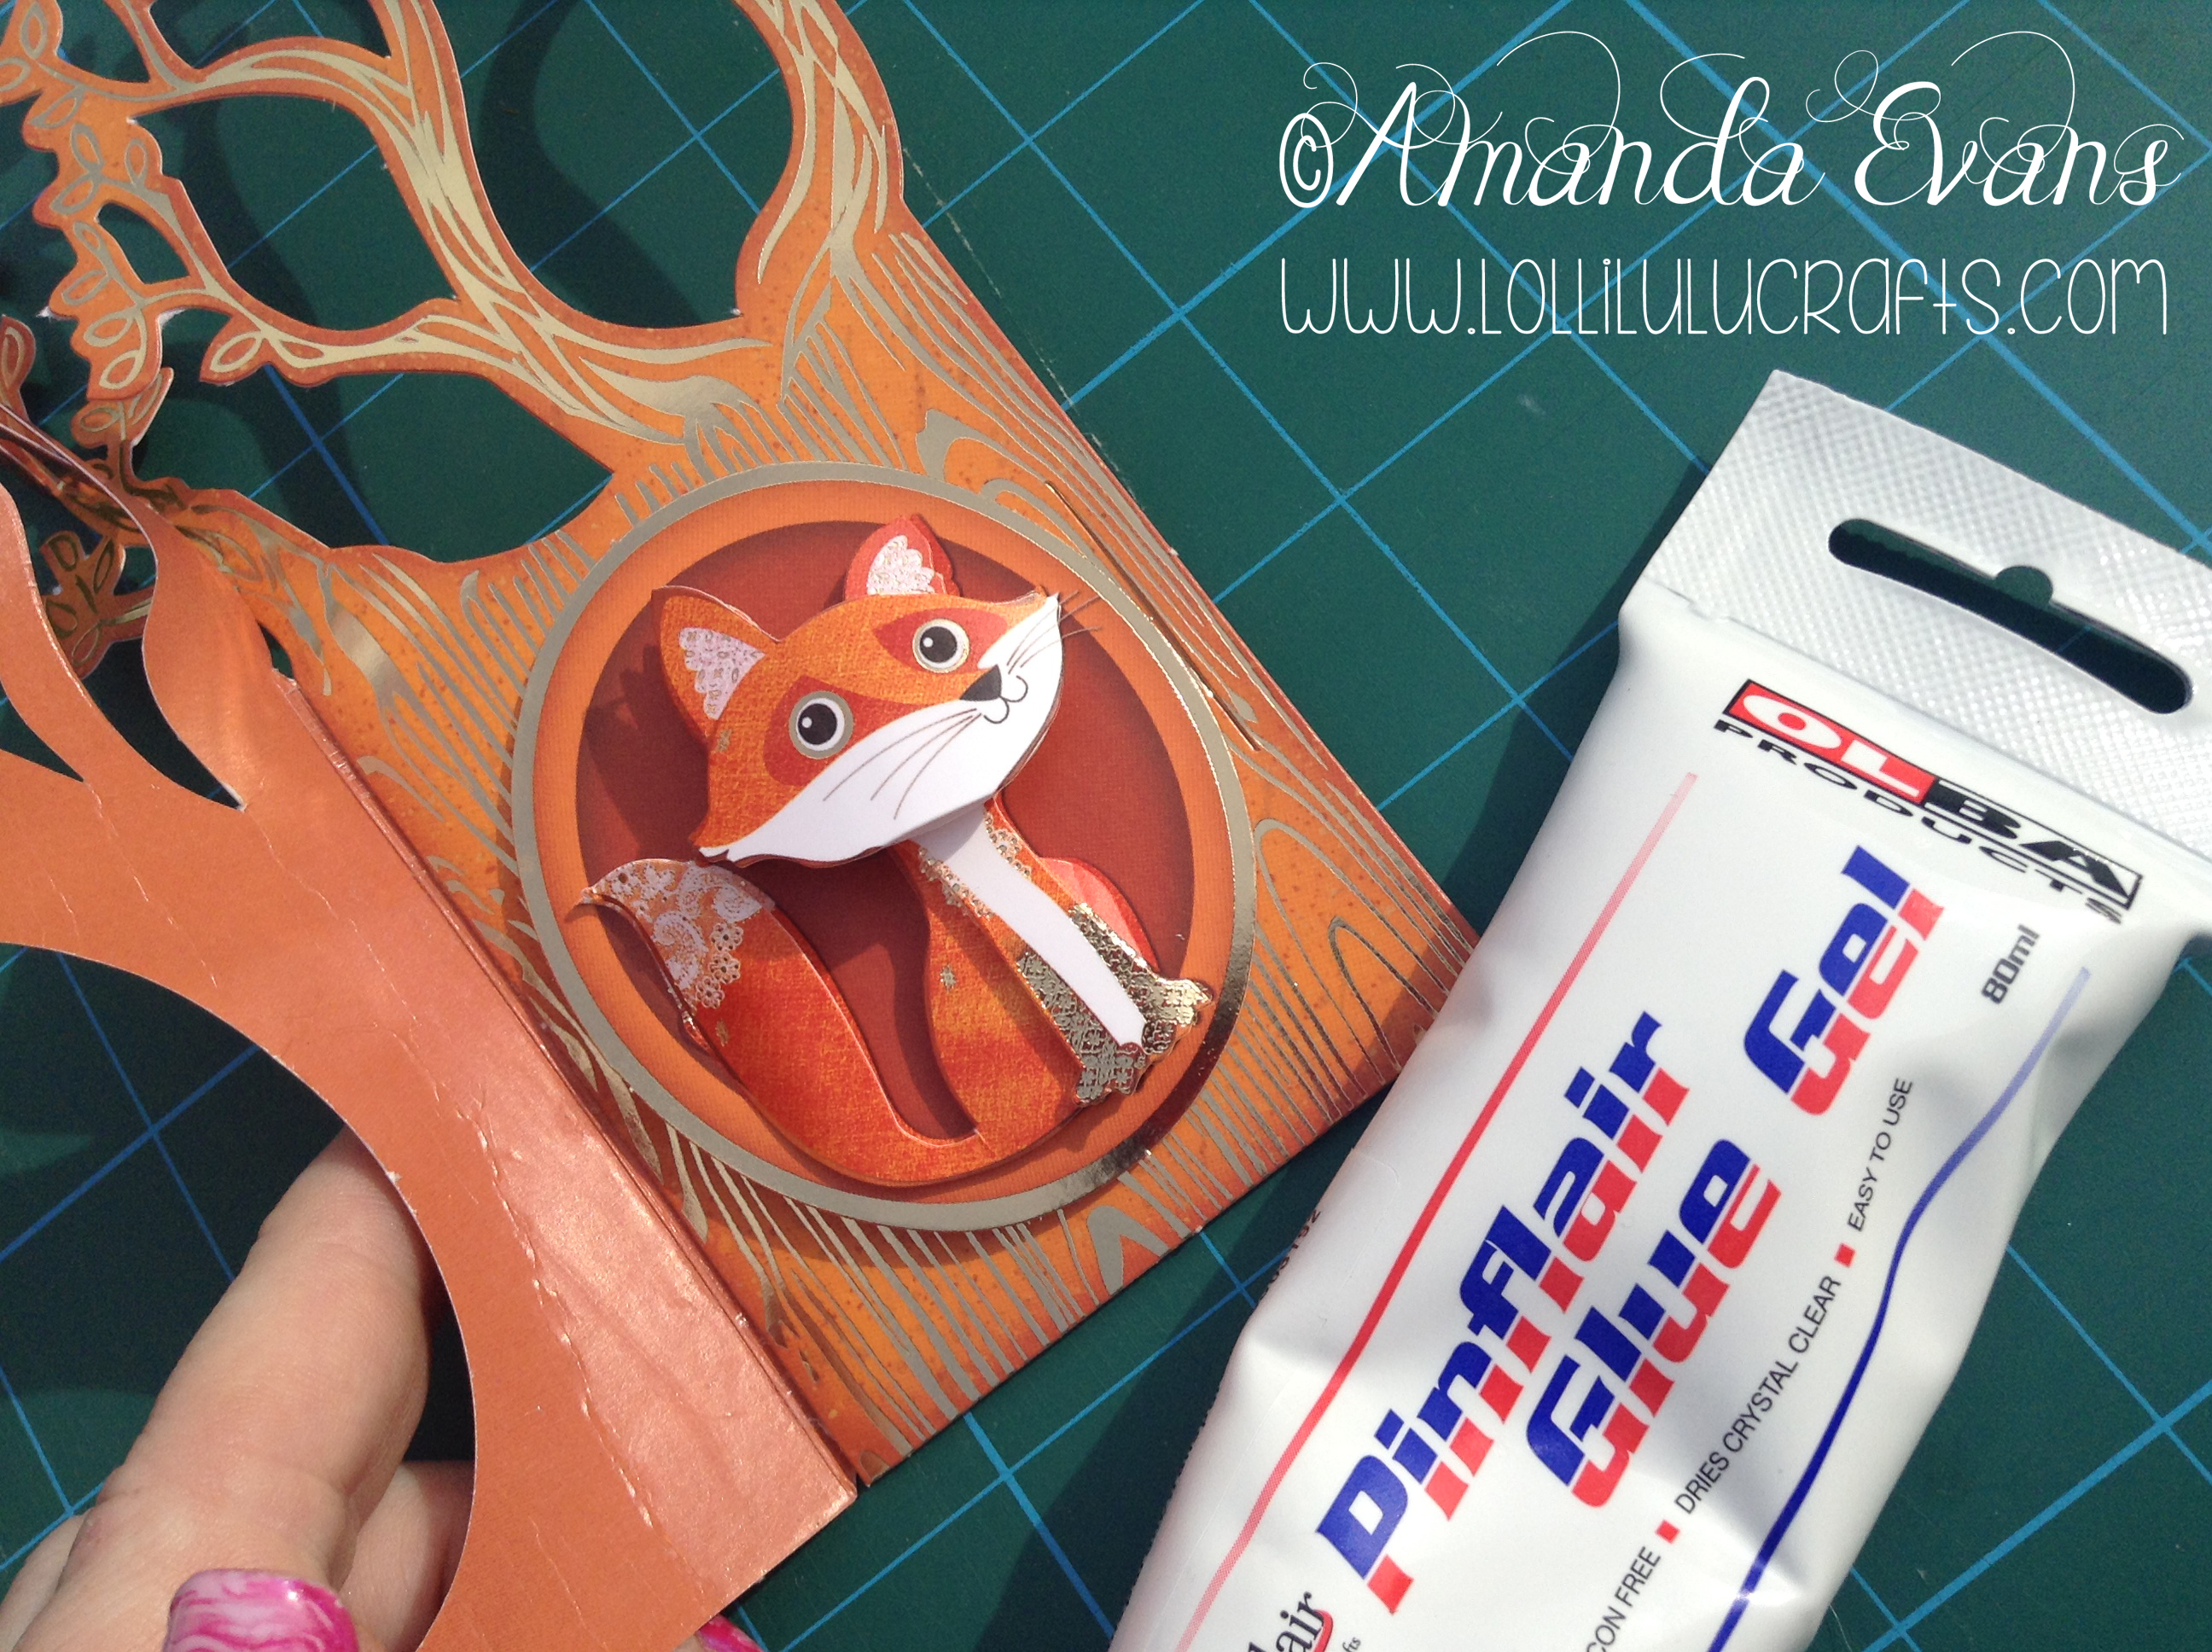
6. Next we need to put the animal decoupage together. So firstly pop the pieces out of the sheet. Now I like to curve my decoupage as it gives, in my opinion, a much nicer, more dimensional look to the decoupage. Therefore to this you can’t really use your foam tape, but when you see it finished I think you will see why I prefer it. I obviously use my Pinflair Glue Gel and this means I can make some parts deeper gel then others:
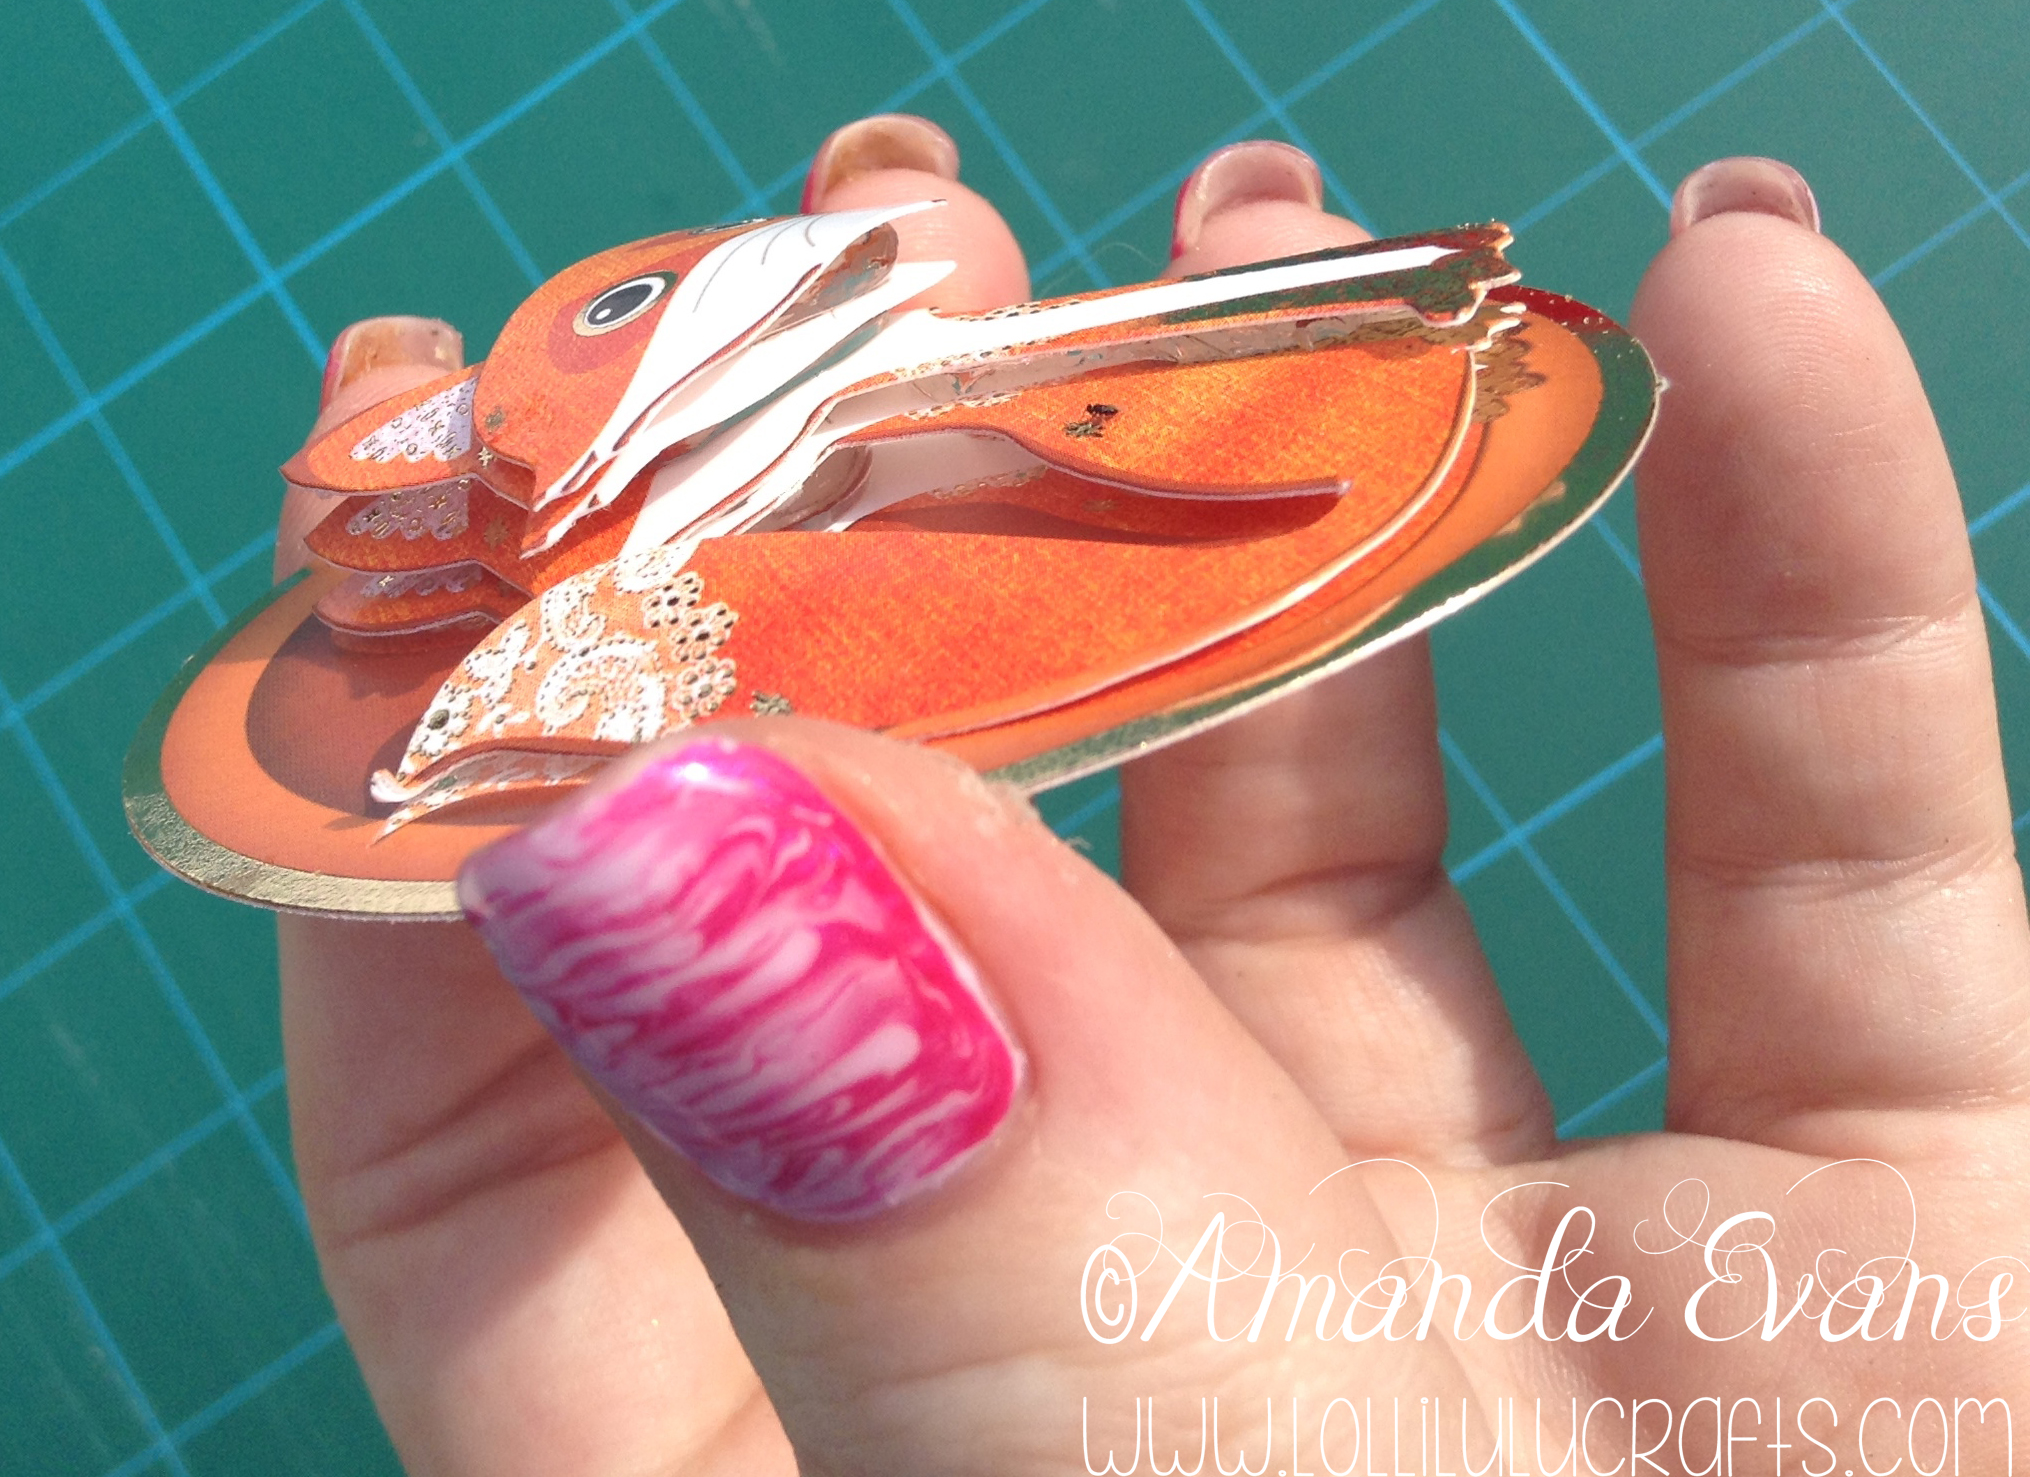
7. So thats the decoupage completed and then again using Pinflair Glue Gel add this to the back tree making sure that it looks right through the aperture when looking at from the front:-
8. And then if you want add you sentiment tag to the front:-
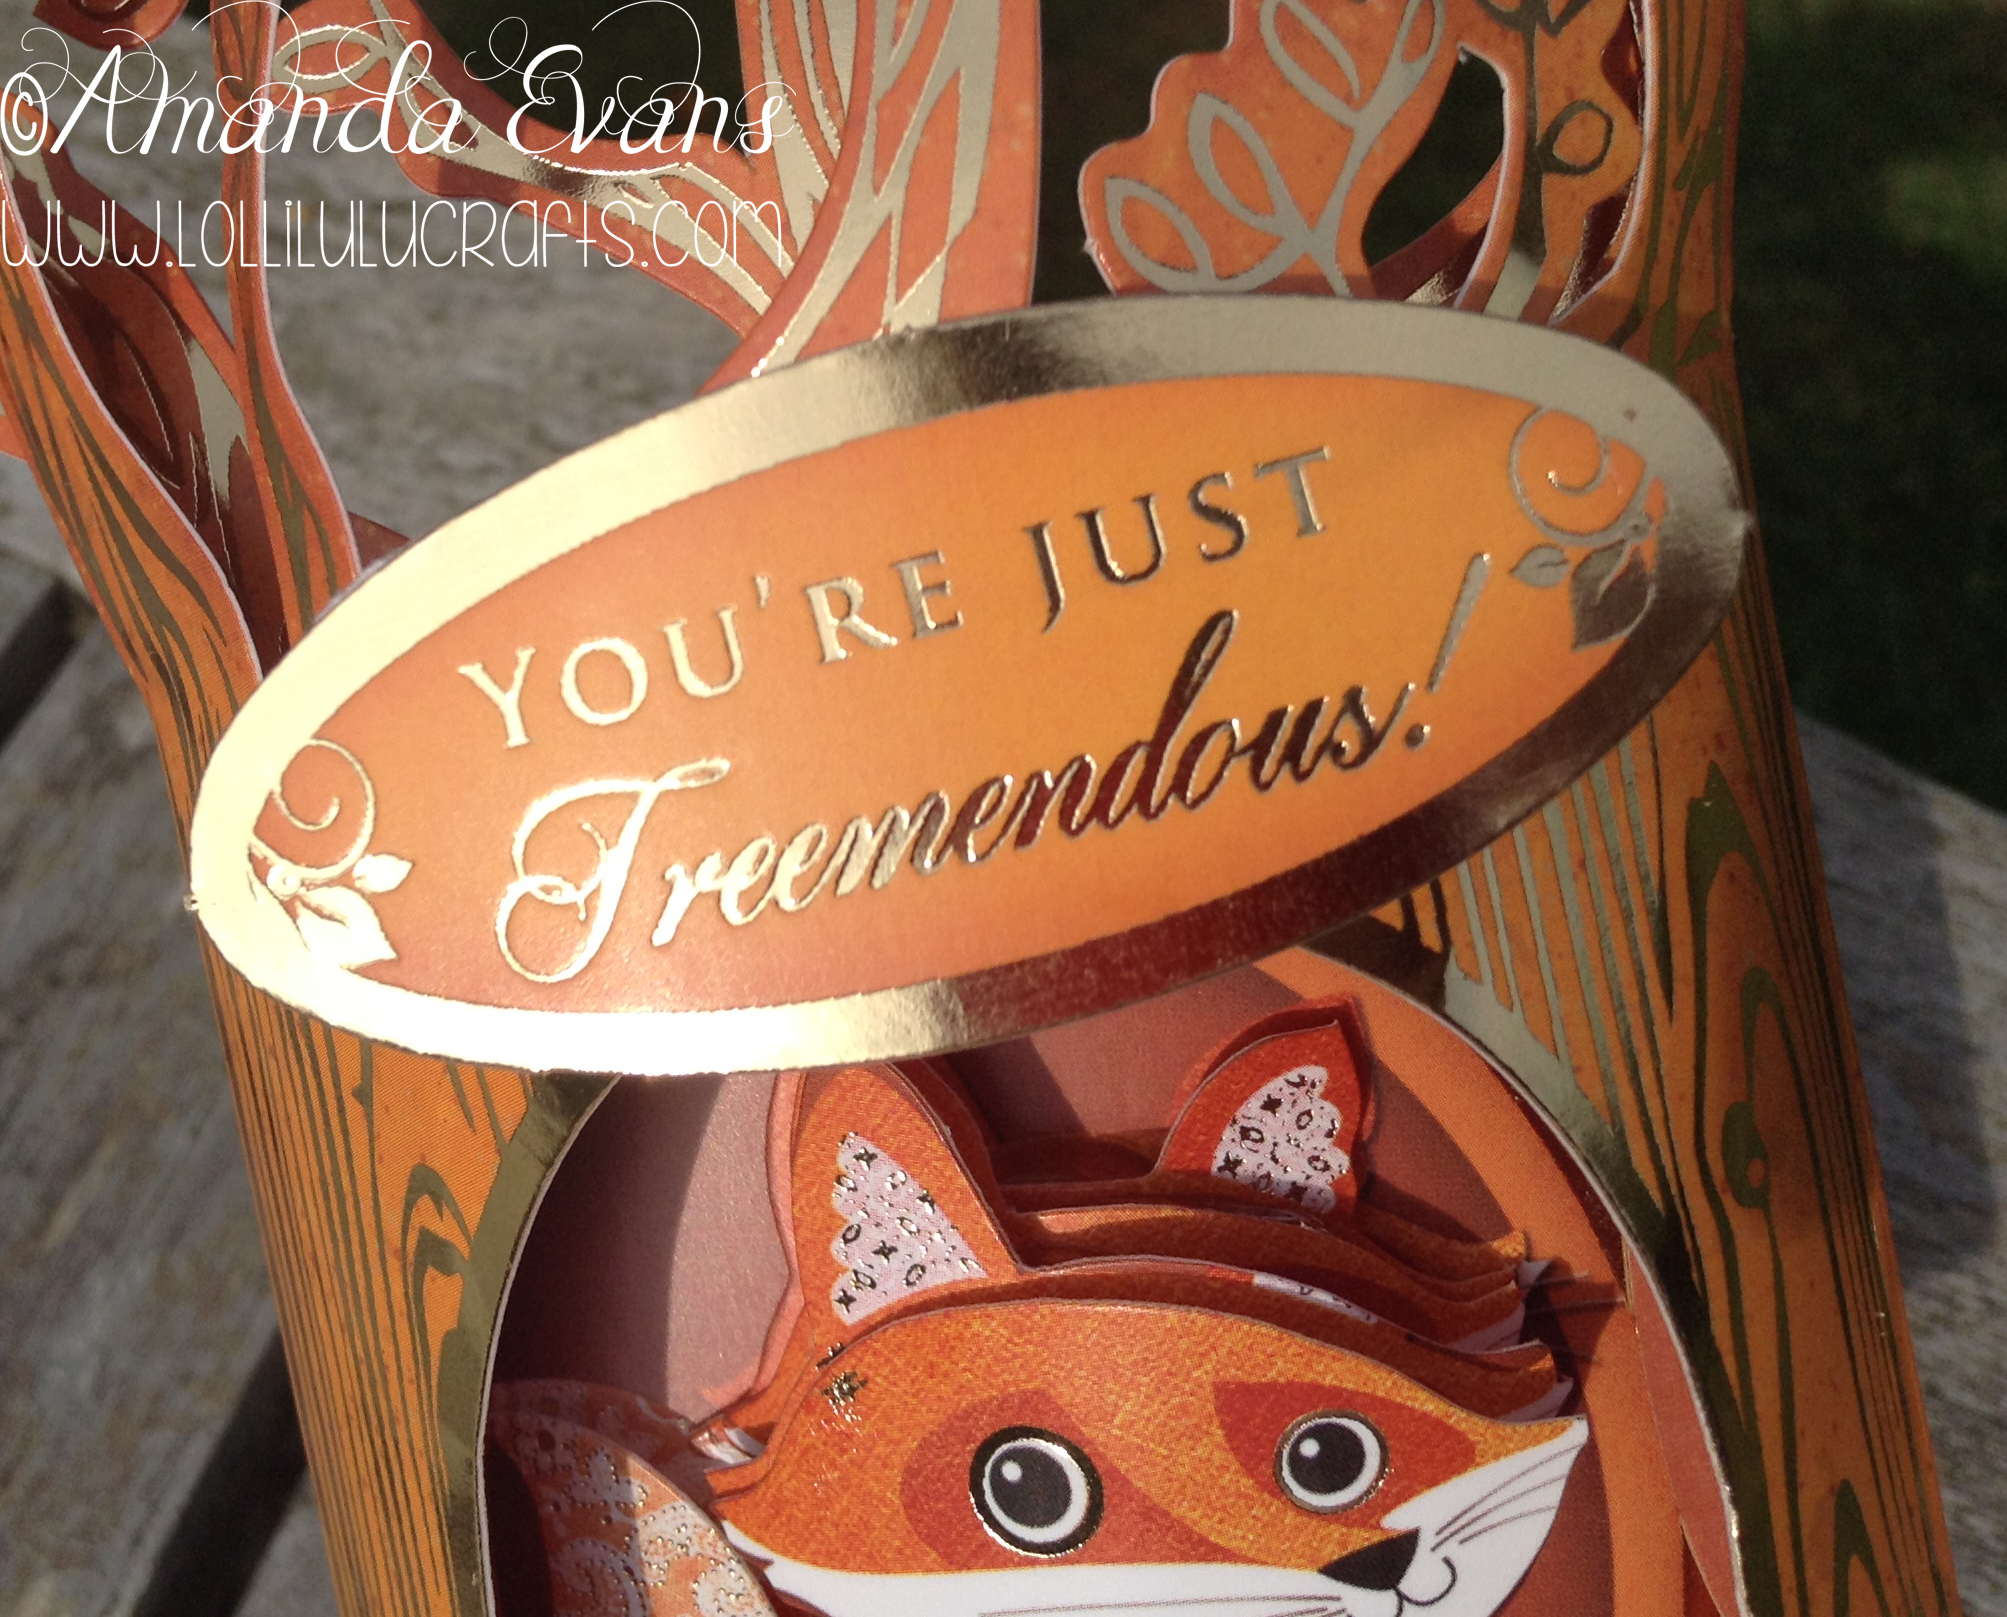
9. And thats it all done:-
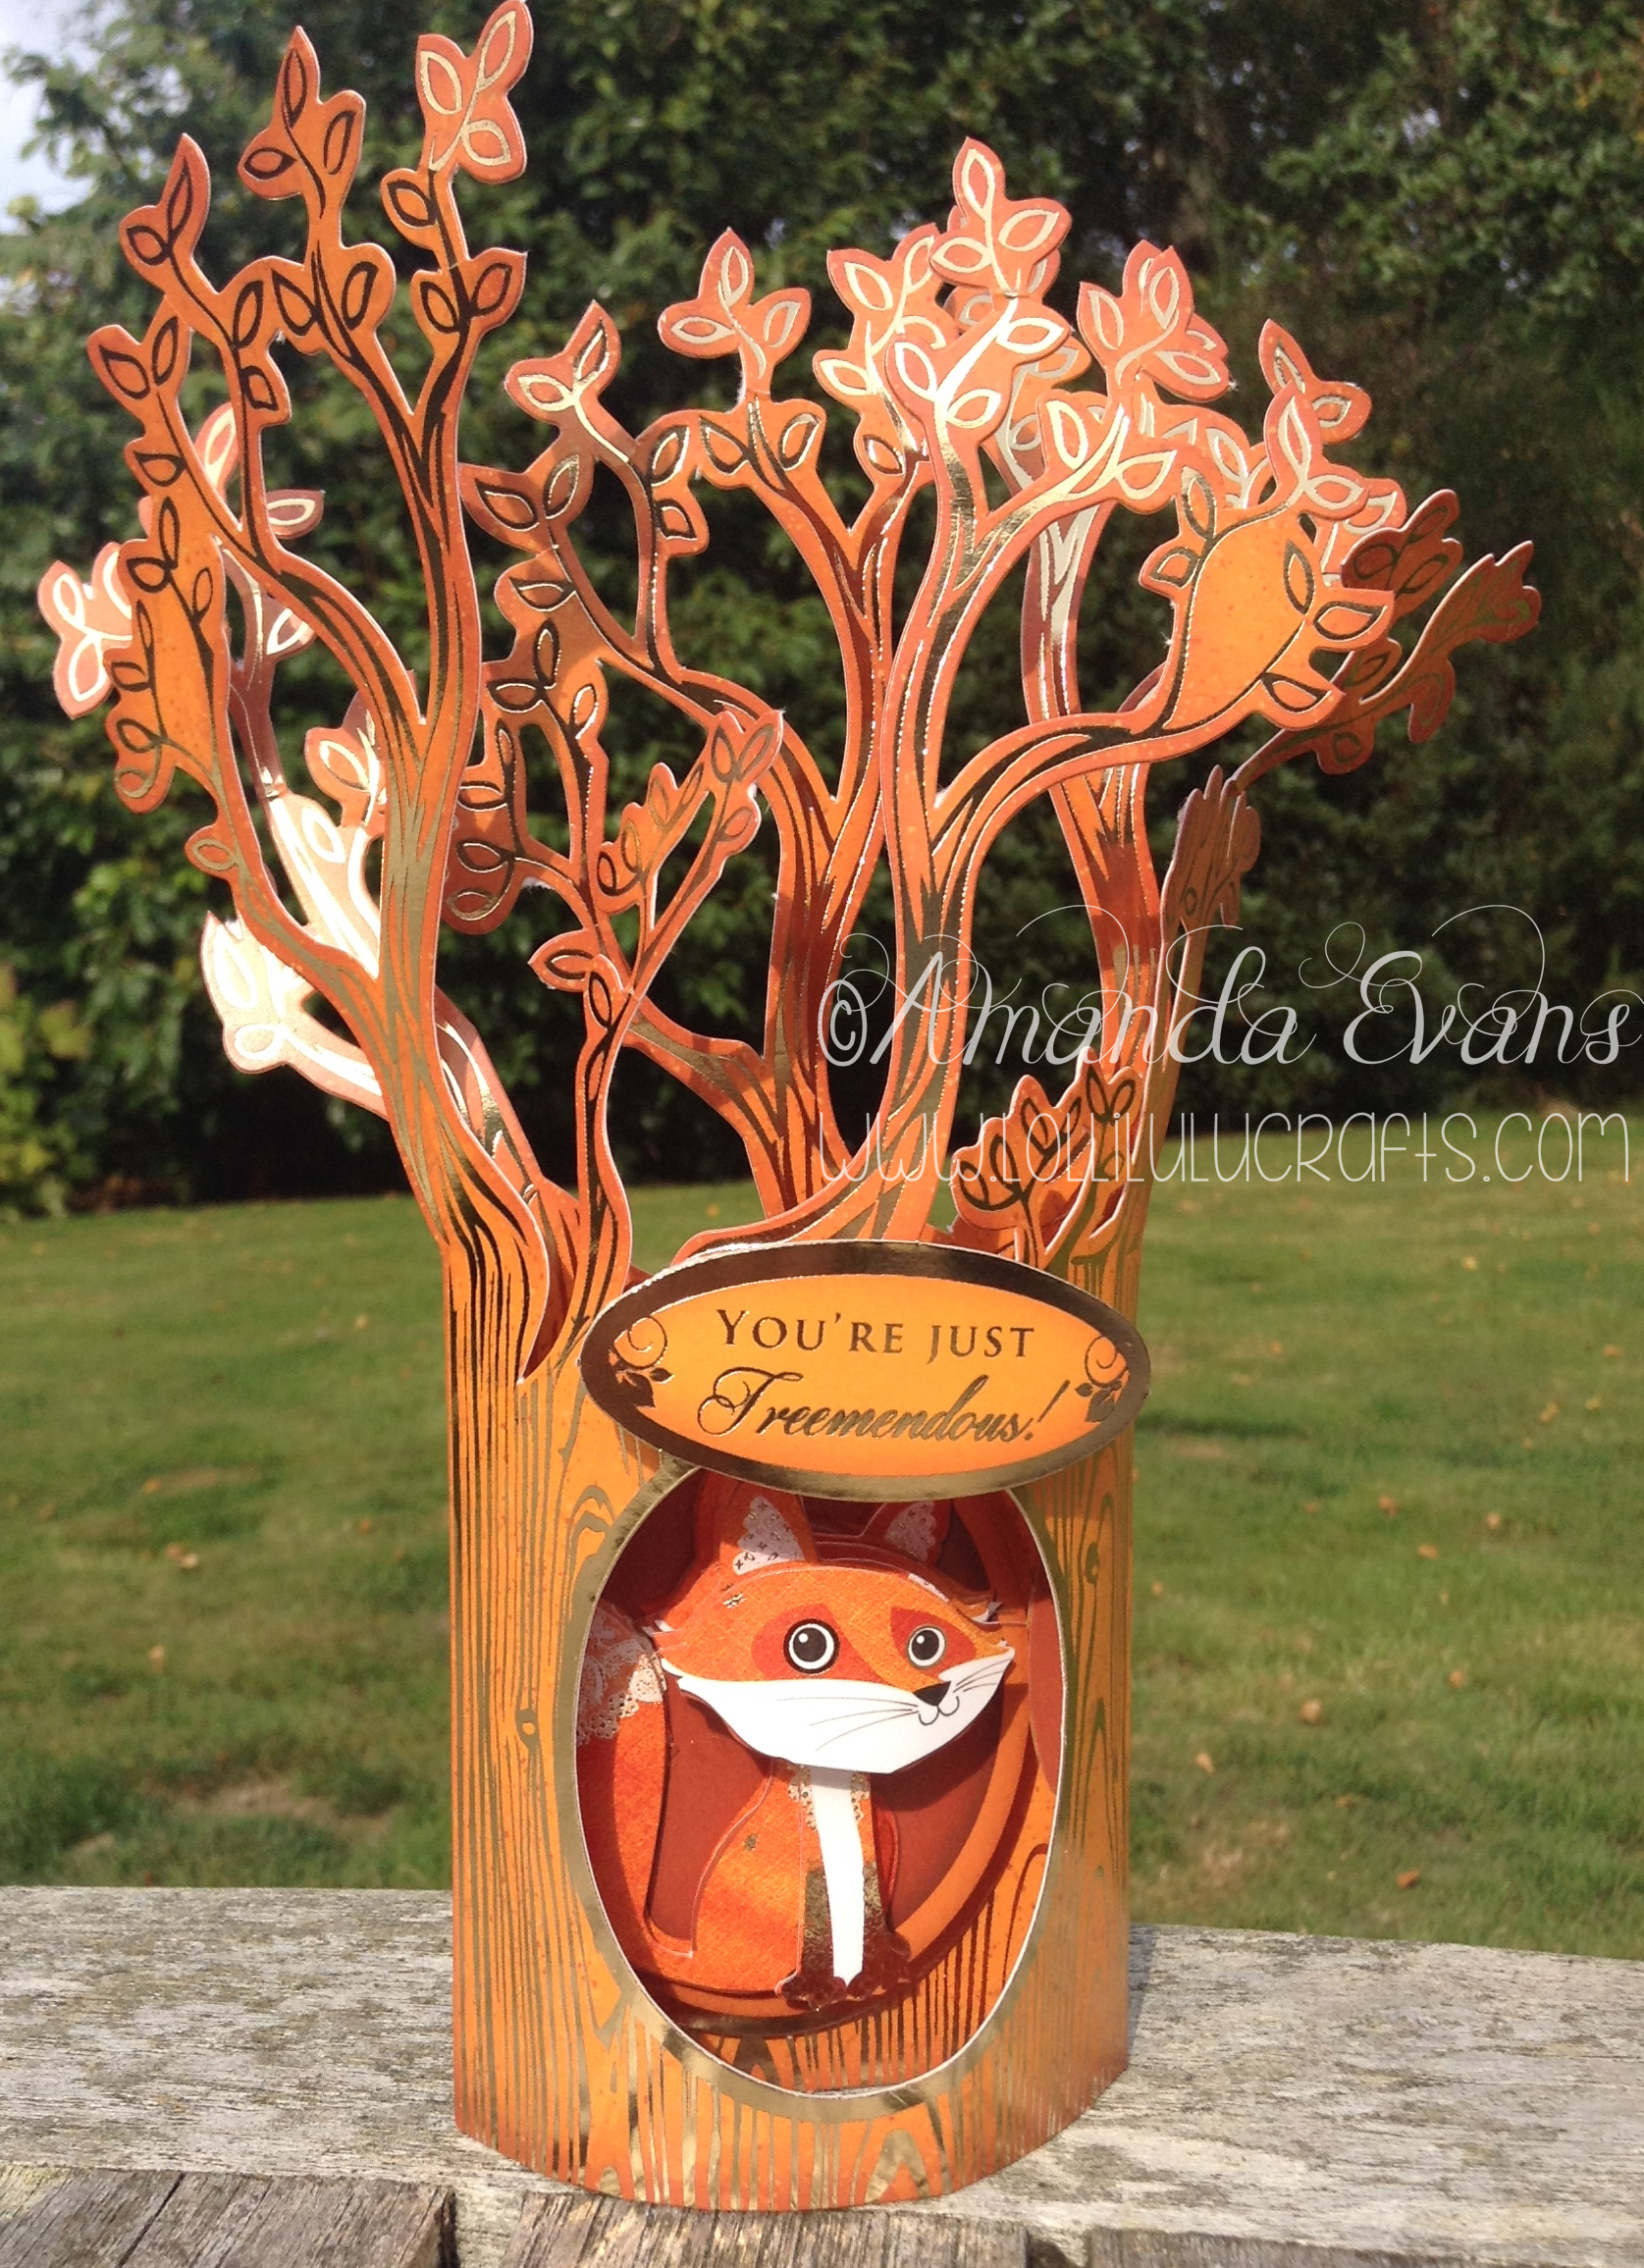

So that is it and I think it is a really cute card and the extra beauty is that is will post flat – other than your decoupage. So let me know what you think and stay tuned this week for more projects from this Autumn Kit, Have a great craft day,


It’s adorable! (and it’s actually reminding me of those easter eggs with apertures in them lol)
er, apertures in the boxes the easter eggs are in! oops lol
I knew what you meant hunni and yes it does seem just like that 🙂
I truly think it’s very cute. I missed how tall it is. Amanda, we’ll done.
When folded flat it fits in an 8×8 envelope easily height wise and lots of space horizontally. It actually doesn’t look that tall, I thought it was 6 inches buy when I look at it against the envelope I would say it is 7inches. I guess it looks less cos the top is the branches rather than a solid card 🙂