


Hi guys today I have for you a Simple Cinched Notebook that I made for my mum. She just needed a little notebook for writing odds and ends in so asked if I could make one. She didn’t want anything fancy, and in fact probably would have liked it just as much without the ribbon – but I just couldn’t do it. It was hard enough leaving it this plain, without having to leave it completely plain lol! So I have below for you a step by step photos on what I did and I hope you like the finished result.
I must say, just before we get going, that the Cinch has to be the best machine ever for this sort of thing. I am not a album girl so don’t use a binder often so the simplicity and ease of the Cinch just makes it so much more fun to do. Next to remind you that if you click on the images you get large view, super-sized and slideshow if you want 🙂
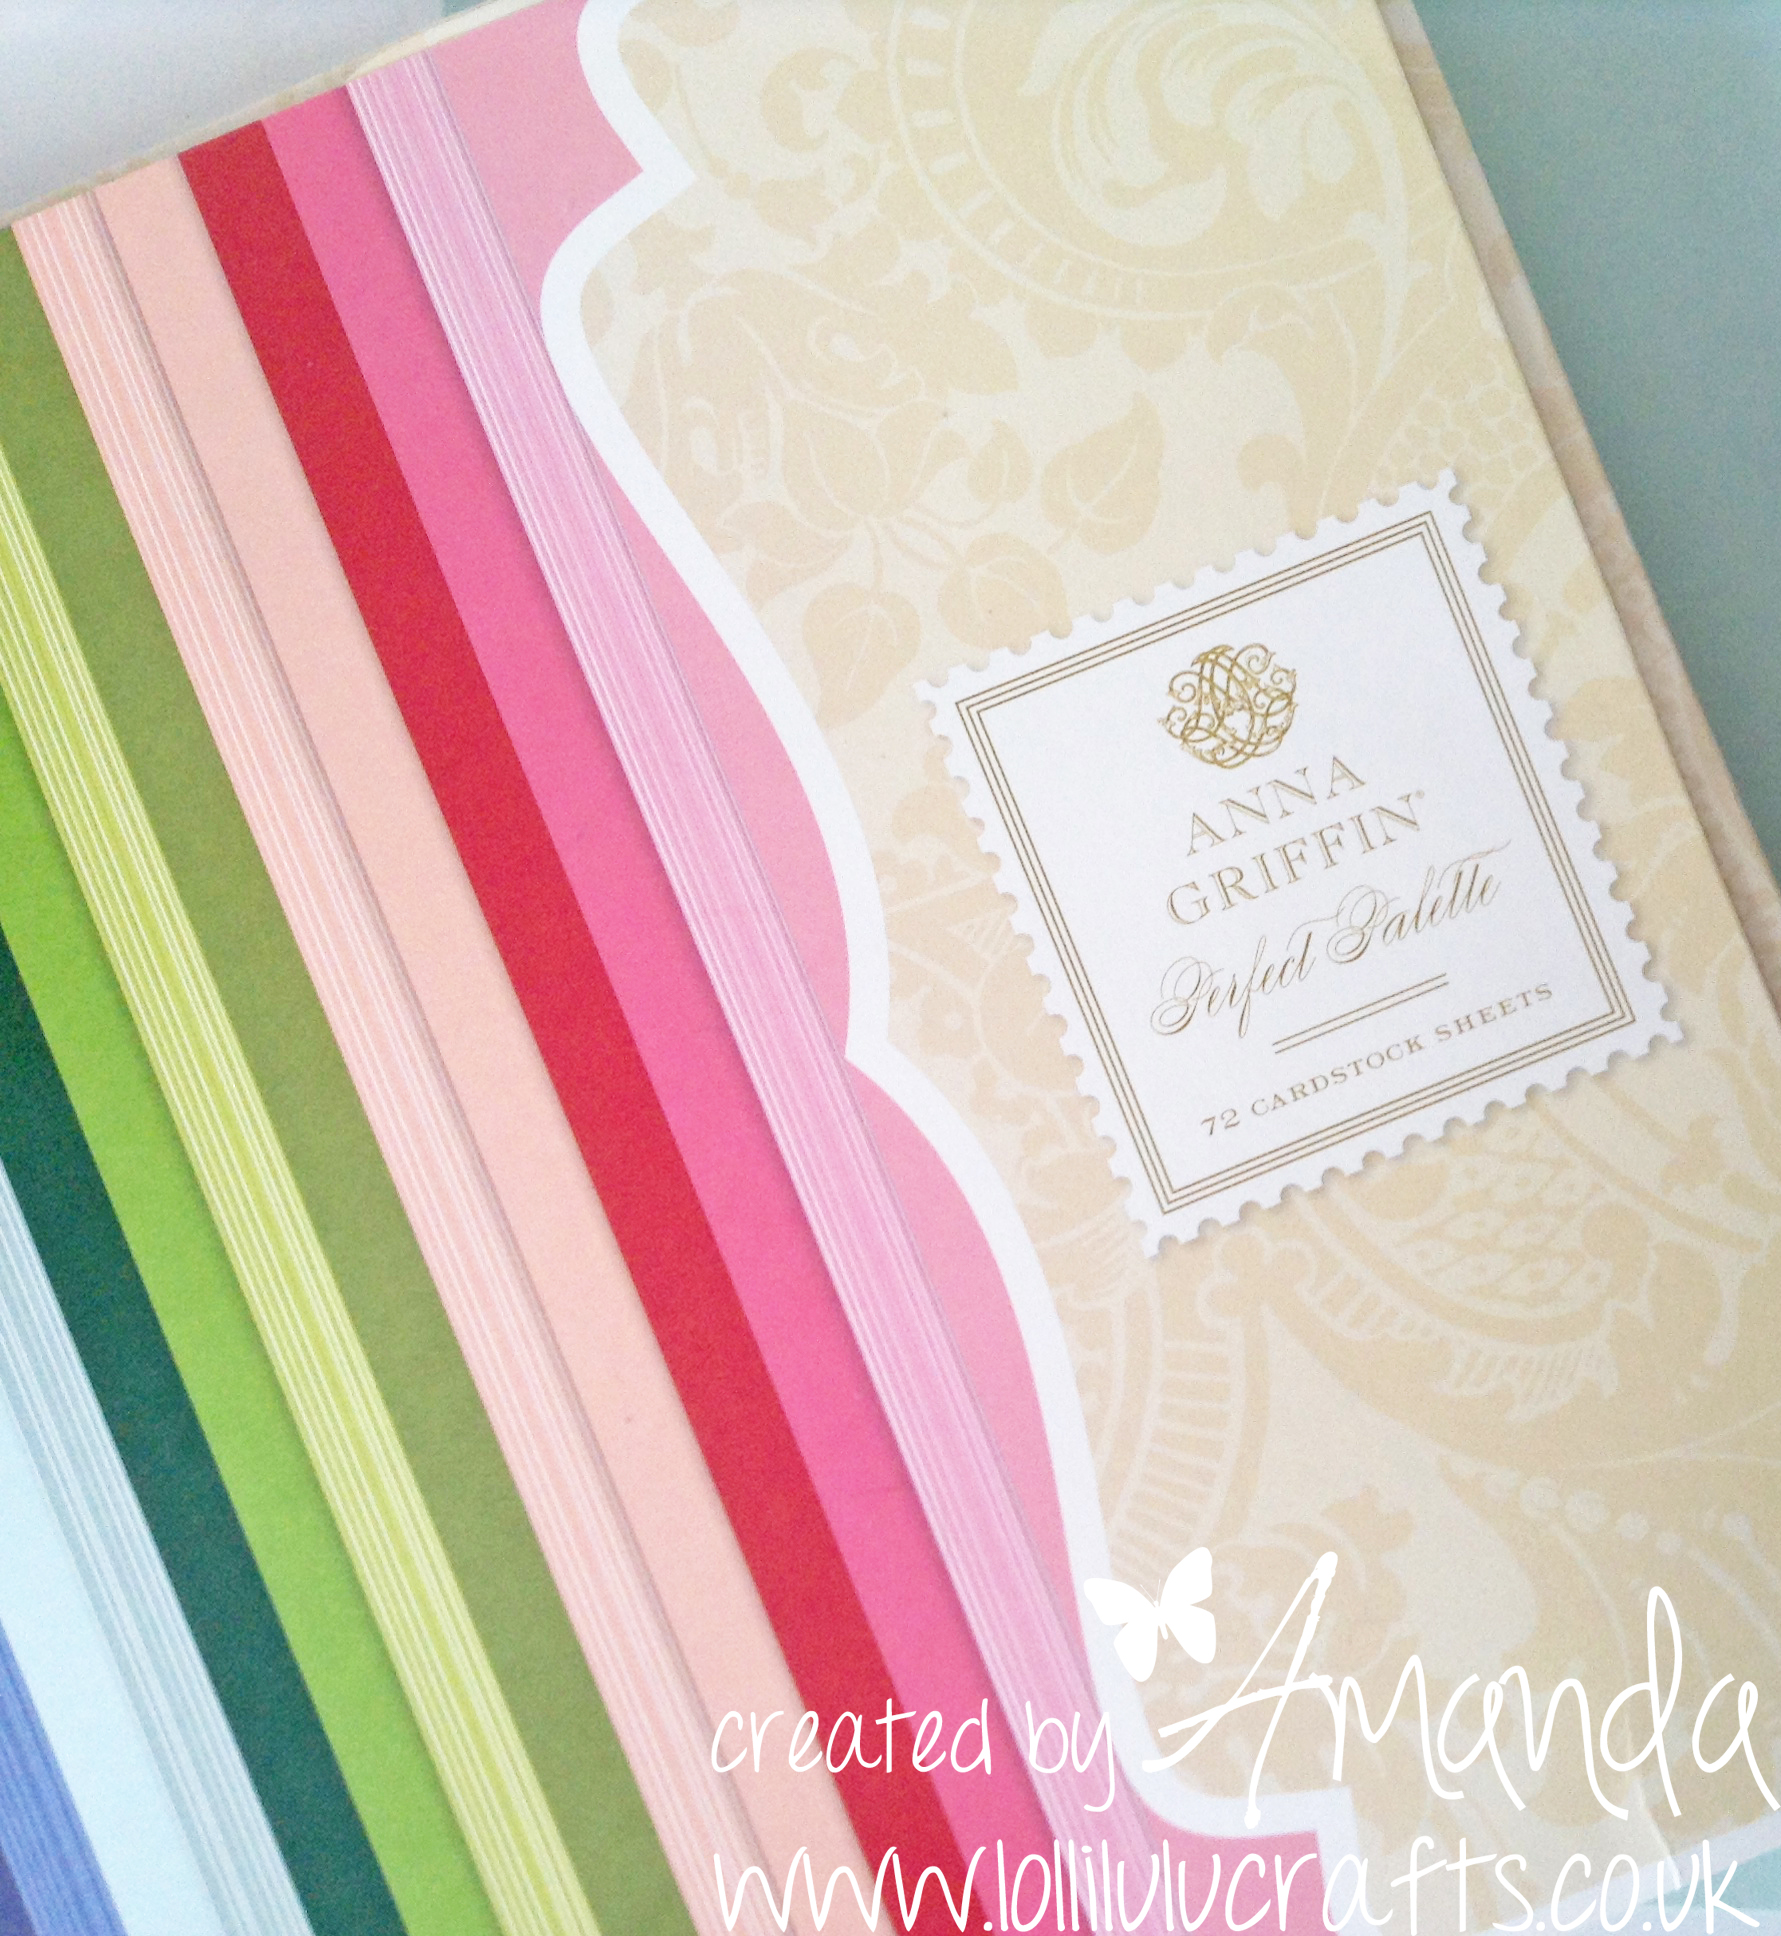
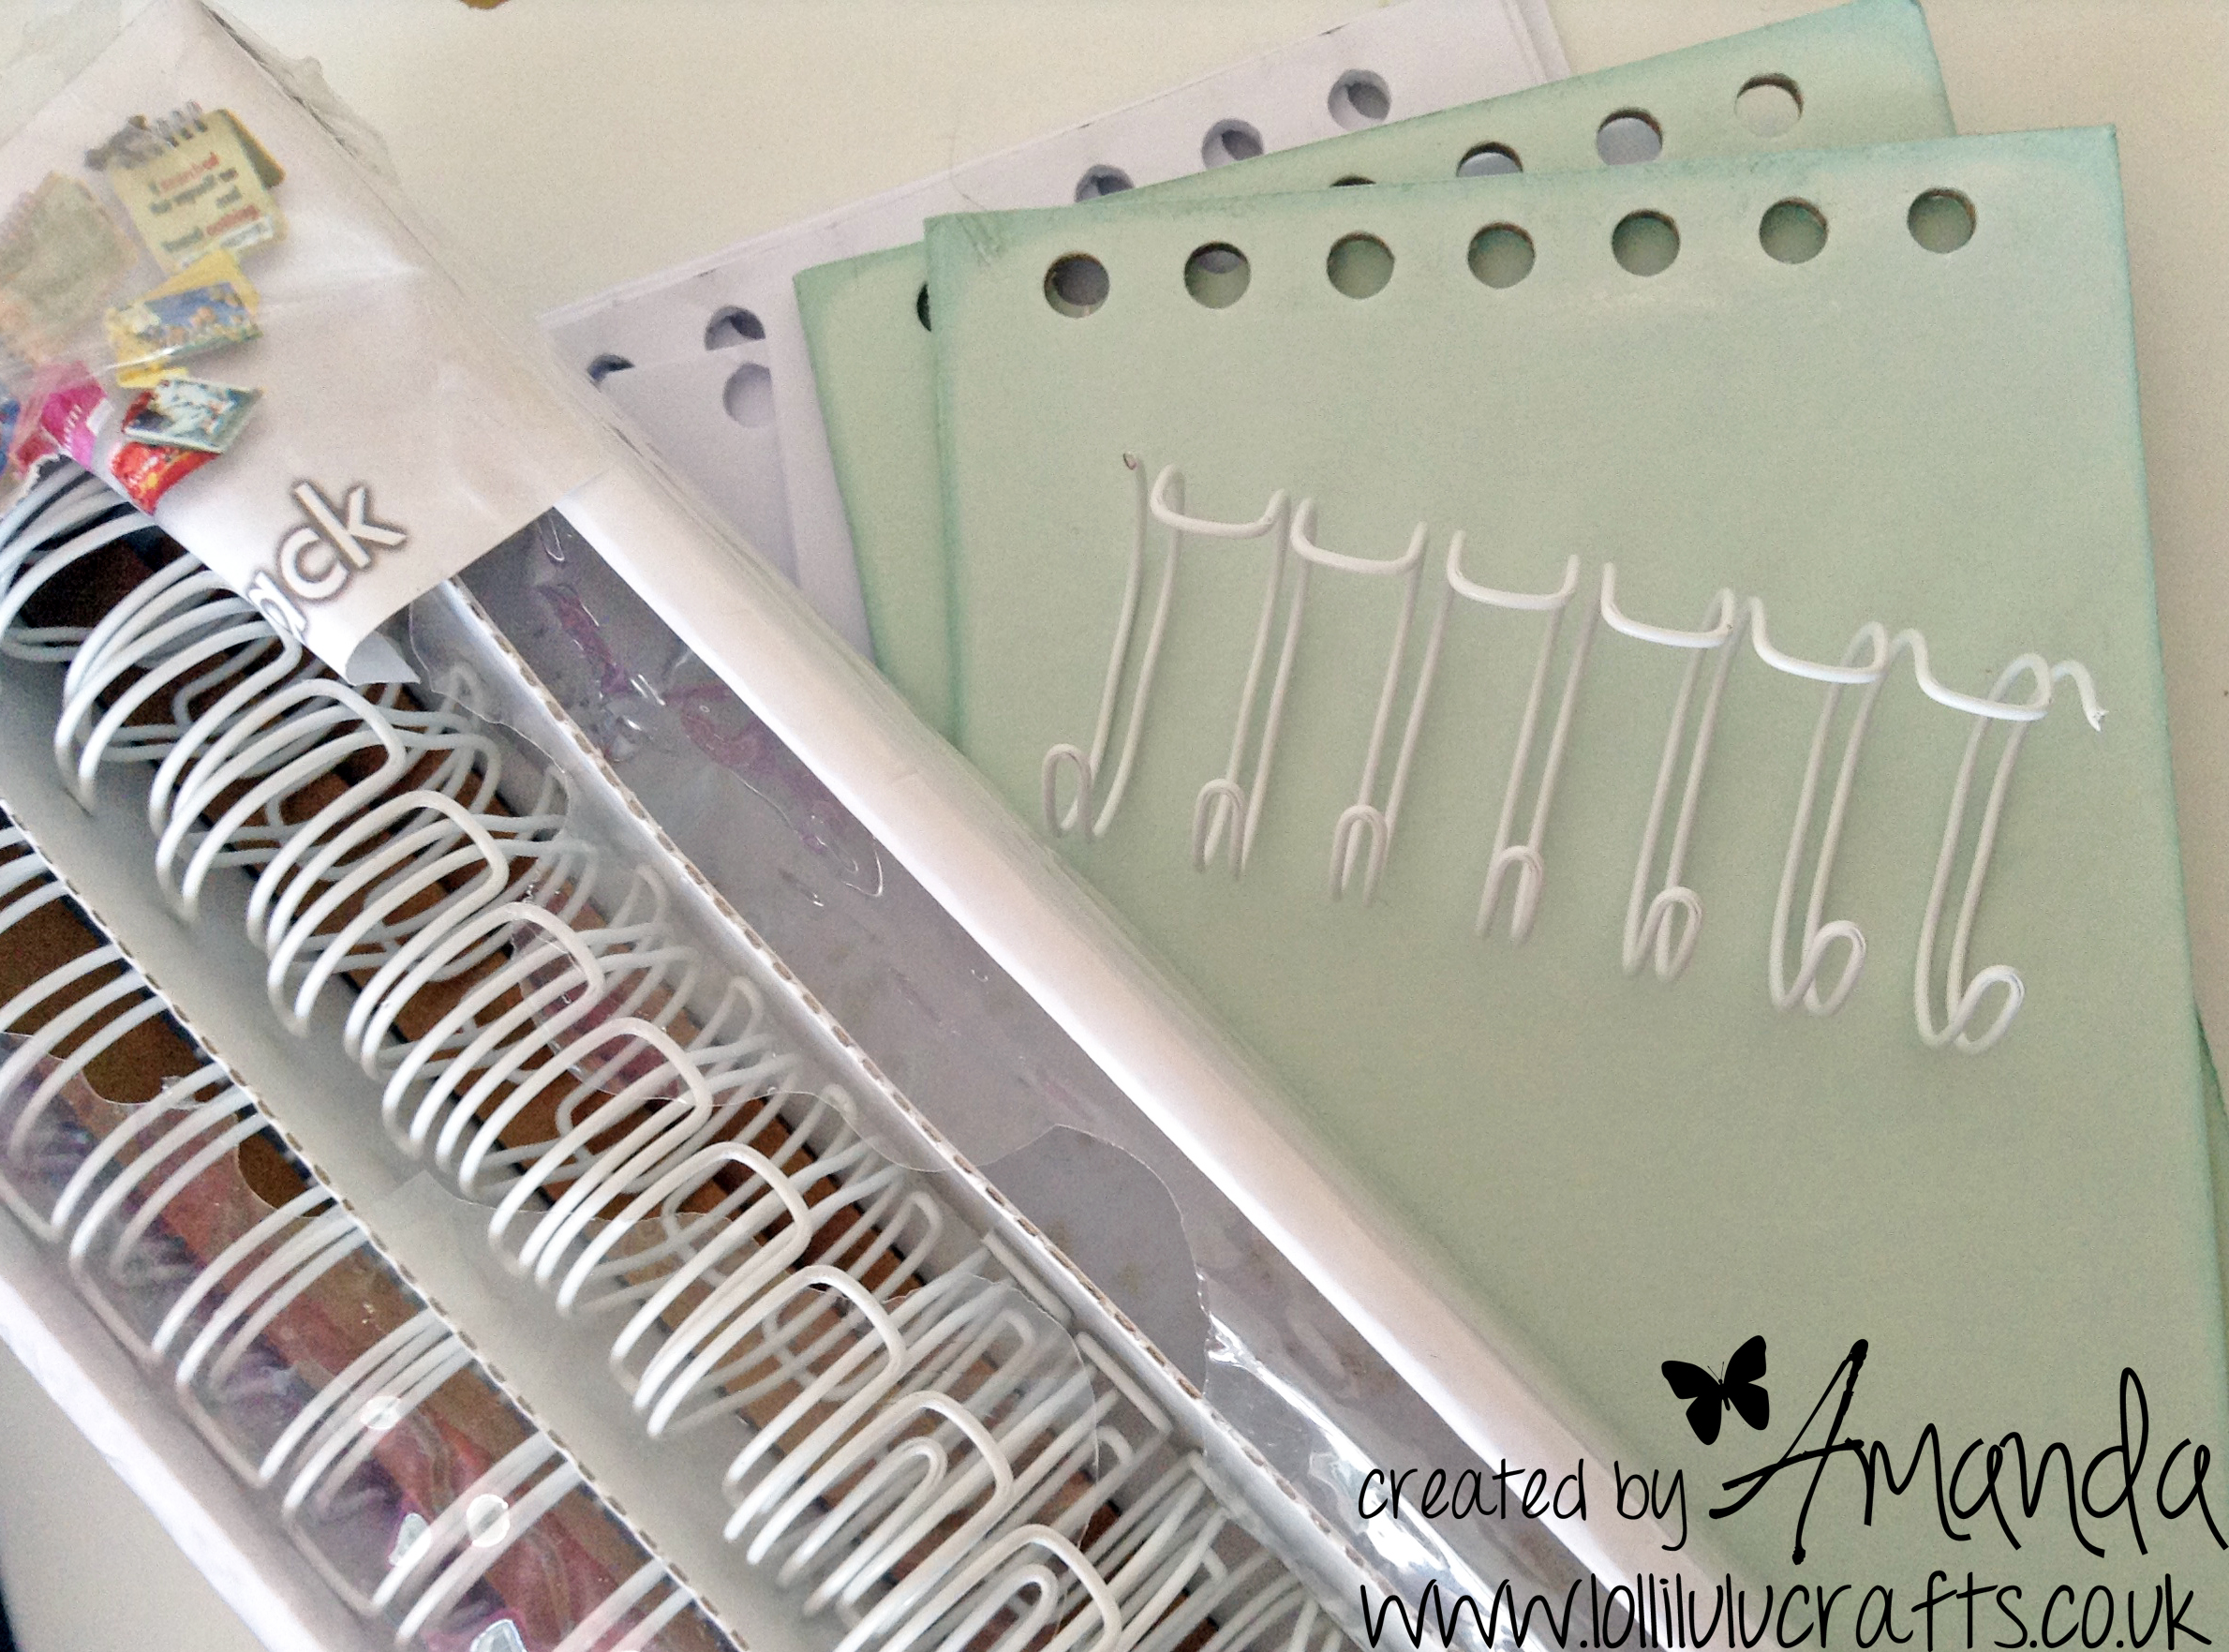
Anyway onto the actual project. So the first thing I looked for was the coloured card and as I said mum wanted it plain and green. So we went for this duck egg-y colour card from this lovely Anna Griffin card set. It is a plain colour but it has a little ‘texture’ look in the pattern so it is really pretty. I used one piece of 12″ x 12″ for the whole book. I then hauled my Cinch out and the card stock that was to be the base of my album covers. I used some card that I had that came from some packaging. When I buy things and it has in it some card packaging I alway keep it. The great thing is often they have one white side which makes your job a lot easier. These pieces of card I think came from a new duvet set I had got. I find that the quality of this card is nicer than recycling cereal boxes.
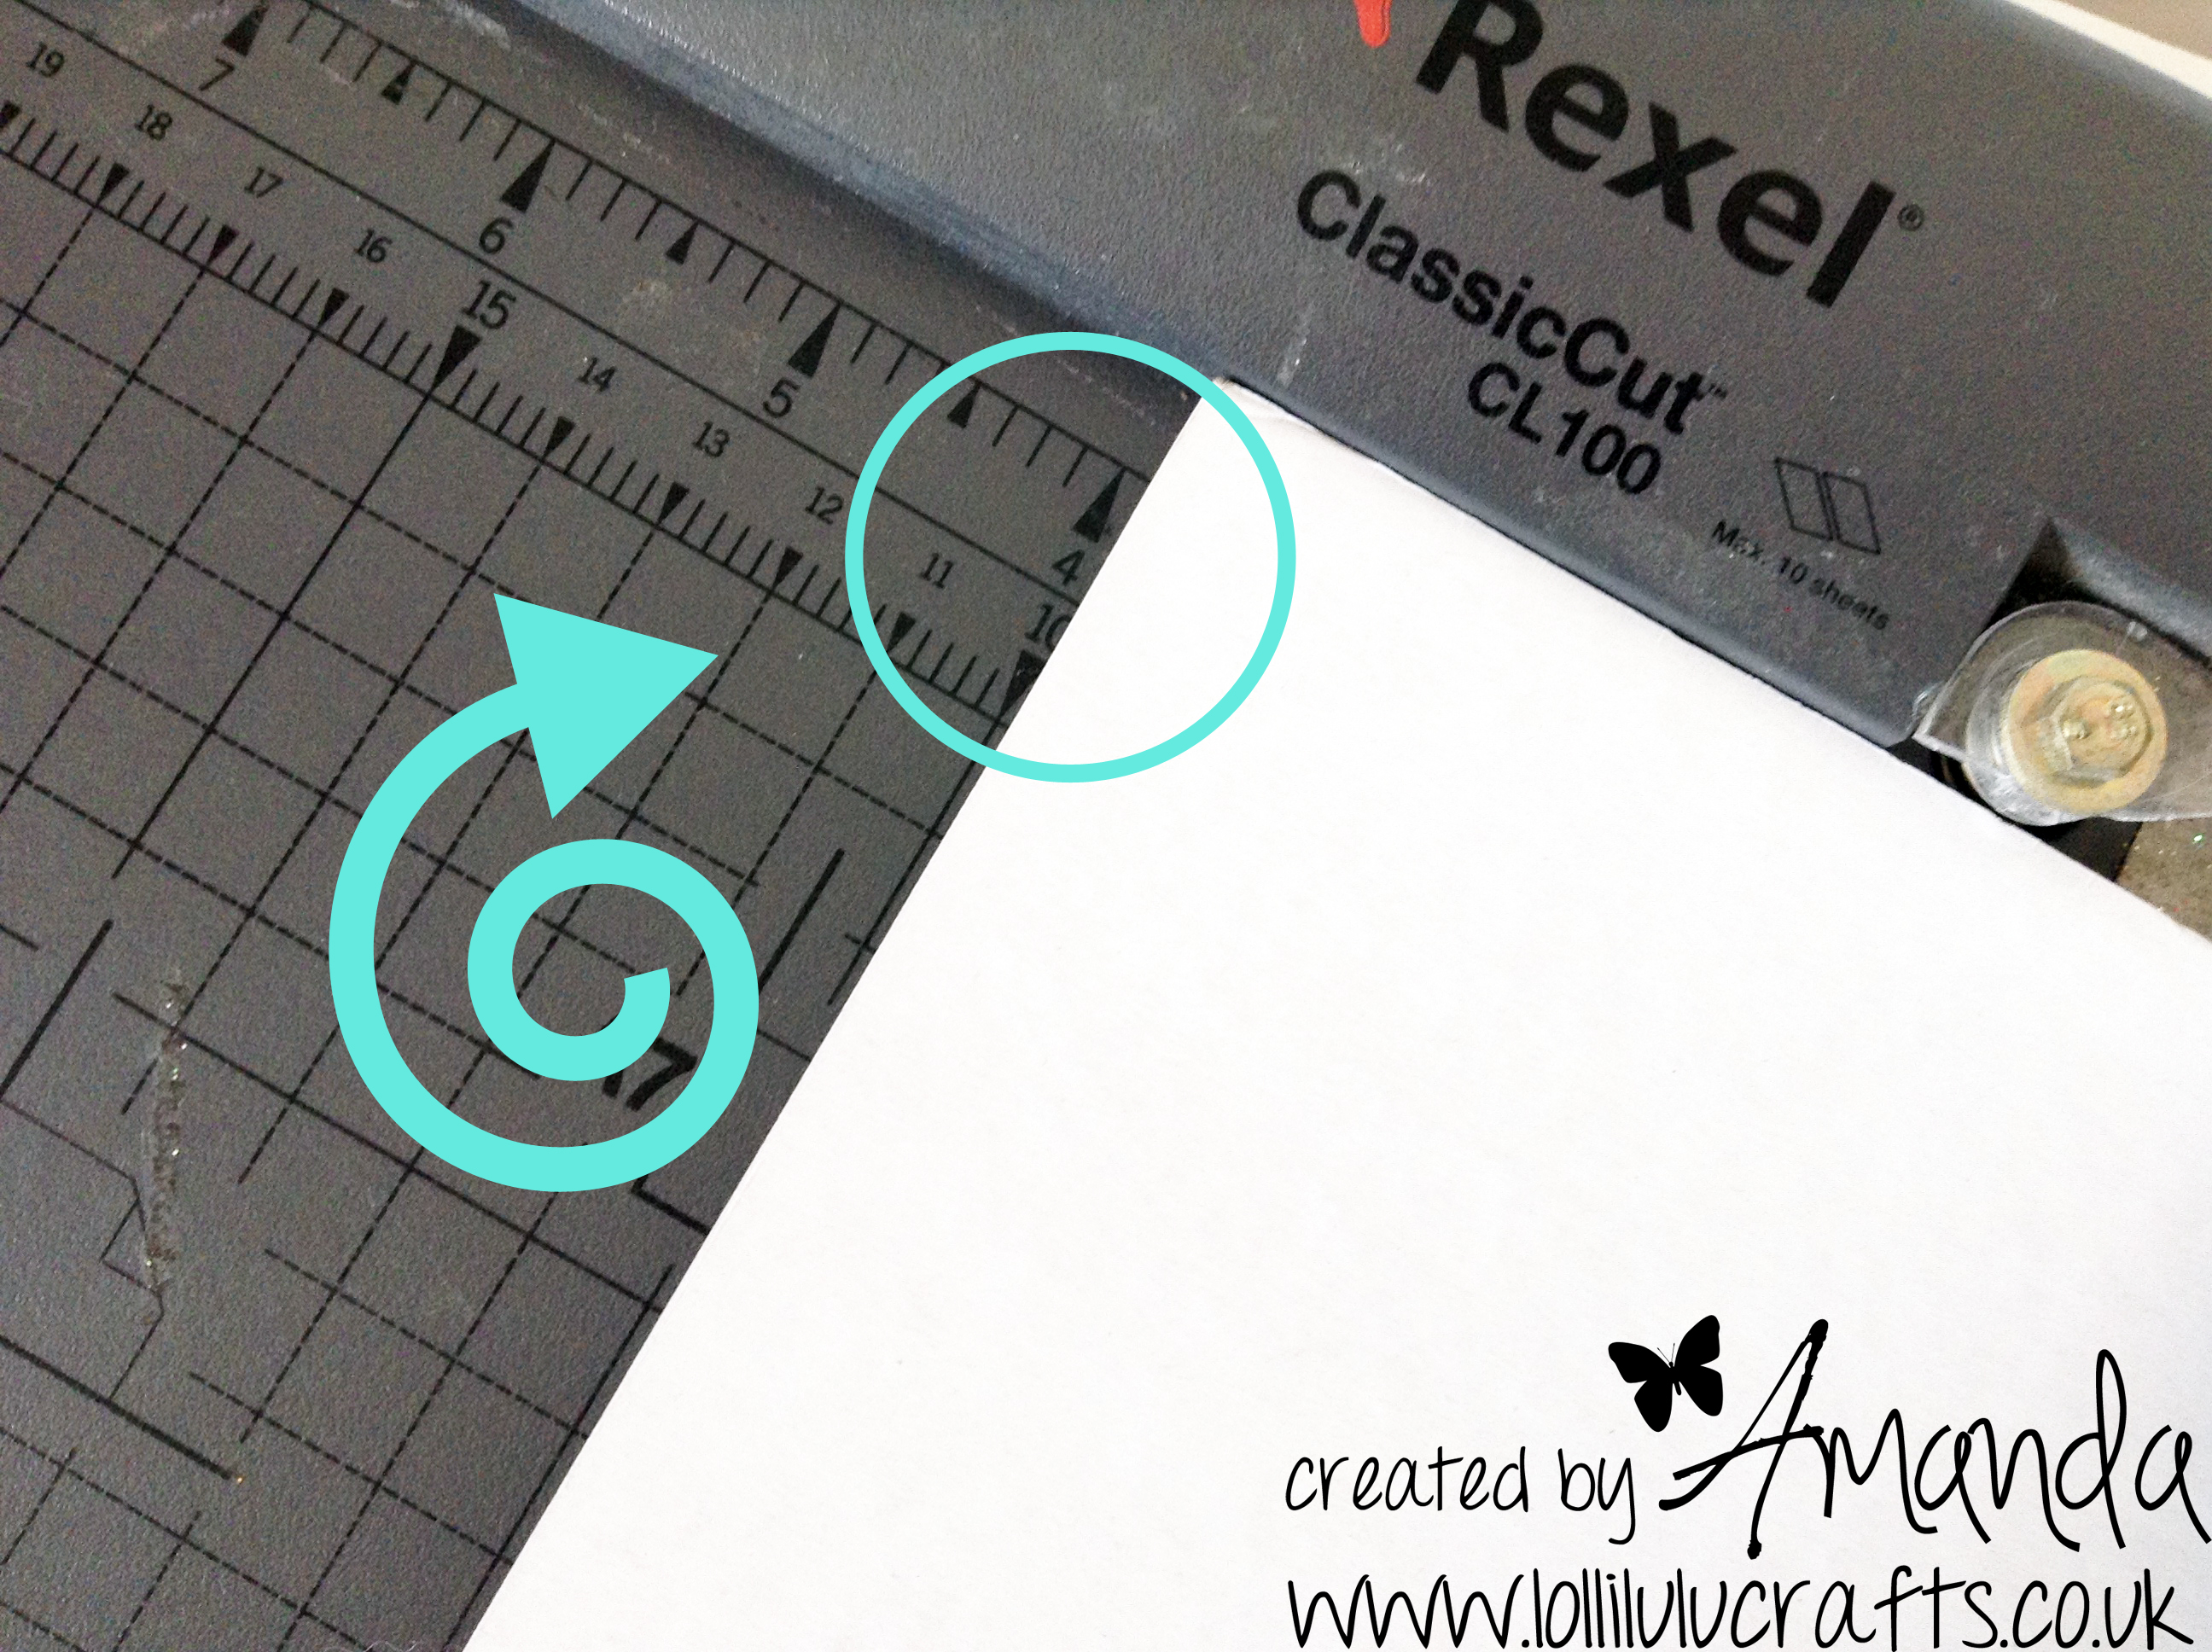
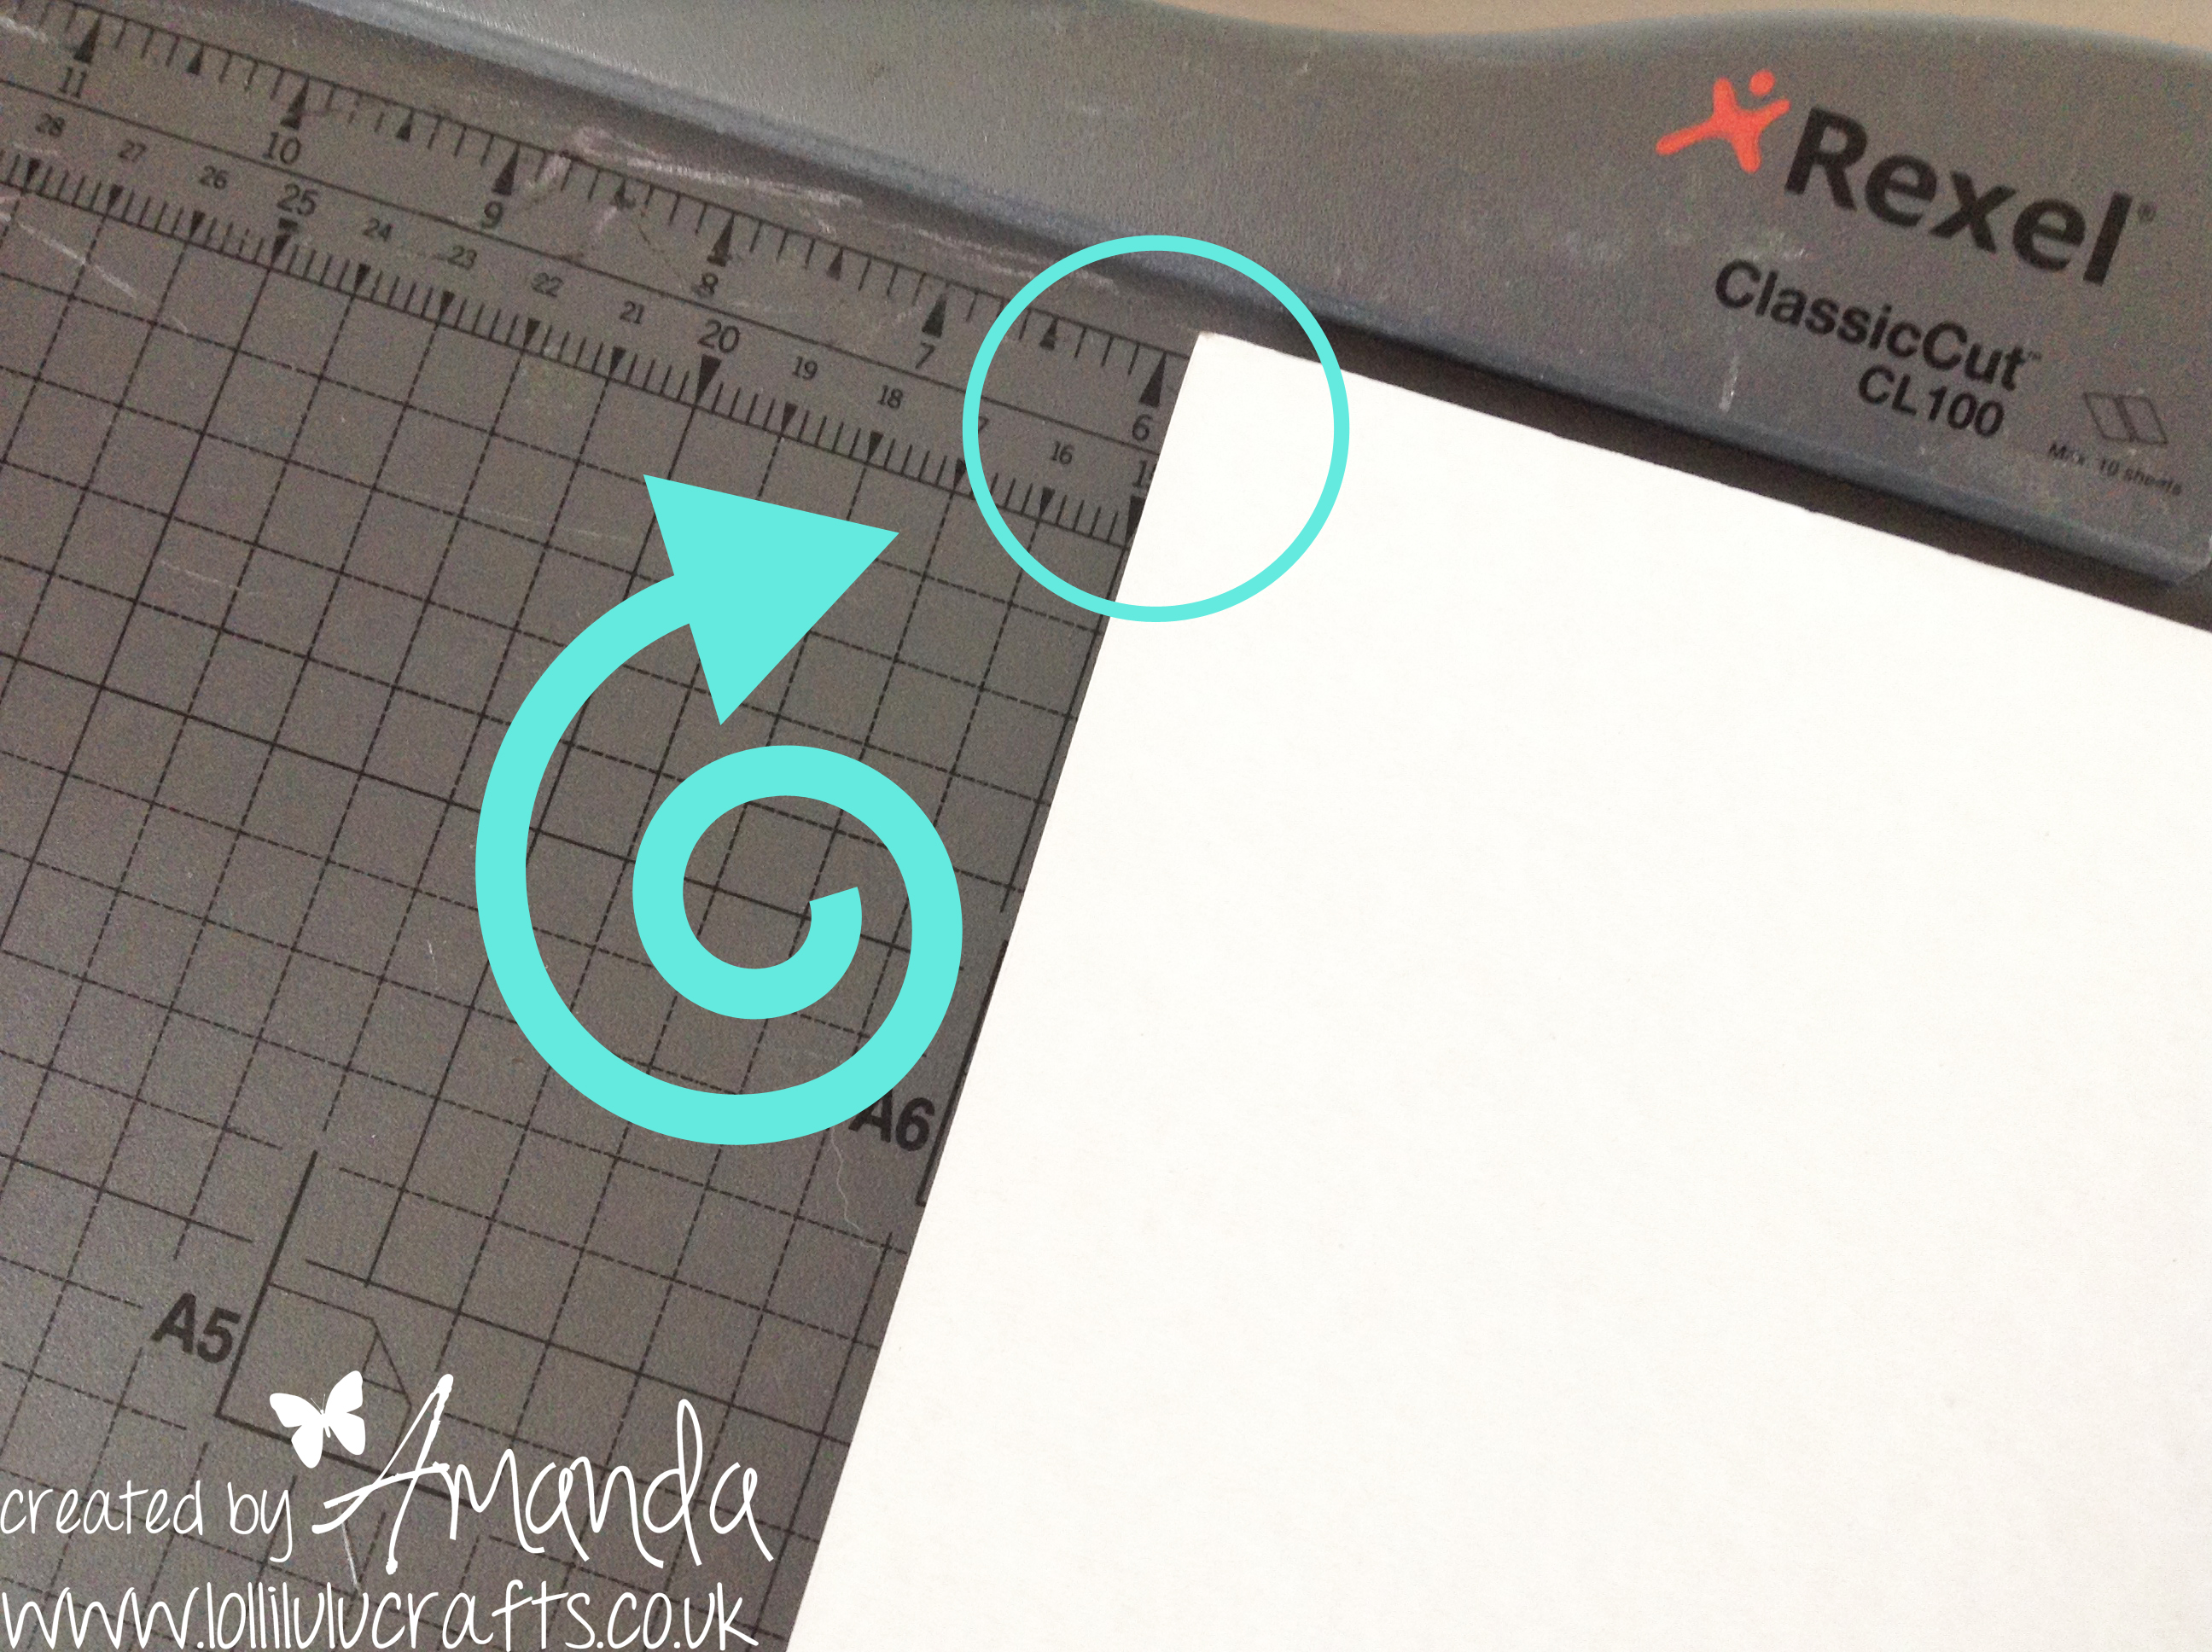
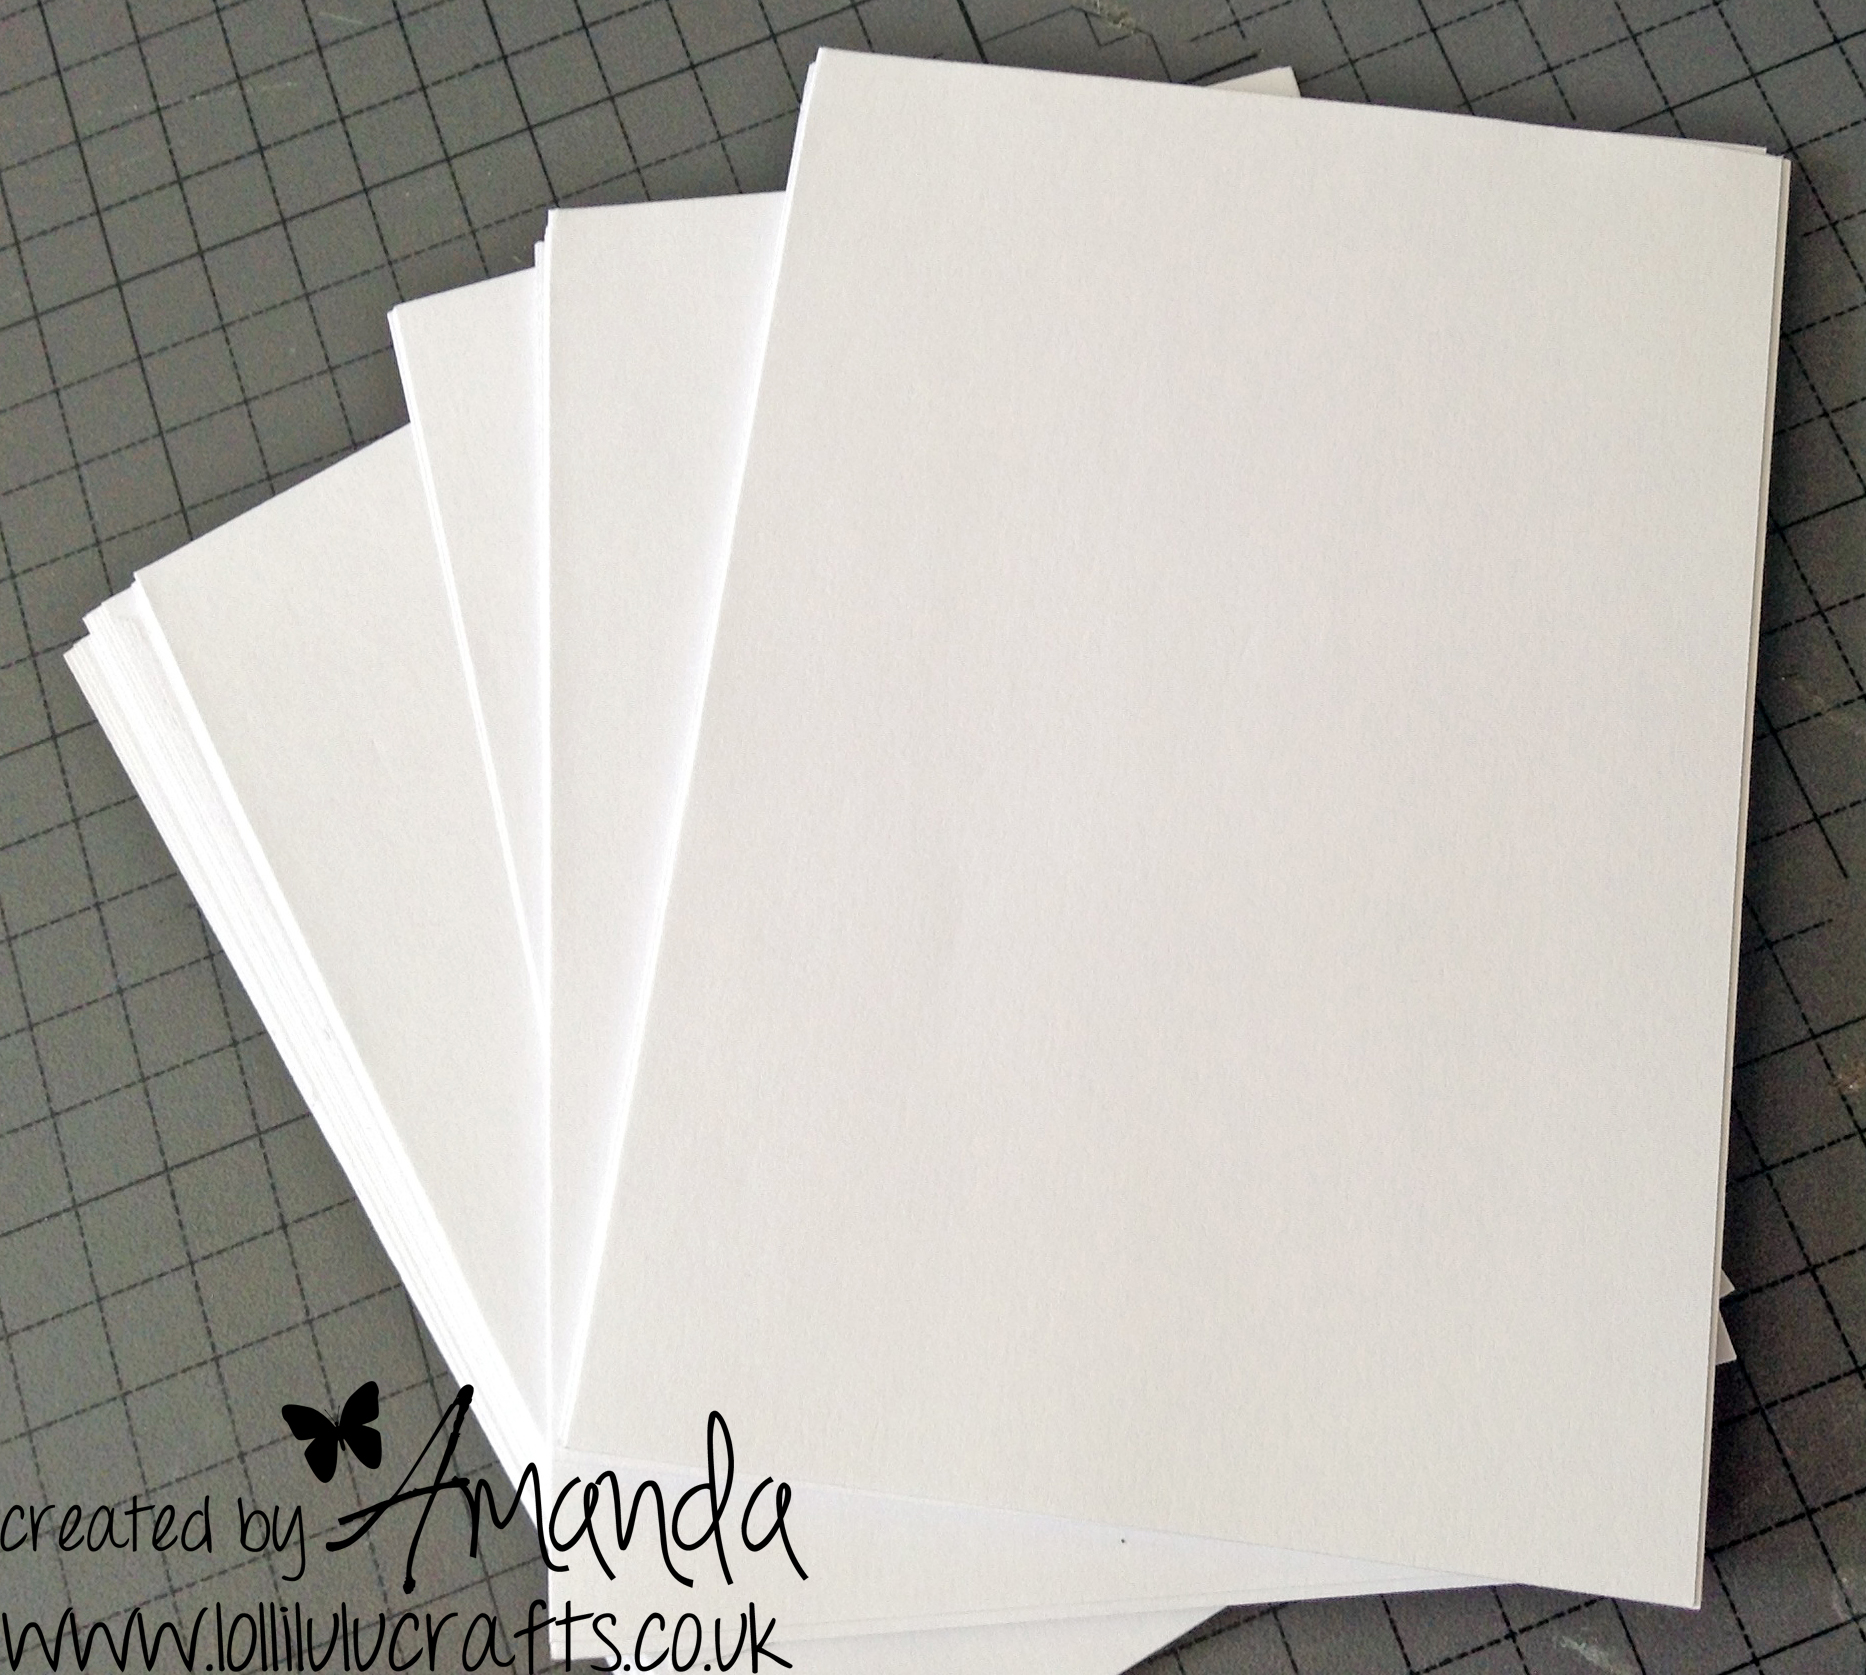
So I then collected up some nice white printer paper but not too thin a weight – about 120gsm and if you are not sure how that converts to lbs then click here and my post will explain all 🙂 Then I cut both my card base, my Anna Griffin and my white paper to size.

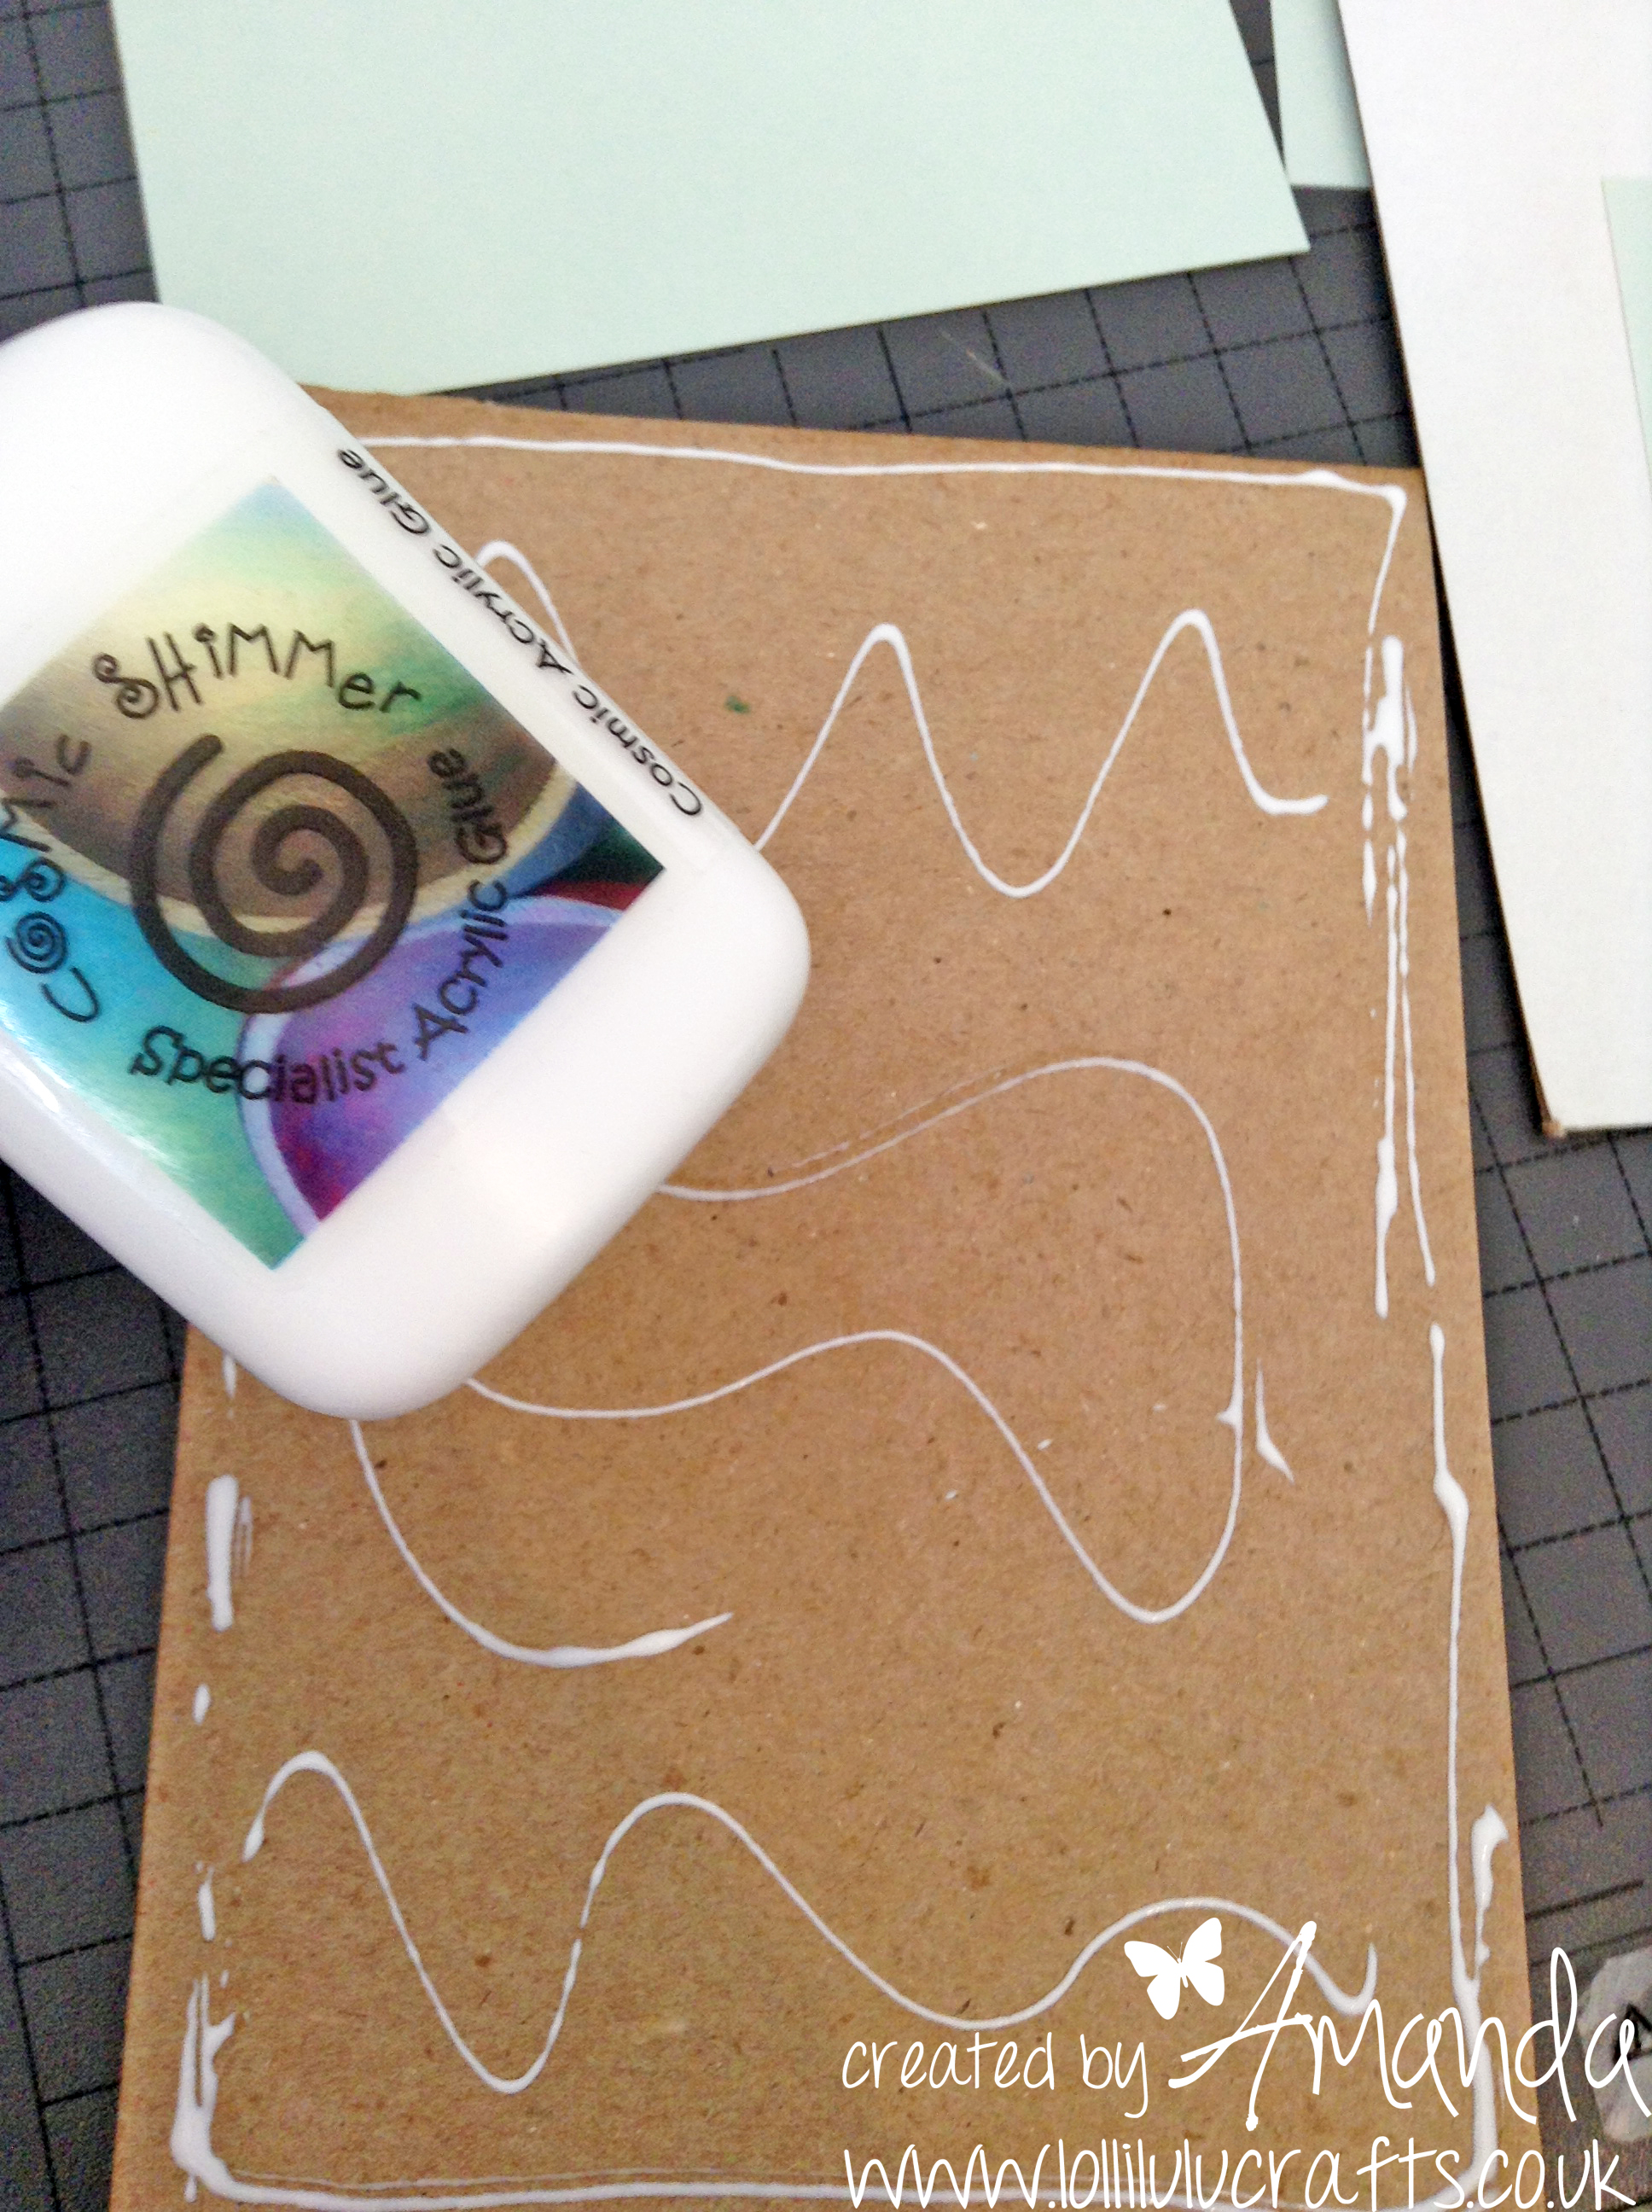
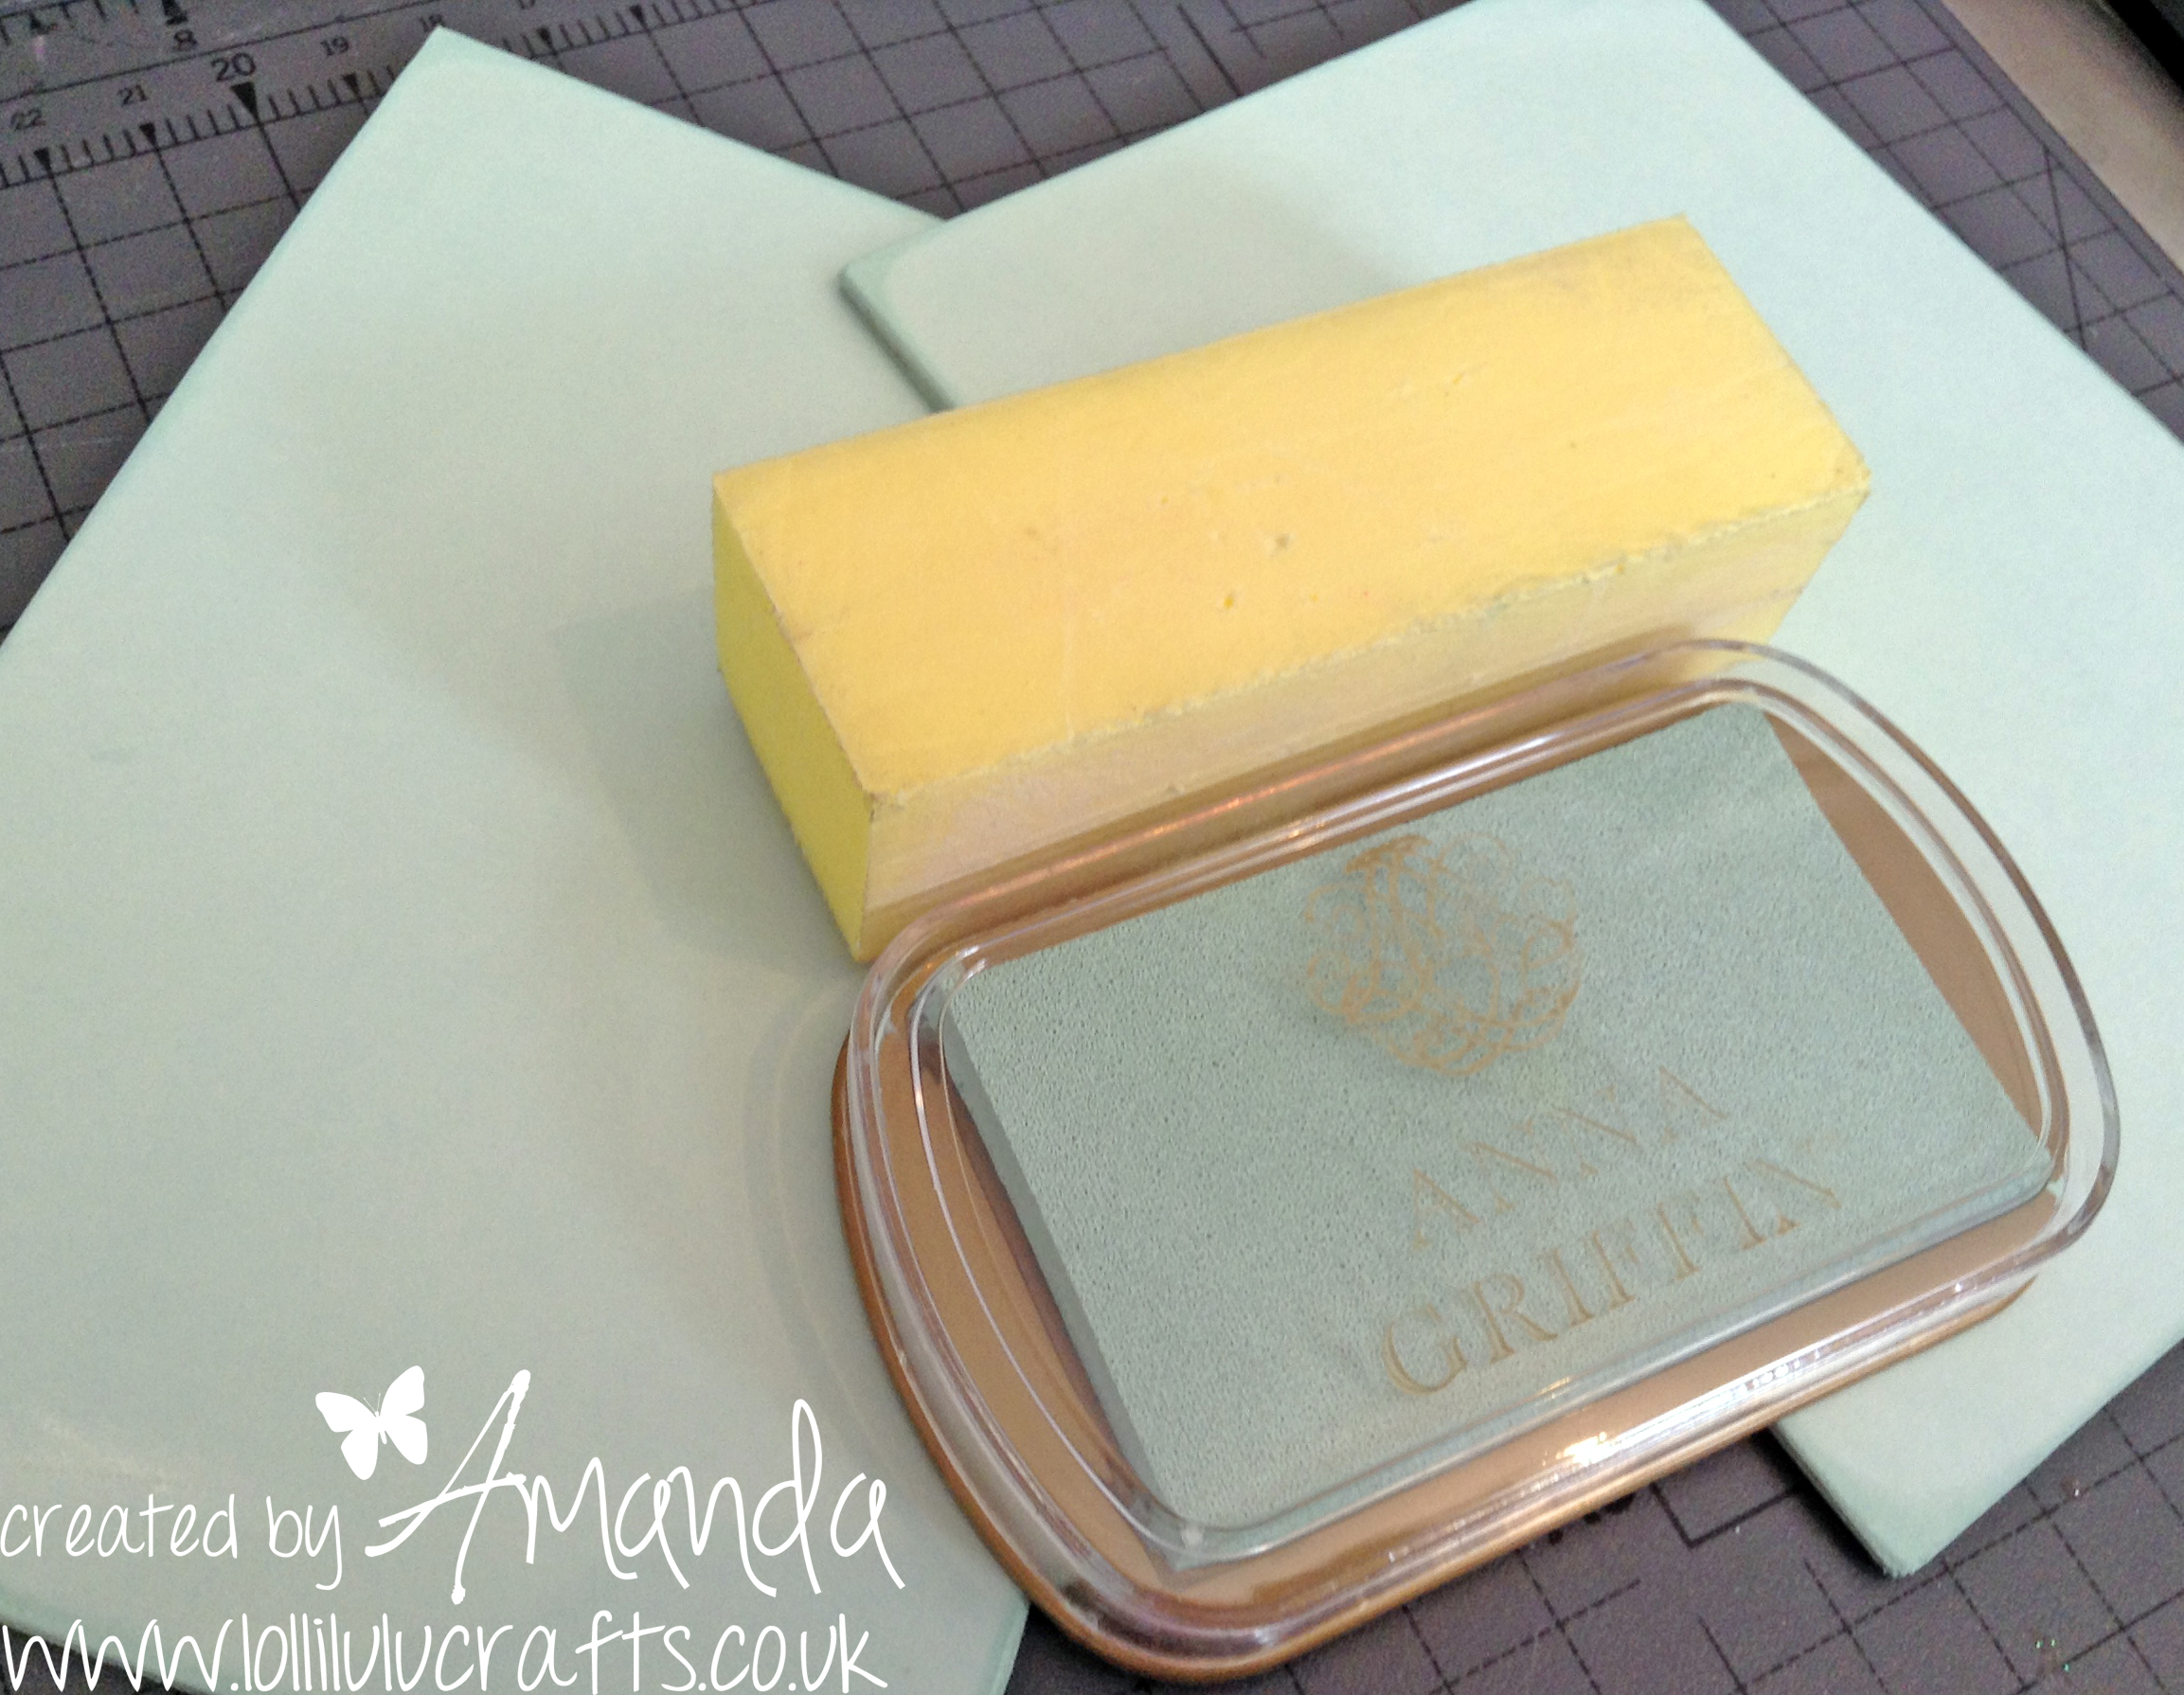
Next I used my Cosmic Shimmer glue – ooh I do lurve that glue and if you want to try it then click here but don’t forget to come back 🙂 – to glue my Anna paper to the front and back of my album back and front cover. Next I took my buffing tool and buffed all the sides to smooth the edges where the three layers are all showing. Then I used an Anna ink pad (DUCK EGG) to ink around all those edges to really give a nice finished look to the back and front covers.
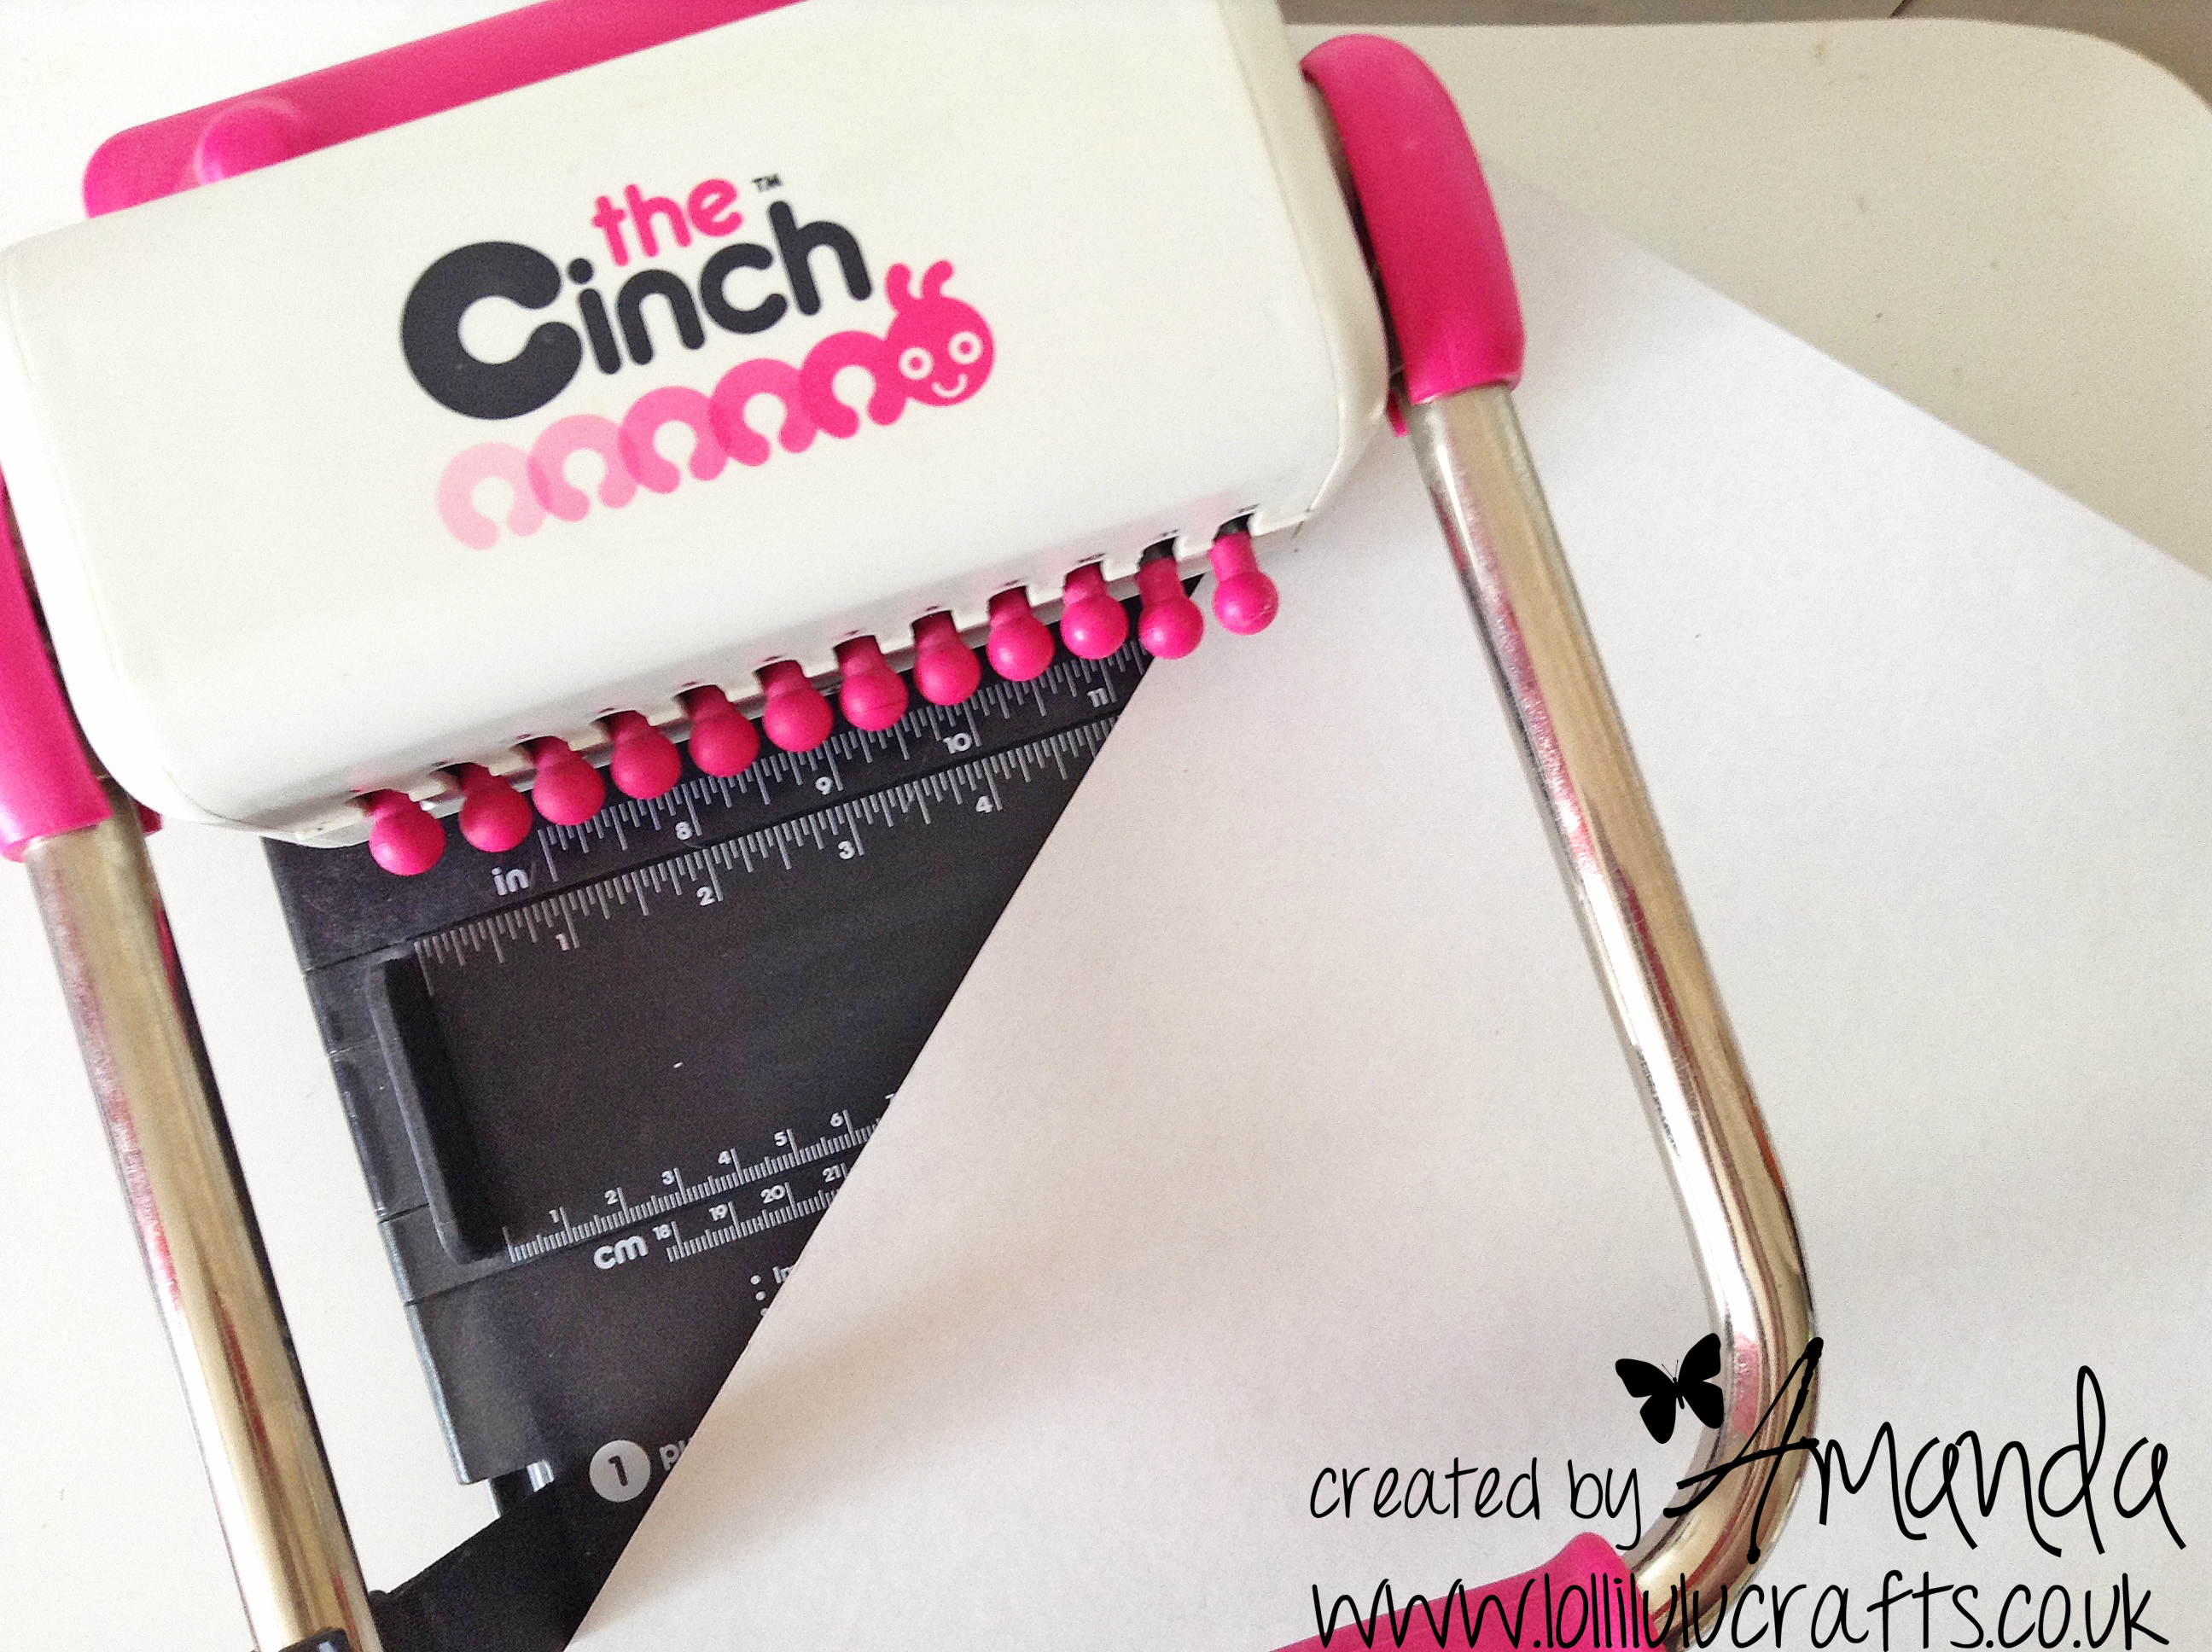
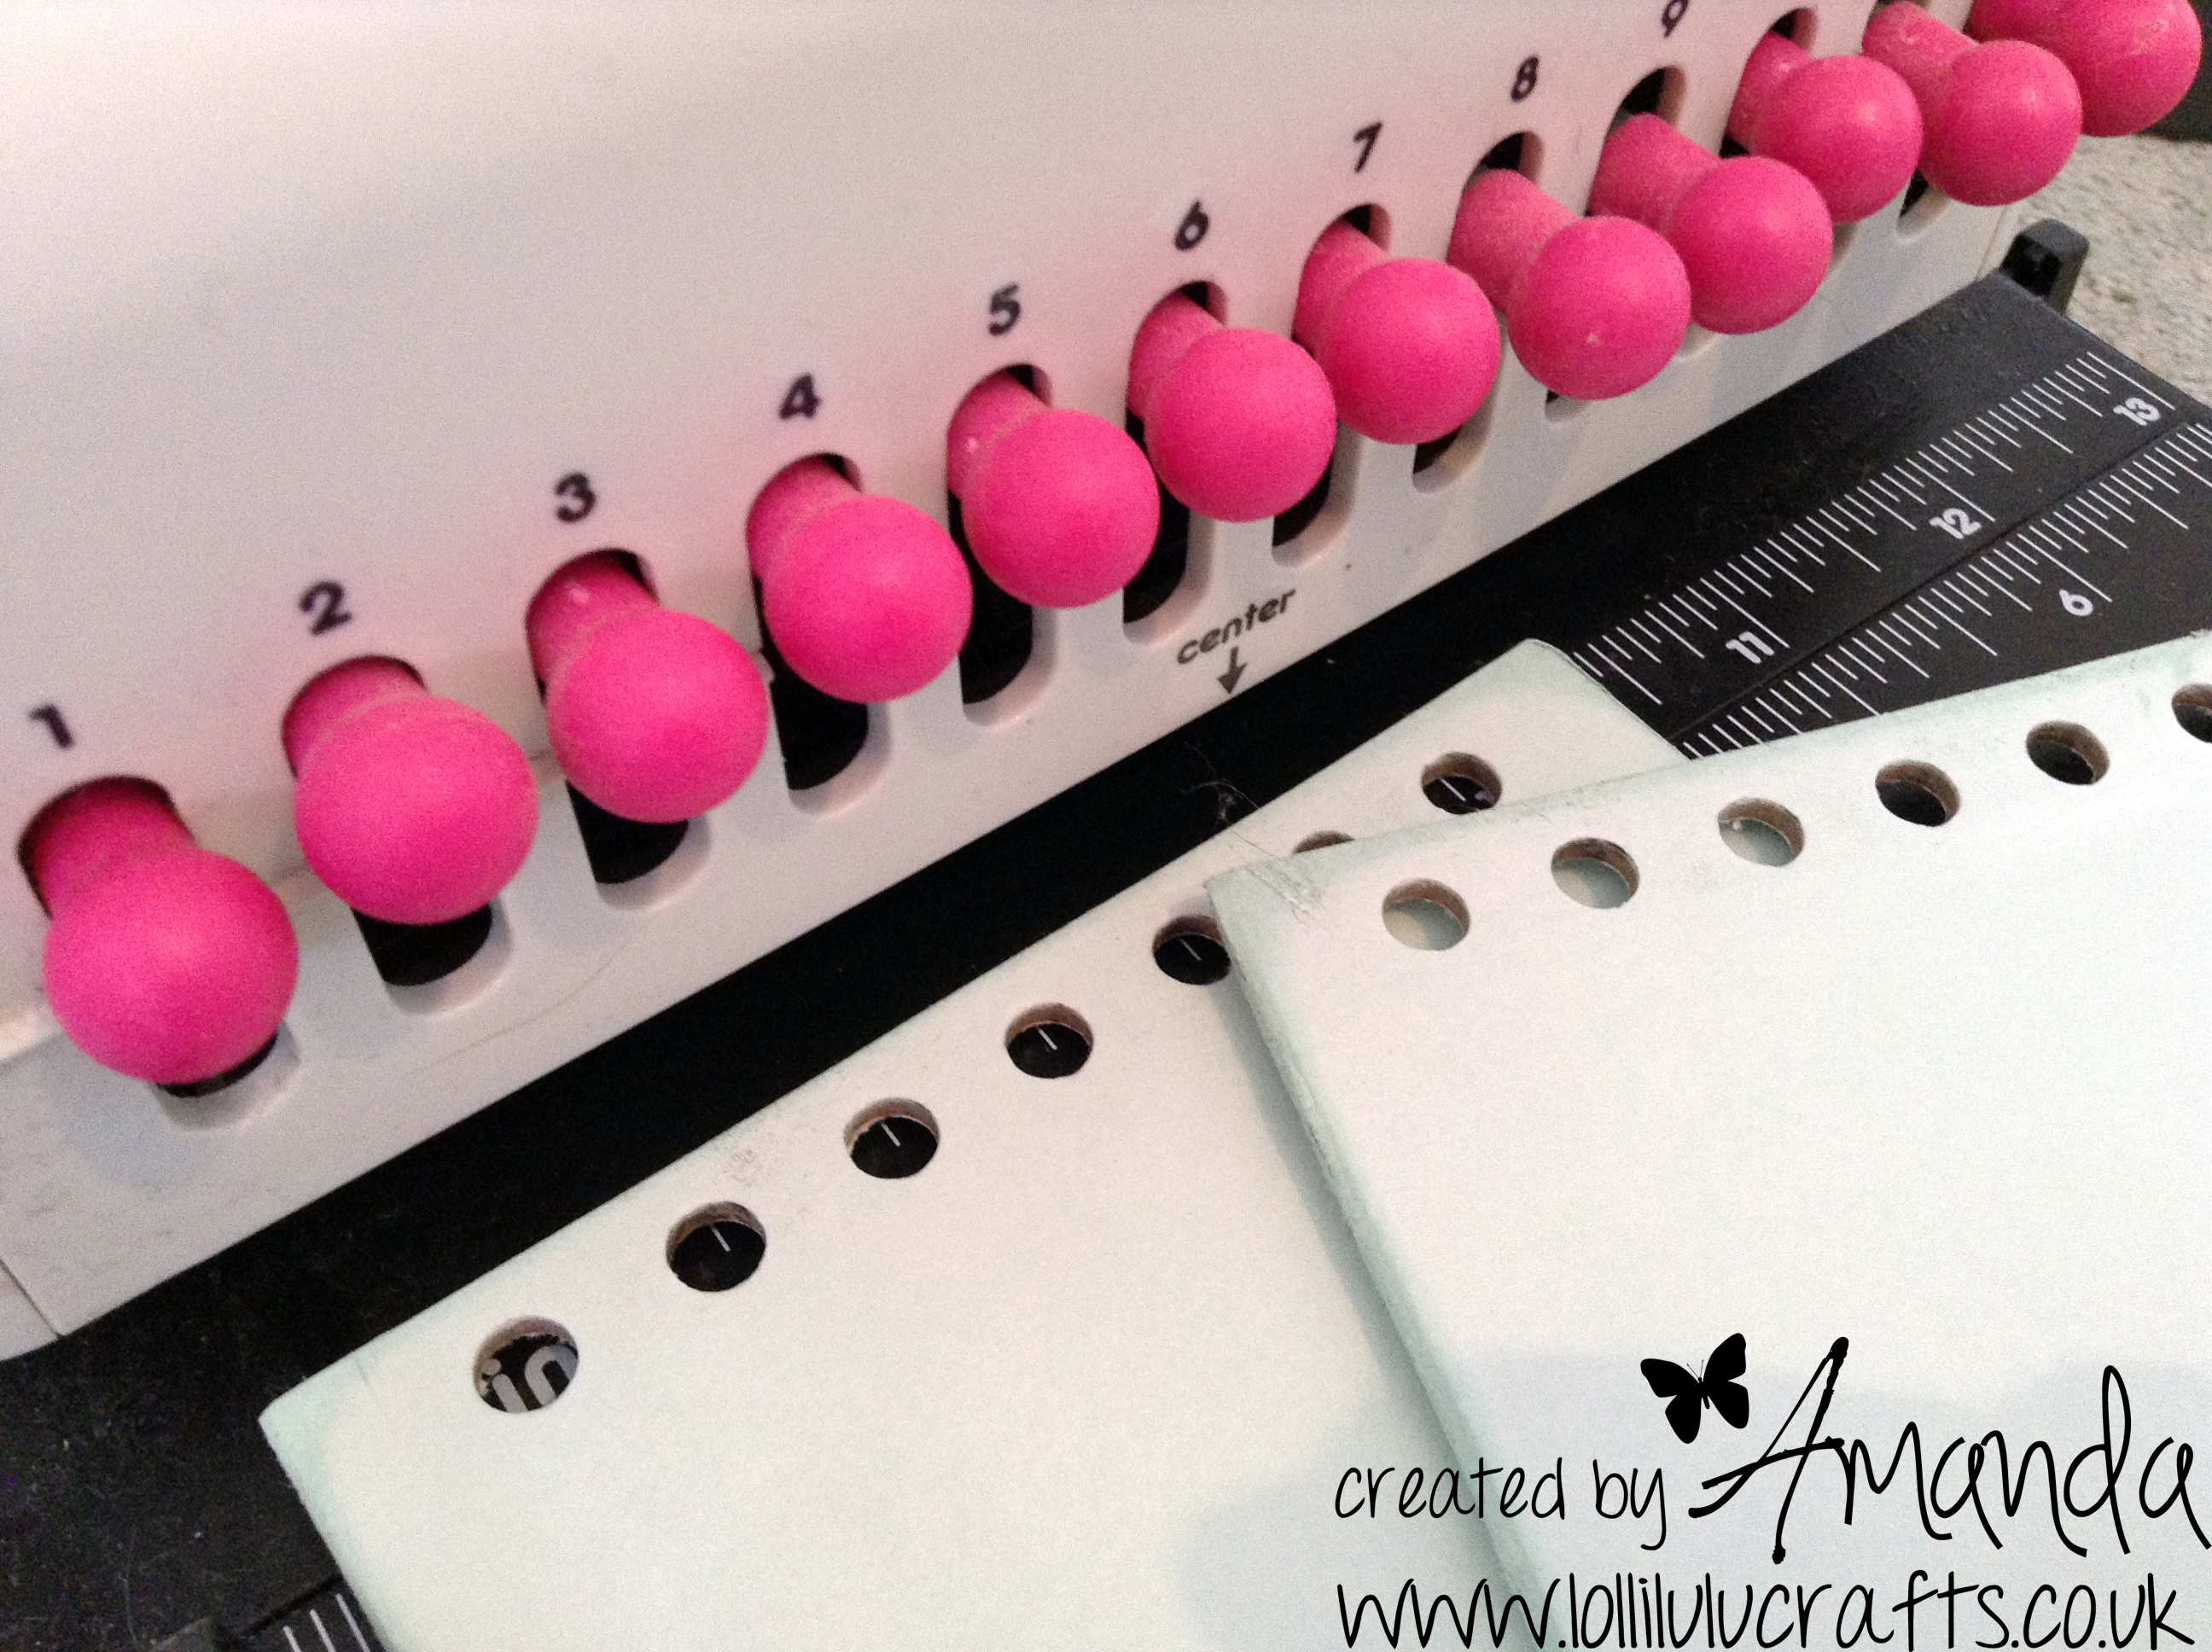
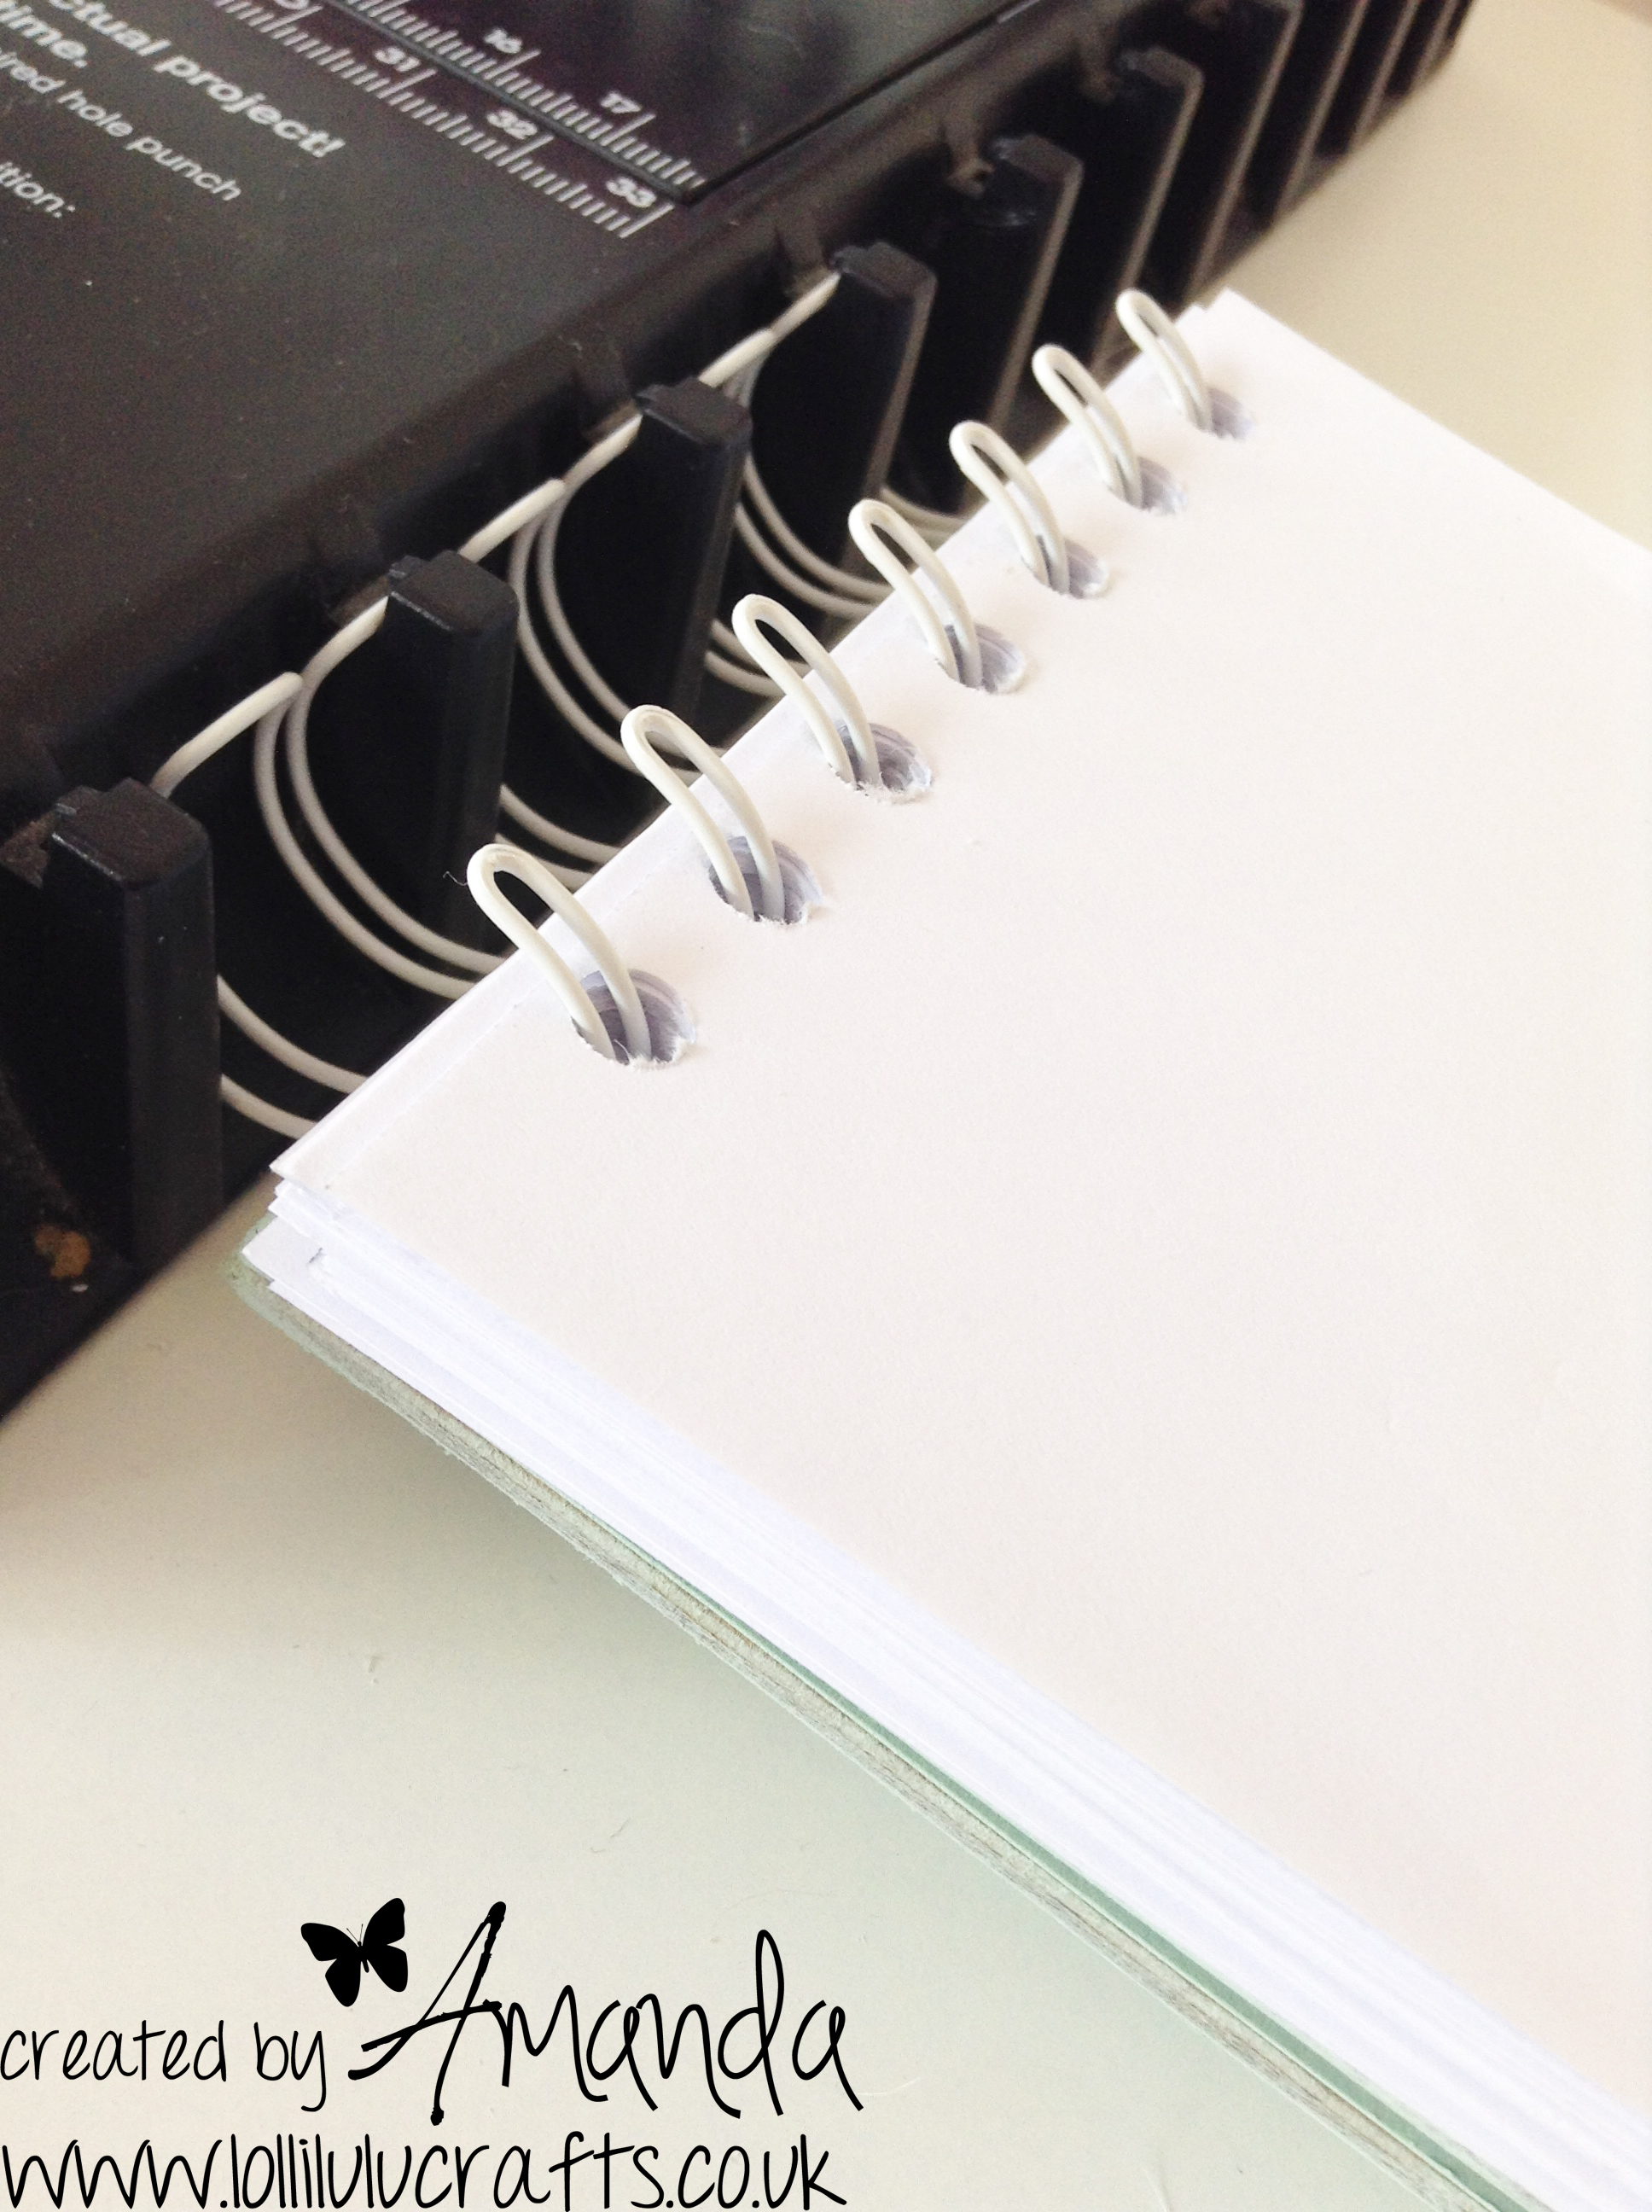
Then I got to the fun bit of using my Cinch to put the holes in the paper and book covers. When using the Cinch it does tell you on the machine itself which pegs should be in but to be honest I usually just go by eye. In this case the book was approx 4″ across and I pushed in the pegs up to but not including number 8. Then choose my wire rings for the top of the album, I was hoping I had one in the soft green colour but sadly not, so I went for white instead. All you do once you have it, is count the holes and then count across the wire ‘spokes’ to the same number and then cut the wire rings at just below that ‘spoke’ to get your wire rings to the right length for your book.
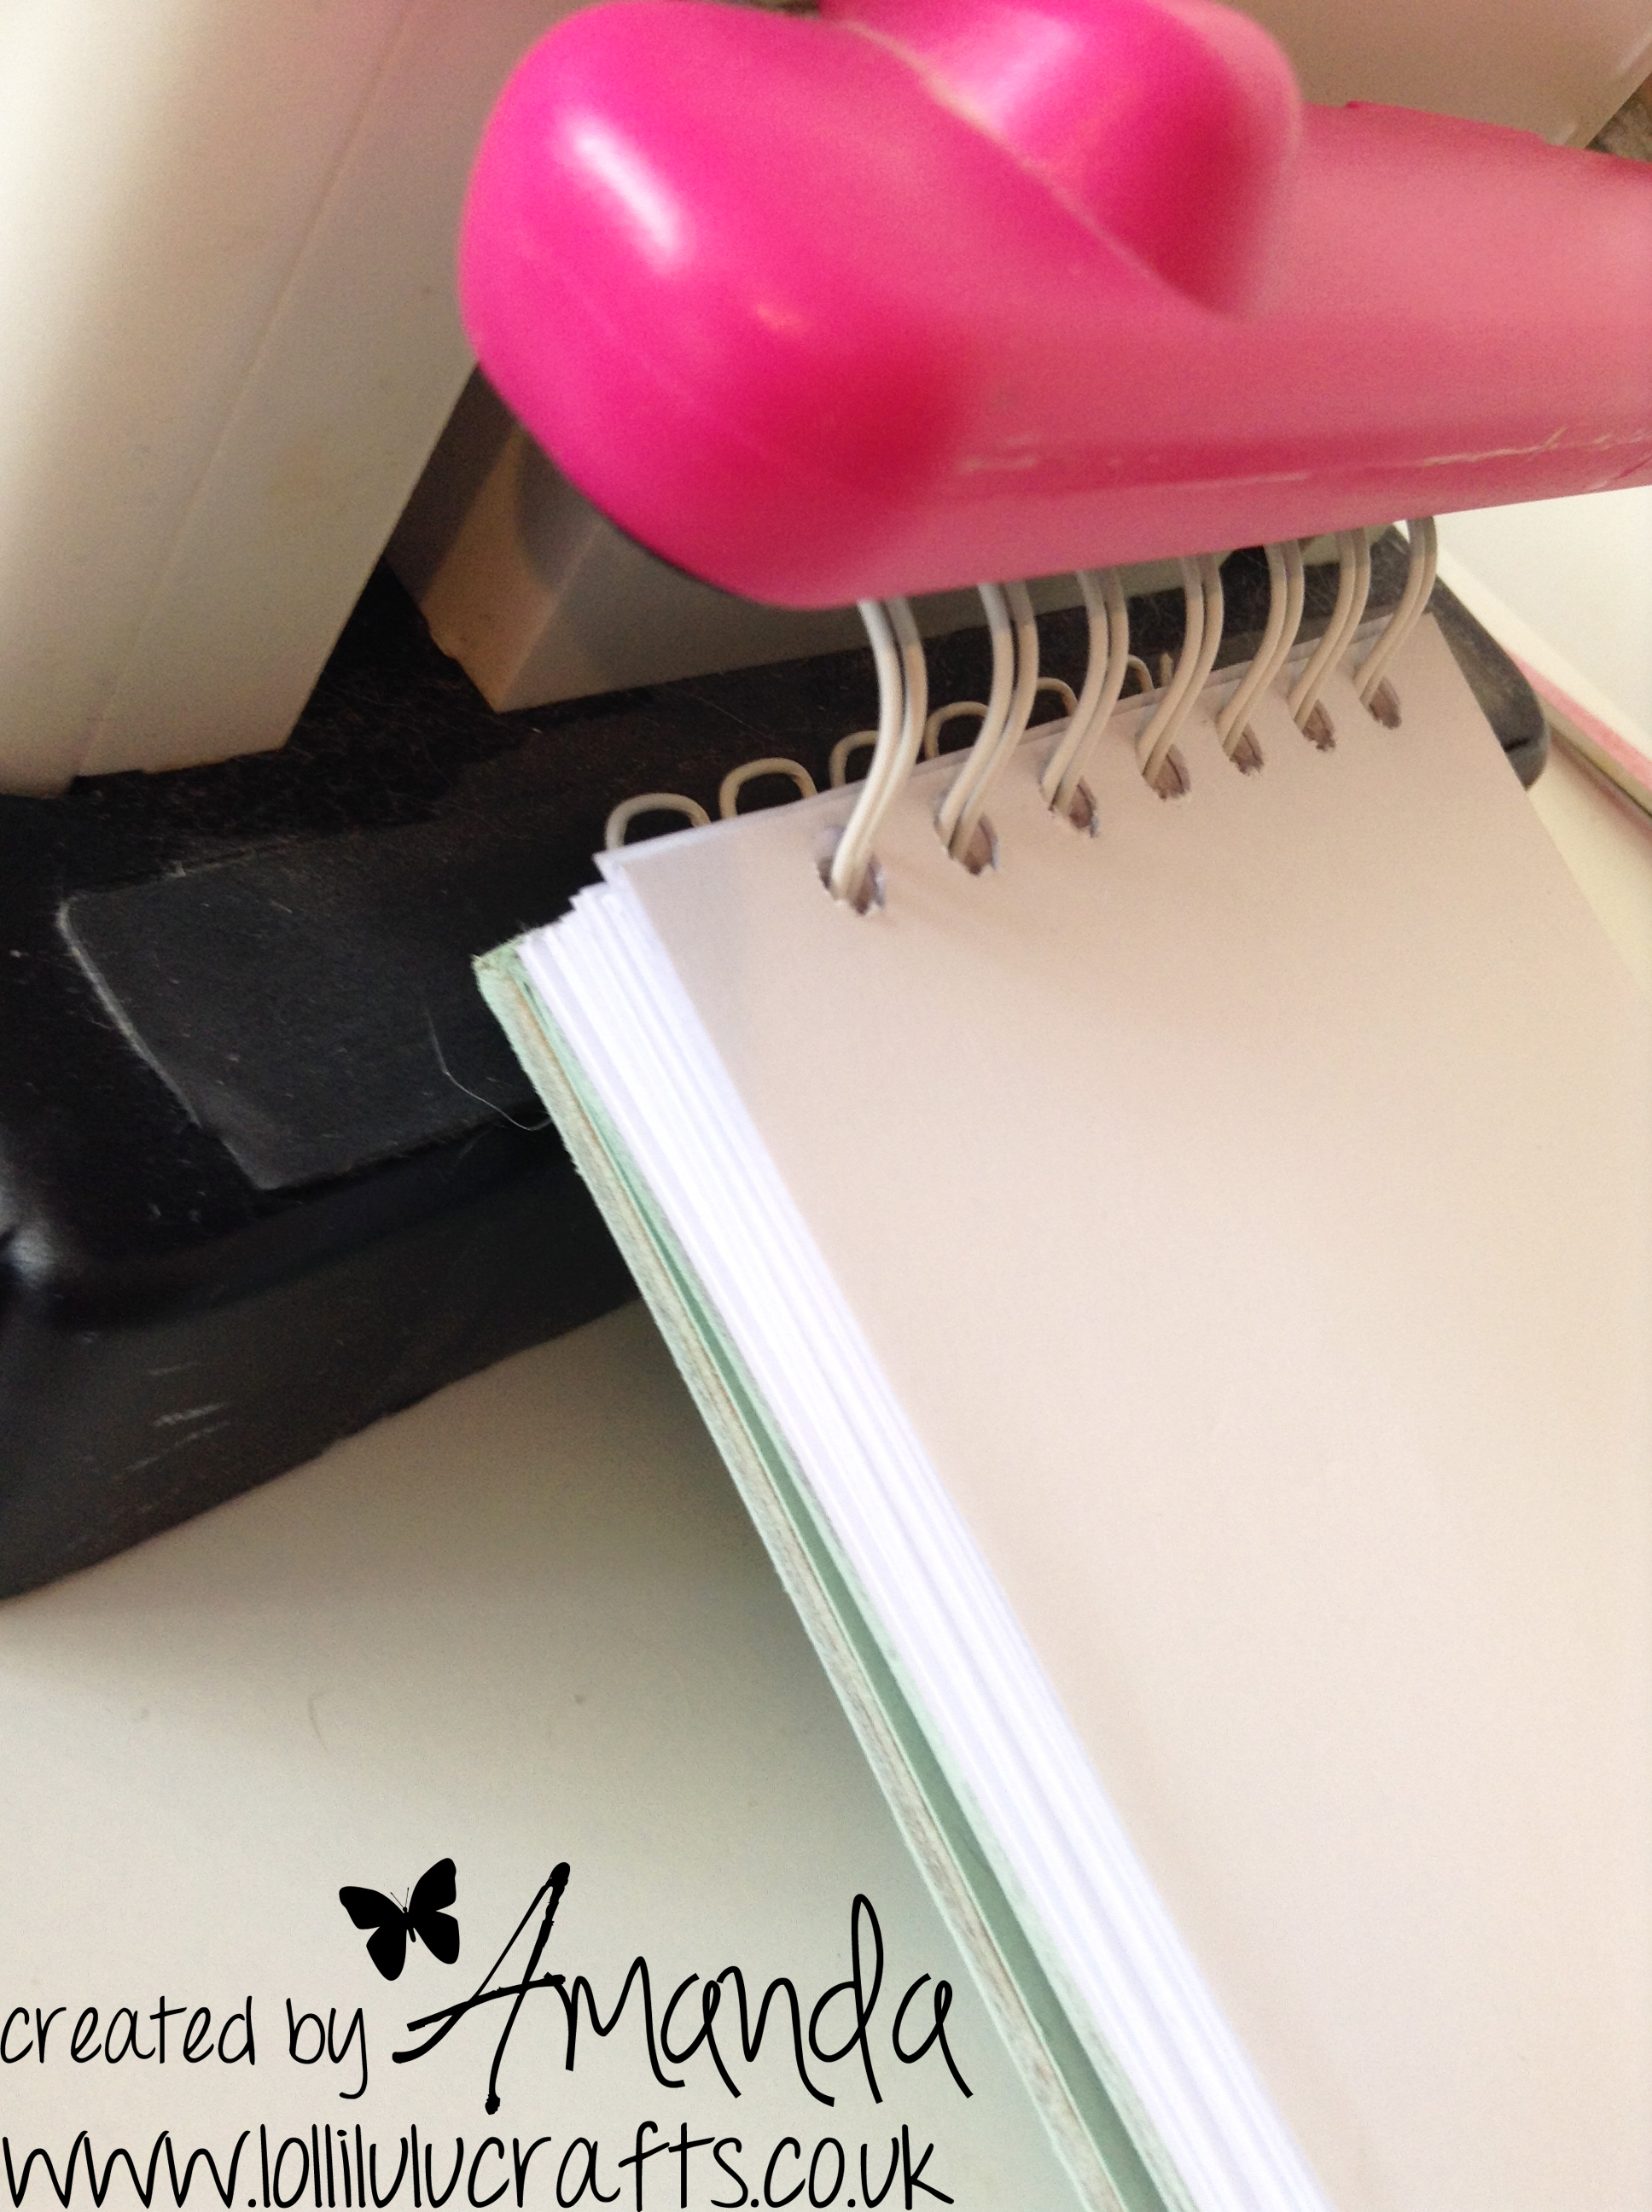
Then you put your wire ring on the side of the Cinch which holds the wire in place while you put on your paper. When putting on your covers and paper you need to play around with it, pretending the album is together and working out how to put the pages and covers on the rings so that the join of the album ends up inside the back cover. To see this click here go to about 20.00 mins and see a video that will demonstrate exactly how this works 🙂 Once you have everything on the rings then take it to the back of the Cinch and gently apply the pressure to the handle that brings the Cinch onto the rings and closes them up.
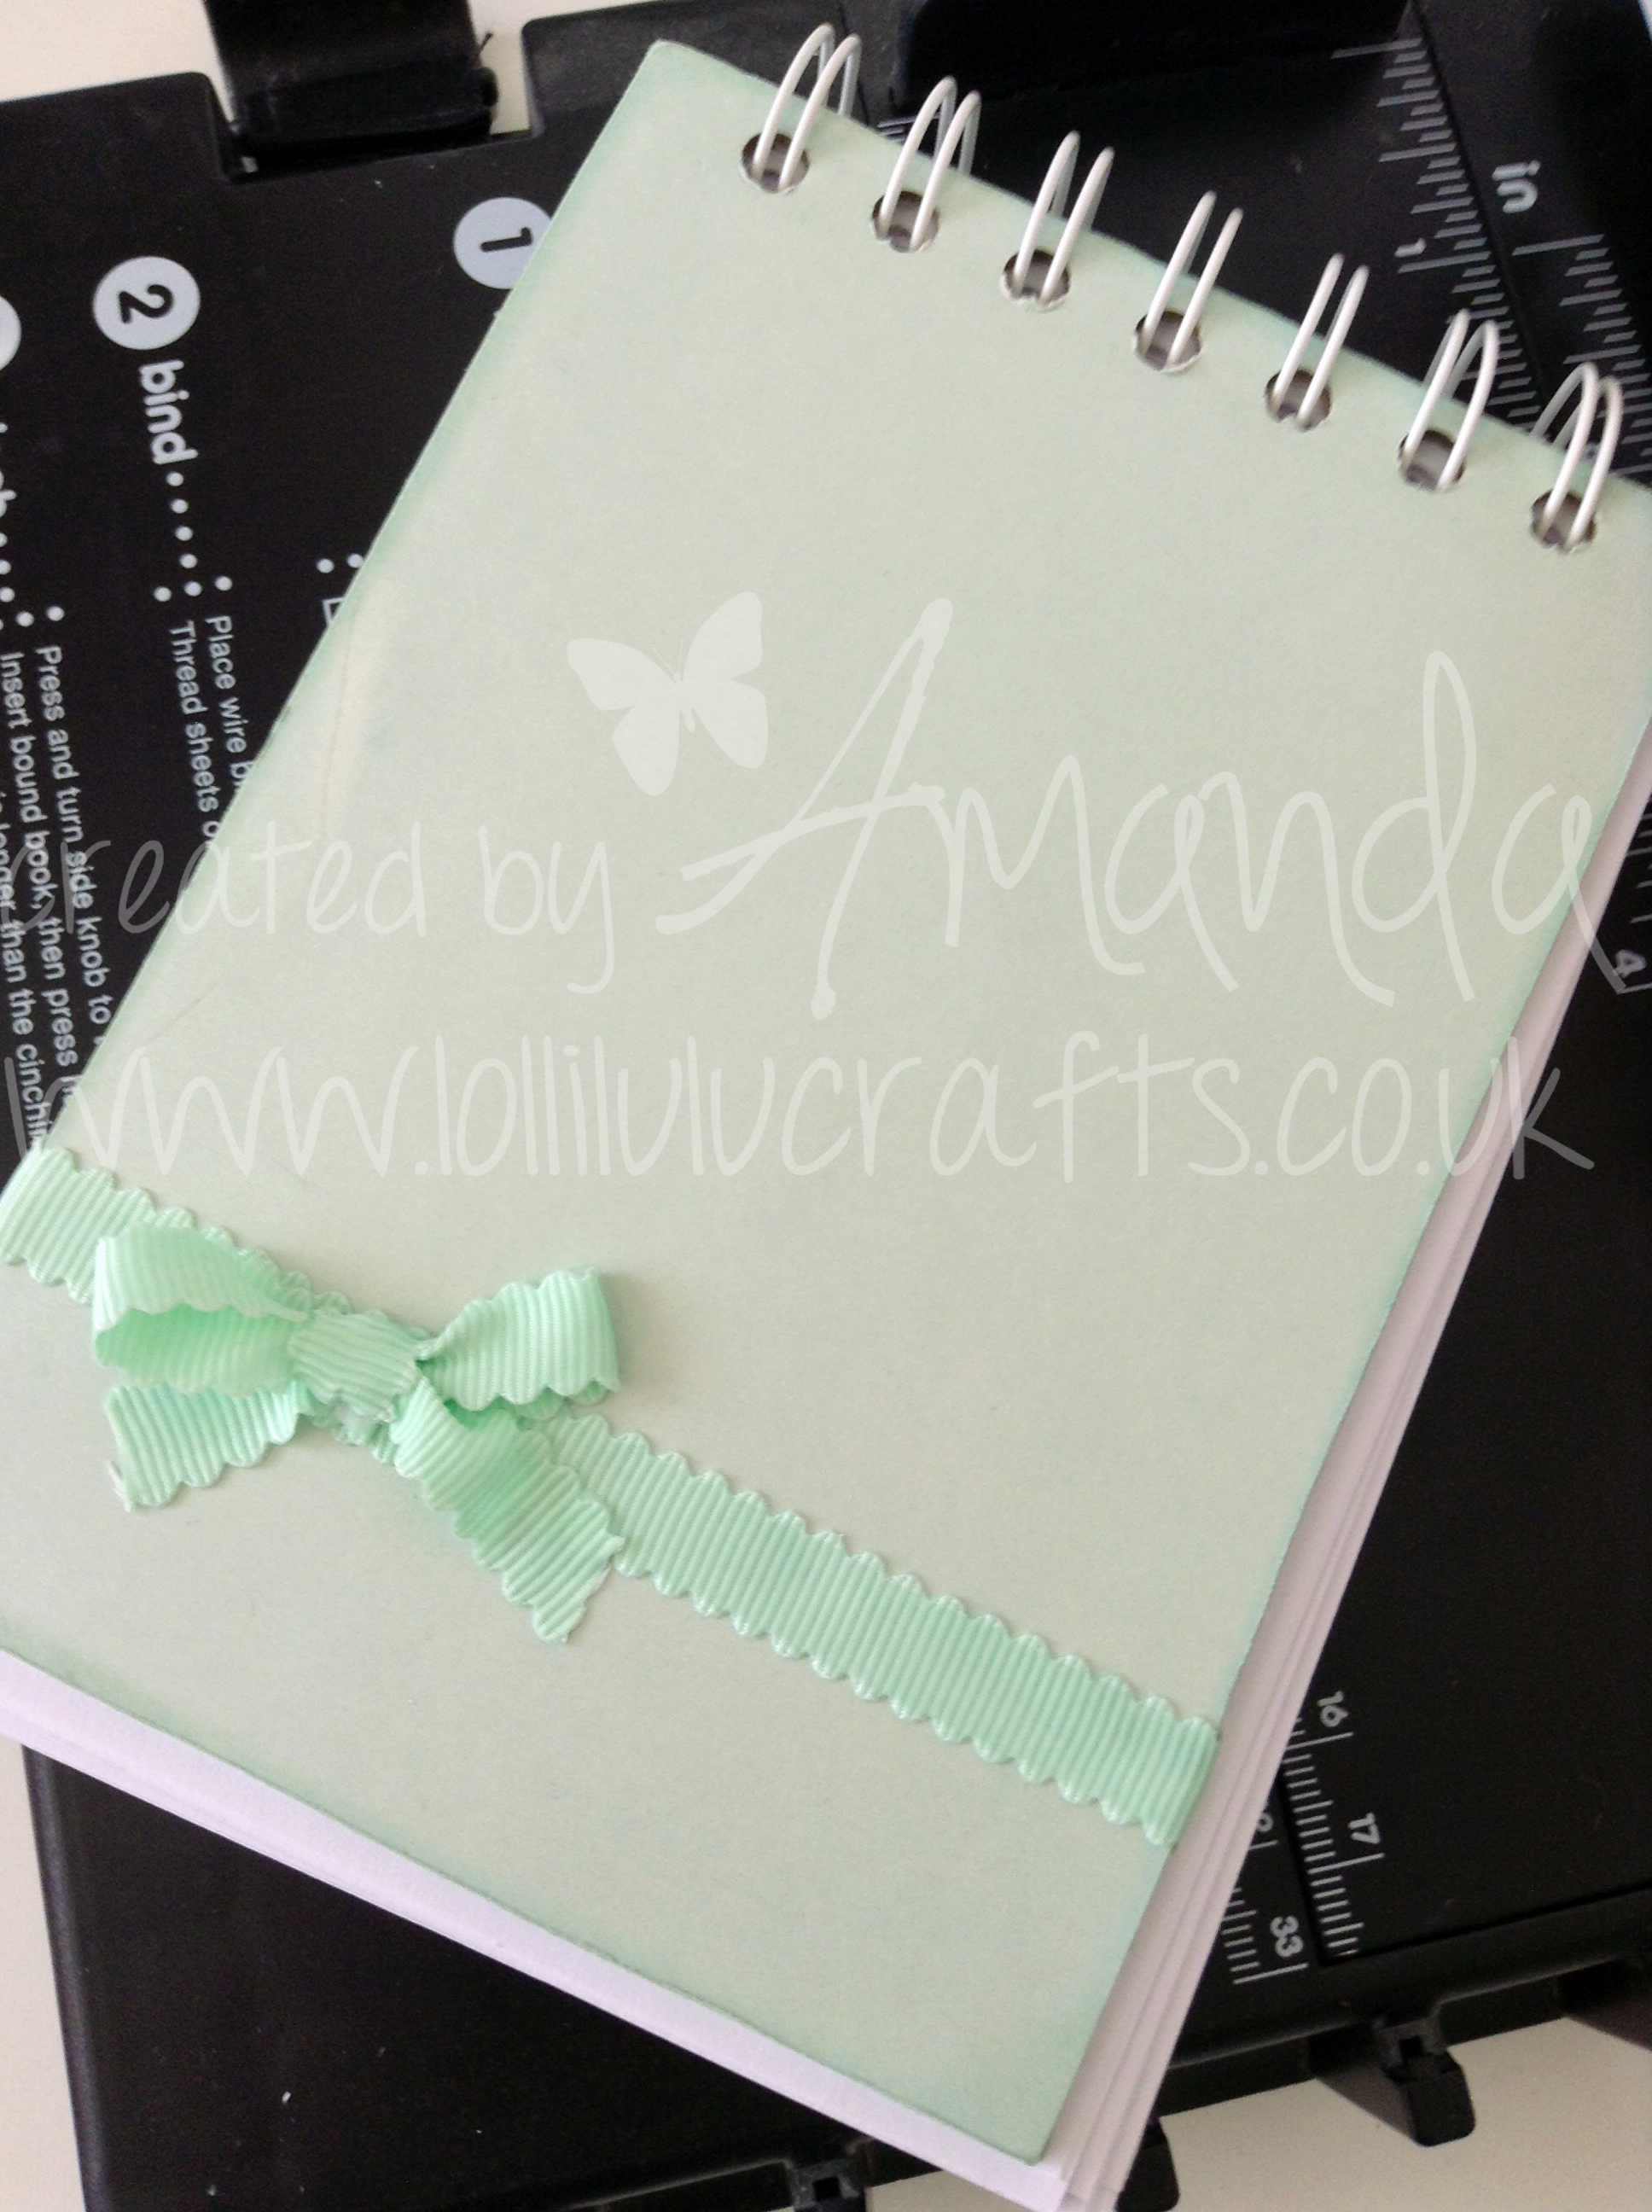
Lastly I added the ribbon to the front of the notebook and a matching bow. I took the ribbon around the book and cut it so the ends met up slightly to the side of centre. I glued it down with my cosmic shimmer glue. I then made a small bow and added that using my Cosmic Shimmer Glue to the ribbon where we created the join. I used a lovely grosgrain American Crafts ribbon.
And thats it all finished 🙂 I hope you like it and I would love to hear you comments and of course if have enjoyed please share 🙂
hugs

