Hi All, today I have a photo post of a sweet Redonkadoodles New Baby / Baby Shower Card. I have to say I just love the way this card turned out and I hope you do too 🙂 I was asked by a viewer for some ideas for baby shower cards so I have this photo project and as well as a second card as a video project. So lets get straight to it as I have lots of photos to share with you of how I made the card as well as the finished project:-
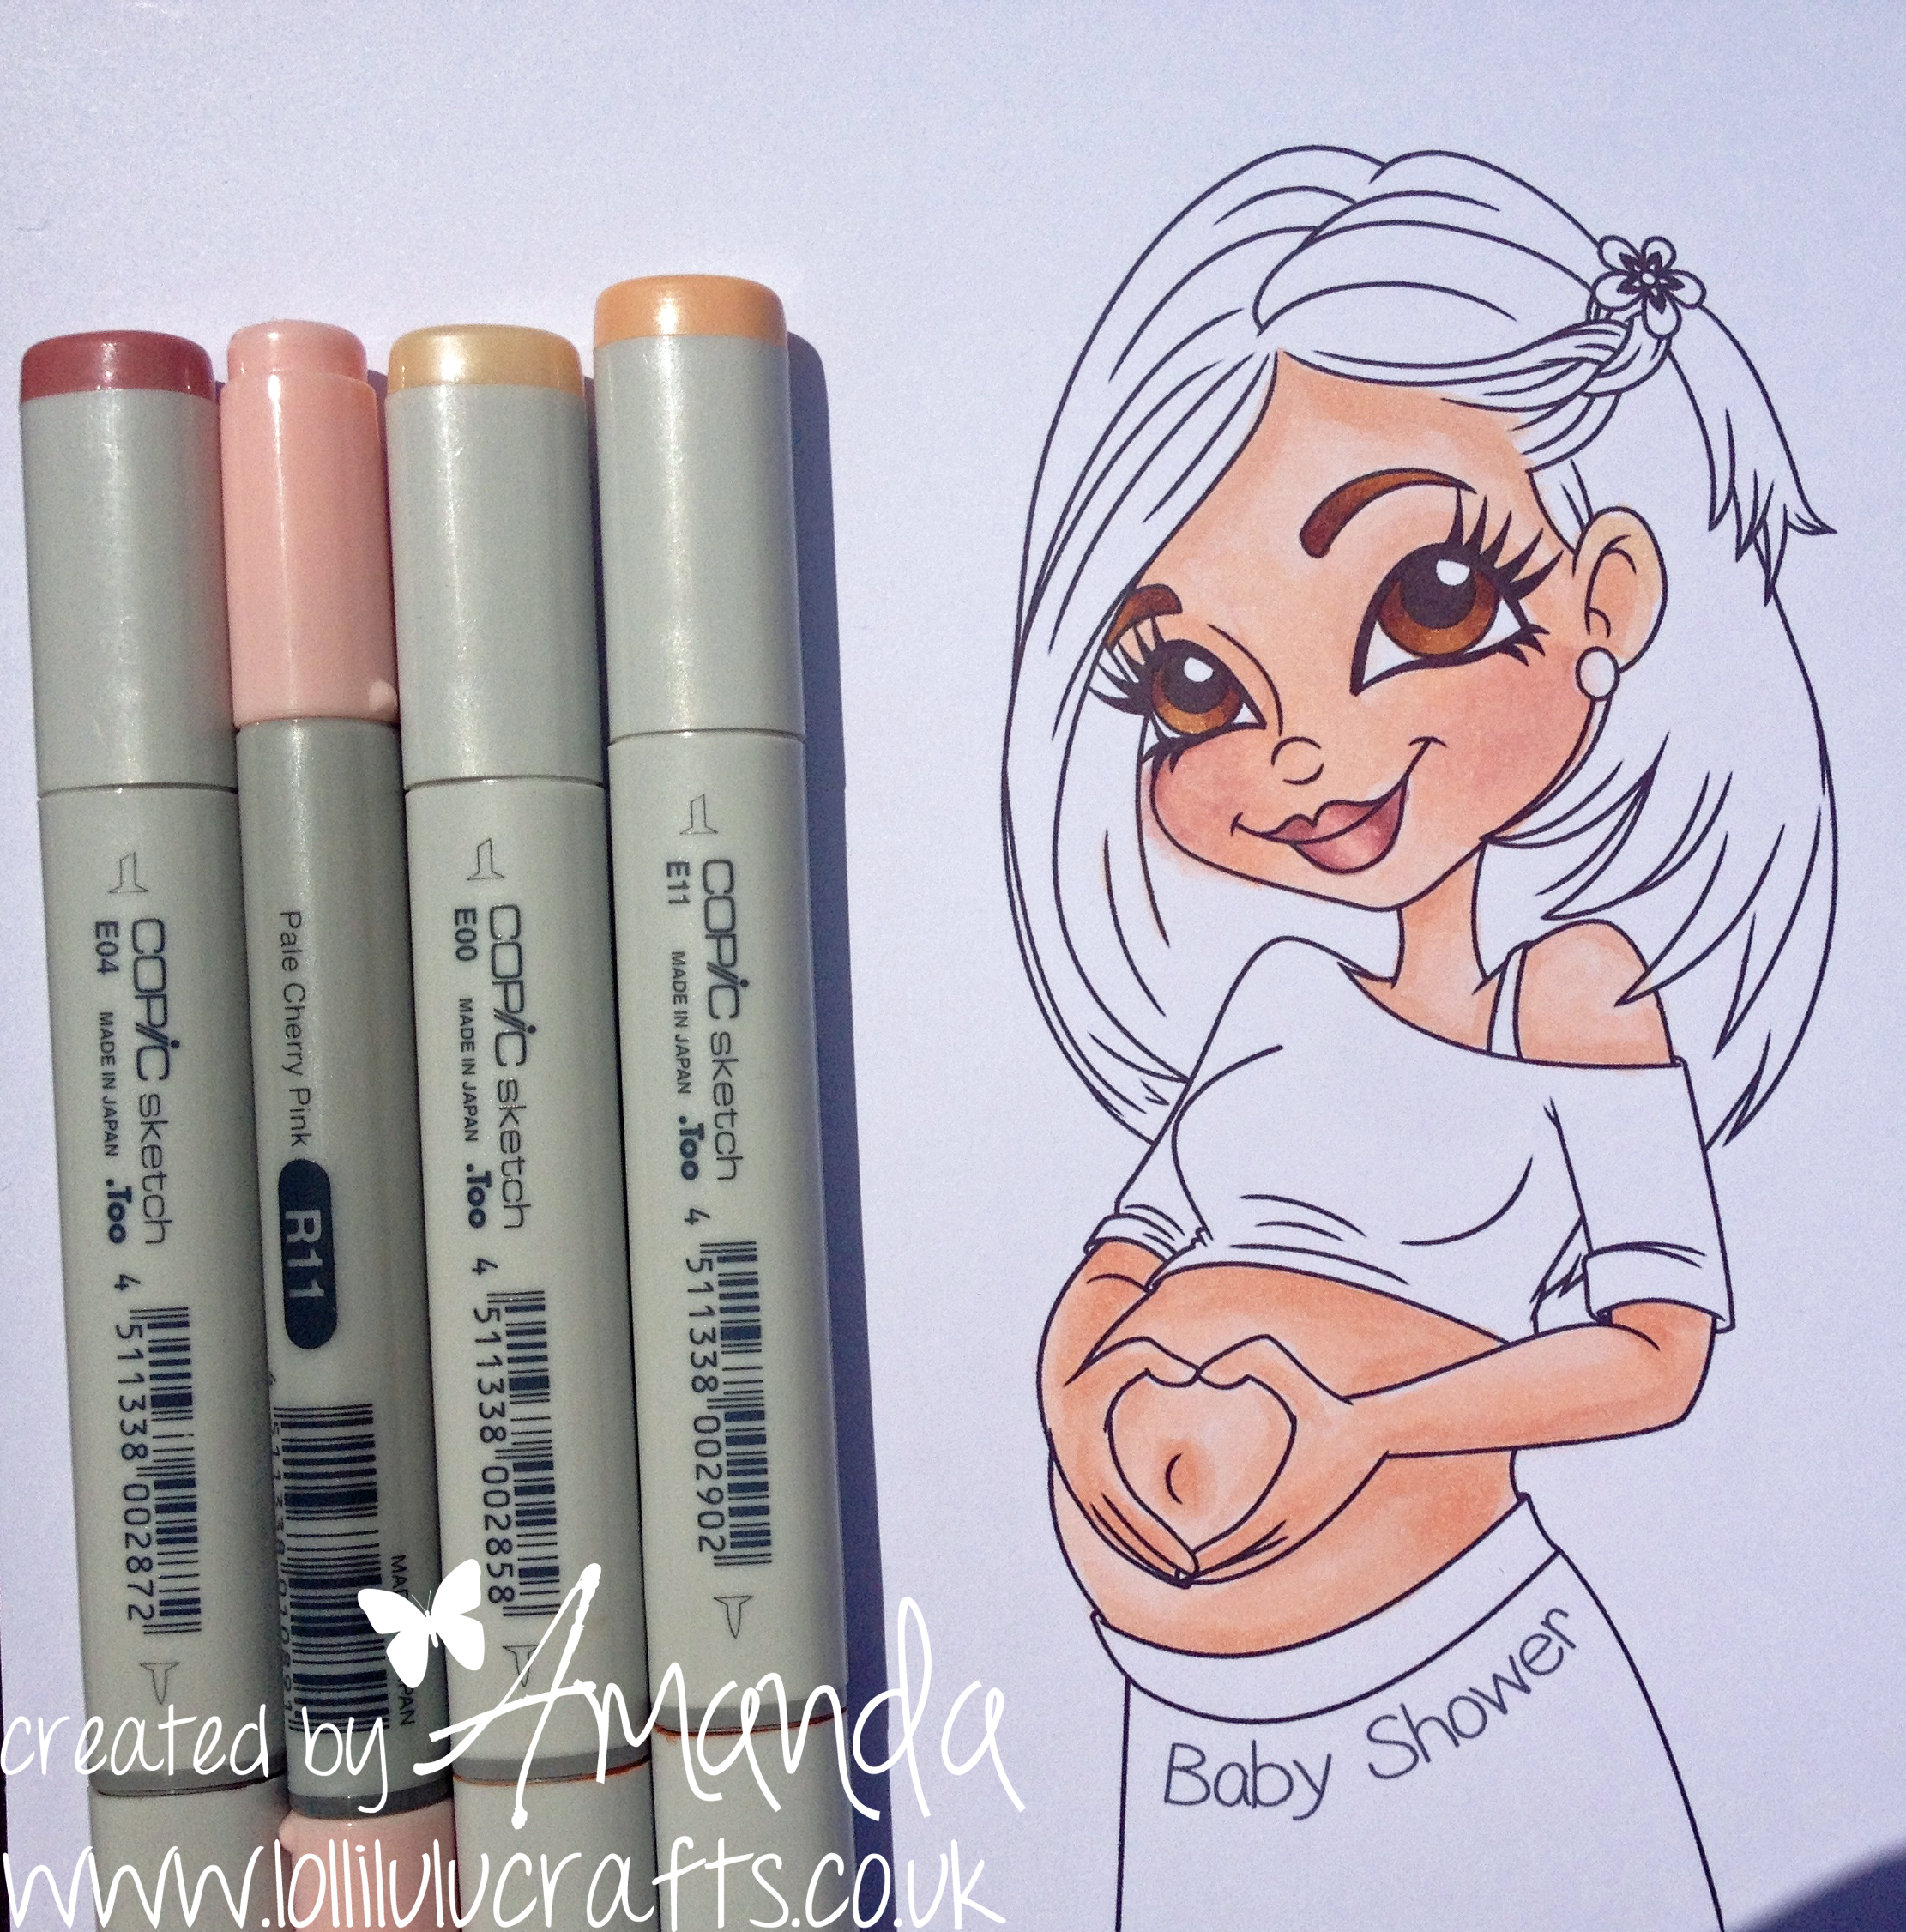
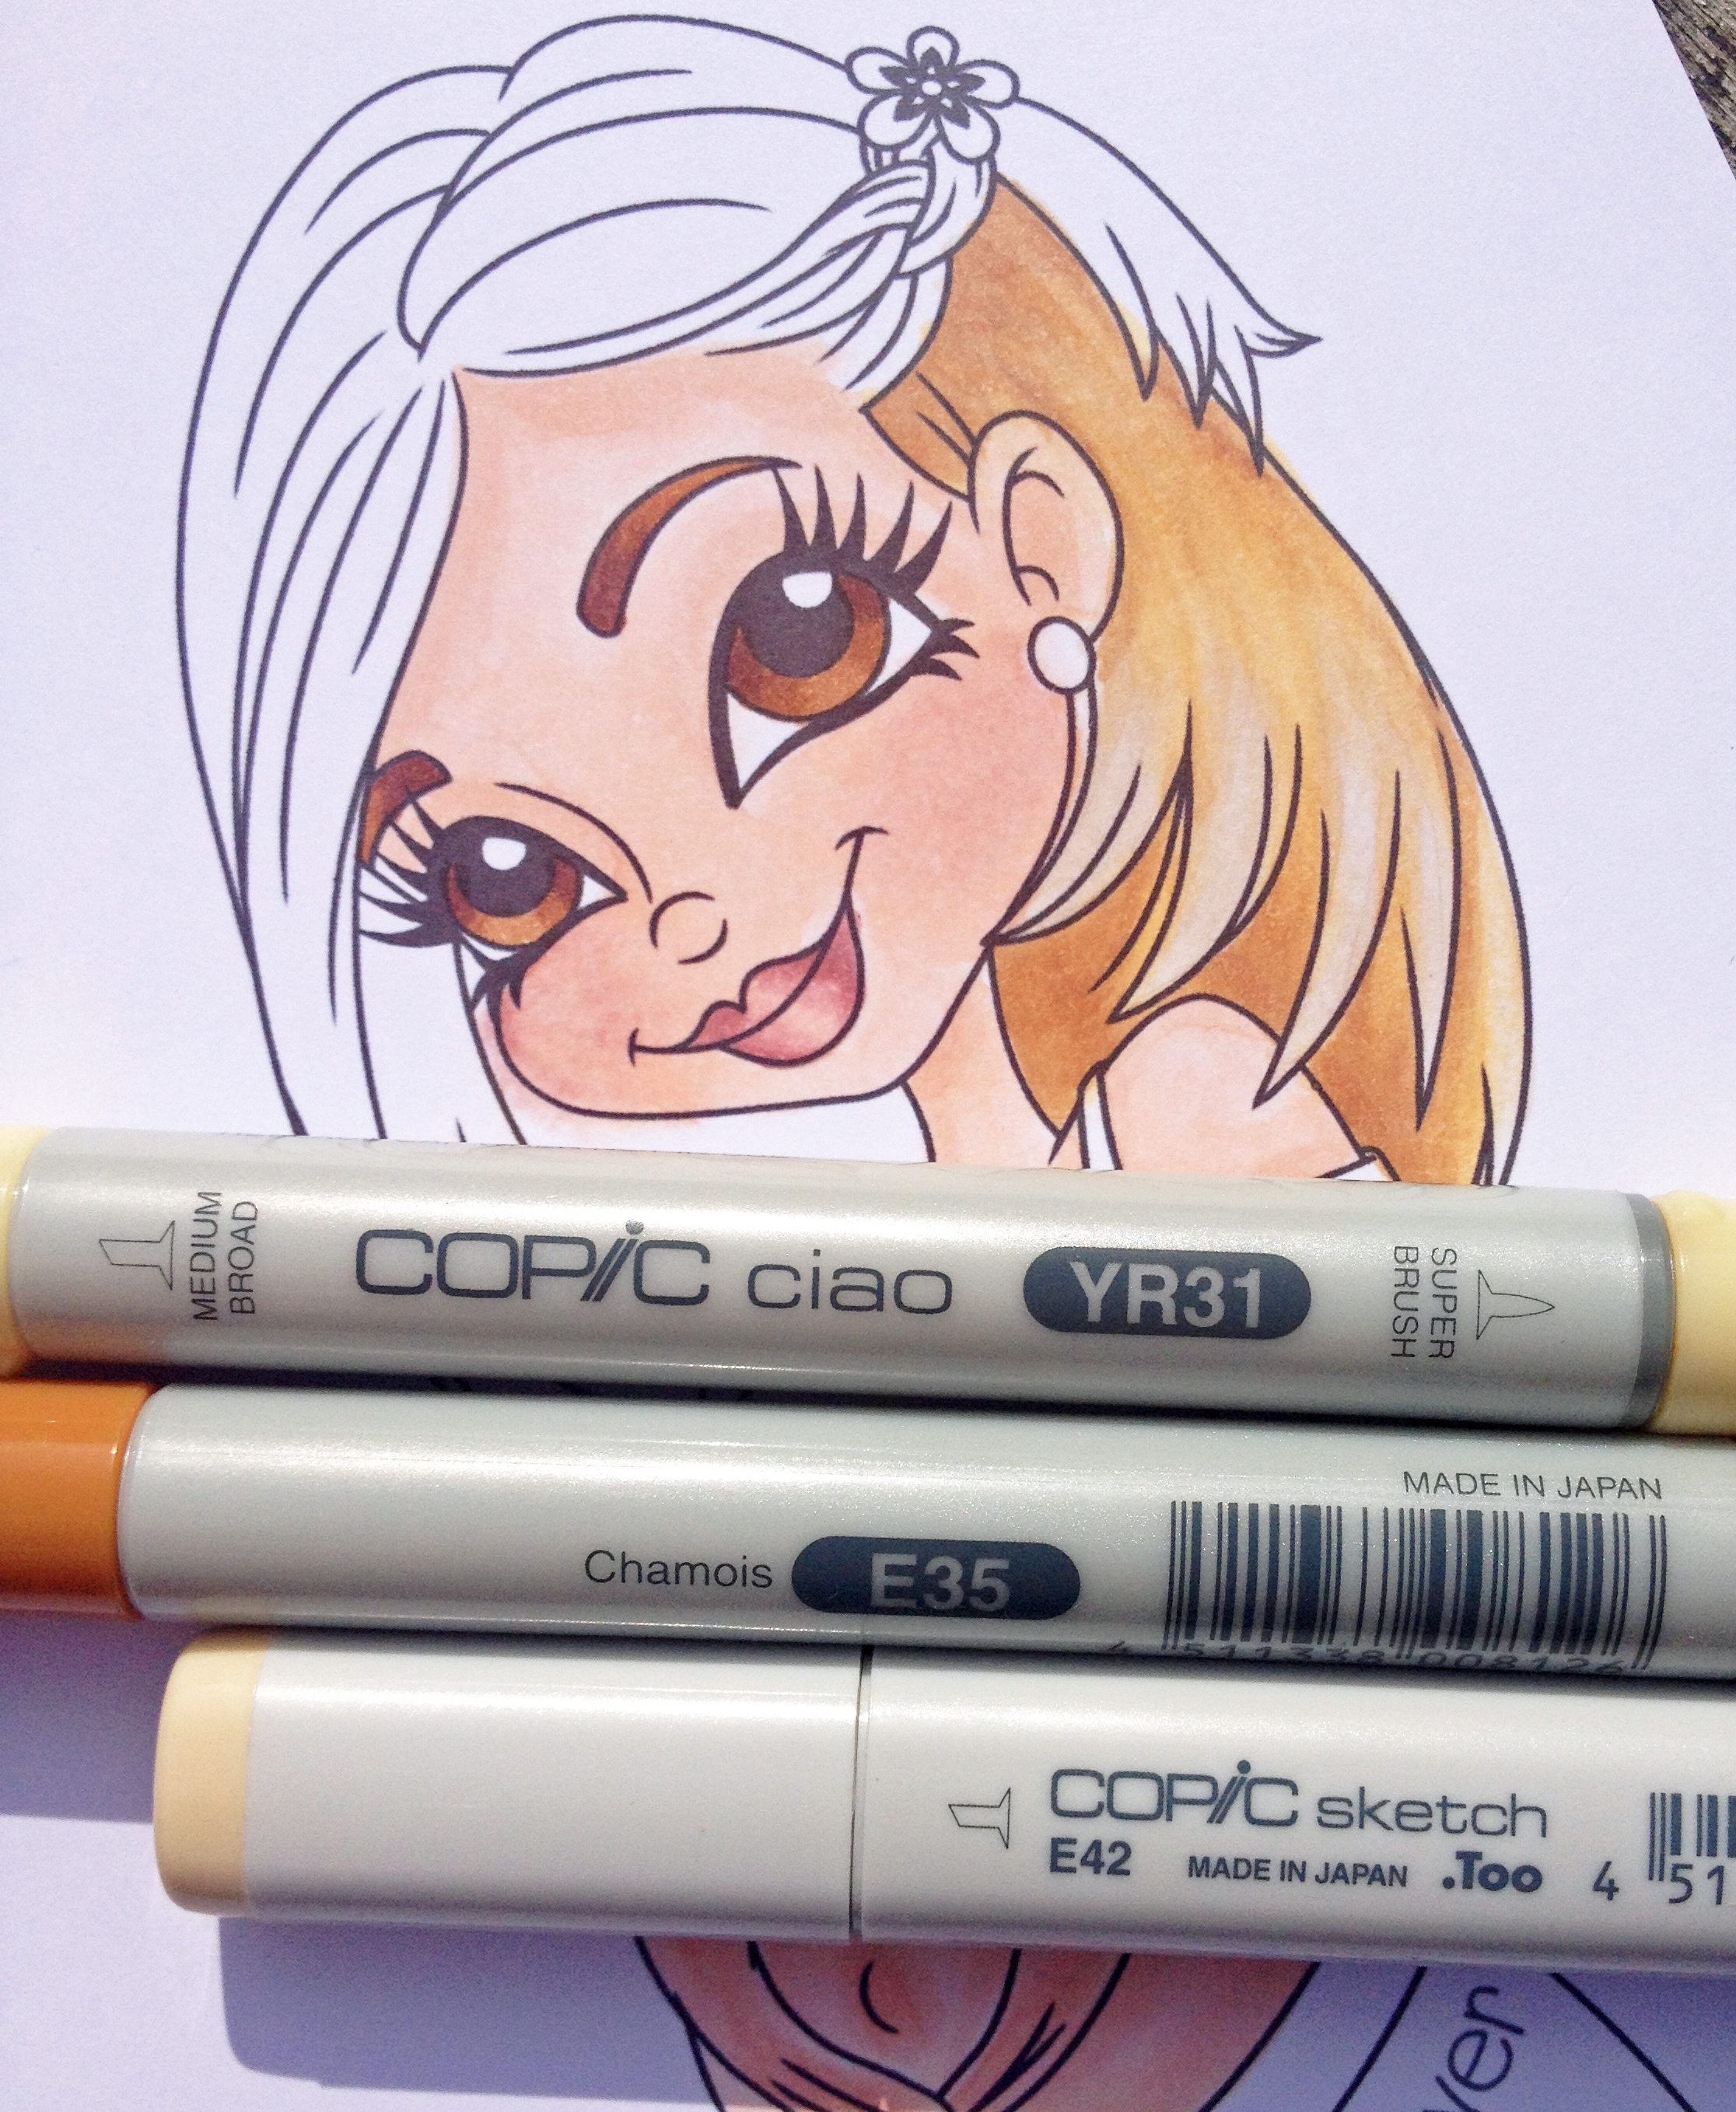
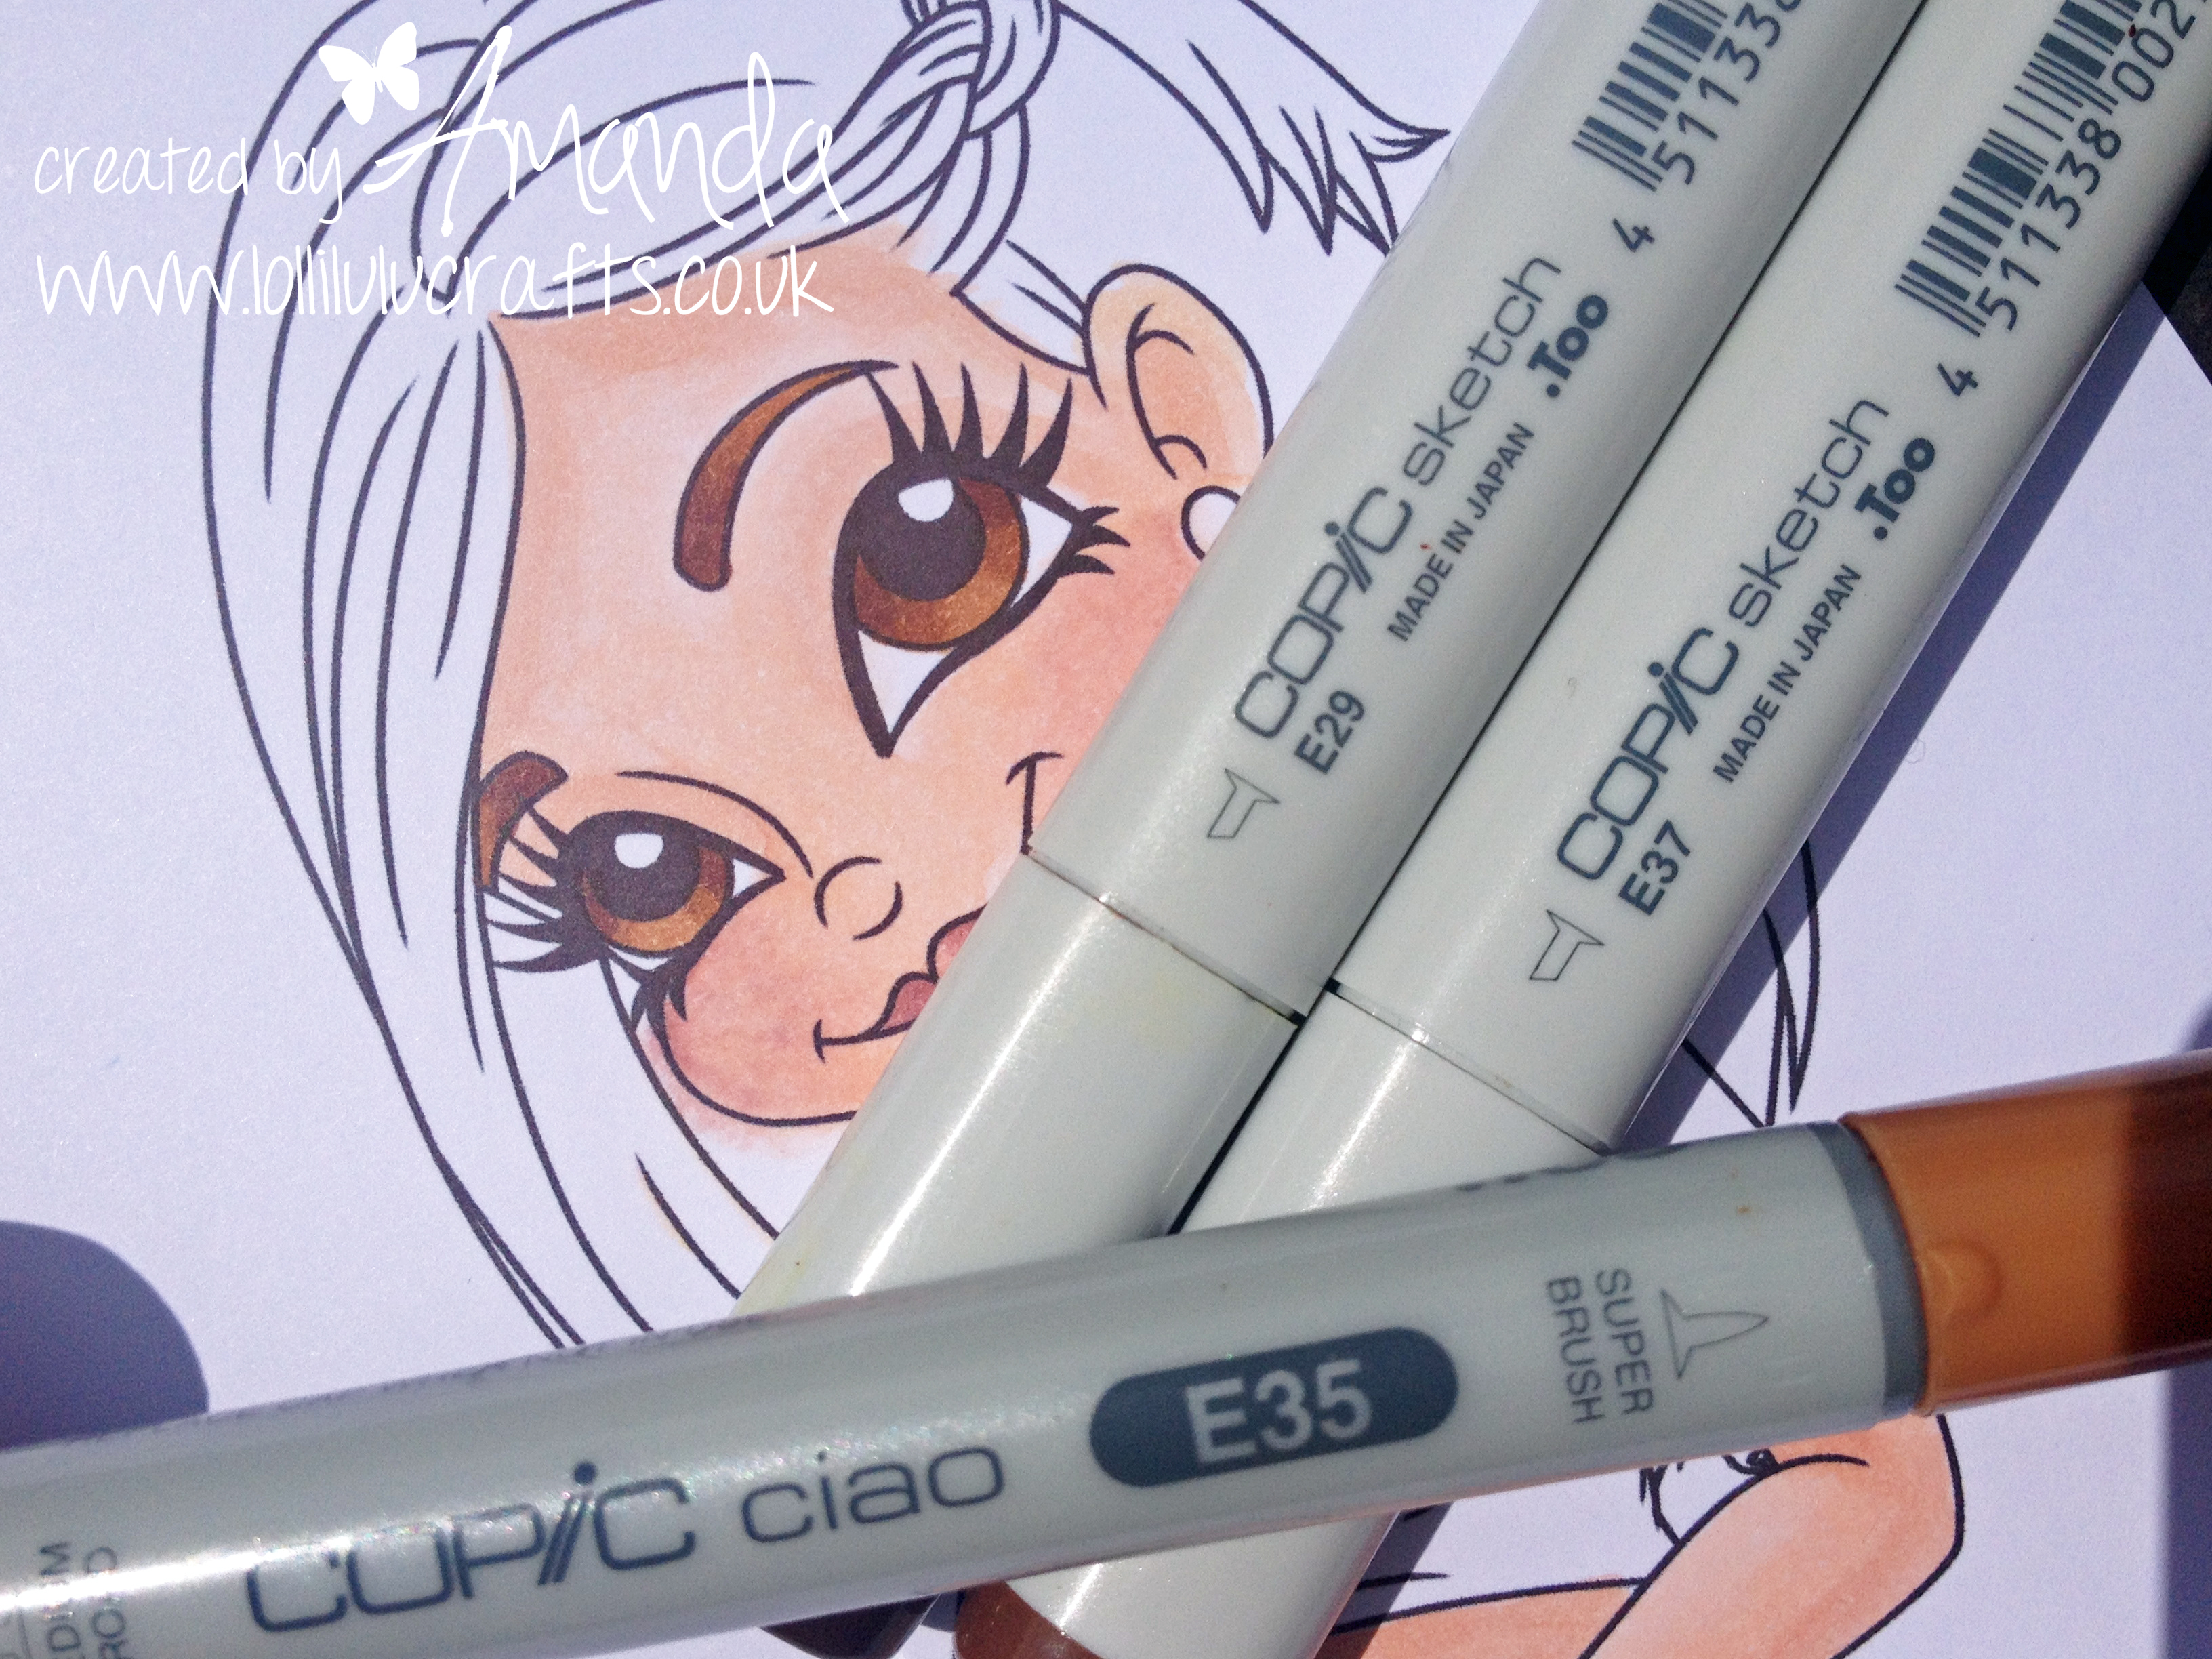
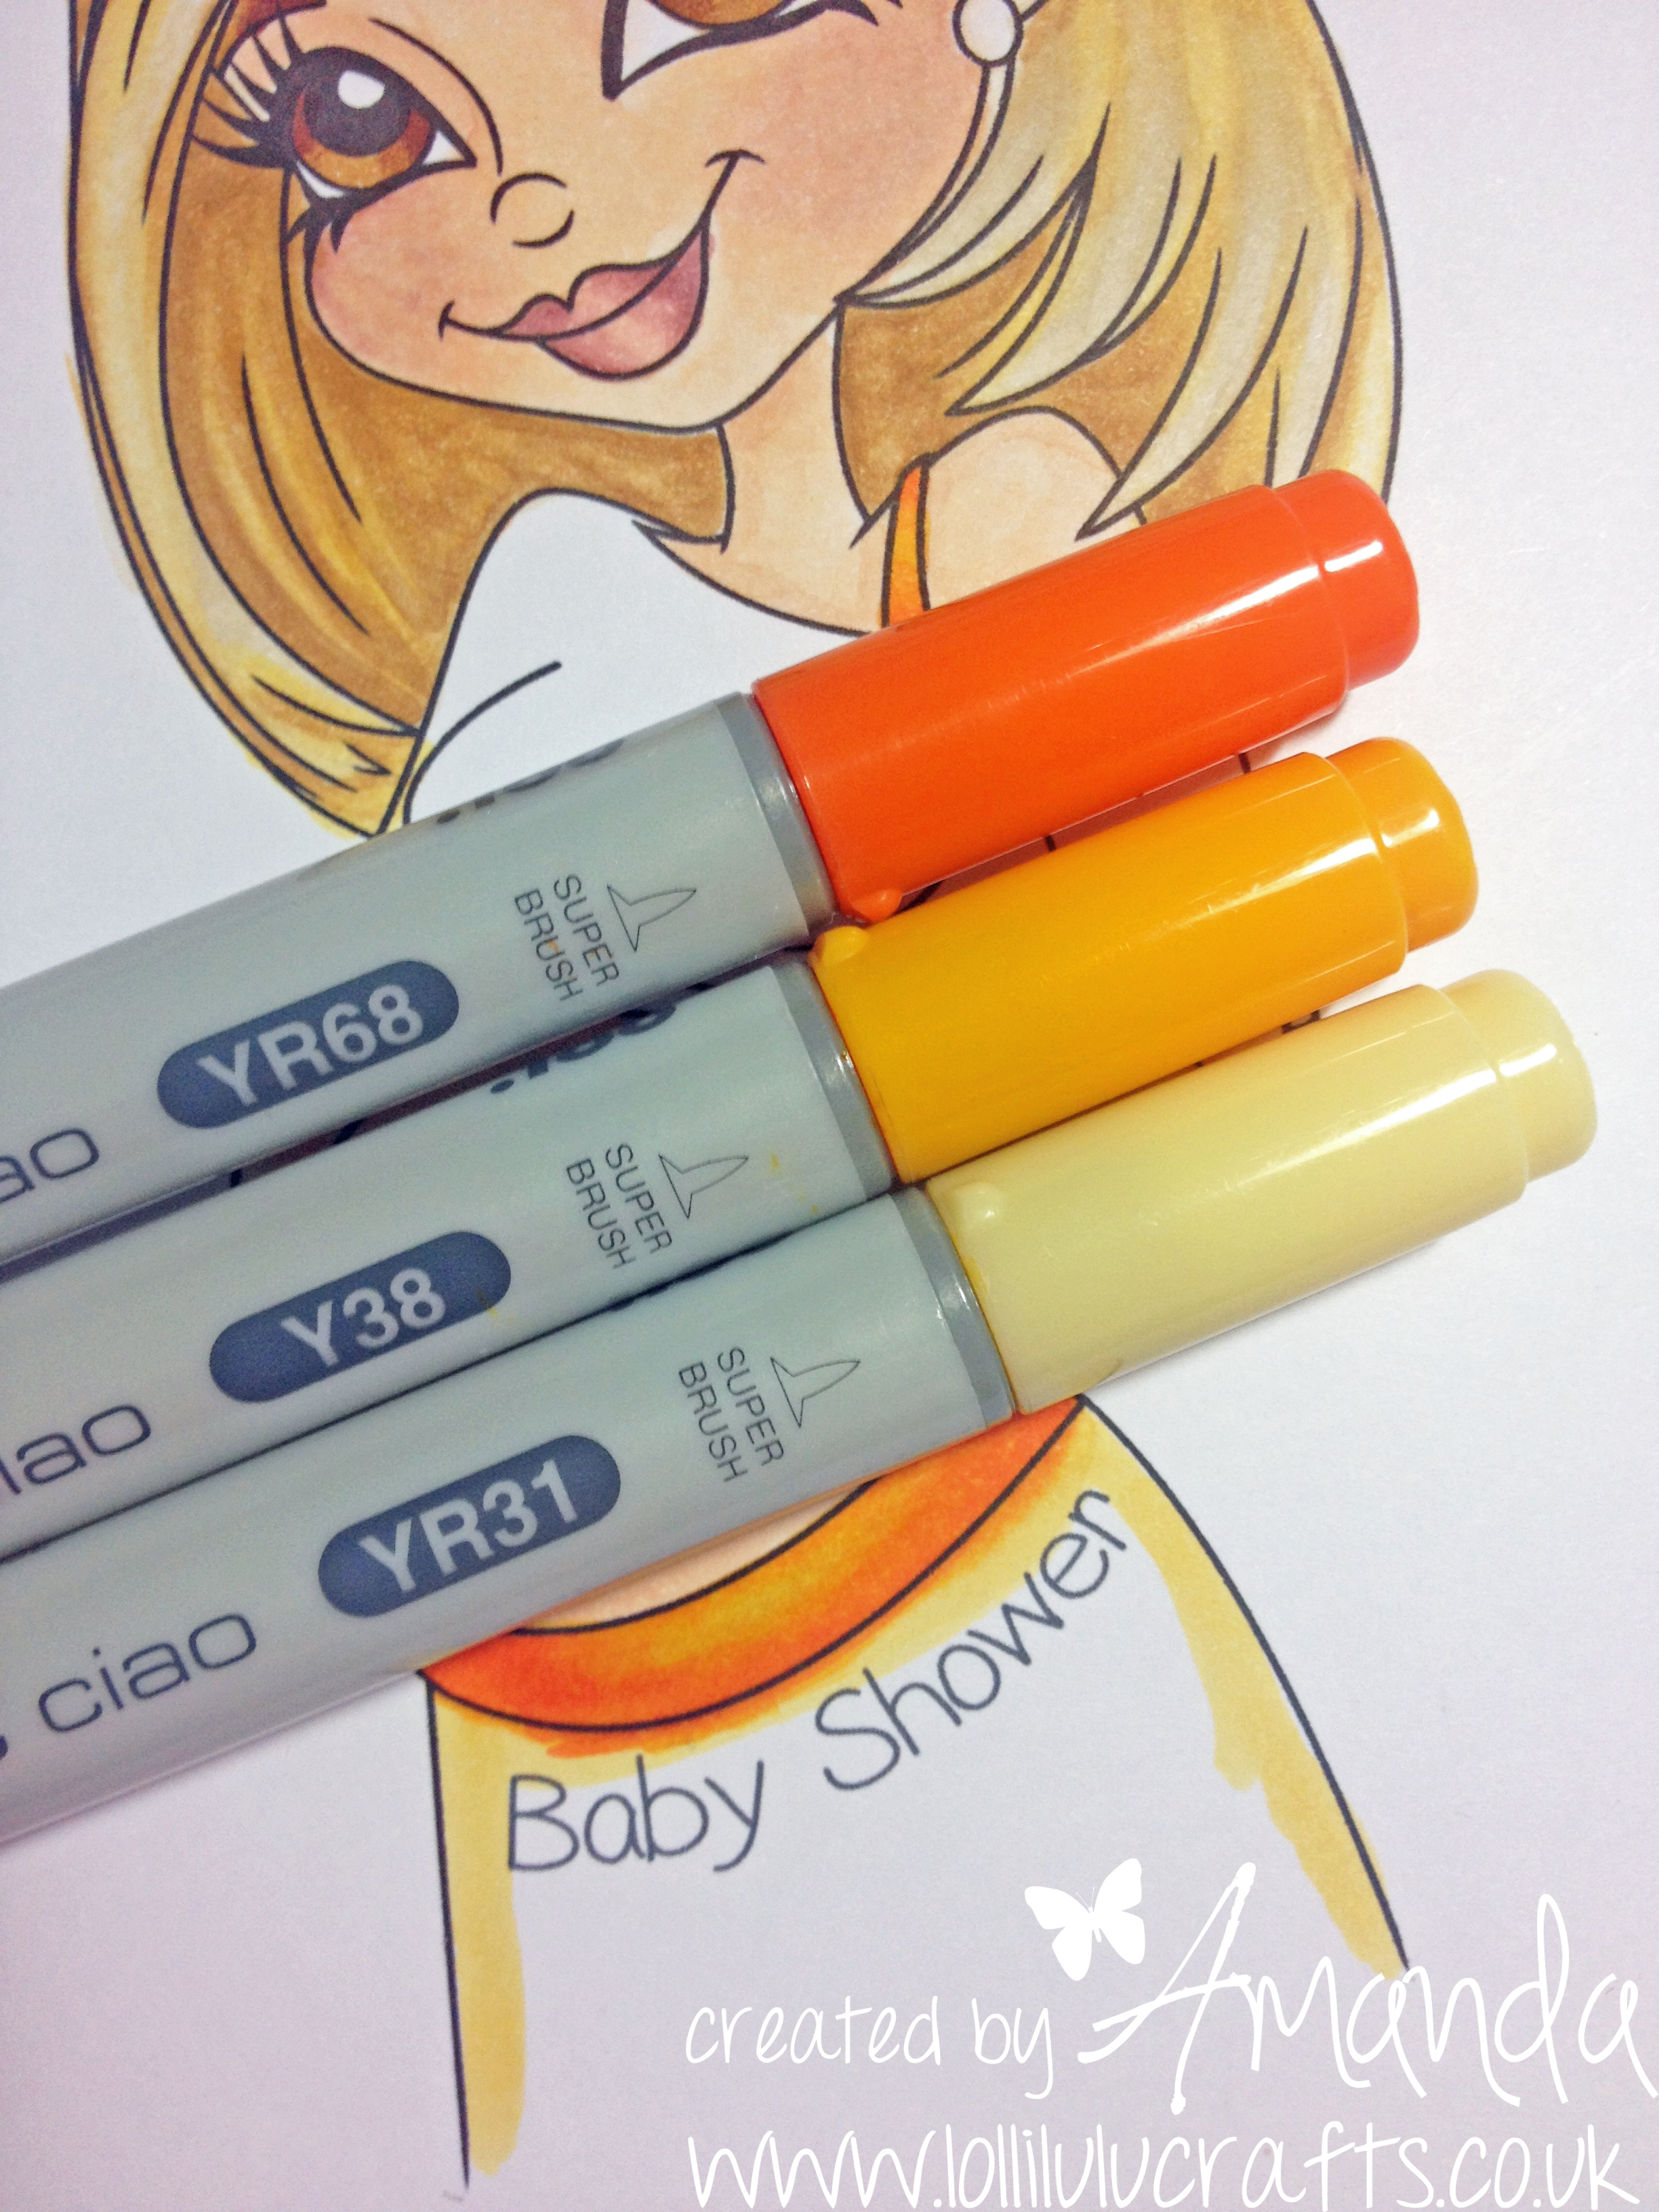
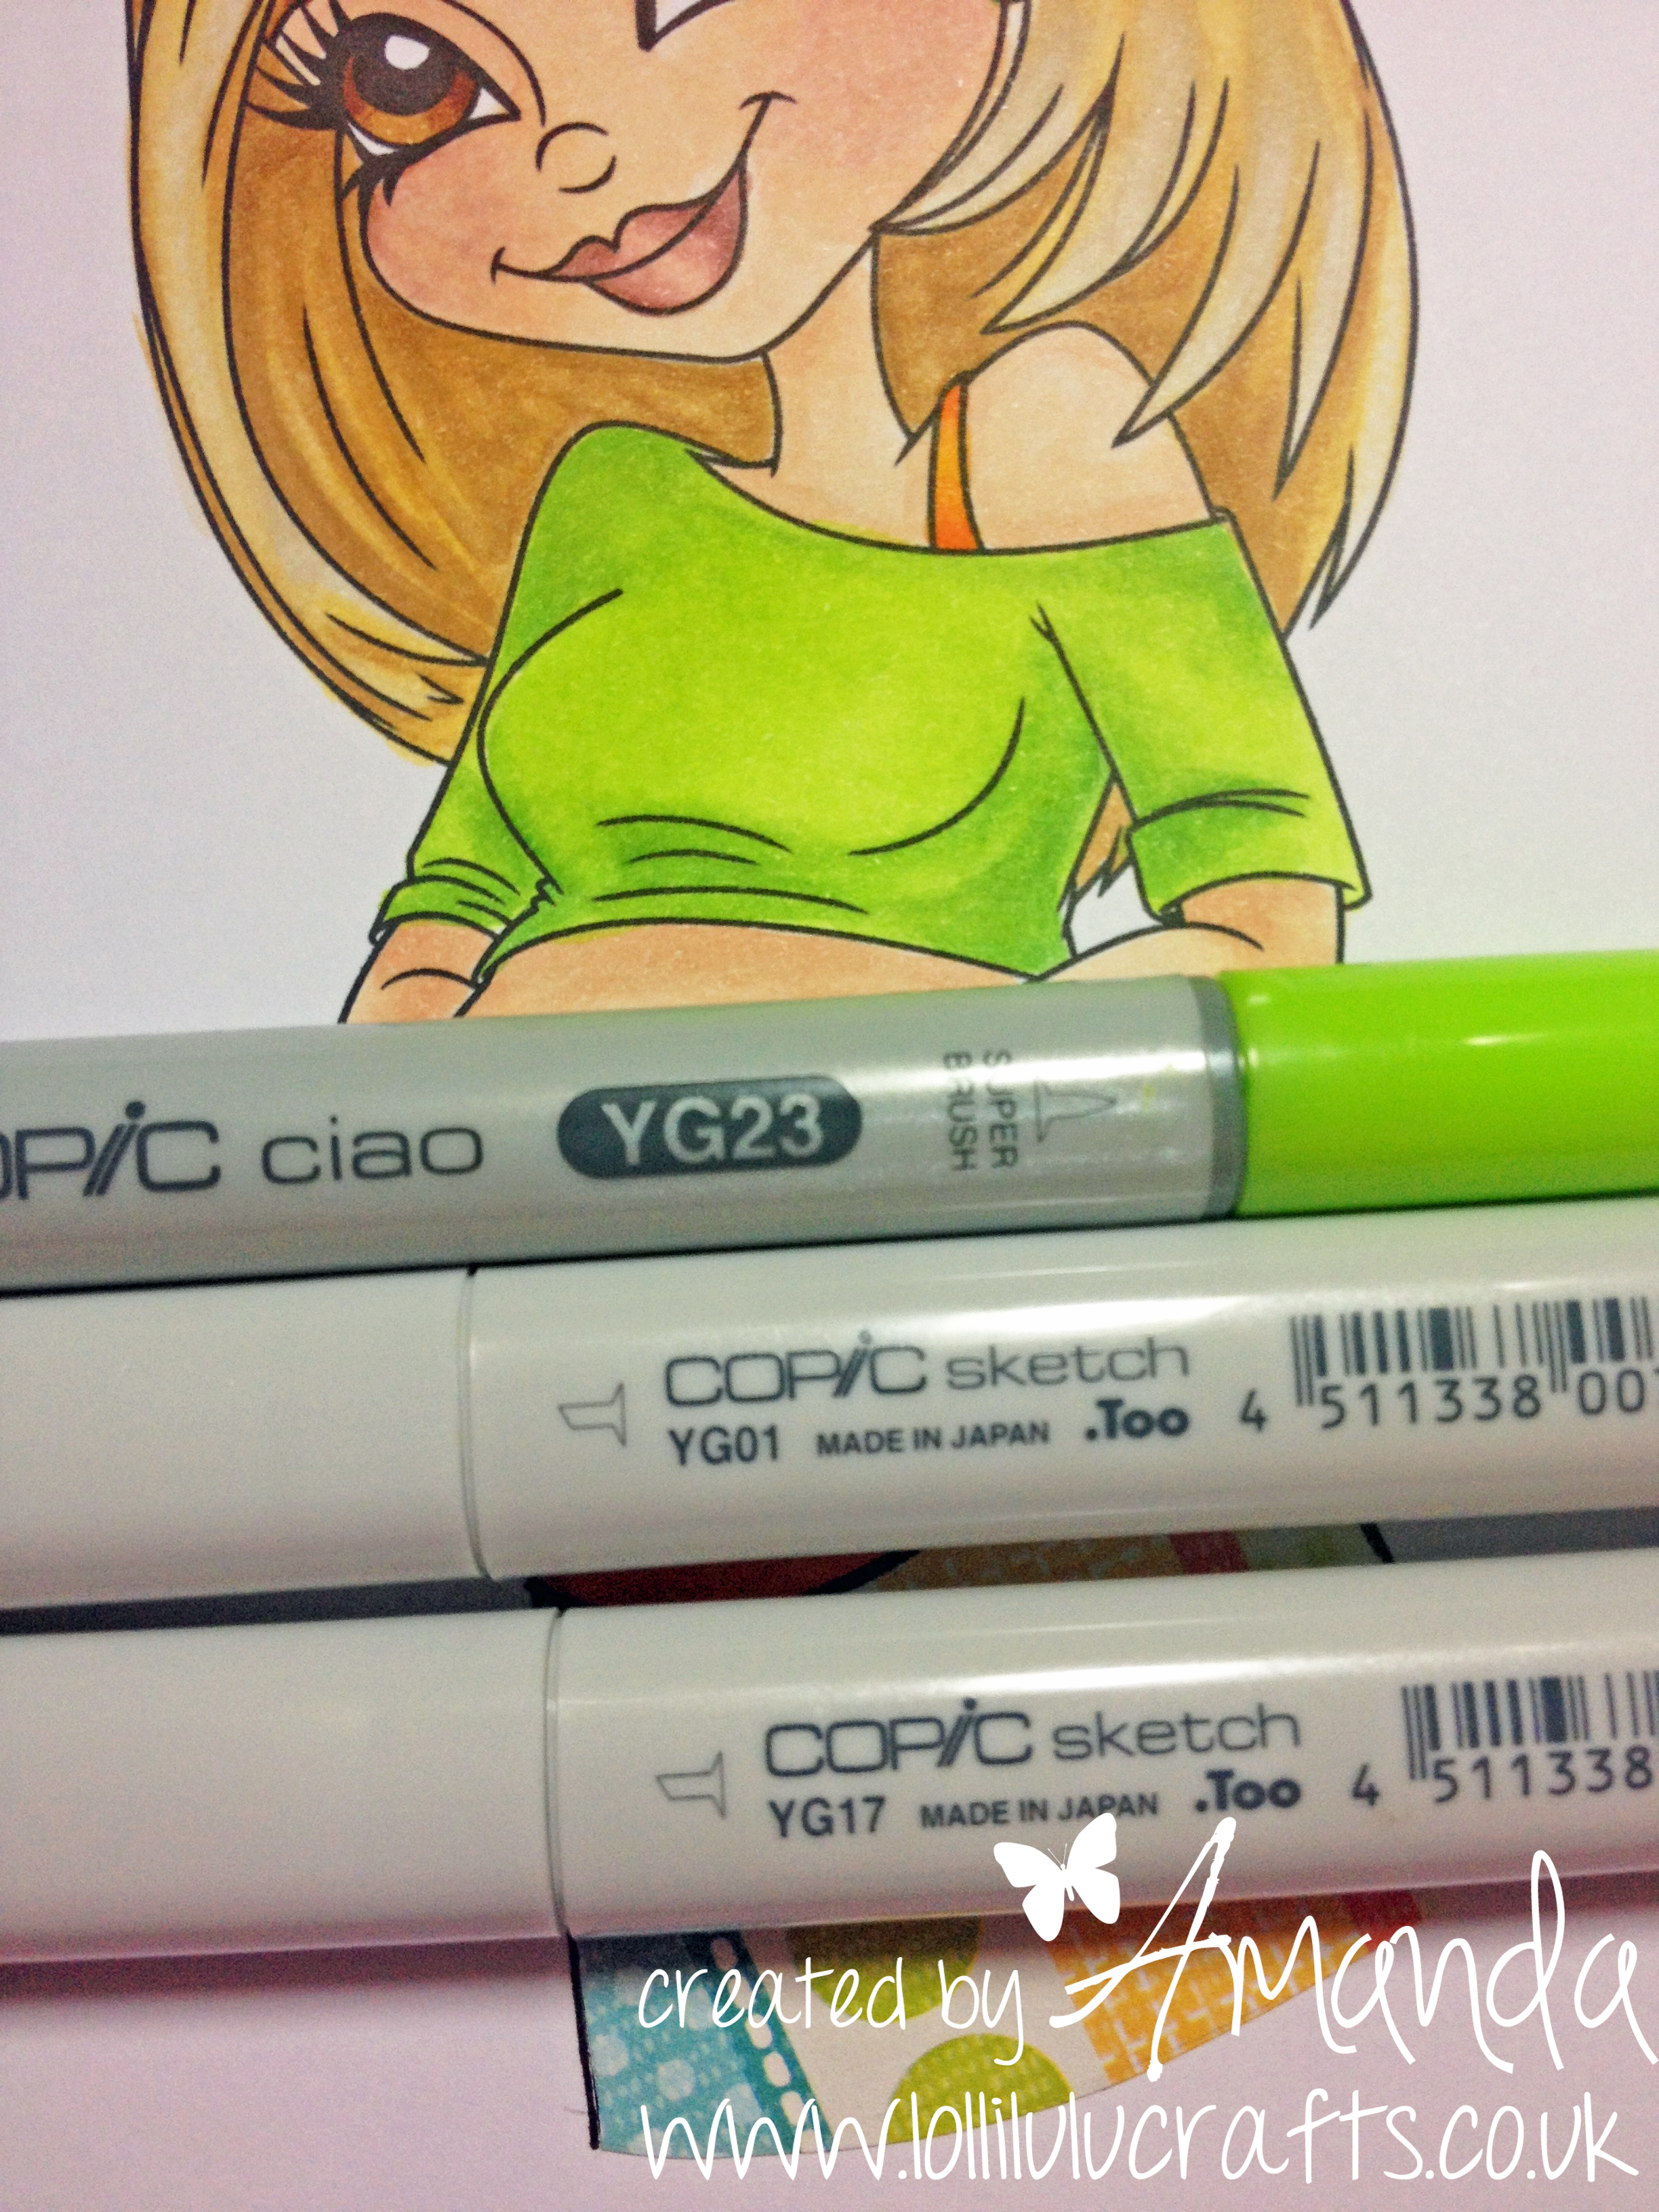
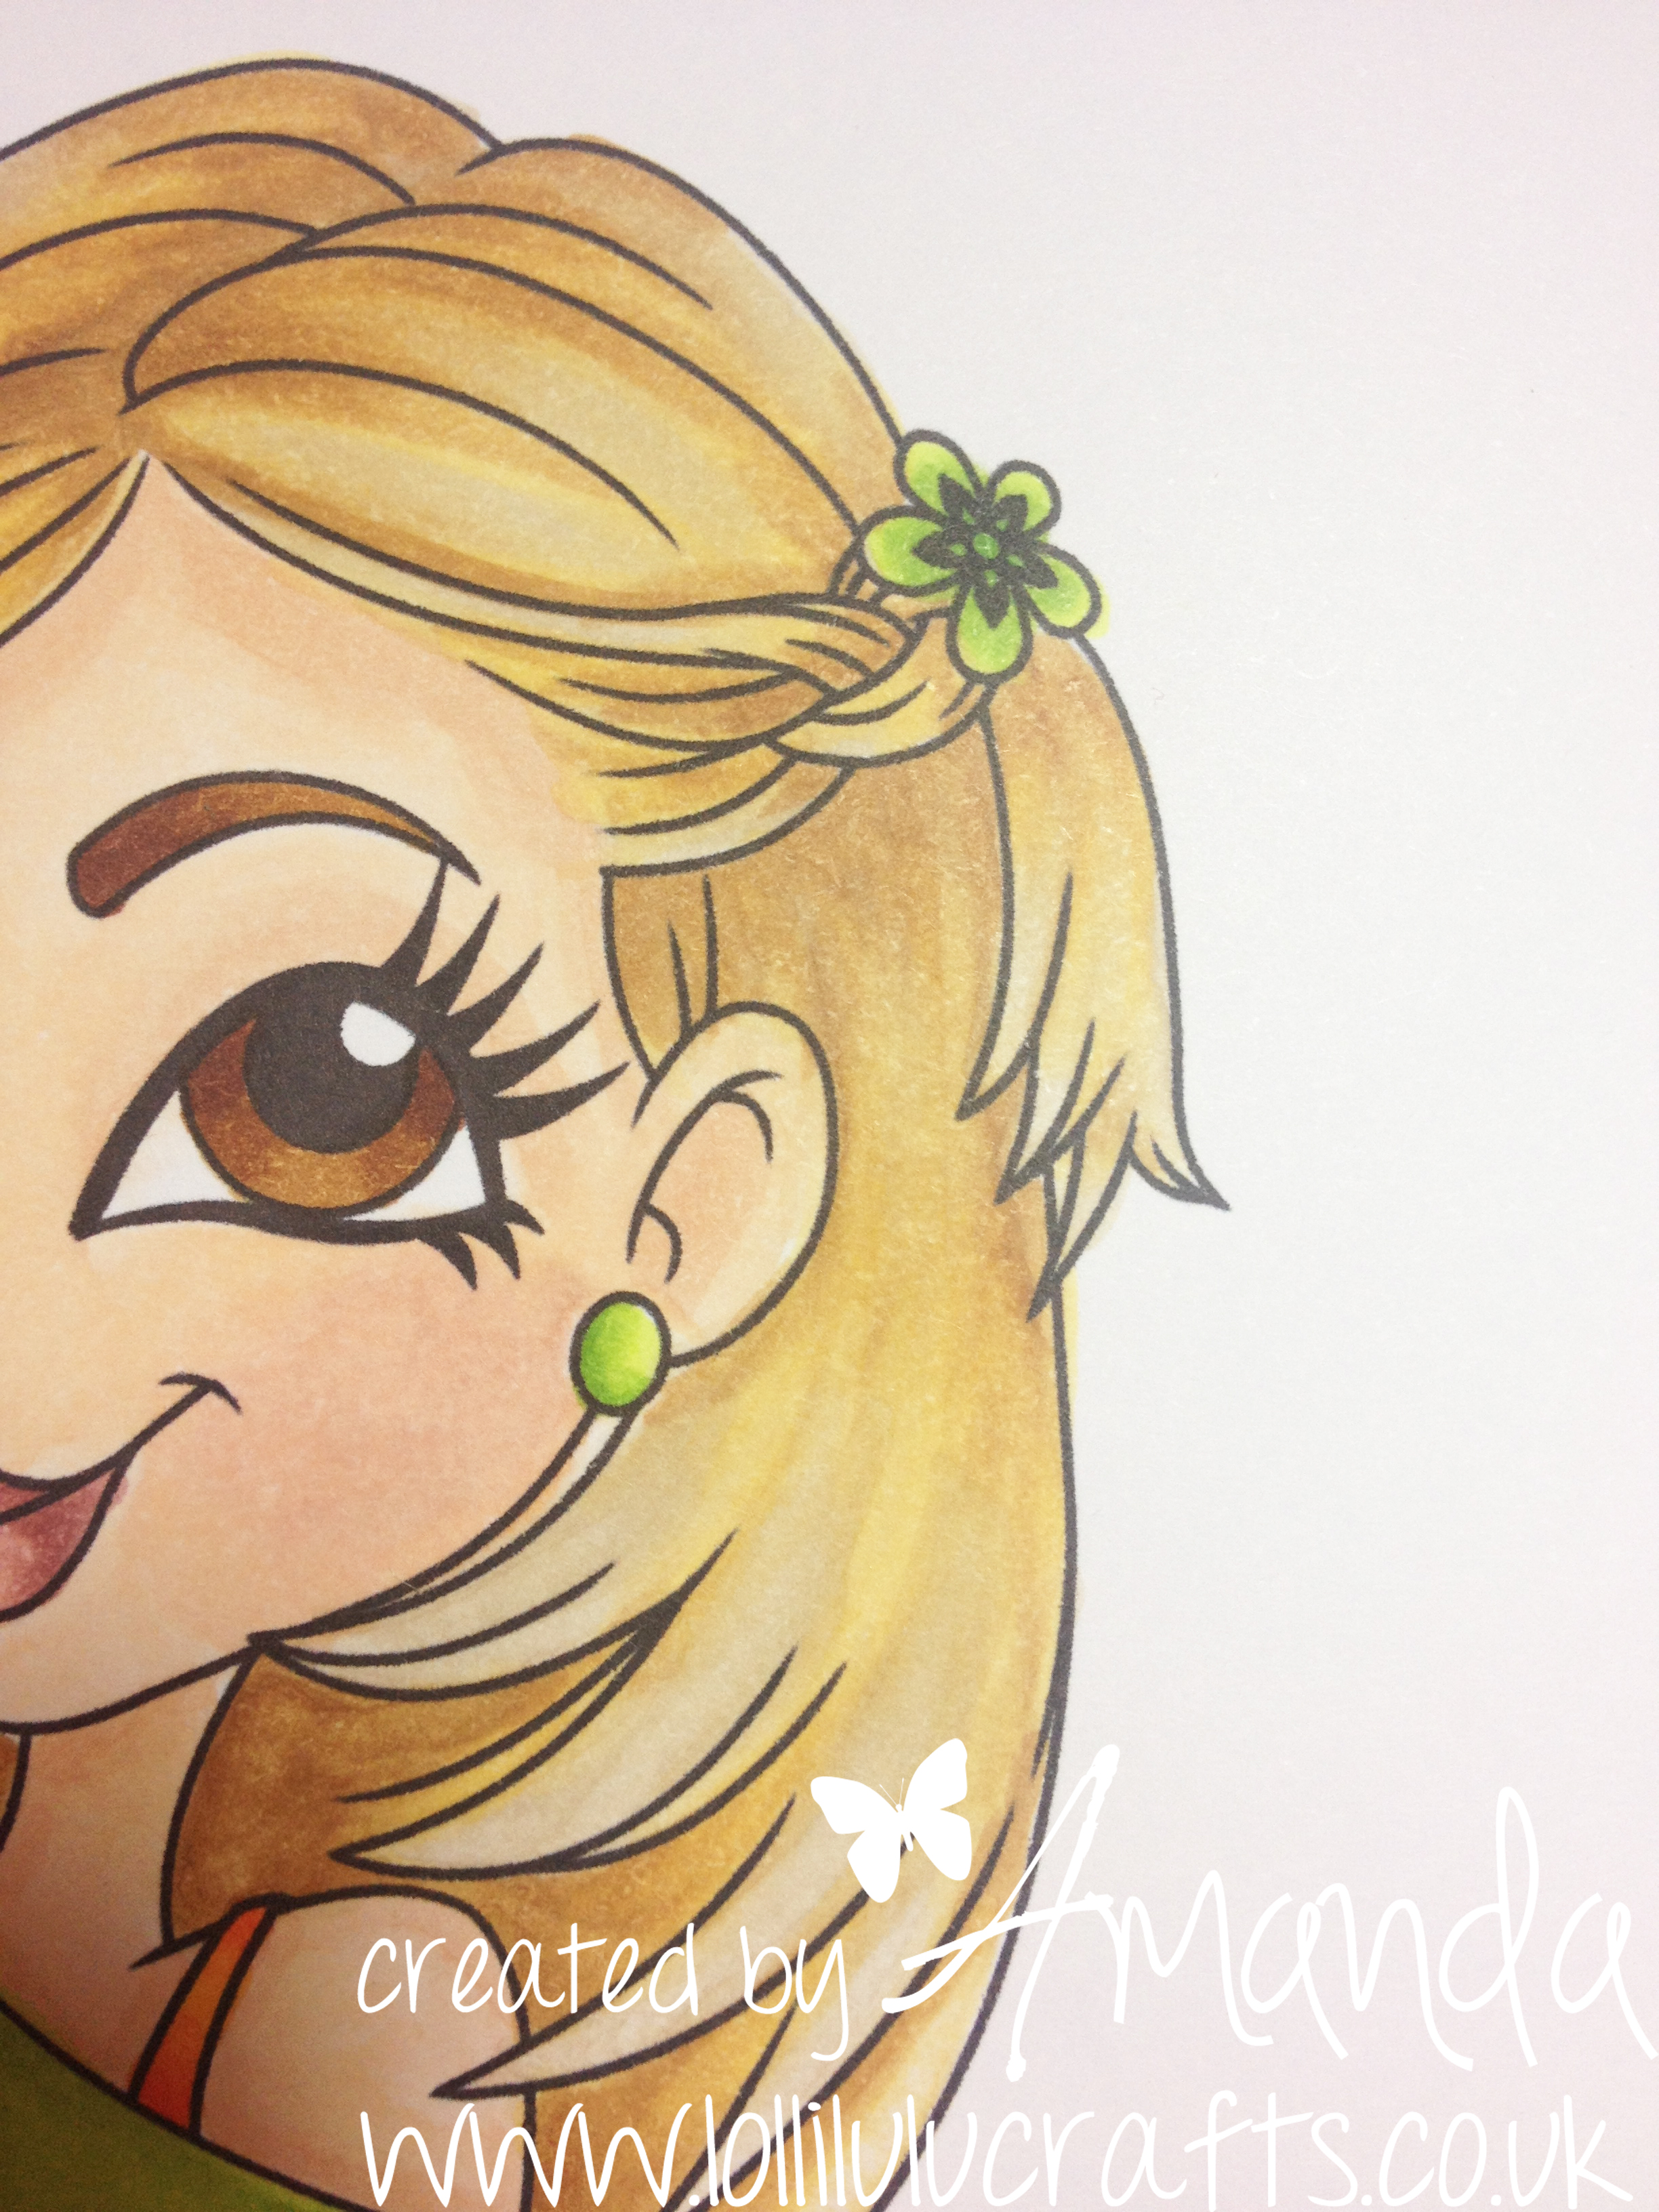
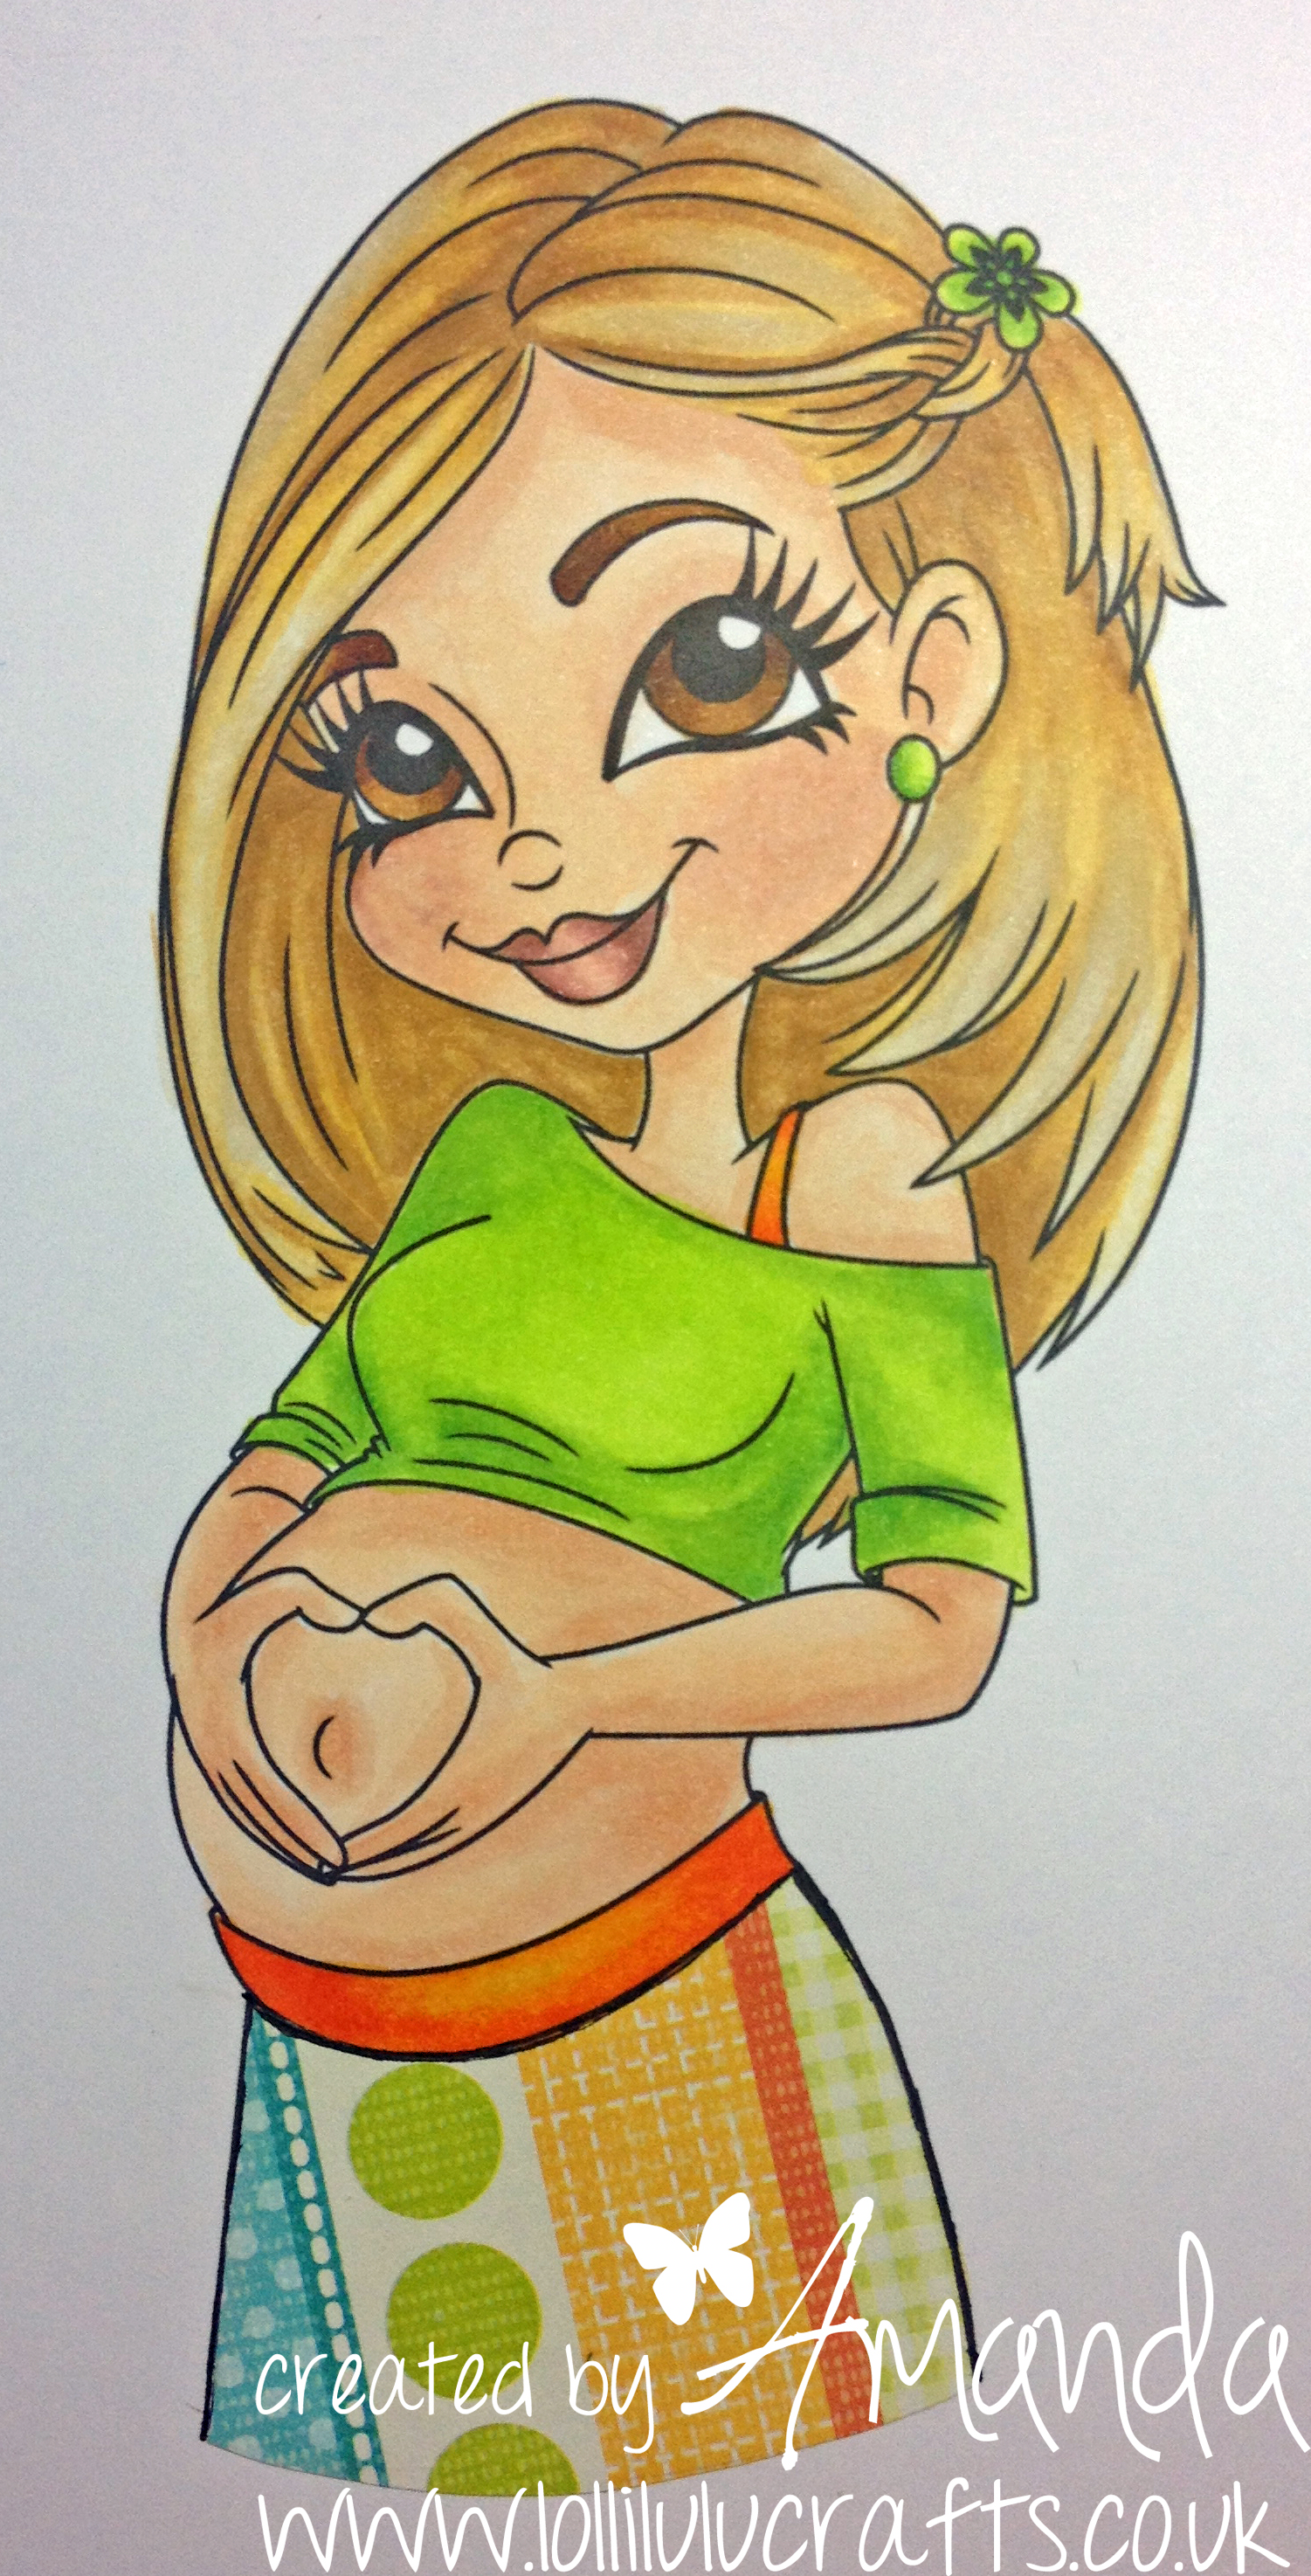
So the first thing I needed to do was pick an image, as I had decided that I would like to do a colouring project for this baby card. I had a look at my images and fell in love with this Redonkadoodles image called ‘Pregancy Glow’. So I printed it out onto A4 Marker card stock, and decided to colour her using my Copic Alcohol markers. I used a mixture of Ciao’s and Sketch markers. As always I started with the skin, eyes and hair (you can see the codes of the markers I used for each section on the photos – don’t forget if you click on the image it will come even bigger, and in fact you can then click again for supersize!) :-
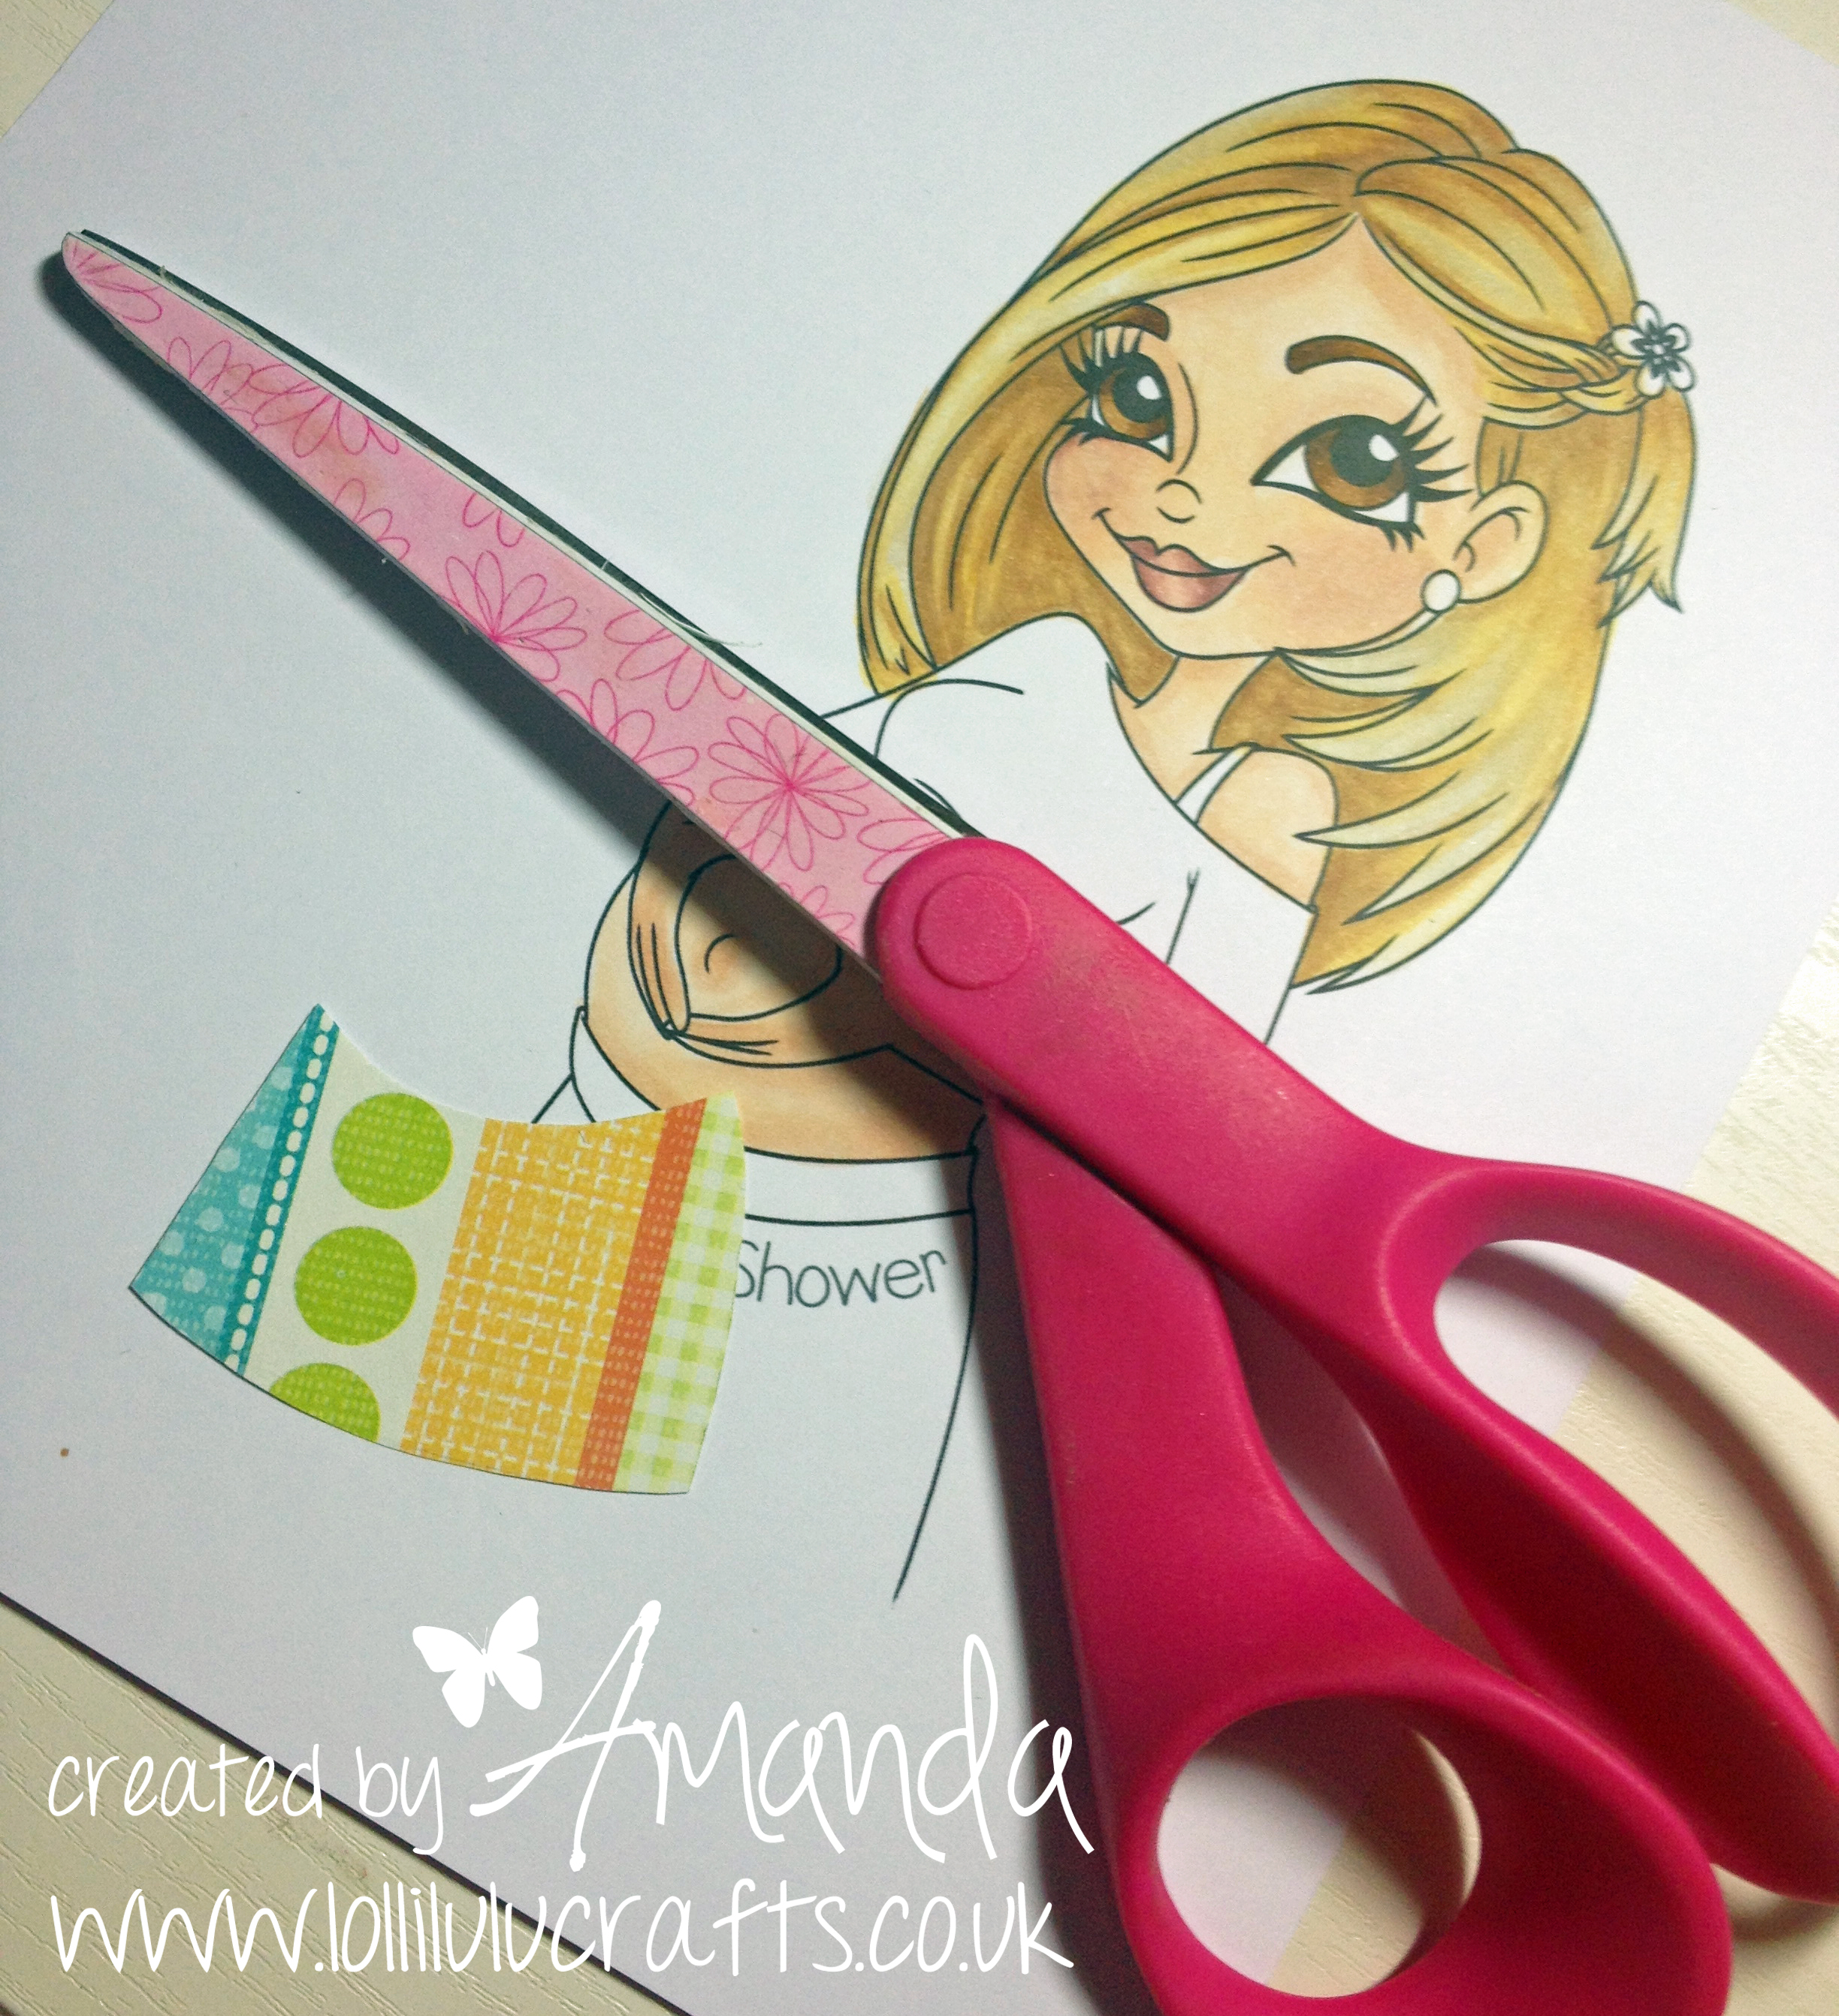
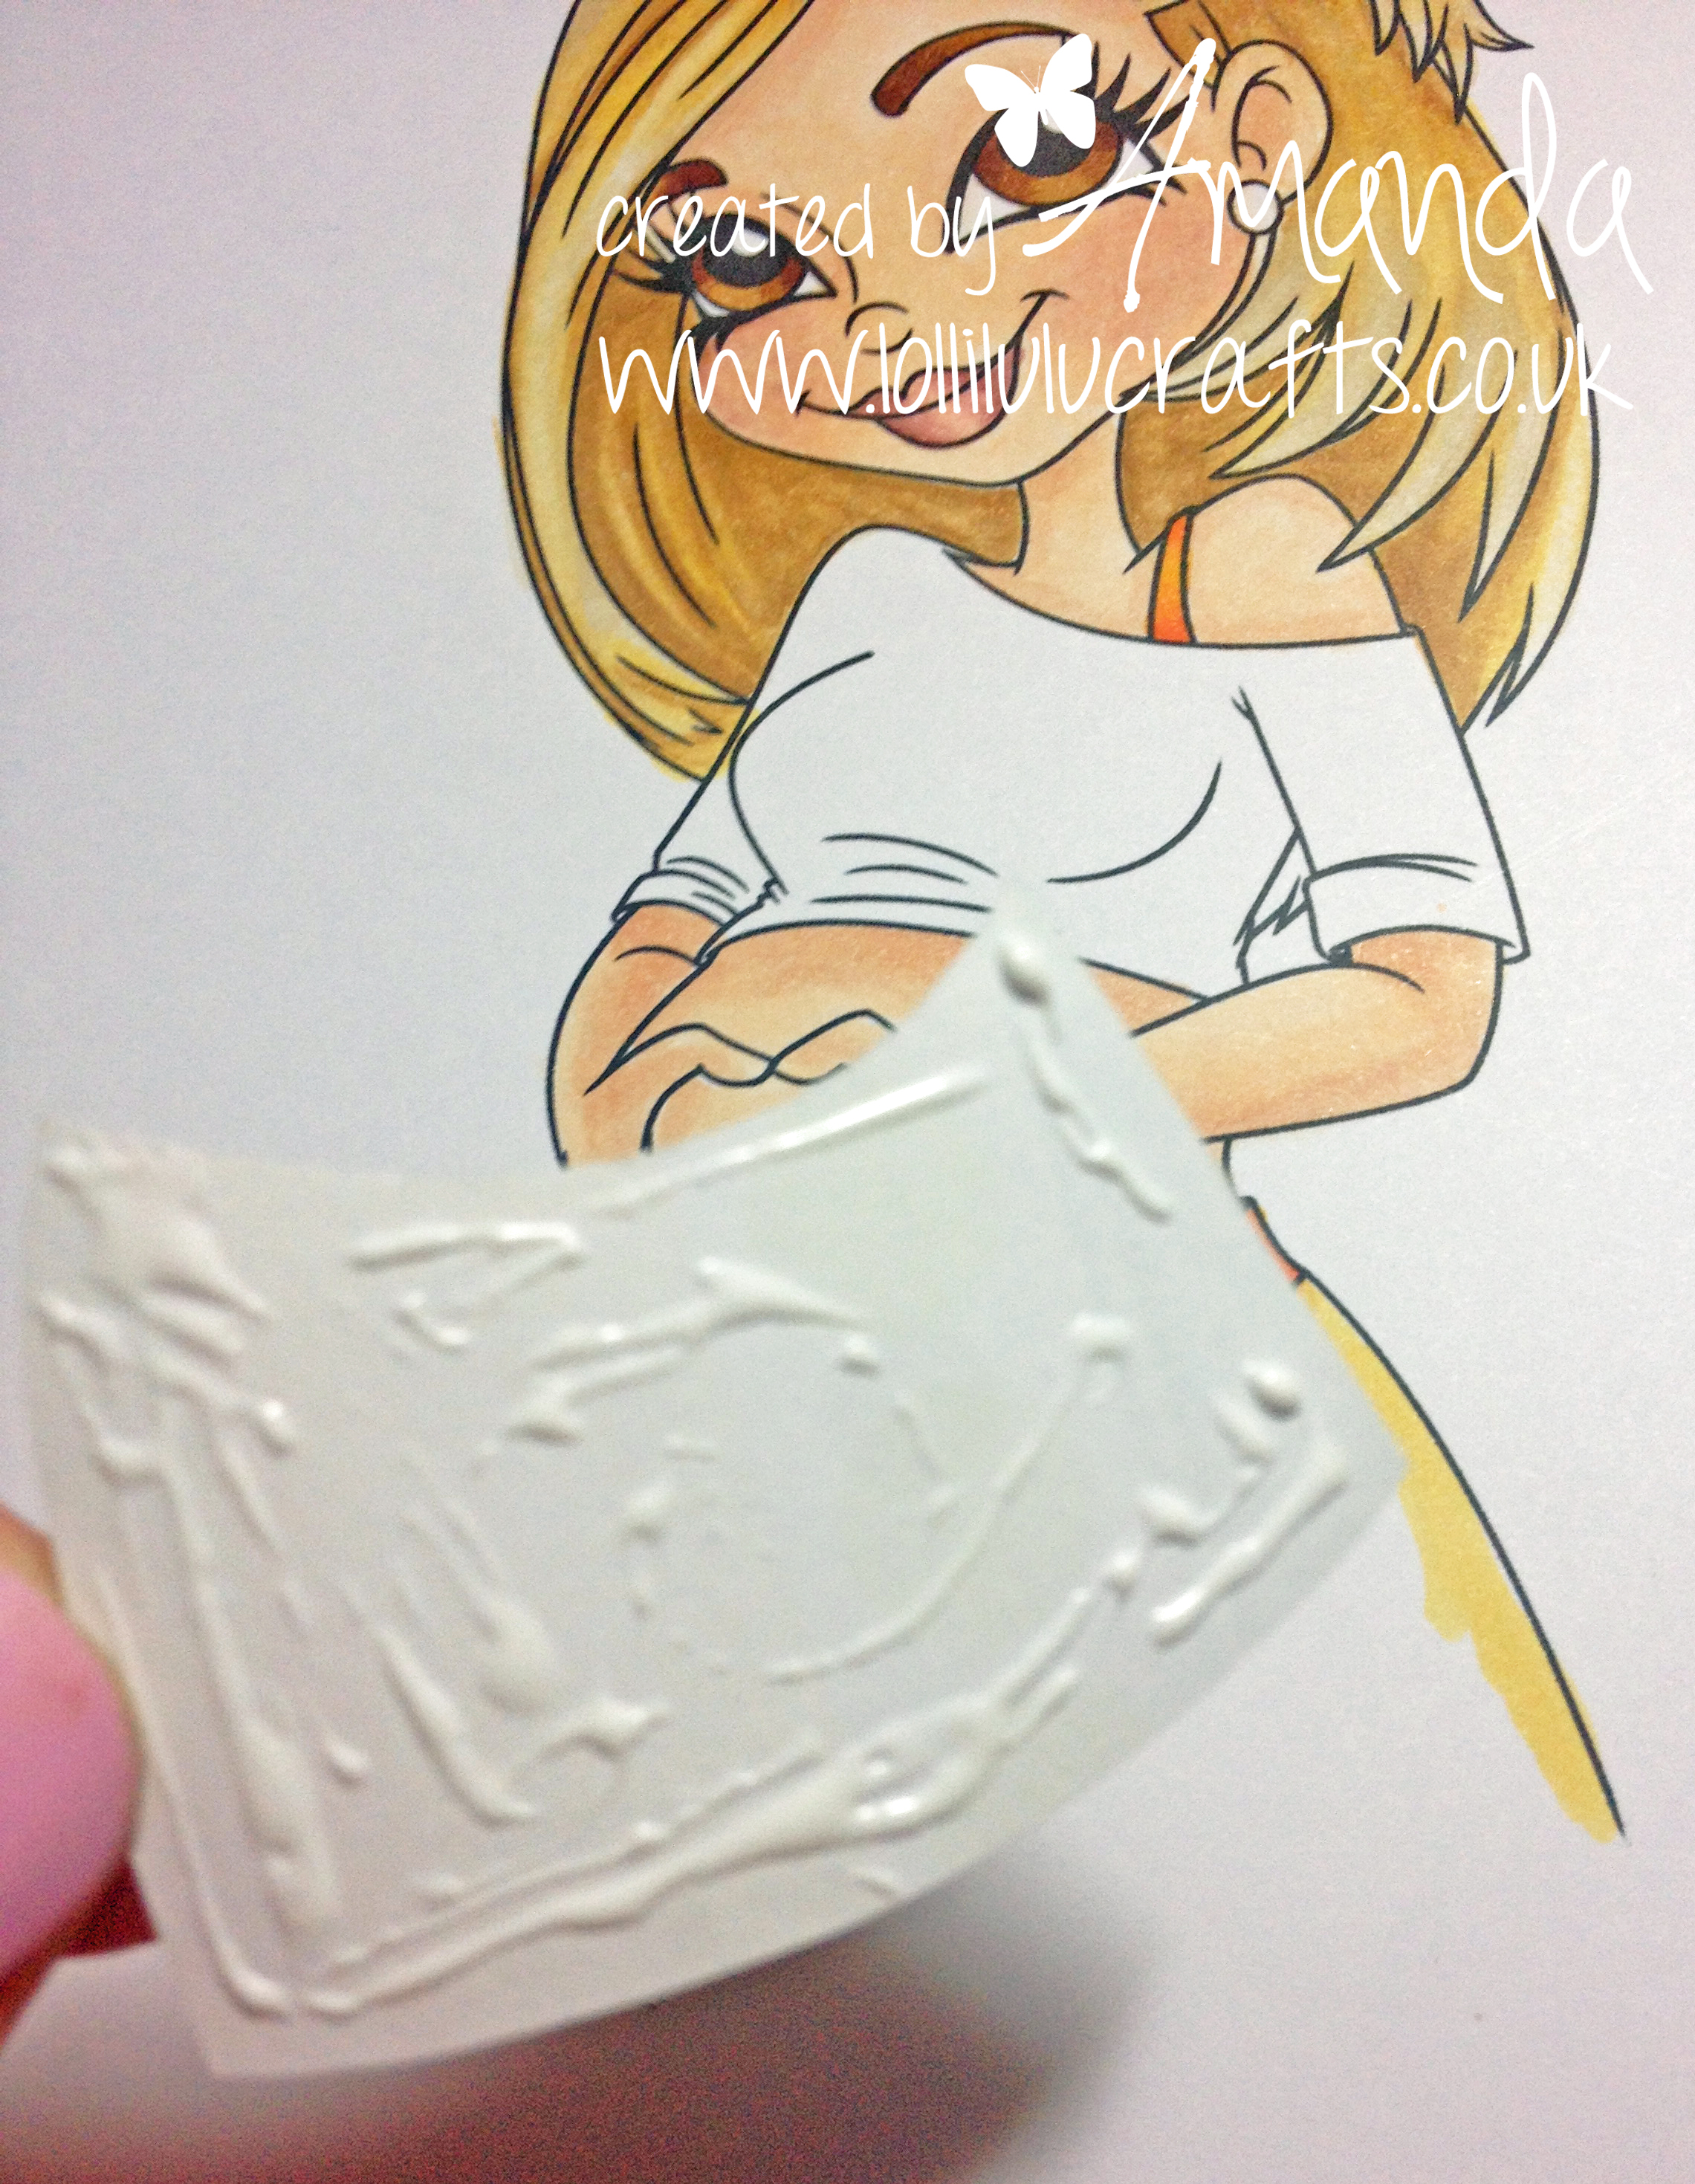
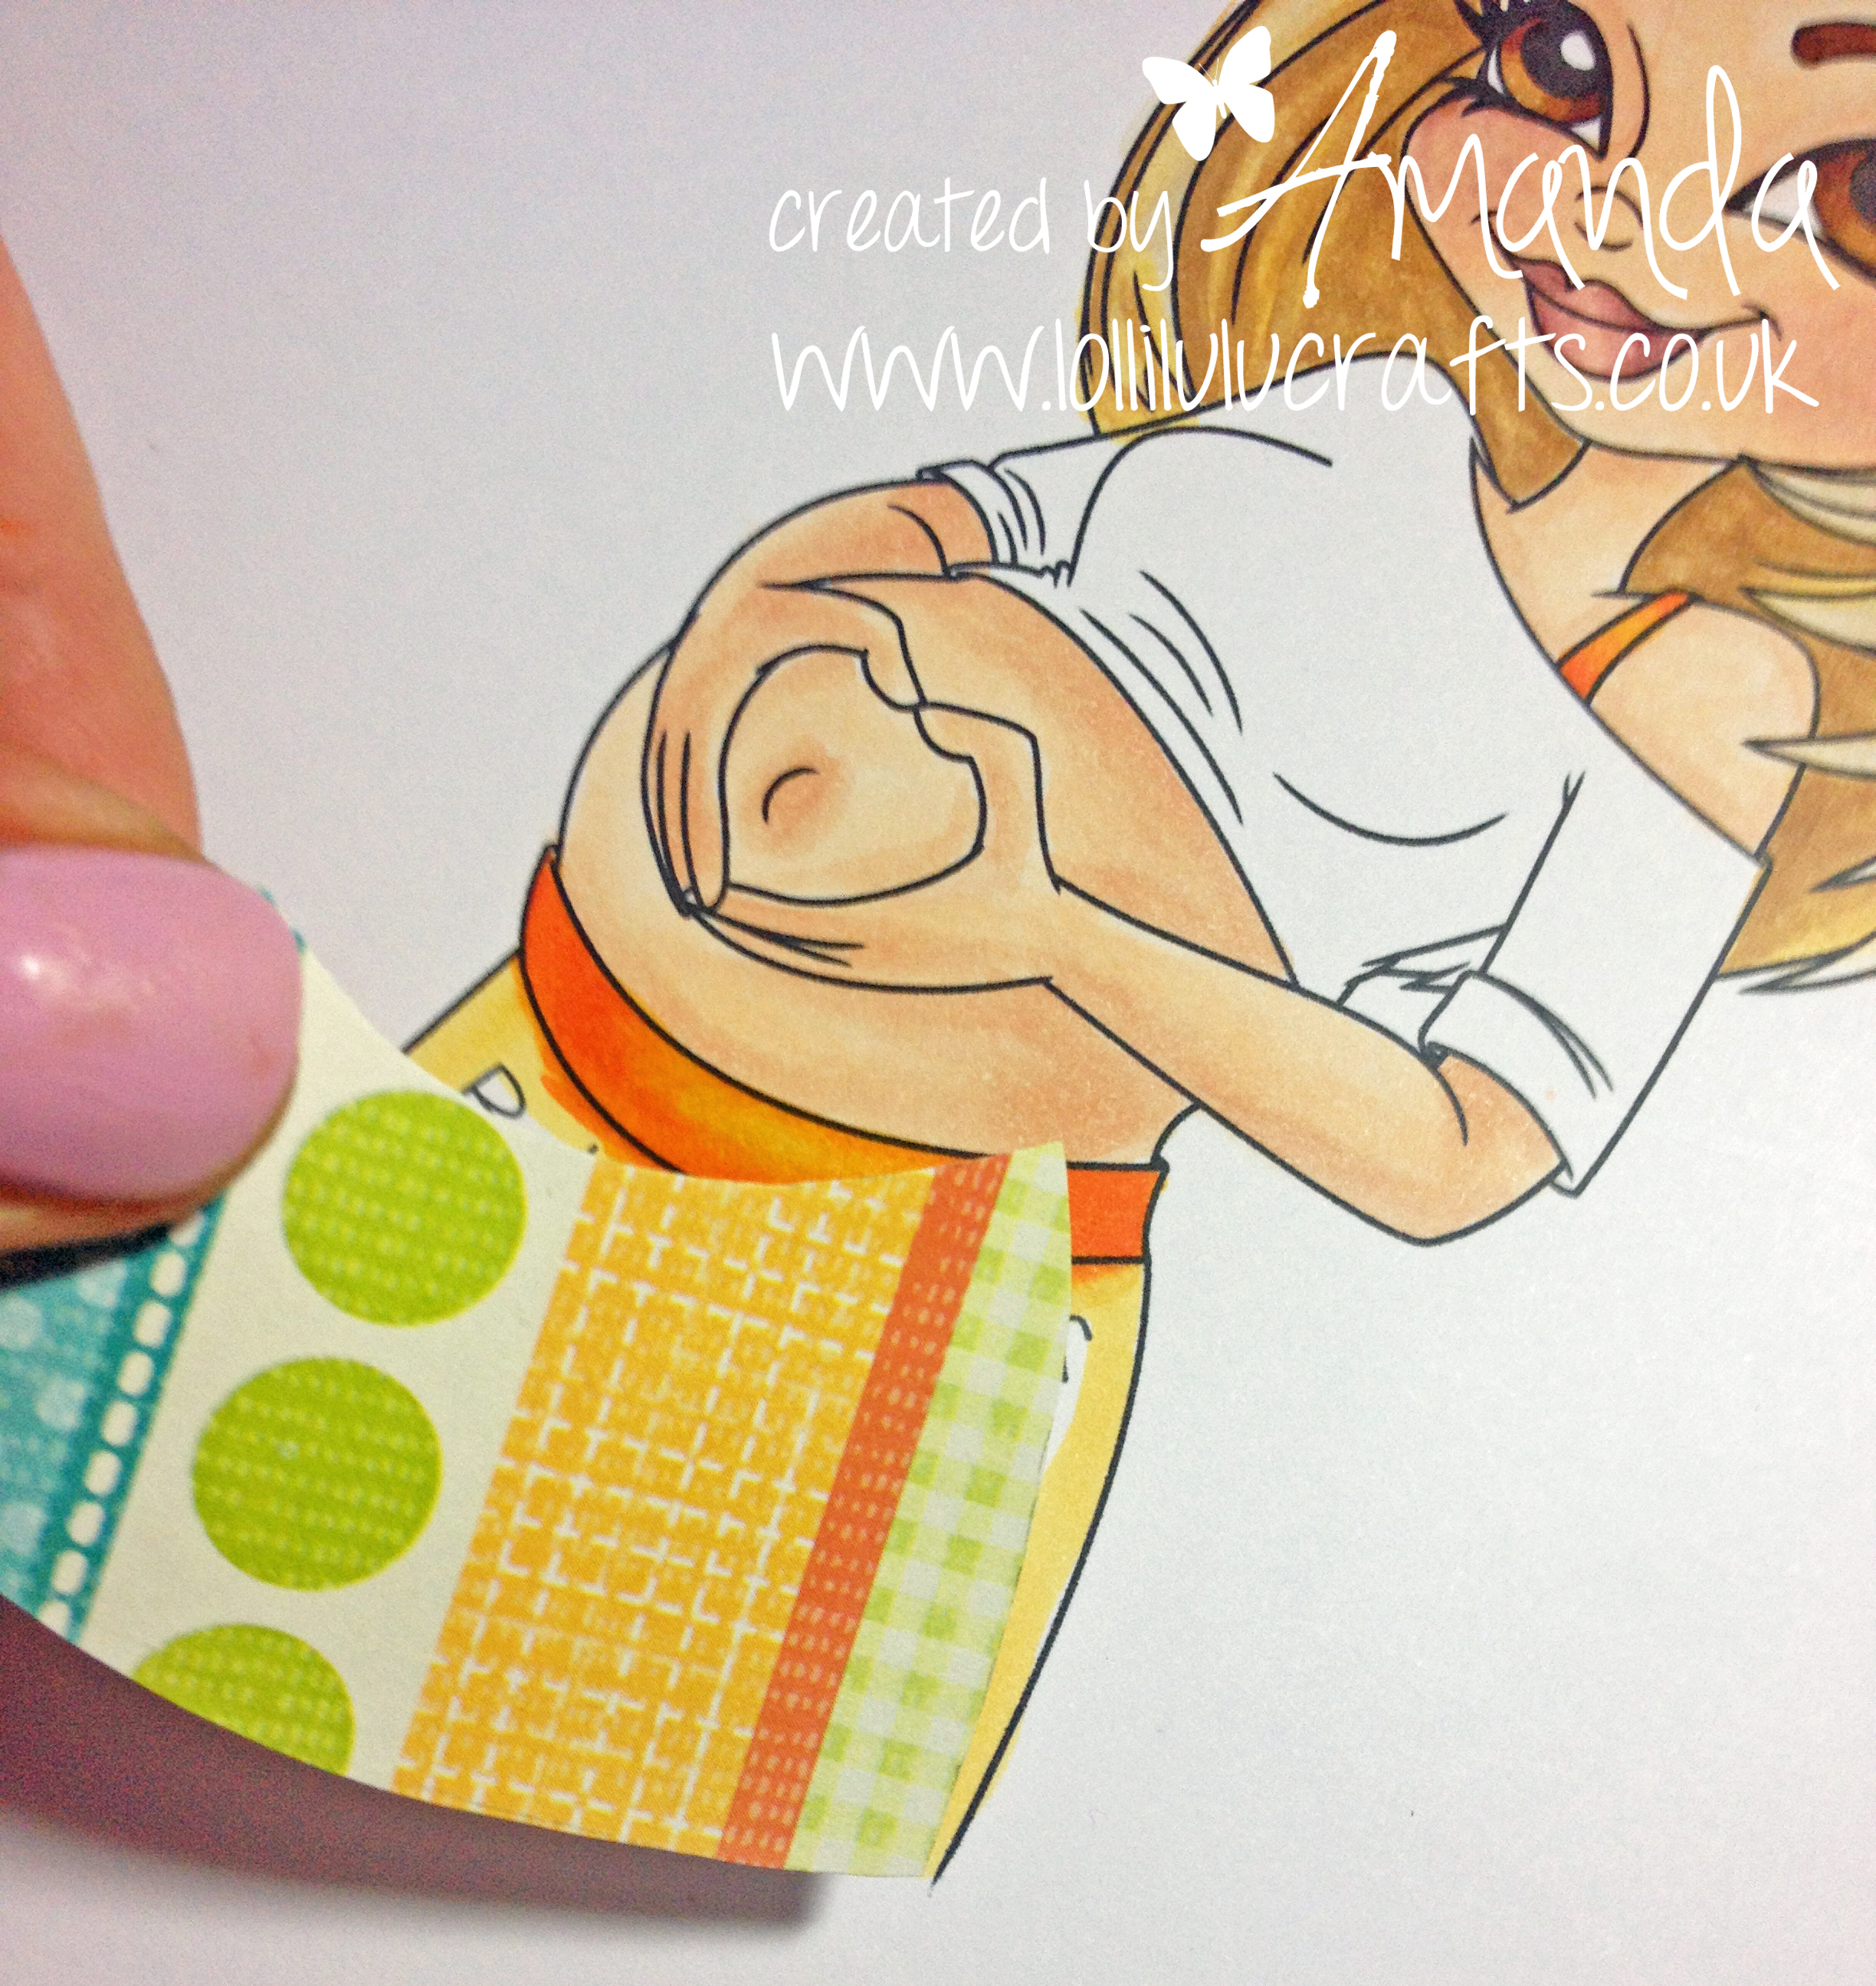
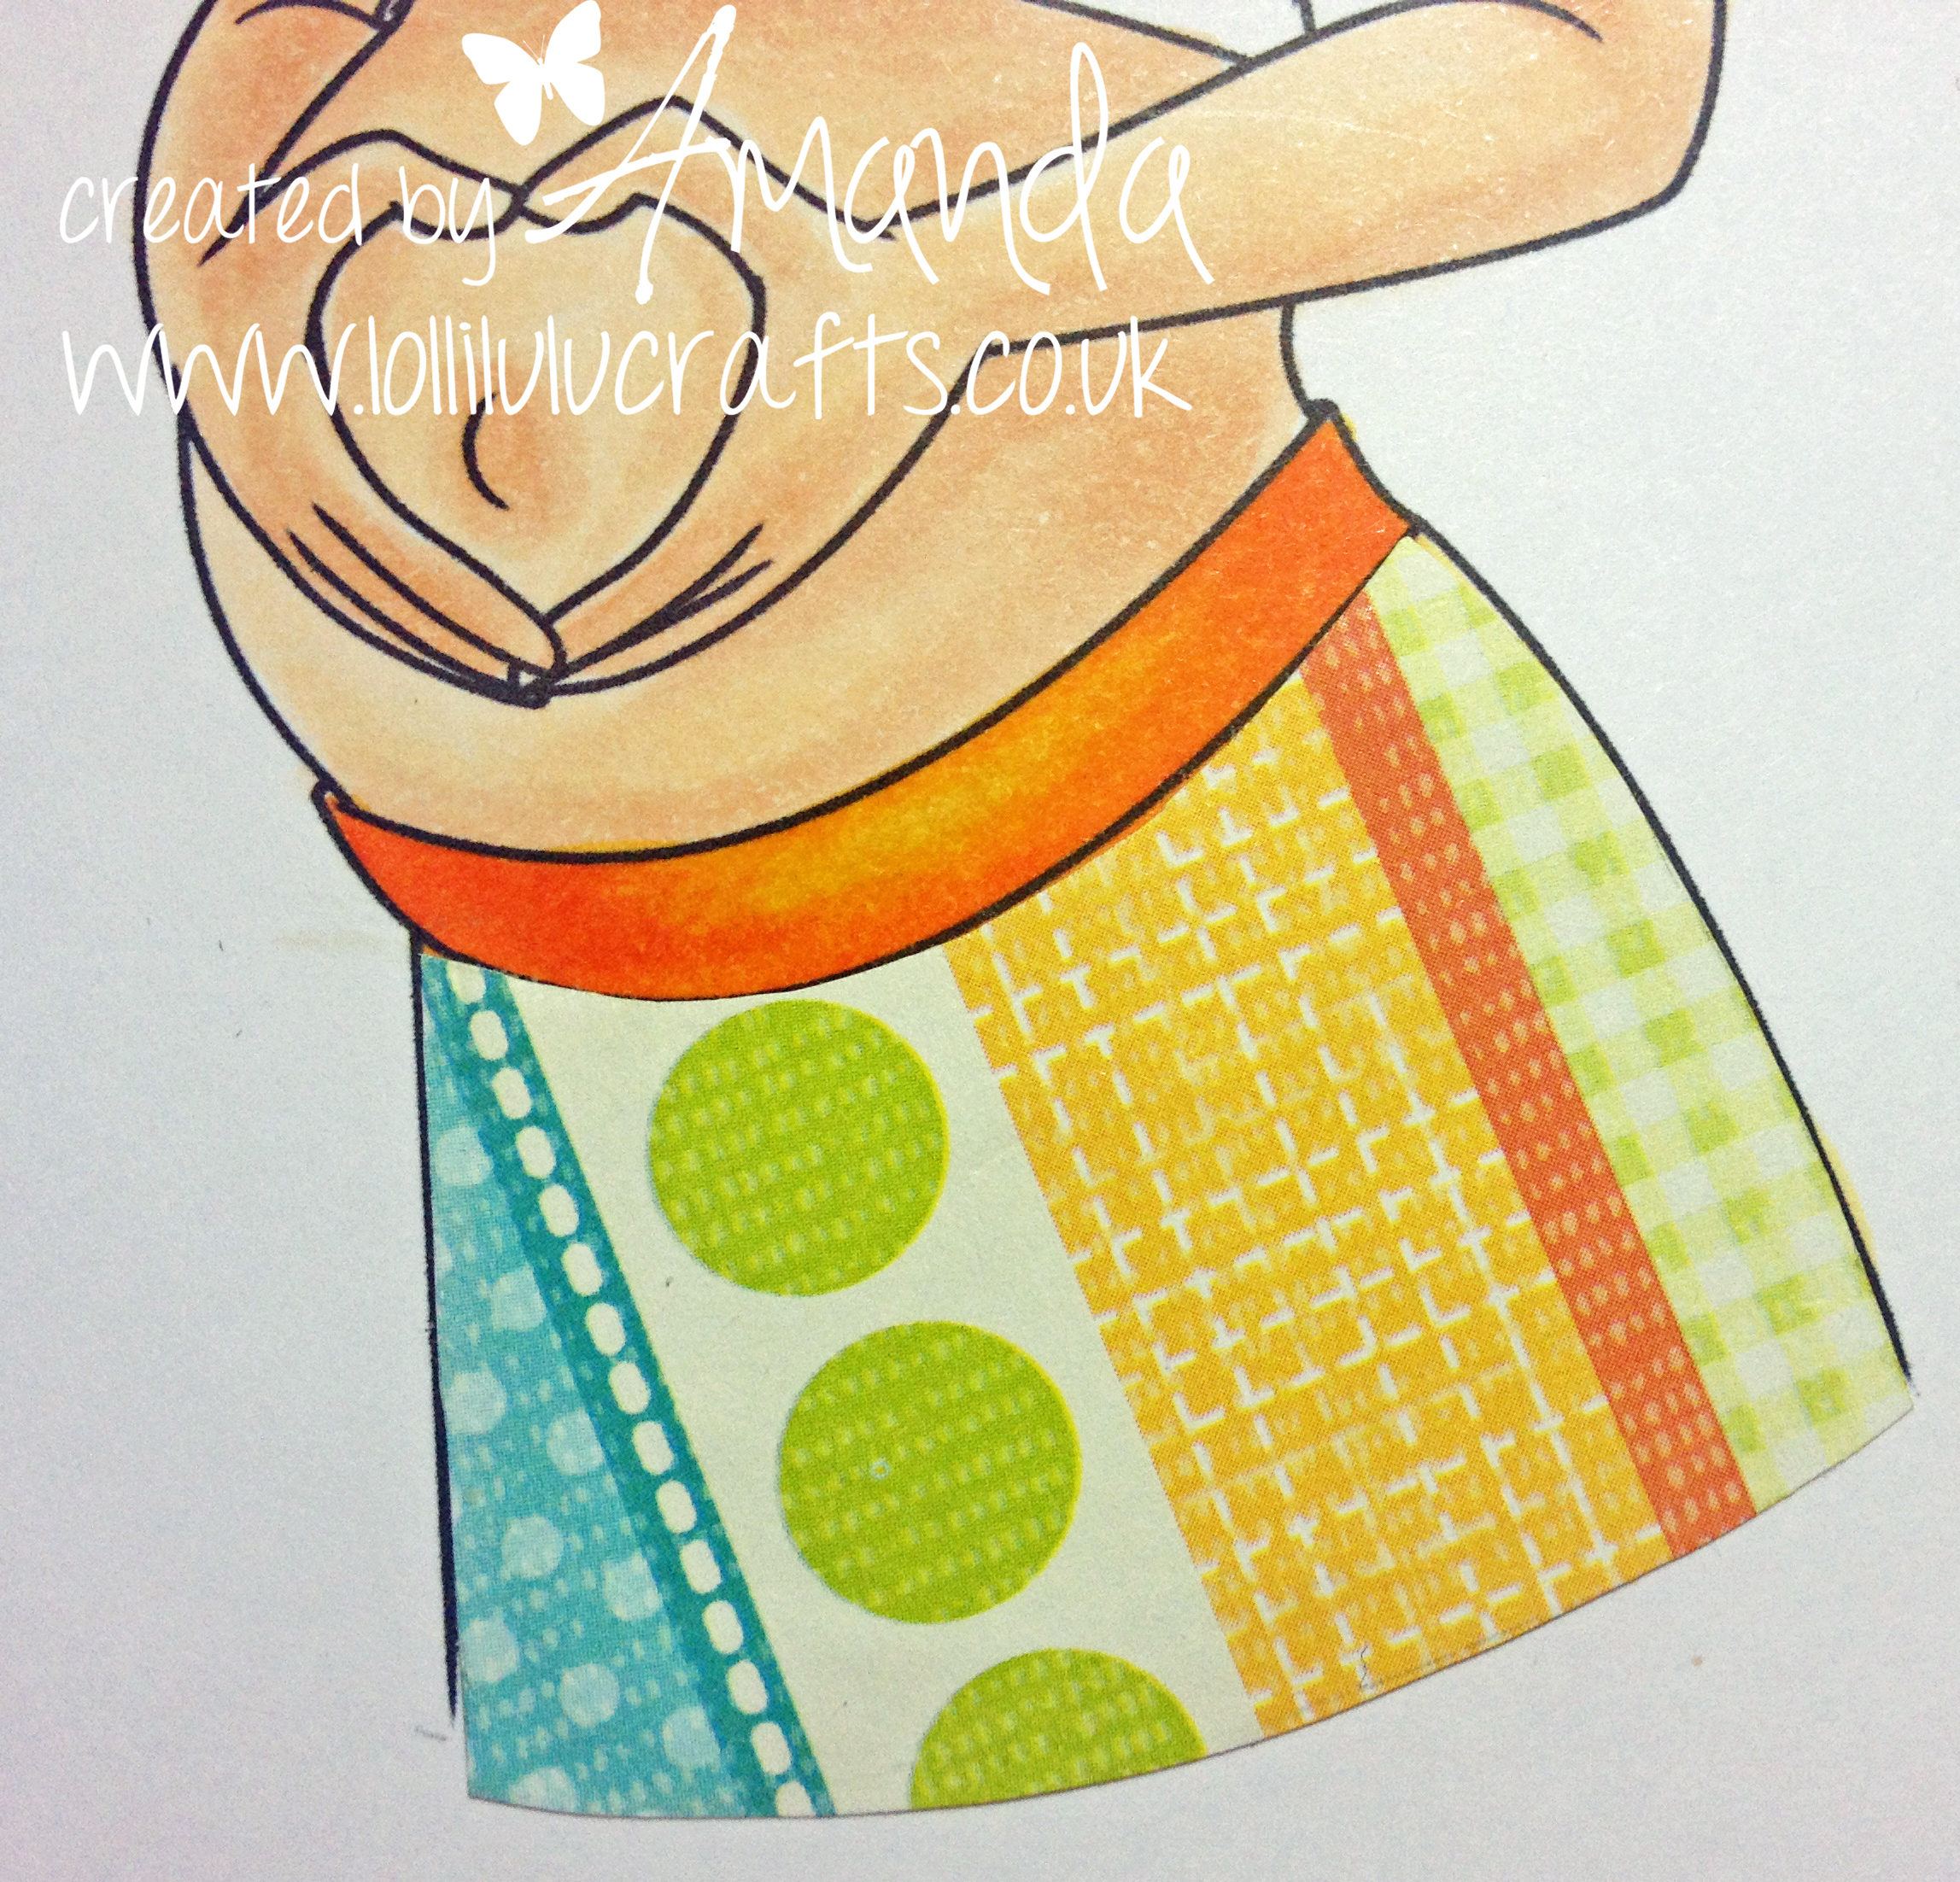
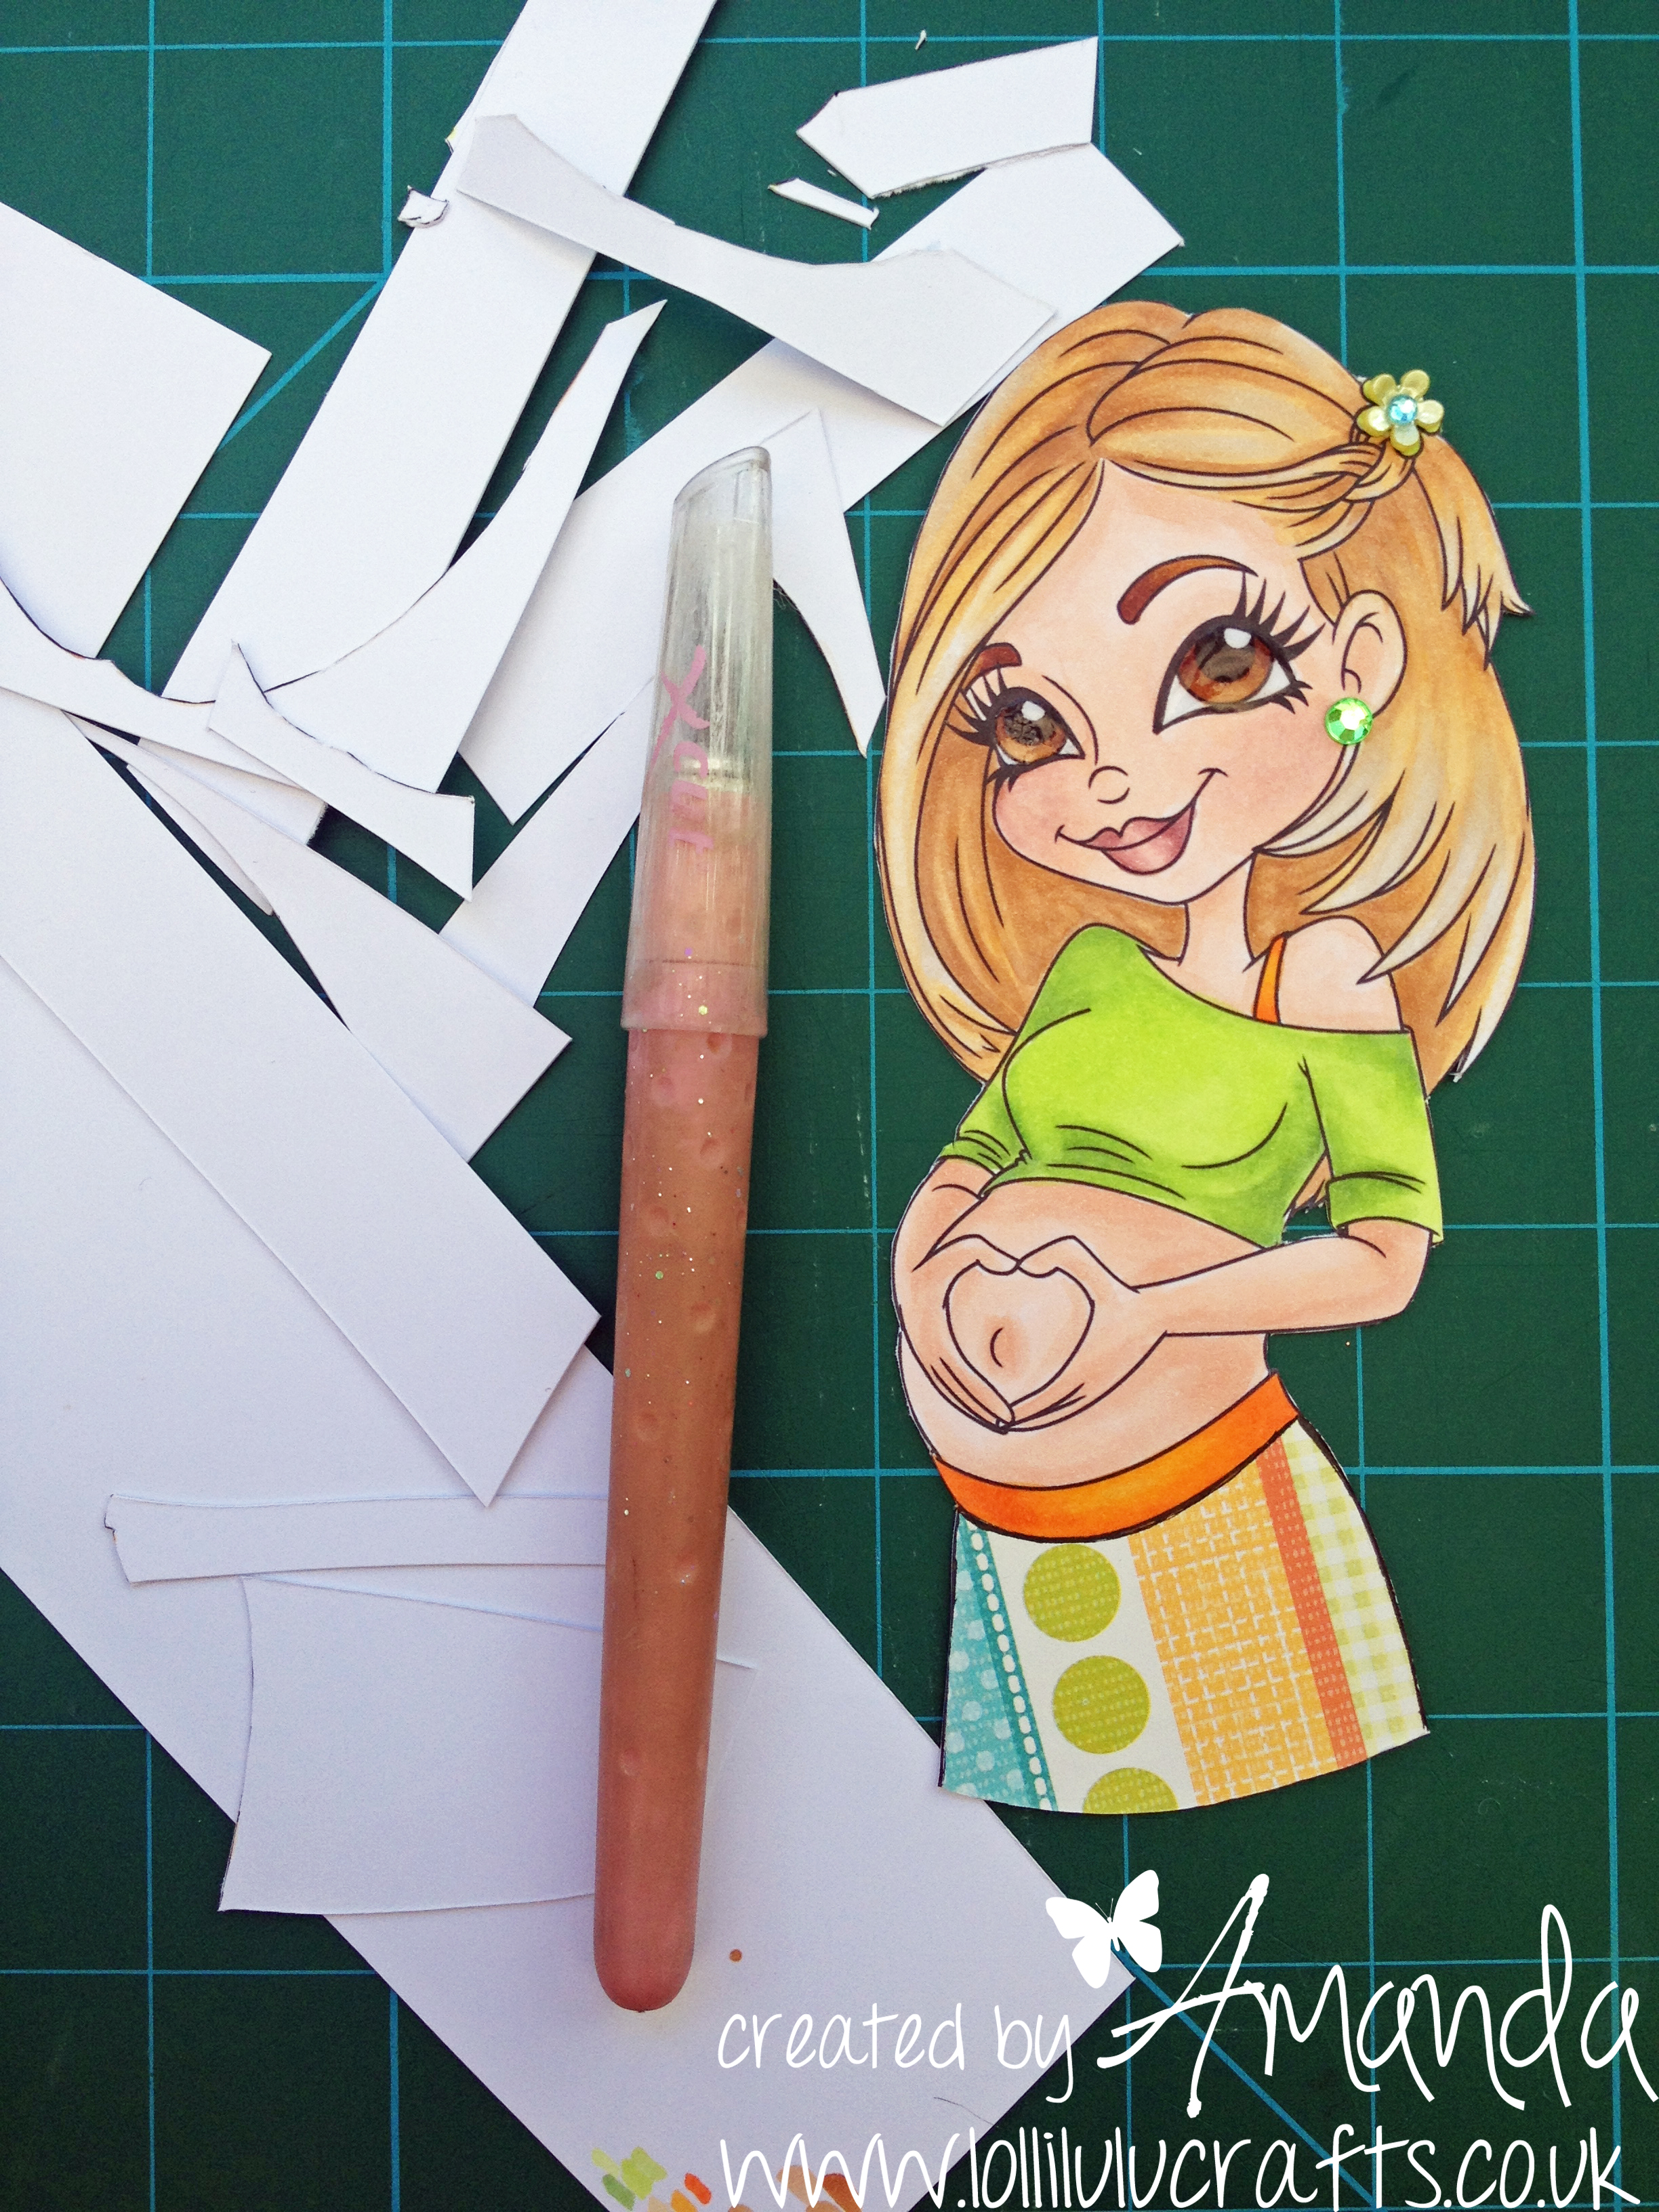
I then decided that I did not like the additional sentiment of ‘baby shower’ that I added into her skirt and it ended up giving me inspiration because I realised that in order to cover it I would need to use a ‘paper piecing’ technique. This would give her a fun patterned skirt and if you do use paper not card do this you do not even see that it has been added. A really great technique. So to this I needed to hold the image up to the light and trace through the skirt shape. Remember you must trace onto the right side of the paper otherwise the cut with be reversed! Go on, ask me how I know!!!! I could have printed the whole image onto patterned paper but for such a simple shape it was not worth the effort. I then cut it out and checked I was happy with the shape, which I was. Then before sticking it down I coloured in the band of her skirt and a little onto the edges of where the paper piece was going, just in case there were any gaps. Then using a tacky PVA adhesive I stuck the ‘skirt’ down. I think it looks fabulous 🙂
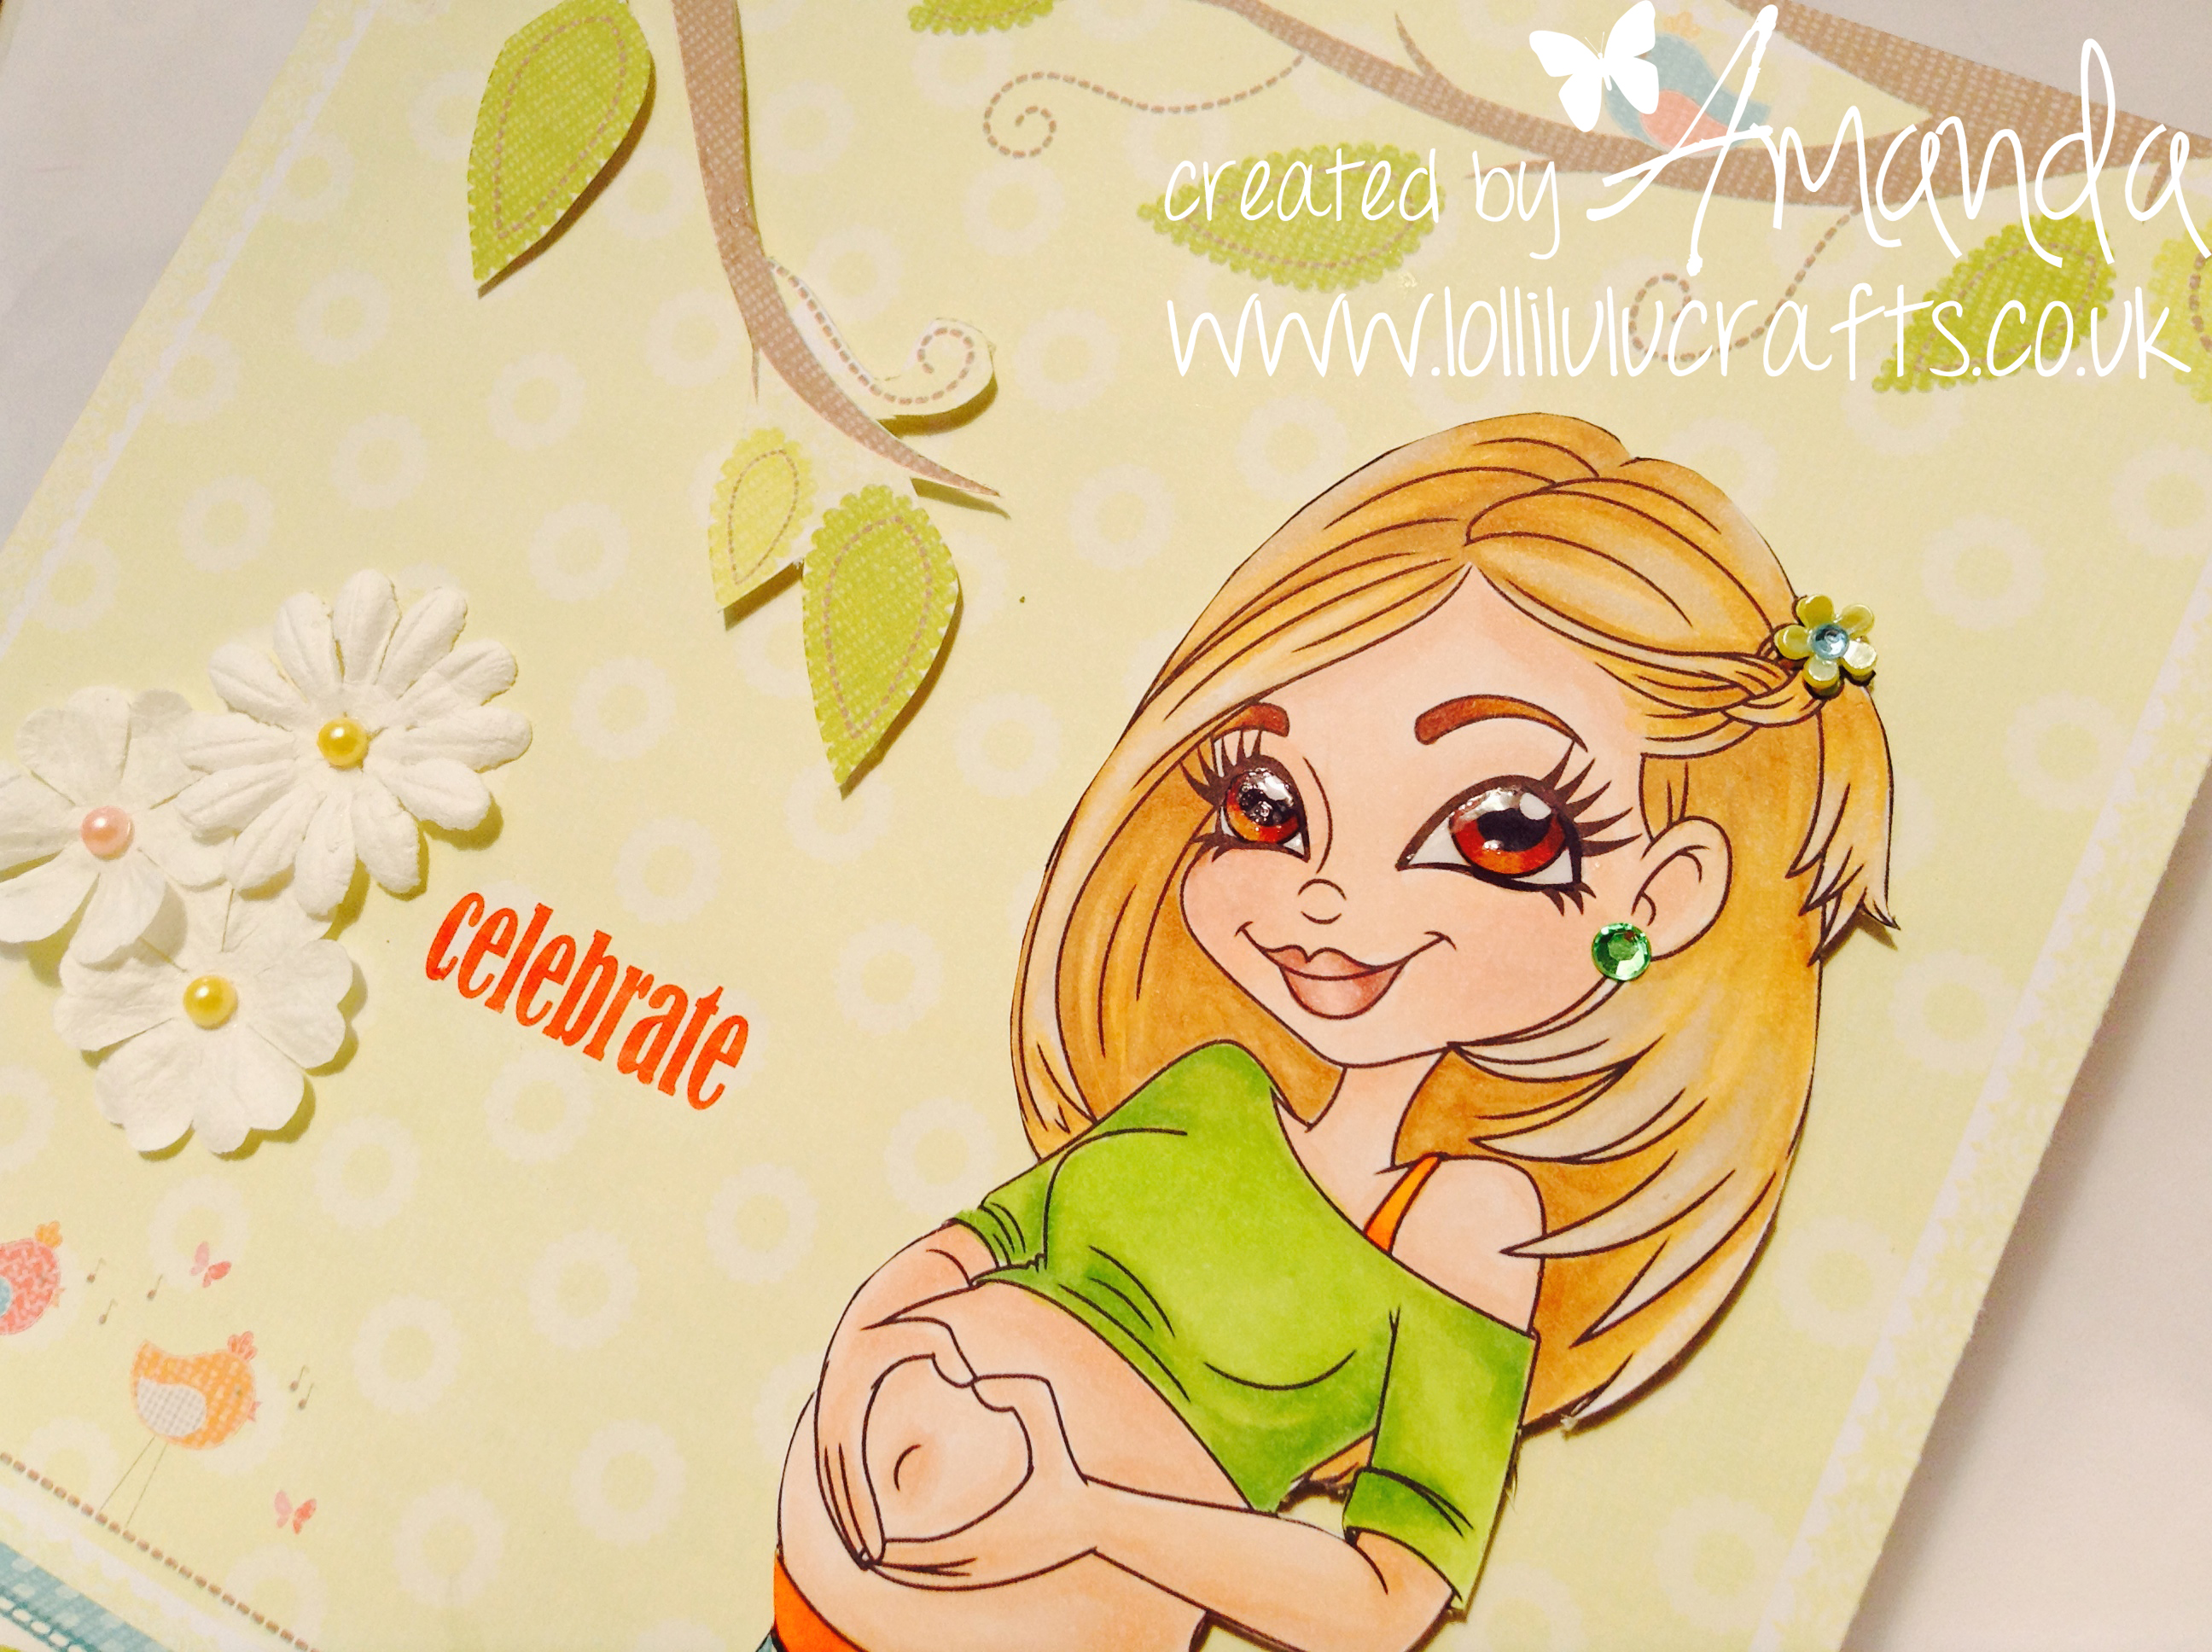
Next I had to complete the colouring and I decided on a lovely green for her top, flower and earring:
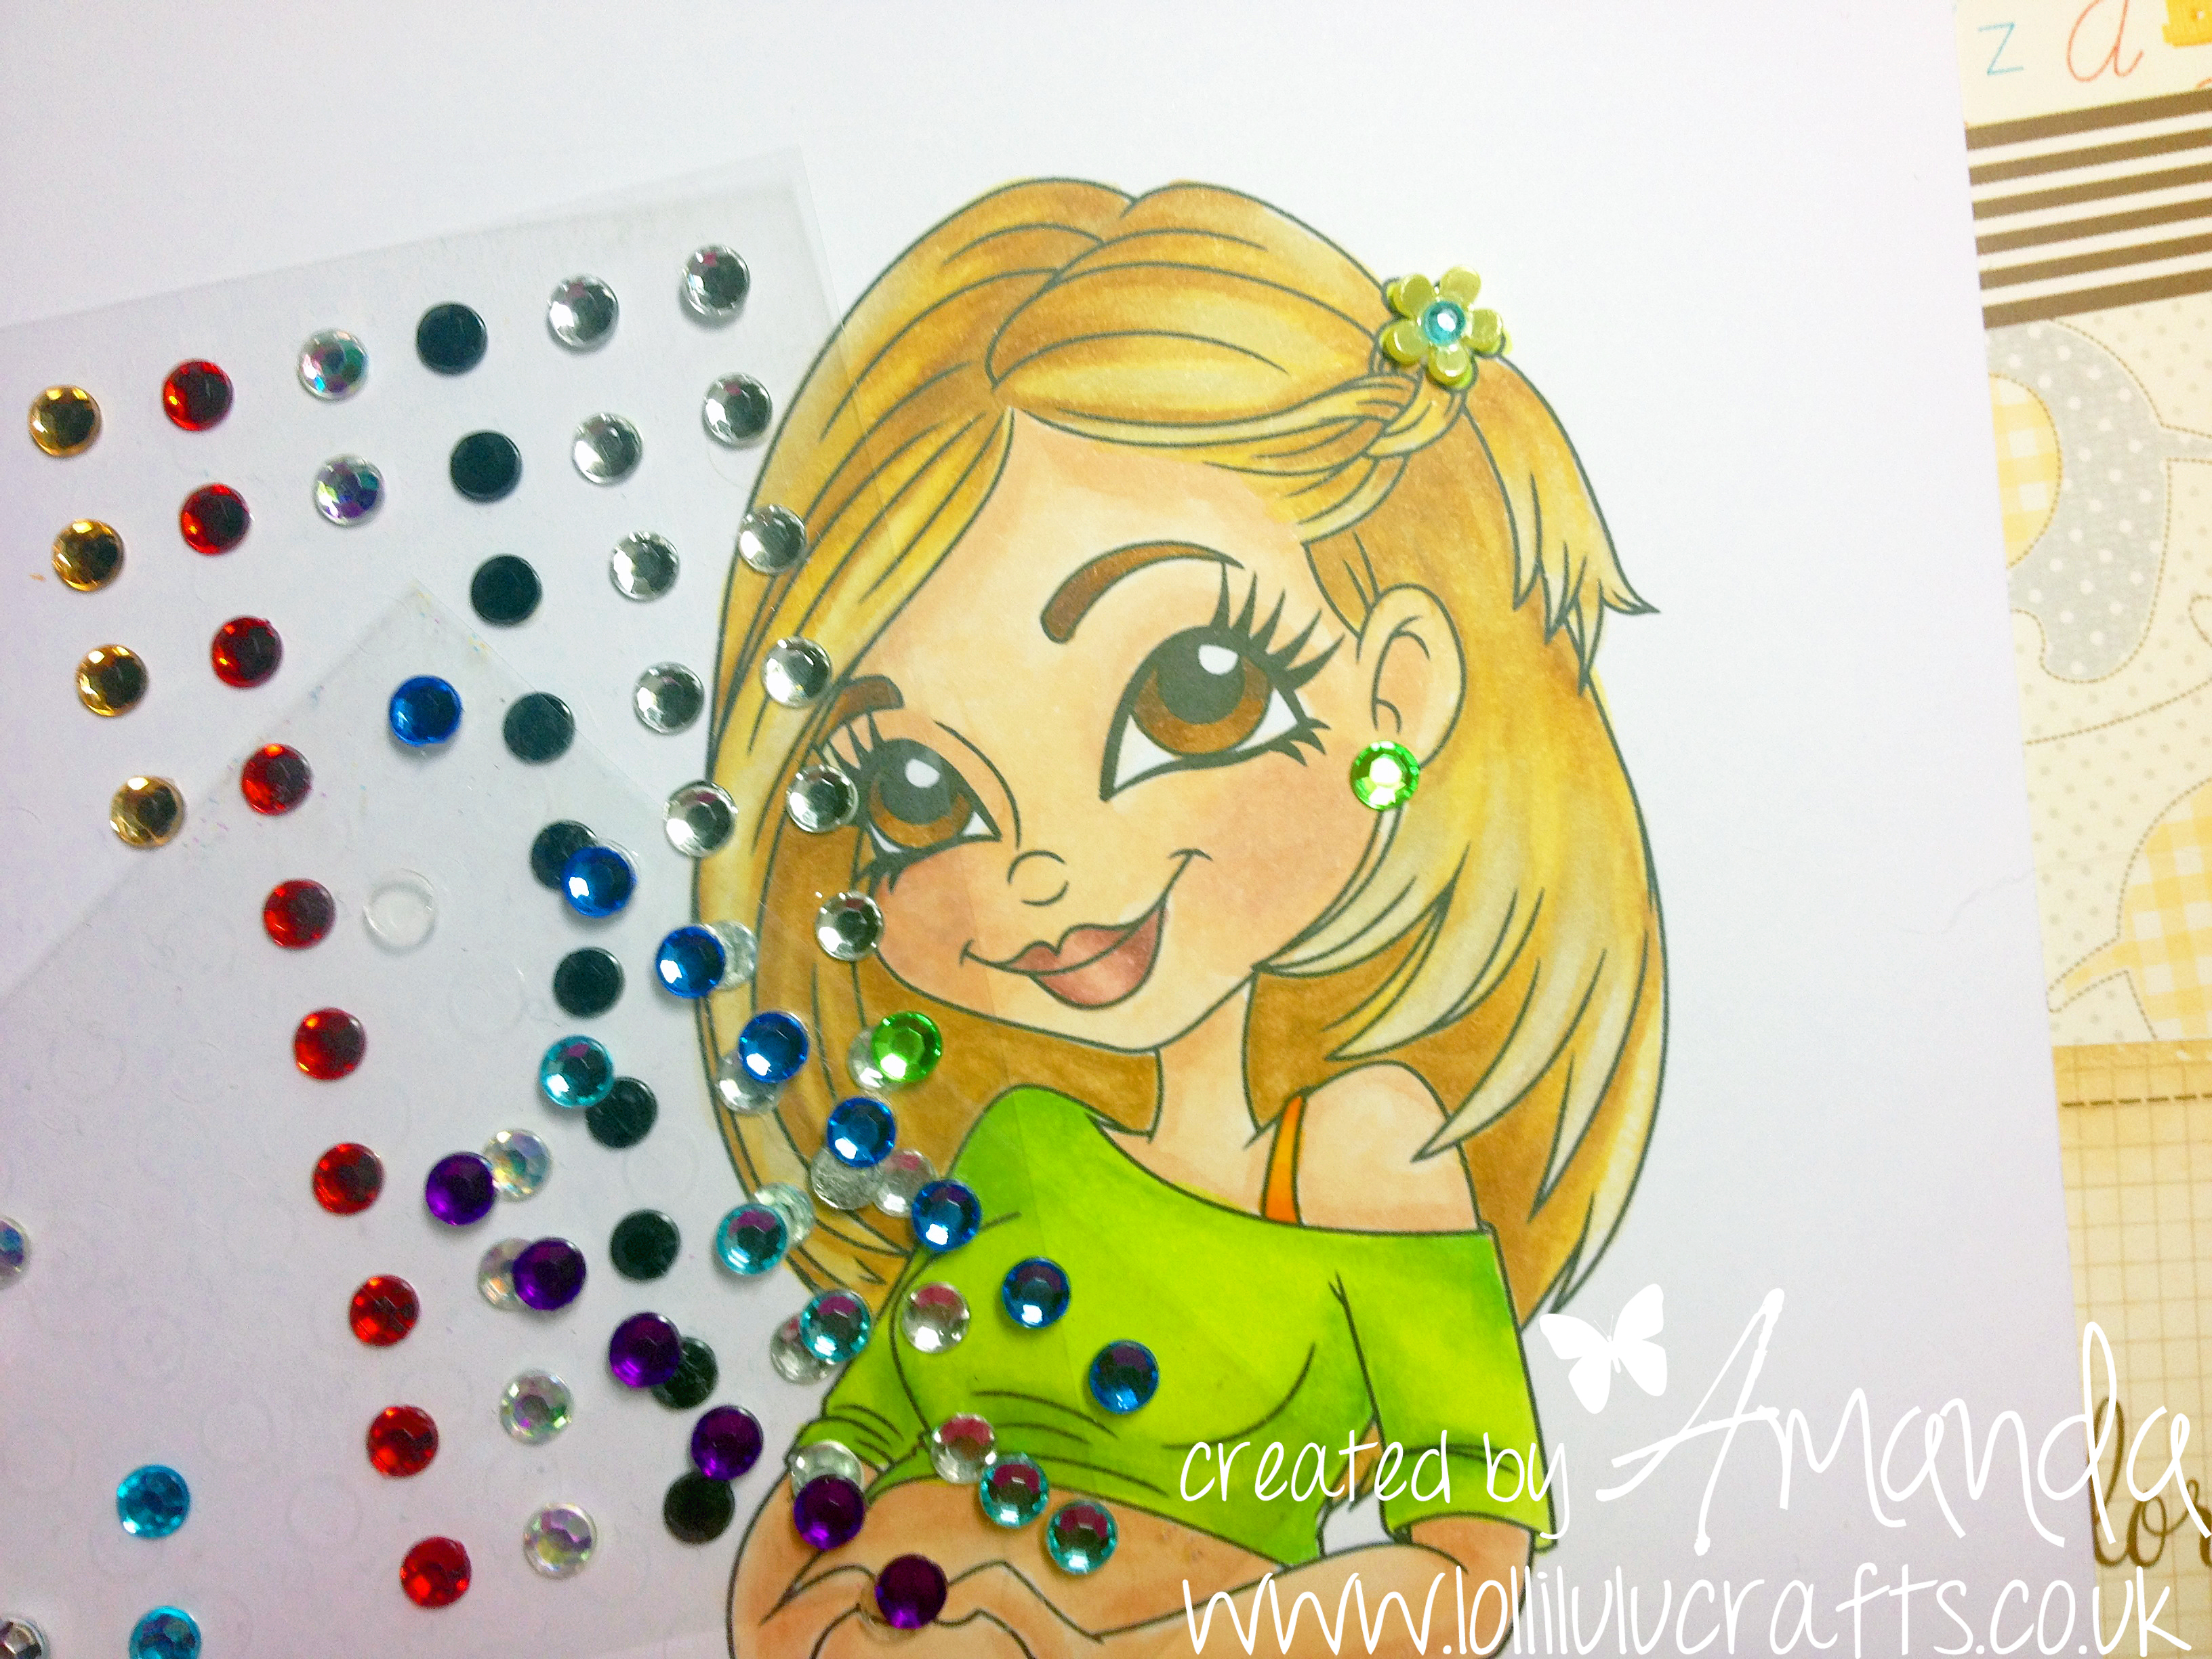
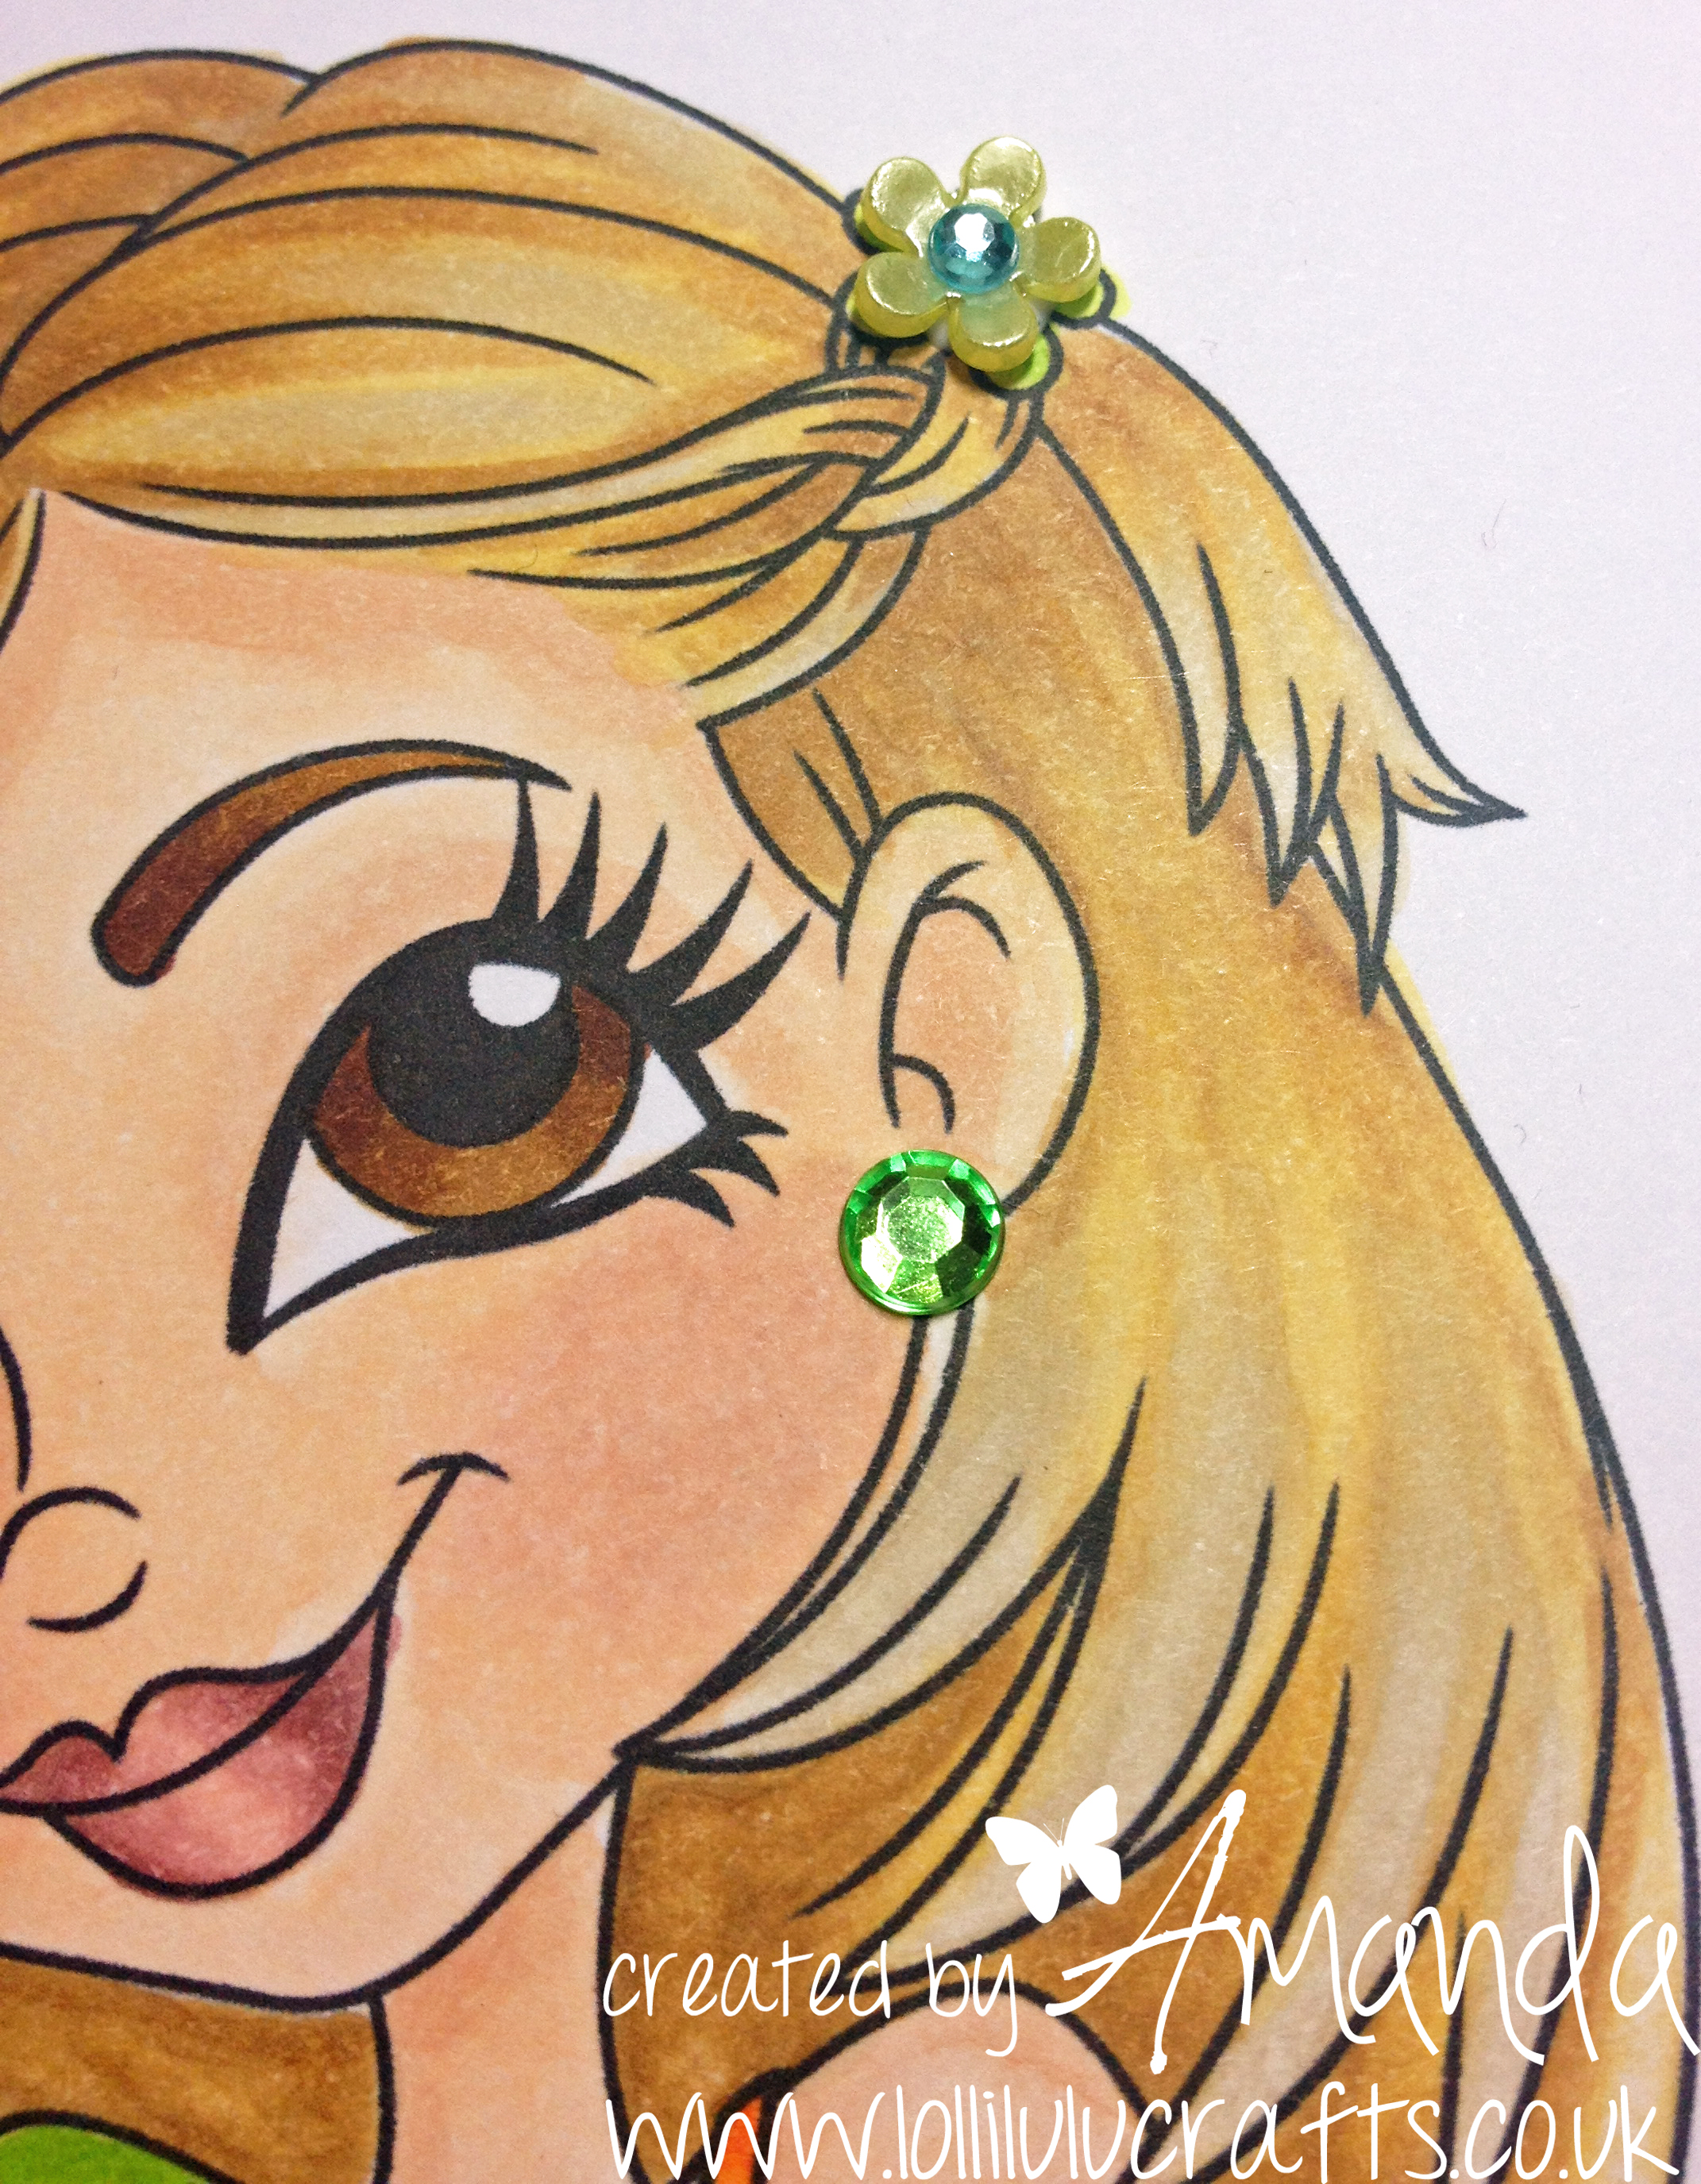
Adding some gems for her flower and earring as a final touch:
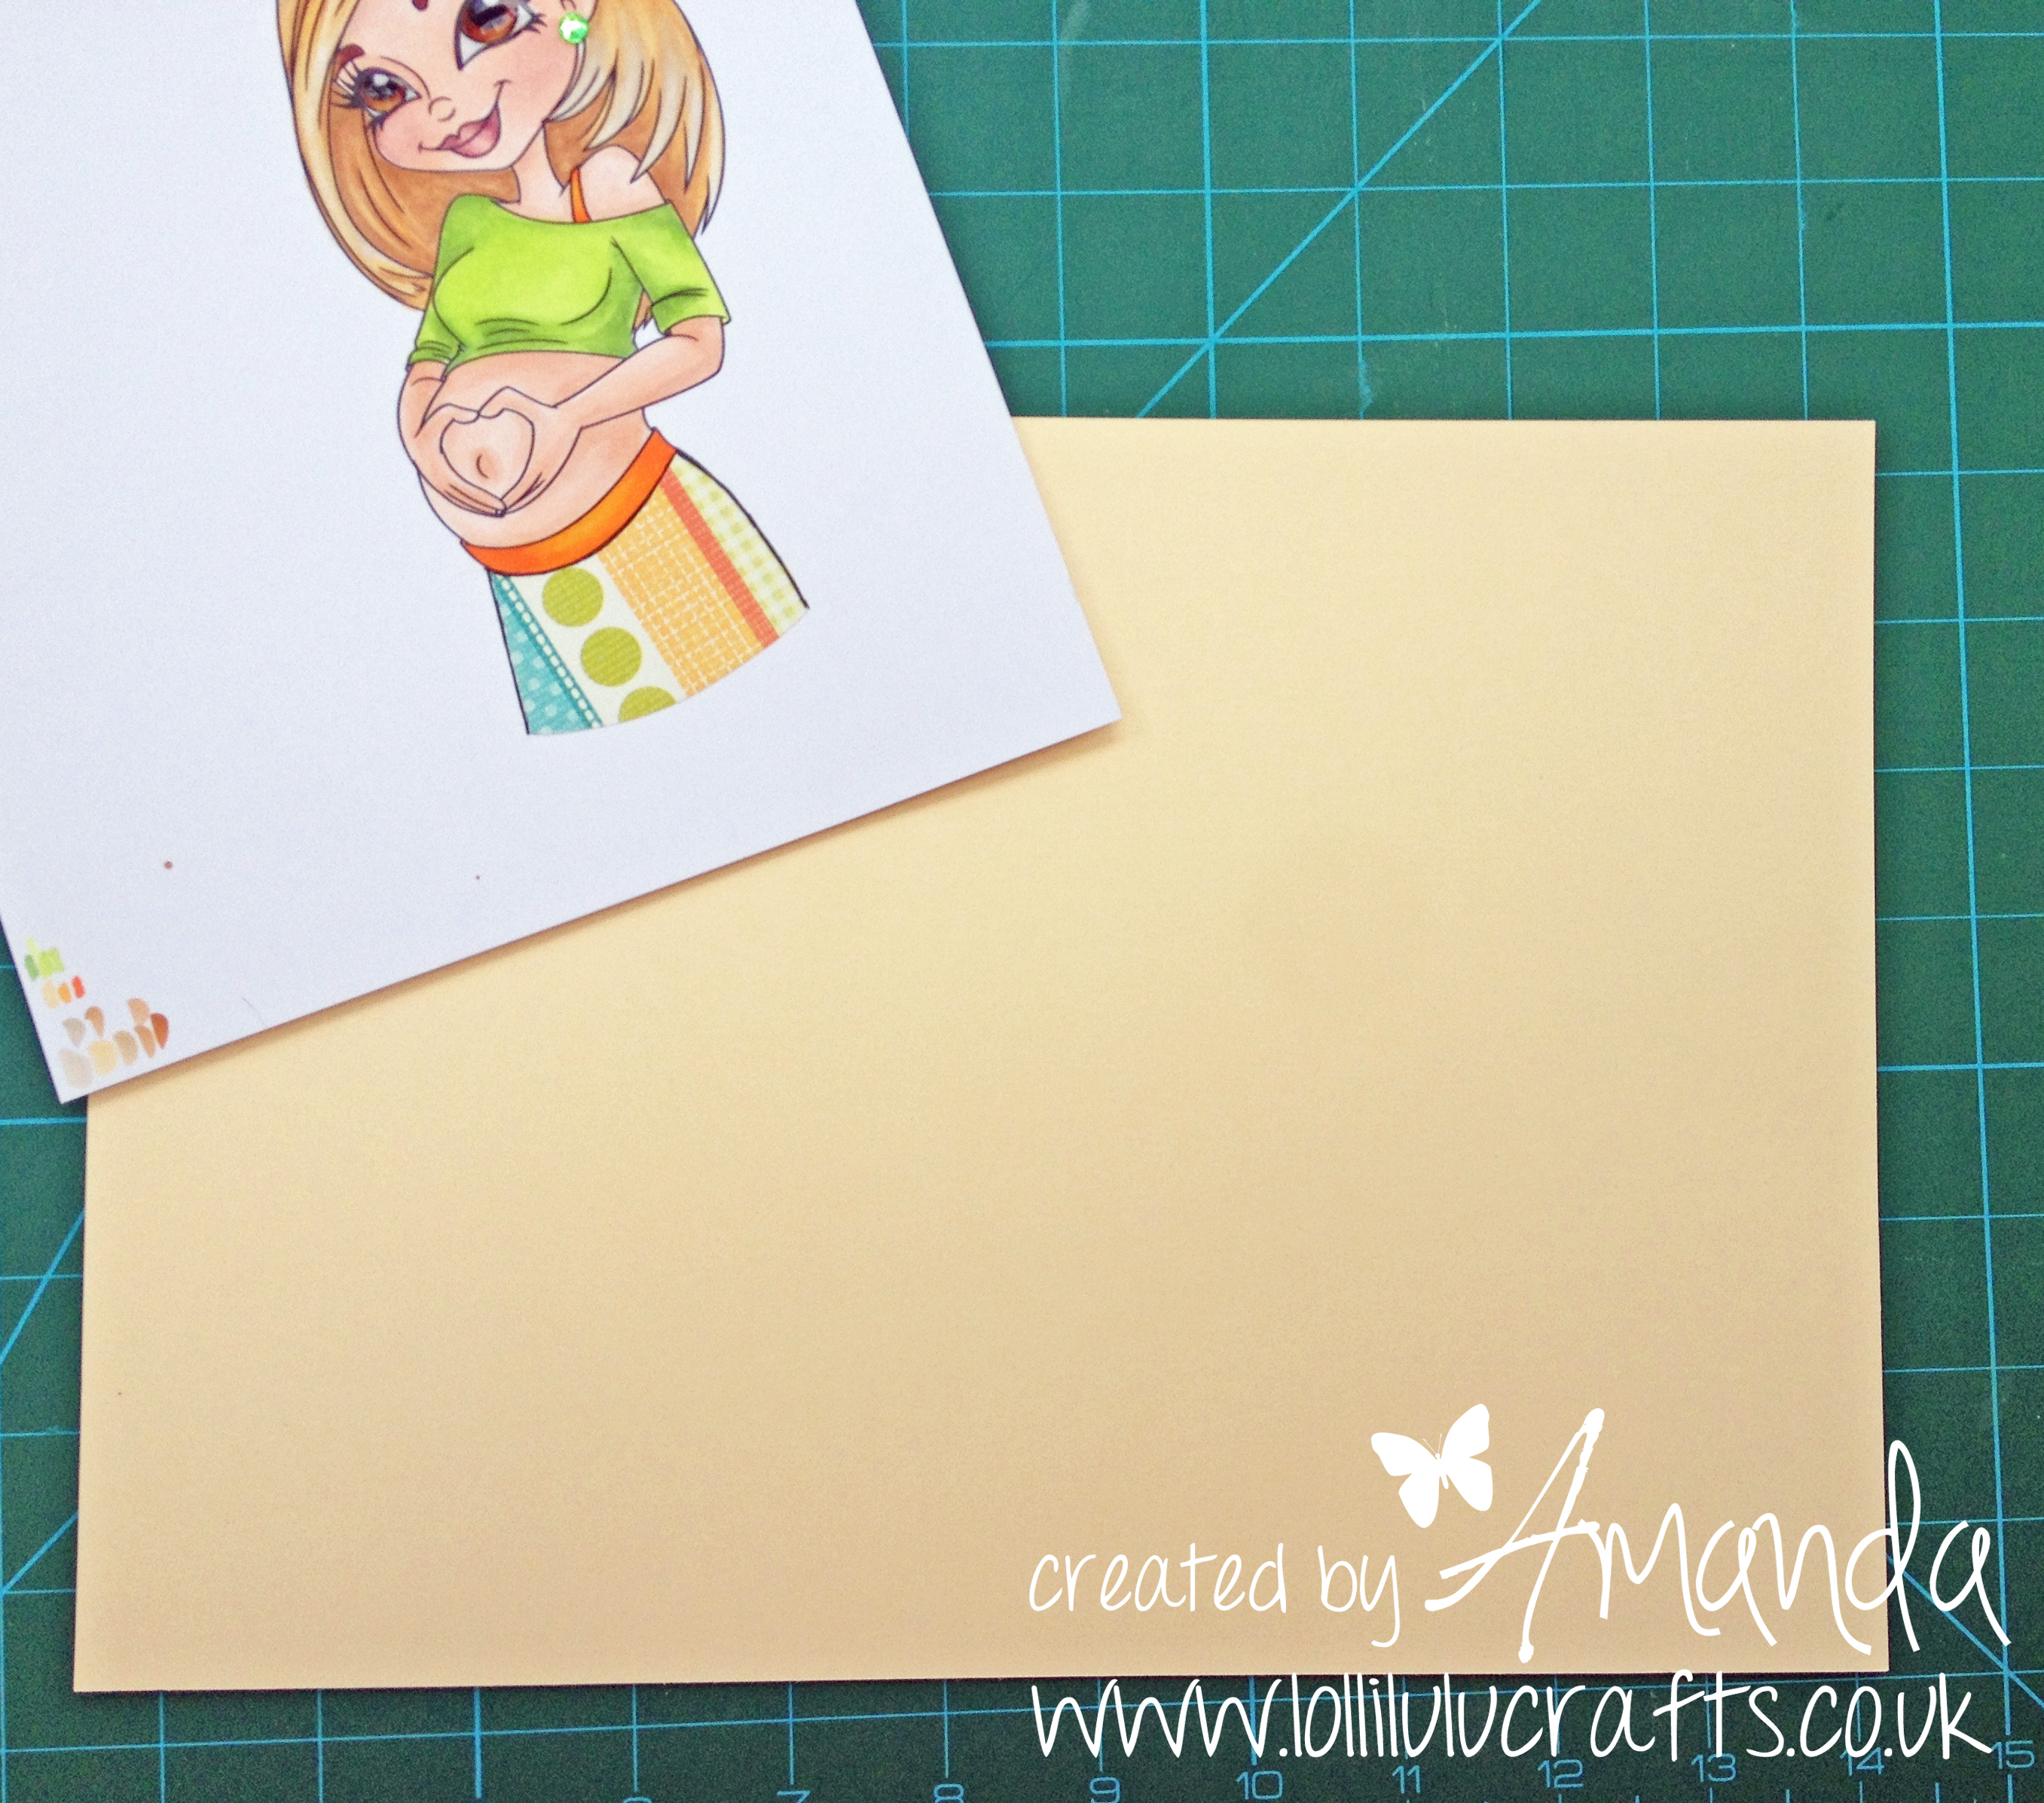
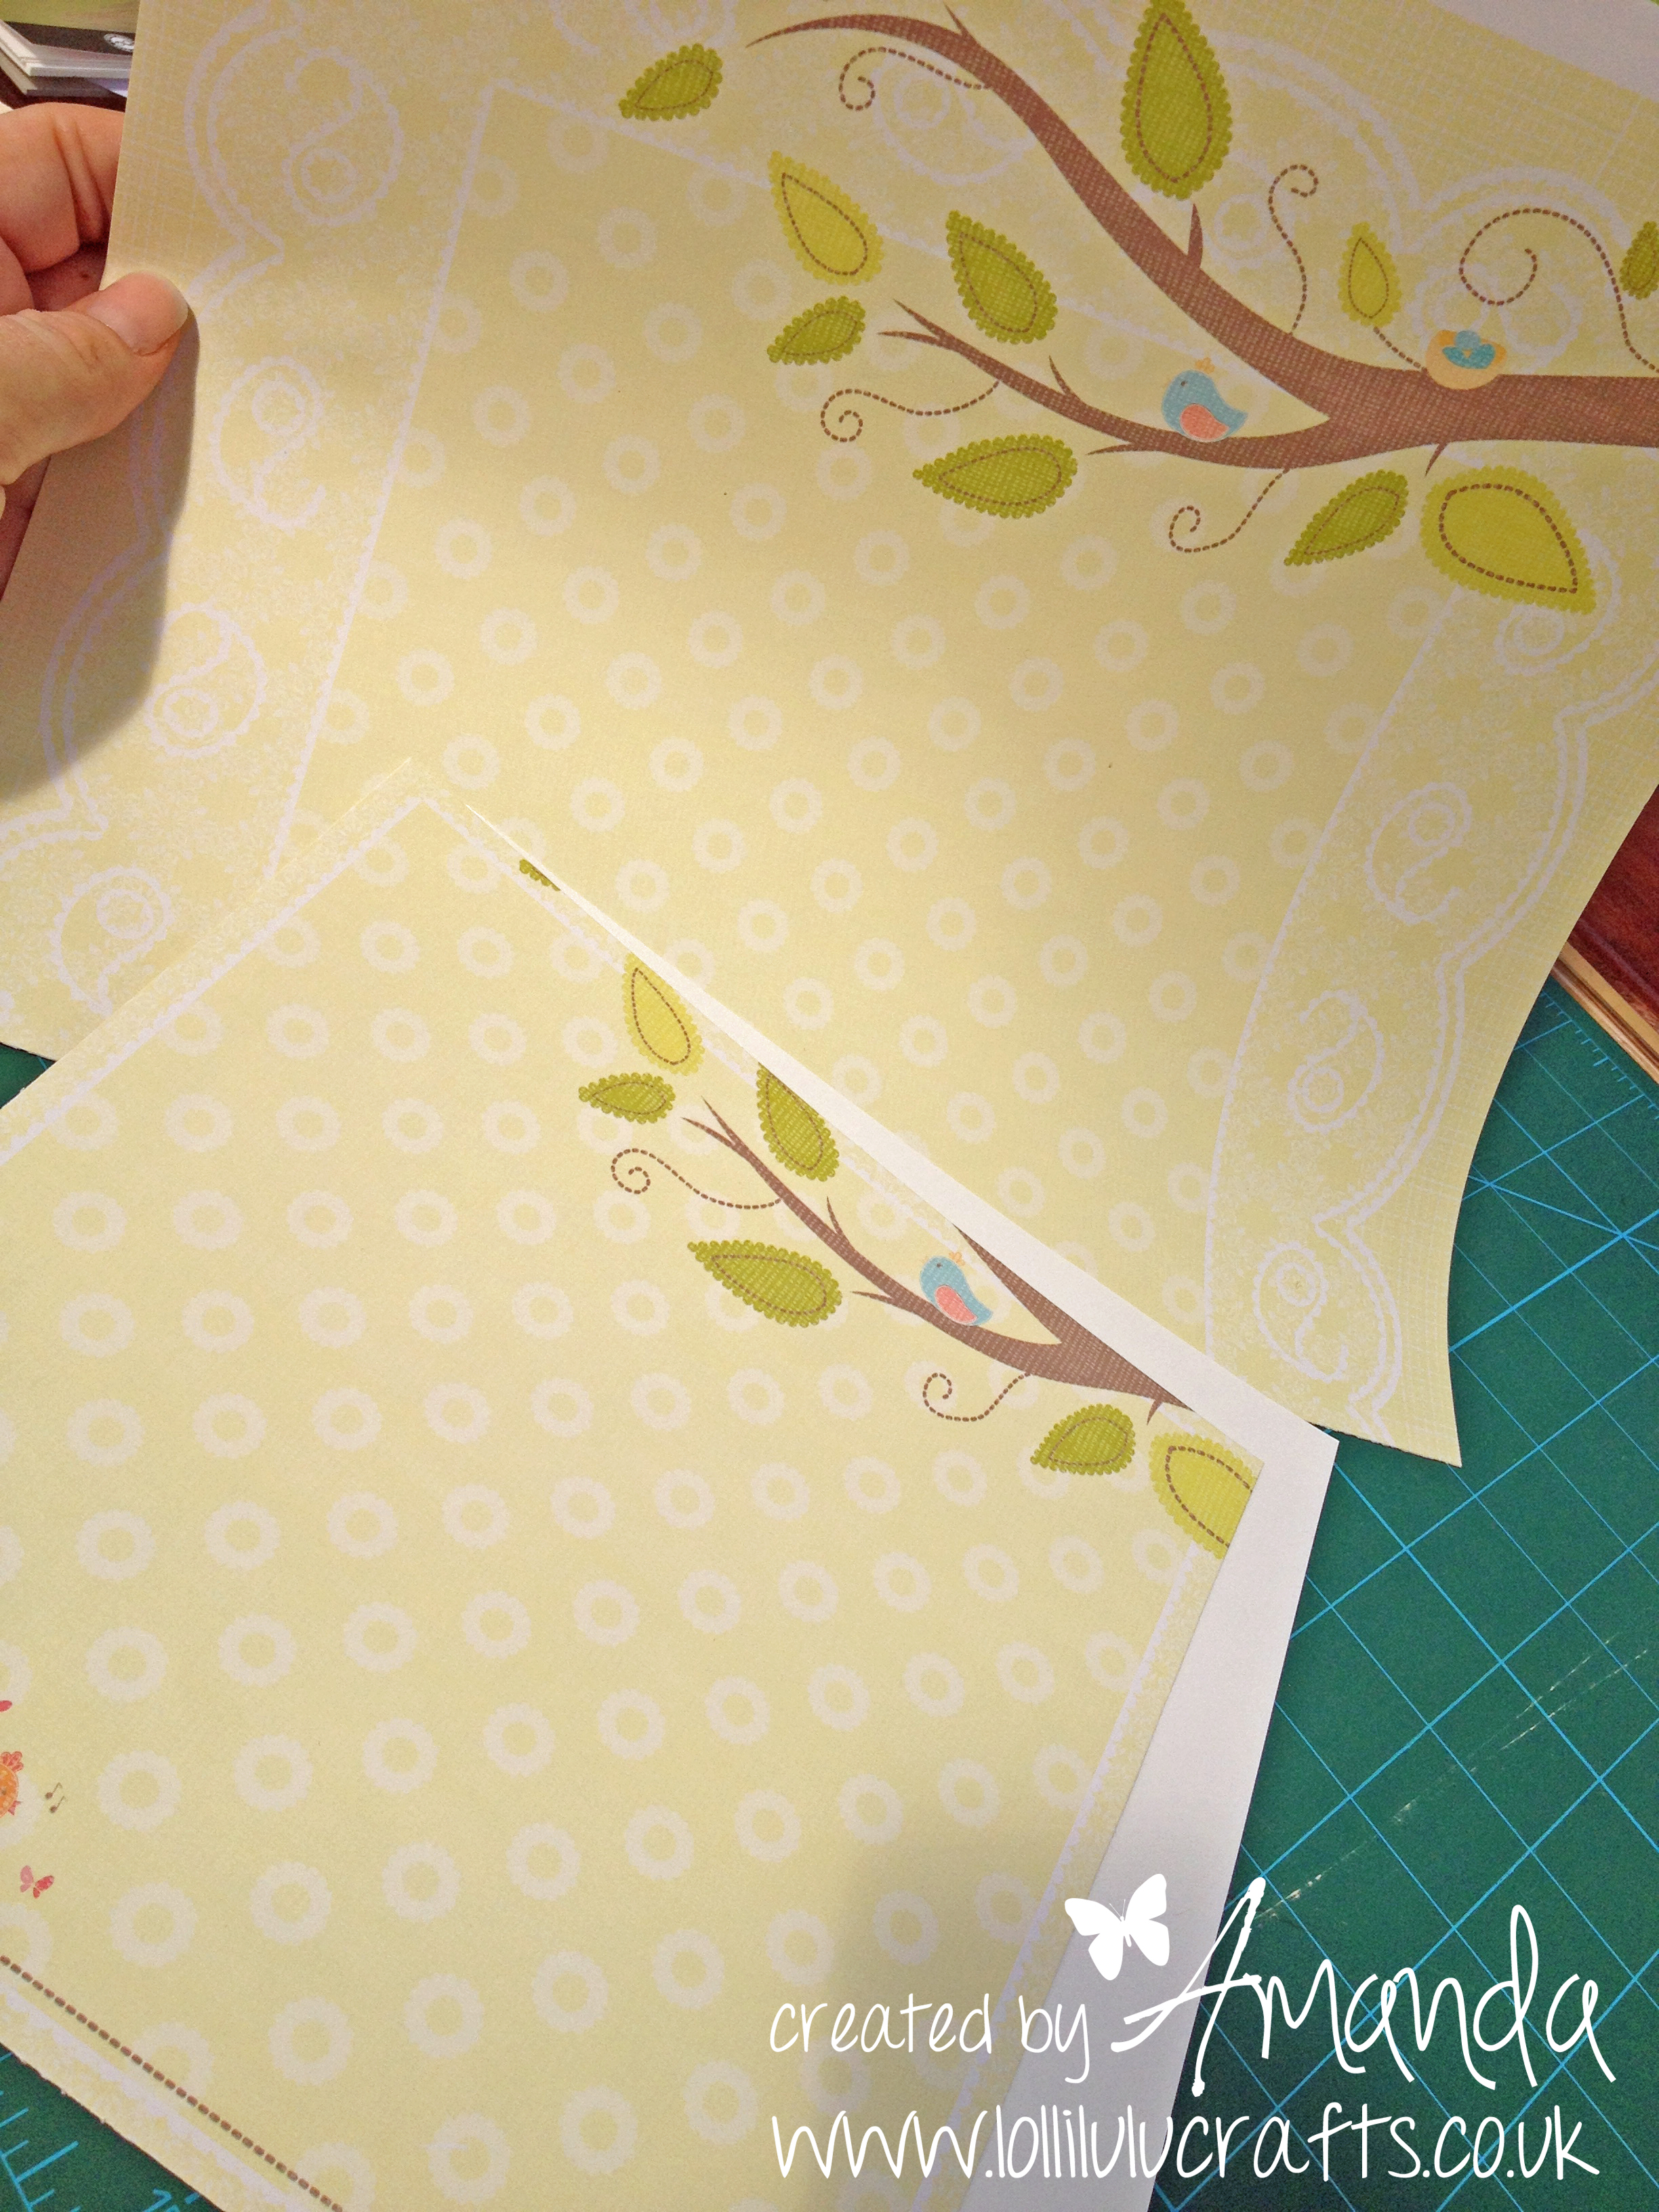
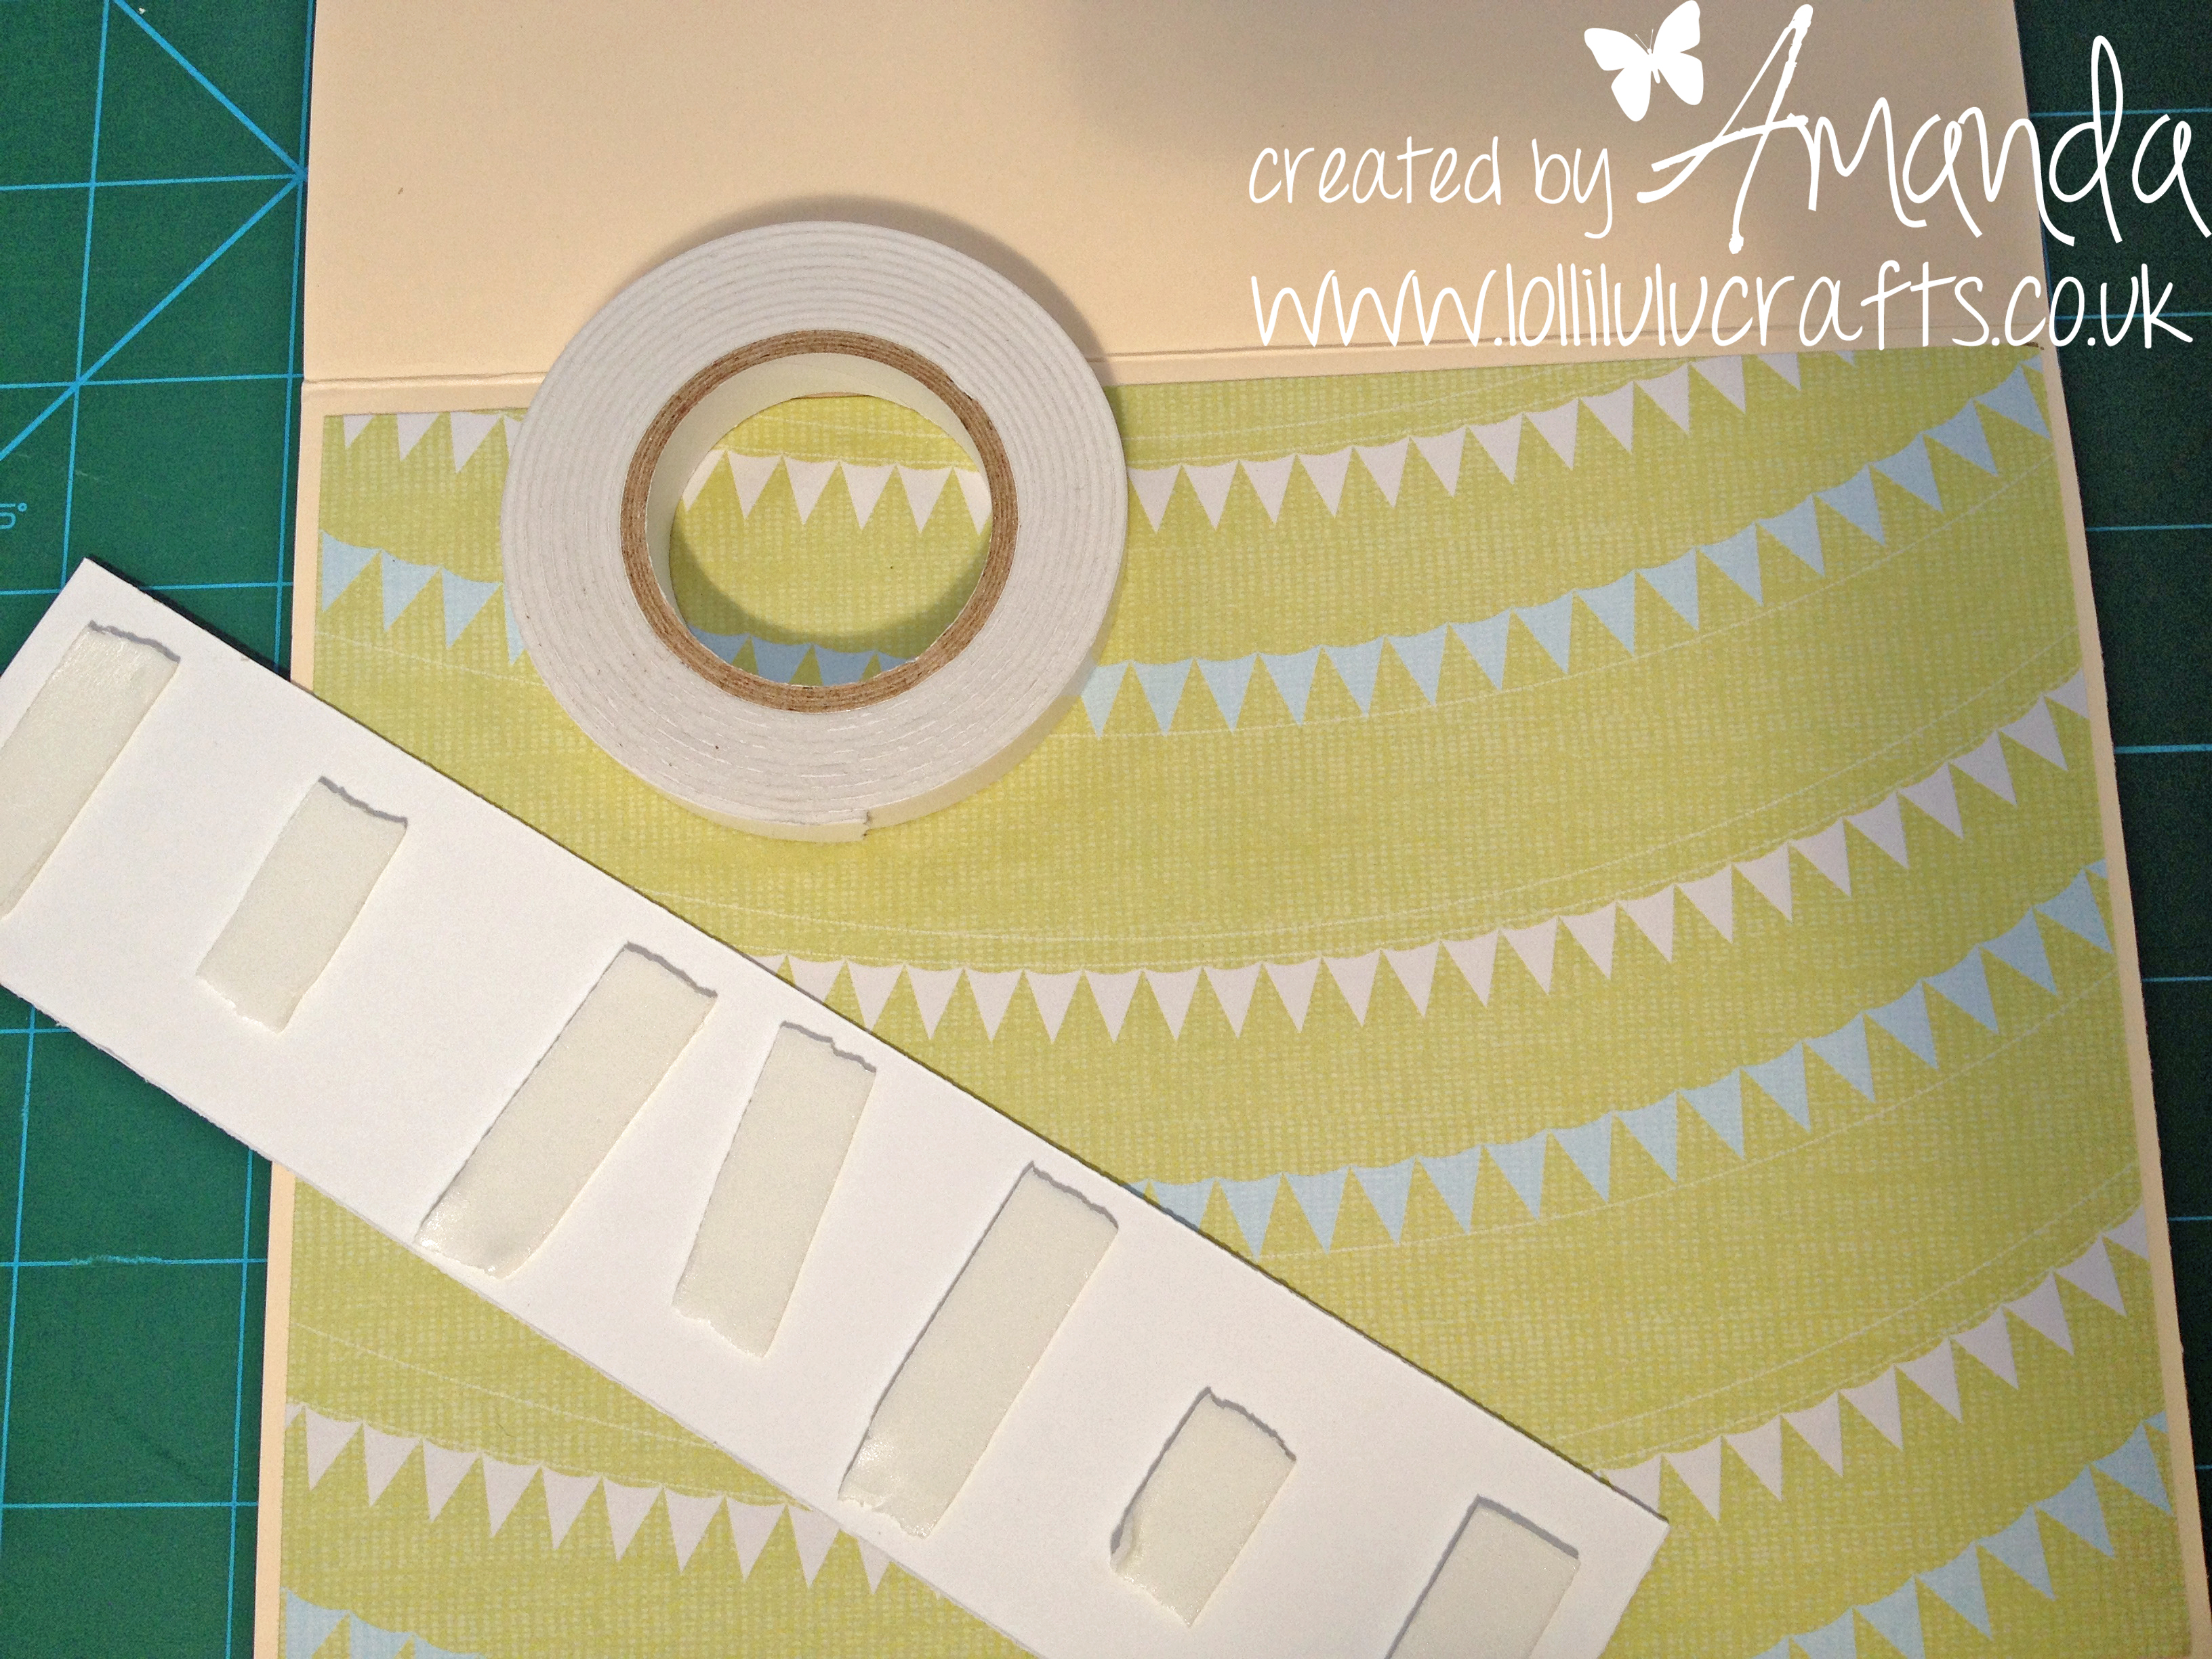
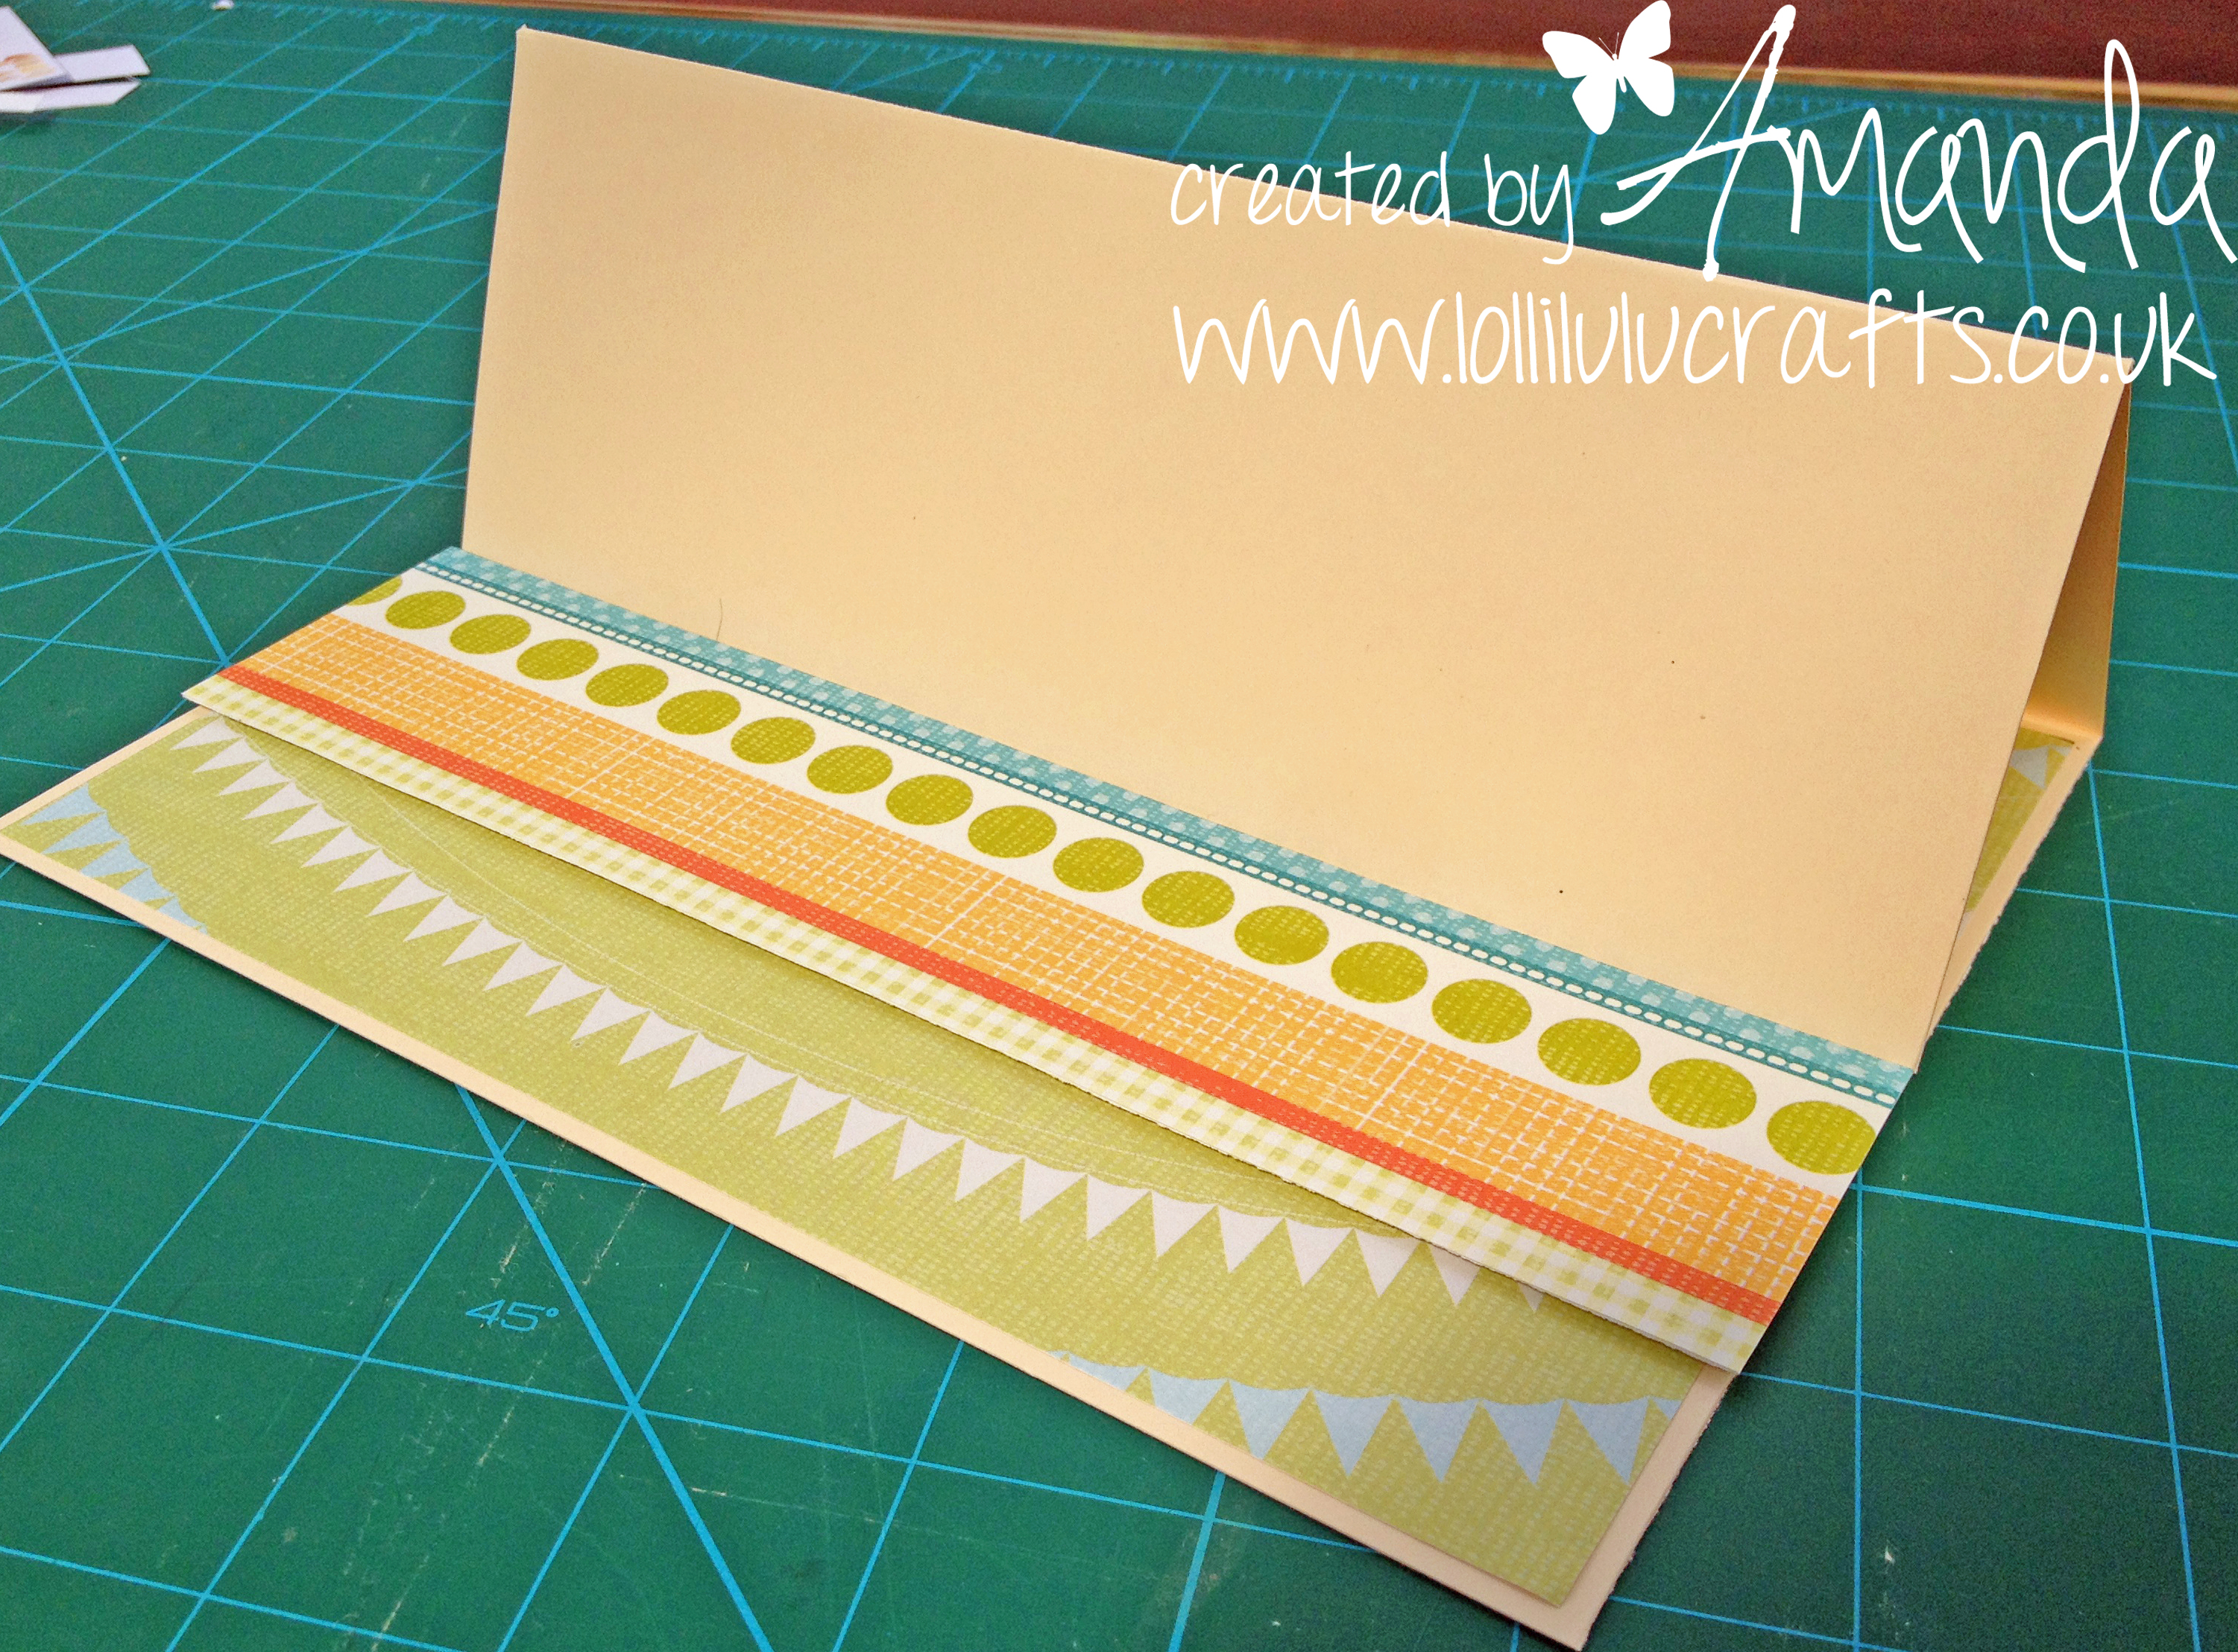
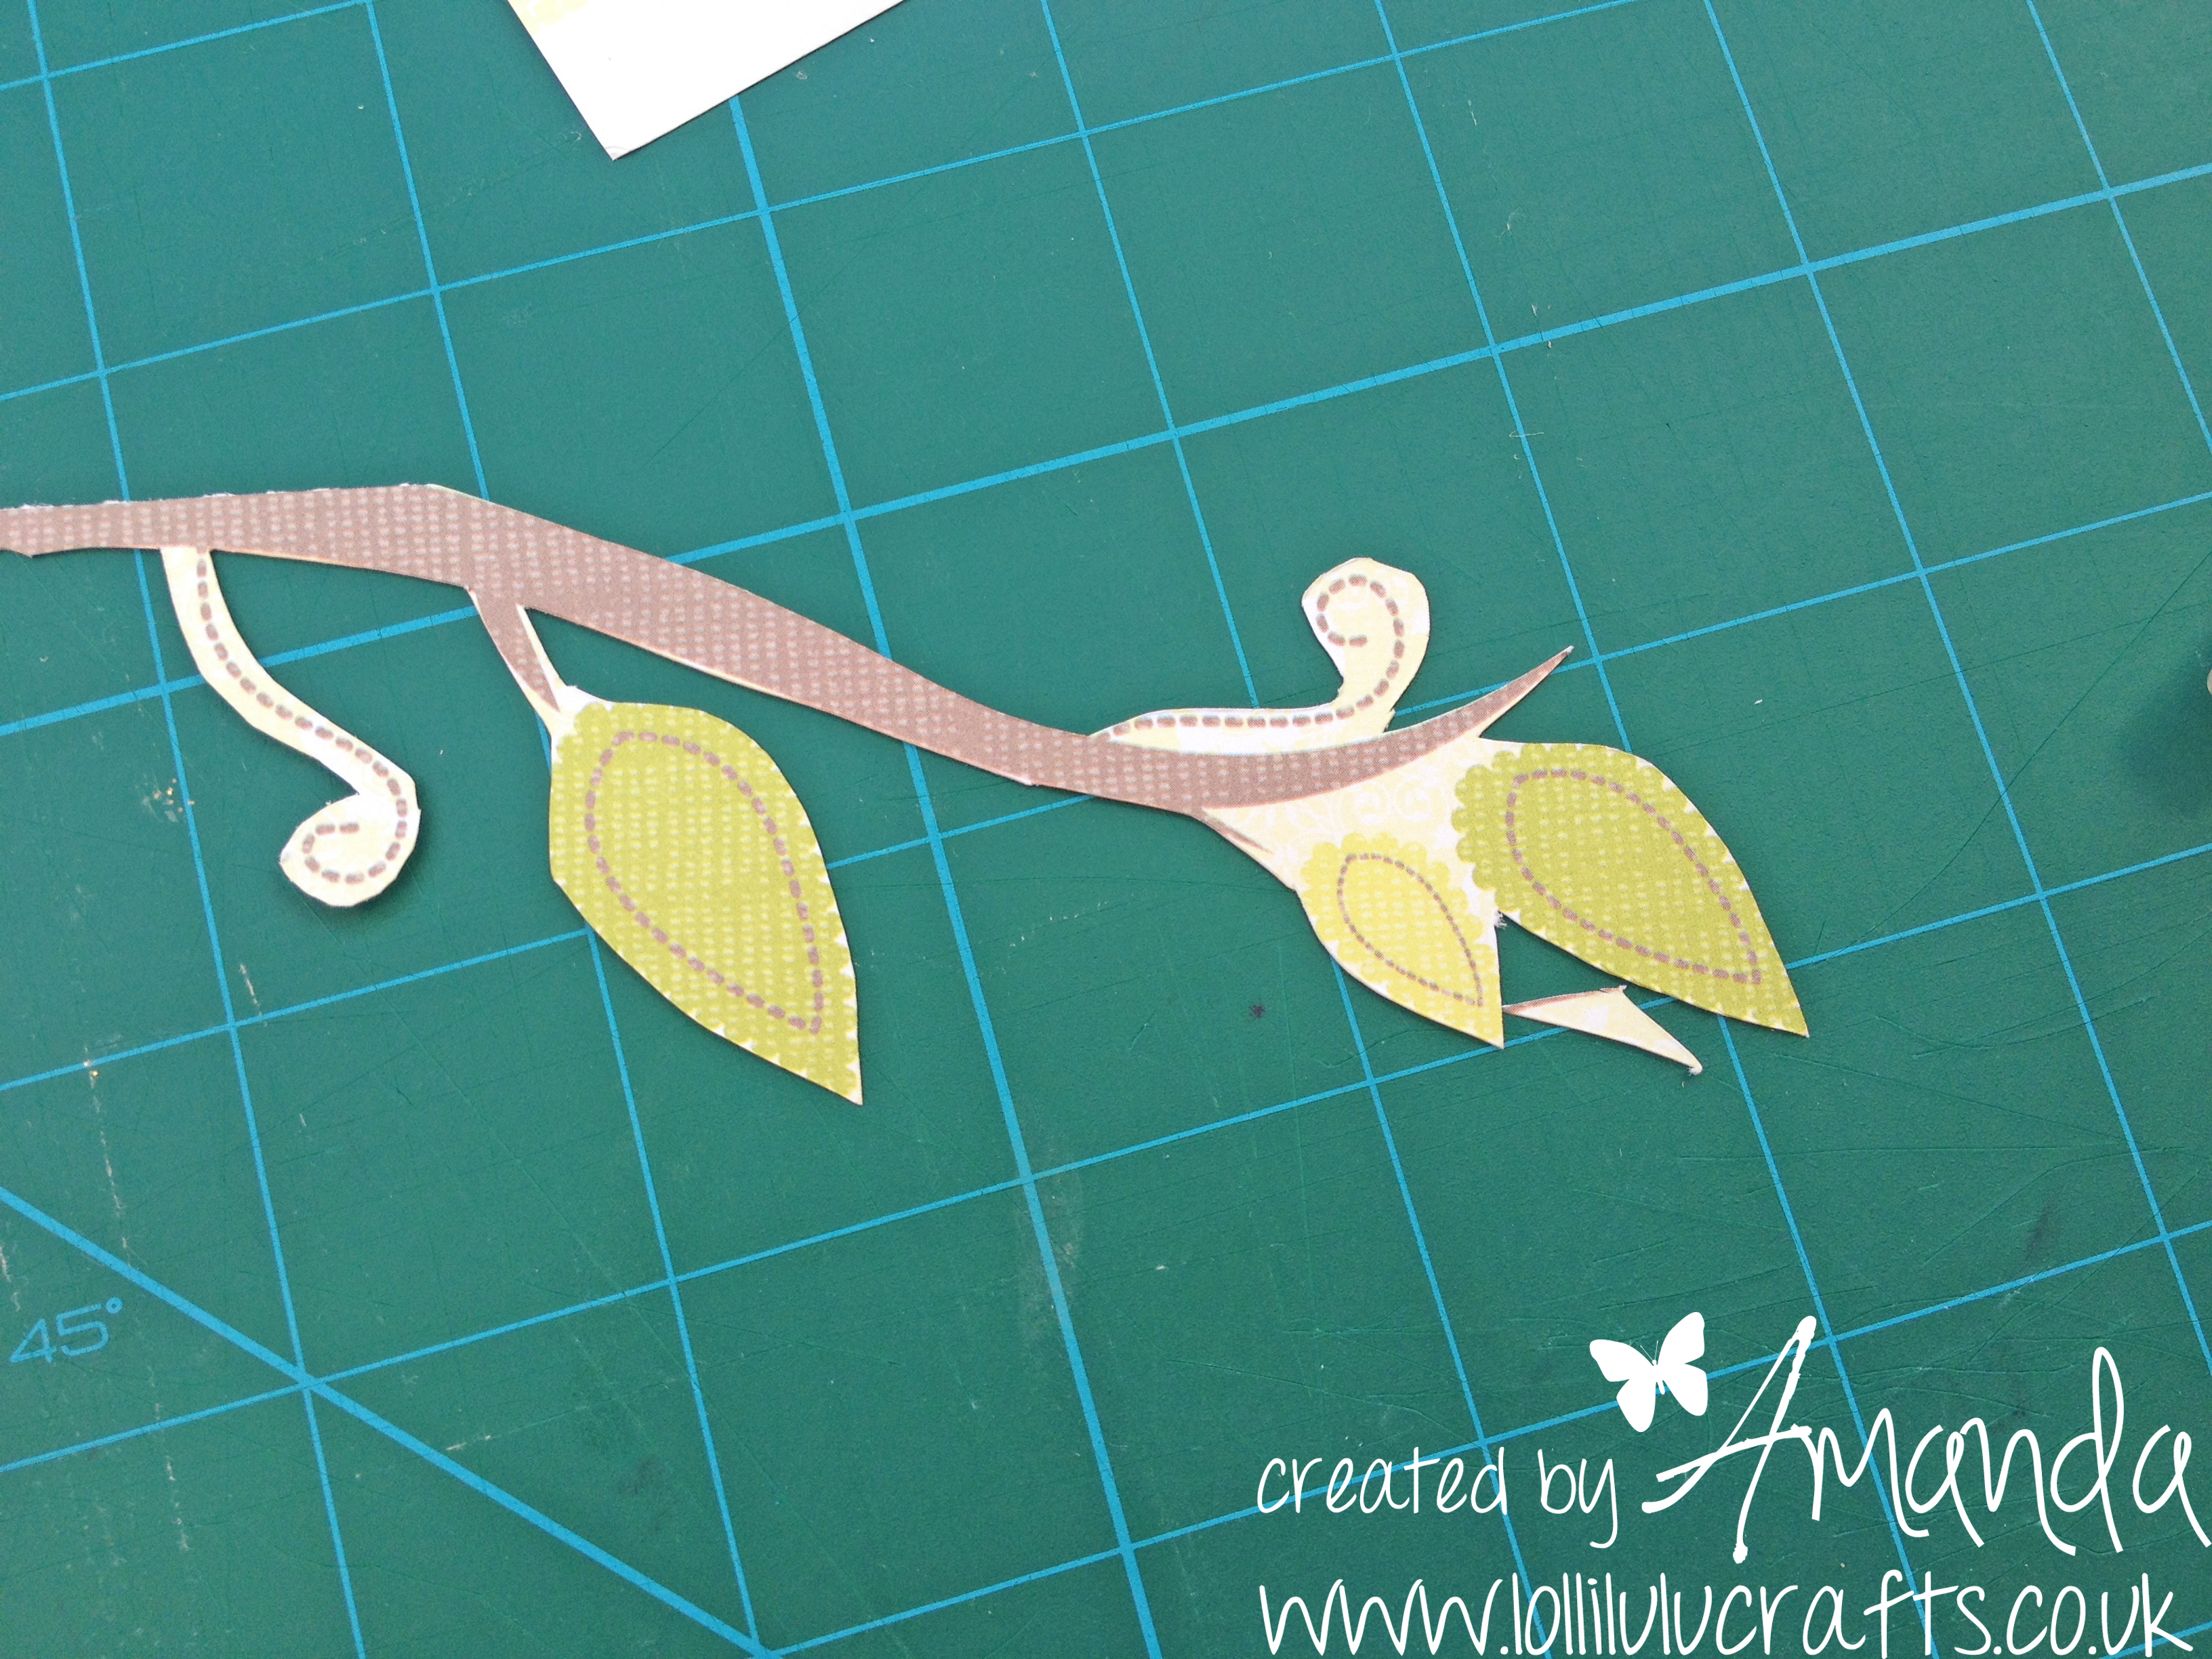
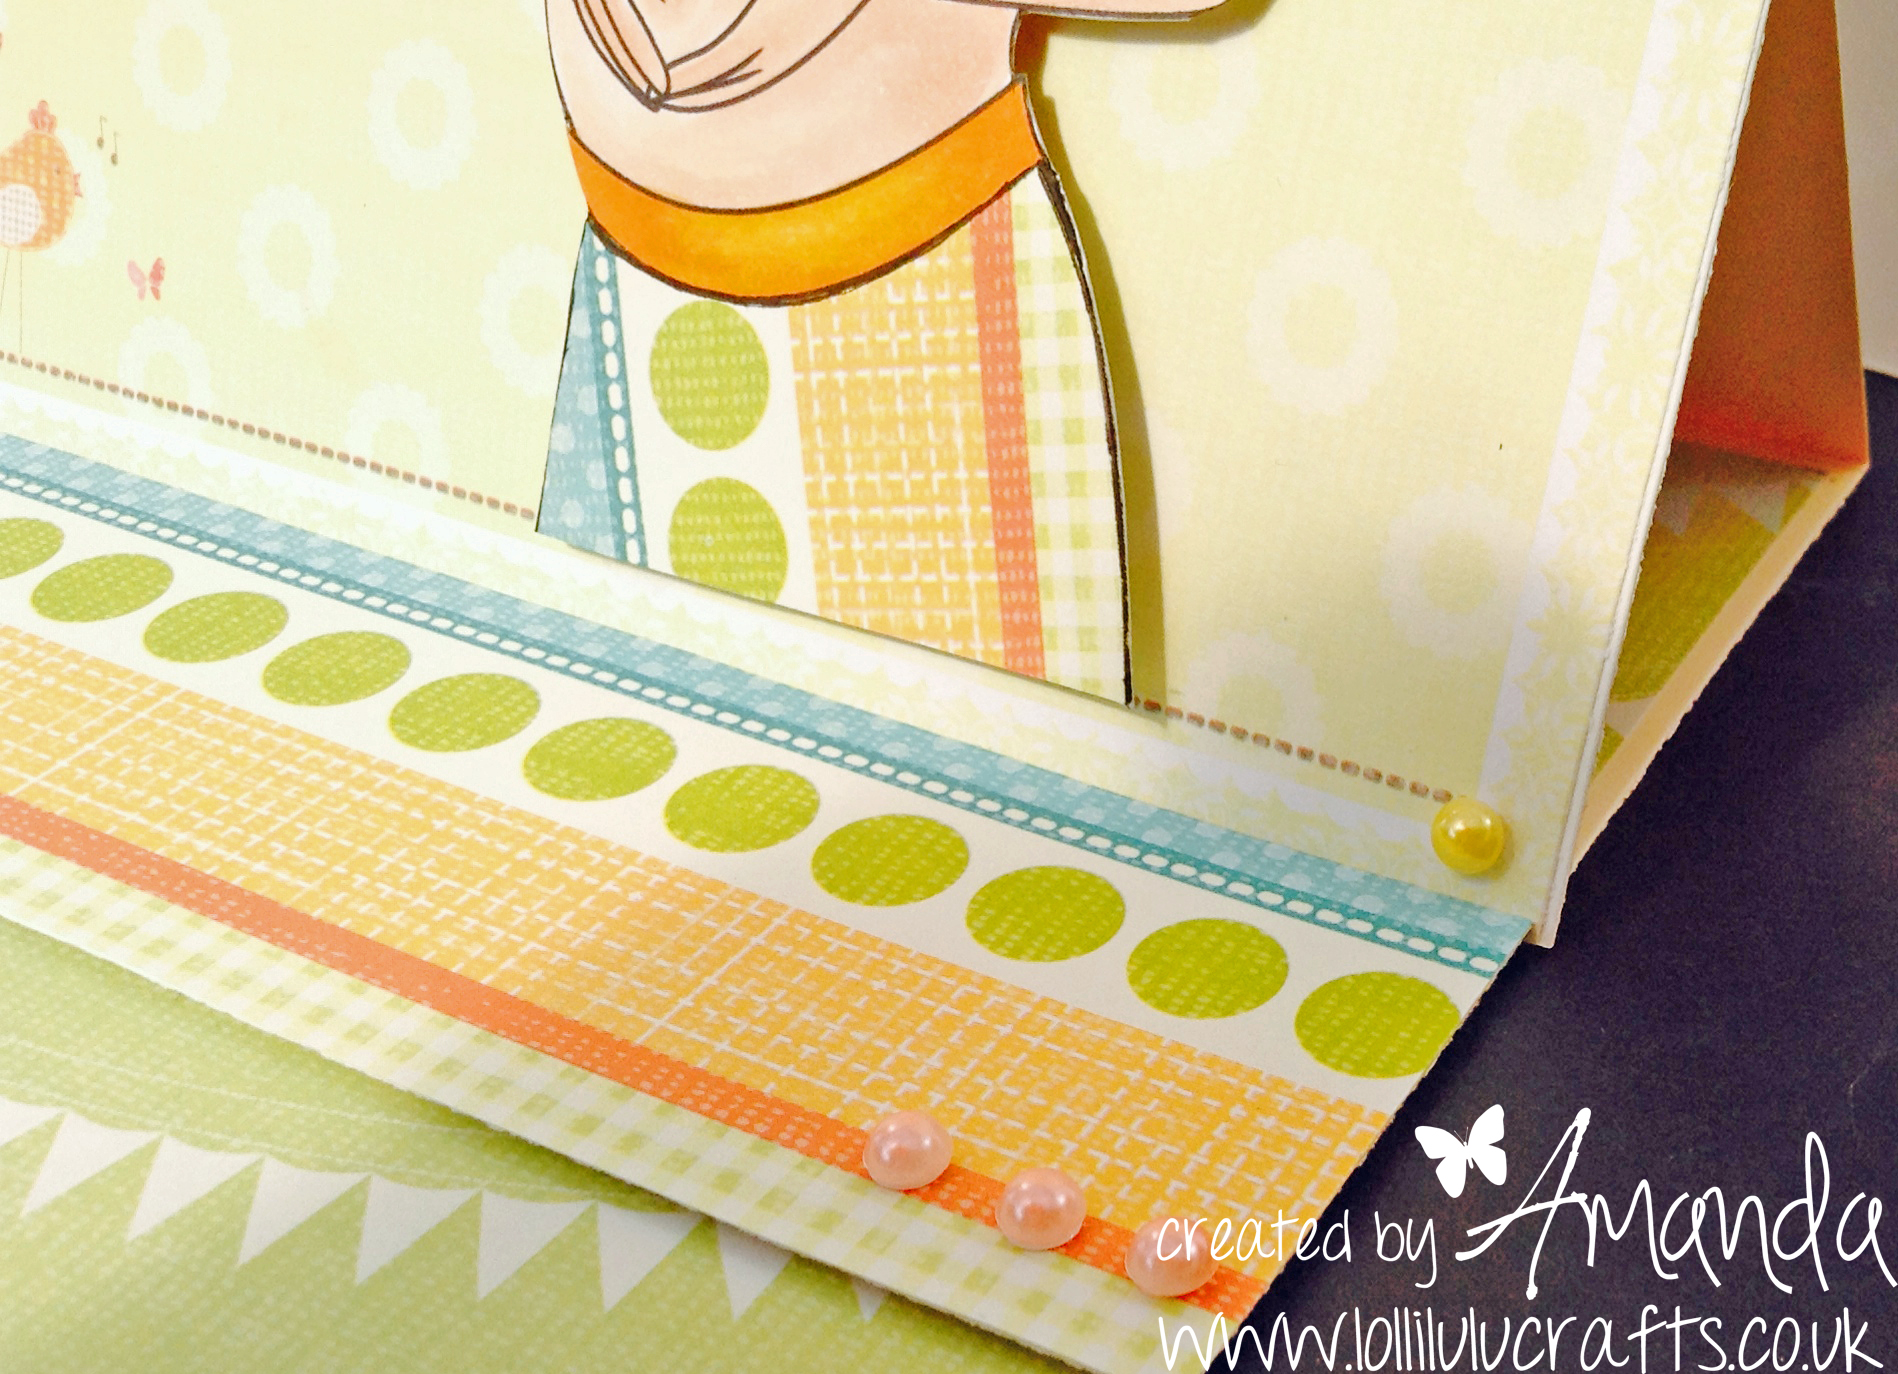
Having finished the colouring I now needed to work on the card. I found some lovely Peach coloured card stock that would work well as a card base. I then looked through that same paper pack that I used for the skirt and yet again found inspiration in a piece of the paper in the pack that I just loved. I looked at it for a while trying to work out how to use it and finally I realised that if I cut out our lady from the white page then I could use the paper I liked as a fabulous background to her. I also then decided that it would be great to make it as an easel card. So I started cutting, scoring and folding:
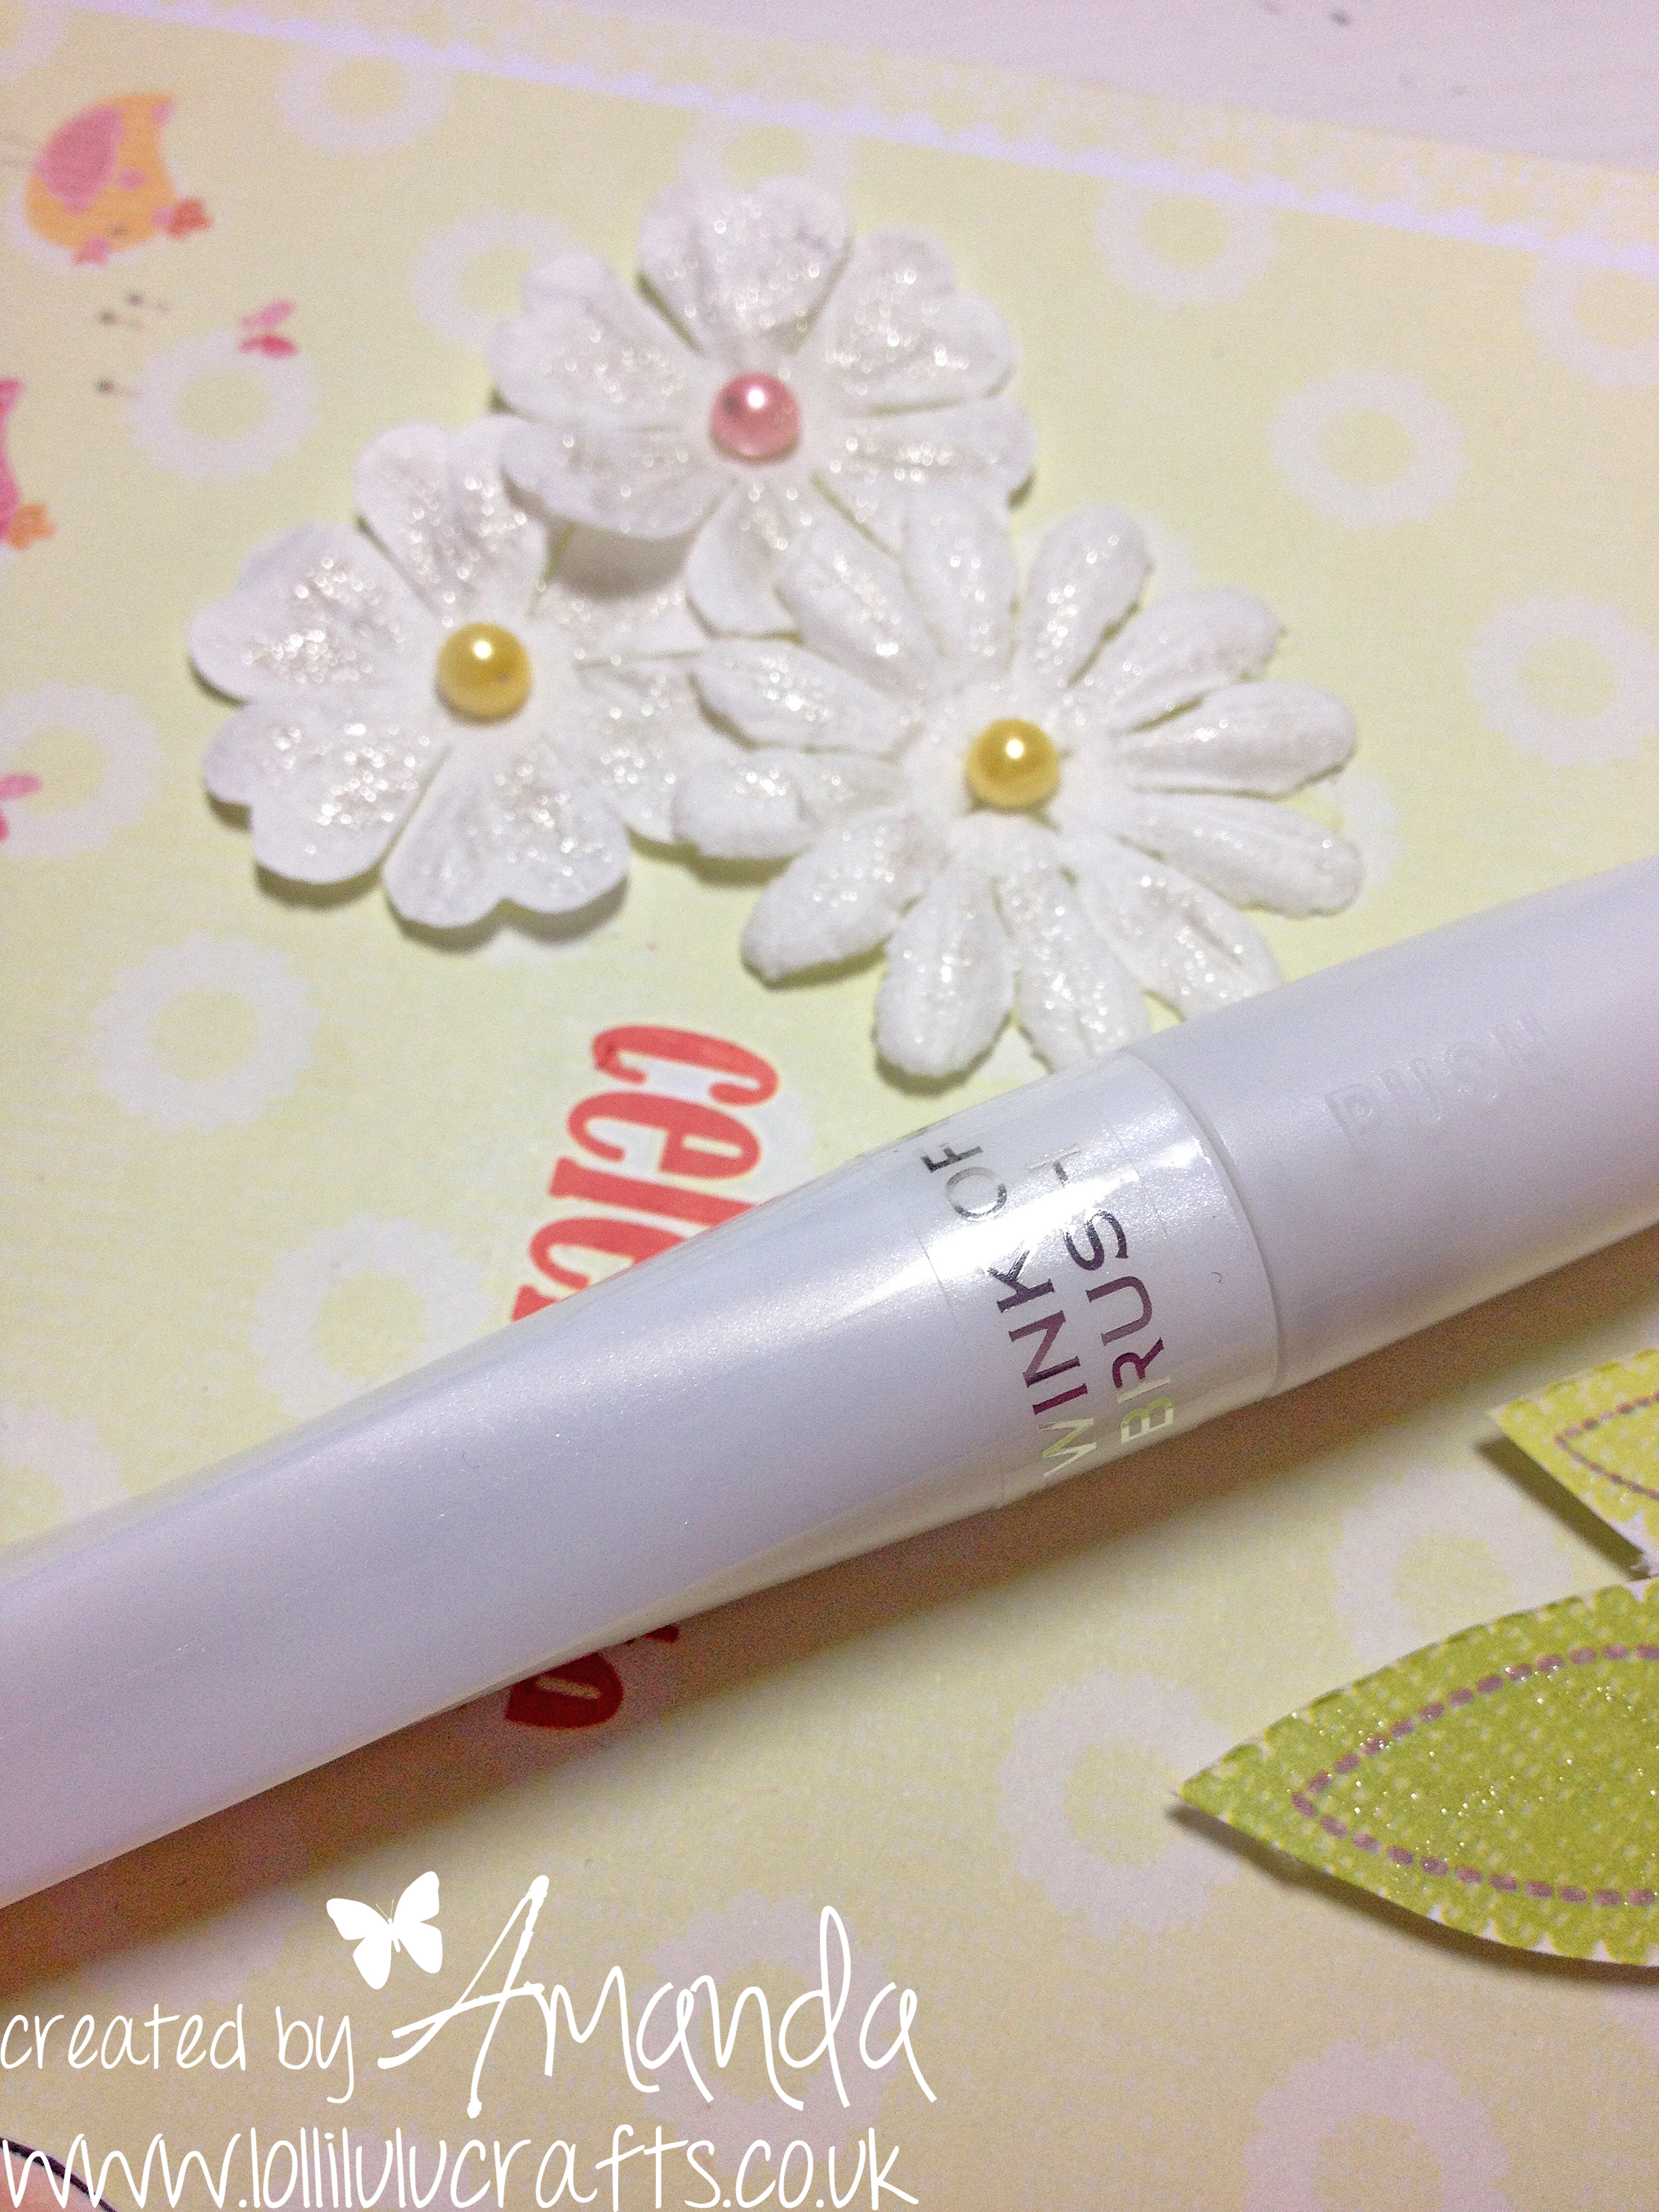
Then lastly I added some ‘wink of stella’ shimmer pen to the flowers just to add a gentle shimmery accent to the card:
And then finally I put all the pieces together and this is the finished card,
So if you enjoyed this post then please do share using the ‘share’ or ‘pin’ buttons below. Otherwise see you tomorrow with a video post. Have a great craft day,








I love it! I have a lady leaving for maternity leave again soon (2nd time) and need to make a card, this image is perfect, I will go get it! Thanks for sharing Amanda :o)