


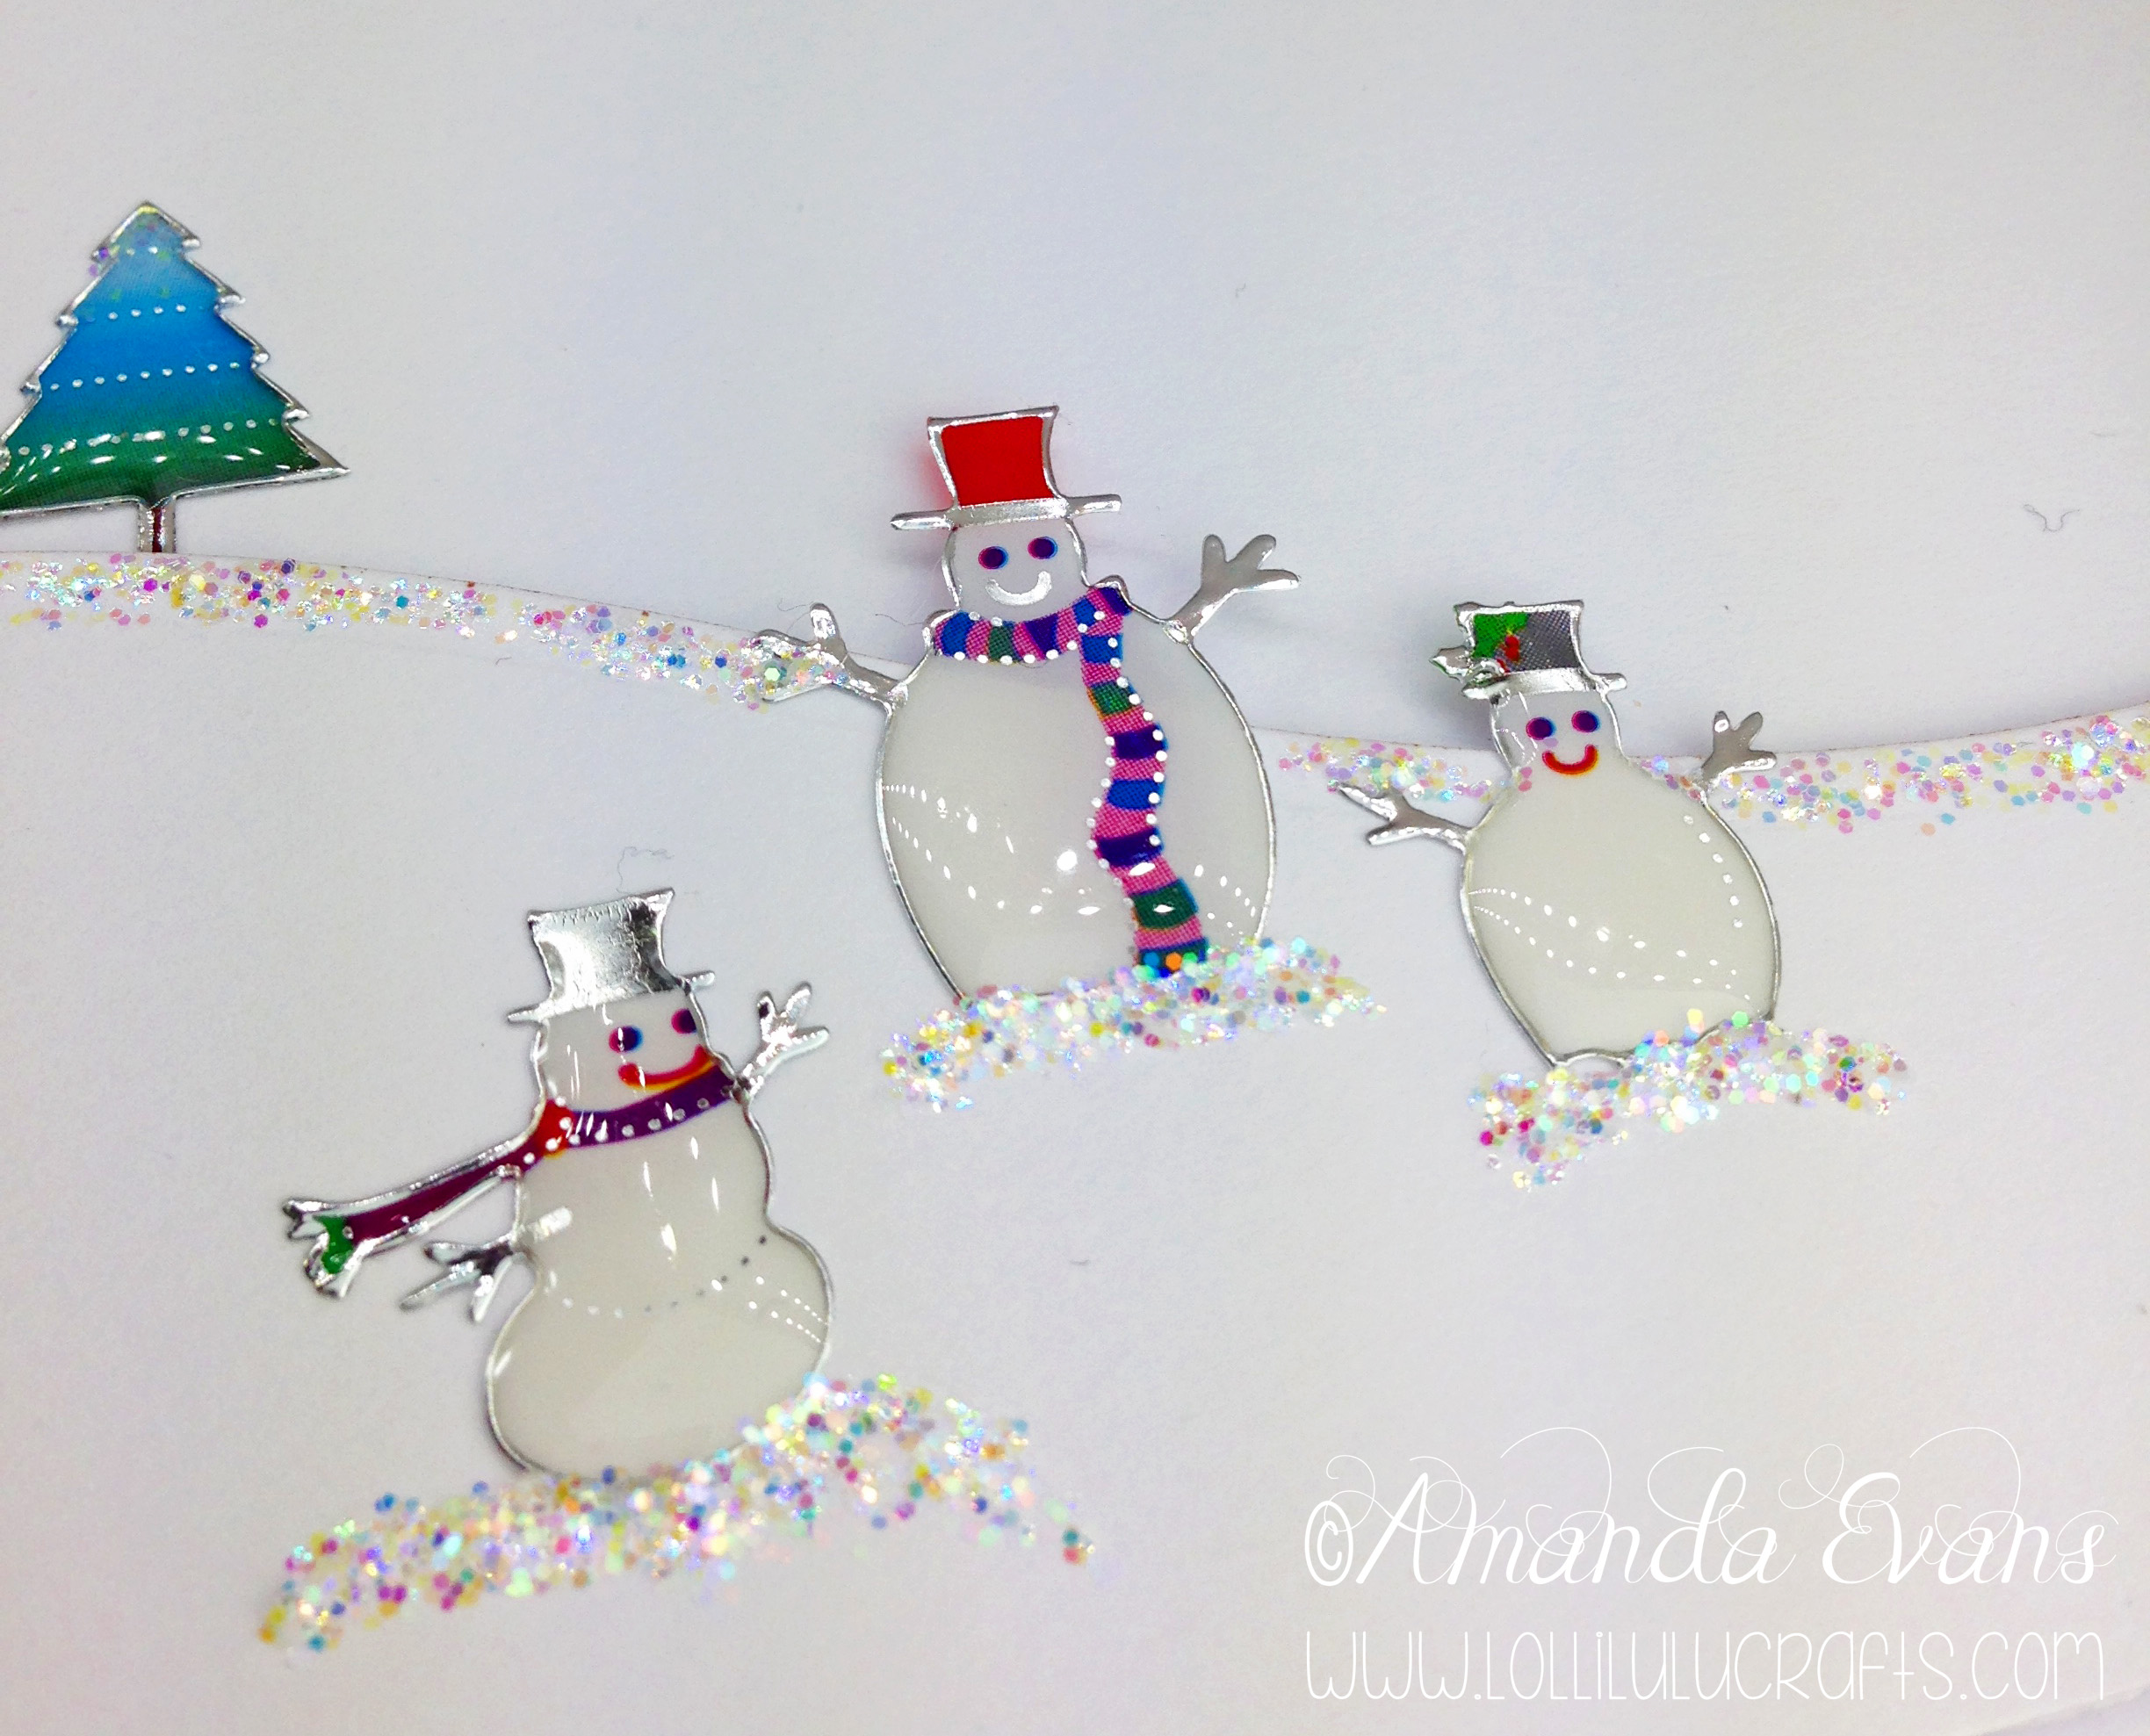
Hi guys, today I have for you the second of my two cards that went back to the beginning in regards to the kinds of products we use to make our cards. Last time we focused on peel off stickers today we are focusing on just regular Epoxy stickers. That said I happen to think these particular Epoxy stickers are really very nice! The snowmen in particular I like because if they downed coffee look to them, and they are so very very shiny as hopefully you will be able to see in the photographs.
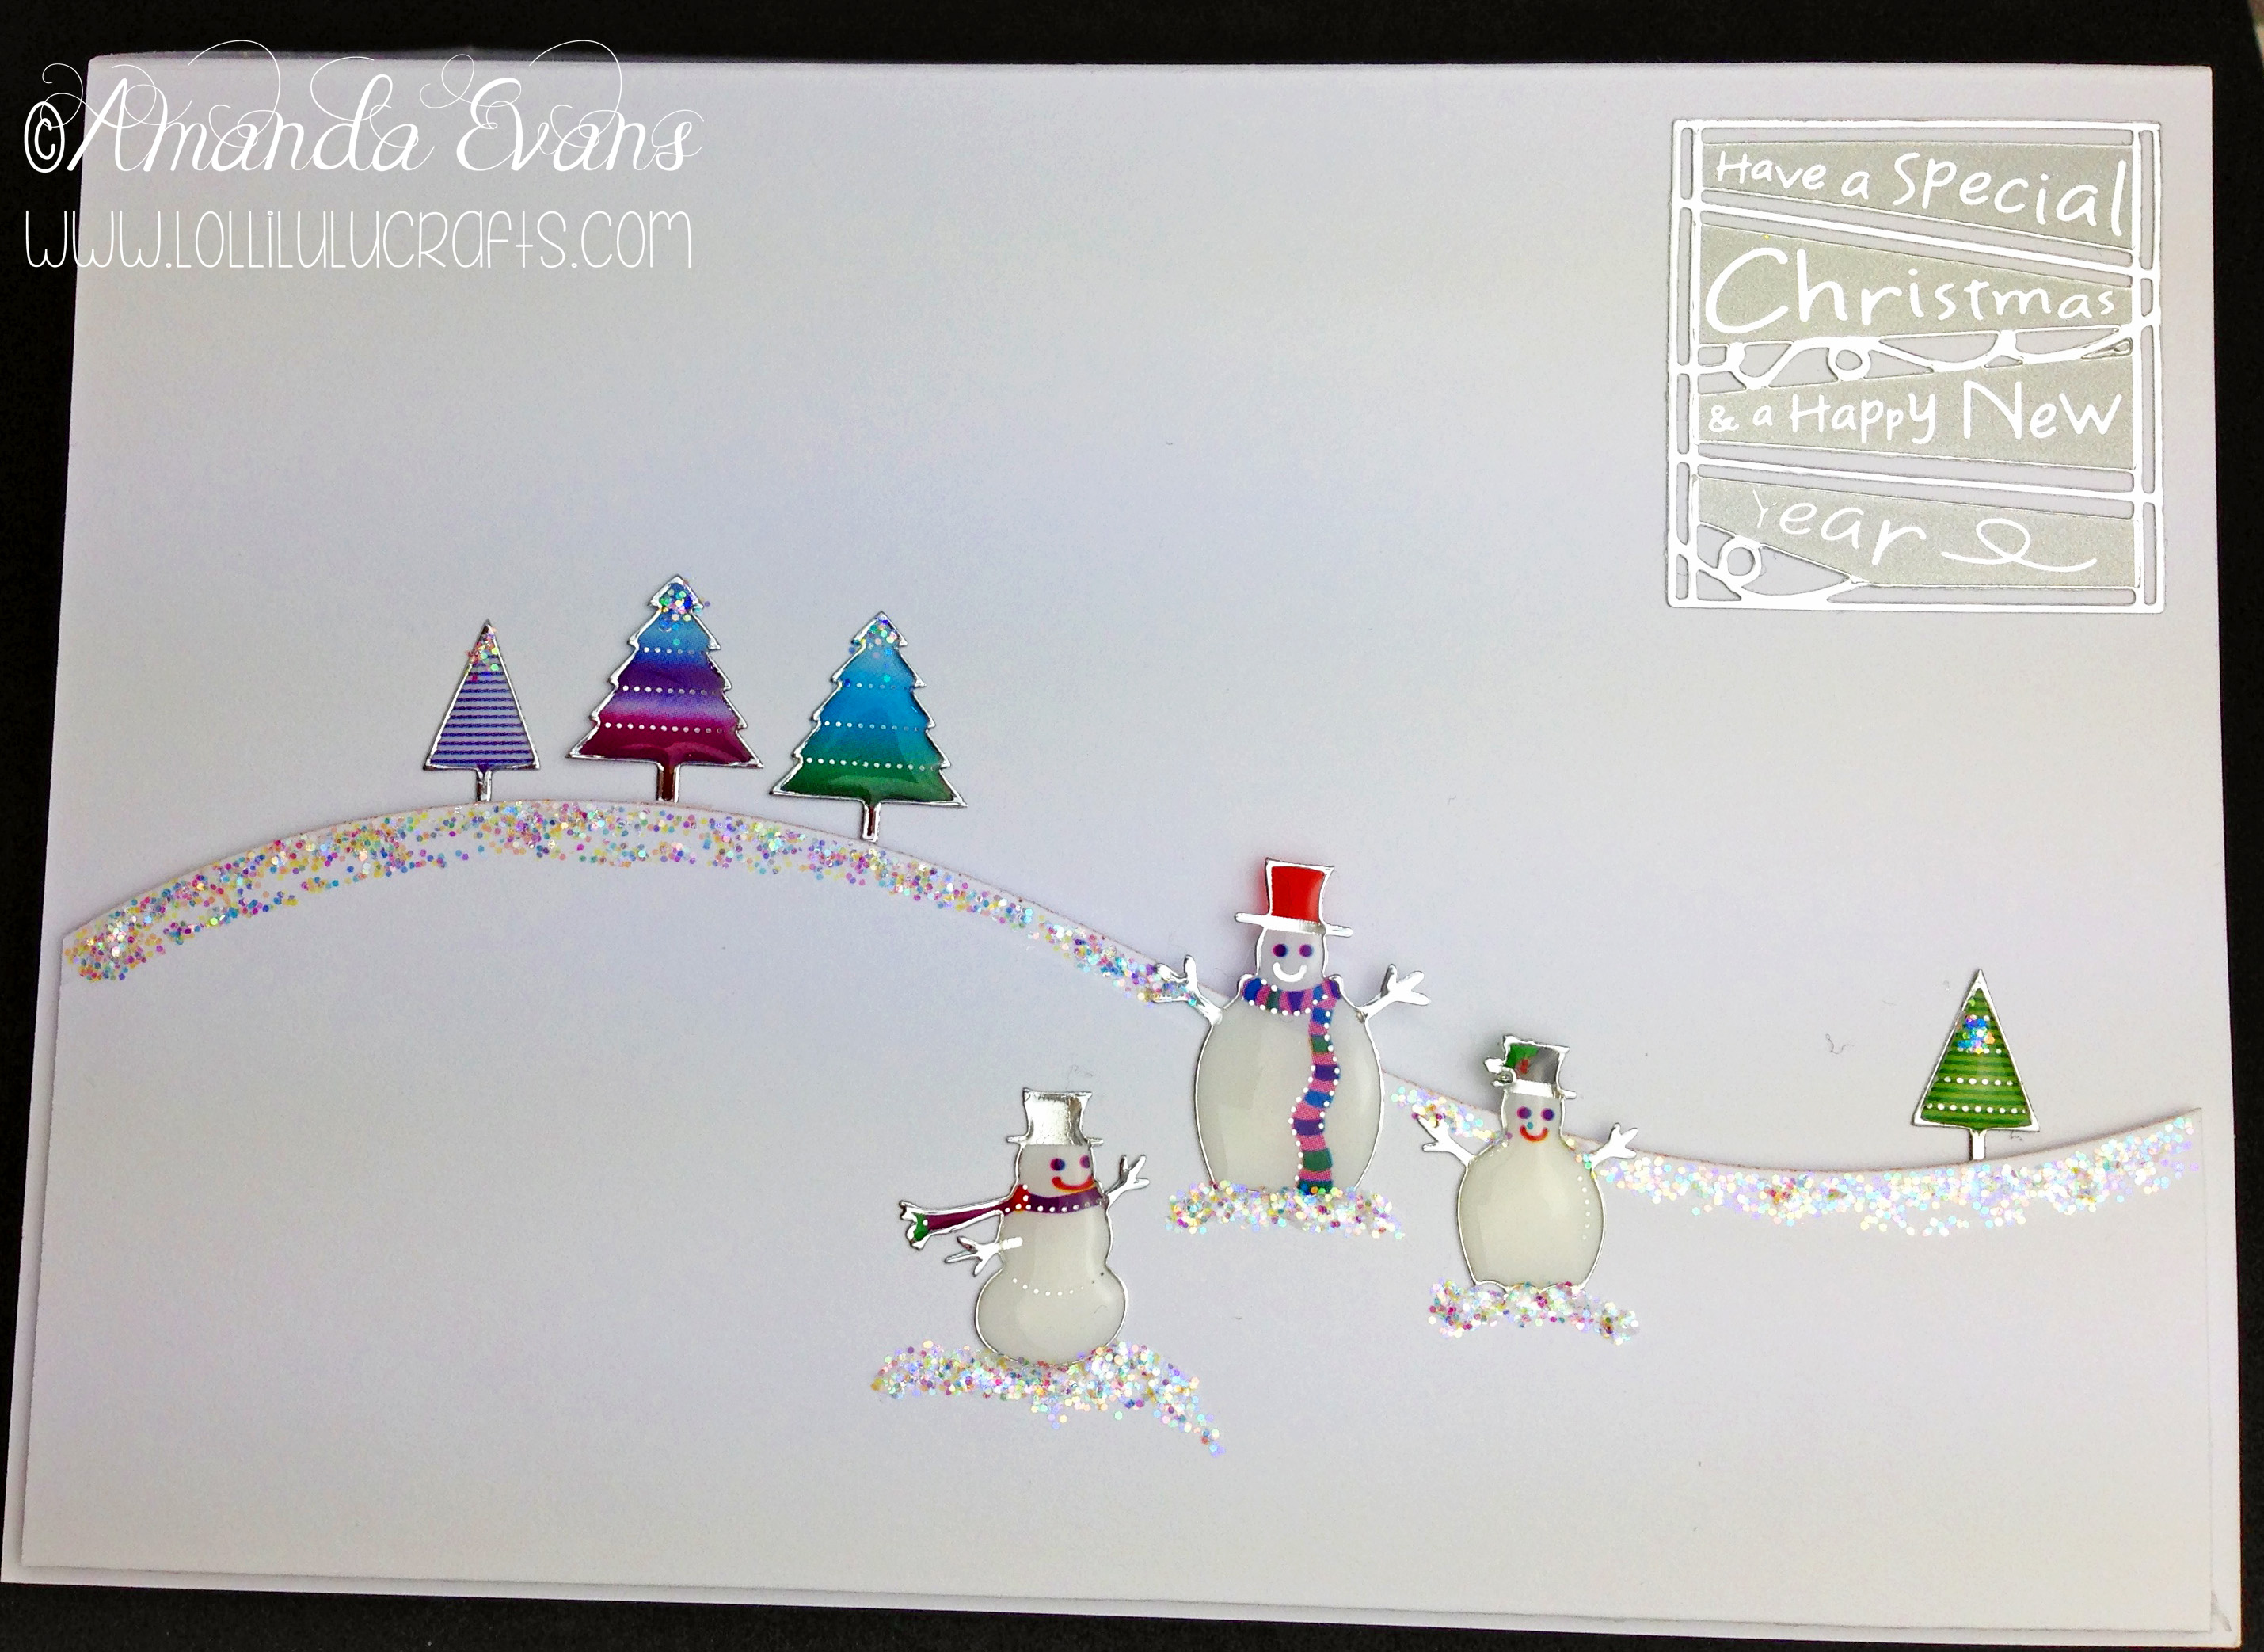
The snowmen were the initial inspiration for this card and immediately made me think of a scene card. I have just received my stitched hills dies from Simon Says Stamp and these seemed a perfect fit for what I had in mind for this card.
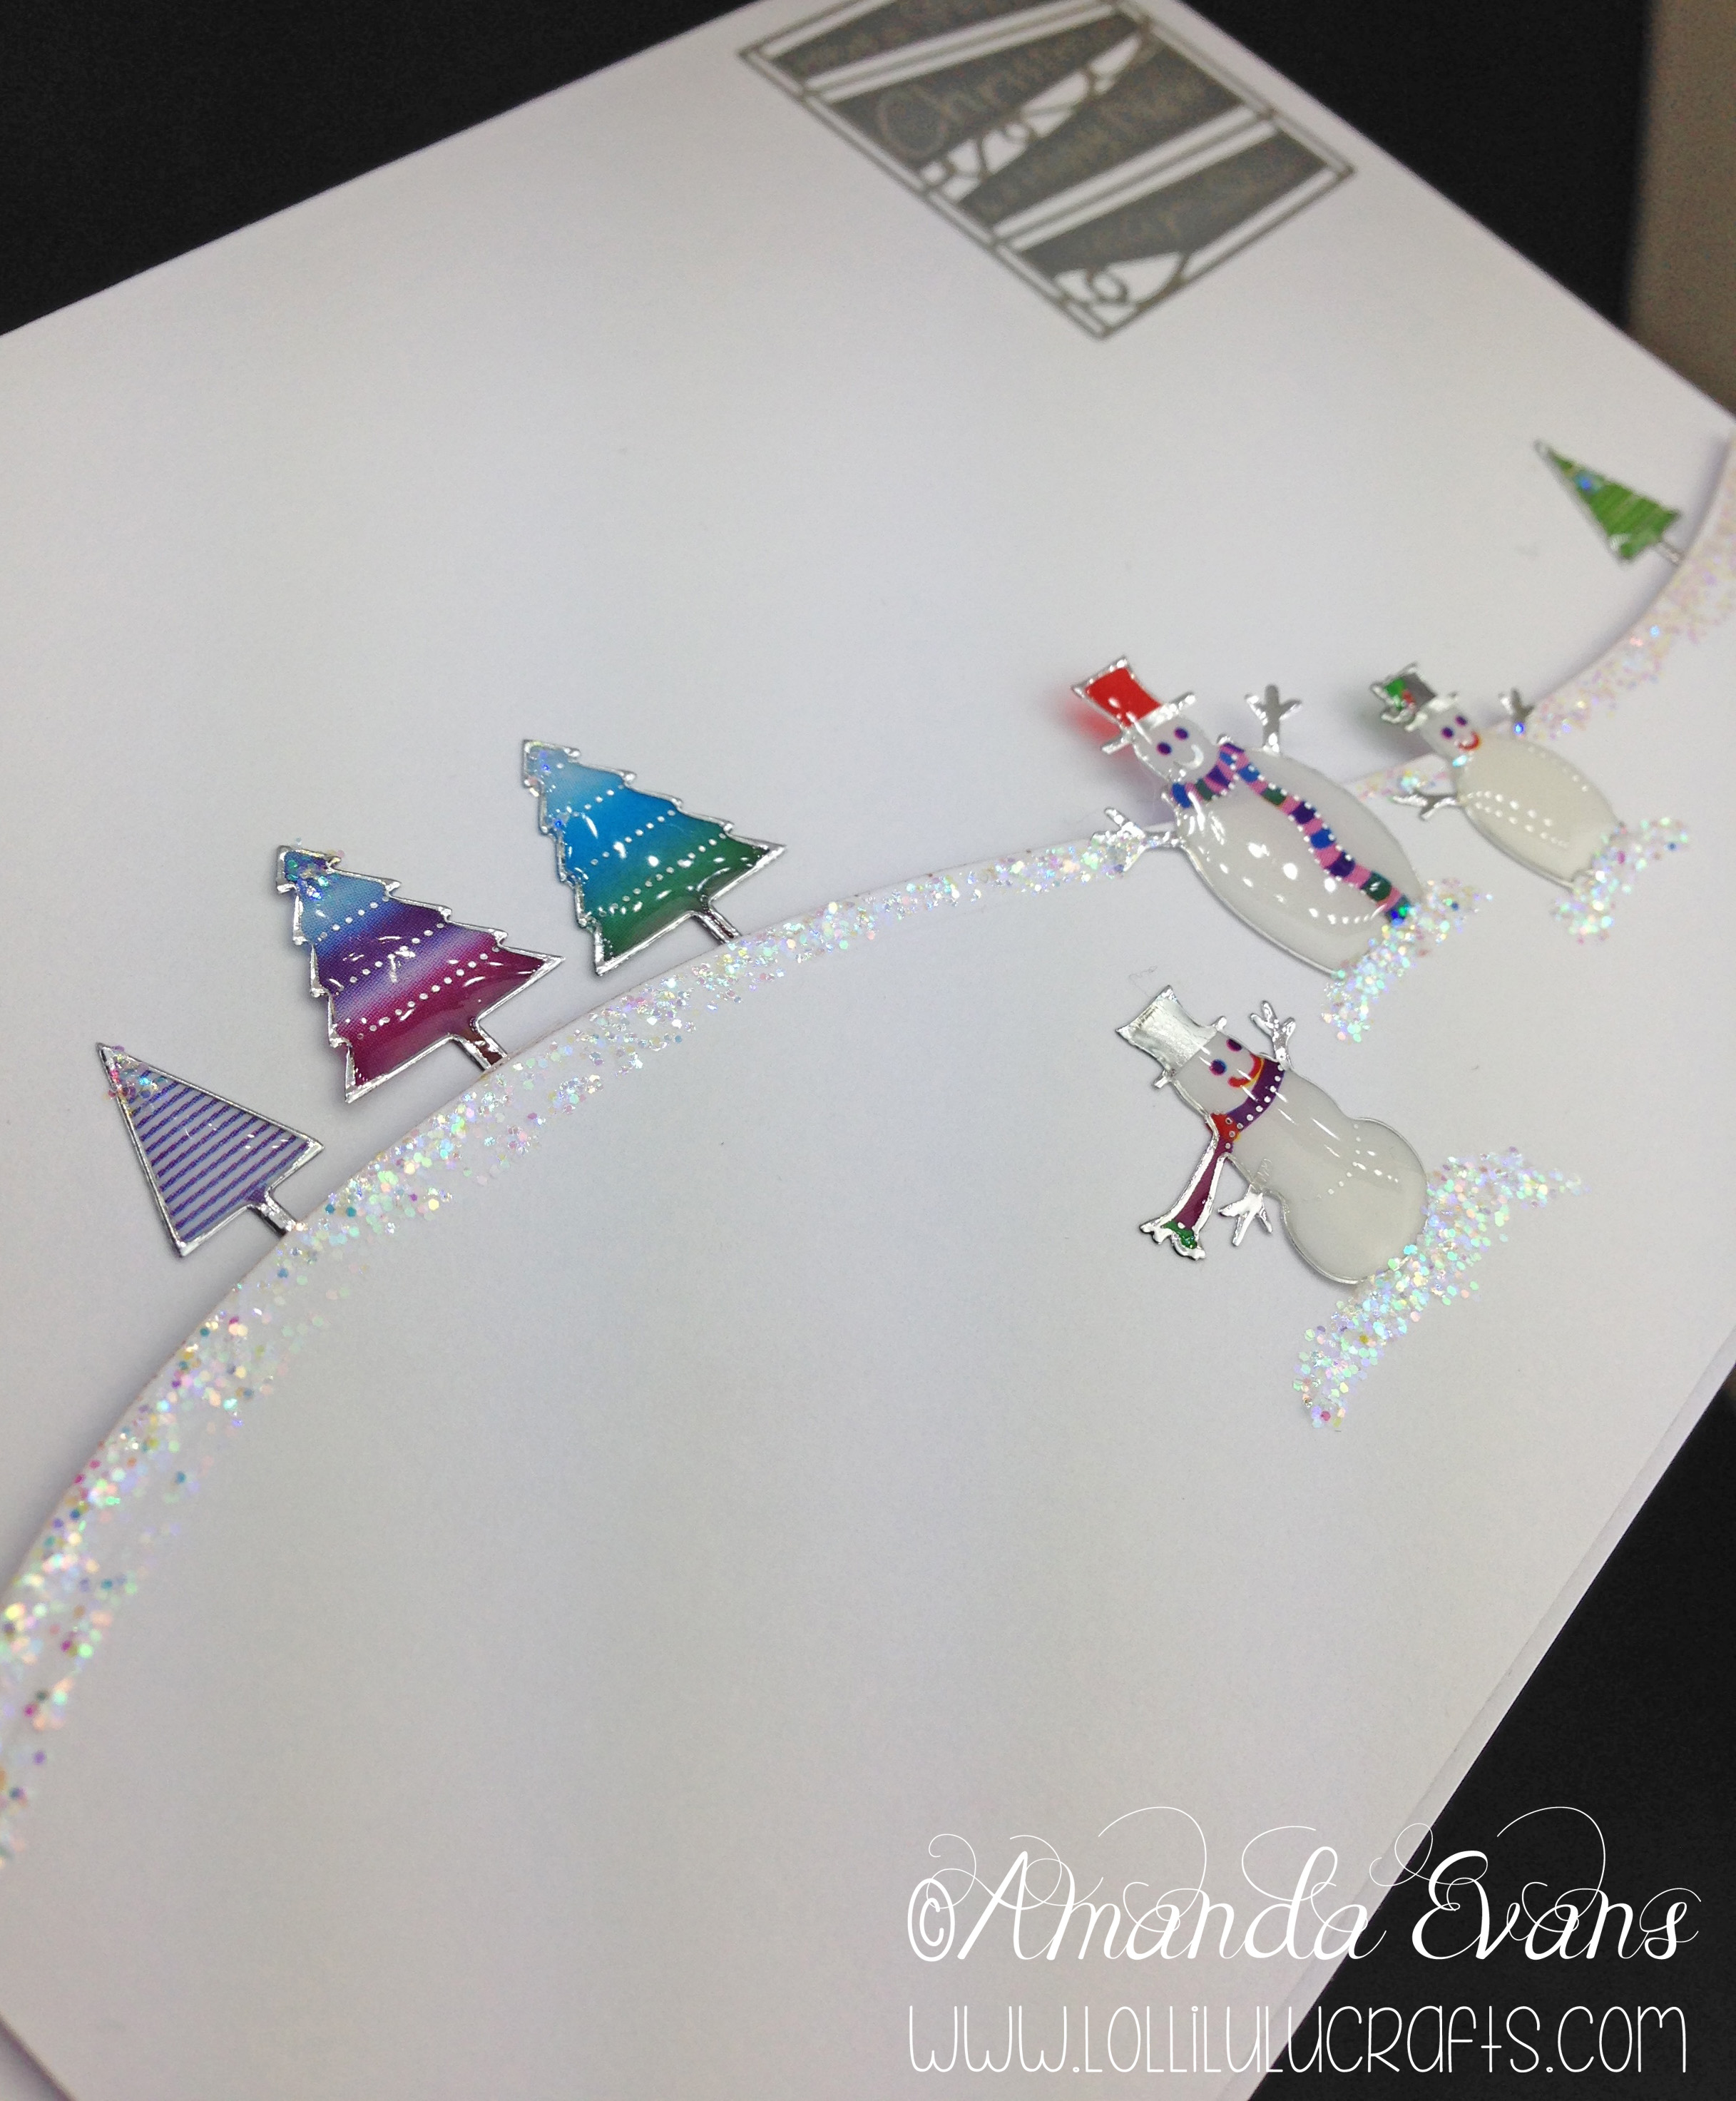
I then hunted a bit further in my sticker stash to find something that had some little sticker trees,hopefully of Christmassy style. I definitely think I got lucky because these trees are just so super cute. Unfortunately with both these cards I can’t tell you what brand or make any stickers and peel off sticker is are because they have been in my stash for so very long.
So getting to work I found a A6 White card, which is approximately 4″ x 6 perhaps just a little bigger on each side. Then a second one of the A6 cards because I wanted to be sure that the card stock and the whites matched perfectly, and frankly you can buy packs of pre-scored cards so cheaply than it really doesn’t make much of a difference whether you use that or a regular piece of card. In fact in this instance I imagine it was probably less expensive to use the second card then to get a sheet of card and cut it up.
Next I opened up the pack of stitched dies from Simon Says Stamp and broke the dies into the individual elements. When you get the die set there are I think three or four different styles of Hill and for each one of those there is a second die that creates the stitched element of it. The dies come with little metal tags holding them all together as one, all you need to do is snip these apart using strong scissors or pliers. Either way make sure they are not your best scissors as obviously you are cutting metal. When separating the dies you can choose to keep the hill and it’s pair of stitched line die tagged together I.e not snipping between those two. Or you can do as I did and snip away all of the metal tags separating all the dies from each other, and that I get the choice to use not only the stitched lines on their own but also to decide for myself the distance that I want the stitched line away from my cut hill line.
Anyway once I had separated to die I picked up the hill shape I wanted to use and it’s matching stitched line die, and put it and White card stock through my bigshot with the magnetic plate. Once that was cut I then determined the height of the hill that I wanted on my main cardbase and cut the excess off plus I cut a quarter inch off one side to create an eighth of an inch gap later on each side.
Next I look tired this piece onto my main card using my Pinflair glue gel. Then I added my little snowmen stickers and tree stickers and finally adding Crystal stickles to give that real sparkily snowy effect. So here they are the photos of this CAS snowman sticker card :-
Well I hope you have liked these two cards that took us back in time to when we first started crafting, and I hope that perhaps it has inspired you also to delve back into your stickup boxes! If so I’d love to see what you come up with. For now hugs and have a great Craft day,


So simple but cute! These are nice stickers :o)
Fun isn’t it to revisit where most of us started, and see how when we now use those materials how different the result looks xx